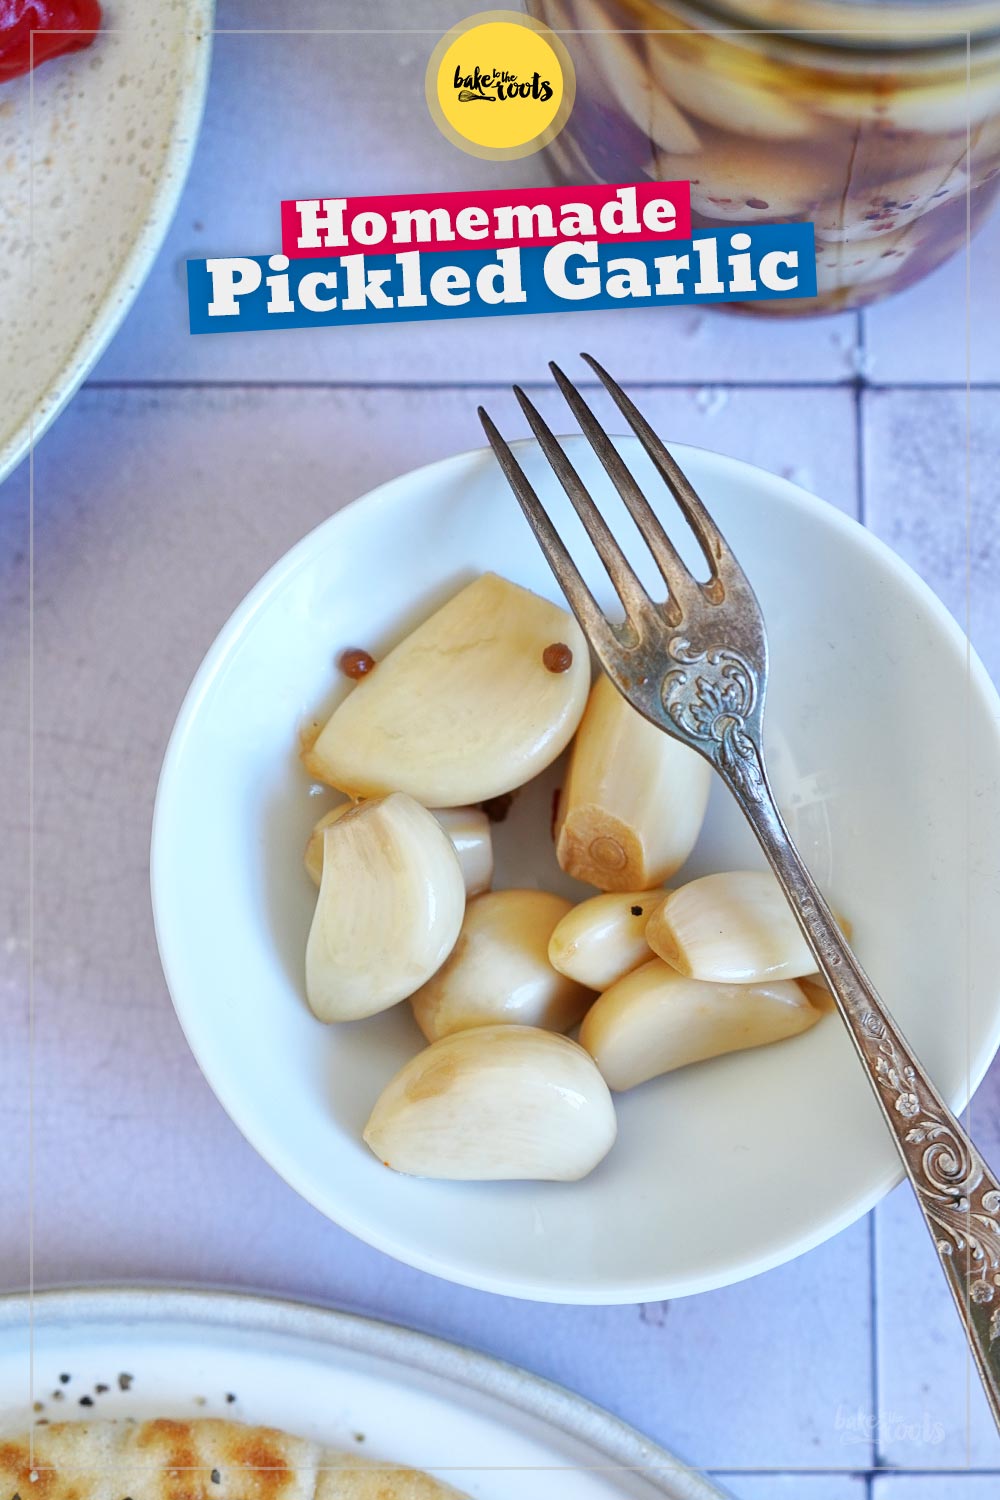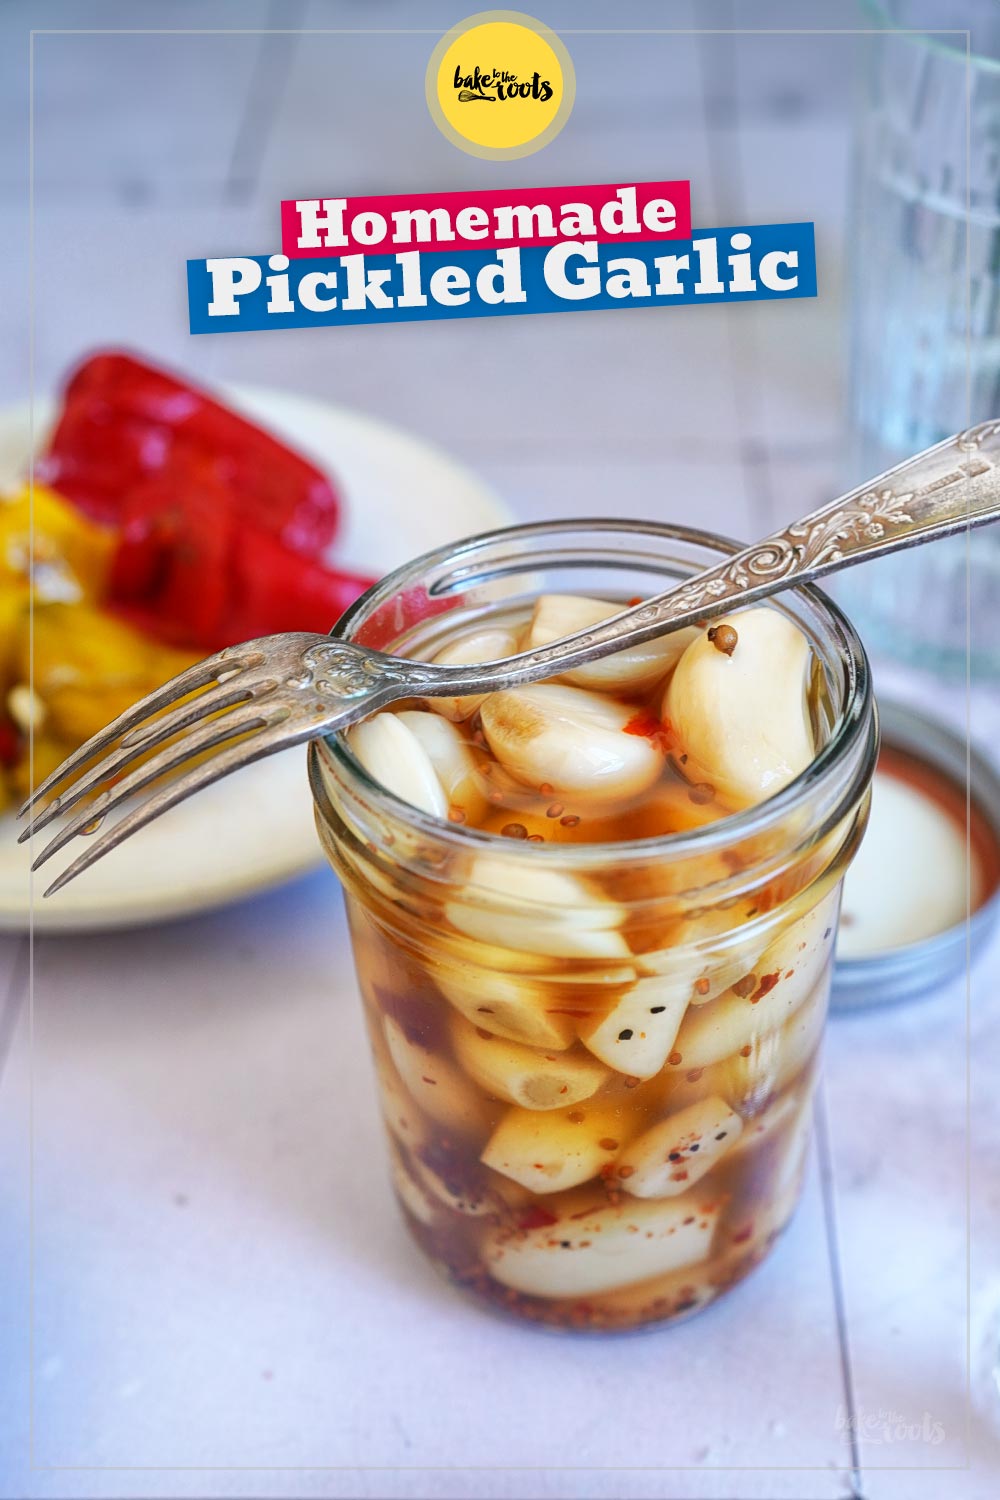


There are all sorts of things you can pickle or preserve to extend their shelf life. If you have a garden, you’re likely familiar with this – when you harvest more fruit and veggies than you can eat, you either have to give some away, preserve or pickle them in a way so nothing goes to waste. While we don’t have a garden harvest to deal with, we still enjoy pickling things from time to time. This Homemade Pickled Garlic is a great example. It’s difficult to find in stores, but it’s a fantastic ingredient to have on hand at home for all sorts of delicious recipes.
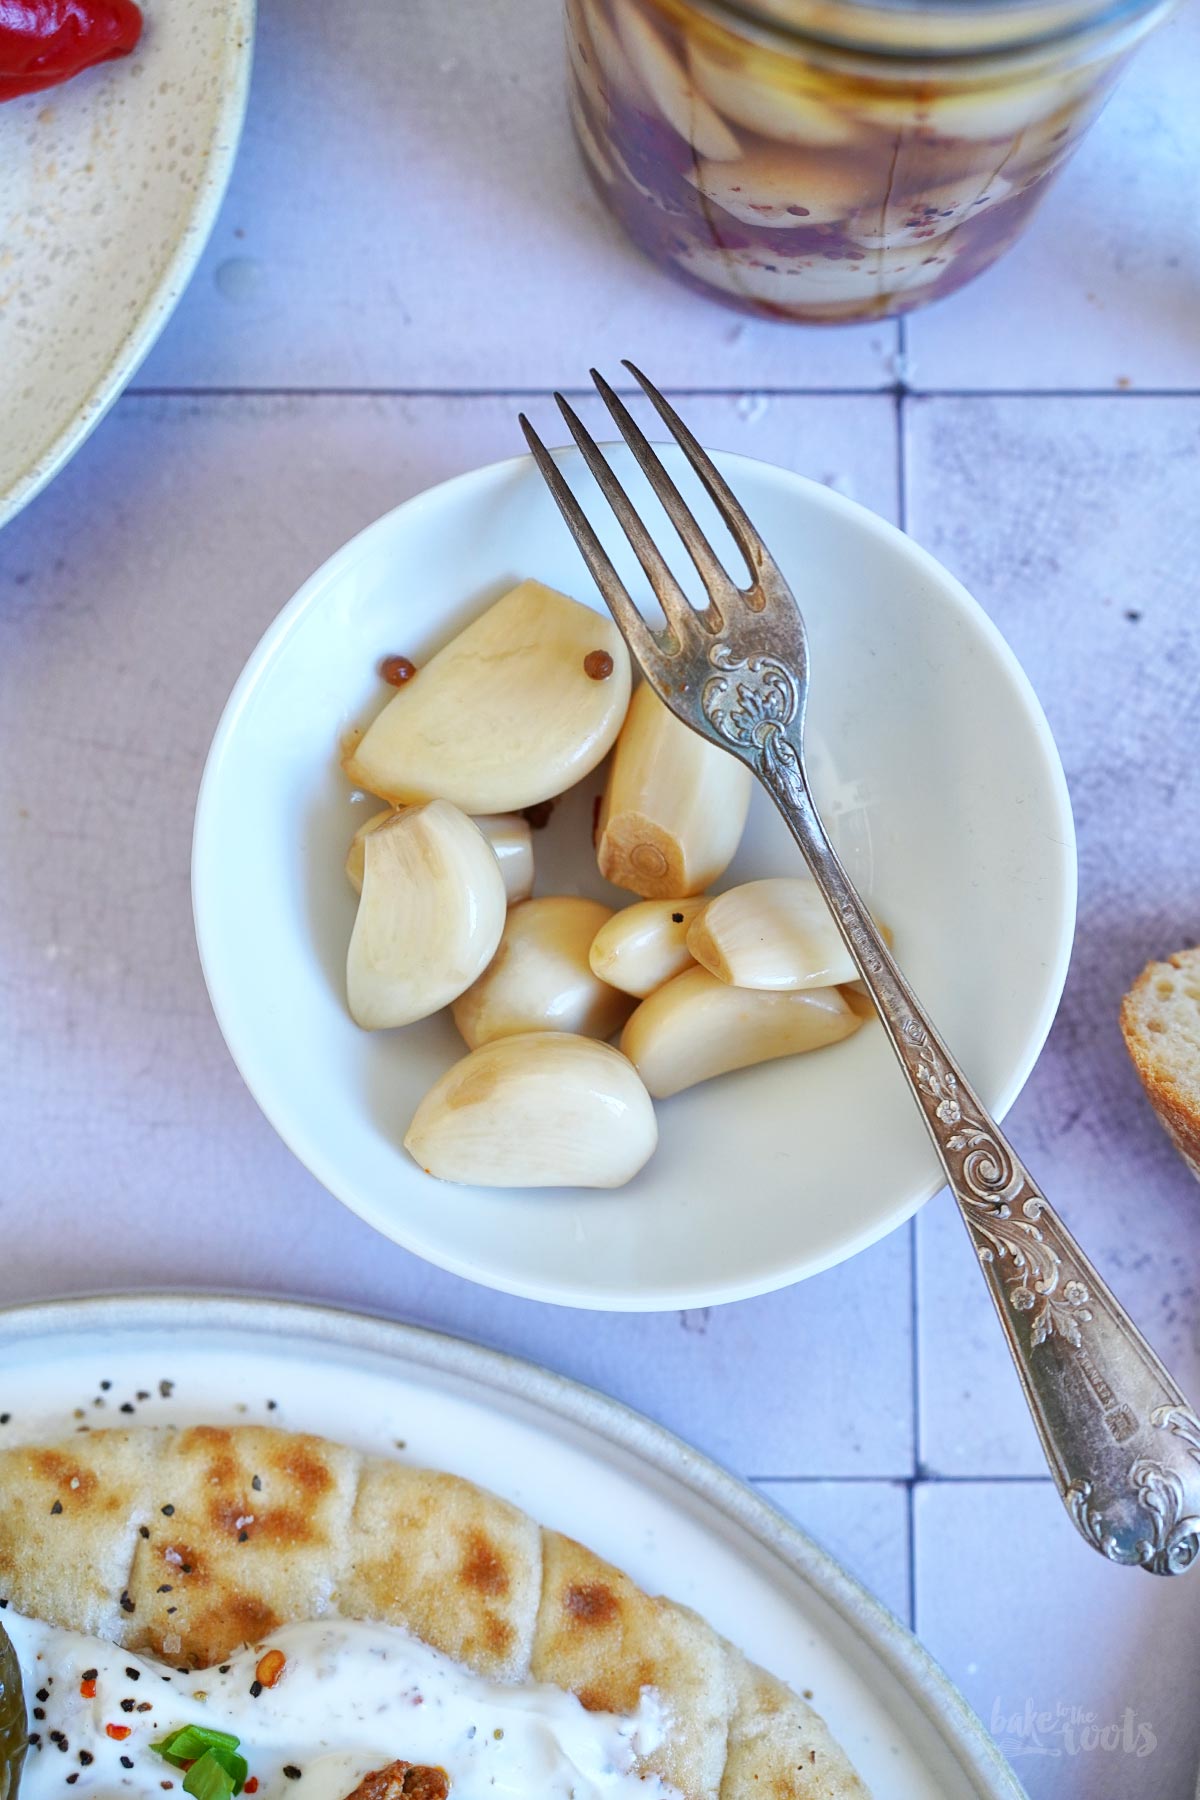
We love garlic and use it in many dishes – both meat and veggie-based meals benefit from the addition of a garlic clove or two. Most of the time, we use fresh garlic – either chopped or crushed, but pickled garlic is also excellent for cooking.
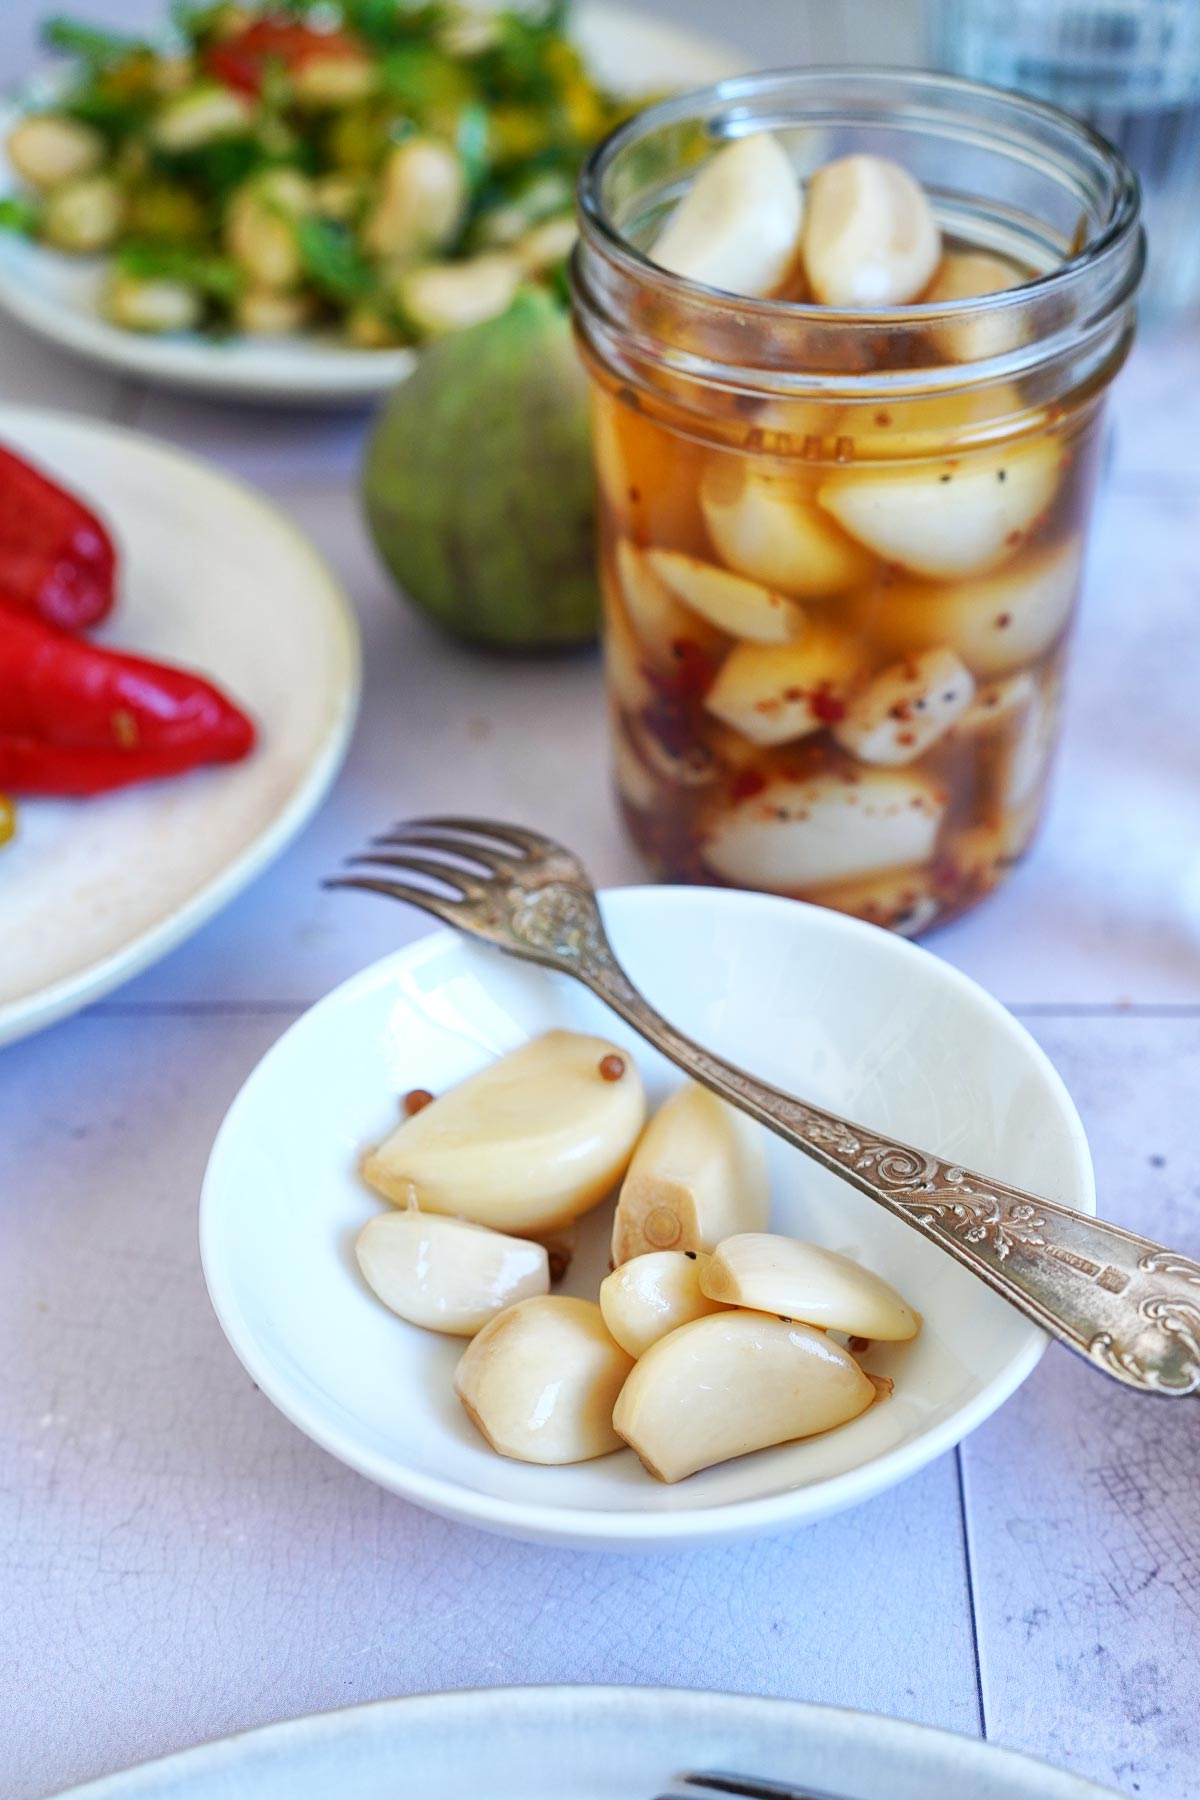
There are many advantages to pickled garlic. When pickled and kept refrigerated, it lasts for a very long time. You always have garlic on hand without needing to peel it first. The flavor is milder, and the pickled cloves are often easier to digest for people who might otherwise have trouble with fresh garlic.
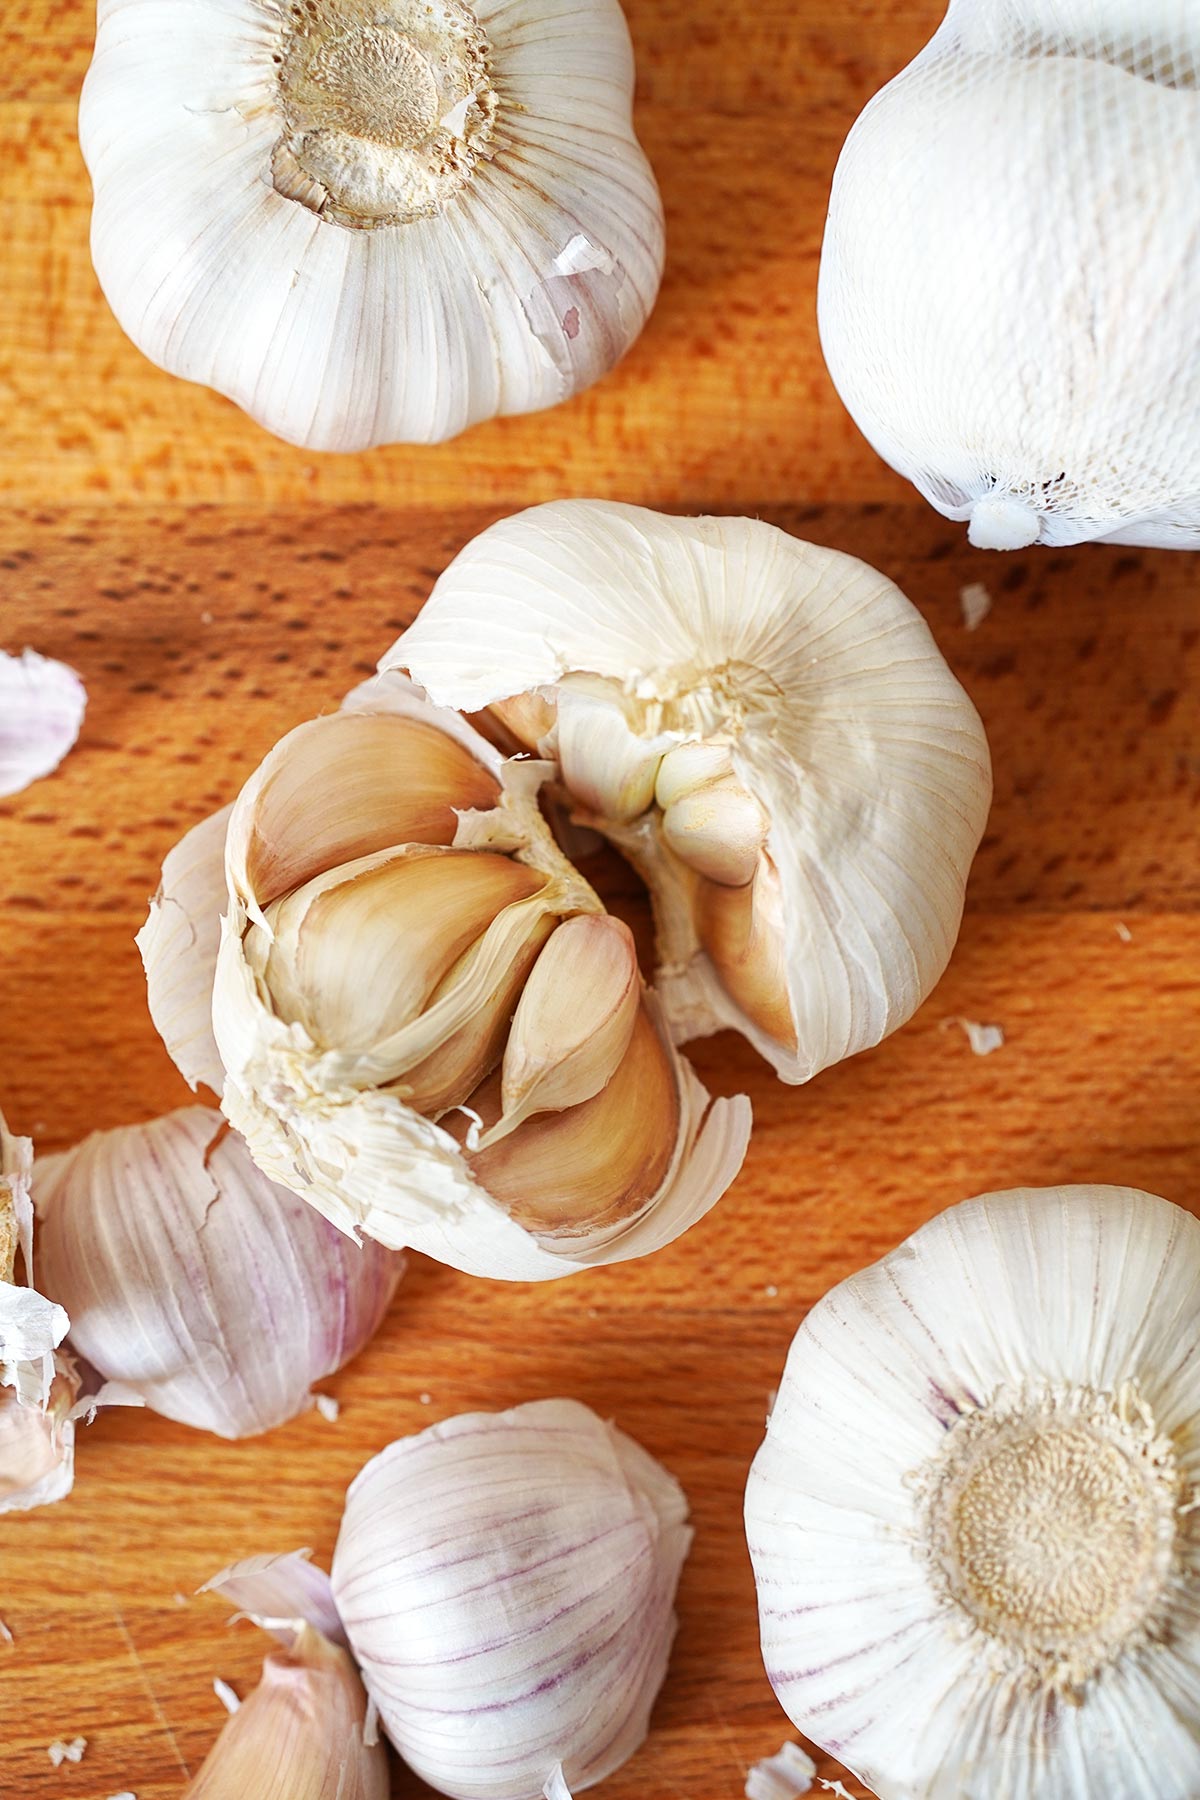
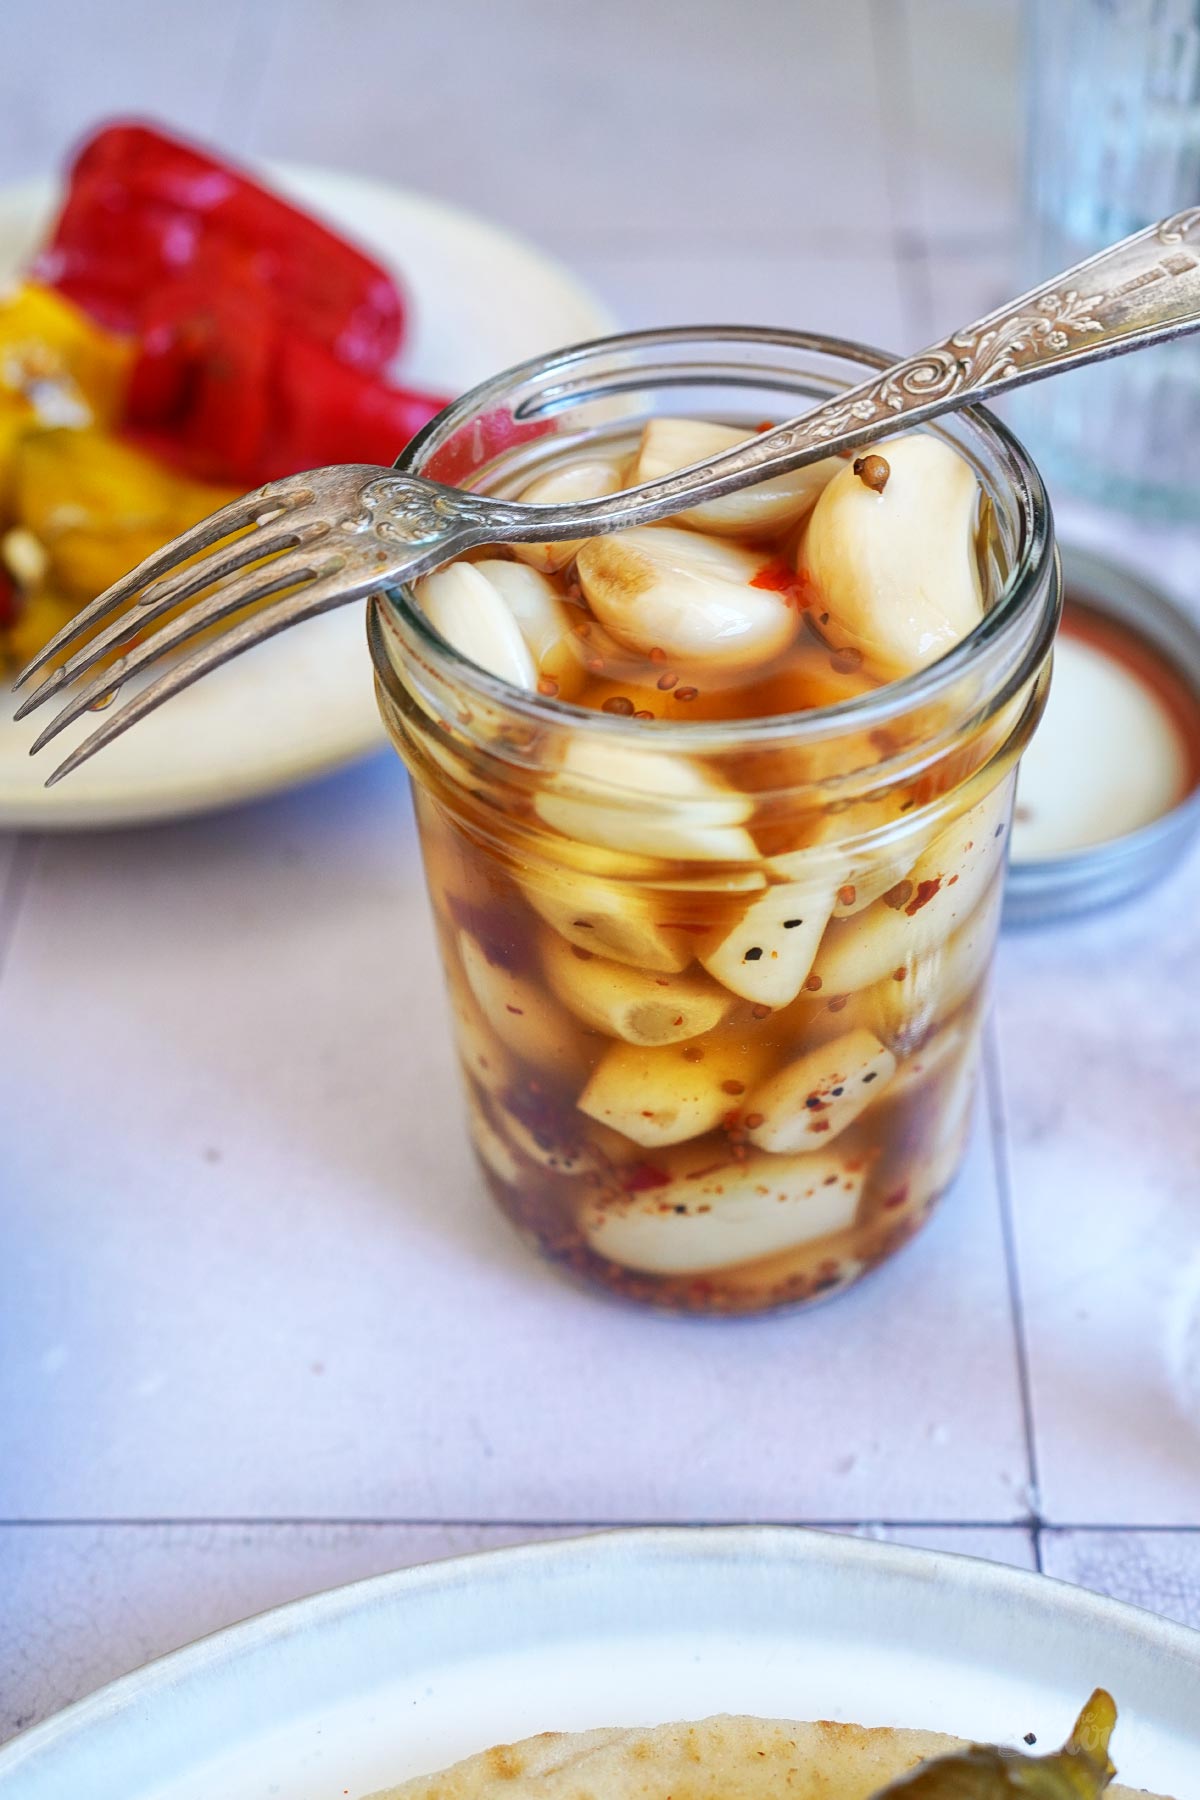
All it takes is a bit of extra effort and time upfront to peel a good amount of garlic. Once peeled, you simply place it in jars, and after a short curing period, it’s ready to use for months – whether for cooking or even just for snacking. Yes, that’s an option too, if you’re a real garlic enthusiast!
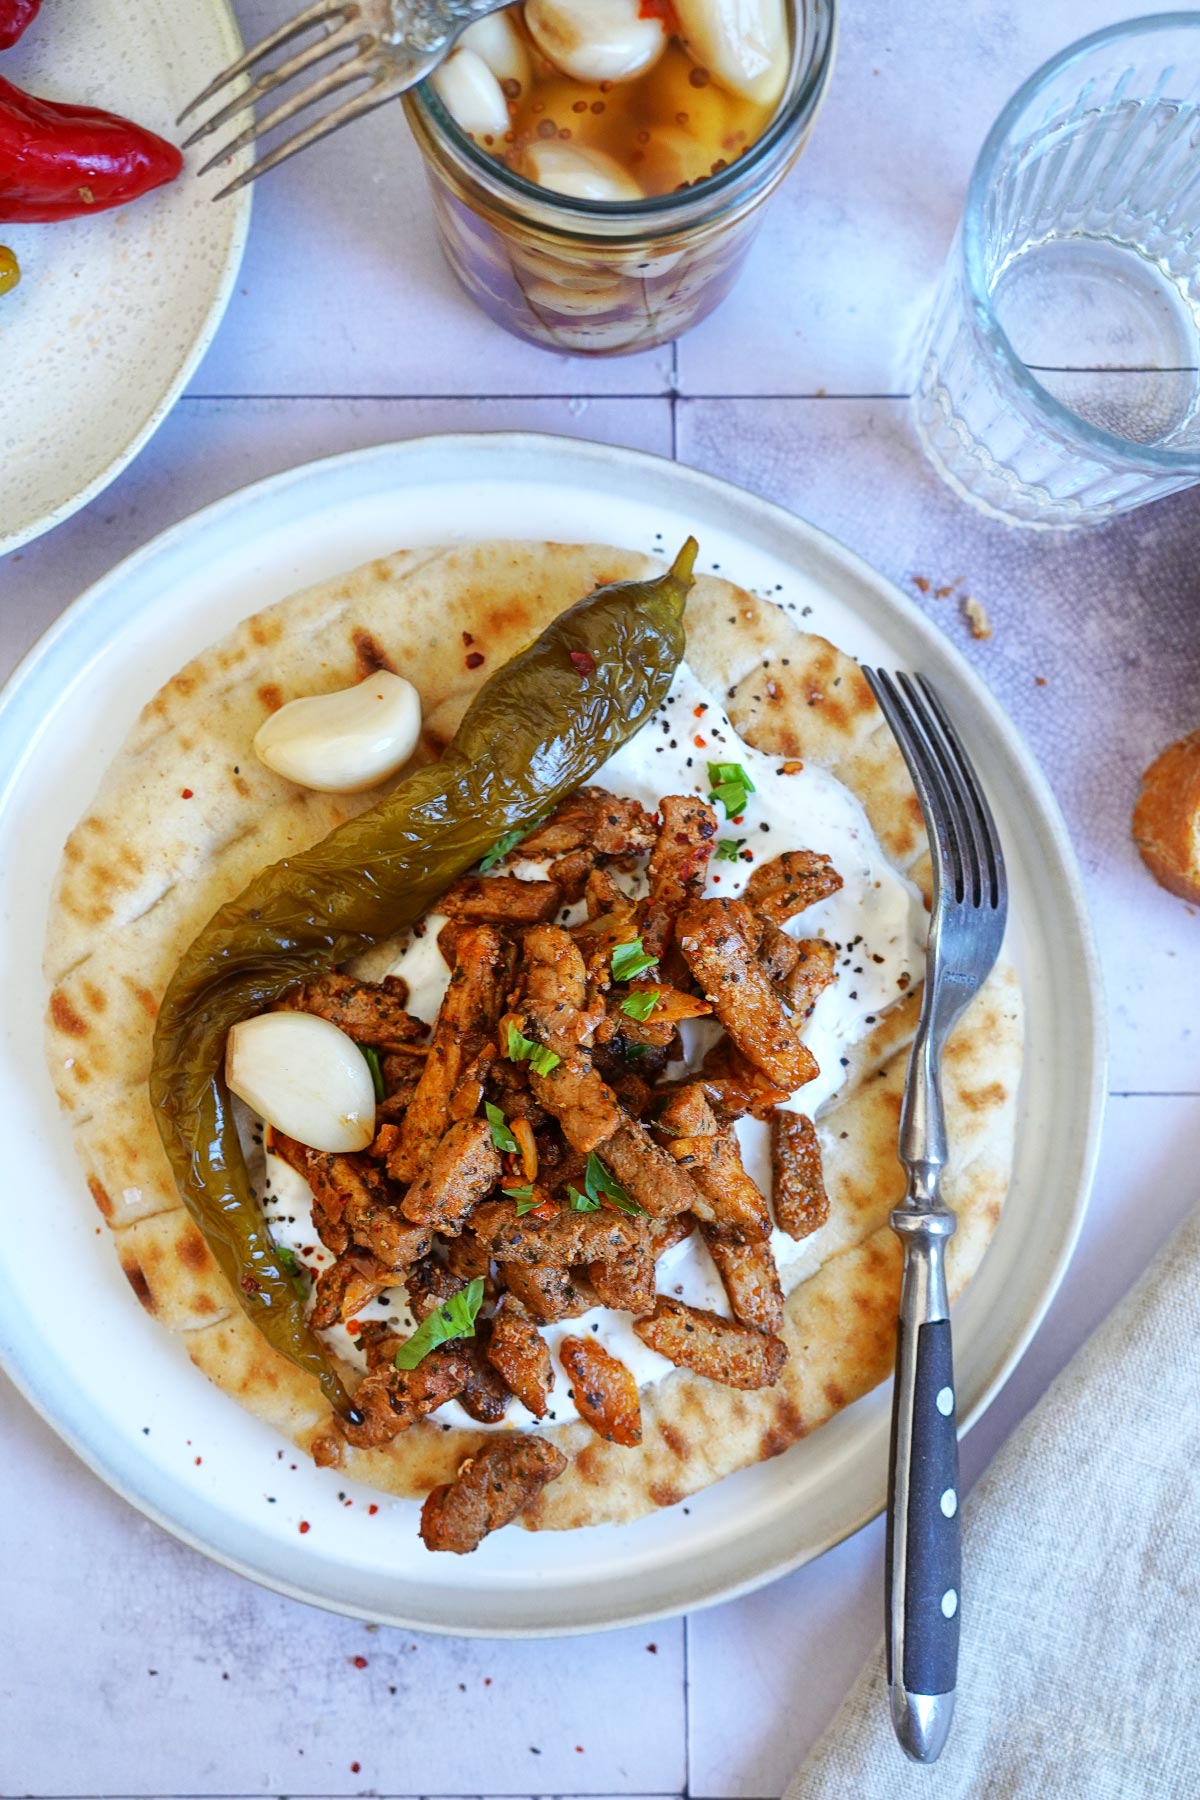
Pickled garlic is incredibly versatile. You can use it as a substitute for fresh garlic in recipes, as an extra flavor boost in salads, or simply as part of an antipasti platter. I like to toss a few cloves into a homemade doner kebab, tacos, or similar dishes.
Pickling garlic doesn’t require much special attention – the preparation is quite simple and perfectly manageable for beginners that are new to the world of preserving and pickling. As long as you work cleanly, you’re sure to be happy with the results.
One thing to keep in mind, though: be thorough when prepping the garlic and use only cloves that are in perfect condition. No dark spots or anything similar. Whatever is damaged or looking questionable will cause problems over time and could potentially ruin the entire contents of a jar.
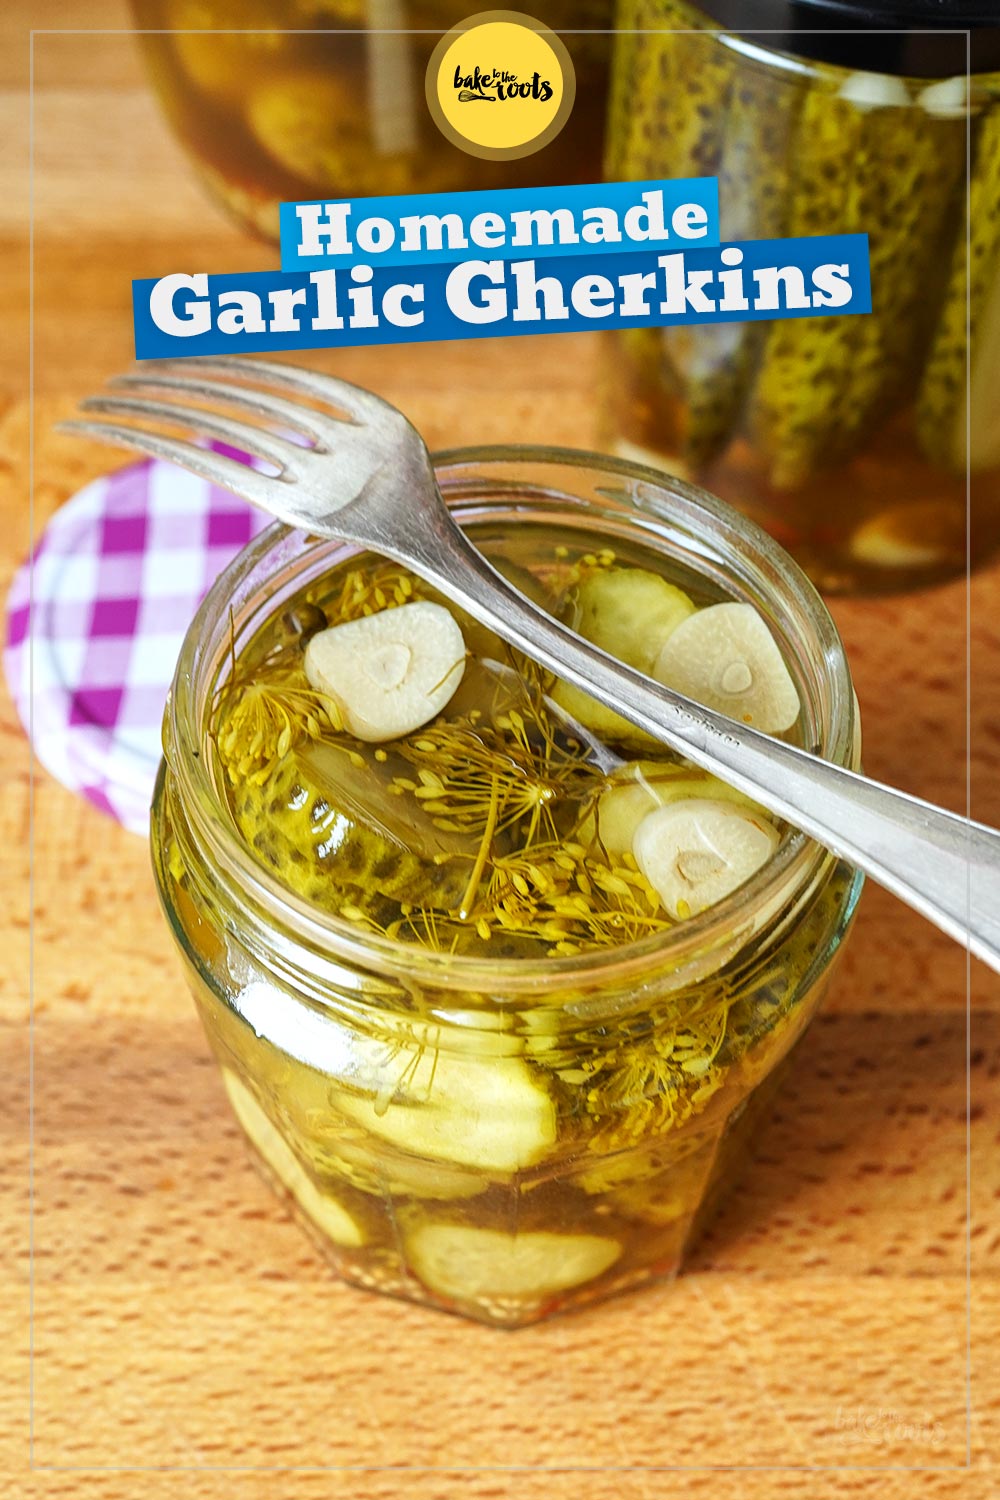

Otherwise, the process for pickling garlic isn’t much different from, say, pickling cucumbers. If you’d like to try your hand at that, take a look at our recipe for Pickled Garlic Gherkins. They pair wonderfully with the pickled garlic. They are a great option if you’re looking for something a bit different from the usual gherkins you can find at supermarkets.
If you prefer something less acidic but still want to try your hand at pickling, you could also use oil instead of vinegar for the job. Our recipe for Homemade Pickled Grilled Bell Peppers is a perfect example here. The process is similar, but it uses oil rather than an acidic solution. When preserving veggies with oil you can use everything – the pickled veggies as well as the oil in which they’ve been resting comfortably.
INGREDIENTS / ZUTATEN
(2 glass jars, 240ml each)
5–6 garlic cloves, peeled
about 150ml spirit vinegar*
about 100ml of water
2 tsp. flaky sea salt*
1 tsp. black mustard seeds*
1 tsp. coriander seeds*
1 tsp. crushed black peppercorns*
1 tsp. chilli flakes*
4 small bay leaves*
(2 Gläser à 240ml)
5-6 Knoblauchzehen, geschält
etwa 150ml Branntweinessig*
etwa 100ml Wasser
2 TL Meersalzflocken*
1 TL schwarze Senfsamen*
1 TL Koriandersamen*
1 TL schwarzer Pfeffer*, geschrotet
1 TL Chiliflocken*
4 kleine Lorbeerblätter*
DIRECTIONS / ZUBEREITUNG
1. Sterilize the preserving glass jars* (with screw-top lids). Boiling them for about 10 minutes is probably the easiest method here. Alternatively, you can place the glass jars in the oven at 120°C (250°F) for about 12–15 minutes. Be careful with lids that have plastic parts or some special coating.
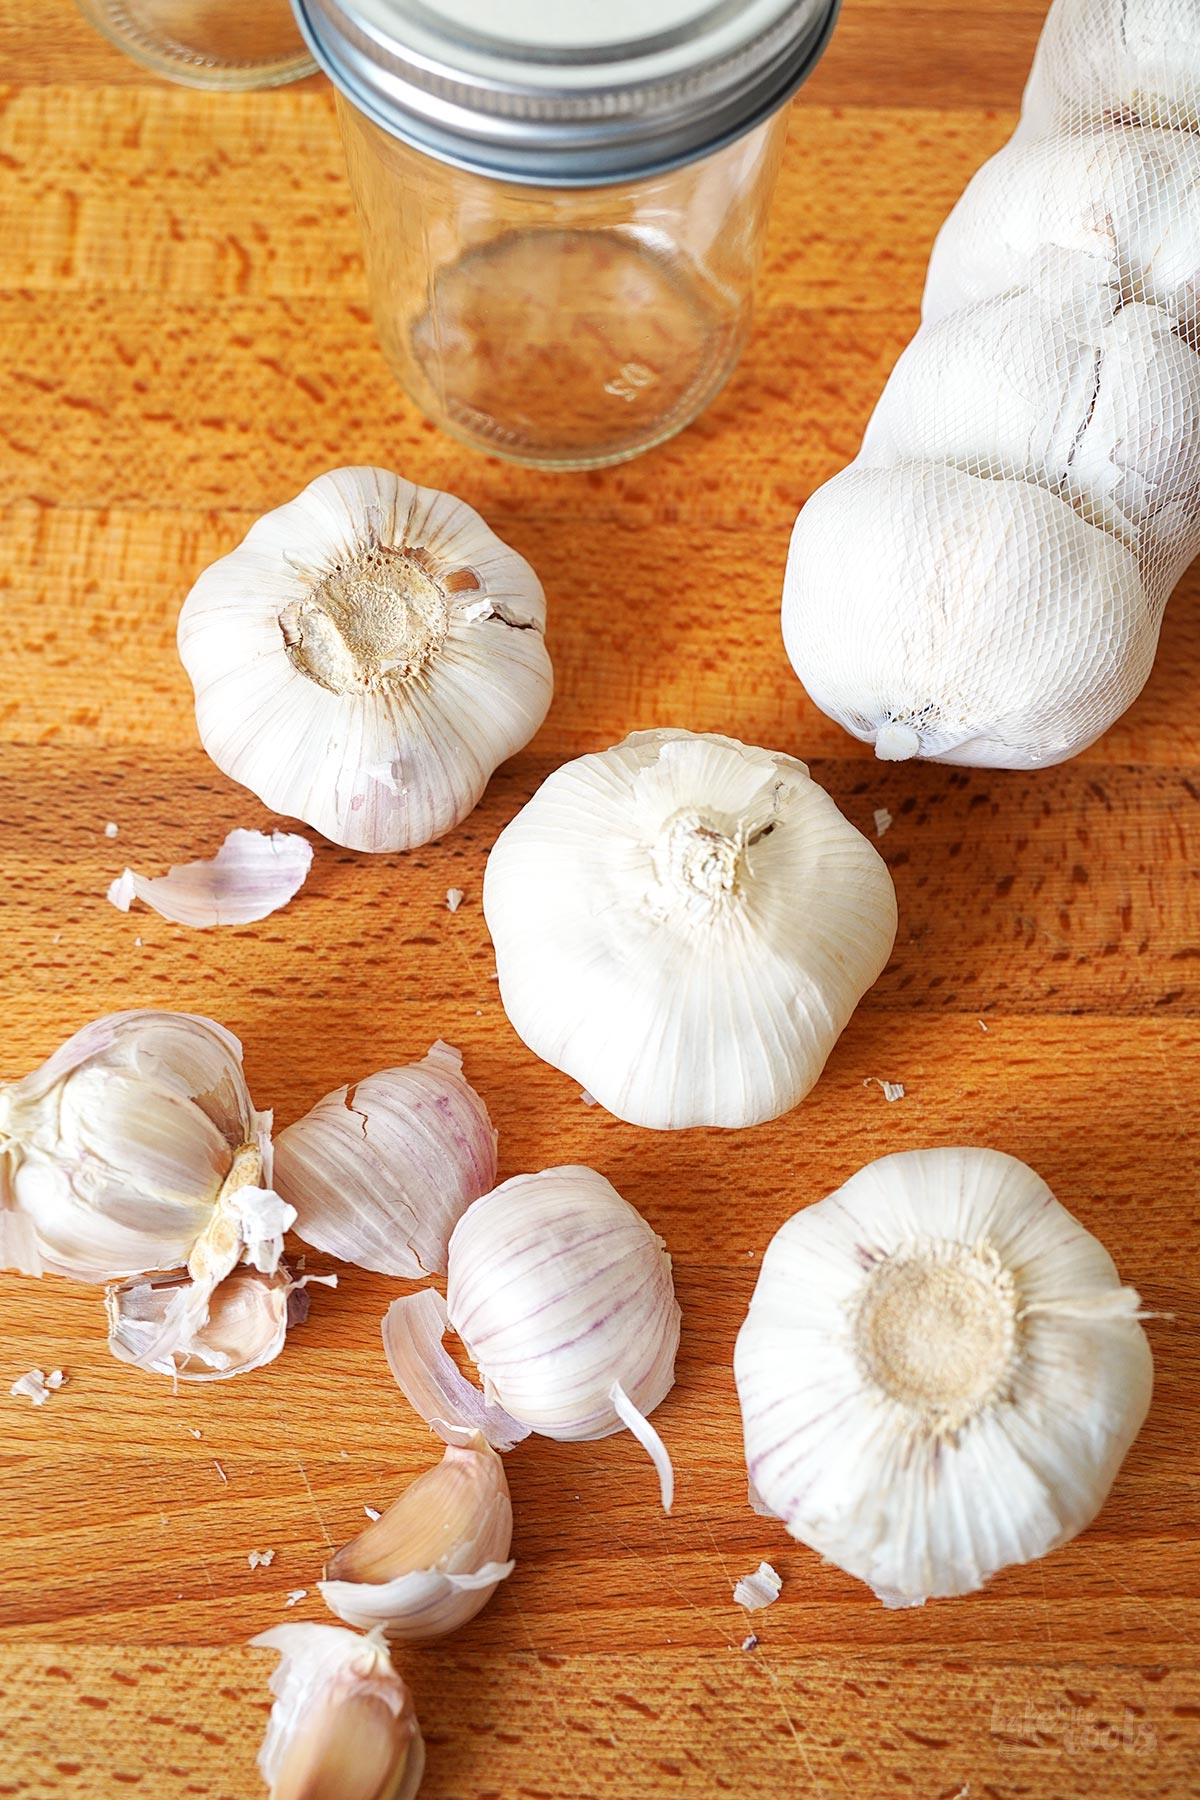
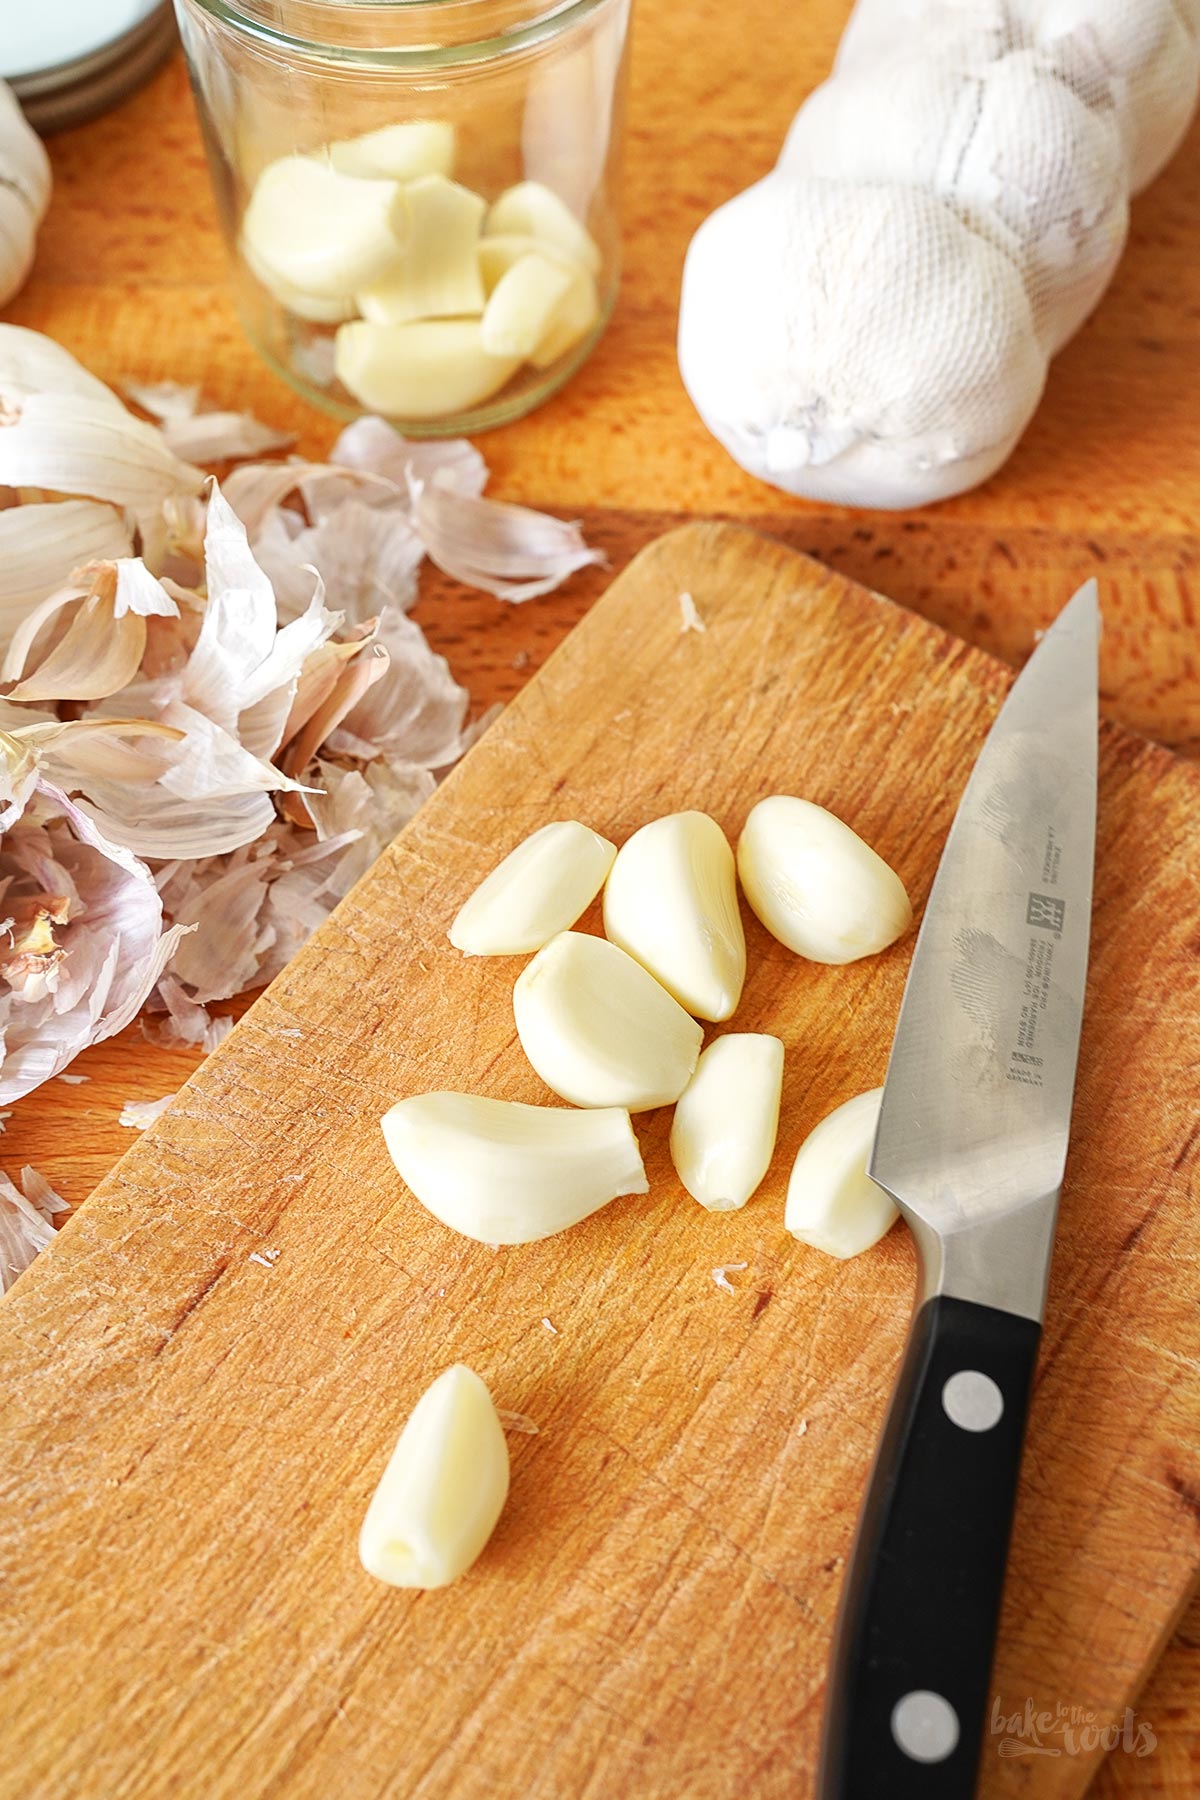
2. Peel the garlic cloves – try to use only undamaged cloves. If you spot any blemishes on the garlic cloves, trim them away generously. Layer the peeled garlic cloves into the jars. Aim to leave as little empty space as possible between the cloves.
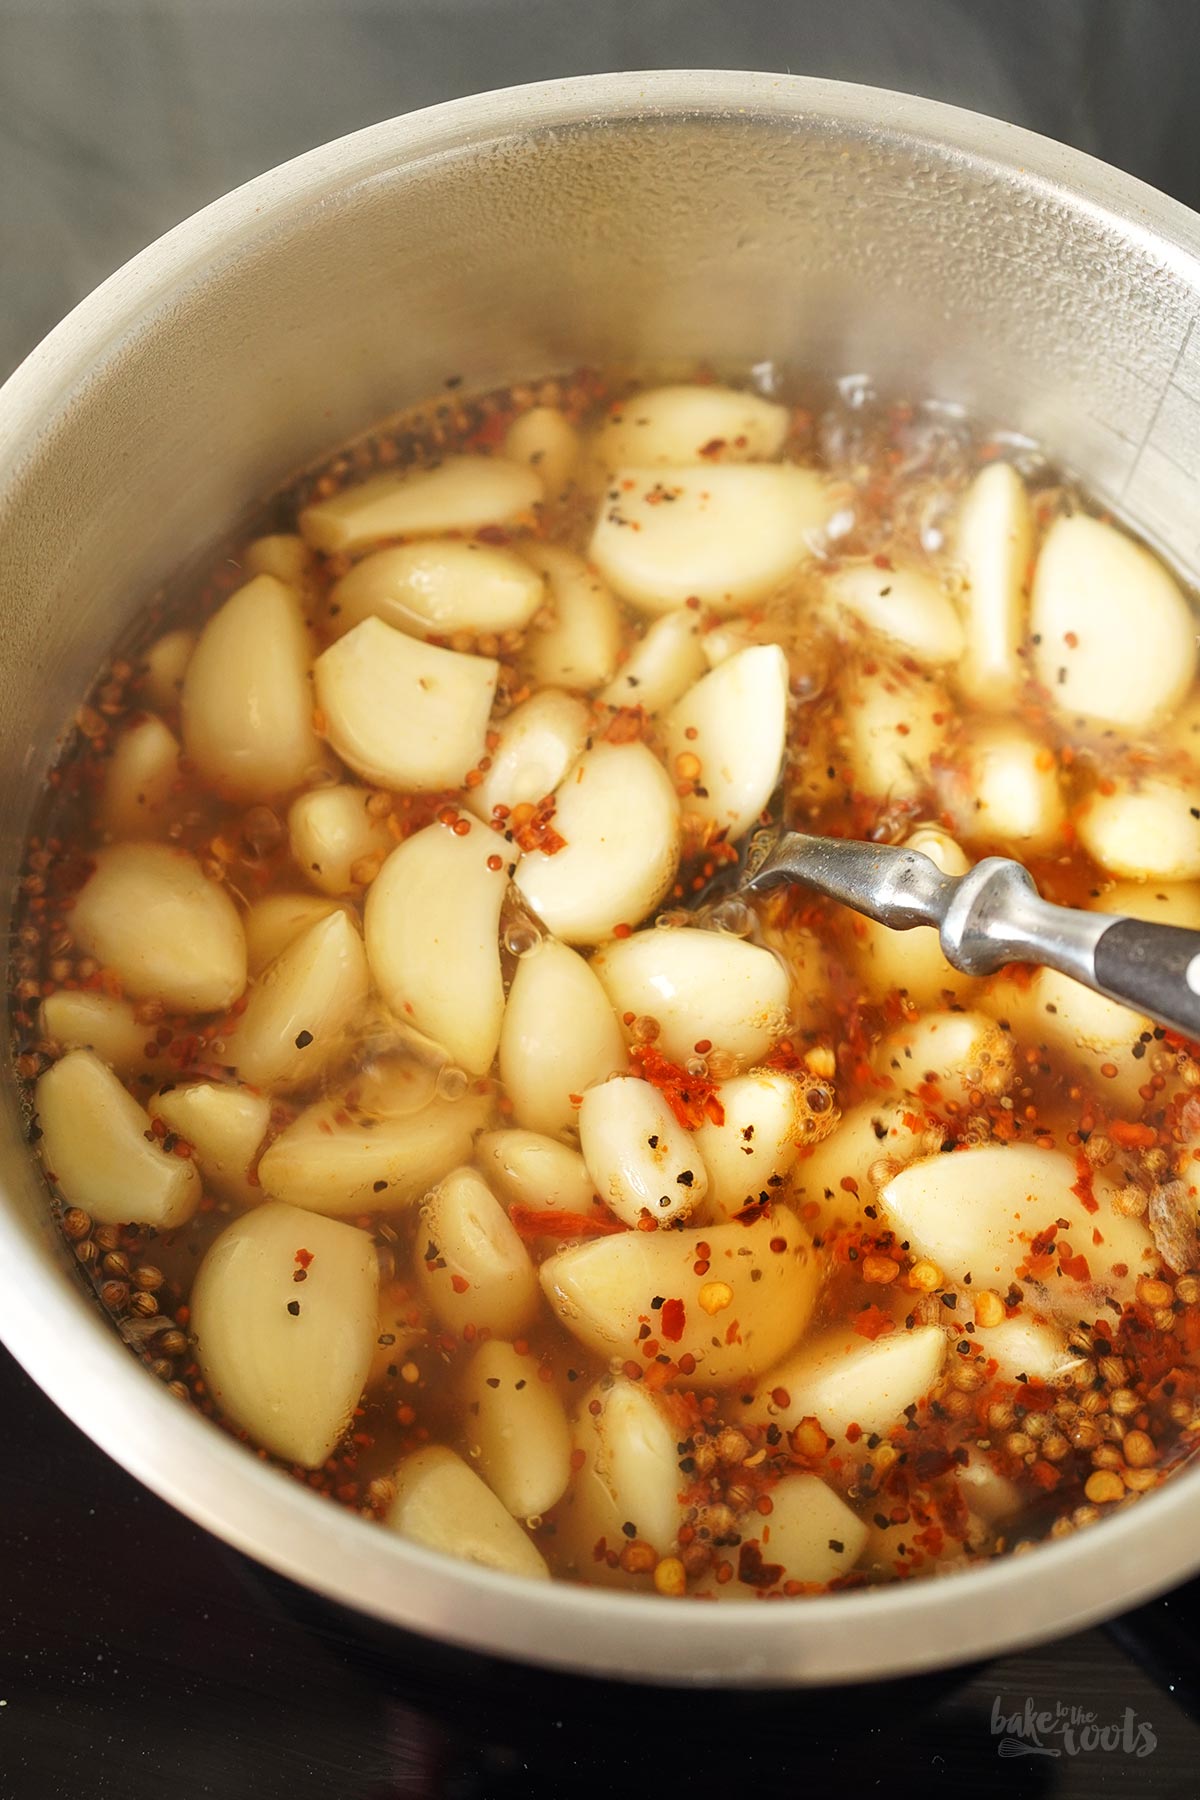
3. Fill the jars about halfway with vinegar – I needed about 150ml. Top up with water. Pour the garlic cloves and the liquid from the glass jars into a small saucepan. Add the flaky sea salt, mustard seeds, coriander seeds, crushed pepper, and chili flakes. Bring the mixture to a boil, then let it simmer for about 2 minutes.
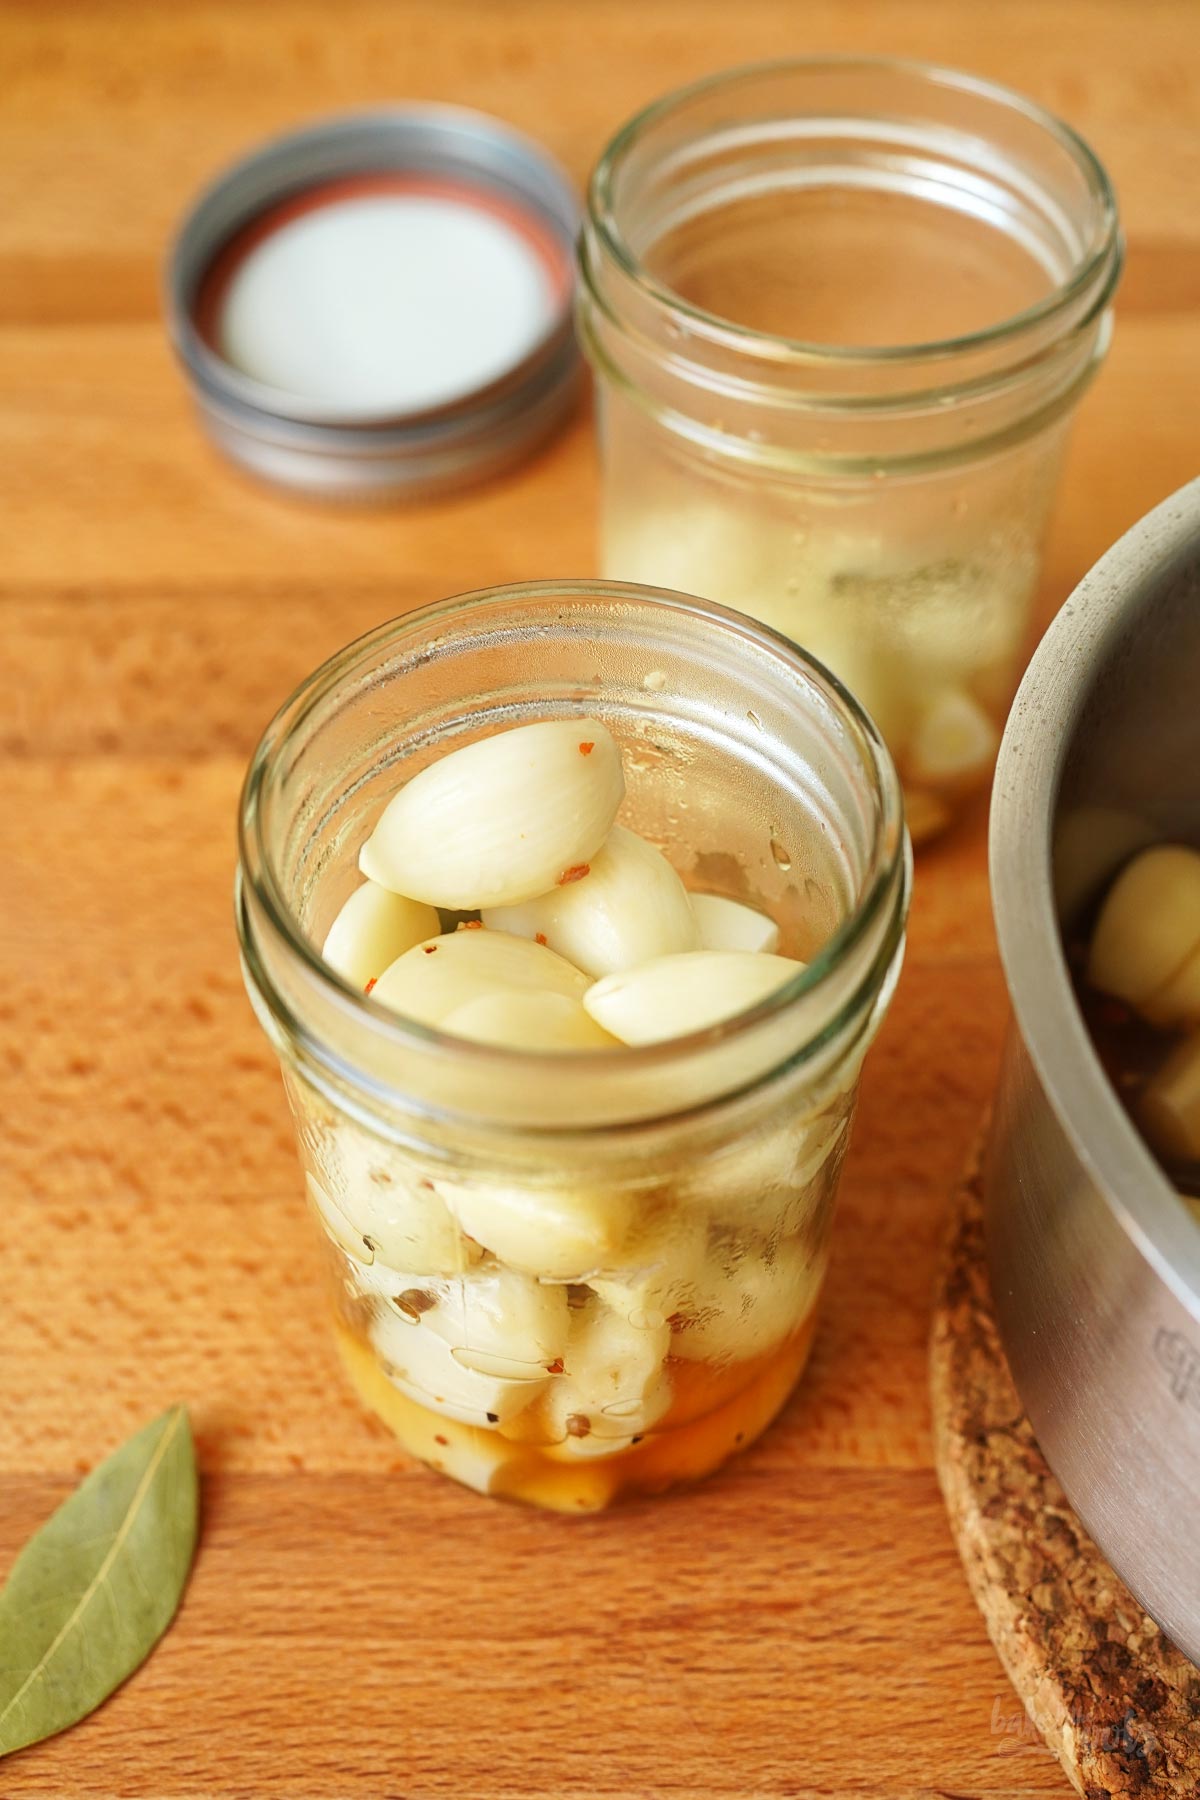
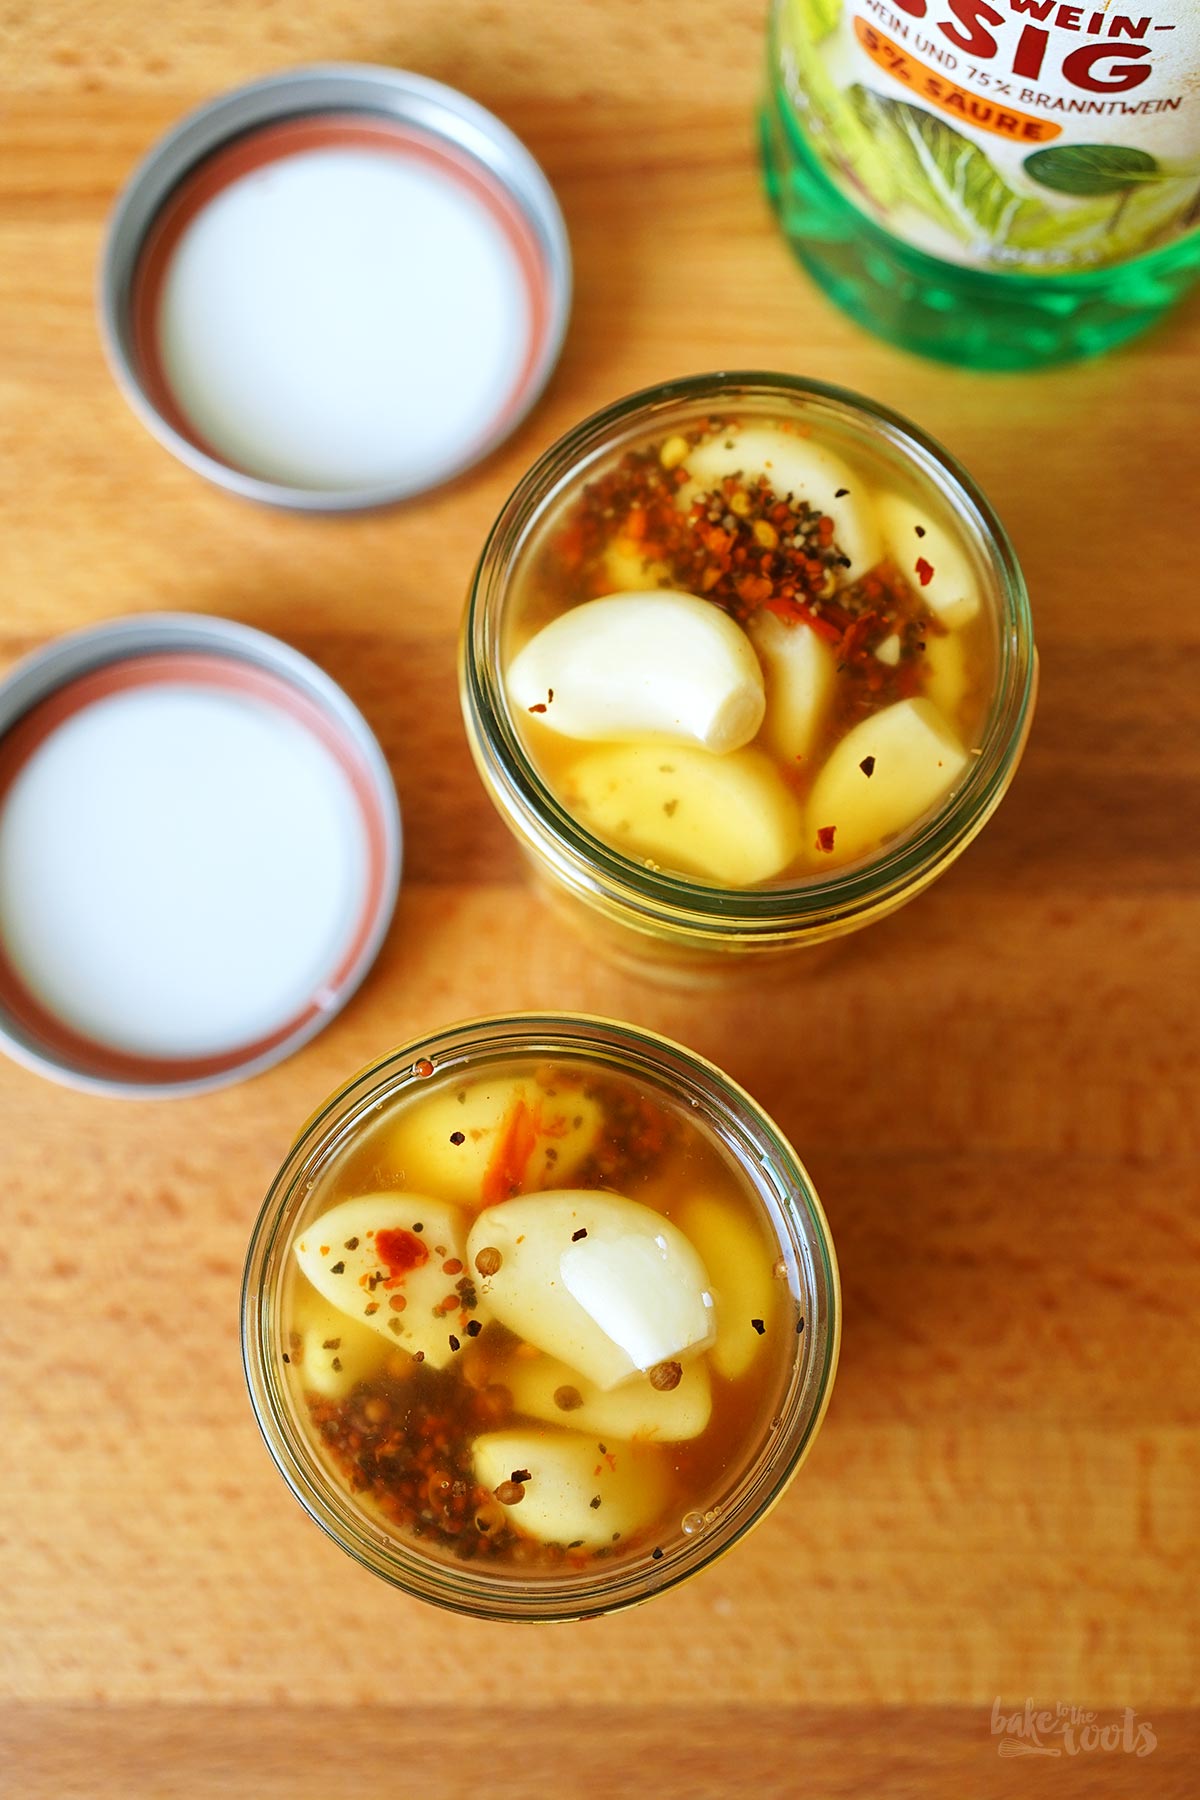
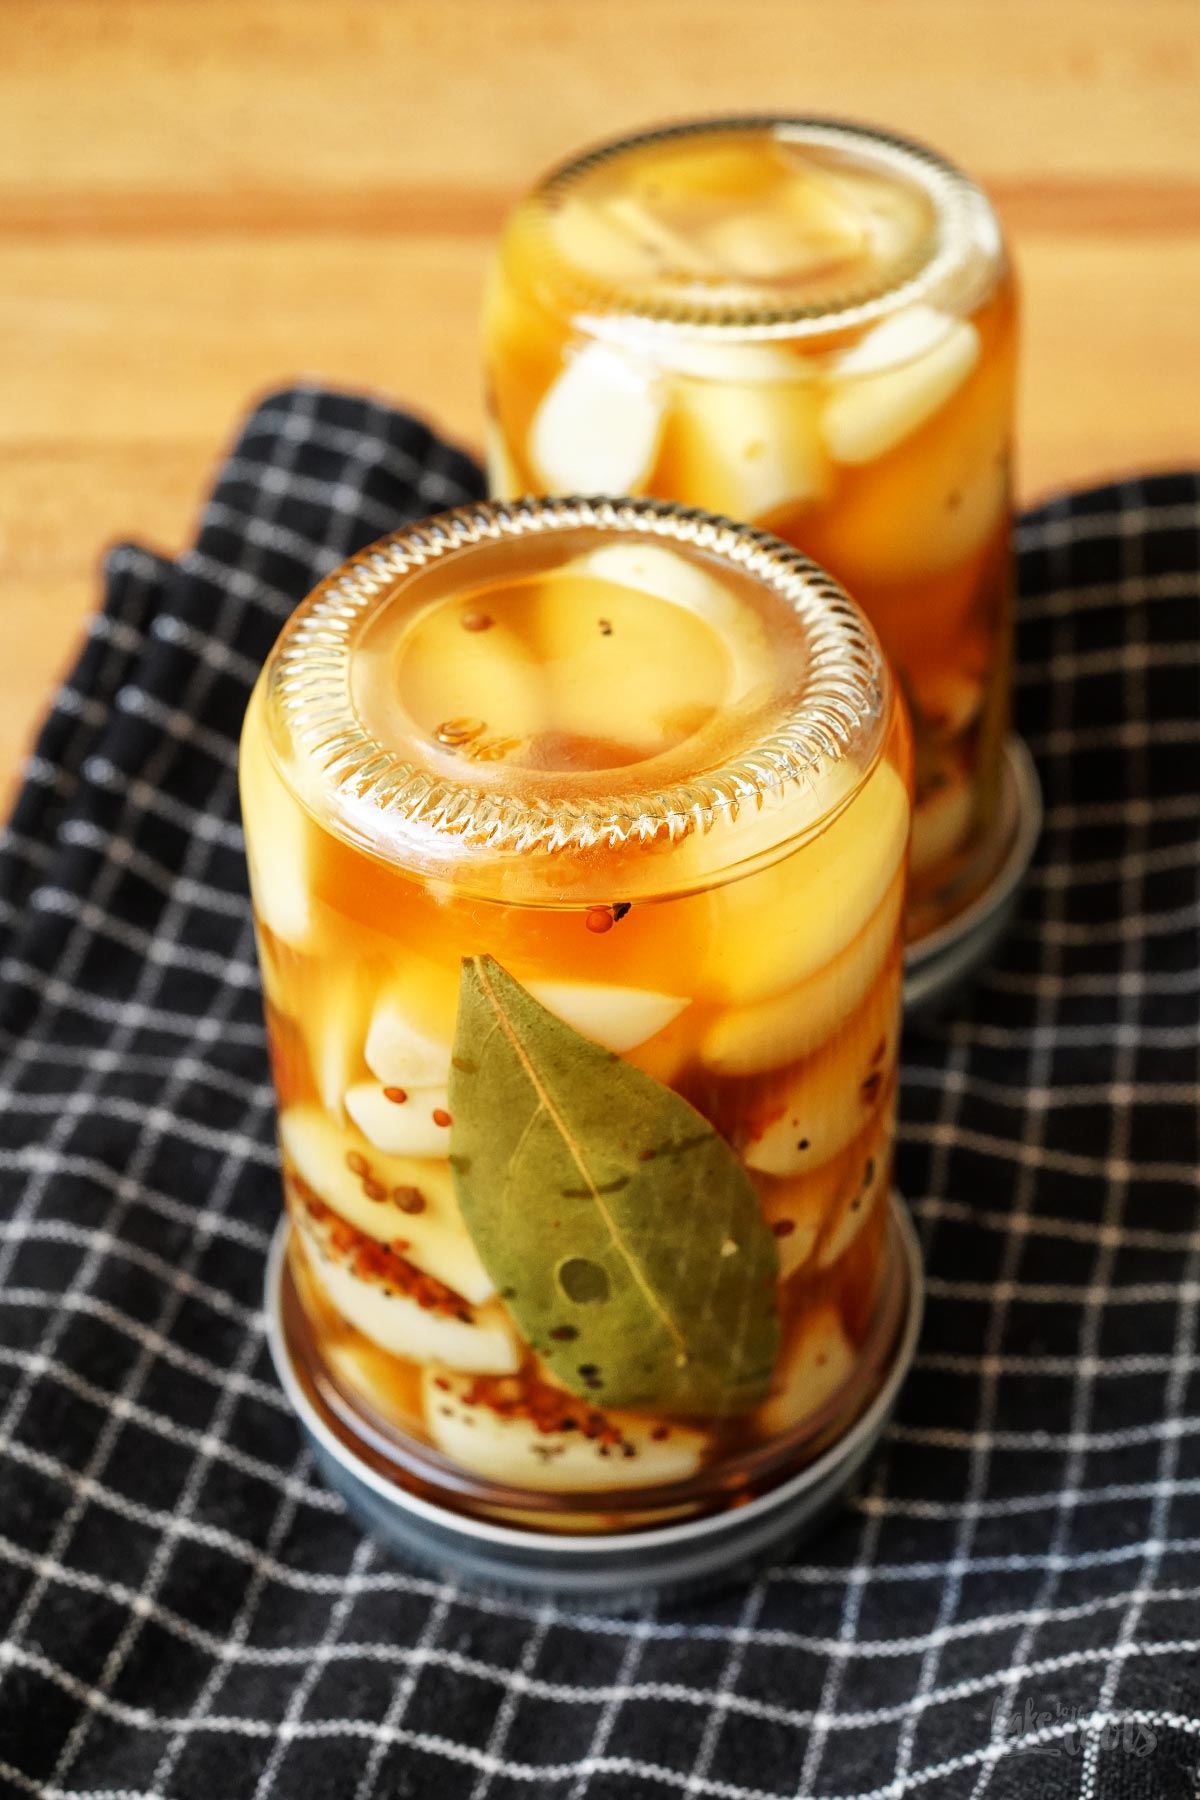
4. Remove the saucepan from the heat and layer the garlic cloves back into the jars, leaving the liquid behind for the moment. Add the bay leaves to the glass jars as well. Return the saucepan to the stove, bring the liquid back to a boil, and then pour it into the glass jars. If too much liquid evaporated during boiling, top up the glass jars with additional vinegar until they are filled to the brim. Seal the glass jars immediately with the lids and let them cool upside down on a kitchen towel.
5. Let the pickled garlic cure in a cool, dark place (e.g., a cellar) for at least 3–4 weeks. If prepared hygienically, the unopened pickles will keep for about 6-8 months. Once opened, store the glass jars in the fridge and consume the pickled cucumbers within a few weeks.
1. Die Einmachgläser* (mit Schraubverschluss) sterilisieren – die einfachste Methode ist hier wohl Auskochen für etwa 10 Minuten. Alternativ kann man die Gläser aber auch bei 120°C (250°F) für etwa 12-15 Minuten in den Ofen stellen. Vorsicht bei Deckeln, wenn Plastik dran oder eine Beschichtung drauf ist.
2. Die Knoblauchzehen schälen – man sollte hier möglichst nur unbeschädigte Knoblauchzehen verwenden. Sollten unschöne Stellen zu sehen sein, großzügig entfernen. Die geschälten Knoblauchzehen in die Gläser schichten. Nach Möglichkeit sollte so wenig wie möglich Raum zwischen den Knoblauchzehen vorhanden sein.
3. Die Gläser etwa zur Hälfte mit Essig befüllen – bei mir waren das etwa 150ml Essig. Den Rest mit Wasser auffüllen. Knoblauchzehen und Flüssigkeit aus den Gläsern in einen kleinen Topf schütten. Meersalzflocken, Senfsamen, Koriandersamen, Pfeffer und Chiliflocken dazugeben und alles einmal aufkochen und dann etwa 2 Minuten köcheln lassen.
4. Den Topf vom Herd ziehen und die Knoblauchzehen ohne die Flüssigkeit wieder in die Gläser schichten. Die Lorbeerblätter jetzt ebenfalls in die Gläser dazugeben. Den Topf zurück auf den Herd stellen und den Einmachsud noch einmal aufkochen lassen, dann heiß in die Gläser füllen. Falls beim Kochen zu viel Flüssigkeit verdampft ist, die Gläser mit zusätzlichem Essig auffüllen, bis die Gläser randvoll sind. Sofort mit dem Deckel verschließen und dann umgedreht auf einem Küchentuch abkühlen lassen.
5. Die eingelegten Knoblauchzehen an einem kühlen, dunklen Ort (z.B. Keller) für mindestens 3-4 Wochen ziehen lassen. Wenn man sauber gearbeitet hat, hält der Knoblauch ungeöffnet etwa 6-8 Monate durch. Nach dem Öffnen im Kühlschrank aufbewahren und innerhalb von wenigen Wochen aufbrauchen.
Craving more? Keep in touch on Facebook, Instagram and Pinterest for new post updates and more. You can also contact me with any questions or inquiries!
Here is a version of the recipe you can print easily.
Print
Homemade Pickled Garlic
- Prep Time: 00:20
- Cook Time: 00:03
- Total Time: 00:30
- Yield: 2 1x
- Category: Homemade Stuff
- Method: -
- Cuisine: International
- Diet: Vegetarian
Description
There is a lot you can pickle – this homemade pickled garlic is the perfect treat for all the garlic boys and girls out there. Also a tasty antipasti!
Ingredients
5–6 garlic cloves, peeled
about 150ml spirit vinegar*
about 100ml of water
2 tsp. flaky sea salt*
1 tsp. black mustard seeds*
1 tsp. coriander seeds*
1 tsp. crushed black peppercorns*
1 tsp. chilli flakes*
4 small bay leaves*
Instructions
1. Sterilize the preserving glass jars* (with screw-top lids). Boiling them for about 10 minutes is probably the easiest method here. Alternatively, you can place the glass jars in the oven at 120°C (250°F) for about 12–15 minutes. Be careful with lids that have plastic parts or some special coating.
2. Peel the garlic cloves – try to use only undamaged cloves. If you spot any blemishes on the garlic cloves, trim them away generously. Layer the peeled garlic cloves into the jars. Aim to leave as little empty space as possible between the cloves.
3. Fill the jars about halfway with vinegar – I needed about 150ml. Top up with water. Pour the garlic cloves and the liquid from the glass jars into a small saucepan. Add the flaky sea salt, mustard seeds, coriander seeds, crushed pepper, and chili flakes. Bring the mixture to a boil, then let it simmer for about 2 minutes.
4. Remove the saucepan from the heat and layer the garlic cloves back into the jars, leaving the liquid behind for the moment. Add the bay leaves to the glass jars as well. Return the saucepan to the stove, bring the liquid back to a boil, and then pour it into the glass jars. If too much liquid evaporated during boiling, top up the glass jars with additional vinegar until they are filled to the brim. Seal the glass jars immediately with the lids and let them cool upside down on a kitchen towel.
5. Let the pickled garlic cure in a cool, dark place (e.g., a cellar) for at least 3–4 weeks. If prepared hygienically, the unopened pickles will keep for about 6-8 months. Once opened, store the glass jars in the fridge and consume the pickled cucumbers within a few weeks.
Notes
Let your creativity shine in the kitchen!
Links marked with an asterisk (*) are affiliate links (advertising/Werbung) to Amazon Germany. If you click on one of those links and buy something via this link, I will get a commission for that sale. The price of whatever you buy is not affected in any way by this.