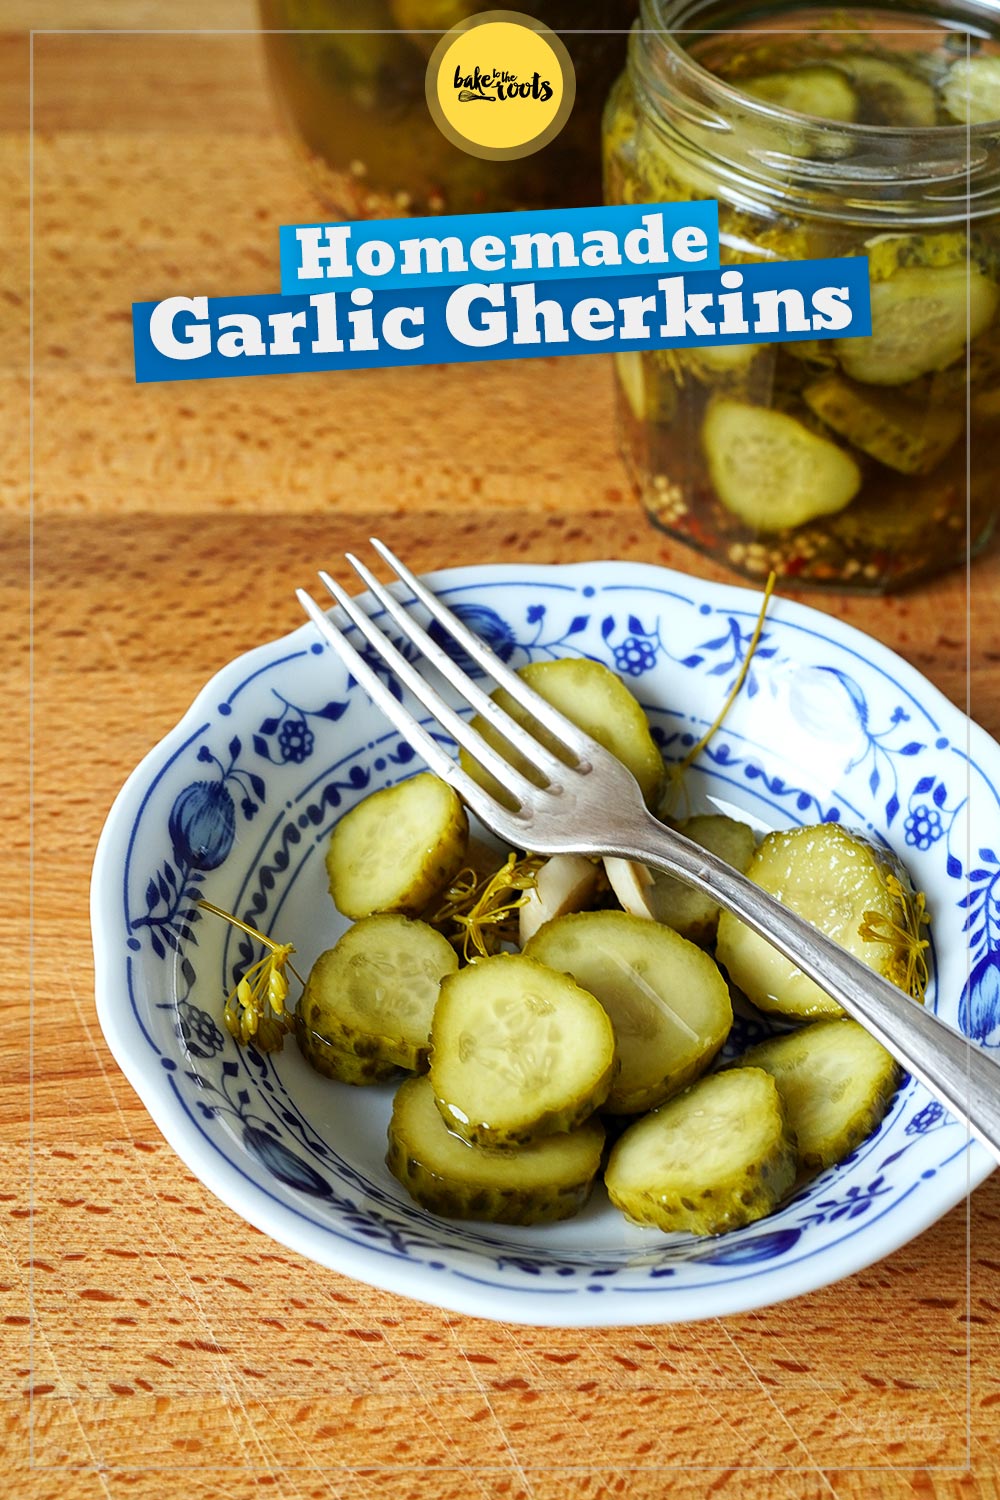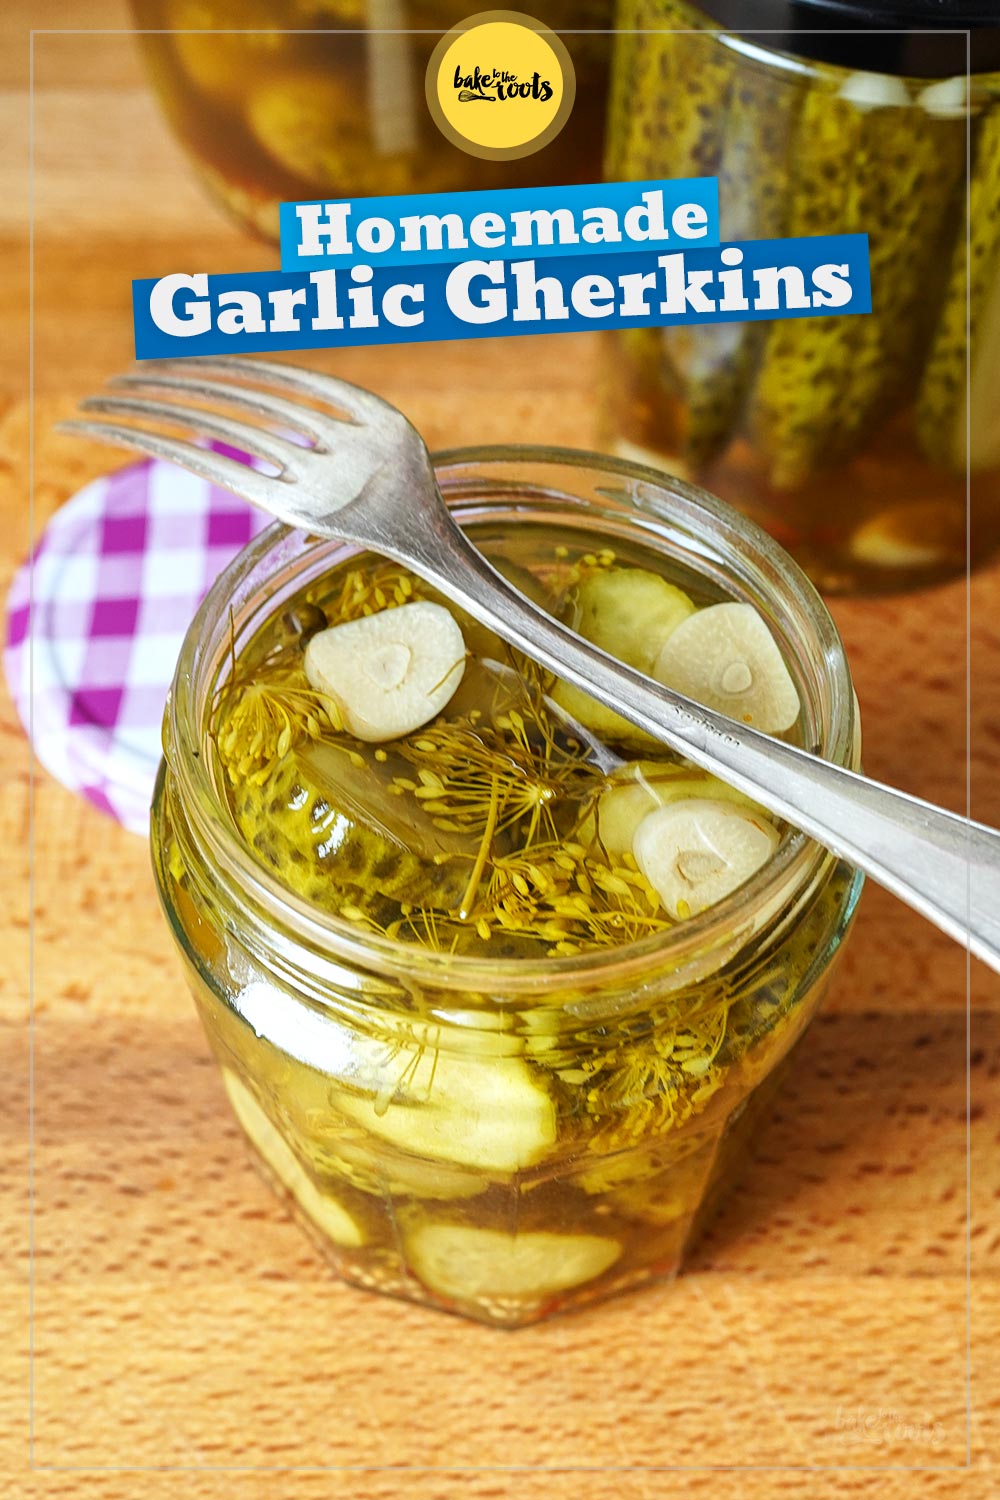


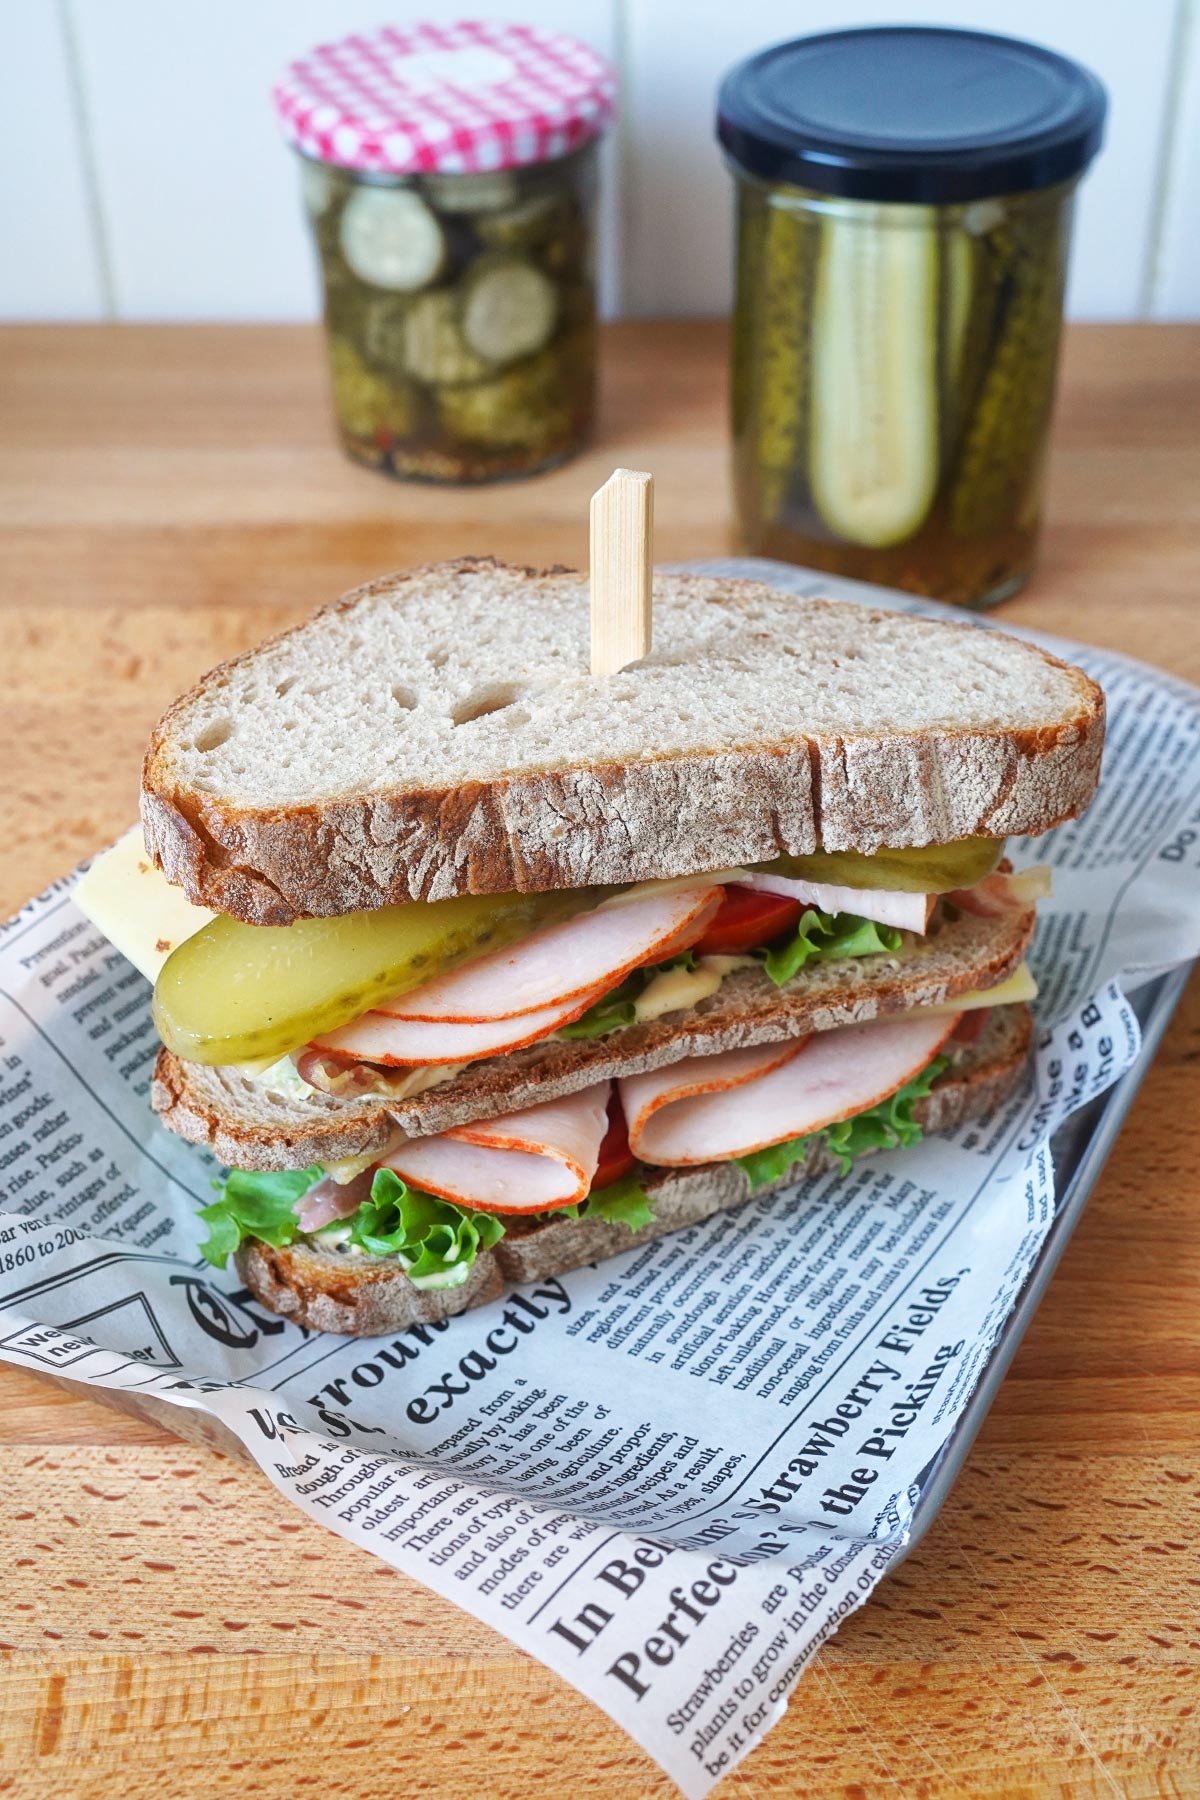
We’ve done quite a bit of canning, pickling, and fermenting this year – you could say we’ve pulled out all the stops when it comes to food preservation. It’s simply fun to work with fresh, seasonal fruit and veggies and preserve them for the months ahead. You can prepare these delicious Homemade Pickled Garlic Gherkins in the summer and have a tasty snack on hand until the following year – provided, of course, you’ve stocked up on enough jars.
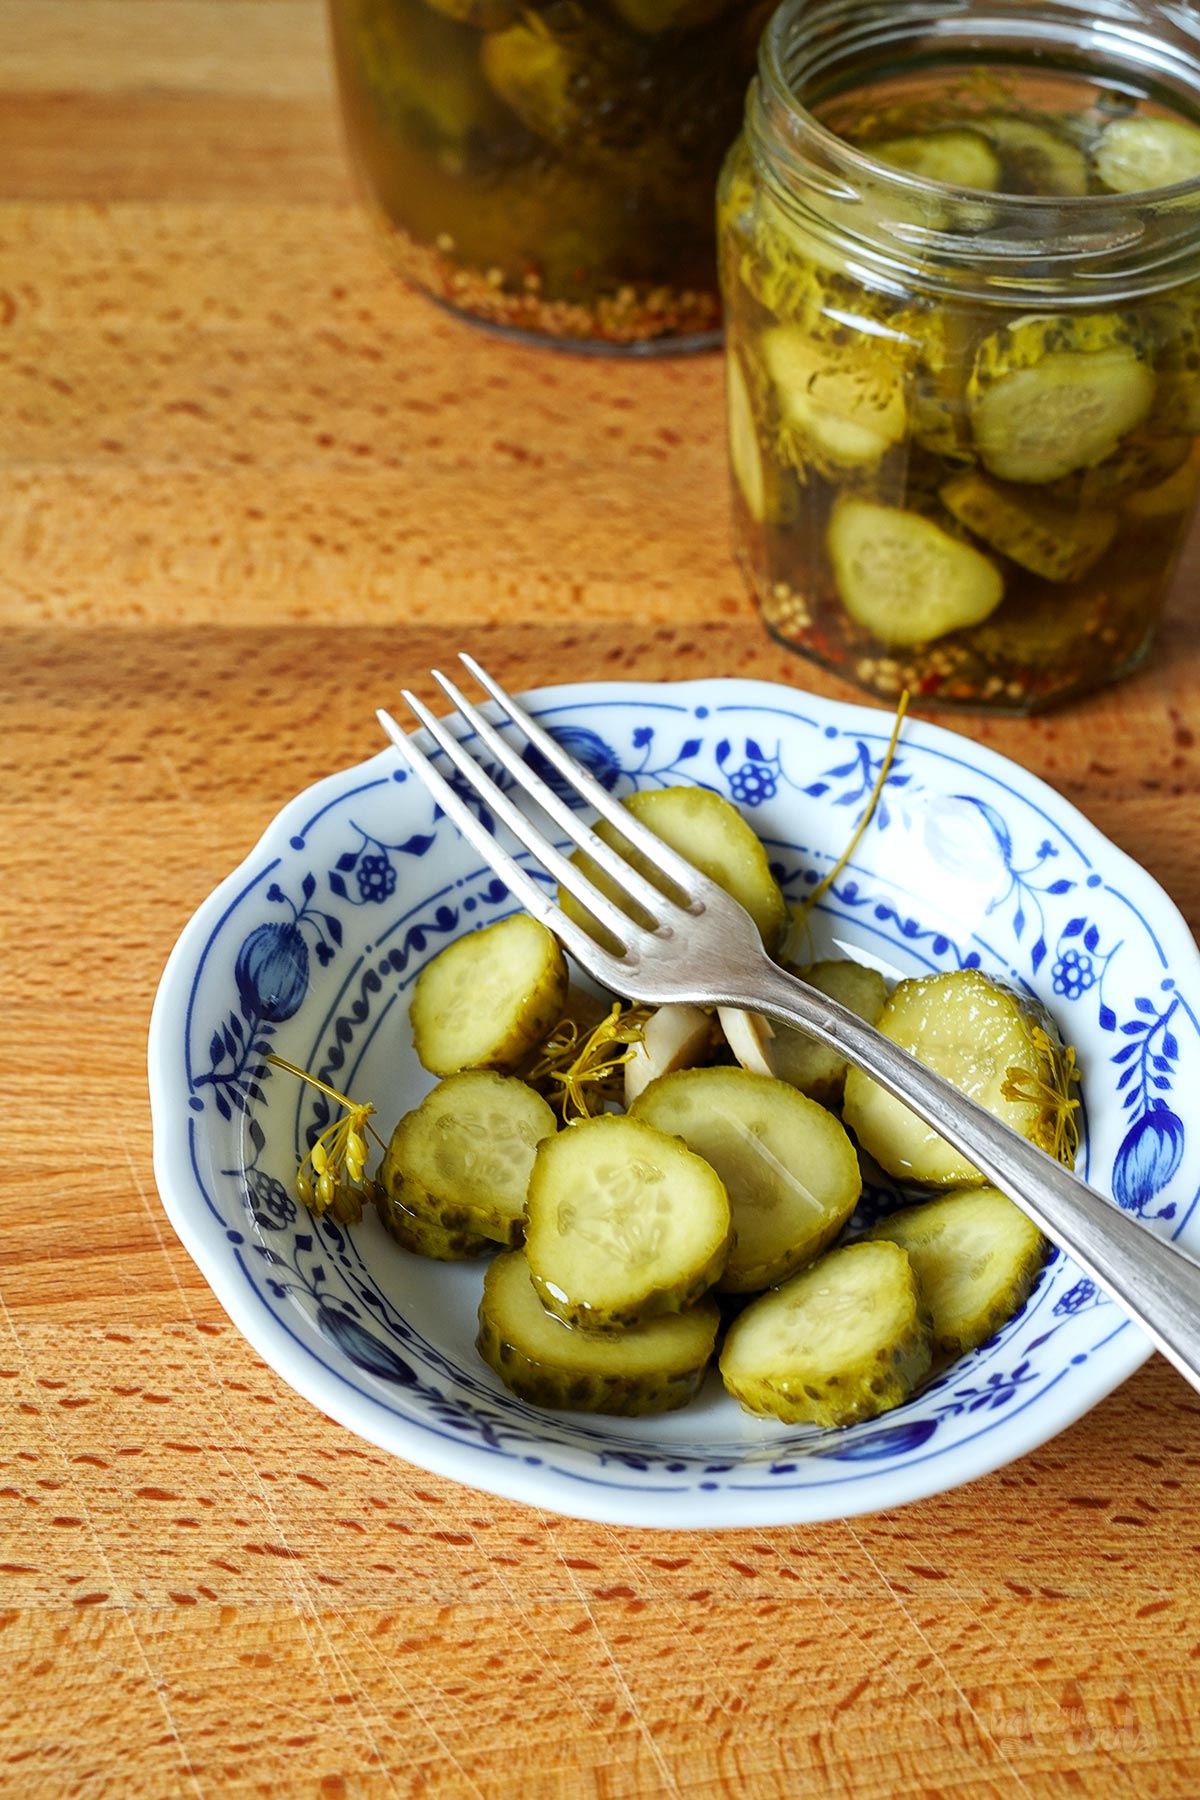
Preserving fruit and veggies is something humanity has been doing for millennia. At some point, someone discovered that salt, vinegar, oil, and honey could extend the shelf life of perishable harvests. Naturally, things have changed over time – sterile jars instead of clay amphorae, for instance. While hygiene standards are higher today, the fundamentals of safely preserving veggies and other produce through the winter haven’t really changed.
One of the easiest ways to extend the shelf life of veggies is by pickling them in a salt or vinegar solution. Both salt and vinegar make it difficult for bacteria and mold spores to take hold on the veggies and cause spoilage. Of course, this doesn’t last forever. Eventually, even with the best pickles, harmful bacteria and mold will win and spread. However, if you work cleanly and follow a few basic rules, it takes a very long time for that to happen. Pickled veggies can last for several years if done correctly.
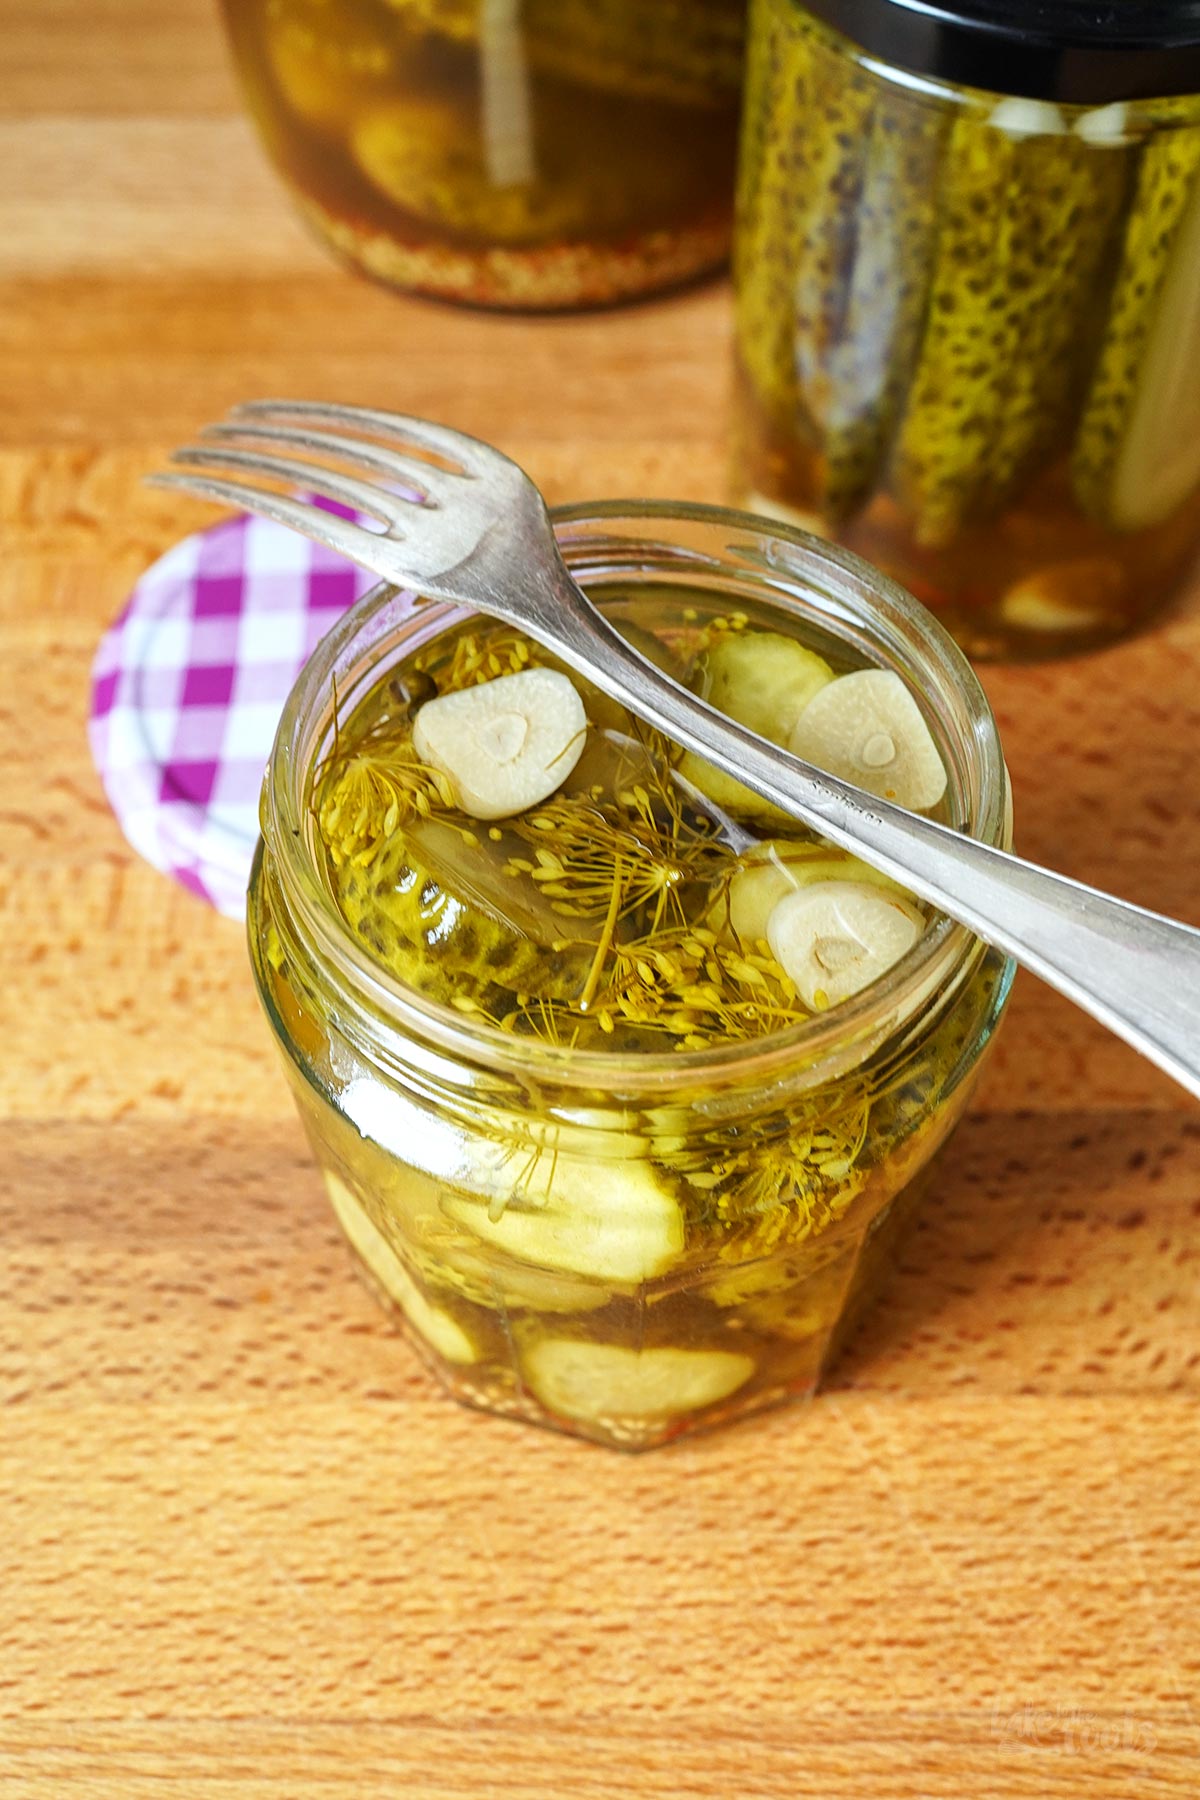
Fortunately, a jar of garlic pickles doesn’t need to last that long in our house. Once pickled and allowed to cure properly, the jars usually get used up pretty quickly. We don’t pickle nearly as much produce as »doomsday preppers« might. Our pickles don’t need to survive a nuclear apocalypse or an incoming »planet-killer« asteroid. Having something to snack on through winter until the next summer comes is more than enough.
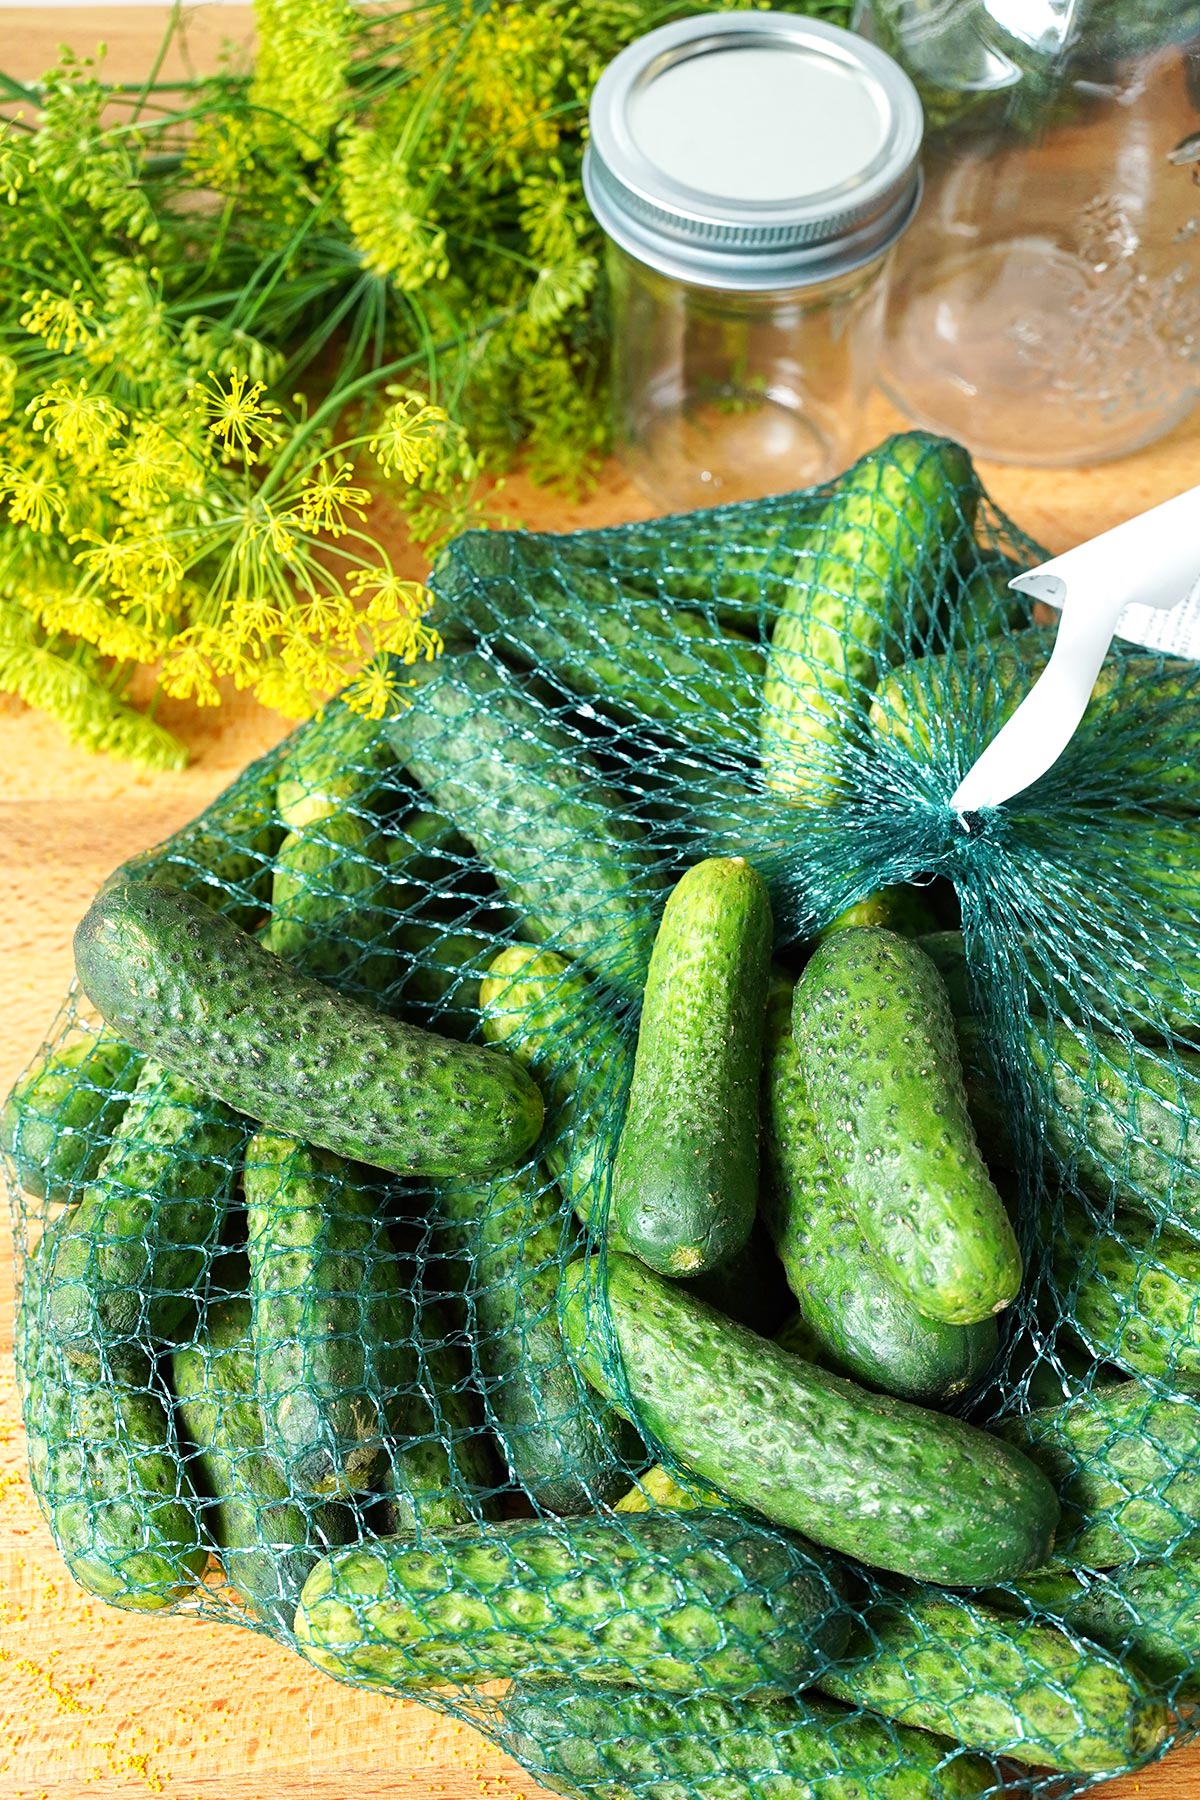
To make delicious pickled gherkins, you need some small cucumbers. If you haven’t grown any in your garden, you’re sure to find them at farmers’ markets or supermarkets during the summer. Unfortunately, these little guys aren’t available for very long. If you spot some at the market or in a store, you should grab them quickly. It’s happened to me more than once: I’ve see them at the local supermarket one day, and by the next day, they were completely sold out. Maybe it’s because there are so many moms here in Prenzlauer Berg who love pickling gherkins? Who knows…
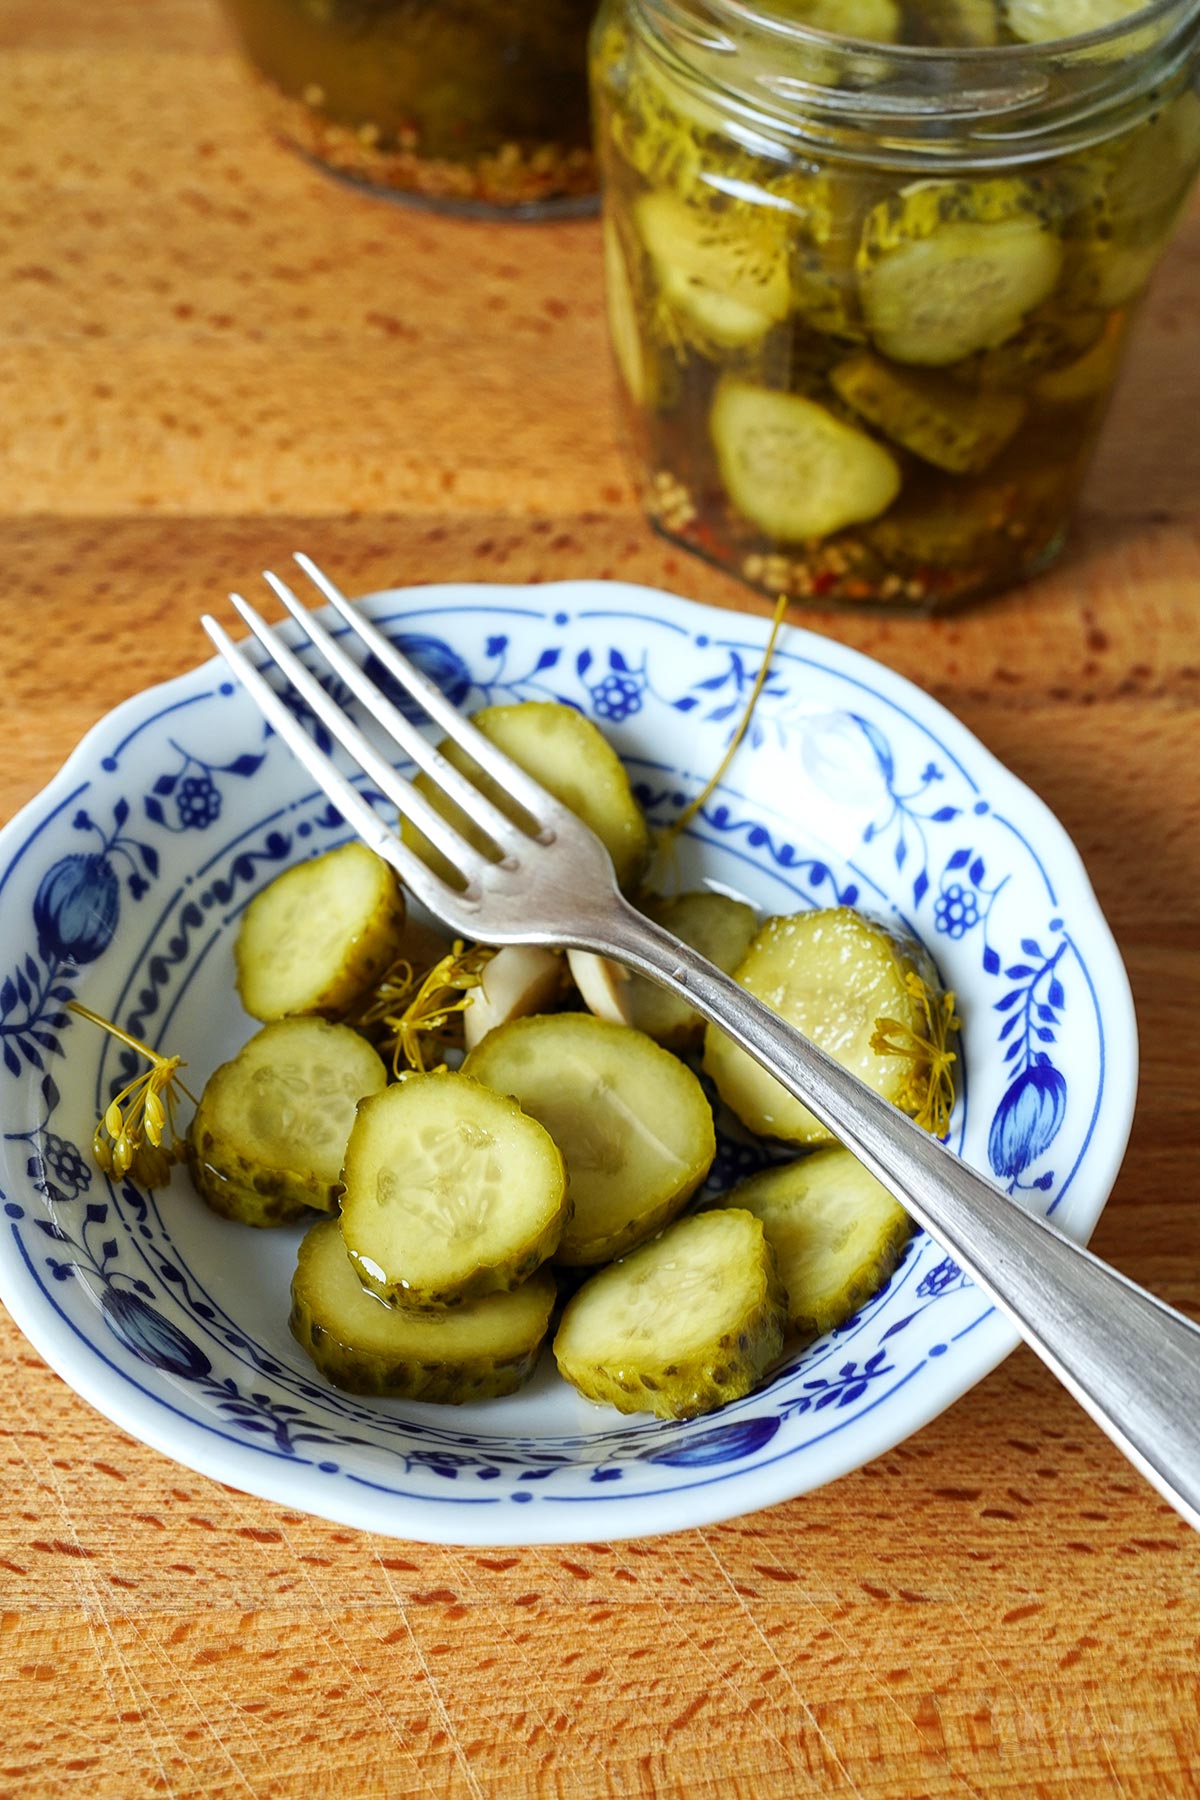
When you pickle gherkins yourself, you have full control over the flavors of the pickling result. We experimented with a few cloves of garlic here, something we’d never tried before, and what can I say…? The garlic works really well!
I was already familiar with garlic pickles from the farmers’ market, where they’re often sold in larger sizes, straight from a wooden barrel. However, I often think the garlic flavor is a bit overpowering there. These gherkins here have a bit more subtle garlic flavor. After all, there aren’t that many garlic cloves involved. If you’re expecting a massive garlic punch, you’ll definitely need to increase the number of cloves in the jars. Using 2–3 cloves per glass jar instead of just one will certainly make the flavor more intense!
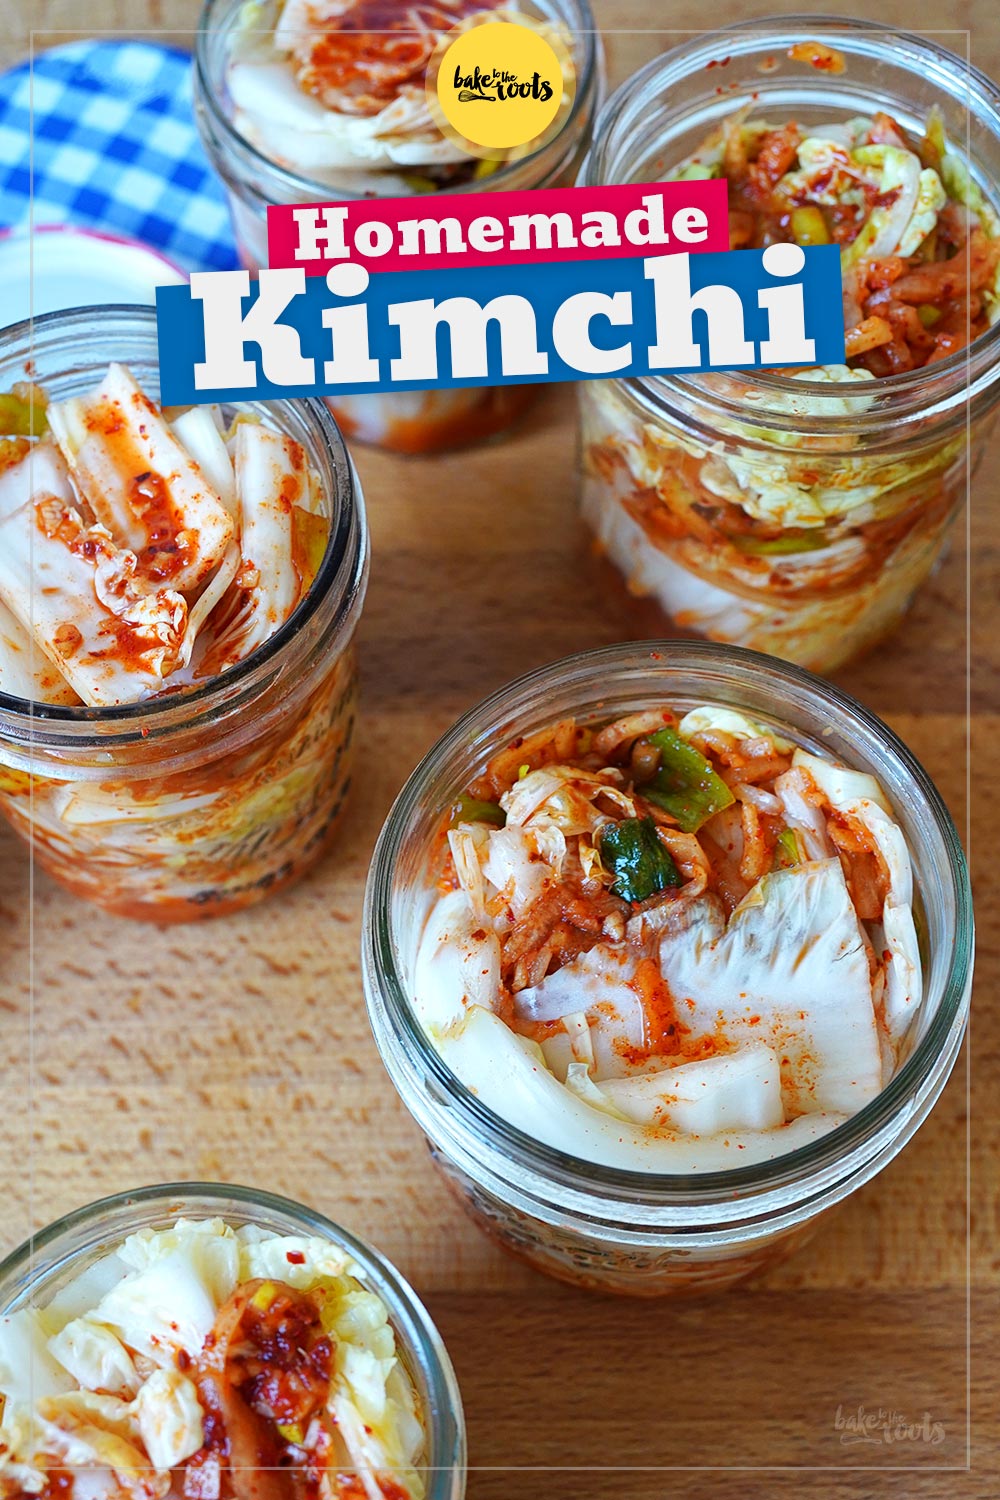
If you enjoy pickling veggies or fruit,or preserving them in other ways, you’re sure to find more interesting recipes on this blog here. We love doing that kind of stuff. Our Korean Kimchi is a prime example. Fermenting cabbage is great! We usually have a few jars of it in the fridge throughout the year.
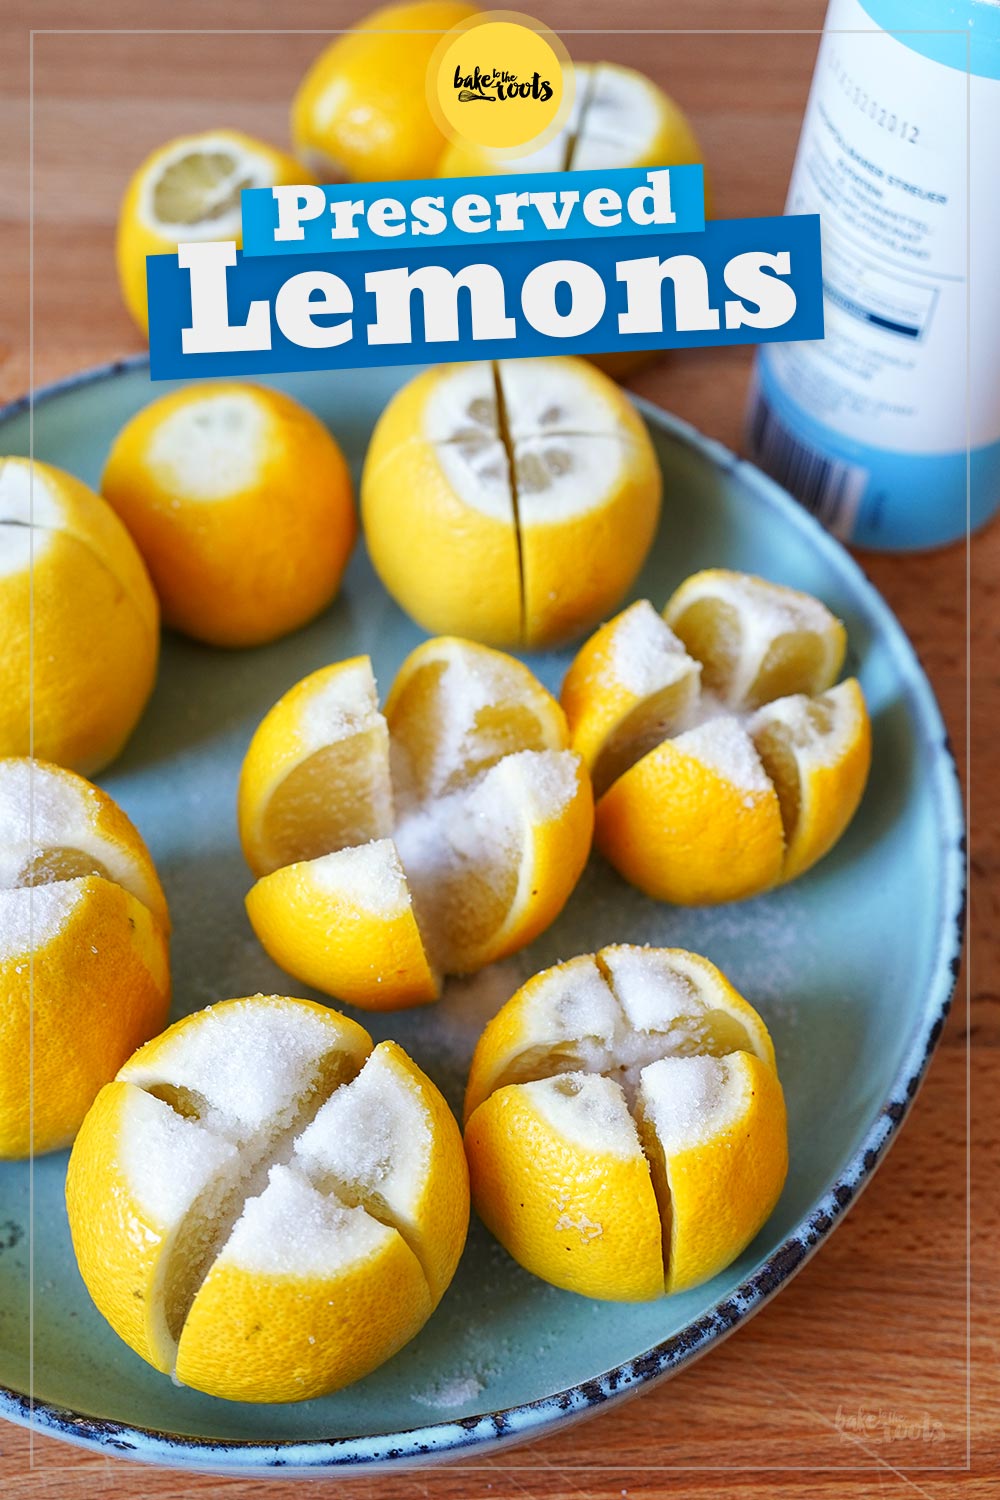
A bit more unusual, but no less delicious, are Preserved Lemons aka. Salt Lemons. Not everyone might be familiar with them, but you can do a lot with them in the kitchen. These salty, sour lemons are great for cooking, but they can also be used in baking. All I’ll say is: a Lemon Loaf Cake made with preserved lemons. Absolutely delicious!
INGREDIENTS / ZUTATEN
(4 glass jars)
about 28-32 oz. (800–900g) pickling cucumbers
4–5 garlic cloves
a few sprigs of dill, chopped
about 17 fl. oz. (500ml) vinegar* (5% acidity)
about 17 fl. oz. (500ml) water
1 1/2 tbsp. salt
1–2 tsp. mustard seeds*
1/2 tsp. whole peppercorns*
a few chilli flakes* (optional)
a little sugar (optional)
(4 Gläser)
etwa 800-900g Einlegegurken
4-5 Knoblauchzehen
einige Zweige Dillkraut, gehackt
etwa 500ml Branntweinessig* (5% Säure)
etwa 500ml Wasser
1 1/2 EL Salz
1-2 TL Senfkörner*
1/2 TL ganze Pfefferkörner*
einige Chiliflocken* (optional)
etwas Zucker (optional)
Tips & Tricks for Pickling
Remove the blossom ends from the cucumbers.
Sometimes, remnants of blossom ends remain on the small cucumbers used for pickling. These should be completely removed. The blossom ends contain enzymes that can cause the cucumbers to become soft during the pickling process. After all, we want to pull those little guys out of the glass jars nice and crisp, right?
Use an ice-water bath before pickling.
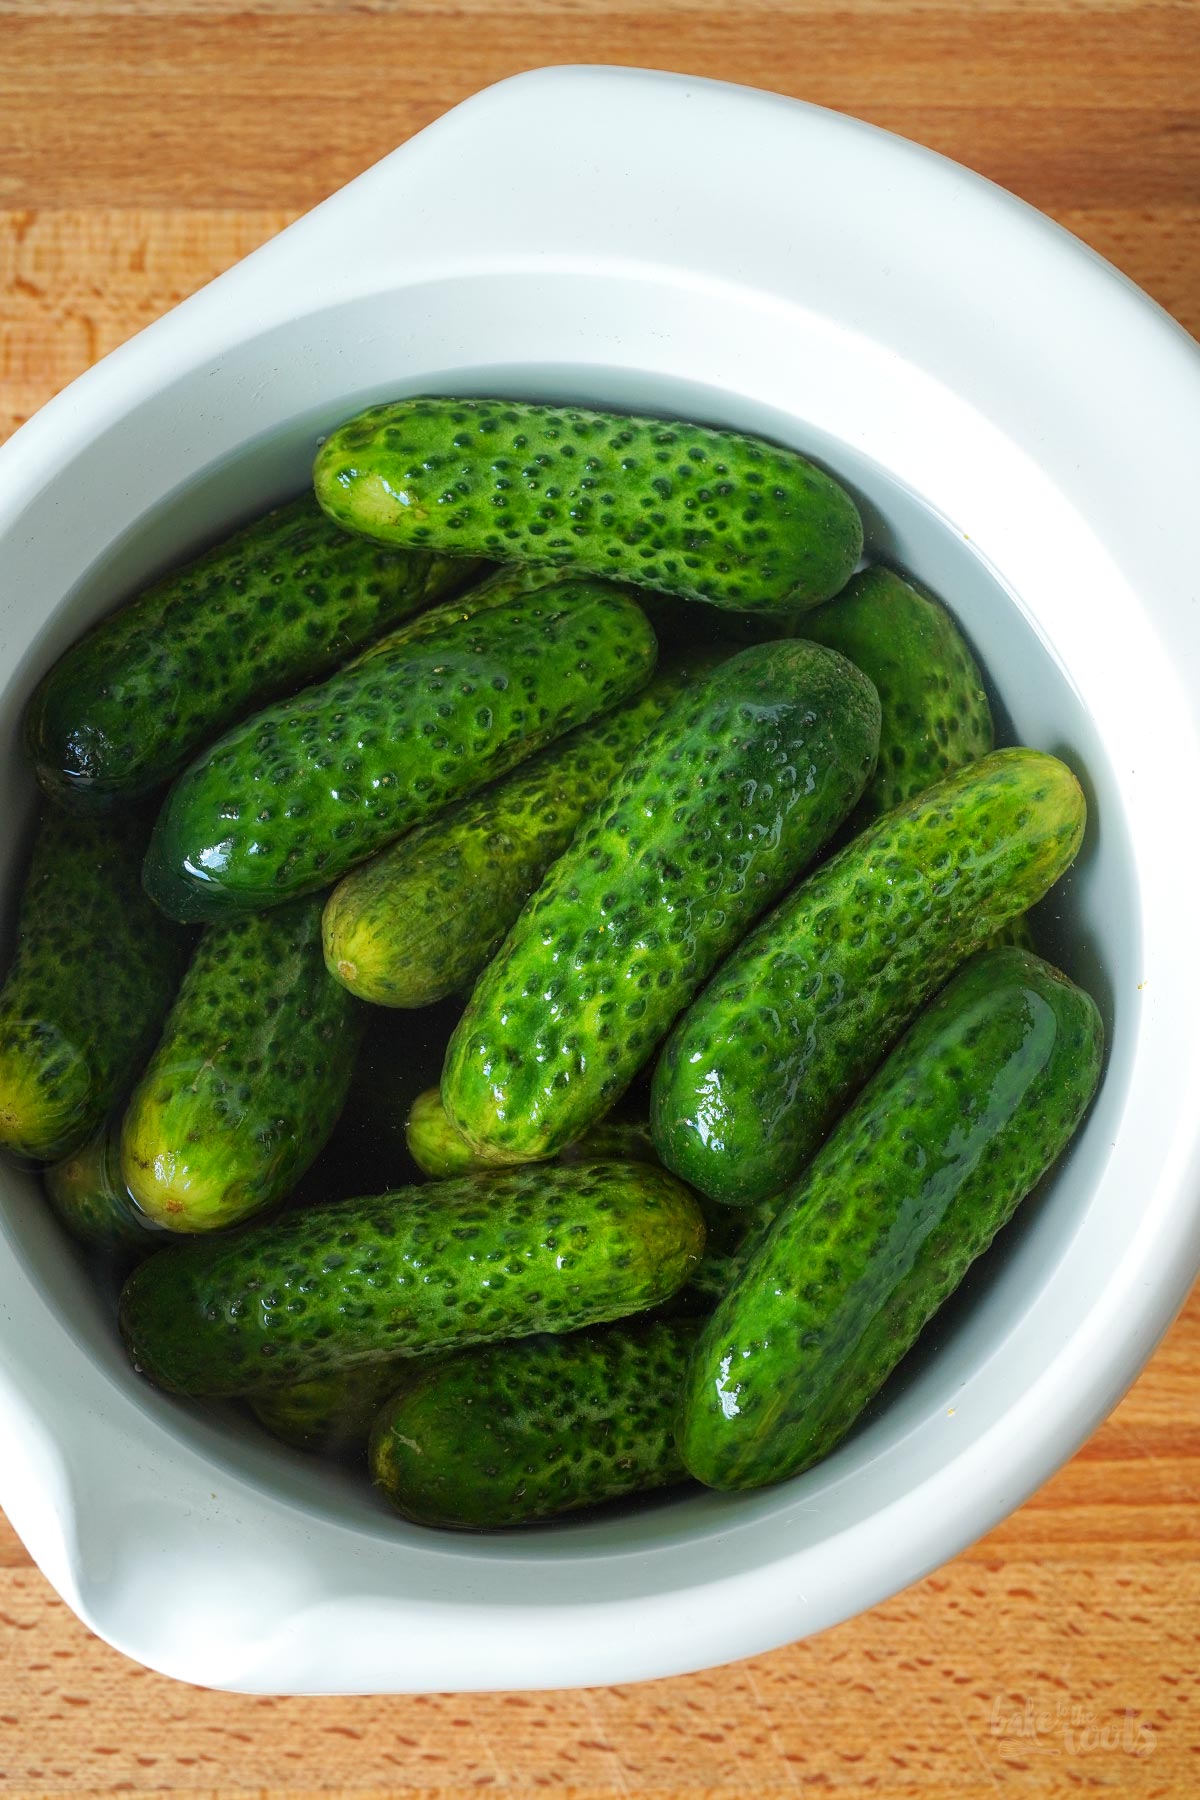
You should soak the small pickling cucumbers in water for a while before pickling them – this primarily helps to remove stubborn dirt. If you add a few ice cubes to the water, the cucumber cells absorb extra moisture, resulting in a crunchier pickle later on.
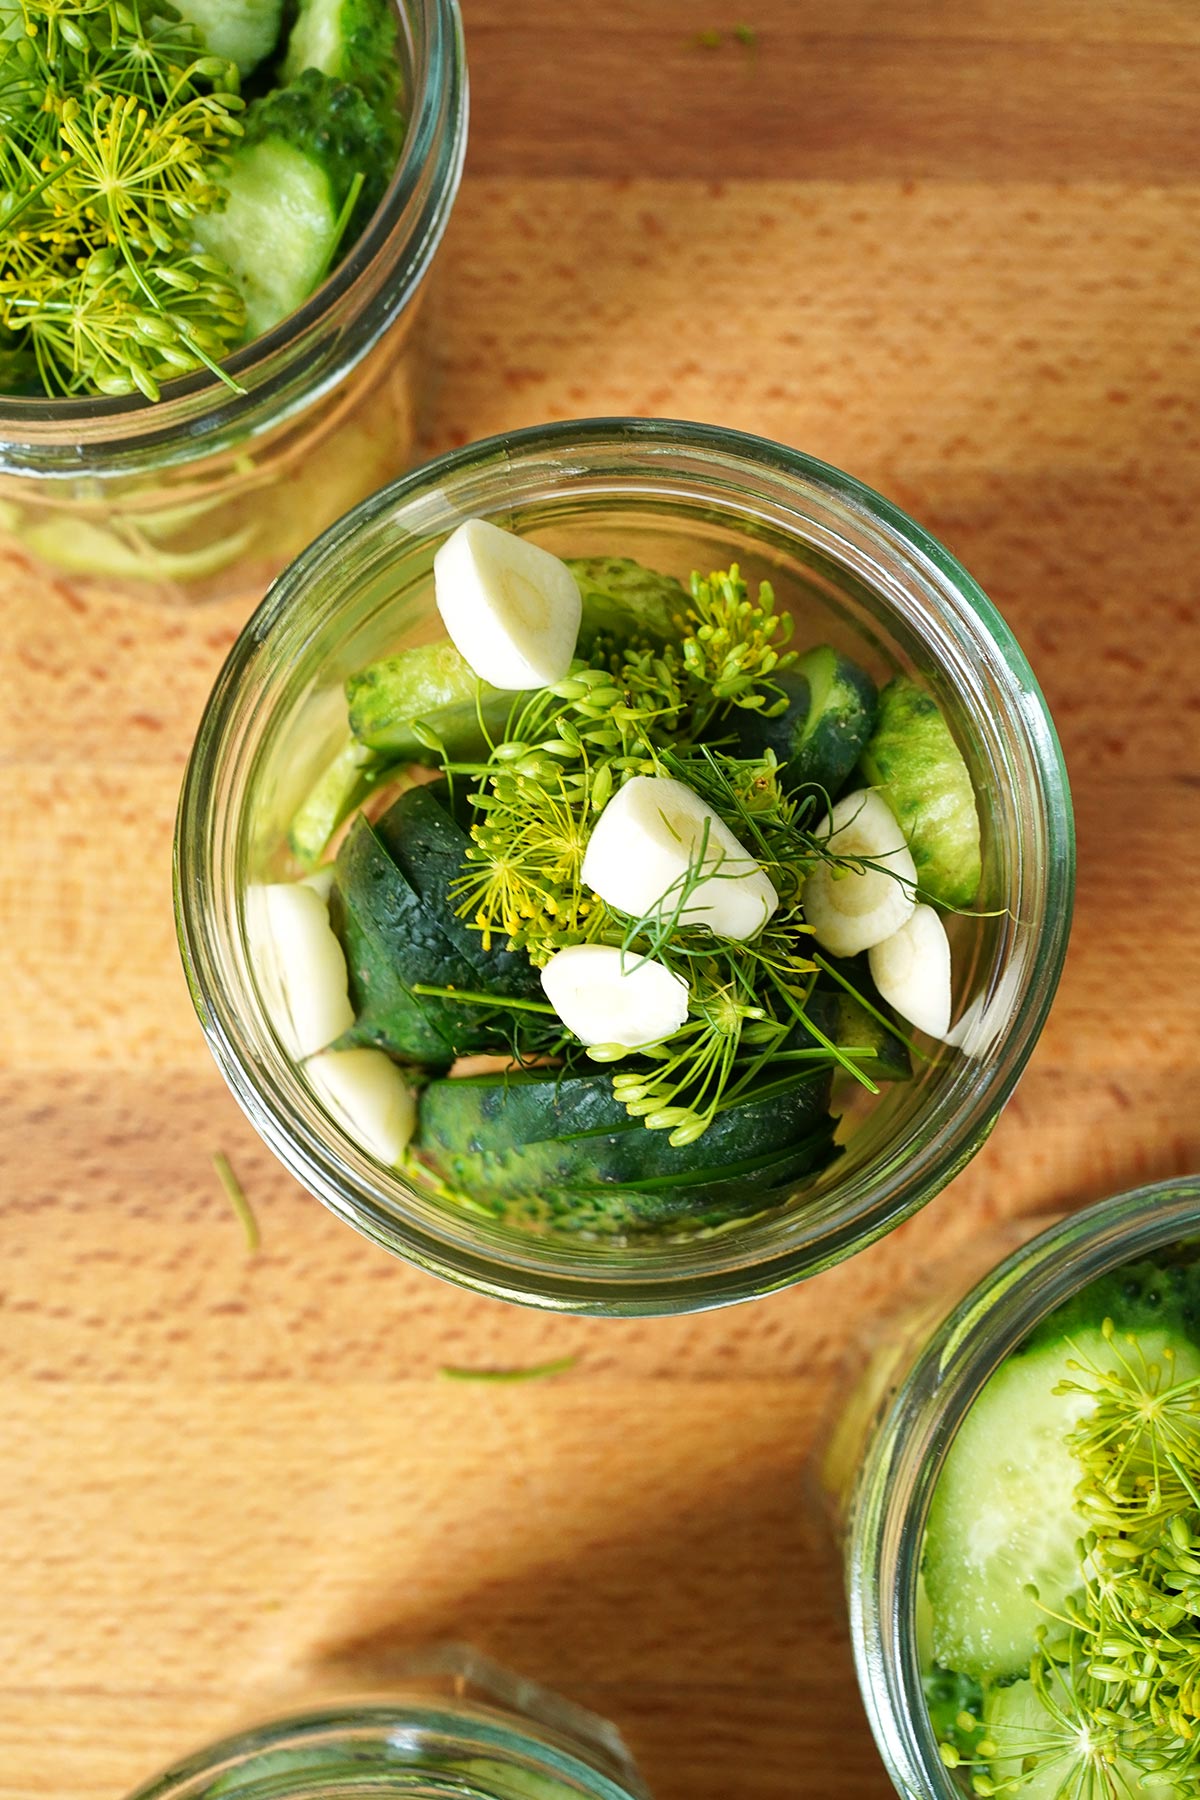
Lightly crush the garlic.
Before slicing the garlic cloves, you can press down on them slightly to release some of their juices. This allows them to add more flavor once they are in the jars with the little cucumbers.
Turn the jars upside down after sealing them.
If you flip the glass jars over immediately after sealing and let them sit that way for a while, the hot brine poured over the cucumbers creates a slight vacuum as it cools, which helps extend the shelf life of the pickled gherkins.
DIRECTIONS / ZUBEREITUNG
1. Sterilize the preserving glass jars* (with screw-top lids). Boiling them for about 10 minutes is probably the easiest method here. Alternatively, you can place the glass jars in the oven at 120°C (250°F) for about 12–15 minutes. Be careful with lids that have plastic parts or some special coating.
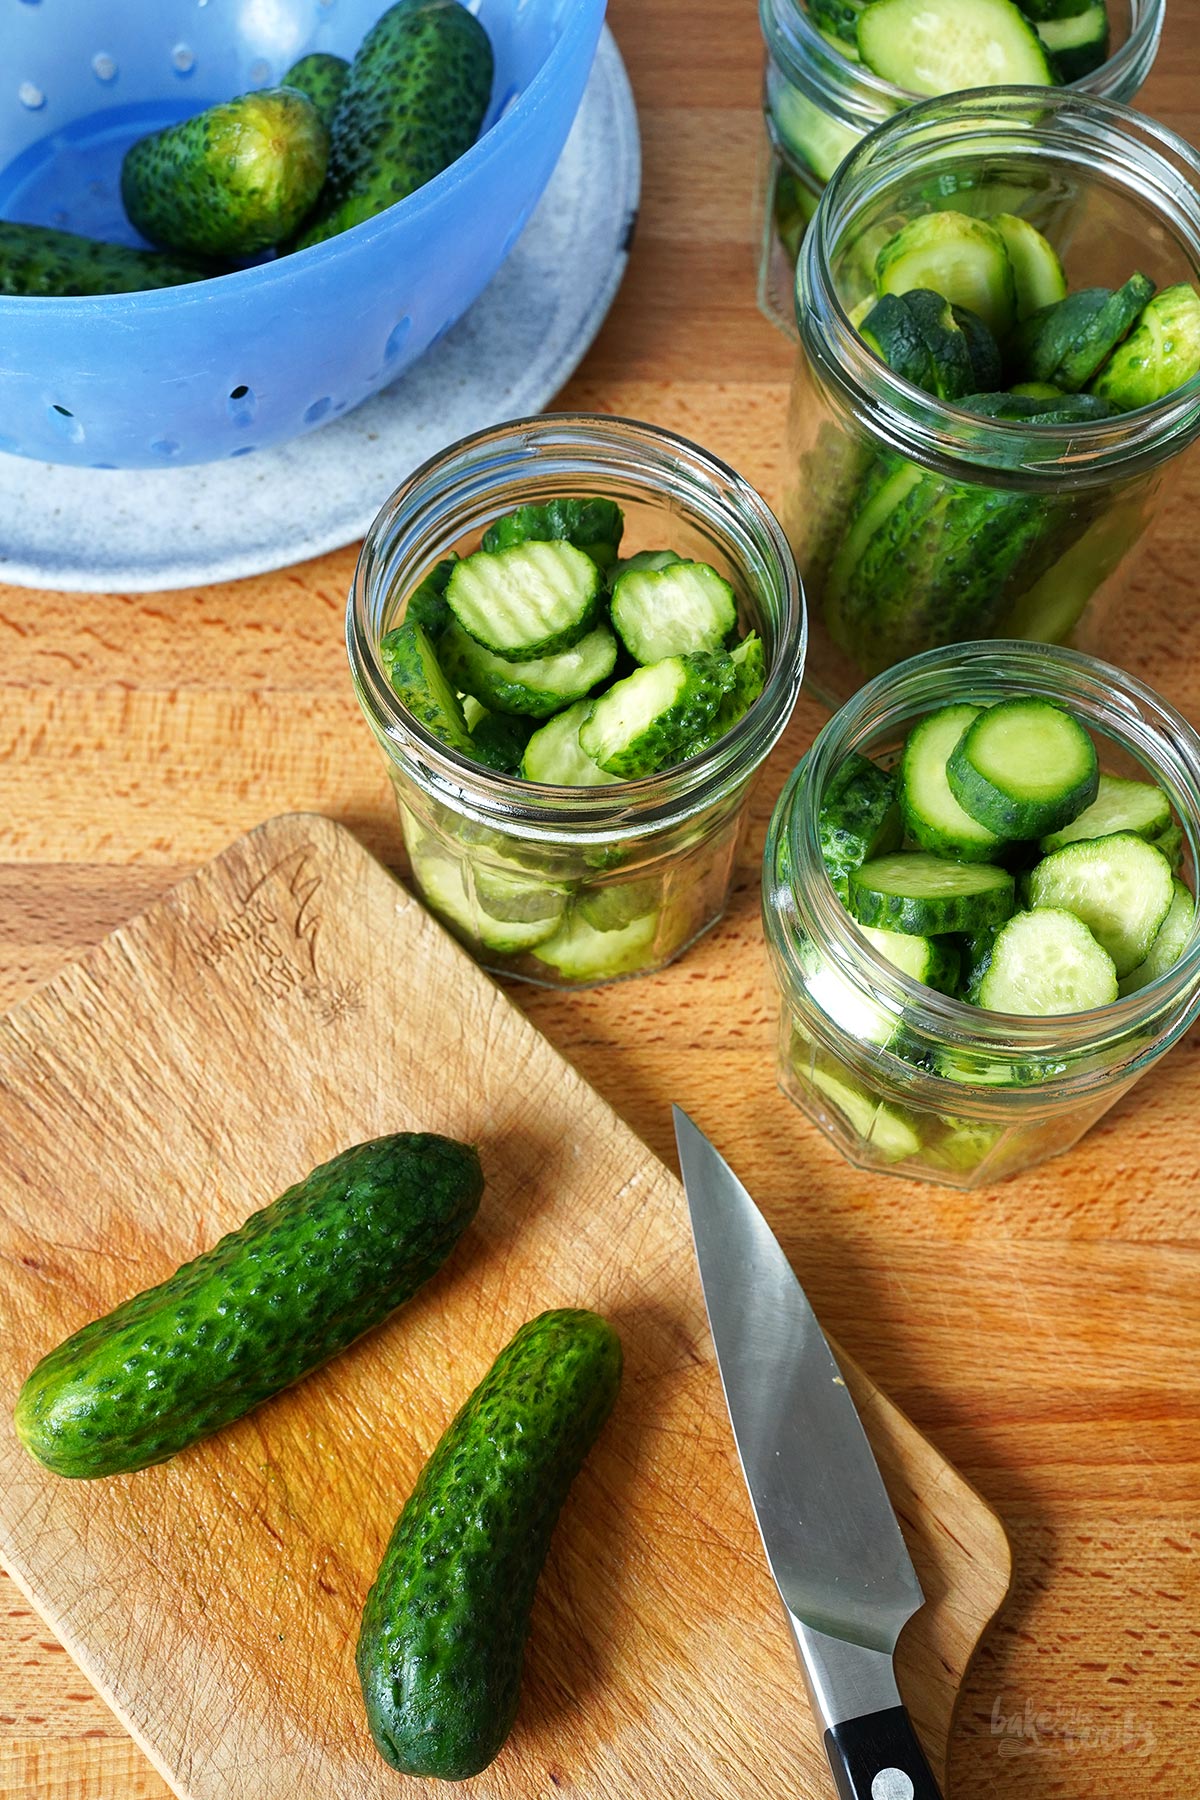
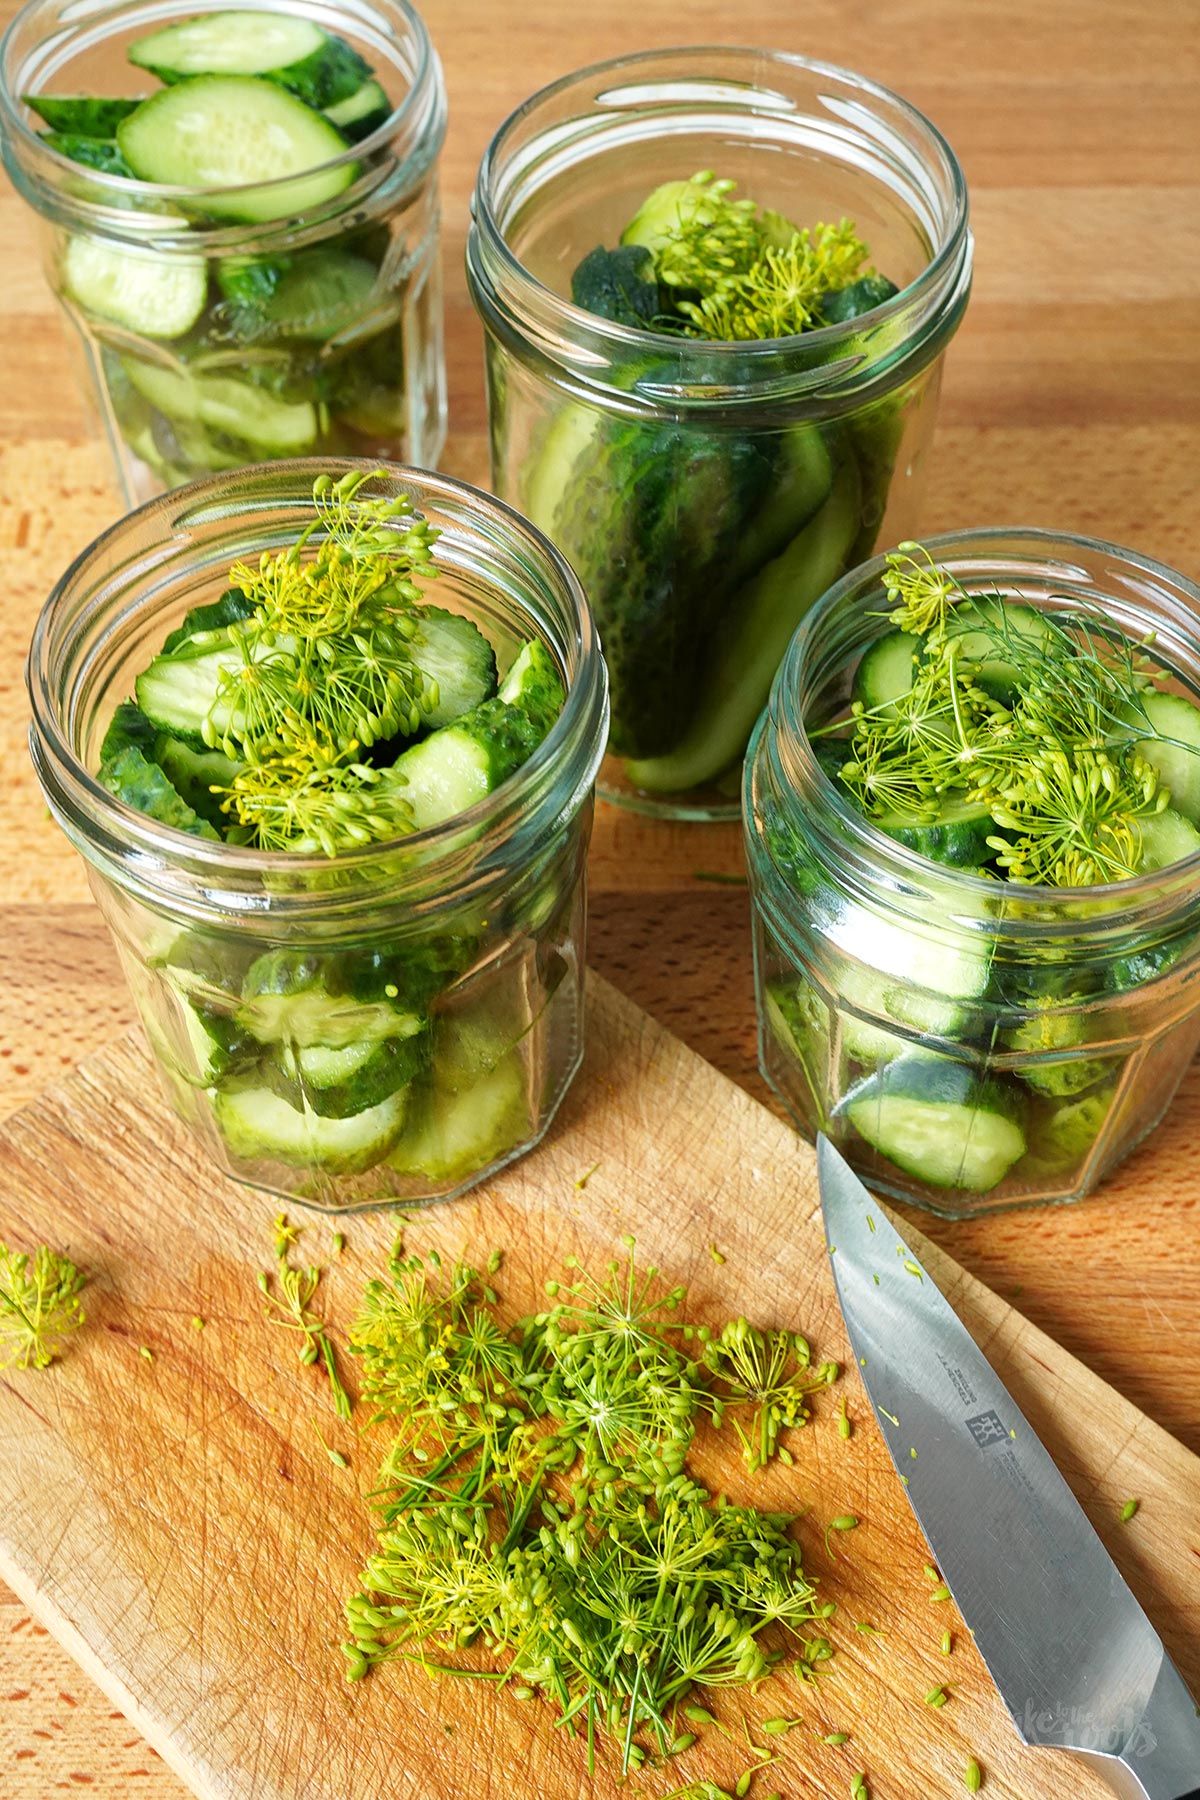
2. Roughly clean the cucumbers and let them soak in water for about an hour. Scrub them thoroughly to remove any leftover dirt and then let them drain. Slice the cucumbers any way you like. Peel and slice the garlic cloves. Rinse the dill, let it drain, and then coarsely chop it.
3. Layer cucumber pieces, garlic, and dill into the sterilized glass jars – the less space between the pieces, the better. Fill the glass jars halfway with vinegar, then add water until the jars are filled to the brim. Pour the liquid from the jars into a saucepan – this works best when placing a sieve over the jar opening so everything except the liquid stays inside the jar.
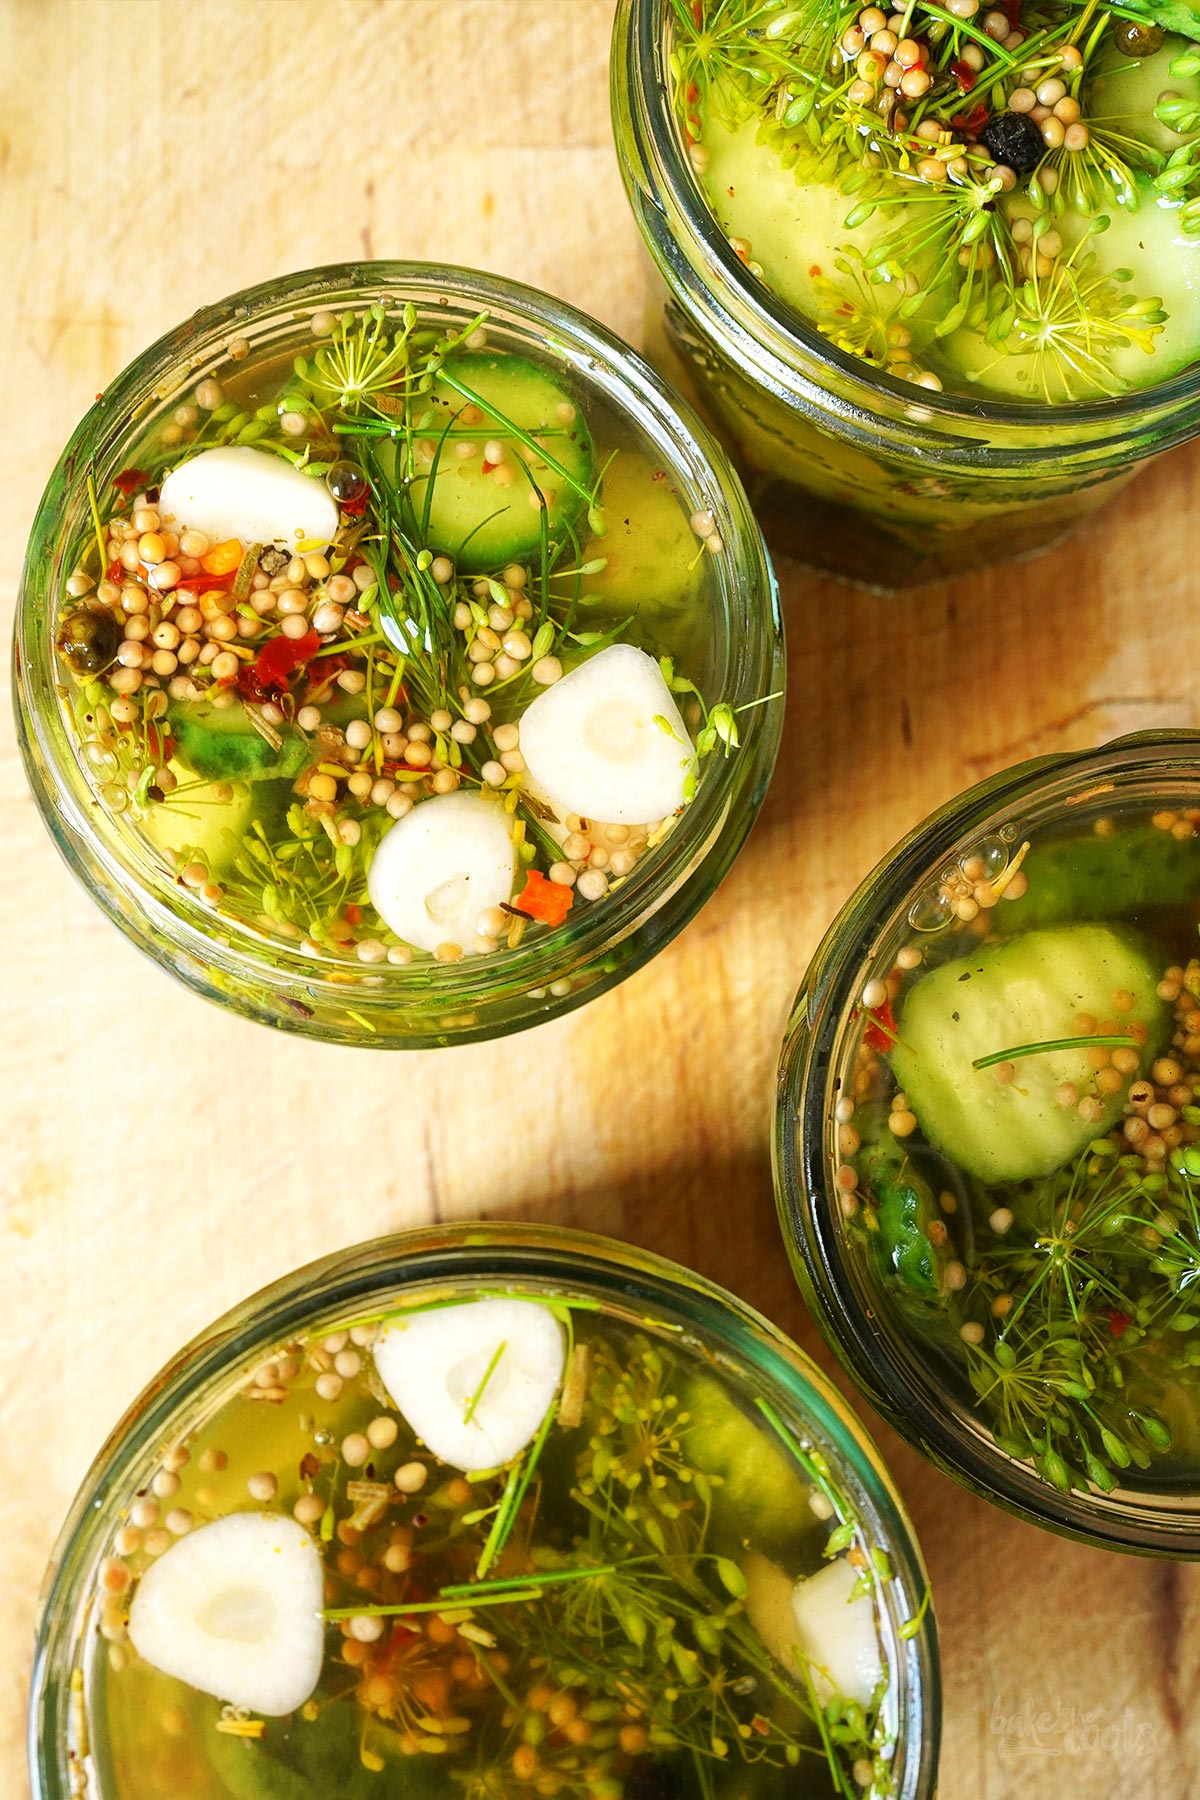
4. Add salt, mustard seeds, peppercorns, chili flakes (optional), and a little sugar (max. 1–2 tbsp.) to the saucepan. Bring the liquid to a boil, then pour it back into the glass jars (with all the add-ins), seal them tightly with the lids, and let them cool upside down on a kitchen towel.
5. Let the pickled cucumbers cure in a cool, dark place (e.g., a cellar) for at least 3–4 weeks. If prepared hygienically, the unopened pickles will keep for about a year. Once opened, store the glass jars in the fridge and consume the pickled cucumbers within 1–2 months.
1. Die Einmachgläser* (mit Schraubverschluss) desinfizieren – die einfachste Methode ist hier wohl Auskochen für etwa 10 Minuten. Alternativ kann man die Gläser aber auch bei 120°C (250°F) für etwa 12-15 Minuten in den Ofen stellen. Vorsicht bei Deckeln, wenn Plastik dran oder eine Beschichtung drauf ist.
2. Die Gurken grob säubern und für etwa 1 Stunde in Wasser einlegen, dann noch einmal ordentlich abschrubben und abtropfen lassen. Nach Belieben in Scheiben oder Spalten schneiden. Die Knoblauchzehen schälen und in Scheiben schneiden. Das Dillkraut abspülen, abtropfen lassen und dann grob hacken.
3. Gurkenscheiben bzw. Spalten, Knoblauch und Dillkraut in die ausgekochten Gläser schichten – je weniger Luft zwischen den Gurken ist, umso besser. Die Gläser etwa zur Hälfte mit Essig auffüllen, dann Wasser dazugeben, bis die Gläser randvoll sind. Die Flüssigkeit aus den Gläsern in einen Topf schütten – funktioniert am besten, wenn man ein Sieb über das Glas stülpt, damit alles, bis auf die Flüssigkeit, im Glas bleibt.
4. Salz, Senfkörner, Pfefferkörner, Chiliflocken (optional) und etwas Zucker (max. 1-2 EL) in den Topf dazugeben. Die Flüssigkeit einmal aufkochen lassen, dann wieder auf die Gläser verteilen (mit allen Gewürzen, die darin schwimmen), mit den Deckeln gut verschließen und umgedreht auf einem Küchentuch abkühlen lassen.
5. Die eingelegten Gurken an einem kühlen, dunklen Ort (z.B. Keller) für mindestens 3-4 Wochen ziehen lassen. Wenn man sauber gearbeitet hat, halten die Essiggurken ungeöffnet etwa 1 Jahr durch. Nach dem Öffnen im Kühlschrank aufbewahren und innerhalb von 1-2 Monaten aufbrauchen.
Craving more? Keep in touch on Facebook, Instagram and Pinterest for new post updates and more. You can also contact me with any questions or inquiries!
Here is a version of the recipe you can print easily.
Print
Pickled Garlic Gherkins
- Prep Time: 00:25
- Cook Time: 00:05
- Total Time: 01:30
- Yield: 4 1x
- Category: Homemade Stuff
- Method: -
- Cuisine: Germany
- Diet: Vegan
Description
Pickling is a great option to use homegrown fruit and veggies and expand their lifespan. We love our Pickled Garlic Gherkins – so easy to make and sooo tasty!
Ingredients
about 28-32 oz. (800–900g) pickling cucumbers
4–5 garlic cloves
a few sprigs of dill, chopped
about 17 fl. oz. (500ml) vinegar* (5% acidity)
about 17 fl. oz. (500ml) water
1 1/2 tbsp. salt
1–2 tsp. mustard seeds*
1/2 tsp. whole peppercorns*
a few chilli flakes* (optional)
a little sugar (optional)
Instructions
1. Sterilize the preserving glass jars* (with screw-top lids). Boiling them for about 10 minutes is probably the easiest method here. Alternatively, you can place the glass jars in the oven at 120°C (250°F) for about 12–15 minutes. Be careful with lids that have plastic parts or some special coating.
2. Roughly clean the cucumbers and let them soak in water for about an hour. Scrub them thoroughly to remove any leftover dirt and then let them drain. Slice the cucumbers any way you like. Peel and slice the garlic cloves. Rinse the dill, let it drain, and then coarsely chop it.
3. Layer cucumber pieces, garlic, and dill into the sterilized glass jars – the less space between the pieces, the better. Fill the glass jars halfway with vinegar, then add water until the jars are filled to the brim. Pour the liquid from the jars into a saucepan – this works best when placing a sieve over the jar opening so everything except the liquid stays inside the jar.
4. Add salt, mustard seeds, peppercorns, chili flakes (optional), and a little sugar (max. 1–2 tbsp.) to the saucepan. Bring the liquid to a boil, then pour it back into the glass jars (with all the add-ins), seal them tightly with the lids, and let them cool upside down on a kitchen towel.
5. Let the pickled cucumbers cure in a cool, dark place (e.g., a cellar) for at least 3–4 weeks. If prepared hygienically, the unopened pickles will keep for about a year. Once opened, store the glass jars in the fridge and consume the pickled cucumbers within 1–2 months.
Notes
Make something amazing in the kitchen!
Links marked with an asterisk (*) are affiliate links (advertising/Werbung) to Amazon Germany. If you click on one of those links and buy something via this link, I will get a commission for that sale. The price of whatever you buy is not affected in any way by this.