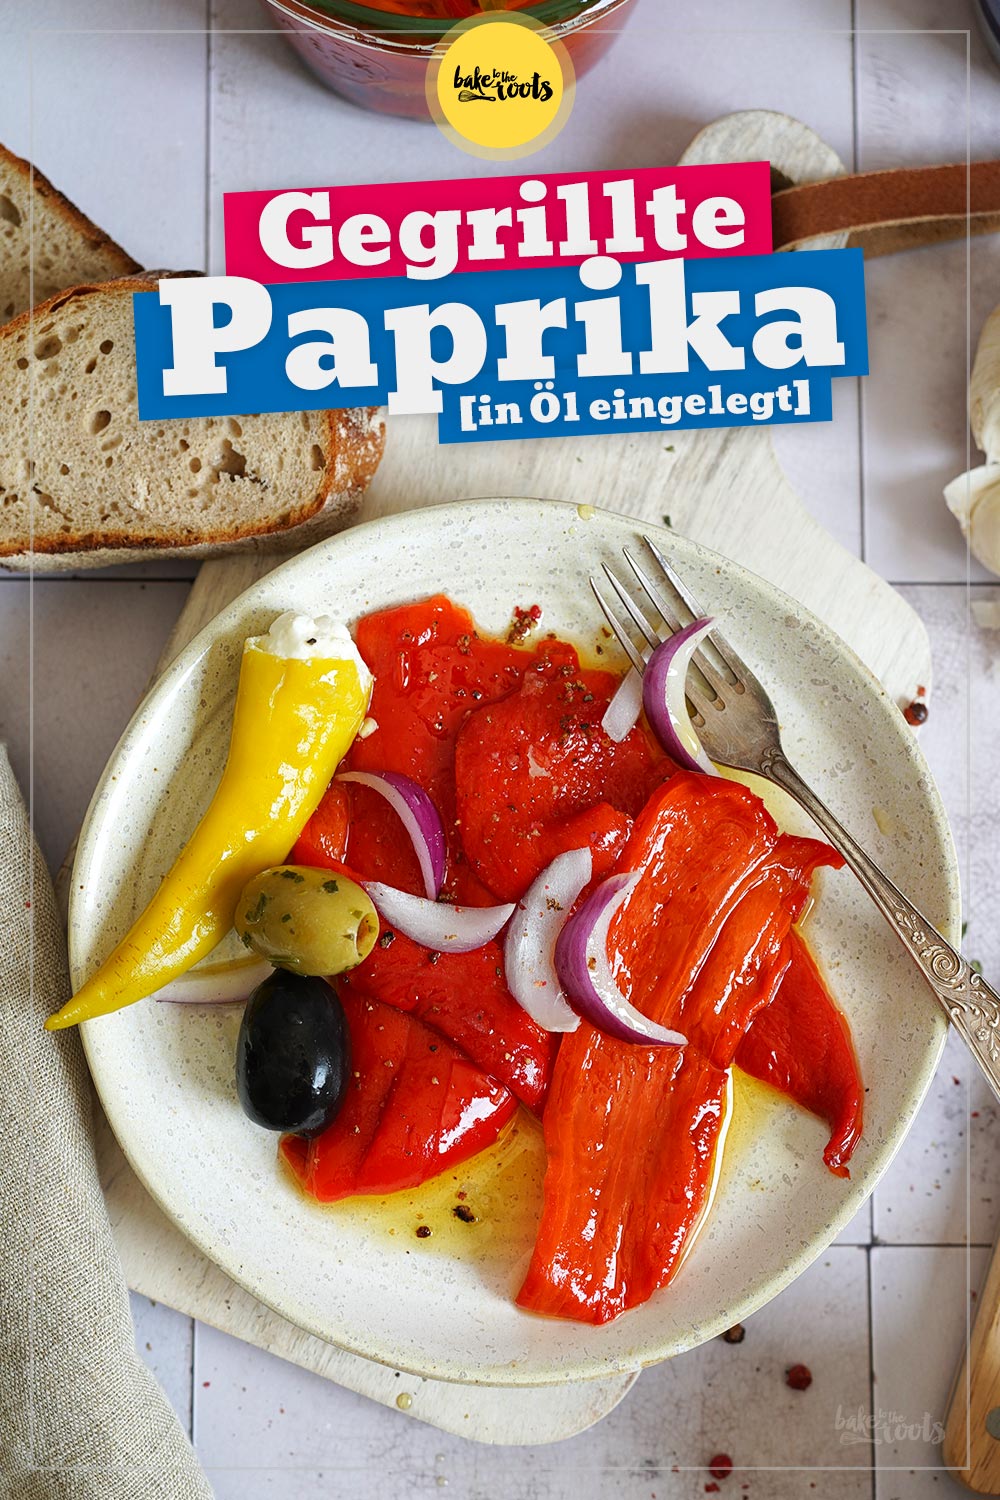
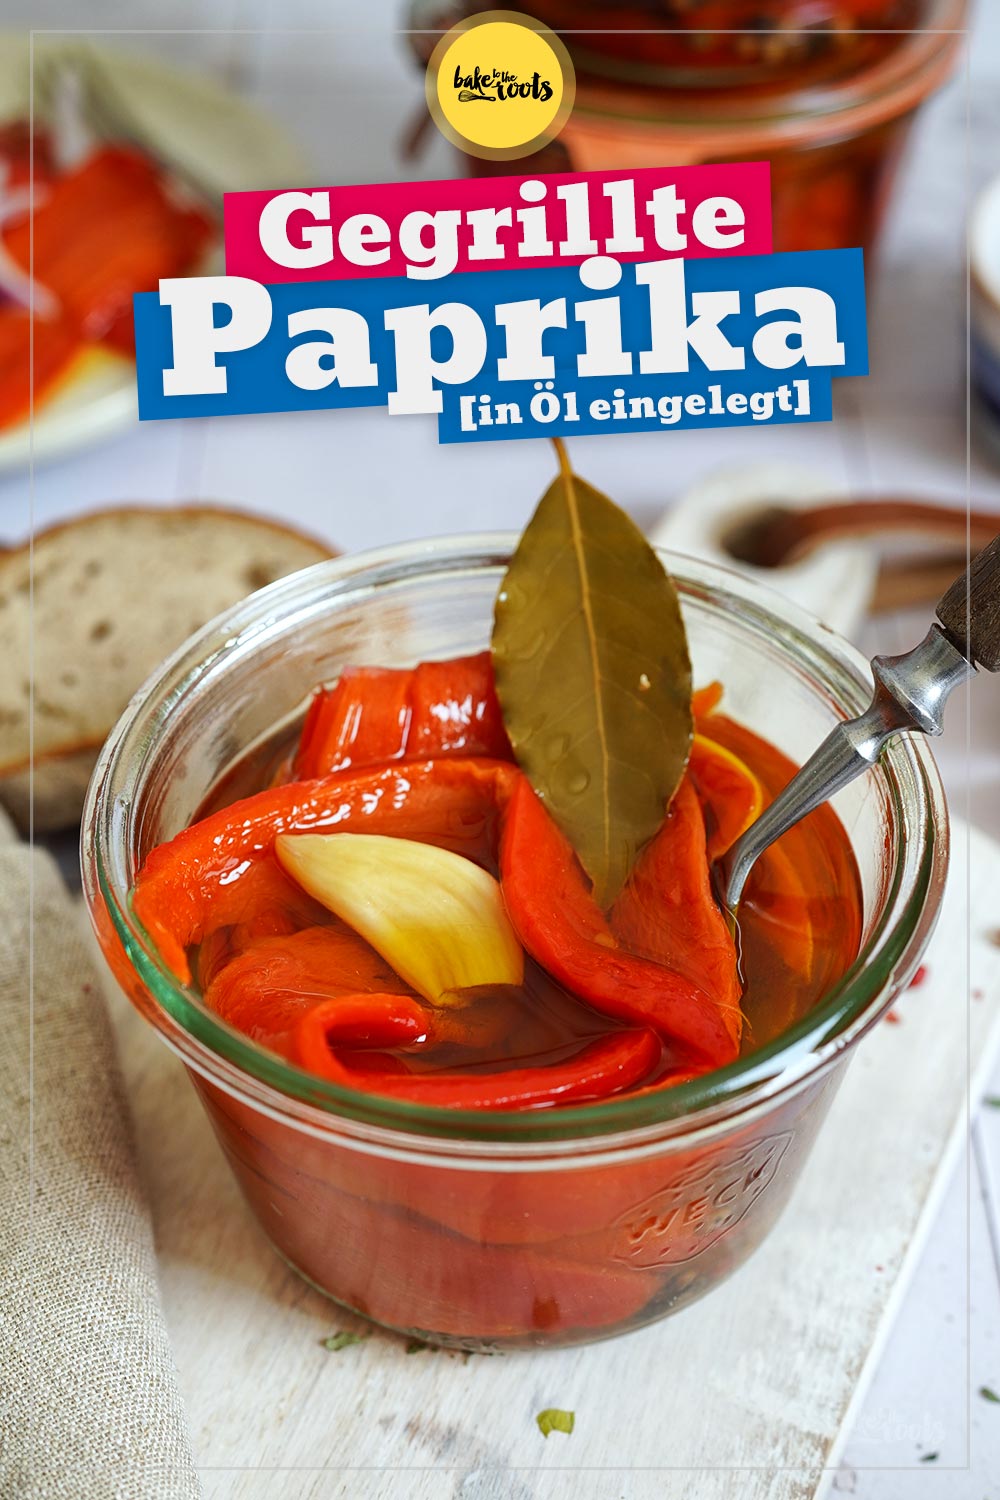
Anyone with a garden (lucky you!) will certainly be familiar with this type of situation – you are taking care of your plants for months and then (suddenly) they are all ready to harvest. All at the same time. Now you have more veggies than you can possibly eat. So what can you do? You don’t want anything to go to waste, right? Well… you could give the veggies to friends, or you could freeze or pickle some veggies! In case you have a lot of bell peppers this summer, for example, you should take a look at this recipe for Pickled Grilled Peppers. Pickling is one of the best ways to preserve veggies for several months without much effort ;)
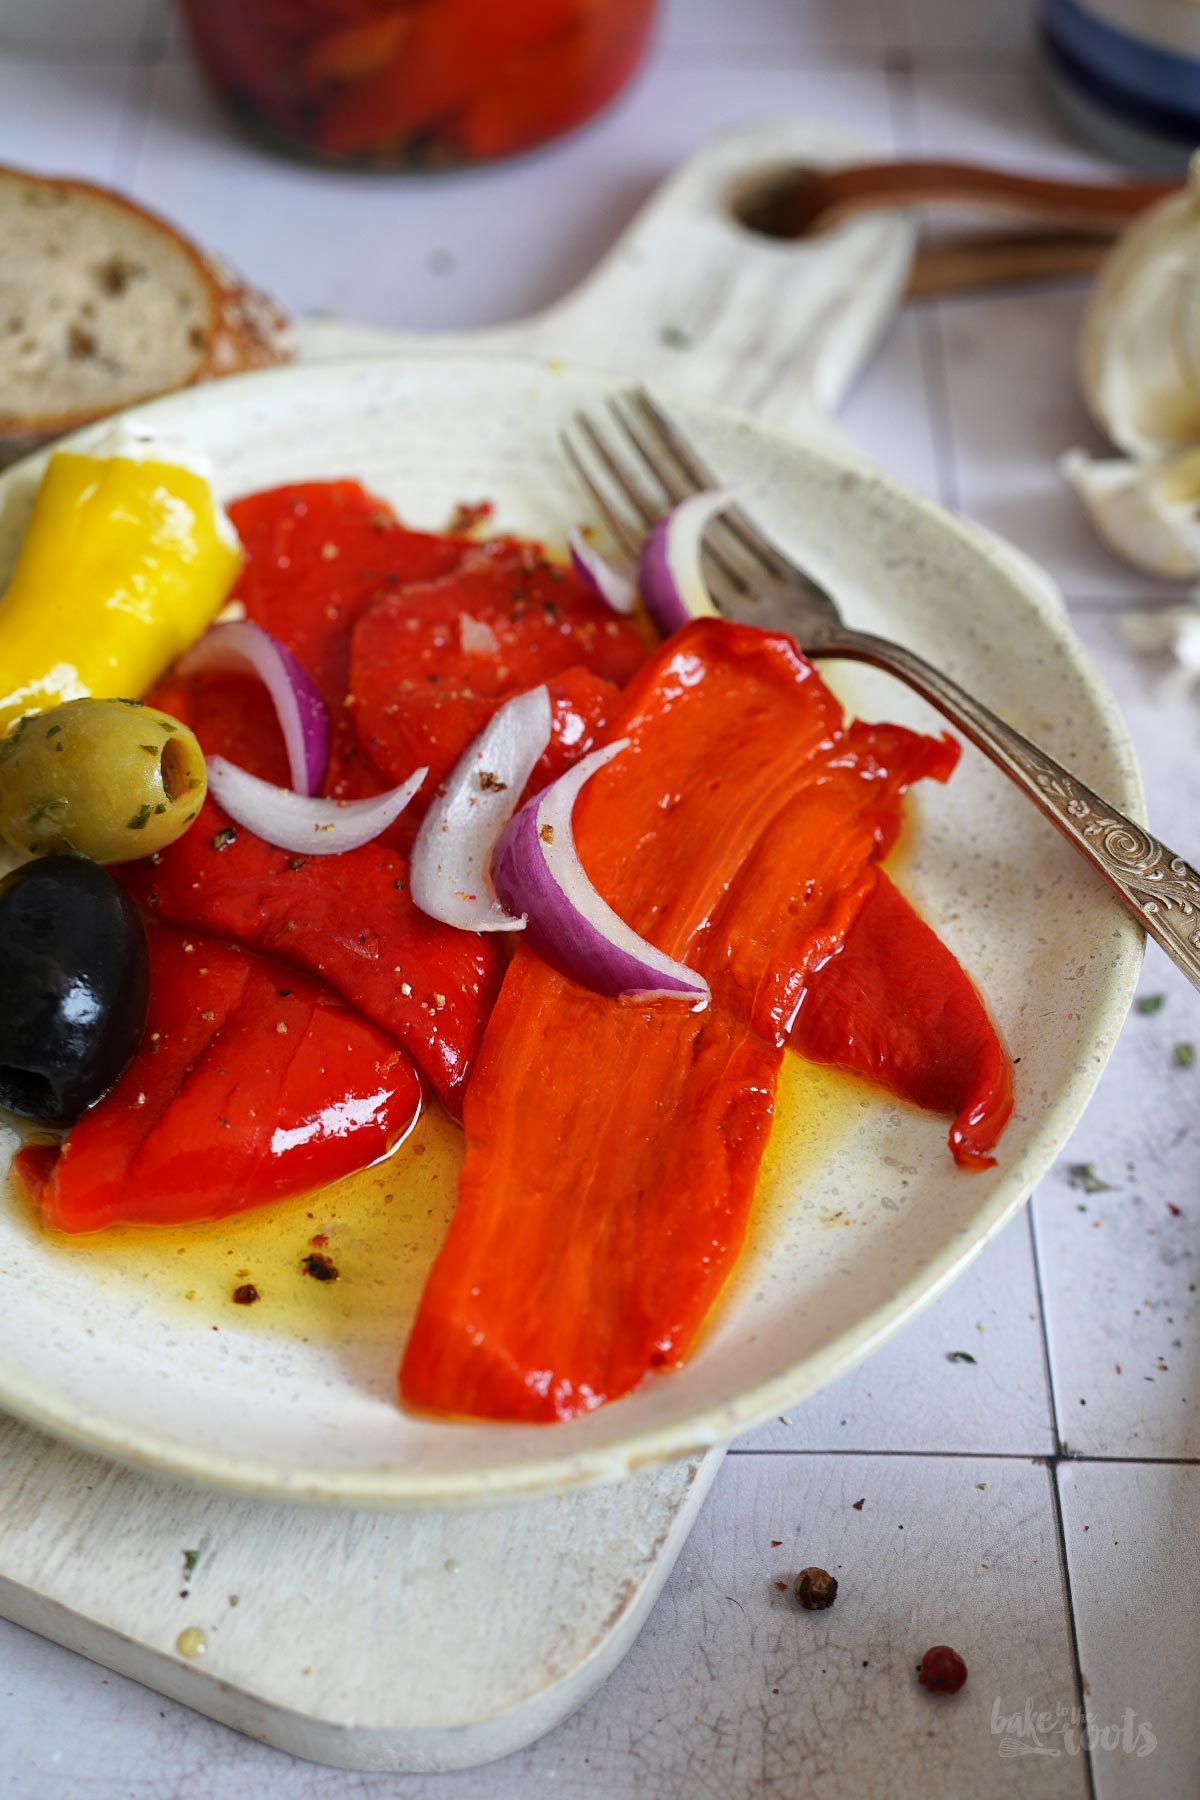
We love eating grilled bell peppers here – whether as a side dish for dinner or in a salad. Grilled peppers are simply delicious! The natural sweetness of the peppers in combination with roasting flavors is simply great.
We’re not always firing up the BBQ when in the mood for grilled peppers – they are no less delicious when pickled. Well, most of the time. I do not like all pickled peppers from the supermarket ;) I’m not a big fan of pickled peppers in vinegary water, which is probably what the majority of products are. I prefer the ones swimming in oil. In high-quality oil hopefully – weird-tasting cheap oil can be a bummer here ;P
So what to do when not happy with any of the options? Pickle them yourself! Then you got everything under control! ;)
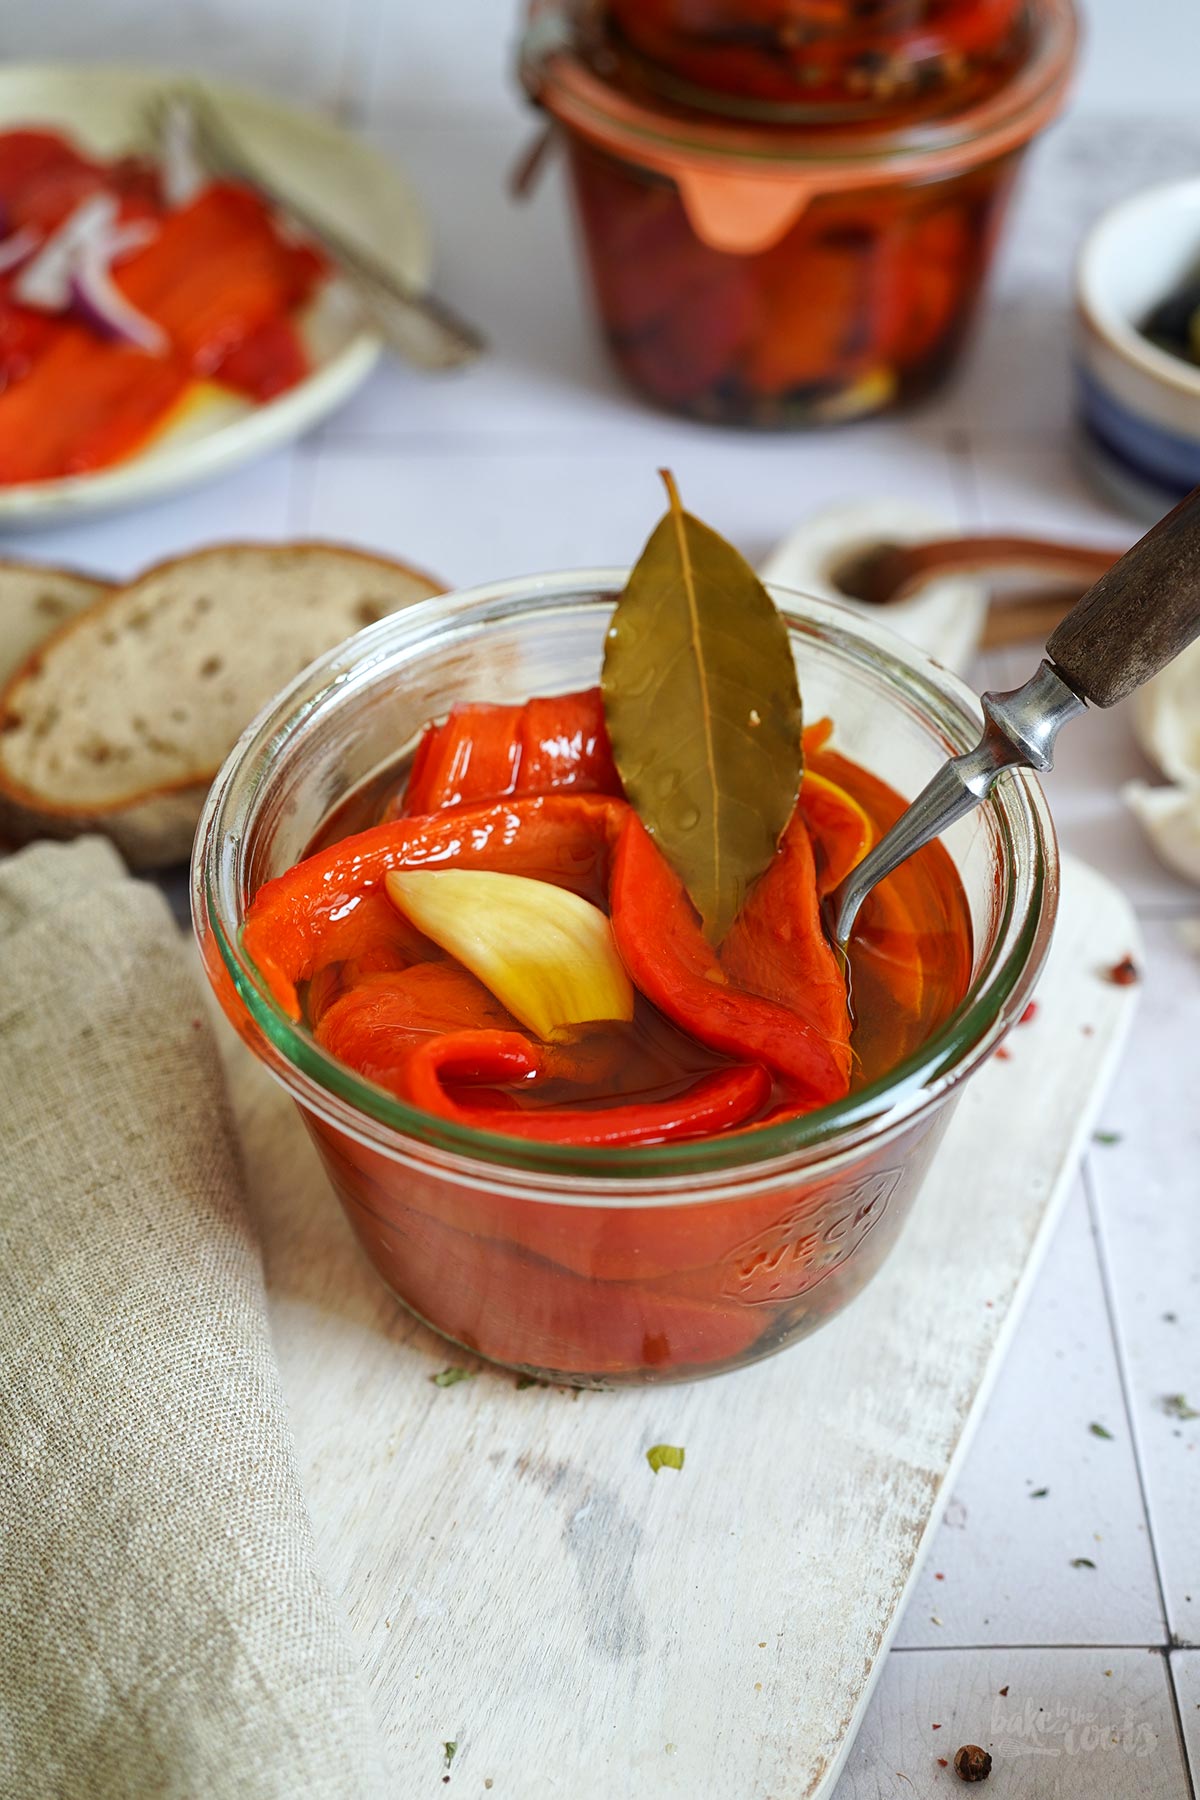
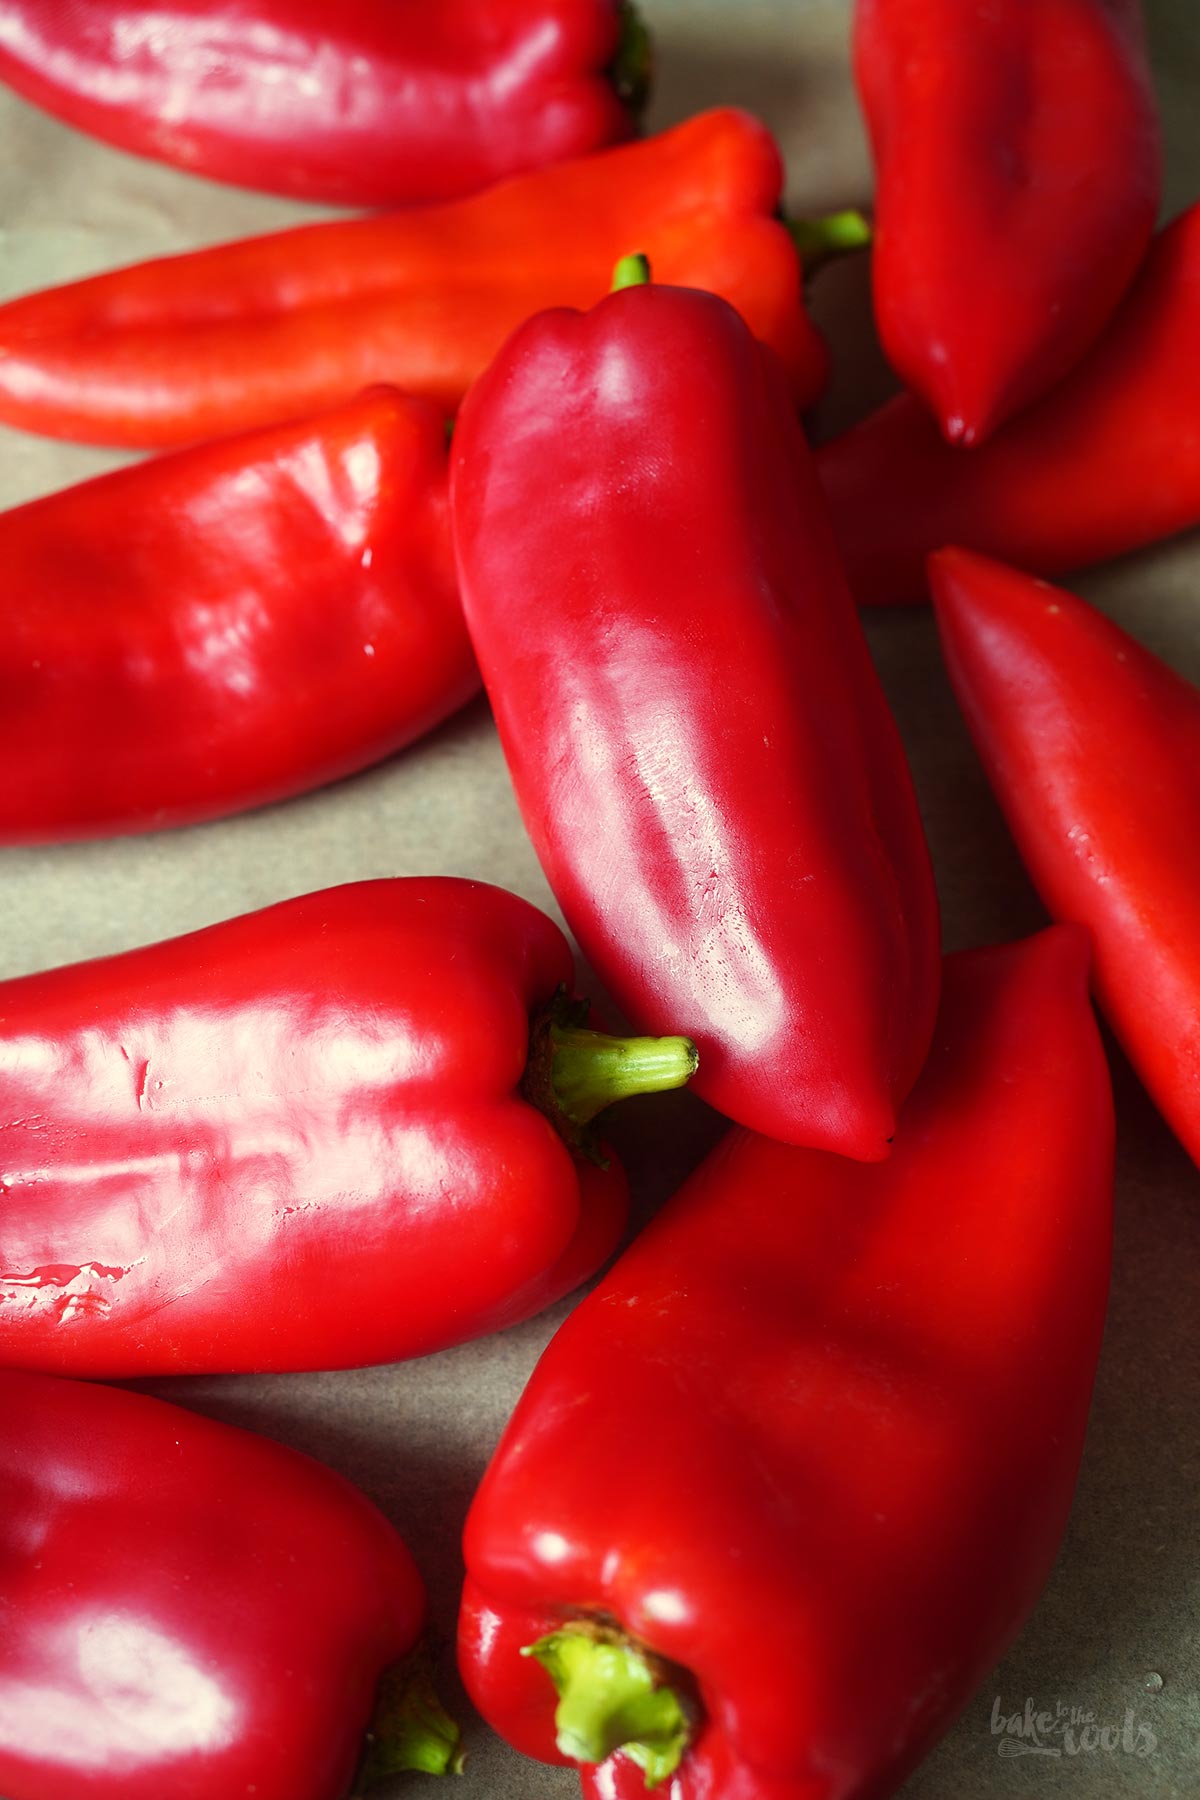
To be honest – you don’t have to use veggies from your garden if you are in the mood for pickling. From all the peppers you can see in the pictures, only one was actually from our terrace. The bell pepper plant on our terrace could never have produced enough bell peppers for this recipe. Poor thing ;P Most of the peppers I used here were from the supermarket. They were super cheap at the time and preserving them was the obvious choice…
So in case you ever want to make pickled grilled peppers with this recipe, you don’t need a huge harvest from your garden… just get them from the farmer’s market or supermarket when in season and cheap. Well… and compared with other pickled fruit and veggies from the supermarket, you can choose everything you want to add – oil, spices, and other flavoring ingredients – you are in control of everything!
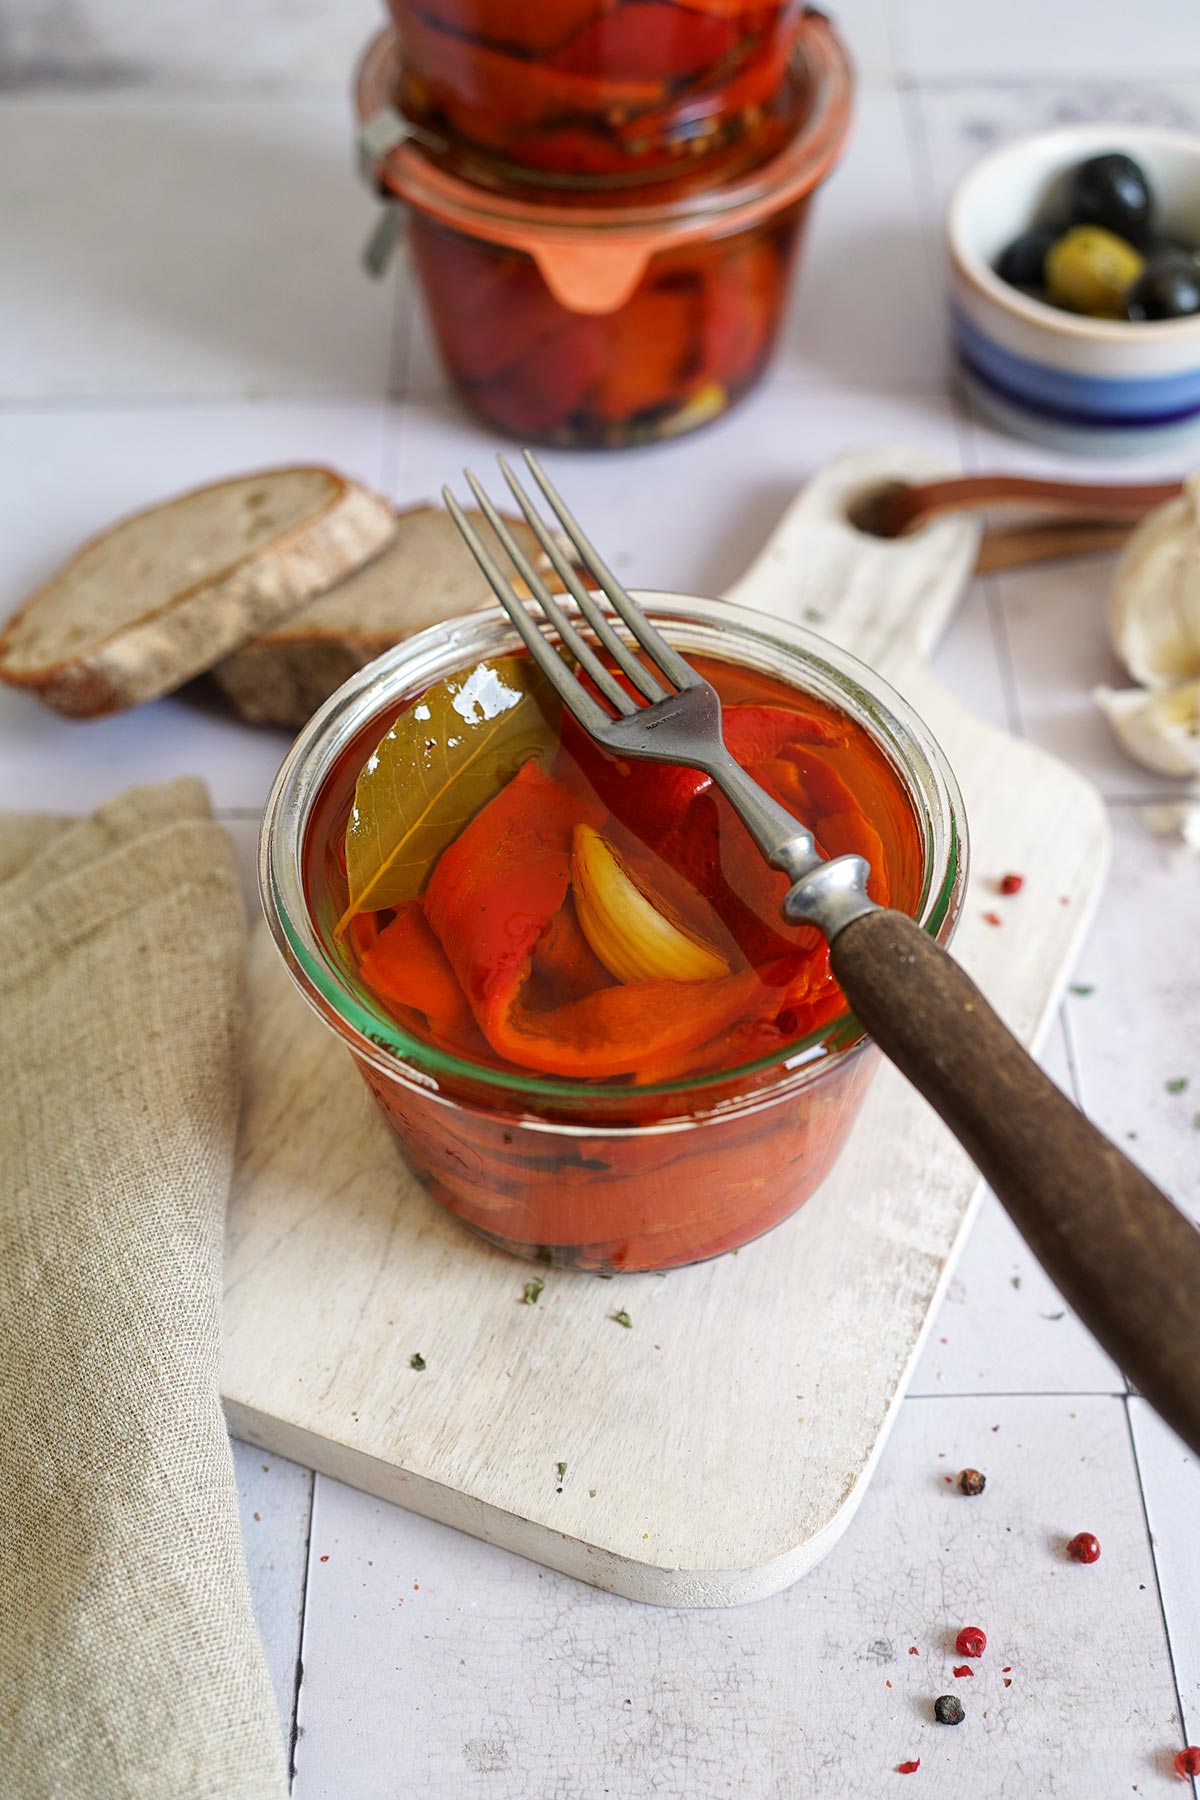
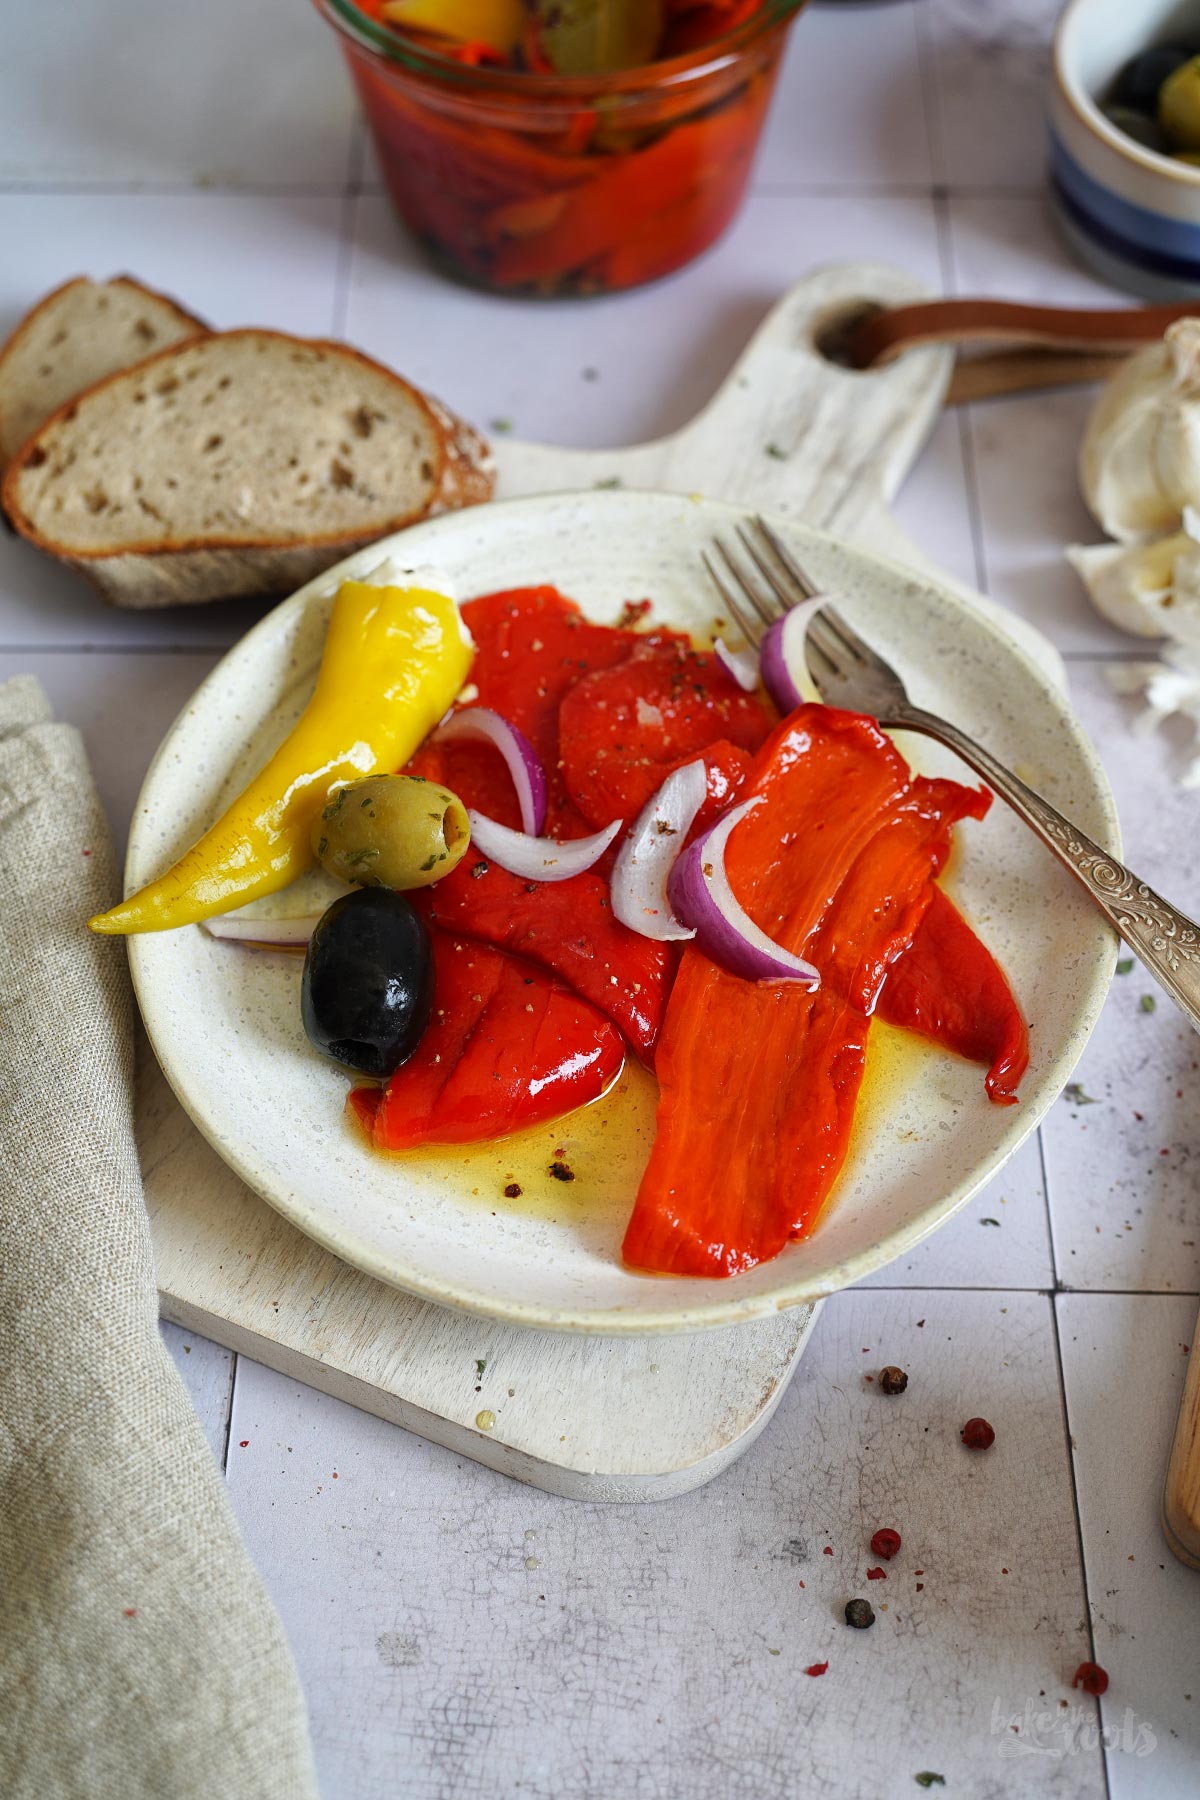
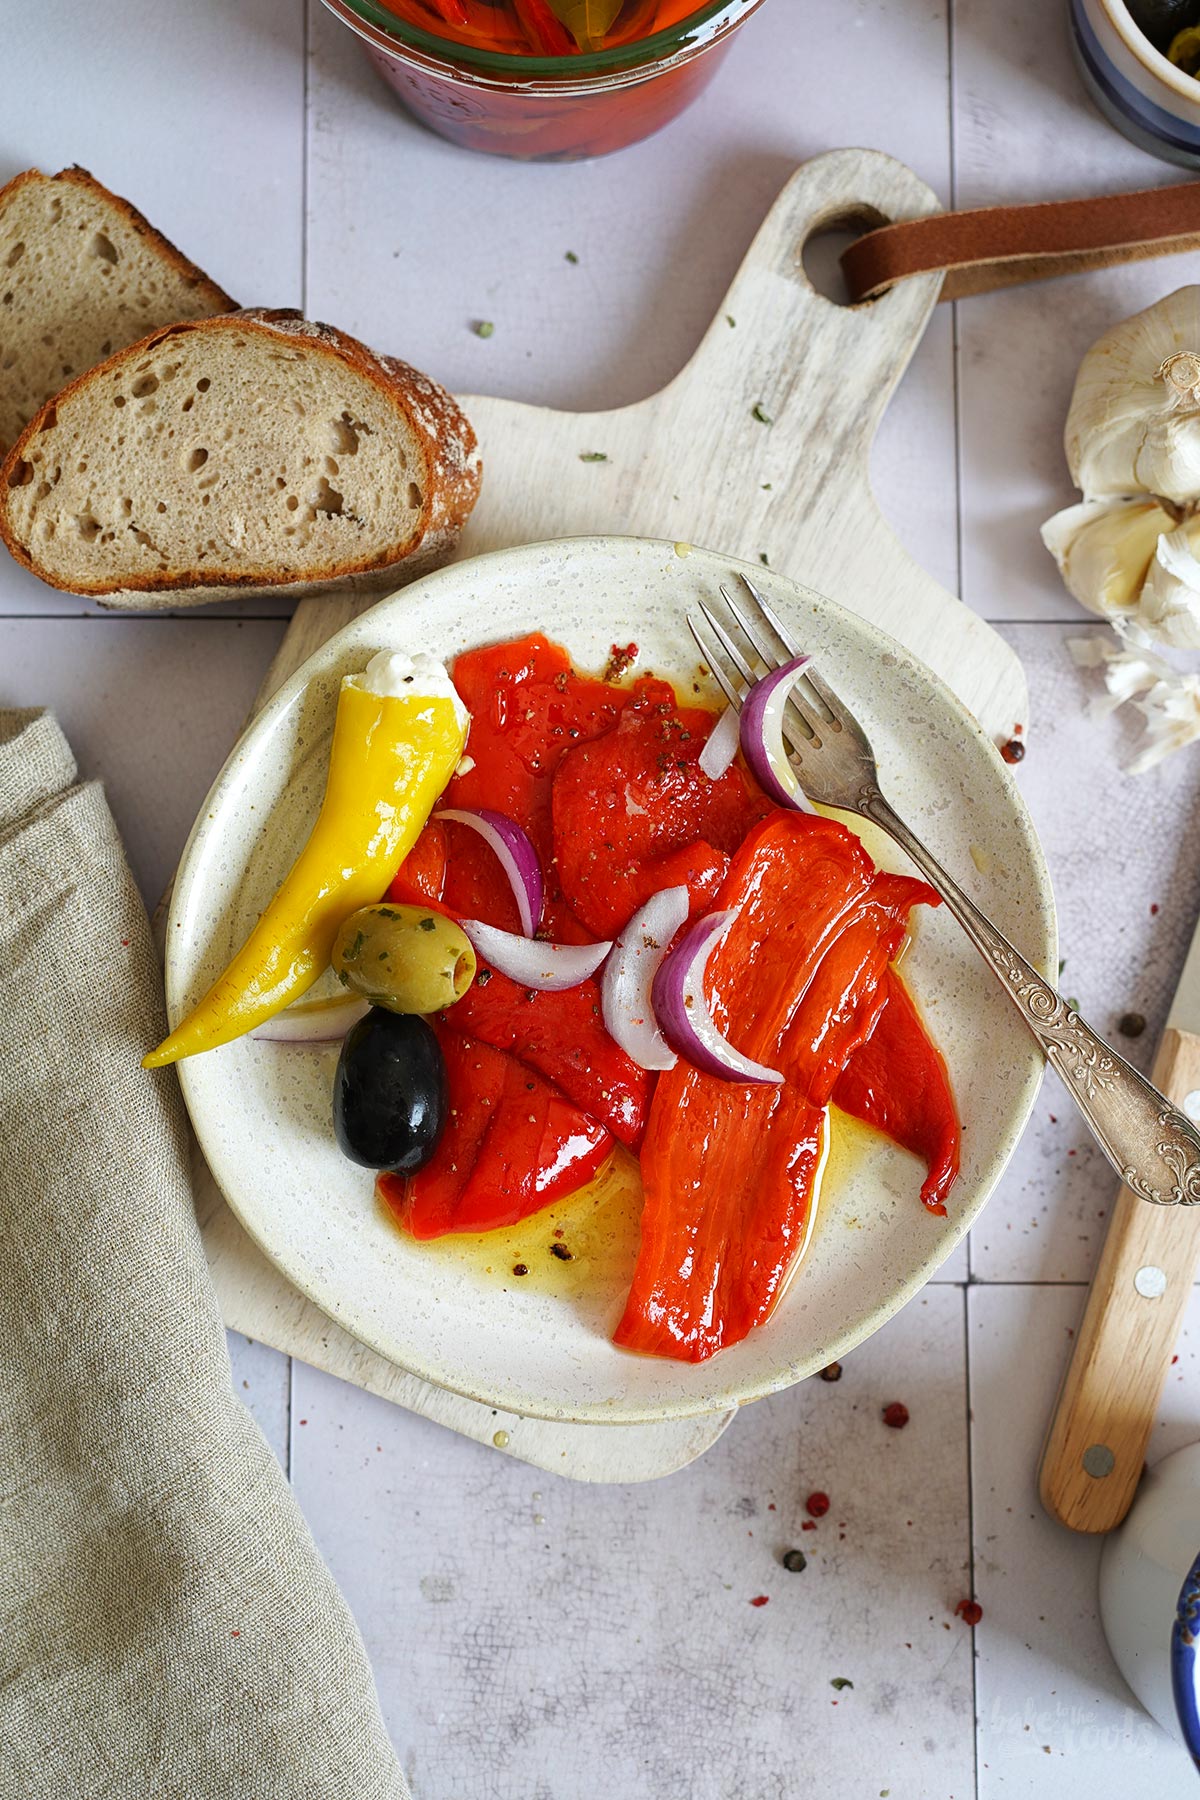
Pickled bell peppers can be used for many recipes and dishes. As already mentioned, grilled bell peppers are great as a side for a BBQ, but they are also great for salads, tacos, or sandwiches. They also work well on top of a pizza or if you want to flavor your next bread, for example. Focaccia with tomatoes, pickled peppers, and garlic is so good!
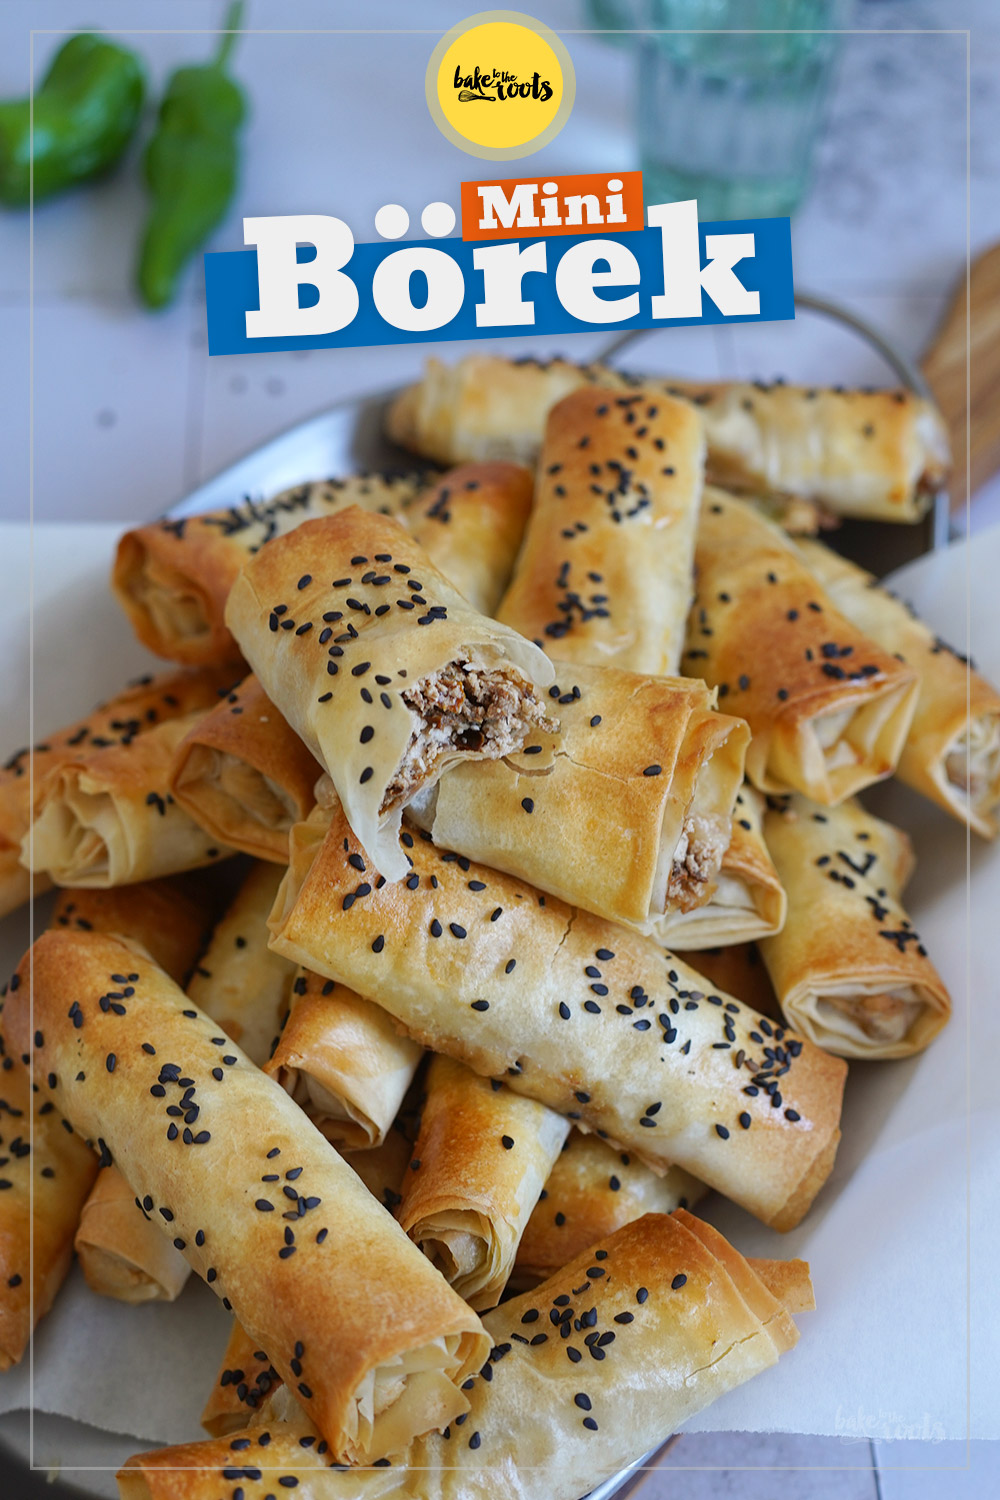
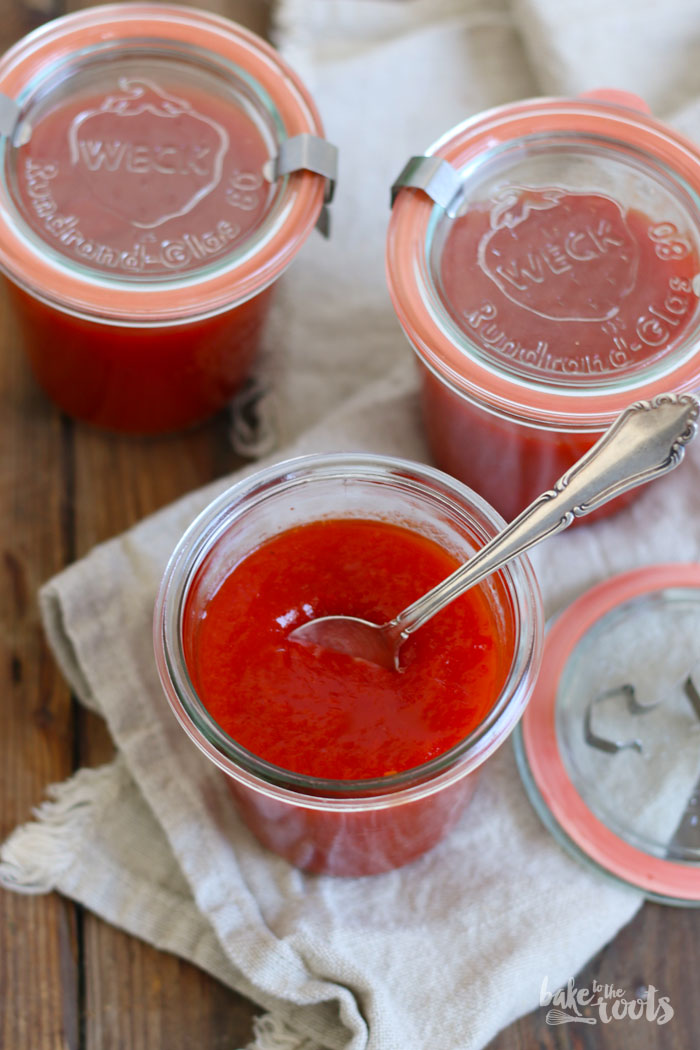
Speaking of baking – what about Mini Börek with Feta and Pickled Peppers (instead of tomatoes)? A great snack if you have guests over! Or what about Roasted (Bell) Pepper Jam? Have you ever tried? So good! It’s not made with pickled peppers, but another great way to use a lot of bell peppers for a recipe ;P
INGREDIENTS / ZUTATEN
35 oz. (1kg) red bell peppers
1 cup (250ml) water
1/2 cup (120ml) white wine vinegar
1 tsp. salt
4-5 garlic cloves, peeled
2-3 bay leaves
2-3 mason (glass) jars with lids
1 tbsp. peppercorns
up to 2 cups (500ml) olive oil
1 kg Paprikaschoten
250ml Wasser
120ml Weißweinessig
1 TL Salz
4-5 Knoblauchzehen, geschält
2-3 Lorbeerblätter
2-3 Einmachgläser
1 EL Pfefferkörner
400-500ml Olivenöl
DIRECTIONS / ZUBEREITUNG
1. Preheat the oven to 480°F (250°C). Line a baking sheet with baking parchment and set aside. Sterilize the glass jars.
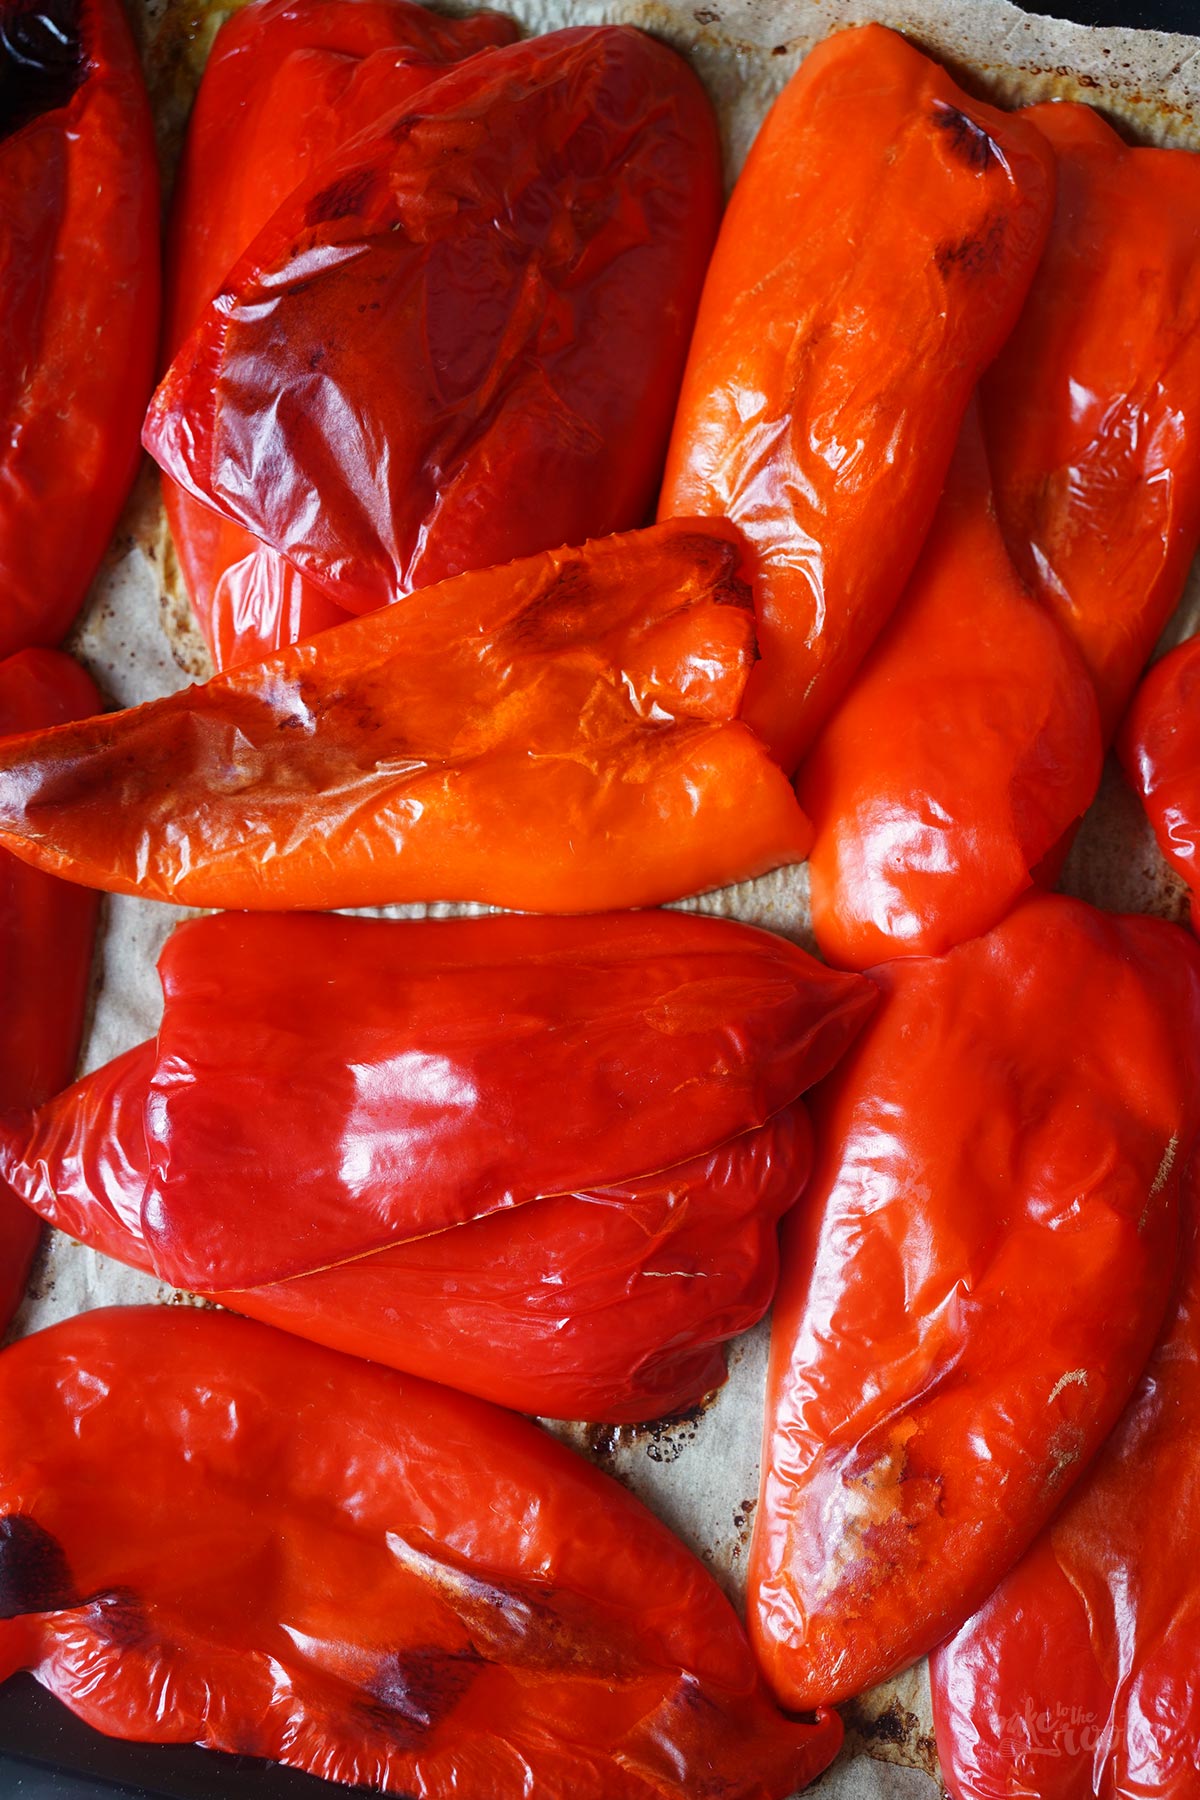
2. Wash and dry the bell peppers, cut them in half lengthwise, and remove the seeds. Place them, skin side up, on the baking sheet and grill/roast them in the upper third of the oven for about 10-15 minutes. The skins of the bell peppers should have turned black and blistered in several spots. Remove the baking sheet from the oven and cover the bell peppers with a damp kitchen cloth. Let the bell peppers steam out for about 10 minutes, then peel the skins off the bell peppers.
3. Add water, vinegar, salt, garlic cloves, and bay leaves to a small pot and bring everything to a boil. Add the grilled bell pepper pieces in small batches to the pot and blanch them for about 30-45 seconds, then remove and drain them on a wire rack. When everything has been blanched, divide the garlic and bay leaves among the sterilized glass jars, add a few peppercorns, and then pack the bell pepper pieces into the glass jars as compactly as possible. Pour oil over the bell pepper until everything is covered. Close the glass jars with their lids and let them sit in a cool place for a few days before using them.
Note: If you worked cleanly, the bell peppers should stay good (unopened) for about 2 months. Once opened, store in the fridge and use up within days.
1. Den Ofen auf 250°C (480°F) Ober-/Unterhitze vorheizen. Ein Backblech mit Backpapier auslegen und zur Seite stellen. Die Einmachgläser sterilisieren.
2. Die Paprikaschoten waschen, trocknen, längs halbieren und entkernen. Alle Schoten mit der Hautseite nach oben auf das Blech legen und dann im oberen Drittel des Ofens für etwa 10-15 Minuten grillen bzw. rösten lassen. Die Häute der Paprikaschoten dürfen hier und da schwarz geworden sein und Blasen werfen. Das Blech aus dem Ofen nehmen und mit einem feuchten Tuch abdecken – die Schoten etwa 10 Minuten ausdampfen lassen. Die Häute der Schoten abziehen.
3. Wasser, Essig, Salz, Knoblauchzehen und Lorbeerblätter in einen kleinen Topf geben und aufkochen lassen. Die gegrillten Paprikastücke in kleinen Portionen in den Topf dazugeben und für etwa 30-45 Sekunden blanchieren, dann herausholen und auf einem Gitter abtropfen lassen. Wenn alles blanchiert wurde, den Knoblauch und die Lorbeerblätter auf die vorbereiteten Einmachgläser verteilen, jeweils noch einige Pfefferkörner dazugeben und dann die Paprikastücke möglichst kompakt mit in die Gläser packen. Die Paprikastücke mit Öl begießen, bis alles bedeckt ist. Die Gläser verschließen und an einem kühlen Ort einige Tage ziehen lassen.
Hinweis: Wenn man sauber gearbeitet hat, sollten die Gläser ungeöffnet etwa 2 Monate haltbar sein. Nach dem Öffnen im Kühlschrank aufbewahren und zügig aufbrauchen.

Craving more? Keep in touch on Facebook, Twitter, Instagram and Pinterest for new post updates and more. You can also contact me with any questions or inquiries!
Here is a version of the recipe you can print easily.
Print
Homemade Pickled Grilled Bell Peppers
- Prep Time: 00:20
- Cook Time: 00:15
- Total Time: 00:45
- Yield: 3 1x
- Category: Homemade
- Cuisine: International
- Diet: Vegan
Description
If you got some bell peppers from your garden and can’t eat them all at once, you should pickle them so you can enjoy them much longer.
Ingredients
35 oz. (1kg) red bell peppers
1 cup (250ml) water
1/2 cup (120ml) white wine vinegar
1 tsp. salt
4–5 garlic cloves, peeled
2–3 bay leaves
2–3 mason (glass) jars with lids
1 tbsp. peppercorns
up to 2 cups (500ml) olive oil
Instructions
1. Preheat the oven to 480°F (250°C). Line a baking sheet with baking parchment and set aside. Sterilize the glass jars.
2. Wash and dry the bell peppers, cut them in half lengthwise, and remove the seeds. Place them, skin side up, on the baking sheet and grill/roast them in the upper third of the oven for about 10-15 minutes. The skins of the bell peppers should have turned black and blistered in several spots. Remove the baking sheet from the oven and cover the bell peppers with a damp kitchen cloth. Let the bell peppers steam out for about 10 minutes, then peel the skins off the bell peppers.
3. Add water, vinegar, salt, garlic cloves, and bay leaves to a small pot and bring everything to a boil. Add the grilled bell pepper pieces in small batches to the pot and blanch them for about 30-45 seconds, then remove and drain them on a wire rack. When everything has been blanched, divide the garlic and bay leaves among the sterilized glass jars, add a few peppercorns, and then pack the bell pepper pieces into the glass jars as compactly as possible. Pour oil over the bell pepper until everything is covered. Close the glass jars with their lids and let them sit in a cool place for a few days before using them.
Notes
If you worked cleanly, the bell peppers should stay good (unopened) for about 2 months. Once opened, store in the fridge and use up within days.
Links marked with an asterisk (*) are affiliate links (advertising/Werbung) to Amazon Germany. If you click on one of those links and buy something via this link, I will get a commission for that sale. The price of whatever you buy is not affected in any way by this.

 I love my job, but in between I love to bake and try new things in the kitchen. A lot of my friends and colleagues encourage me to bake - for a very simple reason: they get the leftovers - and it seems they like it most of the time ;)