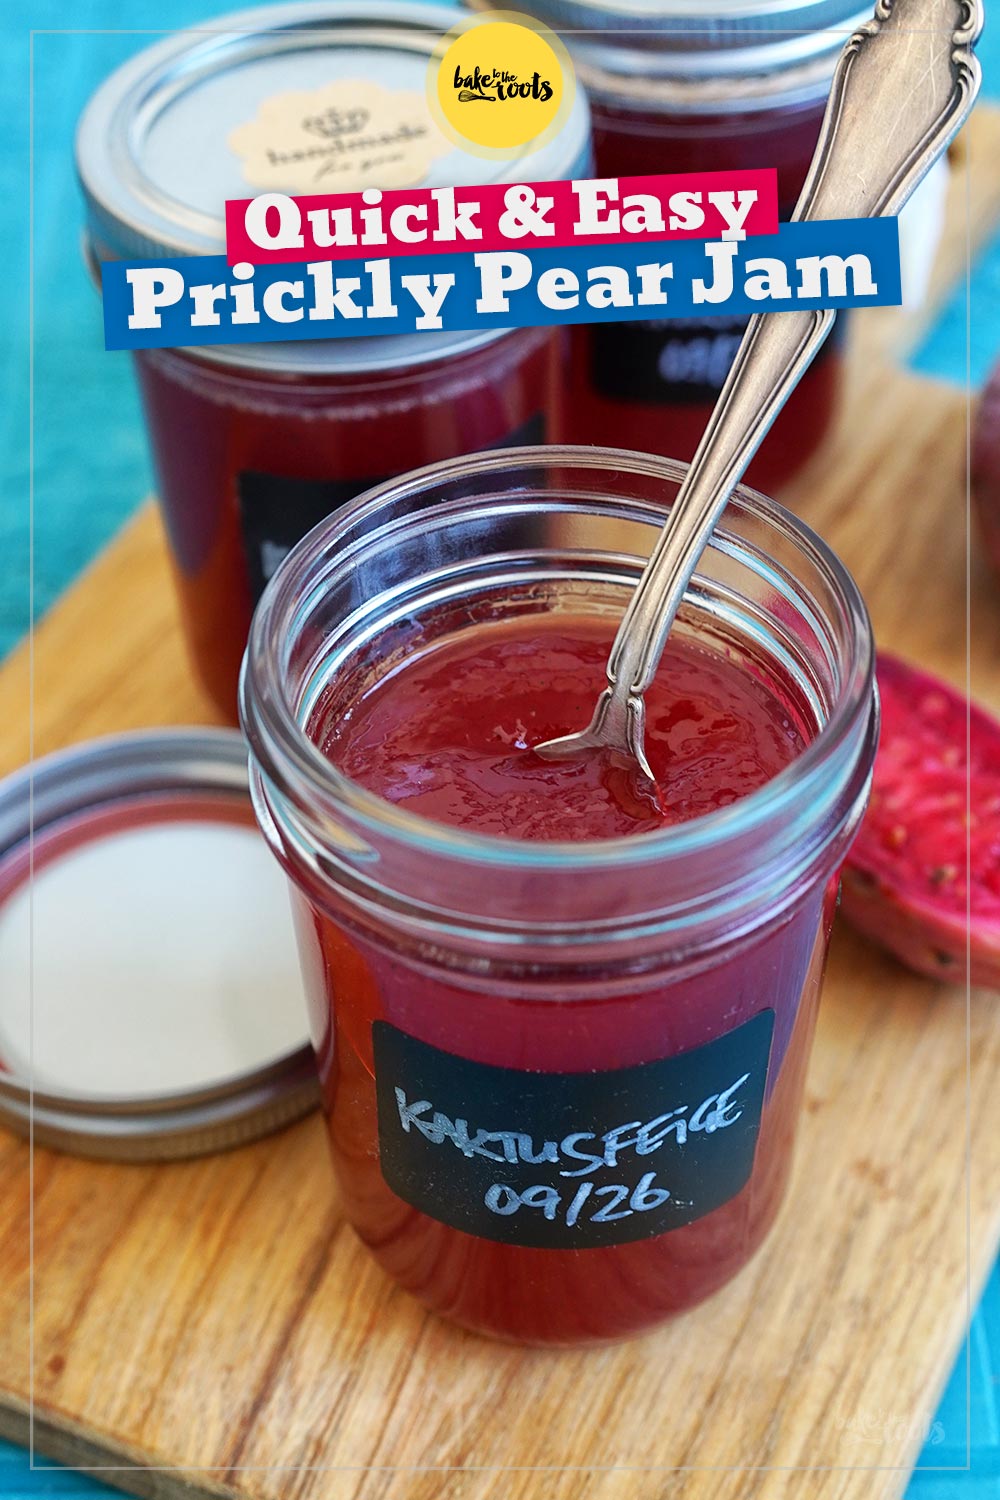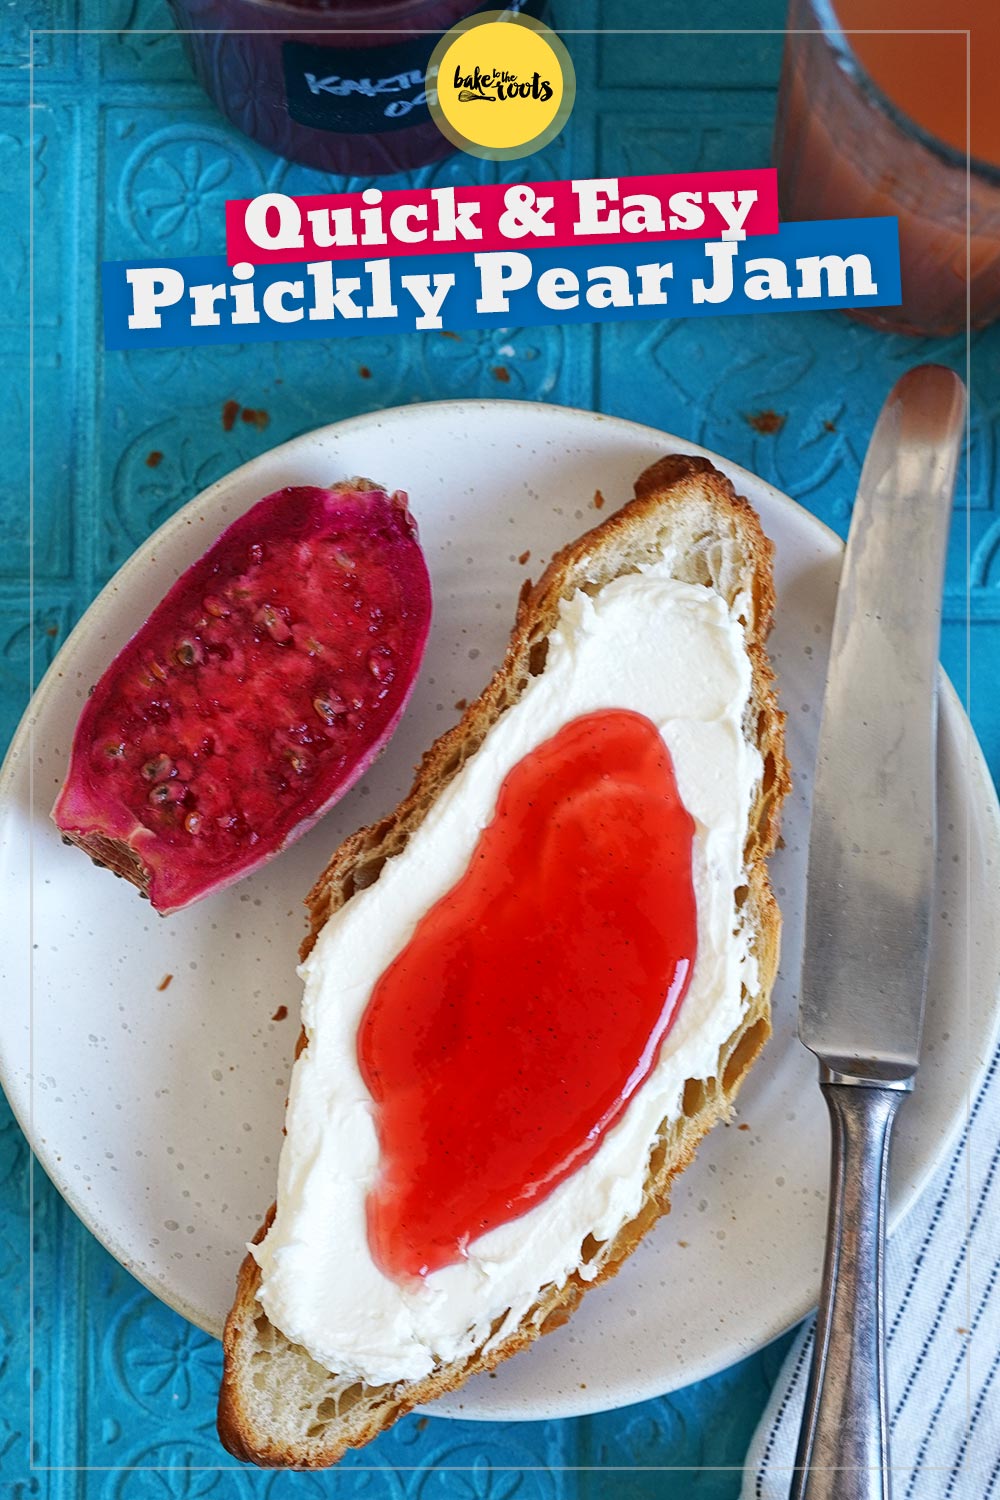


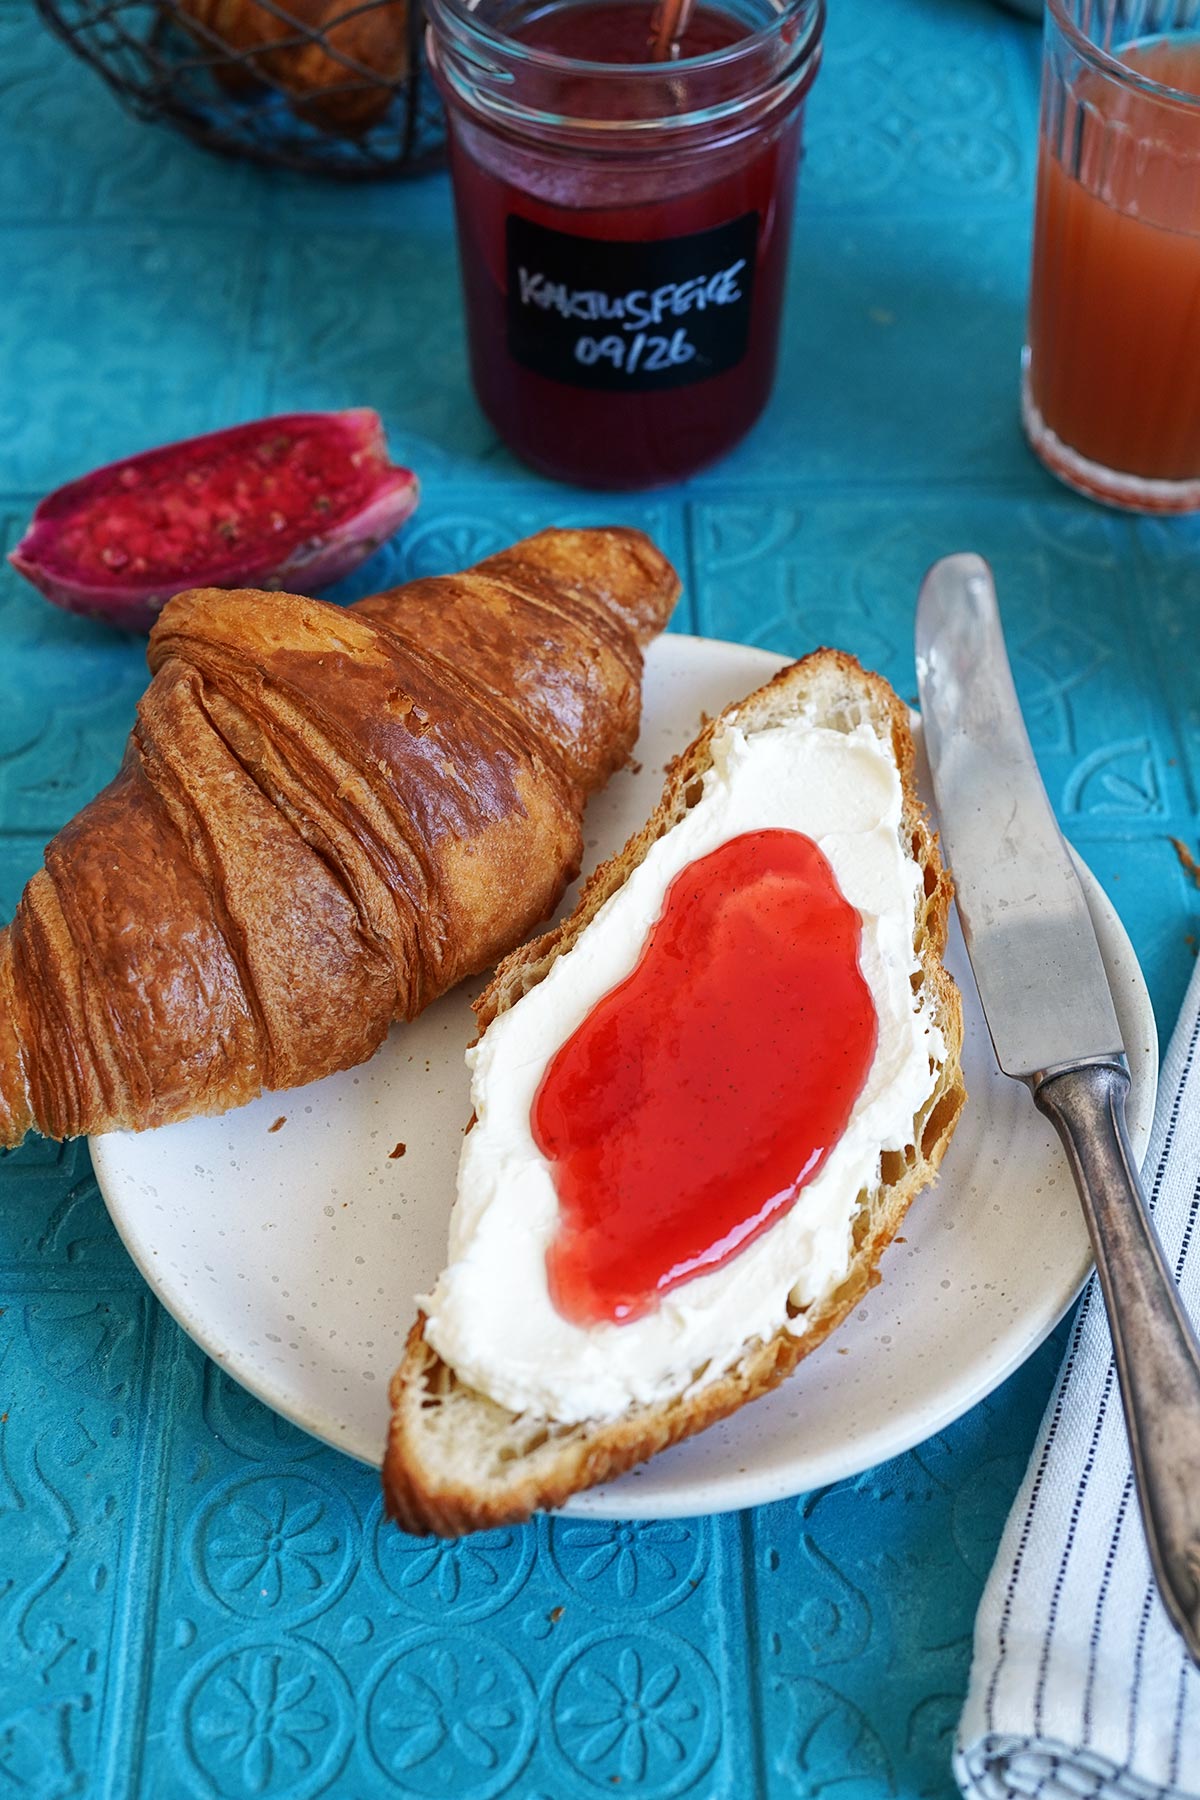
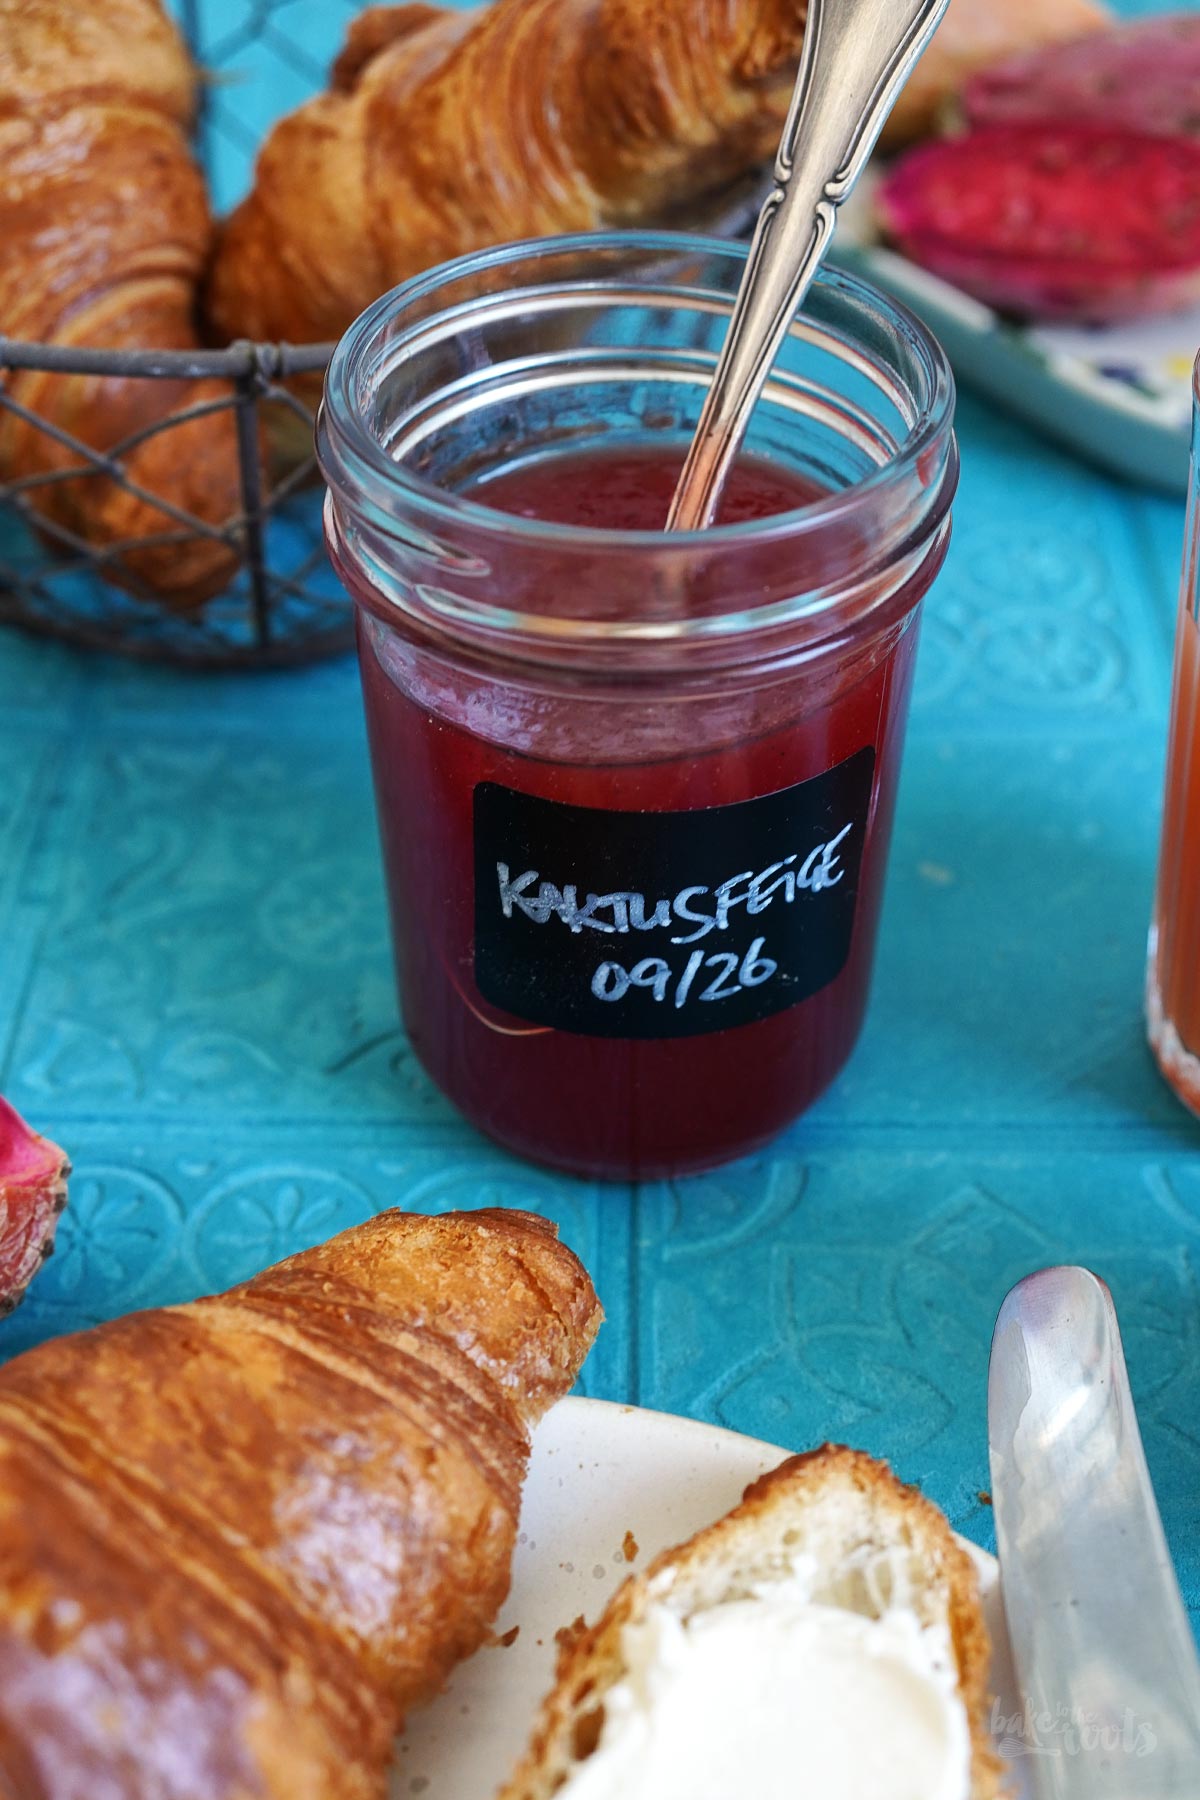
In Germany, jams and fruit spreads are typically made from regionally available berries and fruits – which is fine, of course, but not the only way to do it. Using more exotic fruit for a change can be quite exciting. Exciting is certainly the best way to describe this Homemade Prickly Pear Jam – very interesting and quite an experiment tbh. To avoid building up unnecessary suspense – the experiment was a success! A great success, in fact.
You don’t see prickly pears in supermarkets around here all that often. Of course, the situation is different in warmer regions of the world – regions like South America, where these prickly fruits originate. By now, however, they have spread to warmer areas around the Mediterranean and are cultivated in places like Spain and Italy, for example. We’ve spotted prickly pears growing in the wild in Sicily several years ago…
Growing them in your garden here in Germany is a bit tricky I’d say. Though, perhaps possible in a greenhouse that gets plenty of sun for most of the year. But who actually has one of those standing around at home, right?! It’s unlikely they would grow here in Berlin, though it should certainly be feasible in southern Germany.
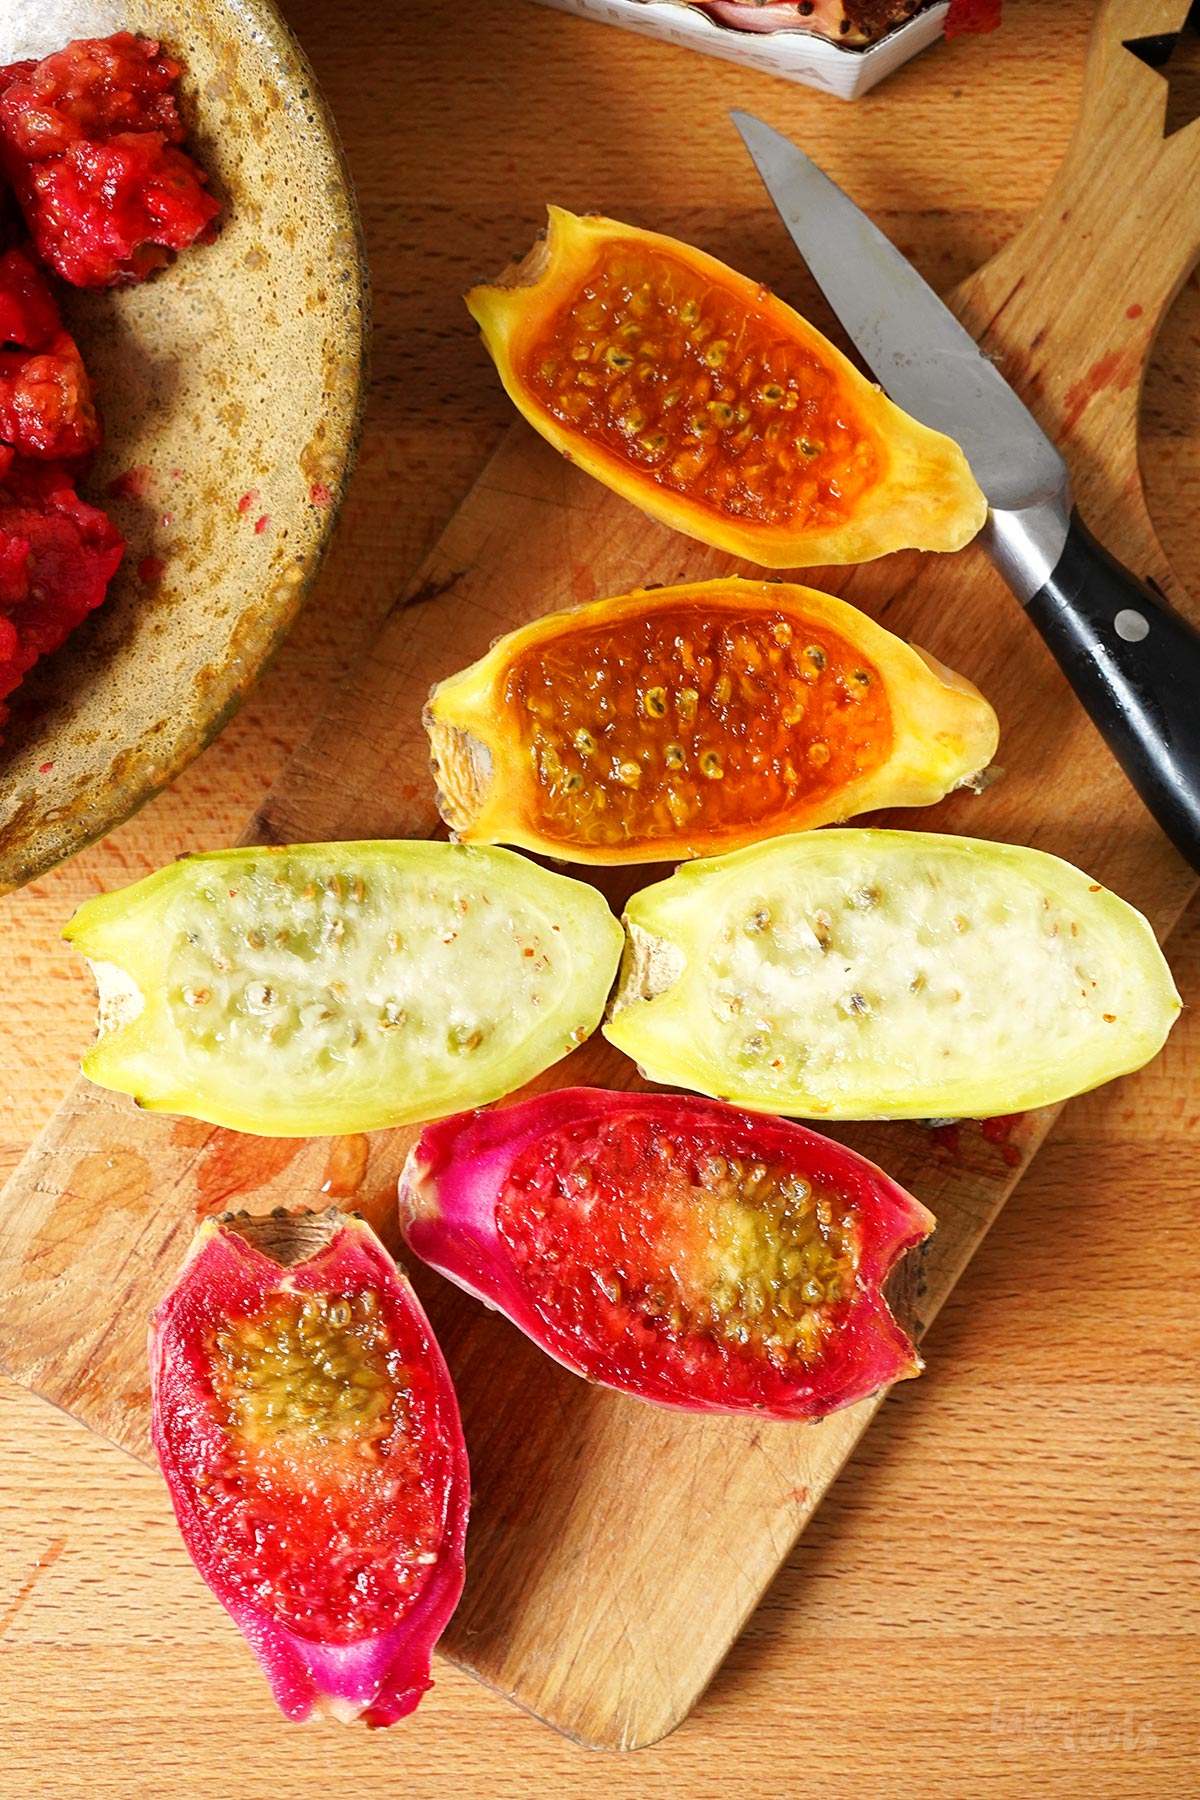
Anyway. For this recipe, I had to rely on supermarket fruit. These prickly little fellas were on sale at my local supermarket a few weeks ago, so I picked up several packets. By the way, if you decide to buy some yourself, make sure to grab a pair of rubber gloves while you’re at it…
I speak from experience here. I tried a prickly pear recipe a few years ago – delicious Prickly Pear Cupcakes with Prickly Pear Buttercream. That’s when I learned firsthand that it is vital you wear gloves when handling the fruit. If you don’t do this, there’s a good chance that any remaining spines on the fruit will get stuck in your skin – which, in turn, can be very unpleasant.
So, you need to be careful when preparing this jam. Watch out for your hands. You don’t want spines sticking to them, but also pay attention to the jam itself. After all, you wouldn’t want to find those tiny spines in the finished product, right? While they aren’t life-threatening, getting one stuck in an awkward spot in your mouth could certainly be uncomfortable. So, be careful when separating the fruit flesh from the skin.
Of course, I don’t mean to scare anyone here – we haven’t had any issues so far. But it’s good to know what could happen if the prickly pear gods aren’t smiling upon you. These days, producers usually scrub prickly pears vigorously to remove as many spines as possible before they hit the stores. Just something to keep in the back of your mind.
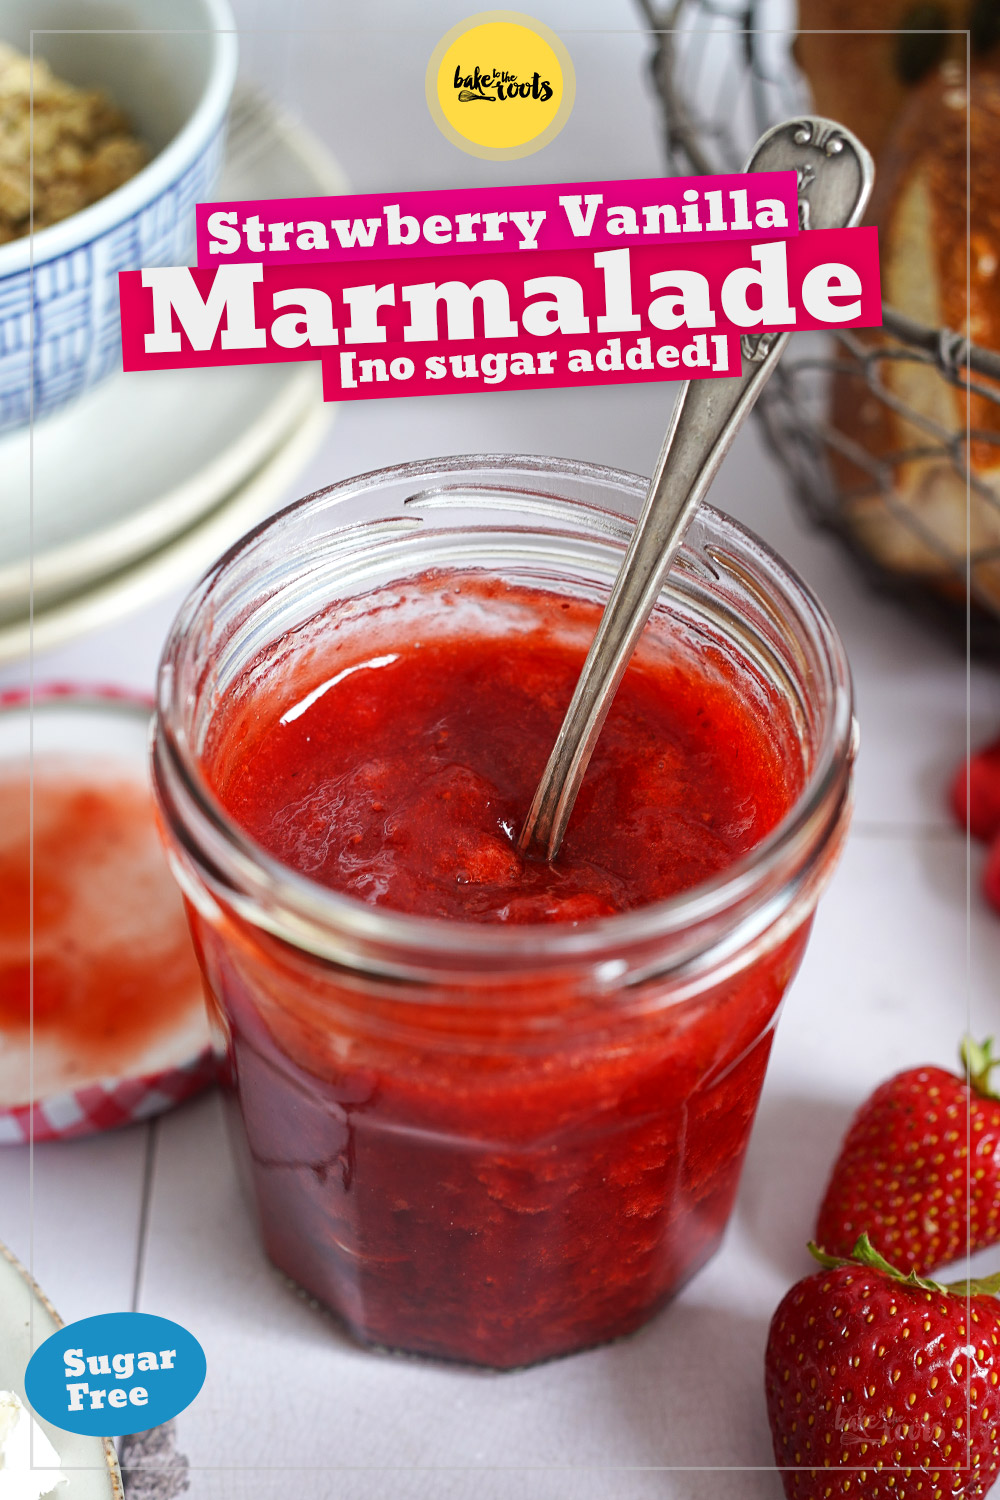

I highly recommend this jam because, flavor-wise, it’s something entirely different from anything you can buy in a supermarket. However, if you prefer something more »classic«, you might want to check out our Strawberry Vanilla Jam. It tastes just like the classic version almost every grandma has in her repertoire, but it’s made without added sugar.
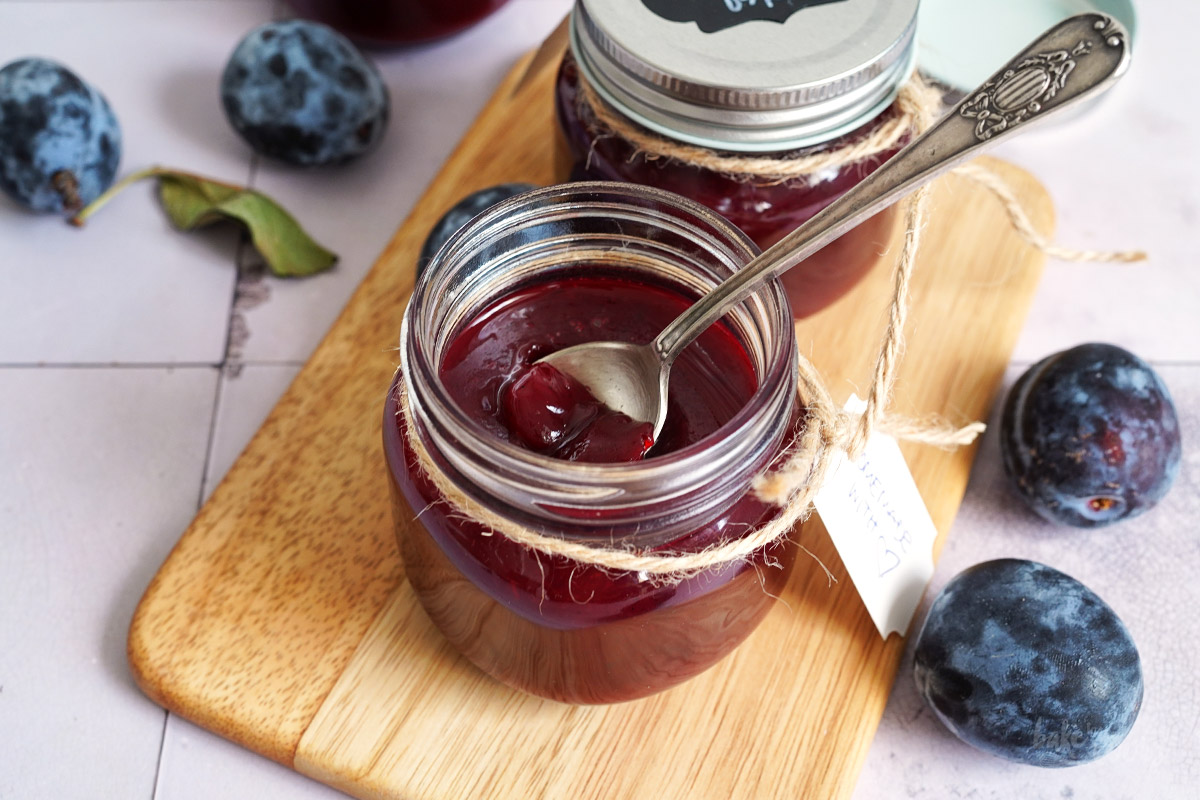
The same goes for our simple German Damson Plum Jam – it’s also made without added sugar. To be honest, most of our jam recipes from the past few years have been sugar-free. For various reasons… But you are welcome to use regular sugar when in the mood.
INGREDIENTS / ZUTATEN
(3 jars, 240ml each)
3 preserving glass jars (each 240ml)*
17.6 oz. (500g) prickly pears (pulp & juice) – equivalent to approx. 1.2-1.4 kg of prickly pears
9 oz. (250g) gelling sugar (2:1)*
1 tbsp. lemon juice (see notes)
1 tsp. vanilla powder*
(3 Gläser á 240ml)
3 Einmachgläser (240ml)*
500g Kaktusfeigen (Saft & Fruchtfleisch) – entspricht etwa 1,2-1,4 kg Kaktusfeigen
250g Gelierzucker 2:1*
1 EL Zitronensaft (s. Hinweise)
1 TL Vanillepulver*
Notes
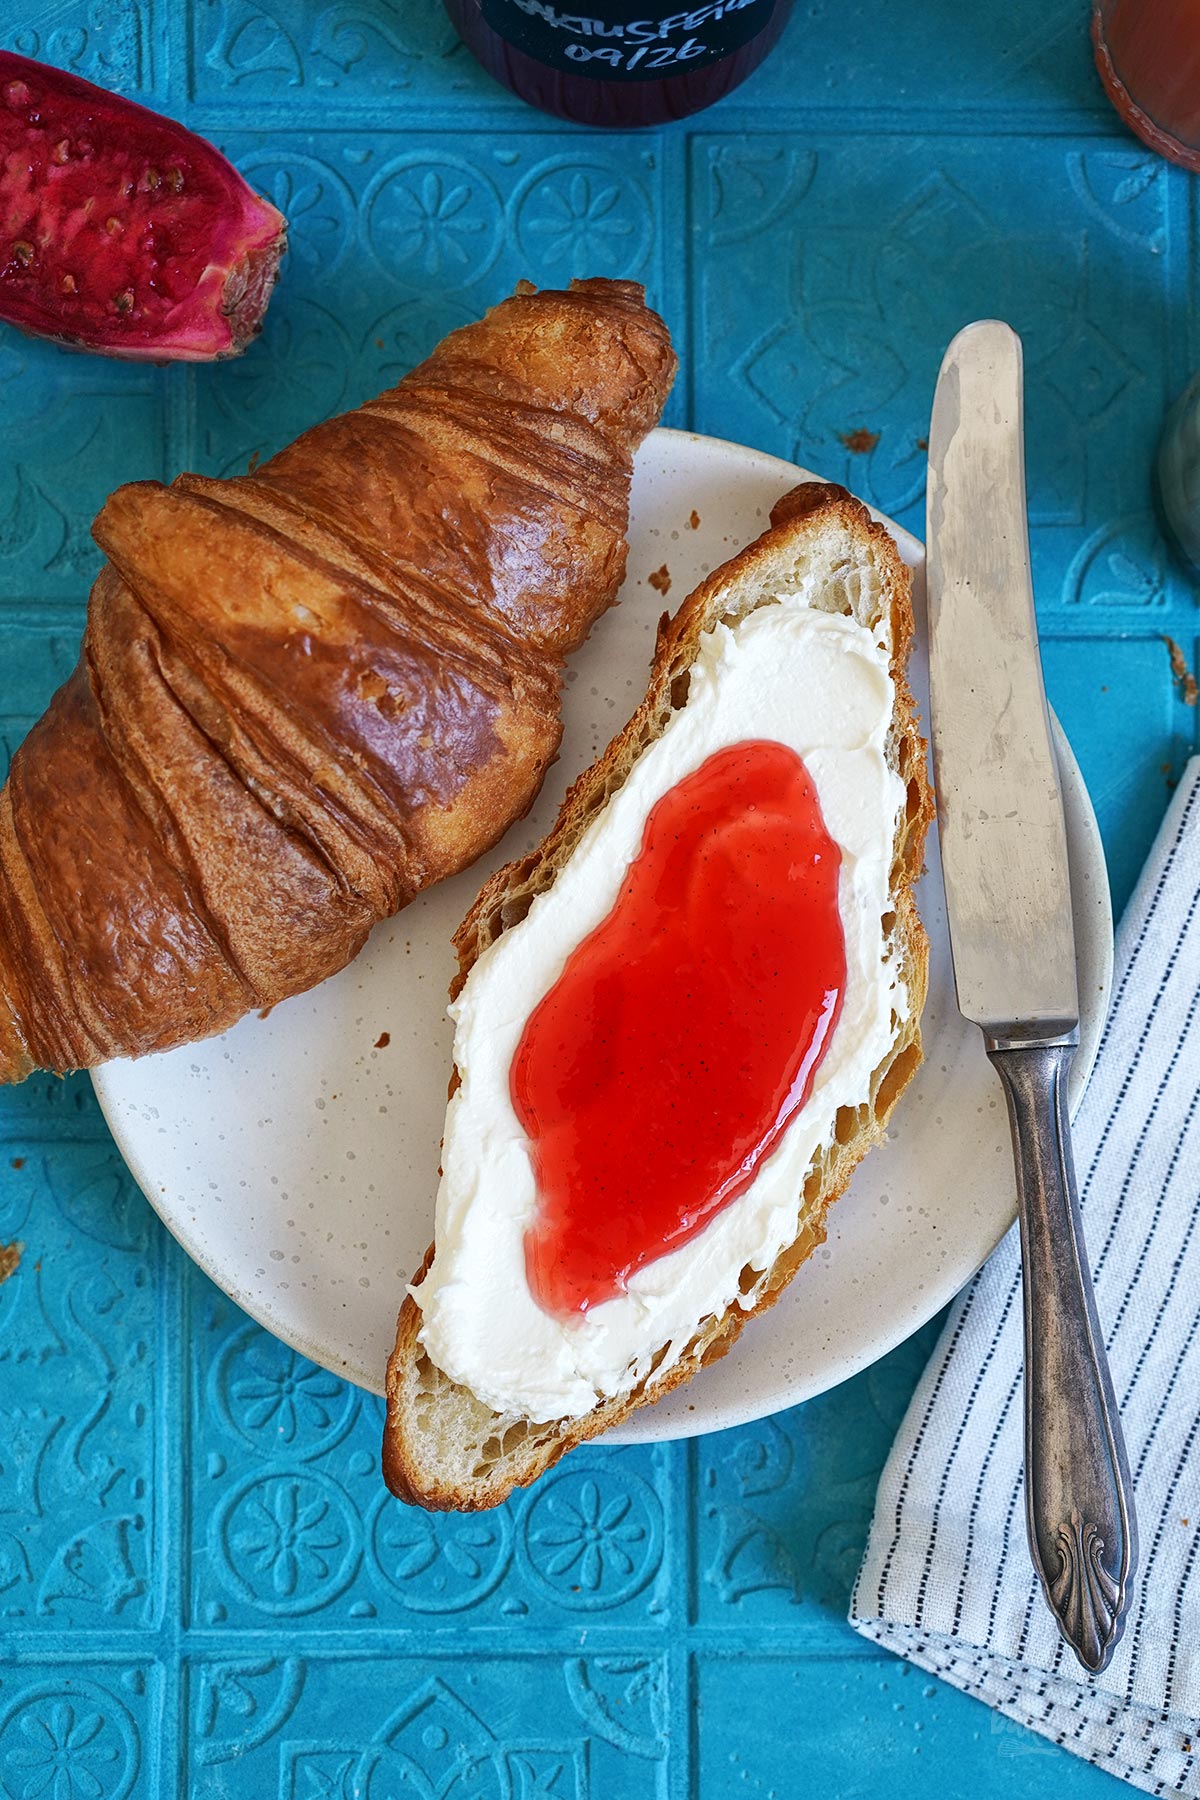
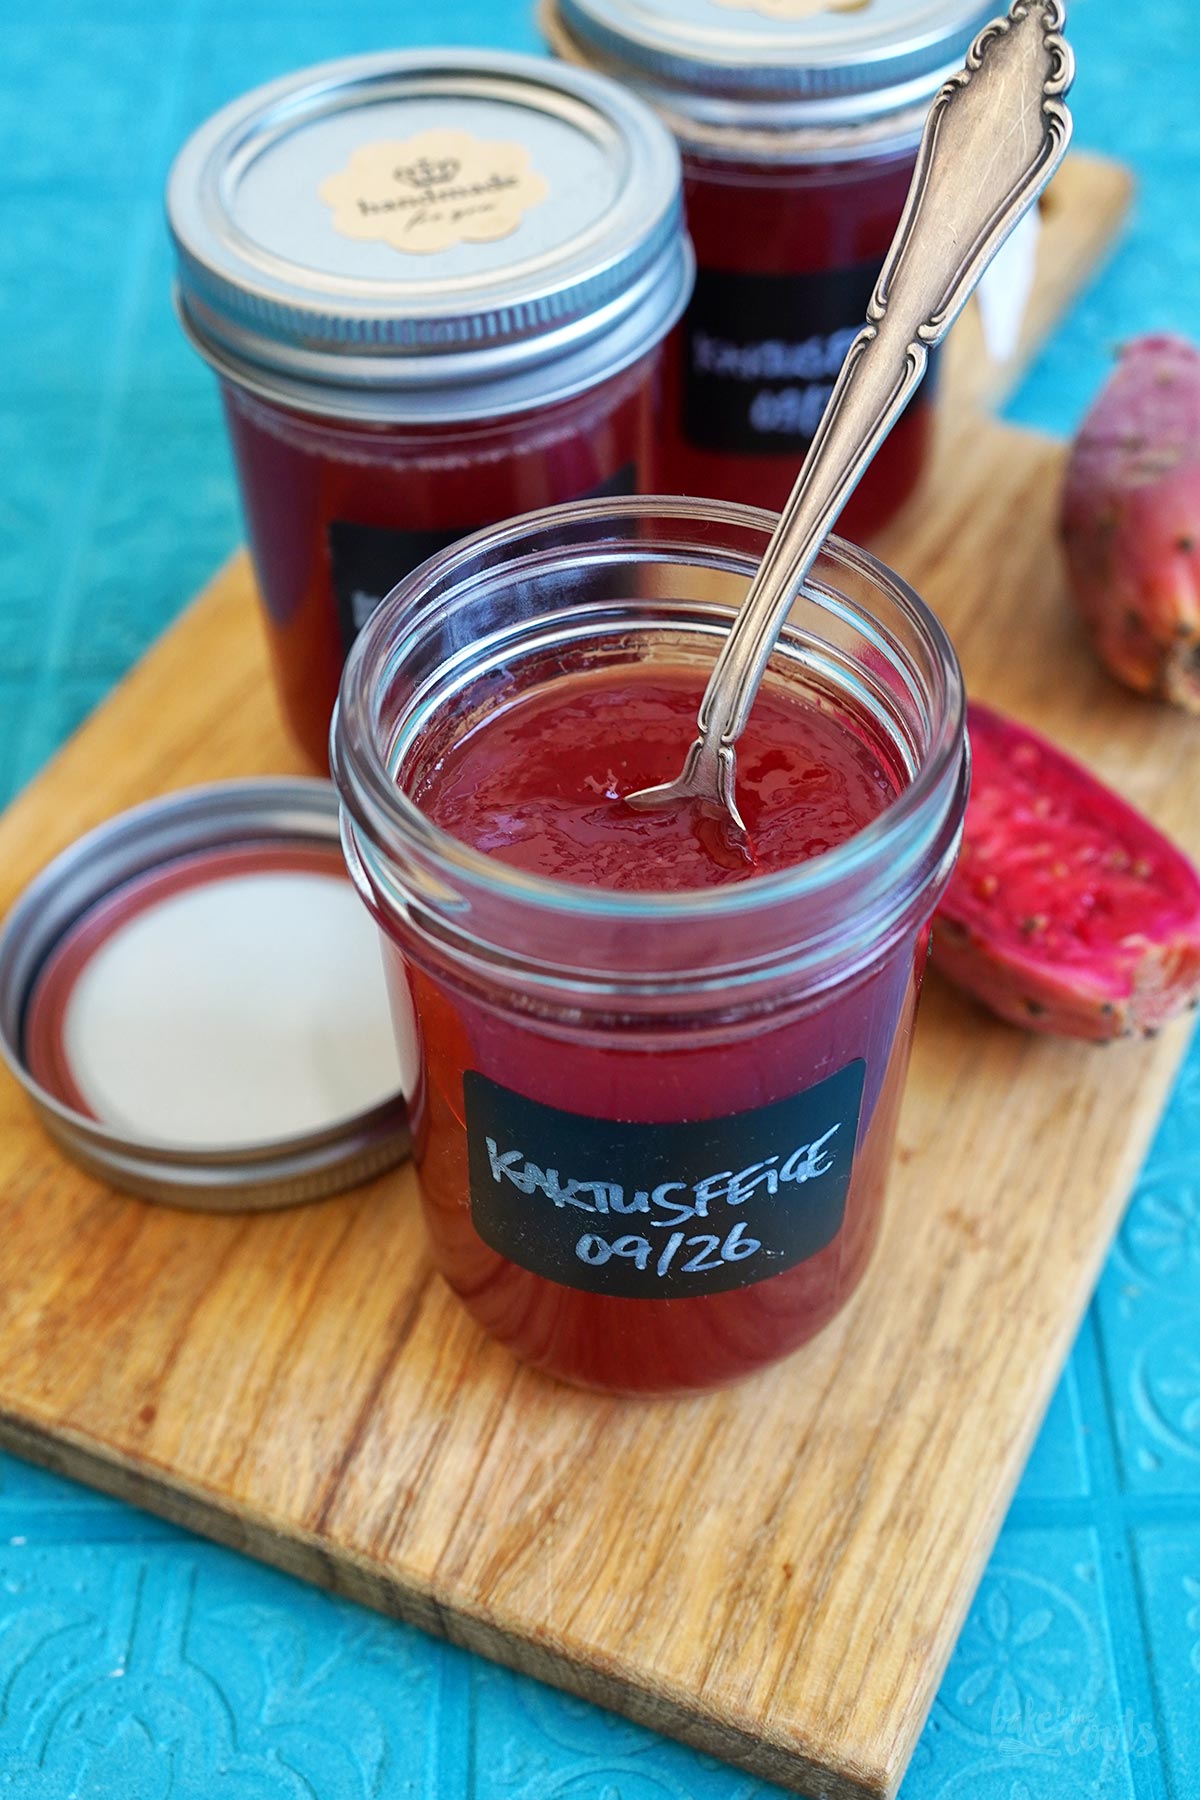
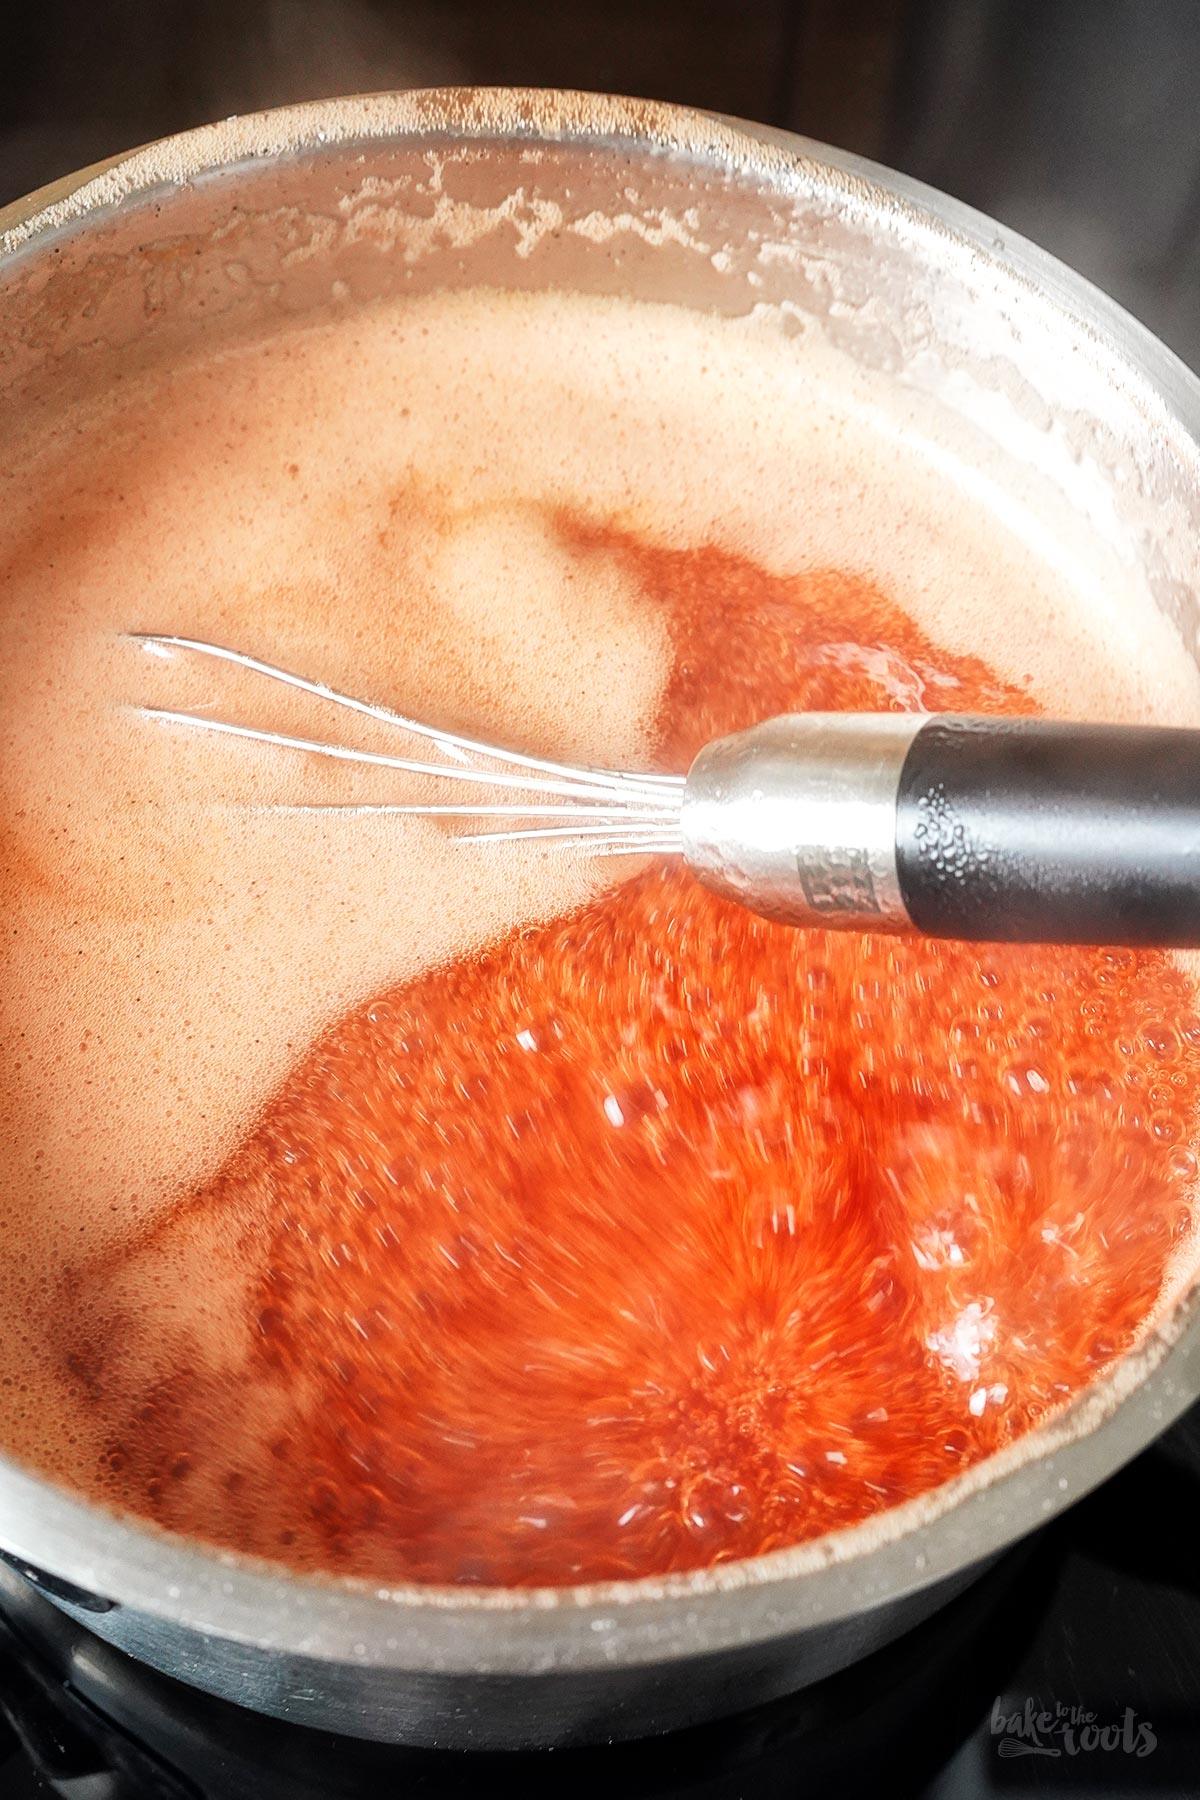
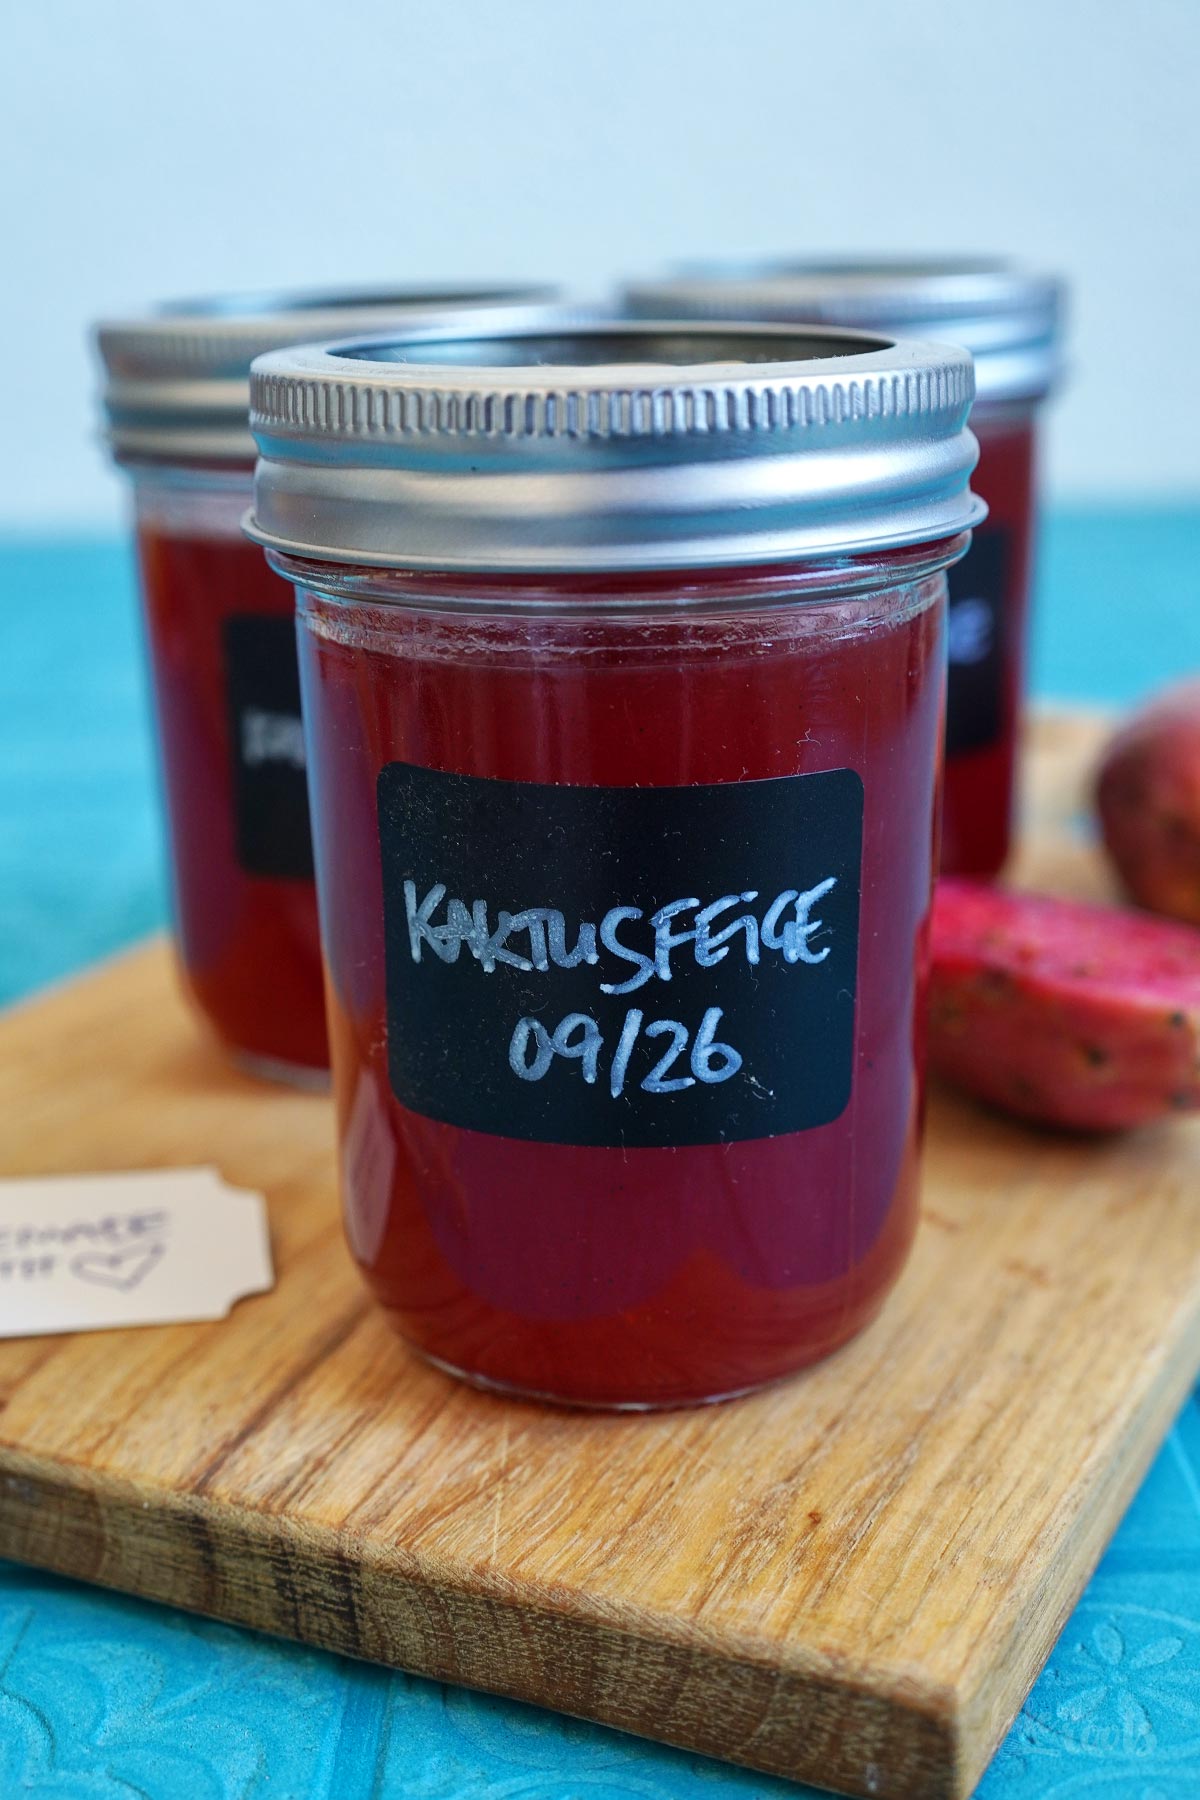
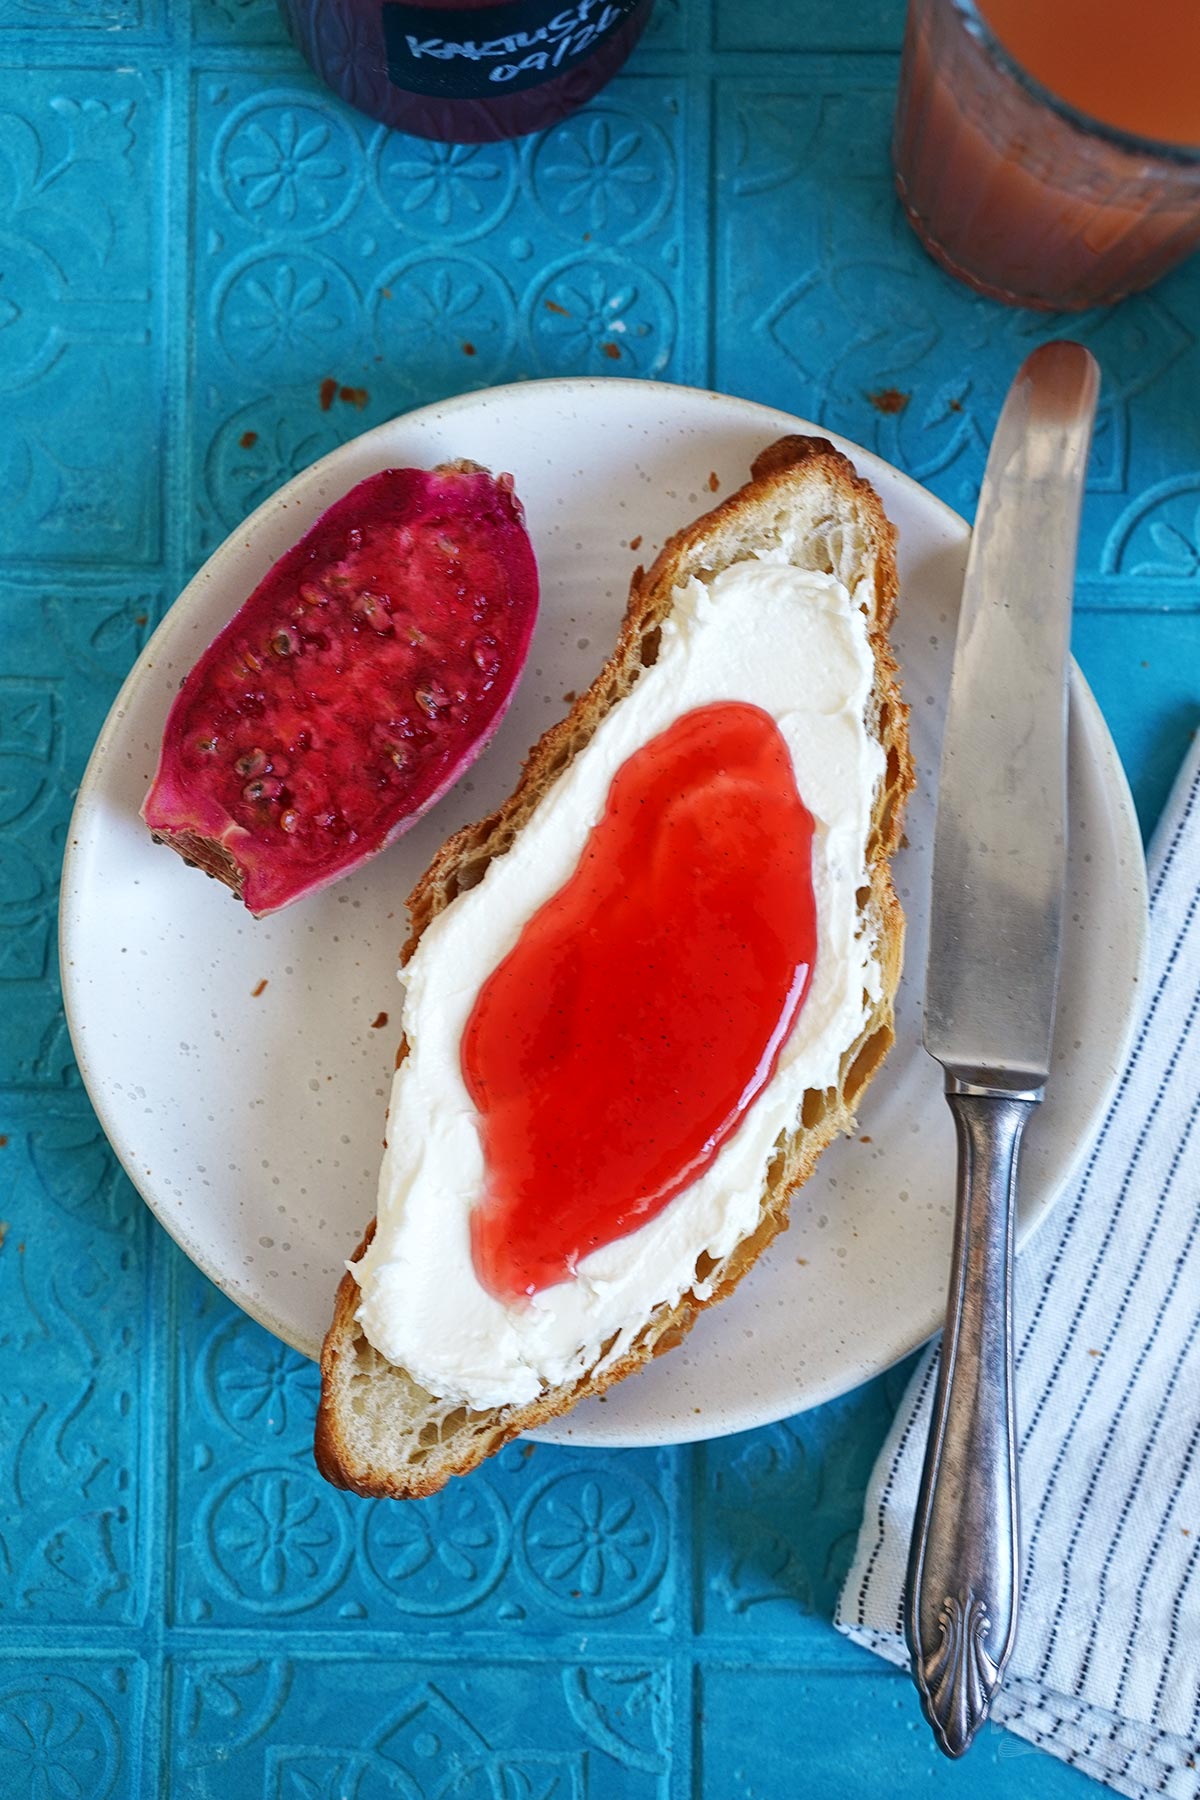
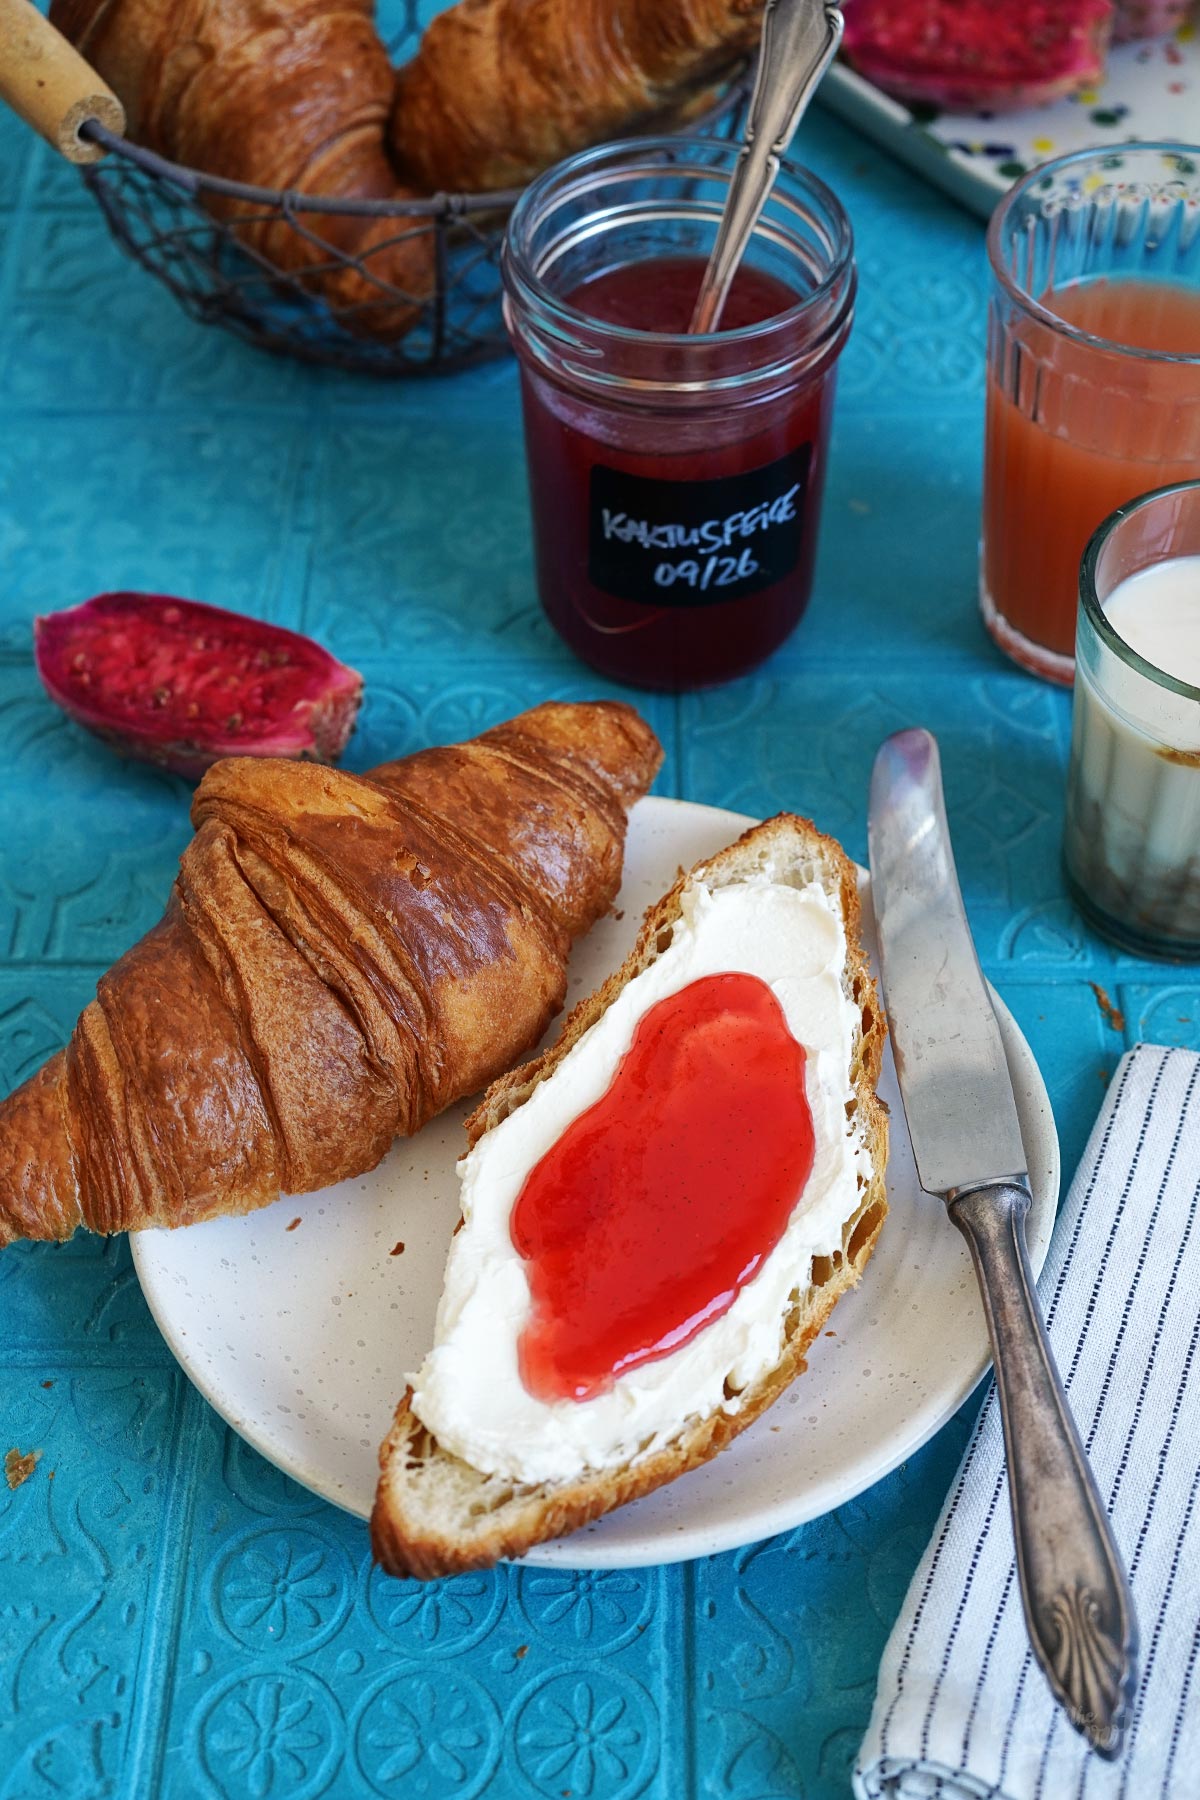
As you can see in the photos, our prickly pear jam didn’t thicken a lot during cooking. That doesn’t bother us, but some people might prefer a firmer jam so it stays on the bread roll better without running off.
Prickly pears are naturally low in acidity – yet acidity is important for the jam-making process. We only used 1 tablespoon of lemon juice in this recipe to add more acidity – using a bit more should help the pectin in the gelling sugar work more effectively and thicken the mixture further.
So, if you prefer a thicker/firmer jam, you can use 2 tablespoons of lemon juice instead of the one listed. After performing the gelling test, you can check the consistency and add even a little more lemon juice if the jam still isn’t firm enough.
DIRECTIONS / ZUBEREITUNG
1. First sterilize the glass jars* and lids – either by boiling them in plenty of water or heating them in the oven. Be careful with the lids, they might not withstand the same heat as the glass jars. Set aside and let dry.
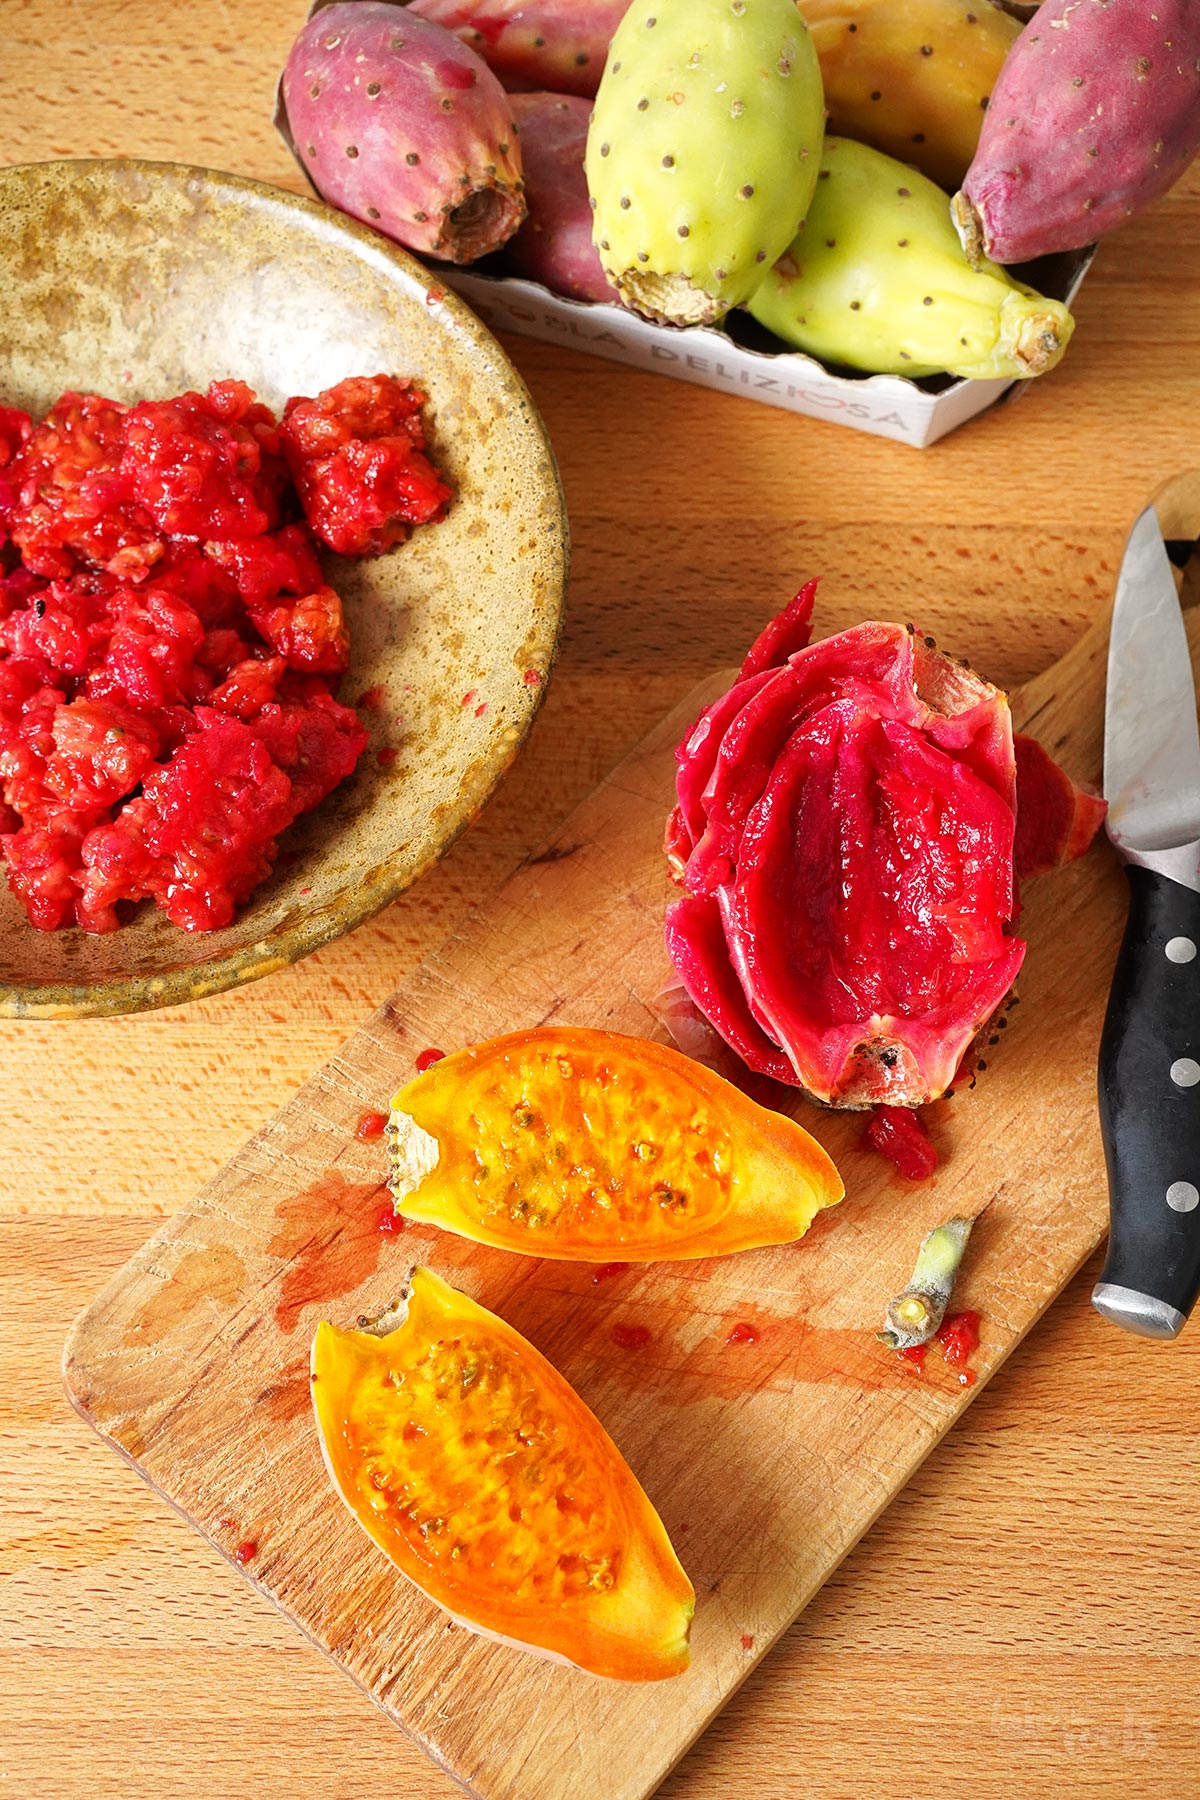
2. Slice the prickly pears lengthwise in half and scoop out the flesh. It is advisable to wear gloves, as the skin of the prickly pear has tiny, annoying spines (glochids) that can easily get stuck in your skin.
3. Blend the fruit flesh briefly with an immersion blender, then press the mixture through a sieve to remove the seeds. You will need a fair amount of prickly pears and flesh, as the seeds are quite large and there isn’t much pulp/juice left per pear. Be sure to weigh the pulp to ensure you have 17.6 oz. (500g) of pulp/juice for the jam.
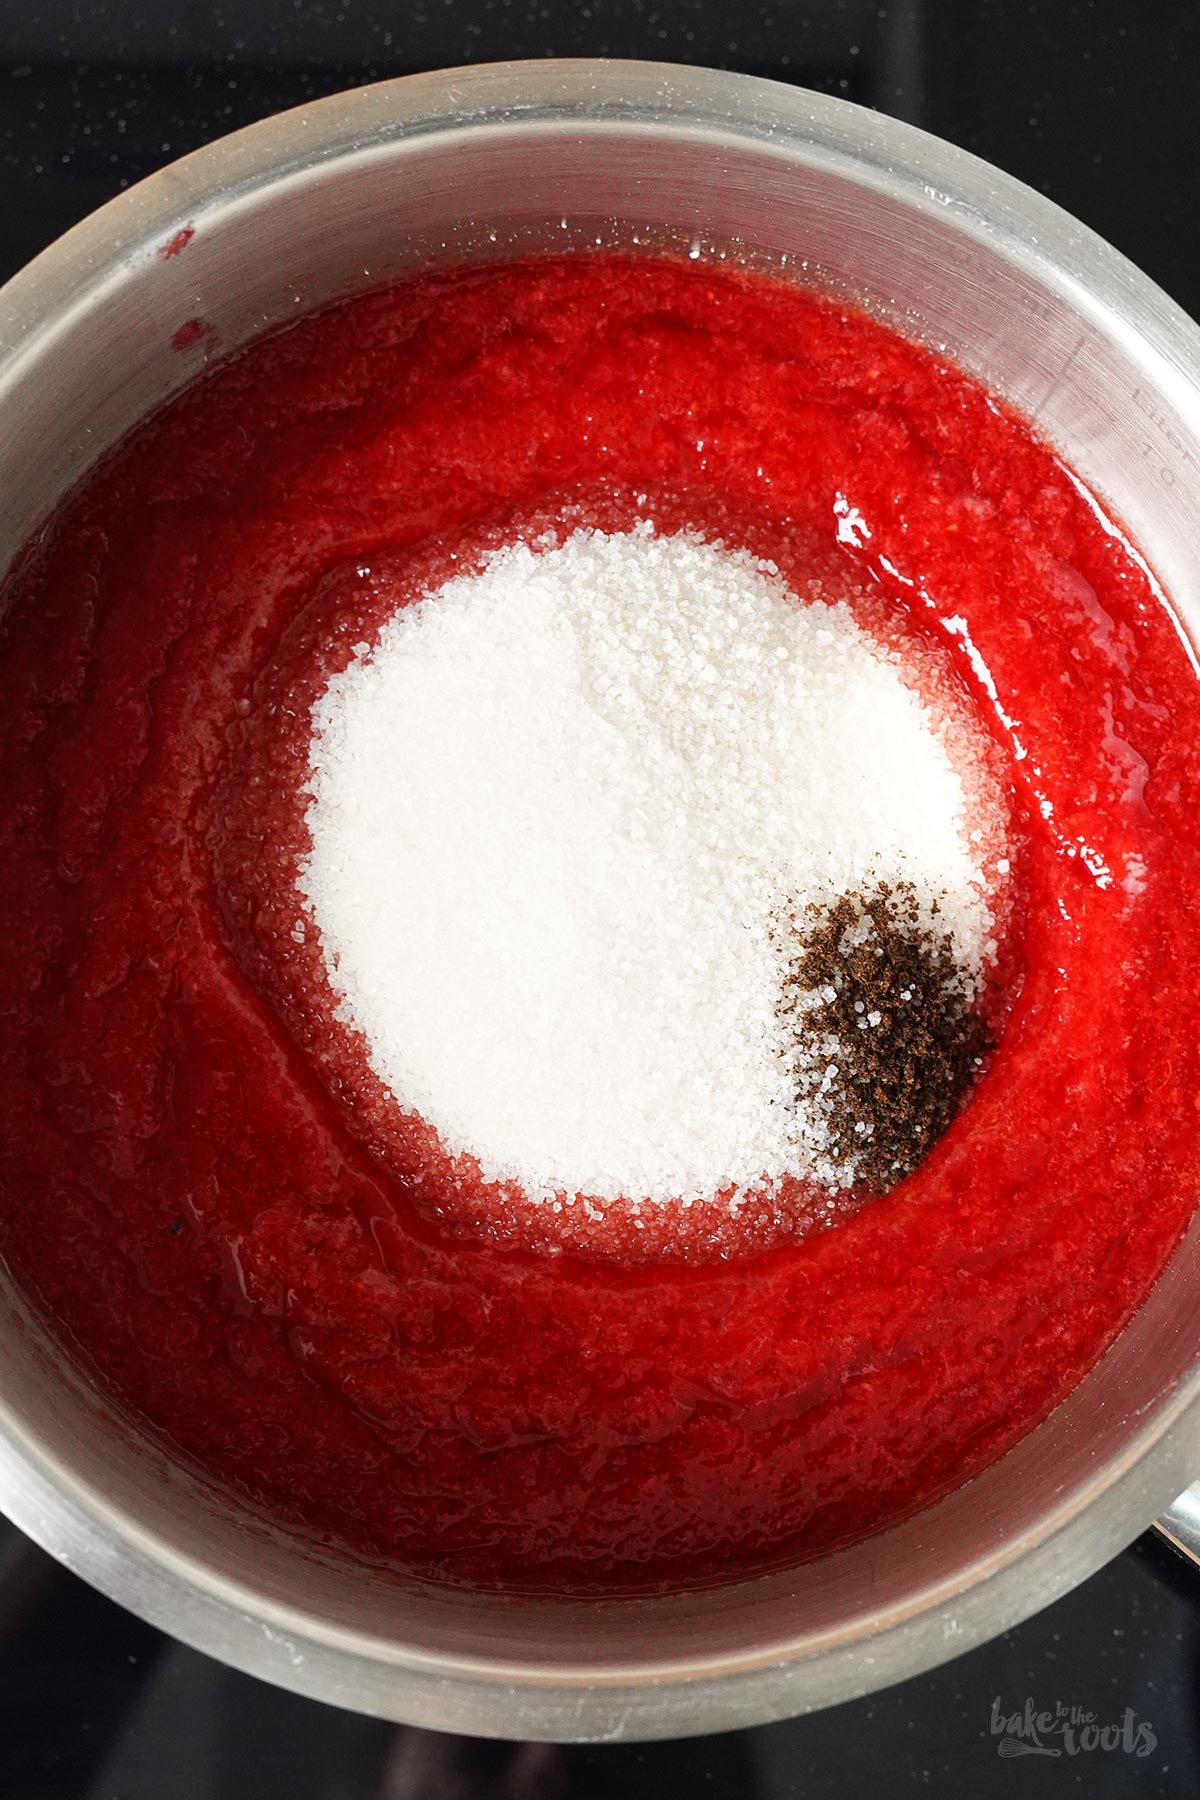
4. Place the weighed prickly pear flesh and juice (17.6 oz./500g) into a saucepan along with the preserving sugar, lemon juice, and vanilla powder. Bring the mixture to a boil, then let it boil vigorously for about 4-5 minutes while stirring constantly. Do a gelling test (using a small plate) – if the jam sets quickly, it is ready to be canned. If not, simply cook it a little longer.
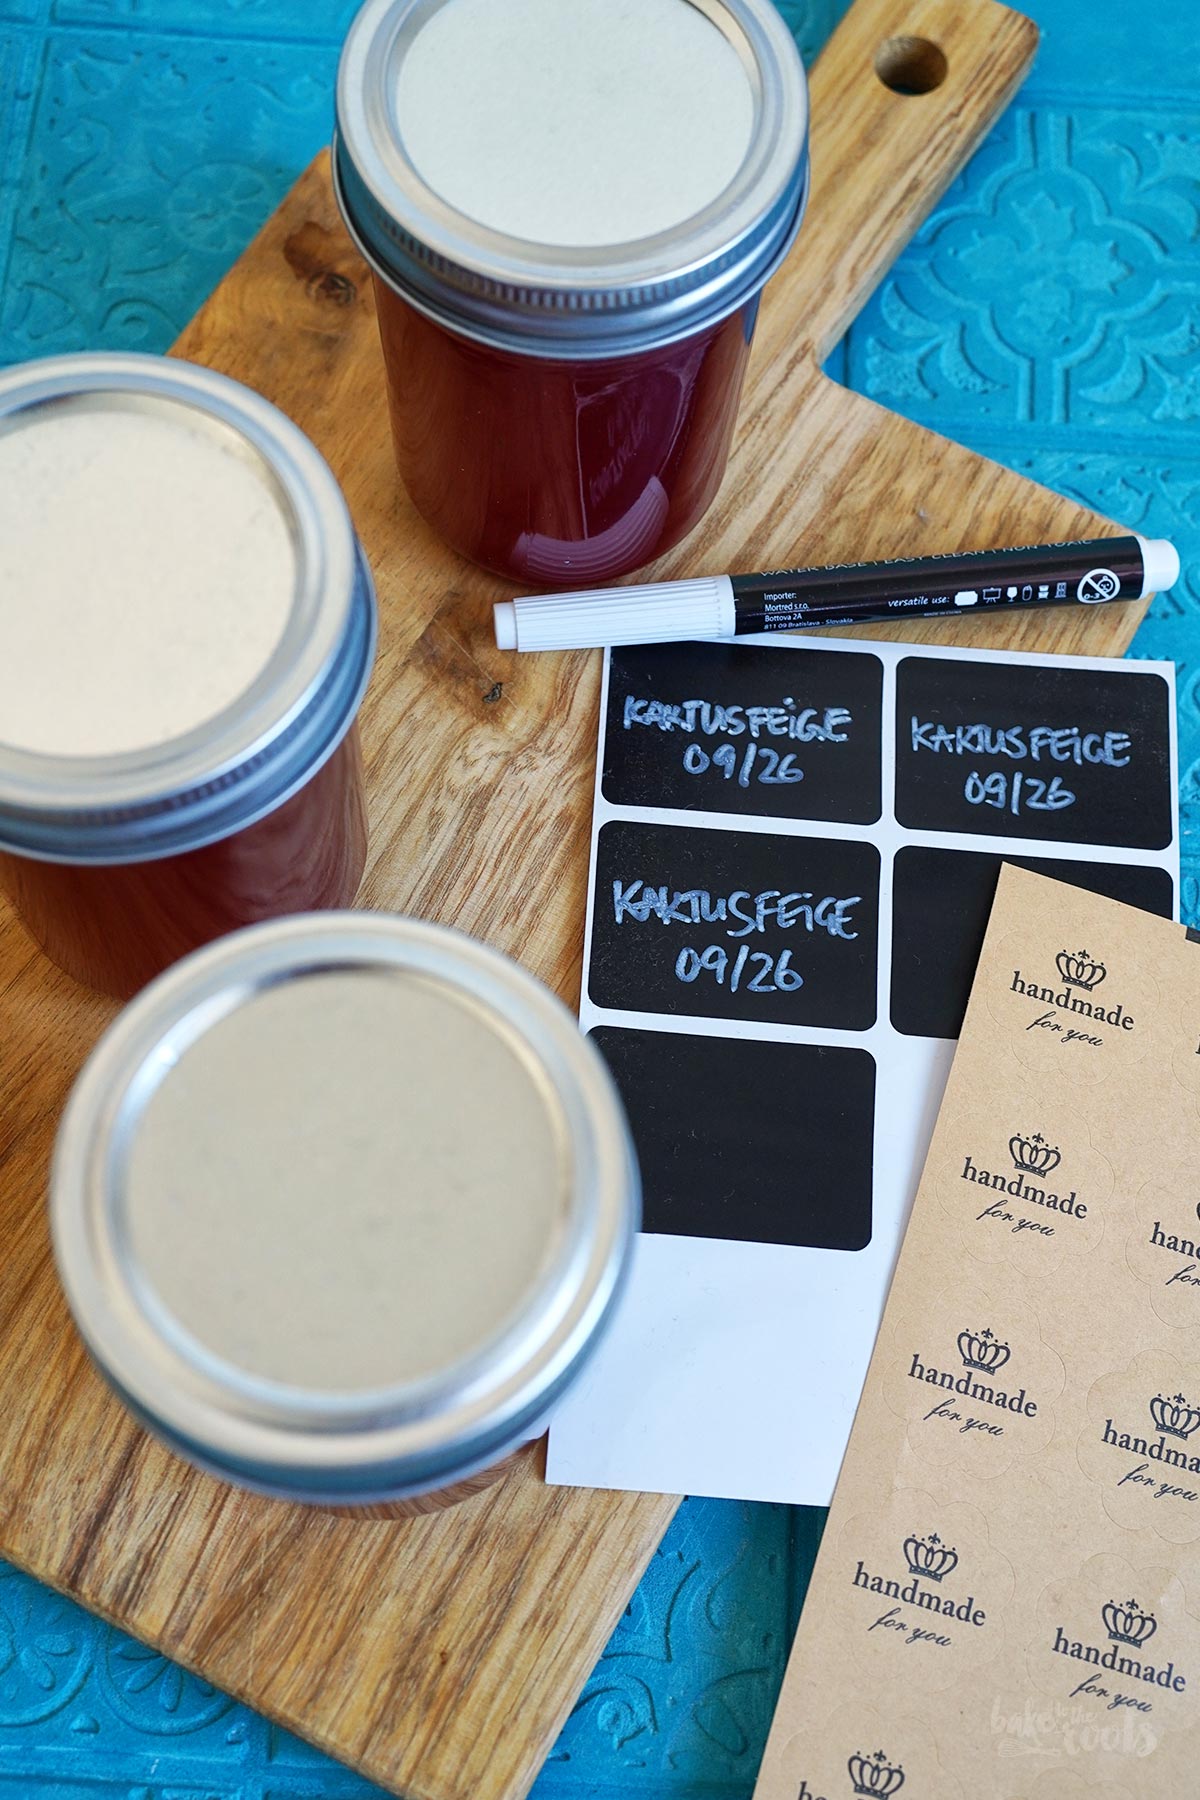
5. Pour the jam into the prepared glass jars and seal them tightly immediately. There is no need to turn the jars upside down. Let them cool completely. Store the jars in a cool, dark place (e.g. basement). If you worked with clean equipment, the unopened jam should keep for at least a year. Once opened, store in the fridge and consume within a few weeks.
1. Die Einmachgläser* und Deckel sterilisieren – entweder in genügend Wasser auskochen oder im Backofen erhitzen. Vorsicht bei den Deckeln – die halten nicht automatisch so viel Hitze aus, wie die Gläser. Zur Seite stellen und trocknen lassen.
2. Die Kaktusfeigen der Länge nach aufschneiden und das Fruchtfleisch entfernen und sammeln. Es empfiehlt sich hier, Handschuhe zu tragen, da die Schale der Kaktusfeigen sehr kleine und lästige Stachel hat, die sich in der Haut verhaken können.
3. Das Fruchtfleisch mit einem Pürierstab kurz durchmixen und dann alles durch ein Sieb durchstreichen, um die Samen zu entfernen. Man braucht hier einiges an Kaktusfeigen und Fruchtfleisch, da die Samen recht groß sind und von einer einzelnen Kaktusfeige nicht allzu viel übrig bleibt. Man sollte hier auf jeden Fall abwiegen, damit man 500g Fruchtfleisch/Saft für die Marmelade zusammenbekommt.
4. Das abgewogene Fruchtfleisch bzw. den Saft (500g) der Kaktusfeigen zusammen mit dem Gelierzucker, Zitronensaft und Vanillepulver in einen Topf geben. Die Mischung aufkochen lassen, dann unter ständigem Rühren etwa 4-5 Minuten sprudelnd kochen lassen. Den Geliertest machen (mit einem kleinen Teller) – wird die Marmelade zügig fest, kann abgefüllt werden. Wenn nicht, einfach noch etwas länger kochen lassen.
5. Die Marmelade in die vorbereiteten Gläser füllen und sofort gut verschließen. Auf den Kopf stellen ist nicht notwendig. Komplett abkühlen lassen. Die Marmeladengläser an einem dunklen, kühlen Ort (z.B. Keller) lagern. Wenn sauber gearbeitet wurde, sollte die Marmelade ungeöffnet mindestens 1 Jahr durchhalten. Nach dem Öffnen im Kühlschrank lagern und innerhalb von wenigen Wochen aufbrauchen.
Craving more? Keep in touch on Facebook, Instagram and Pinterest for new post updates and more. You can also contact me with any questions or inquiries!
Here is a version of the recipe you can print easily.
Print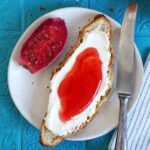
Homemade Prickly Pear Jam
- Prep Time: 00:20
- Cook Time: 00:05
- Total Time: 00:30
- Yield: 3 1x
- Category: Homemade Stuff
- Method: -
- Cuisine: International
- Diet: Vegetarian
Description
If you are tired of your regular jam for breakfast – try this delicious homemade prickly pear jam. Sweet and perfect for your croissant or toast in the morning.
Ingredients
3 preserving glass jars (each 240ml)*
17.6 oz. (500g) prickly pears (pulp & juice) – equivalent to approx. 1.2-1.4 kg of prickly pears
9 oz. (250g) gelling sugar (2:1)*
1 tbsp. lemon juice (see notes)
1 tsp. vanilla powder*
Instructions
1. First sterilize the glass jars* and lids – either by boiling them in plenty of water or heating them in the oven. Be careful with the lids, they might not withstand the same heat as the glass jars. Set aside and let dry.
2. Slice the prickly pears lengthwise in half and scoop out the flesh. It is advisable to wear gloves, as the skin of the prickly pear has tiny, annoying spines (glochids) that can easily get stuck in your skin.
3. Blend the fruit flesh briefly with an immersion blender, then press the mixture through a sieve to remove the seeds. You will need a fair amount of prickly pears and flesh, as the seeds are quite large and there isn’t much pulp/juice left per pear. Be sure to weigh the pulp to ensure you have 17.6 oz. (500g) of pulp/juice for the jam.
4. Place the weighed prickly pear flesh and juice (17.6 oz./500g) into a saucepan along with the preserving sugar, lemon juice, and vanilla powder. Bring the mixture to a boil, then let it boil vigorously for about 4–5 minutes while stirring constantly. Do a gelling test (using a small plate) – if the jam sets quickly, it is ready to be canned. If not, simply cook it a little longer.
5. Pour the jam into the prepared glass jars and seal them tightly immediately. There is no need to turn the jars upside down. Let them cool completely. Store the jars in a cool, dark place (e.g. basement). If you worked with clean equipment, the unopened jam should keep for at least a year. Once opened, store in the fridge and consume within a few weeks.
Notes
Make something amazing in the kitchen!
Links marked with an asterisk (*) are affiliate links (advertising/Werbung) to Amazon Germany. If you click on one of those links and buy something via this link, I will get a commission for that sale. The price of whatever you buy is not affected in any way by this.