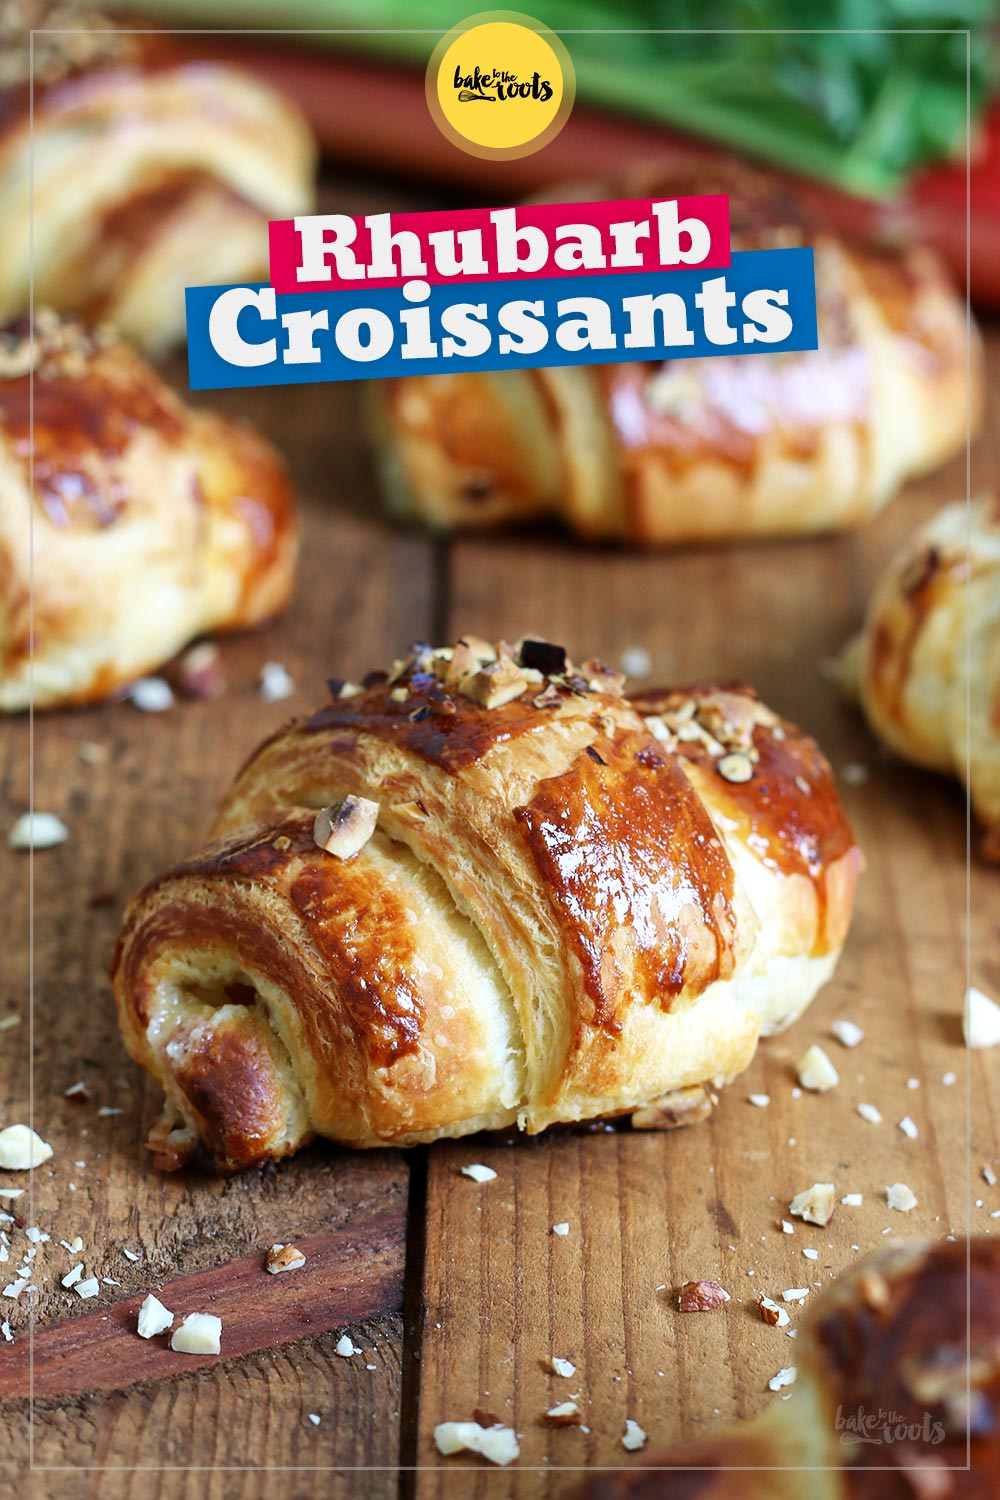
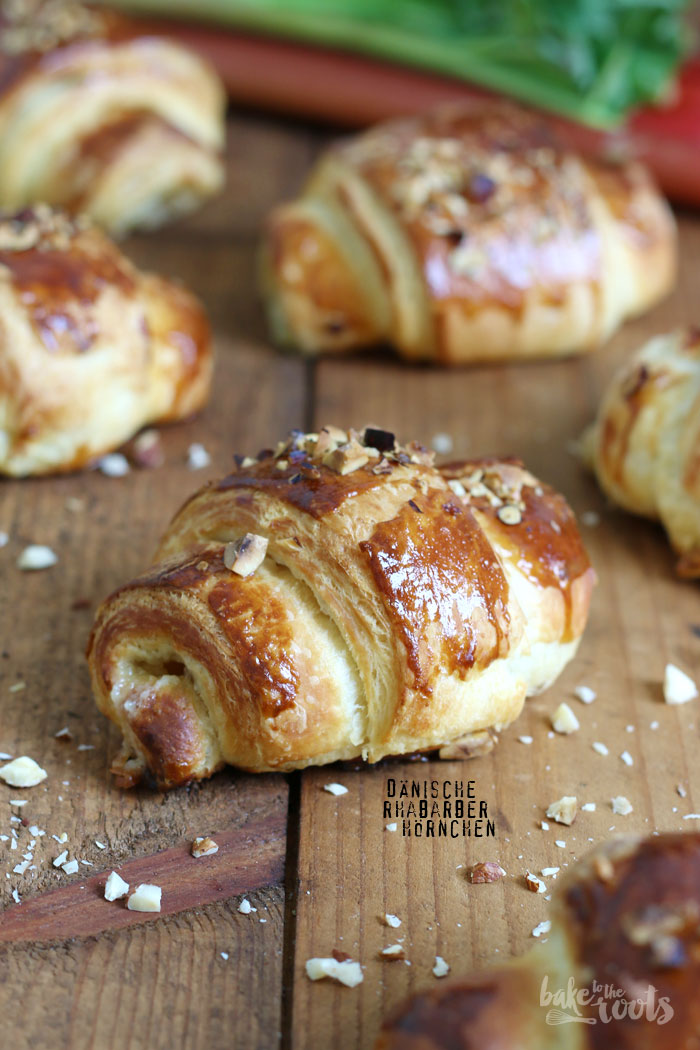
Hello rhubarb! What do you think about the two of us getting together? I’ll prepare a light and airy bed of a Danish pastry for you, and you… you just stay as delicious as you are! Today is rhubarb day once again at our house. To be more precise: it’s Danish rhubarb day! Why Danish, some of you might be wondering, since we have rhubarb here in Germany too… Well, the story of these delicious Rhubarb Croissants begins for us in Denmark…
I was in Copenhagen a few weeks ago (in 2016) – one of the most beautiful cities in Europe, I have to admit. Beautiful houses, beautiful design, beautiful people, and delicious food! I got a voucher for a pottery class at Tortus (Copenhagen) as a Christmas present and went to the Danish capital. I didn’t do super well in the pottery class, though. Proof of the misery can be found on my Instagram account, if anyone’s interested (you have to scroll down quite a bit these days, though)…
Well. The workshop was the highlight of the trip, but the food was a close second. We gorged ourselves on the most delicious snacks Copenhagen had to offer in the Meatpacking District and at street food markets. I was especially taken with all the baked goods. Denmark is a paradise for any pastry lover! They really know how to make them! I’m always amazed! They also make great little cakes and other treats. We should not forget about those… If the stuff wasn’t so expensive in many places, I’d have to be wheeled to the airport every time I visit. So maybe it’s not such a bad thing that you sometimes have to dig a little deeper into your pockets…
Anyway. Not everyone can just hop on a plane or ferry to Copenhagen, of course. Luckily for us, the journey isn’t too far from Berlin – but even so, trips to the Danish capital are rather rare for us. That’s why we’re bringing the Danish pastry culture into our own kitchen today. If the Danes can do it, we should be able to manage to do it too, right?
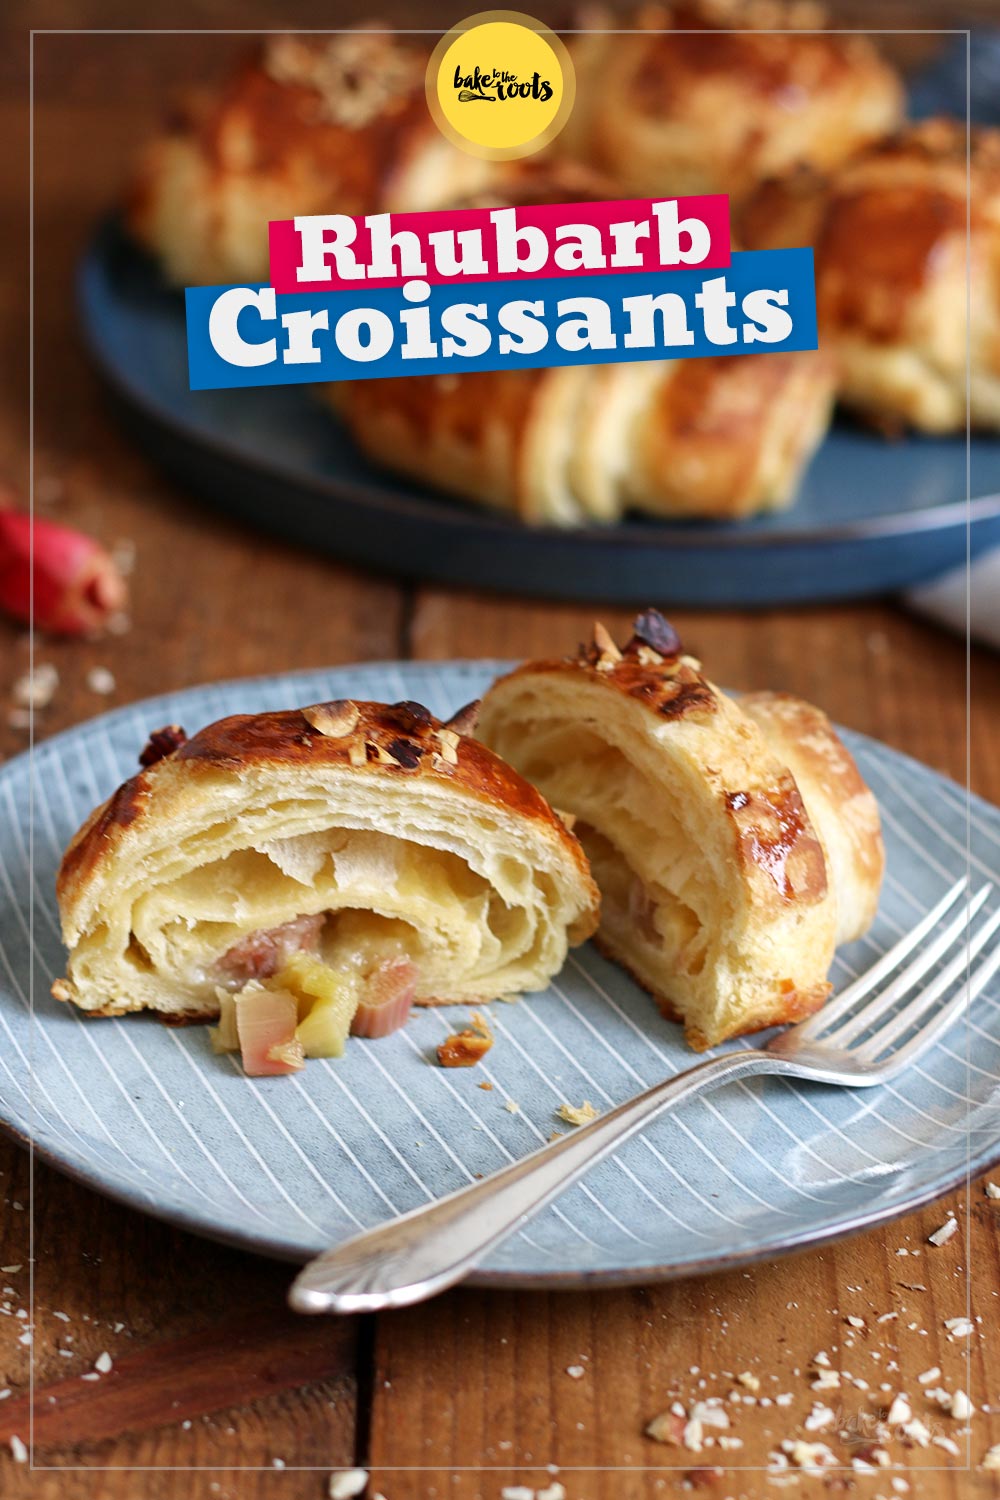
Making Danish pastry dough isn’t particularly difficult – it just takes some time to get ready. Most of the »work« is simply waiting until the dough has rested sufficiently. It’s the same with puff pastry, which is actually closely related. A small but important difference between these two types of dough: Danish pastry dough uses a yeast dough in addition to the layers of butter. This makes everything even lighter, softer, and fluffier.
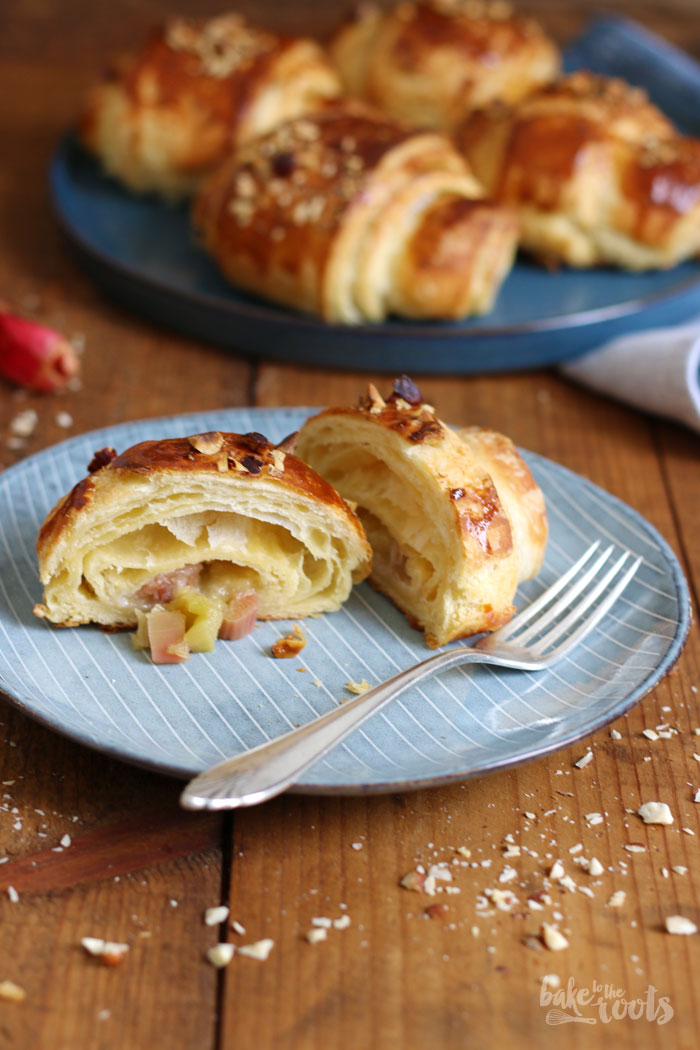
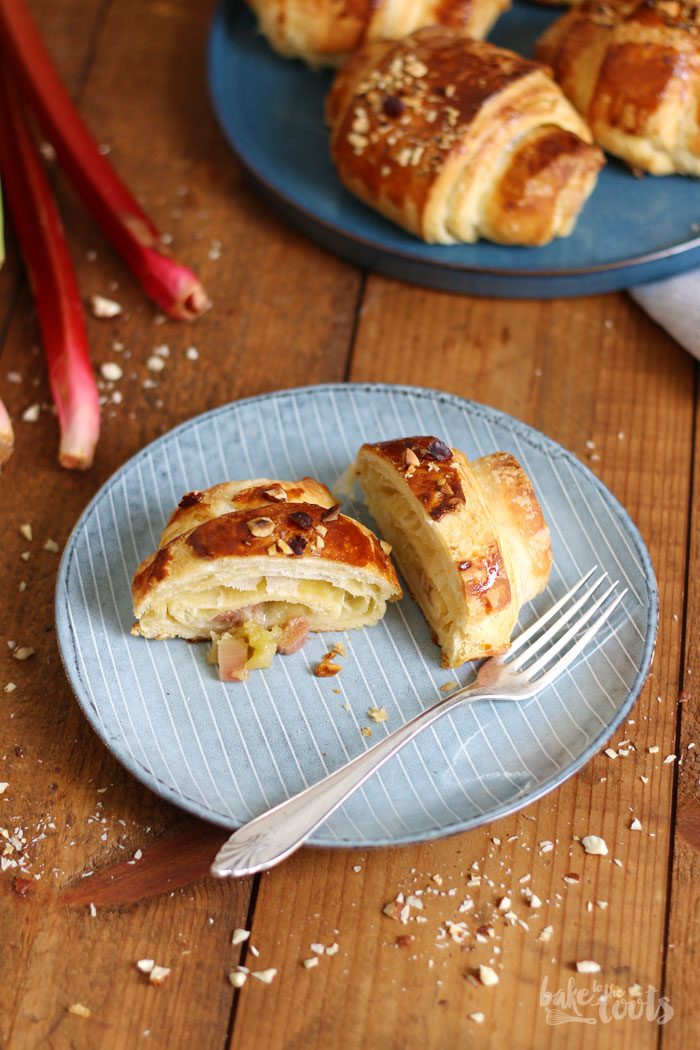
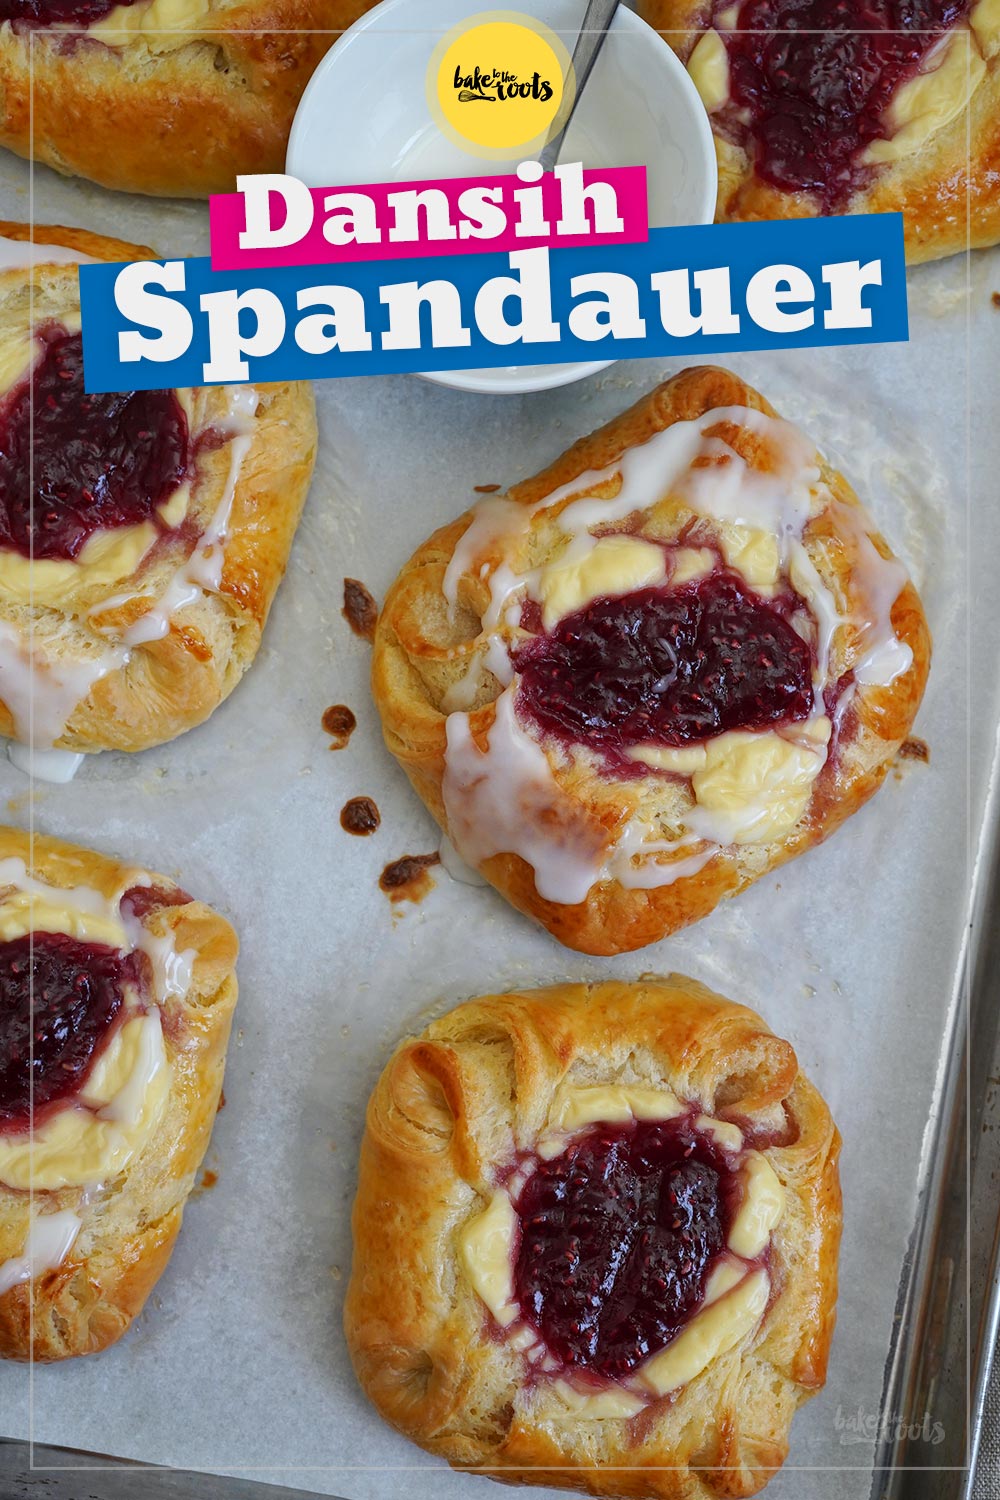
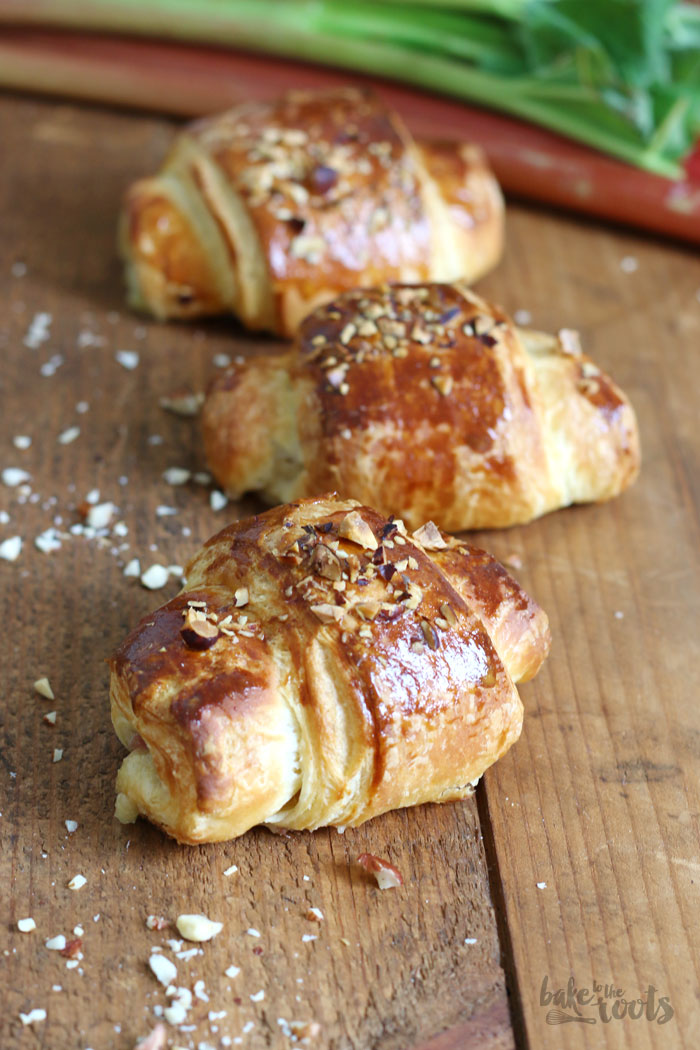
Once you have Danish pastry dough ready and chilling in the fridge, you can make all sorts of delicious treats with it. You can make little croissants and fill them with rhubarb and marzipan, as shown here (or all sorts of other fillings, of course), or you could prepare some classic Danish pastries. Those are normally available in round or square shapes and topped with, for example, custard and/or various fruits or berries. Our Spandauer Danish Pastries with Marzipan, Custard & Jam are the perfect example here.
Now, let’s get to the recipe! If you want something delicious to snack on, you’ll need to get started quickly. Unfortunately, this can’t all be done in just a few minutes. You should plan on a few hours, at least for the waiting time. BUT – if you’re clever, you’ll prepare the dough one day and then store it in the refrigerator until you need it the next day or even freeze it. Both work perfectly! And for the really lazy, you can simply buy ready-made puff pastry. It’s available these days, too. ;P

INGREDIENTS / ZUTATEN
(12 horns)
For the butter layer:
8.8 oz. (250g) cold butter, diced
1/3 cup (40g) all-purpose flour*
For the dough:
17.6 oz. (500g) all-purpose flour*
1/4 cup (50g) sugar (fine)*
1 1/2 tsp. salt
1.5 oz. (42g) fresh baker’s yeast
1 oz. (30g) butter, at room temperature
1 medium egg
2 medium egg yolks
6 oz. (170g) cold milk
For the filling:
7 oz. (200g) rhubarb
1/2 cup (120ml) water
1/4 cup (50g) brown sugar*
3.5 oz. (100g) almond paste* or marzipan (for baking)*
1/4 cup (55g) butter, at room temperature
1/4 cup (50g) sugar (fine)*
For the decoration:
1 medium egg yolk
some chopped hazelnuts
(12 Hörnchen)
Für die Butterschicht:
250g kalte Butter
40g Mehl (Type 405)*
Für den Teig:
500g Mehl (Type 405)*
50g Zucker (fein)*
1 1/2 TL Salz
1 Würfel (42g) Hefe
30g weiche Butter
1 Ei (M)
2 Eigelb (M)
170g kalte Milch
Für die Füllung:
200g Rhabarber
120ml Wasser
50g brauner Zucker*
100g Mandelpaste* oder Marzipanrohmasse*
55g weiche Butter
50g Zucker (fein)*
Für die Dekoration:
1 Eigelb (M)
einige gehackte Haselnüsse
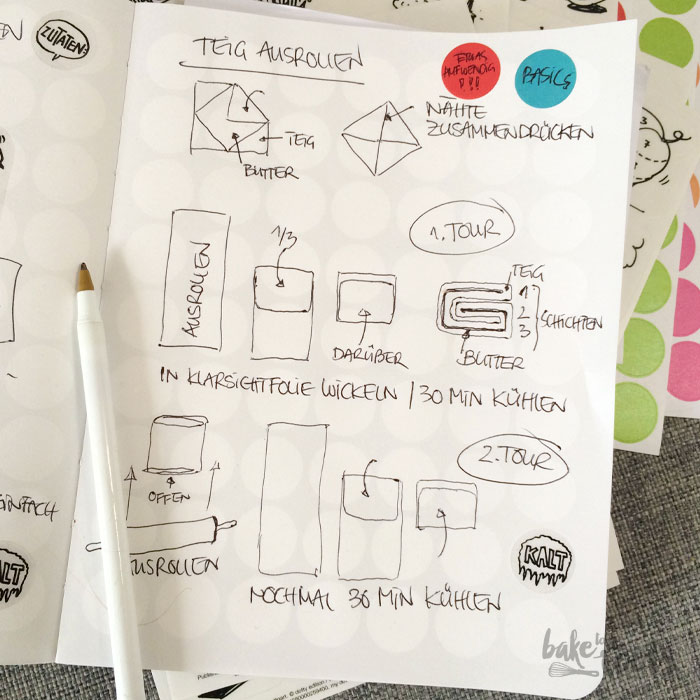

The small drawing above might help you better understand the description in the text for laminating the dough. First, you wrap the butter in the dough – it looks a bit like an envelope. Then you simply roll it out and fold it into a small, layered package. This is done several times, with a short break in the fridge between each fold session to prevent the butter from getting too warm. This is something you definitely want to avoid. The same applies to puff pastry, for example. So be careful!
FAQs about Danish Pastry dough
What exactly is Danish pastry dough?
Danish pastry is a simple yeast dough with butter incorporated in several layers. Through repeated rolling and folding (tour), fine layers are created that rise lightly during baking and form a flaky structure – similar to puff pastry, but with yeast.
How does Danish pastry dough differ from puff pastry?
The crucial difference is the yeast. While puff pastry rises solely through steam, Danish pastry uses yeast to give it extra volume and a softer, slightly brioche-like crumb.
Why does butter sometimes leak out of the dough?
This usually happens when the dough and butter don’t have the same consistency or when the butter in the dough has gotten too warm. Important: Always keep the dough sufficiently chilled between the folding sessions and work quickly.
How many layers does a good Danish pastry need?
Generally, two single folding sessions and one double folding session (or vice versa) are enough to create sufficient layers. Too many turns can break down the layers and make the dough denser.
Can Danish pastry be prepared in advance or frozen?
Yes, Danish pastry can be prepared in advance. After the folding sessions, you can let it rest in the fridge overnight. Freezing is also possible – ideally, well-wrapped and thawed slowly in the refrigerator to preserve the buttery texture.
DIRECTIONS / ZUBEREITUNG
1. Cut the cold butter into pieces and mix it with the flour. Knead until well combined. Do this quickly so the butter does not get warm. Place the mix between two pieces of plastic wrap or baking parchment and shape it into a square with a thickness of about 1cm. This works best with a rolling pin. Cover and place in the fridge until needed.
2. Add the flour, sugar and salt for the dough to a large bowl and mix. Crumble the fresh yeast into pieces and add it together with the butter, egg, egg yolks and the cold milk to the bowl. Knead until you get a nice smooth dough. Wrap loosely in plastic wrap and place in the fridge for at least 1 hour.
3. Take the dough out of the fridge and roll it out on a floured surface into a square – it should be about double the size of the butter square. Add the butter (without the plastic wrap) on top of the dough square. The corners of the butter square should point to the sides of the dough square (45° rotation, if that helps). Fold the dough edges over the butter so it looks like an envelope. Maybe take a look at the little illustration above if you are not sure what I mean. Press the seams together so the butter is completely sealed in. Roll out to a rectangle with triple the length of the original dough square. Fold the ends towards the center on top of each other so you get a square again with three layers. Wrap this in plastic wrap and place it in the fridge for about 30 minutes. Take the dough out of the fridge and repeat the process. Roll out again (let the open side of the package face you when rolling out) and then fold it again like you did in the first round. Place the package in the fridge for another 30 minutes.
4. For the filling wash and dry the rhubarb, cut it into small pieces and add it to a small pot together with the water and sugar. Heat up and let gently cook until a bit softer, but not mushy. The rhubarb pieces should still hold together. Let it drain and set it aside. For the almond part of the filling mix the almond paste/marzipan with the butter and sugar in a small bowl until well combined. Set everything aside.
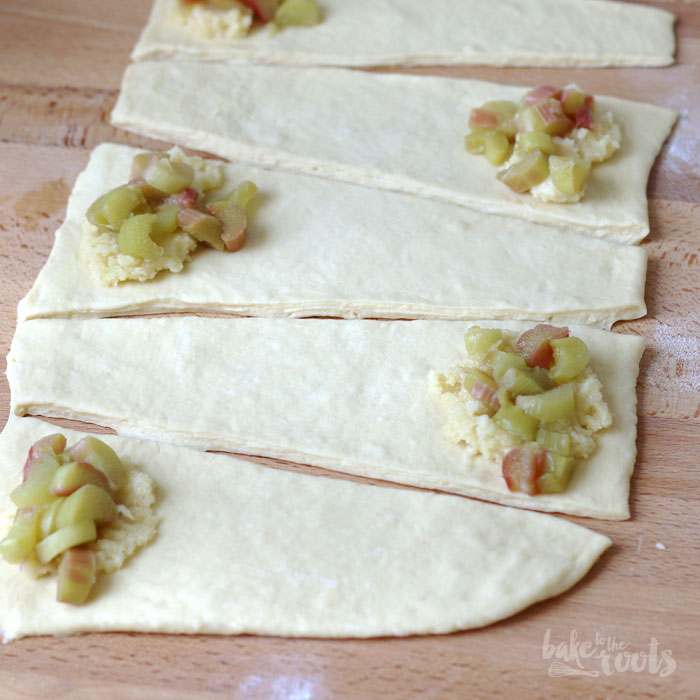
5. Line two baking sheets with baking parchment and set them aside. Roll out the dough on a floured surface to a long rectangle. The short side should be around 20cm wide/long. Cut the dough into 12 »kind of« triangles with a cut-off tip. They should basically be strips with one side wider than the other (see pictures). Place some of the almond filling on the wider side of the strips and top that with some rhubarb pieces, then roll up tight. The ends of the strips should be underneath the croissants when you place them on the baking sheet or they will unroll during baking. Also keep enough space in between because they are rising considerably. If there is filling leaking out, press the sides a bit together. Continue with the remaining strips and fillings. Cover the croissants loosely with plastic wrap and let them rest for about 10-15 minutes.
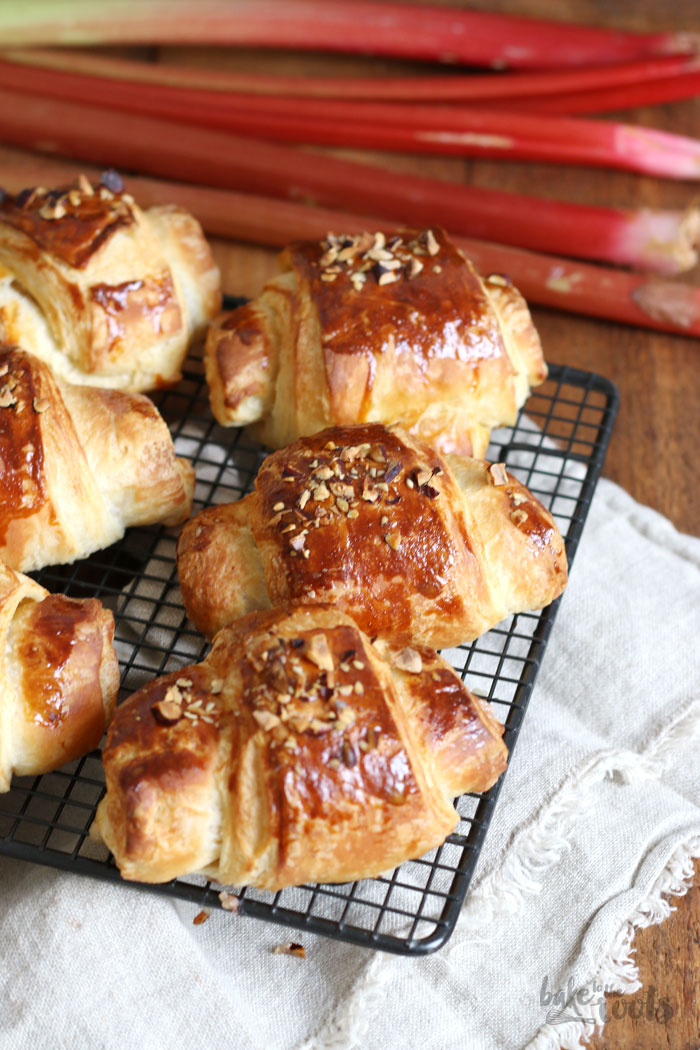
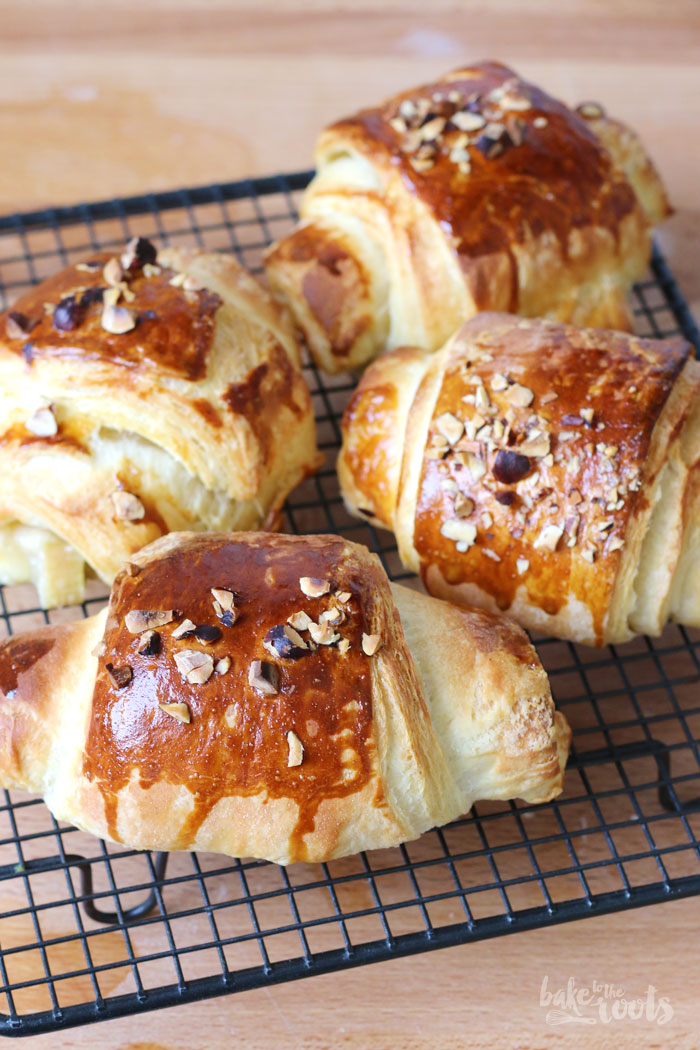
6. While the horns are resting, preheat the oven to 200°C (390°F). Whisk the egg yolk with some water and brush the croissants with it, then sprinkle them with some chopped hazelnuts. Place the baking sheets in the oven and bake the croissants for about 15-17 minutes. Take them out of the oven and let them cool down on a wire rack. The croissants are best on the day they are made but can be kept in an airtight container for the next day as well.
1. Die kalte Butter in Stückchen schneiden, mit dem Mehl vermischen und zügig miteinander verkneten, damit die Butter nicht zu warm wird. Auf ein großes Stück Klarsichtfolie legen, ein Ende der Folie locker über die Butter schlagen und zu einem etwa 1cm dicken Quadrat formen – geht mit einem Nudelholz am besten. Bis zur weiteren Verwendung in den Kühlschrank legen.
2. Für den Teig das Mehl mit dem Zucker und Salz in einer großen Schüssel vermischen. Die Hefe zerbröckeln und zusammen mit Butter, Ei, Eigelben und kalter Milch zugeben und alles zu einem glatten Teig verkneten. Den Teig locker in Klarsichtfolie wickeln und für etwa 1 Stunde in den Kühlschrank legen.
3. Den Teig aus dem Kühlschrank nehmen und auf einer bemehlten Fläche zu einem Quadrat ausrollen. Der Teig sollte etwa die doppelte Größe des Butterblocks haben. Den Butterblock (ohne die Folie) so auf das Teigquadrat legen, dass die Ecken des Butterblocks auf die geraden Seiten des Teiges zeigen (45°-Drehung), und dann die Ecken des Teiges über die Butter schlagen. Man könnte sagen, wie bei einem Briefumschlag. Die Zeichnung weiter oben sollte hier helfen. Die Nähte gut verschließen und dieses Quadrat dann zu einem Rechteck ausrollen – es sollte in etwa die dreifache Länge des ursprünglichen Quadrats haben. Die Enden zur Mitte hin übereinanderschlagen, sodass wieder ein Quadrat entsteht. Dieses Paket hat dann drei Lagen. In Klarsichtfolie einschlagen und für etwa 30 Minuten in den Kühlschrank legen. Den Teig aus dem Kühlschrank nehmen und erneut »tourieren«, also noch einmal ausrollen (die offene Seite des Teigpakets sollte zu einem zeigen) und die Teigenden wieder übereinanderschlagen und erneut 30 Minuten in den Kühlschrank legen.
4. Für die Füllung den Rhabarber waschen und trocknen, in kleine Stücke schneiden und dann zusammen mit dem Wasser und Zucker in einen kleinen Topf geben und erhitzen. Der Rhabarber soll nicht komplett durchgekocht sein und zerfallen, er soll nur etwas weicher werden. Abtropfen lassen und zur Seite stellen. Für die Mandelfüllung die Mandelpaste/Marzipan zusammen mit der weichen Butter und dem Zucker in einer kleinen Schüssel verrühren und dann zur Seite stellen.
5. Zwei Backbleche mit Backpapier auslegen und zur Seite stellen. Den Teig auf einer bemehlten Fläche zu einem langen Rechteck ausrollen. Die kürzere Seite sollte dabei etwa 20cm breit sein. Den Teig in zwölf konisch zulaufende Streifen mit abgeschnittener Spitze schneiden (s. Fotos). Etwas Mandelfüllung auf das breite Ende eines Streifens geben und ein paar Stücke Rhabarber darauflegen. Die Hörnchen relativ fest aufrollen und dann auf das vorbereitete Backblech setzen. Die Enden der Teigstreifen sollten dabei unter dem Hörnchen sitzen, damit sie beim Backen nicht von allein aufrollen. Lasst den Hörnchen genug Platz auf dem Blech, weil sie noch einiges aufgehen. Sollte seitlich etwas Füllung auslaufen, drückt die Enden leicht zusammen. Mit dem restlichen Teig und der Füllung fortfahren und dann alle Hörnchen locker mit etwas Klarsichtfolie abdecken und für etwa 10-15 Minuten ruhen lassen.
6. Während die Hörnchen ruhen, den Ofen auf 200°C (390°F) Ober-/Unterhitze vorheizen. Das Eigelb mit etwas Wasser verrühren, die Hörnchen damit bepinseln und mit gehackten Haselnüssen bestreuen. Die Bleche in den Backofen schieben und für etwa 15-17 Minuten backen. Die fertigen Hörnchen aus dem Ofen nehmen und auf einem Kuchengitter abkühlen lassen. Die Hörnchen schmecken am ersten Tag am besten, können aber auch für den nächsten Tag in einem luftdichten Behälter gelagert werden.

Craving more? Keep in touch on Facebook, Instagram and Pinterest for new post updates and more. You can also contact me with any questions or inquiries!
Here is a version of the recipe you can print easily.
Print
Danish Rhubarb Horns aka. Rhubarb Croissants
- Prep Time: 00:50
- Cook Time: 00:17
- Total Time: 03:00
- Yield: 12 1x
- Category: Yeast Bakes
- Method: -
- Cuisine: Denmark
- Diet: Vegetarian
Description
These small croissants are filled with rhubarb and extremely fluffy and delicious! The perfect sweet treat to get spring started!
Ingredients
For the butter layer:
8.8 oz. (250g) cold butter, diced
1/3 cup (40g) all-purpose flour*
For the dough:
17.6 oz. (500g) all-purpose flour*
1/4 cup (50g) sugar (fine)*
1 1/2 tsp. salt
1.5 oz. (42g) fresh baker’s yeast
1 oz. (30g) butter, at room temperature
1 medium egg
2 medium egg yolks
6 oz. (170g) cold milk
For the filling:
7 oz. (200g) rhubarb
1/2 cup (120ml) water
1/4 cup (50g) brown sugar*
3.5 oz. (100g) almond paste* or marzipan (for baking)*
1/4 cup (55g) butter, at room temperature
1/4 cup (50g) sugar (fine)*
For the decoration:
1 medium egg yolk
some chopped hazelnuts
Instructions
1. Cut the cold butter into pieces and mix it with the flour. Knead until well combined. Do this quickly so the butter does not get warm. Place the mix between two pieces of plastic wrap or baking parchment and shape it into a square with a thickness of about 1cm. This works best with a rolling pin. Cover and place in the fridge until needed.
2. Add the flour, sugar and salt for the dough to a large bowl and mix. Crumble the fresh yeast into pieces and add it together with the butter, egg, egg yolks and the cold milk to the bowl. Knead until you get a nice smooth dough. Wrap loosely in plastic wrap and place in the fridge for at least 1 hour.
3. Take the dough out of the fridge and roll it out on a floured surface into a square – it should be about double the size of the butter square. Add the butter (without the plastic wrap) on top of the dough square. The corners of the butter square should point to the sides of the dough square (45° rotation, if that helps). Fold the dough edges over the butter so it looks like an envelope. Maybe take a look at the little illustration above if you are not sure what I mean. Press the seams together so the butter is completely sealed in. Roll out to a rectangle with triple the length of the original dough square. Fold the ends towards the center on top of each other so you get a square again with three layers. Wrap this in plastic wrap and place it in the fridge for about 30 minutes. Take the dough out of the fridge and repeat the process. Roll out again (let the open side of the package face you when rolling out) and then fold it again like you did in the first round. Place the package in the fridge for another 30 minutes.
4. For the filling wash and dry the rhubarb, cut it into small pieces and add it to a small pot together with the water and sugar. Heat up and let gently cook until a bit softer, but not mushy. The rhubarb pieces should still hold together. Let it drain and set it aside. For the almond part of the filling mix the almond paste/marzipan with the butter and sugar in a small bowl until well combined. Set everything aside.
5. Line two baking sheets with baking parchment and set them aside. Roll out the dough on a floured surface to a long rectangle. The short side should be around 20cm wide/long. Cut the dough into 12 »kind of« triangles with a cut-off tip. They should basically be strips with one side wider than the other (see pictures). Place some of the almond filling on the wider side of the strips and top that with some rhubarb pieces, then roll up tight. The ends of the strips should be underneath the croissants when you place them on the baking sheet or they will unroll during baking. Also keep enough space in between because they are rising considerably. If there is filling leaking out, press the sides a bit together. Continue with the remaining strips and fillings. Cover the croissants loosely with plastic wrap and let them rest for about 10-15 minutes.
6. While the horns are resting, preheat the oven to 200°C (390°F). Whisk the egg yolk with some water and brush the croissants with it, then sprinkle them with some chopped hazelnuts. Place the baking sheets in the oven and bake the croissants for about 15-17 minutes. Take them out of the oven and let them cool down on a wire rack. The croissants are best on the day they are made but can be kept in an airtight container for the next day as well.
Notes
Enjoy baking!
Links marked with an asterisk (*) are affiliate links (advertising/Werbung) to Amazon Germany. If you click on one of those links and buy something via this link, I will get a commission for that sale. The price of whatever you buy is not affected in any way by this.