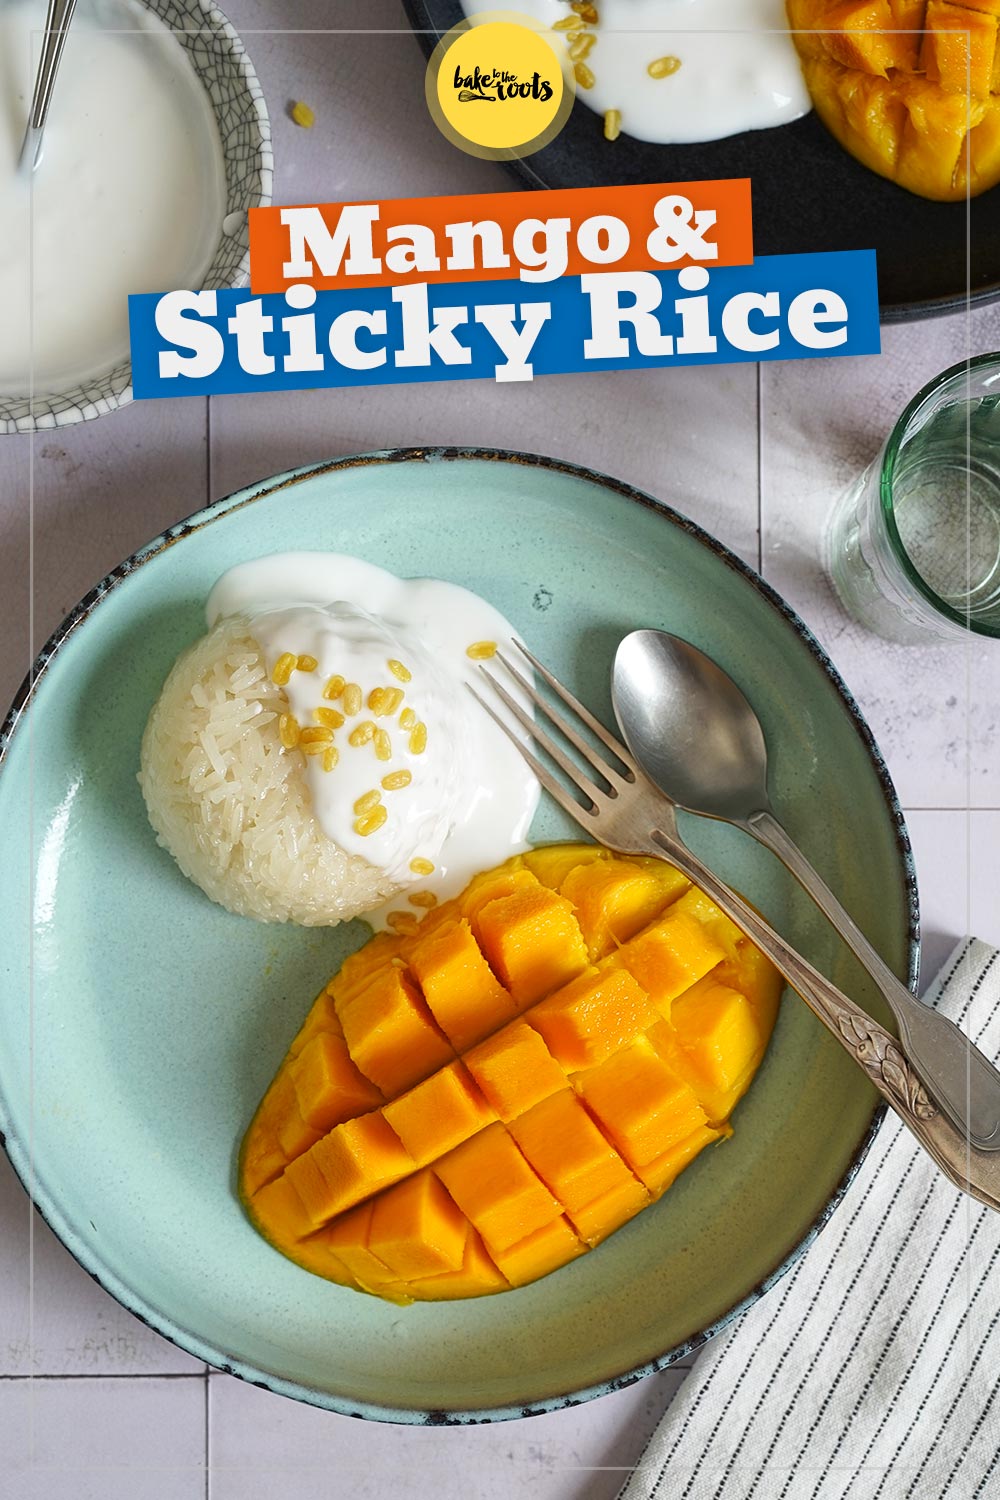
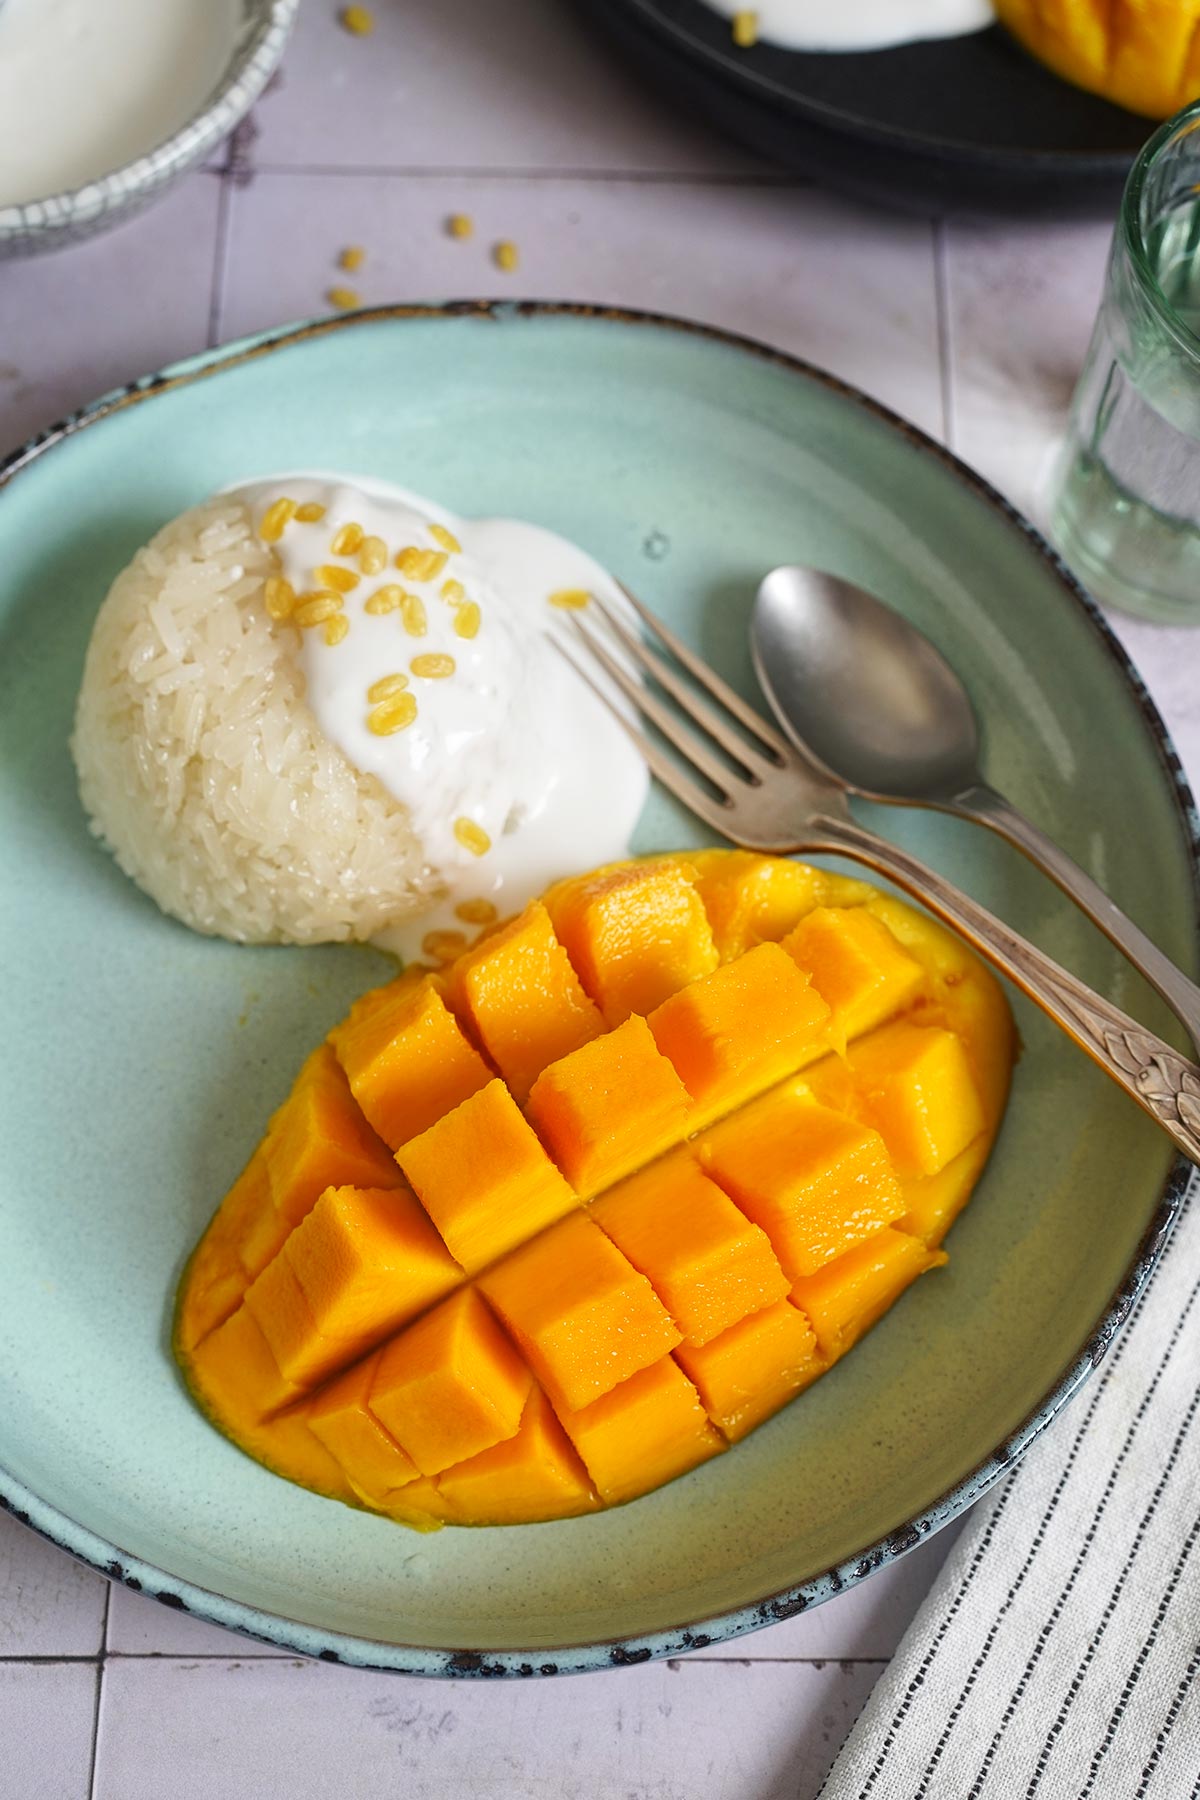
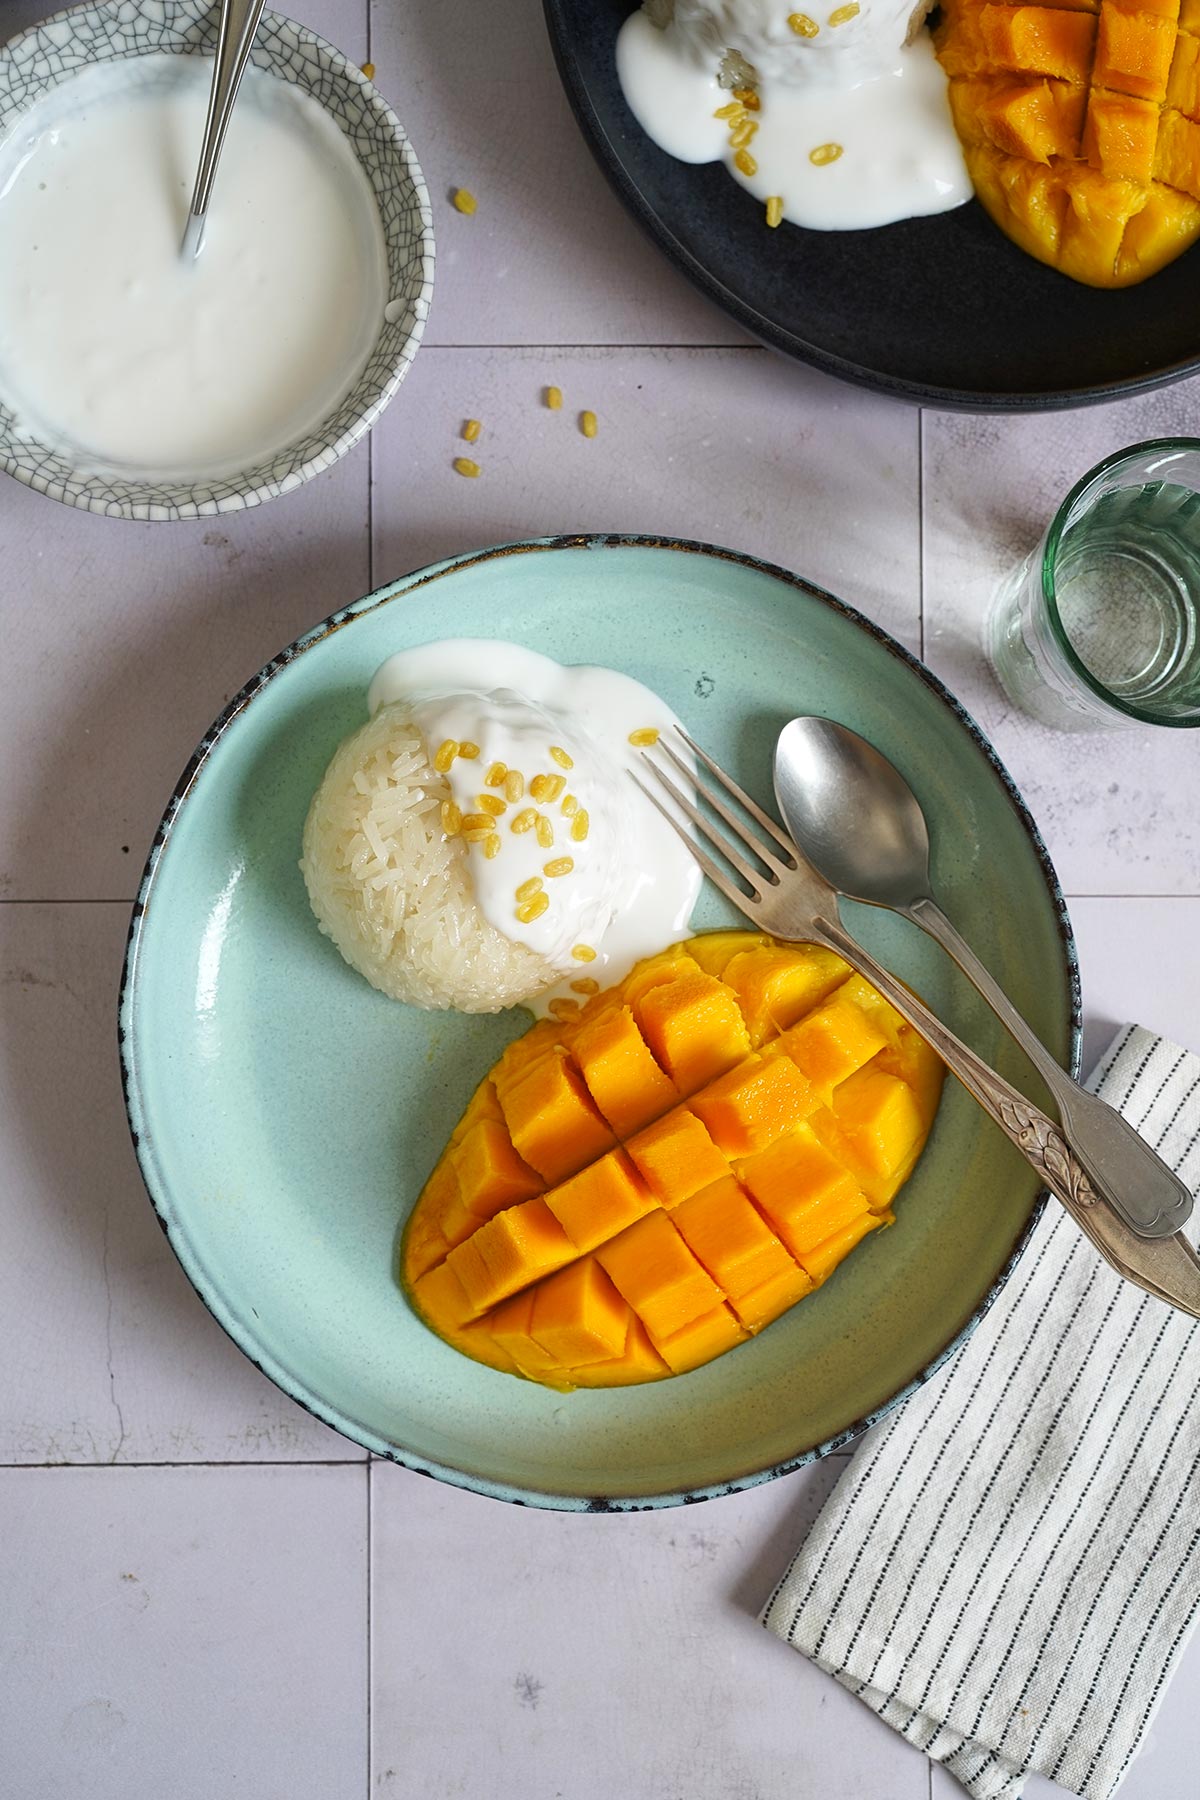
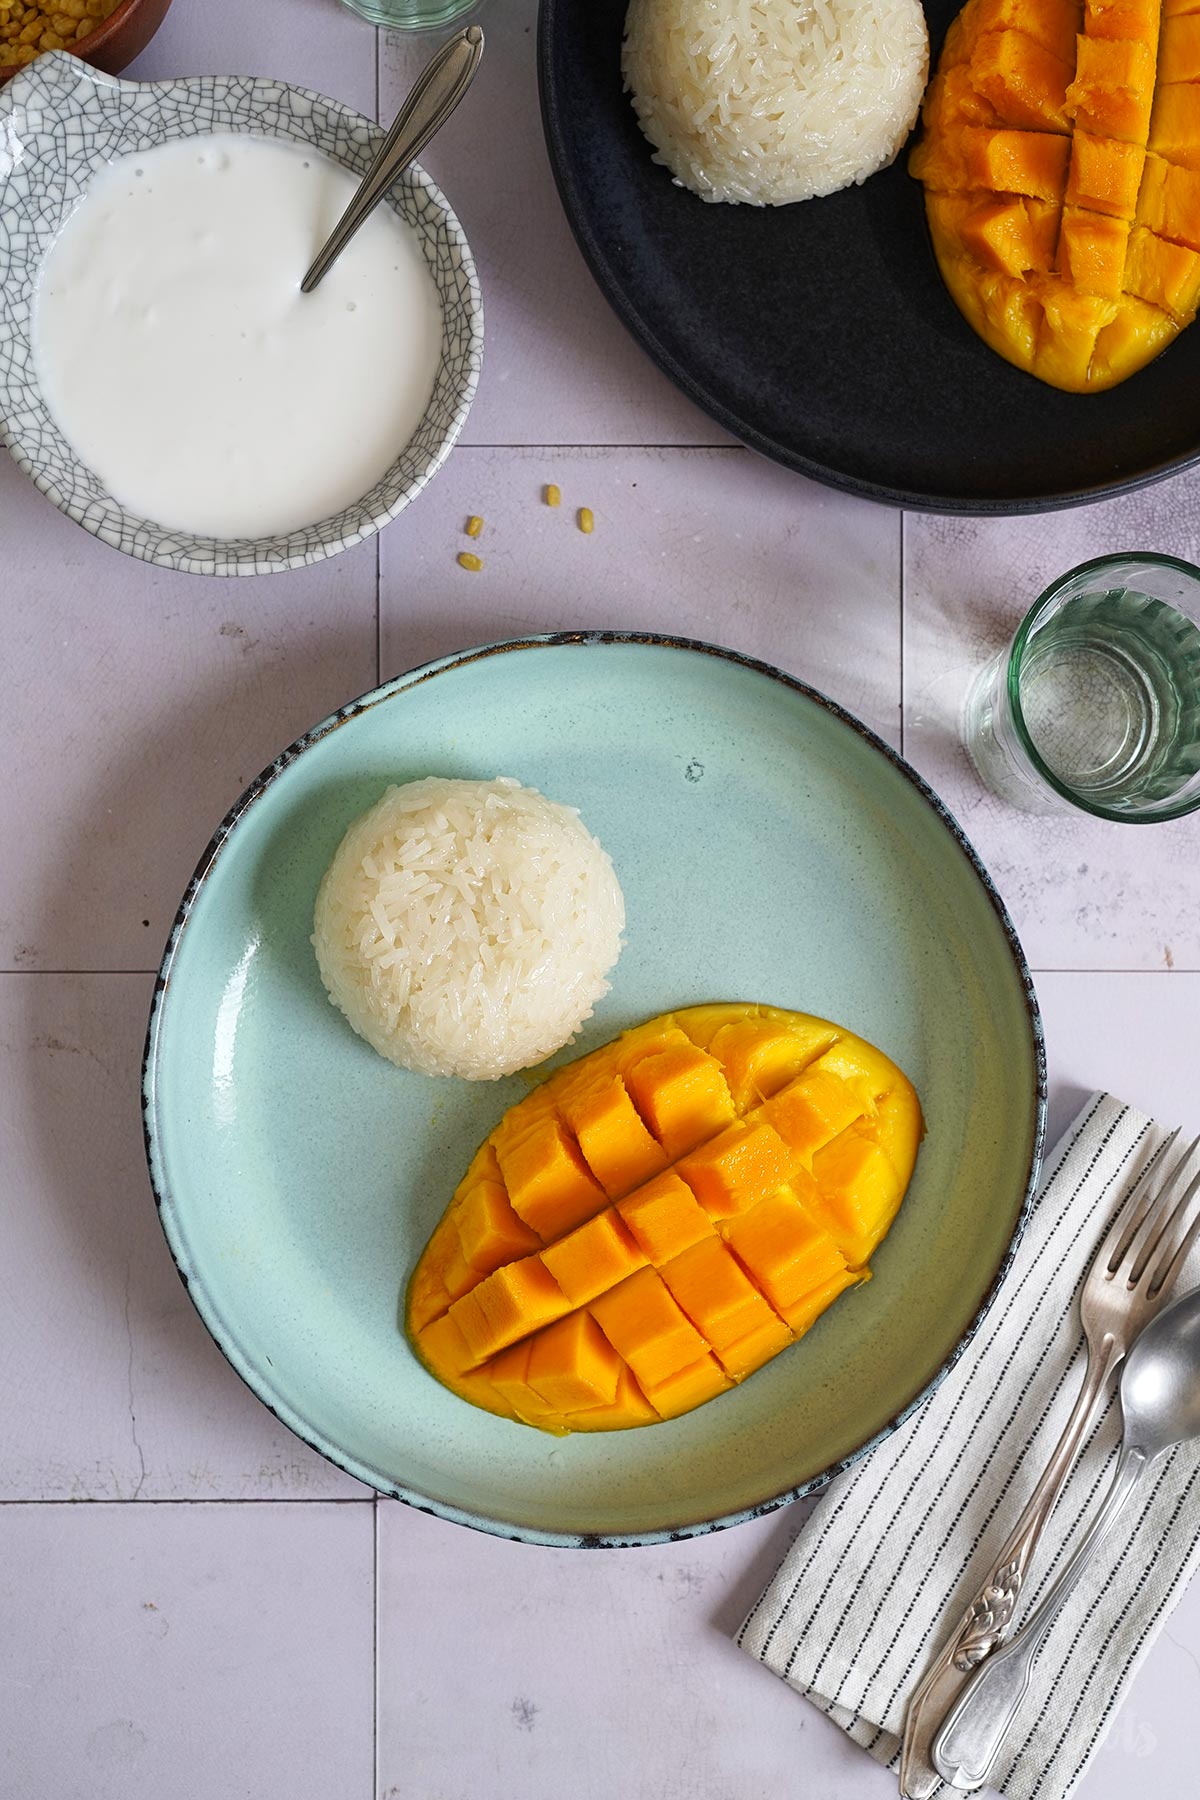
Khao Niew Mamuang is a popular dessert in Thailand – most people probably know it as Mango & Sticky Rice. It’s a simple dessert where (the name suggests it already) fresh mango is served with some sticky (coconut) rice. It sounds simple and might not even seem very exciting to Europeans and Westerners, but the combination is just absolutely delicious! A trip to Thailand wouldn’t be complete without this delicious dessert ending up in front of you on a plate at least once…
I have to say it over and over again – we’re huge fans of Asian cuisine here. We’ve traveled to Thailand several times by now and are absolutely thrilled by the local cuisine every single time. Somehow, everything just tastes delicious there – maybe except for durian. That’s a bit tricky. Not just for the nose. Anyone familiar with the fruit will know what I mean. There are good reasons why it’s not allowed in many hotels…
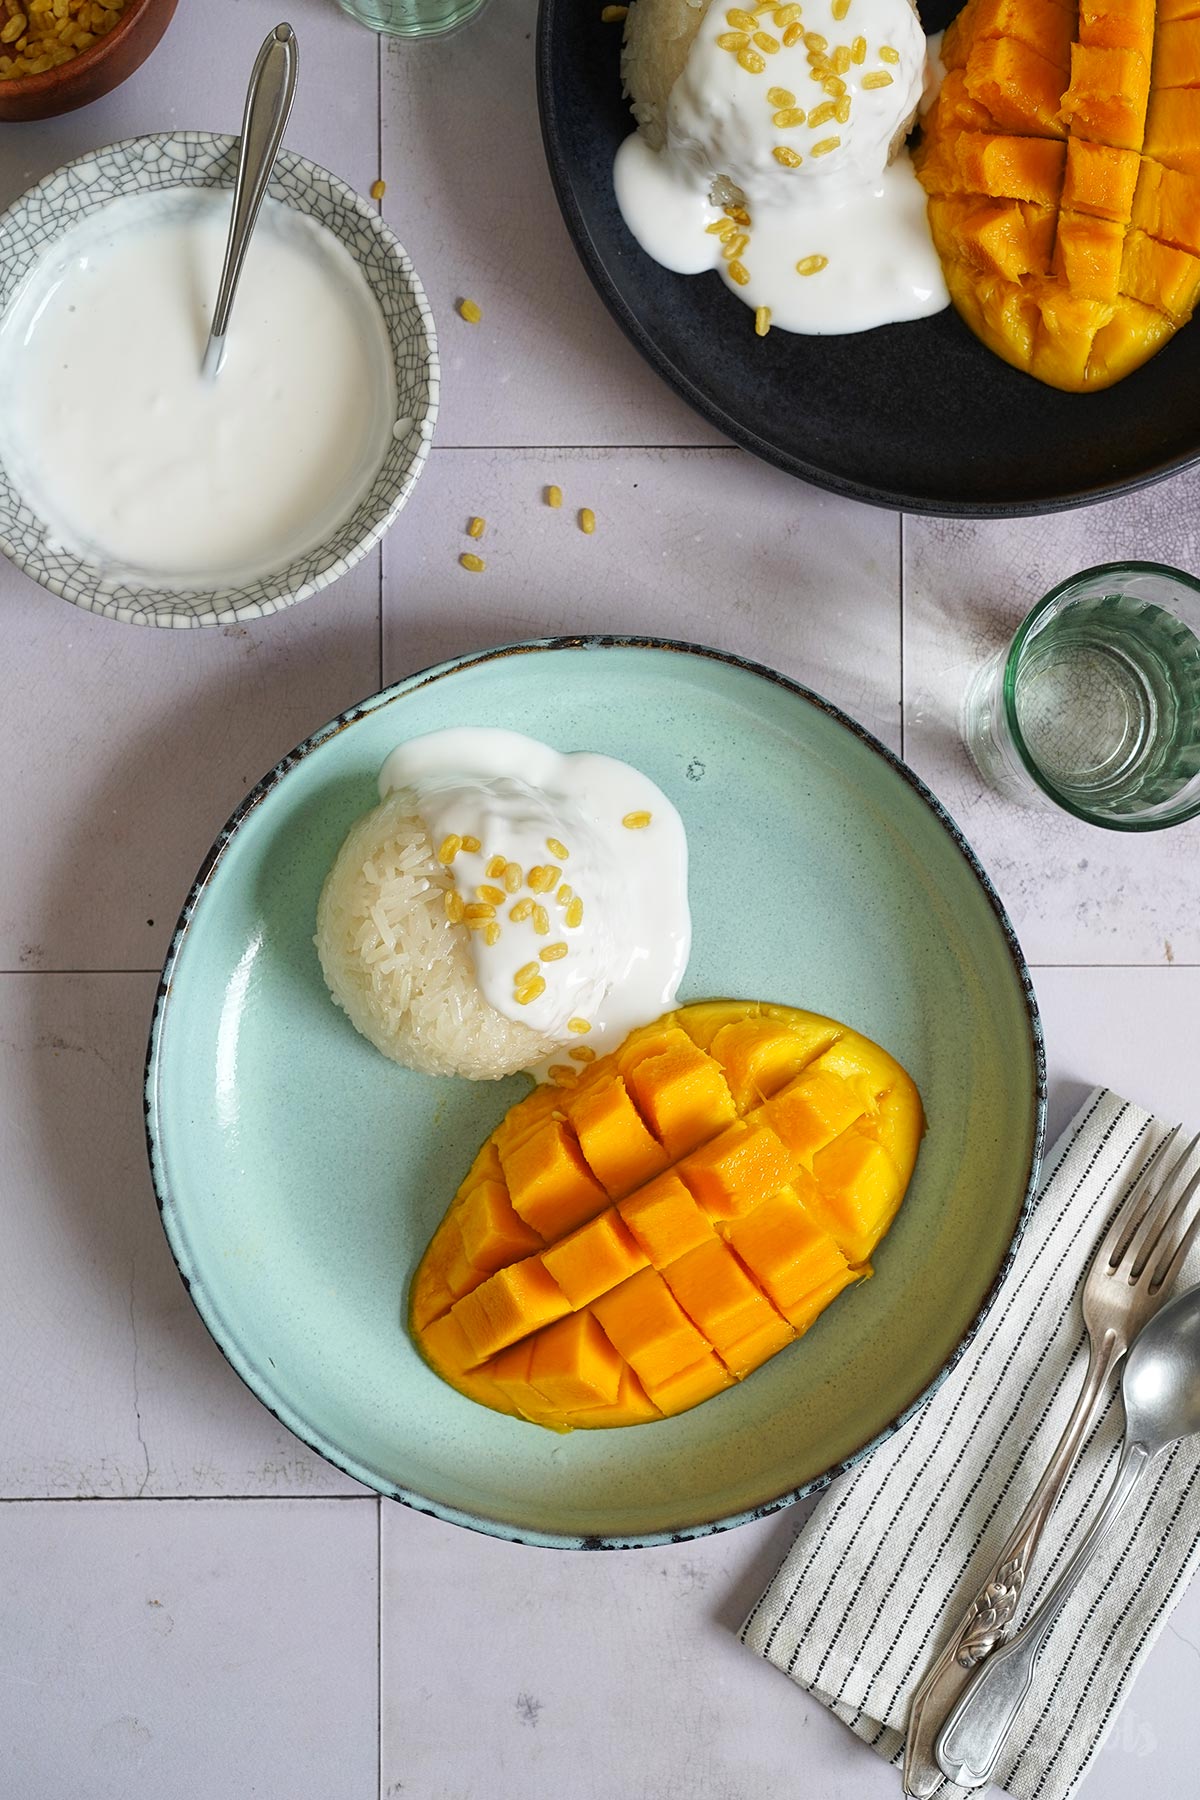
Anyway. Sticky rice with mango (or vice versa) is, as already mentioned, a pretty simple dessert. Thai rice is steamed (or less often boiled) and then flavored with coconut milk. It’s served with fresh mango and typically also a slightly salty coconut sauce as well as some crispy mung beans. Each component on its own isn’t particularly exciting, but the combination makes it simply brilliant. Extremely delicious. Sweet, salty, fruity, fresh… all in one!
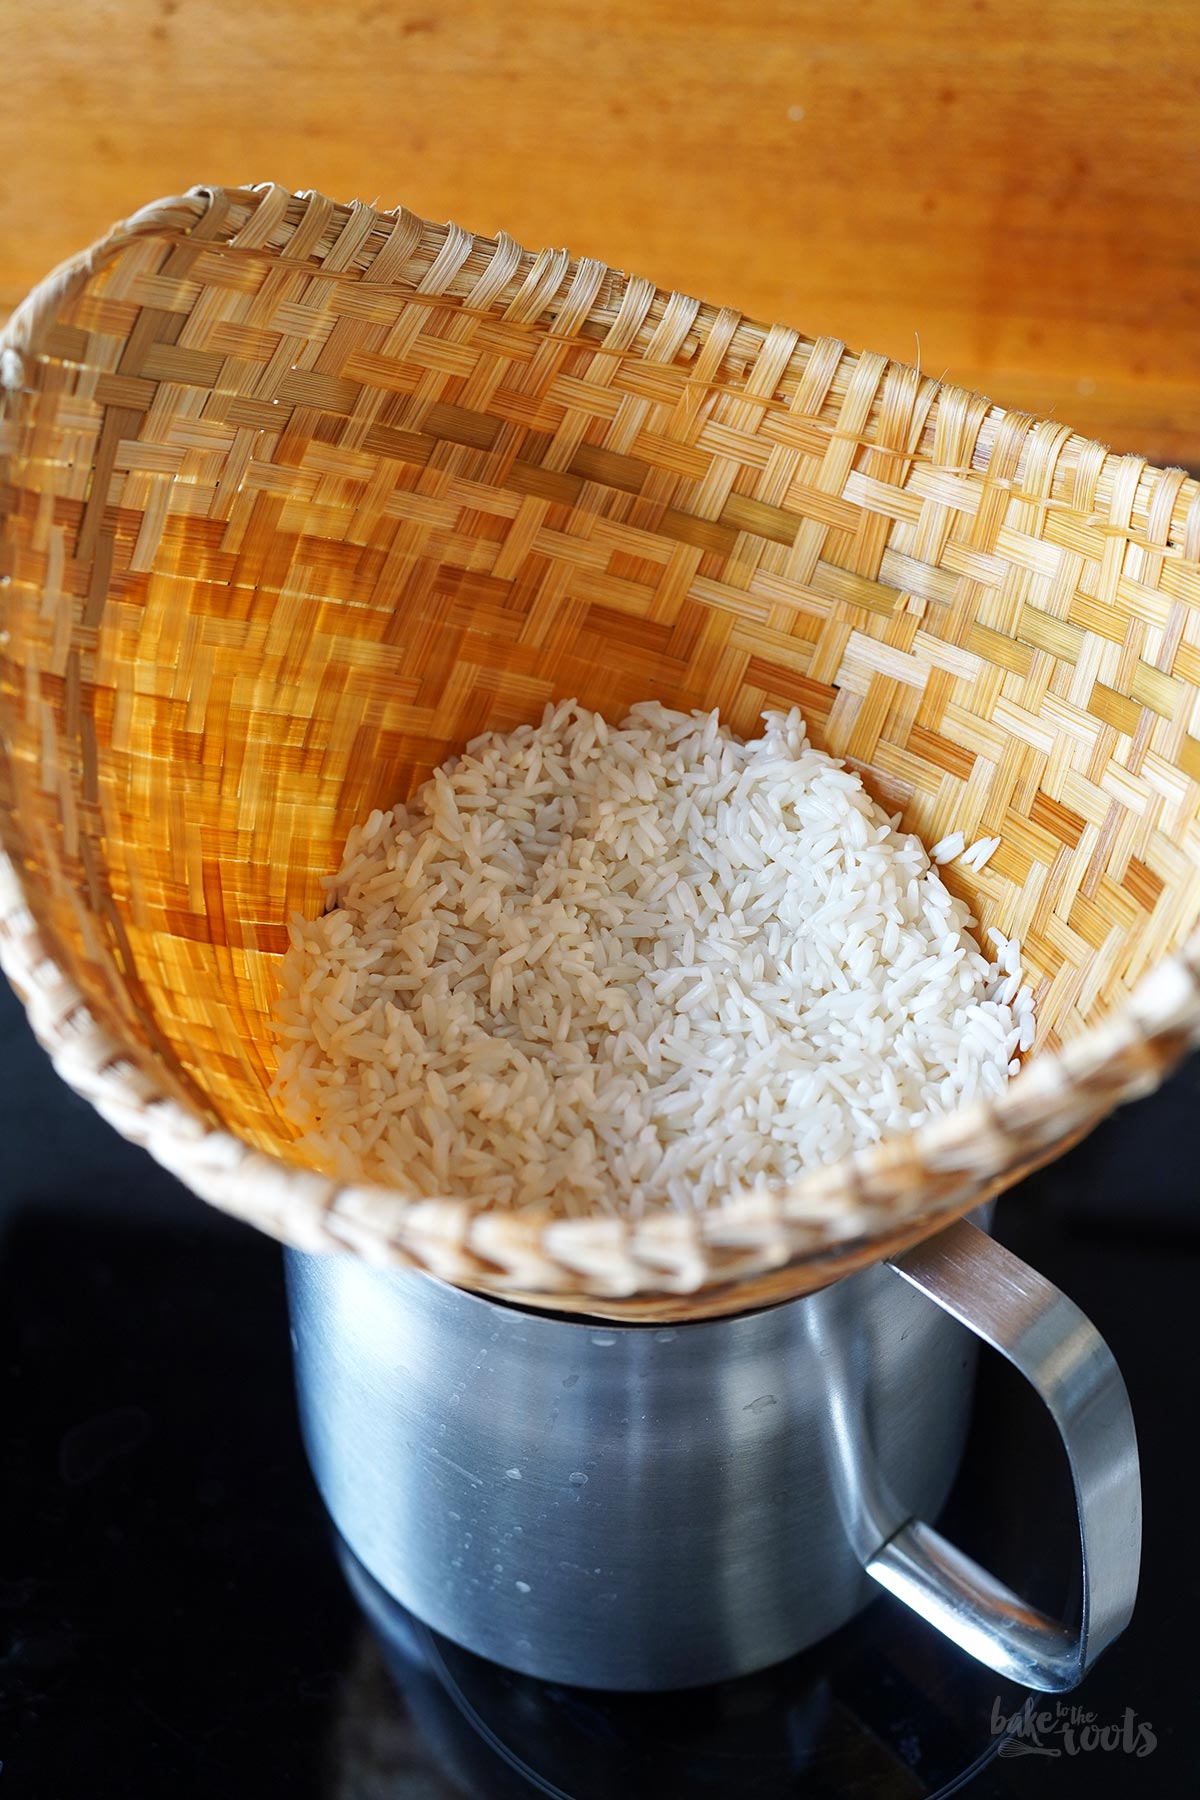
You can prepare the rice for this dessert in various ways. We brought a bamboo rice steamer home from Thailand. You can see it in the photo below. Something like that is great to prepare the rice. In Germany, you can typically find bamboo rice steamers in Asian supermarkets. Unfortunately, they’re a bit more expensive here than they are in Thailand but if you plan to use it to cook rice frequently, you probably won’t mind the small investment. I could only find a pretty expensive one online (linked in the recipe), but they’re surely still a lot cheaper in Asian supermarkets…
As an alternative to the bamboo rice steamer, you can also use a metal steamer* – those are much easier and cheaper to find here in Germany. With those, however, you often run into the problem that the holes in the metal are a bit too large for the rice. A simple cheesecloth can help in a pinch. If all that seems too much trouble, you can simply cook the rice the old-fashioned way in a pot or rice cooker. This will give you a slightly different texture, but the flavor will still be just right.

In addition to the rice and coconut sauce, you’ll need one or more thing: delicious, ripe mangoes. Unfortunately, the selection in Germany is somewhat limited. If I’ve read correctly, there are over 200 different mango varieties in Thailand. Finding something delicious is, of course, much easier there. If you don’t buy mangoes regularly, you might want to ask someone at the supermarket for advice to get a good one. The dessert only tastes perfect if you use nice, ripe mangoes.
If you’re not really into rice right now or don’t feel like going through the whole steaming process, you might want to check out our Silom Pandan Waffles with Mango & Coconut Sauce. Similar flavors, fresh mango, coconut sauce, and absolutely delicious! Definitely worth a try!
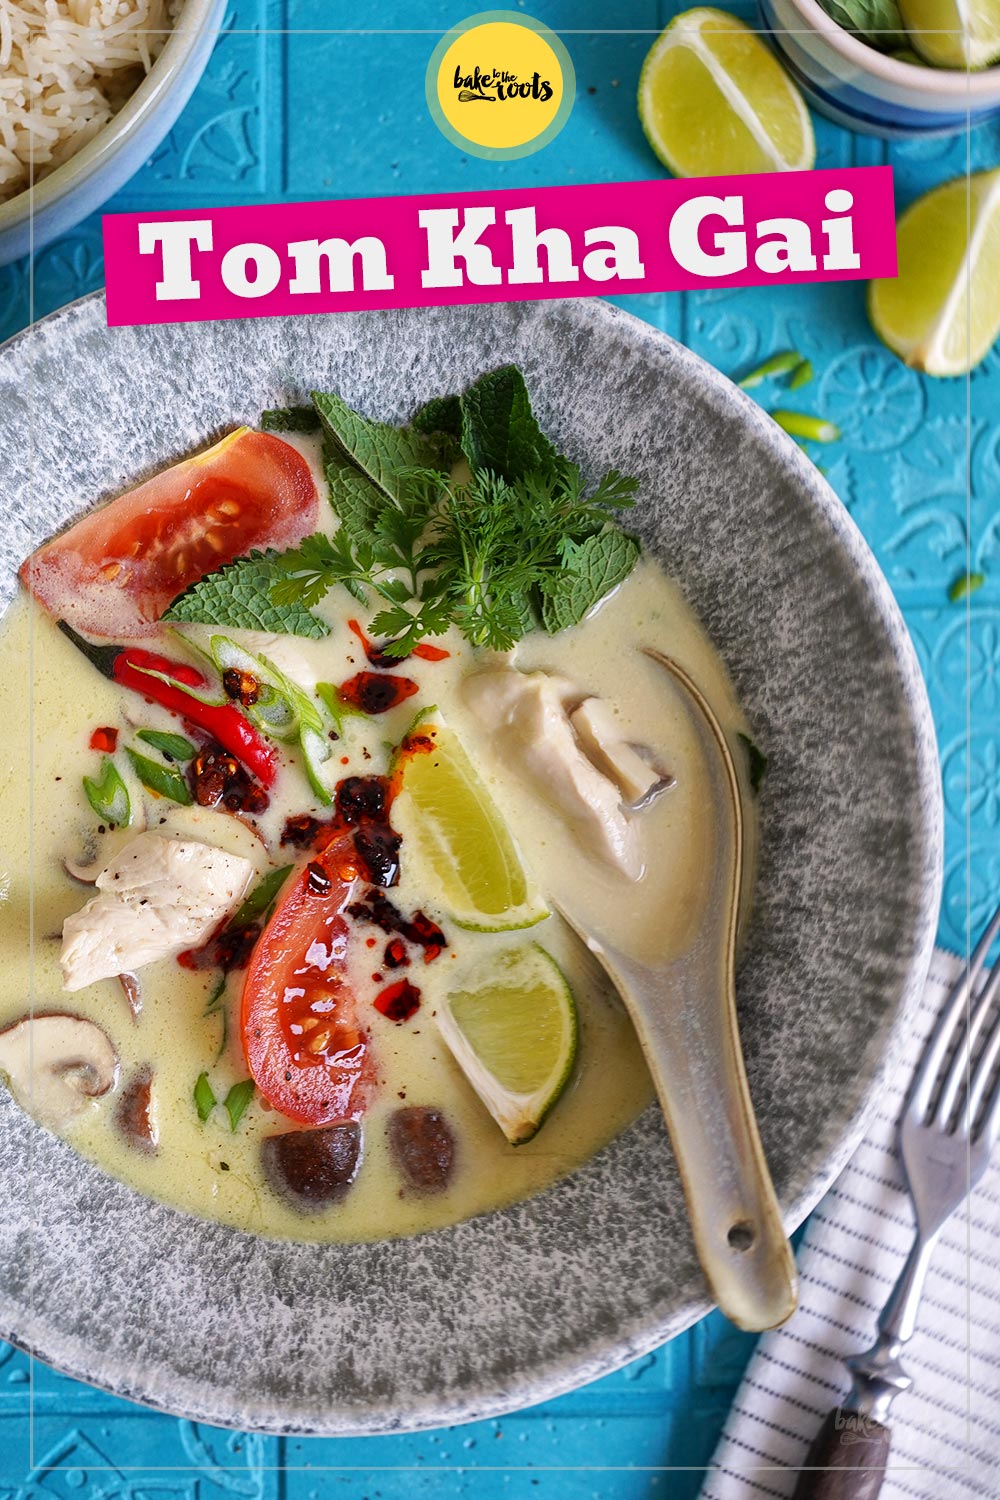
As an alternative to all the sweet treats, I can also recommend a delicious coconut soup from Thailand. Tom Kha Gai is made with chicken and is also extremely delicious! Here in Germany, we tend to associate chicken soup with the cold season or with being sick, but this Thai version tastes great all year round – if your healthy or sick. Does not matter!
INGREDIENTS / ZUTATEN
(6 servings)
For the rice:
9.5 oz. (270g) Thai (long grain) sticky rice*
2/3 cup (160ml) coconut milk*
1/4 cup (50g) sugar (add a bit more if you like it sweeter)
1/8 tsp. salt
For the salted coconut sauce:
1/2 cup (120ml) coconut milk*
1/4 tsp. salt
1 tsp. cornstarch
1 tbsp. water
To finish:
some crispy bung beans (see recipe below) or black sesame seeds
3 ripe mangos
(6 Portionen)
Für den Reis:
270g Thai (Langkorn) Klebreis*
160ml Kokosmilch*
50g Zucker (etwas mehr, wenn man es süßer mag)
1/8 TL Salz
Für die gesalzene Kokossauce:
120ml Kokosmilch*
1/4 TL Salz
1 TL Speisestärke
1 EL Wasser
Für das Finish:
einige Crispy Mung Beans (s. Rezept unten) oder schwarzer Sesam
3 reife Mangos
Crispy Mung Beans
1.8 oz. (50g) mung beans*,
2 cups (500ml) water
some oil for frying
1. Rinse the beans in cold water, then add them together with the water to a small pot. Bring to a boil, then remove from the heat, cover and let the beans soak for about 9-10 minutes. Remove from the pot, rinse with cold water and let drain – best on some kitchen paper to get the beans really dry.
2. Add a bit of oil to a frying pan, add the drained beans and toast them over medium-high heat for several minutes, stirring often, until crunchy and golden. Remove from the heat and from the frying pan and let cool down completely. The crispy mung beans can be stored in an airtight container for up to a month.
50g Mungbohnen*, geschält und halbiert
500ml Wasser
etwas Öl zum Anbraten
1. Die Bohnen zuerst in kaltem Wasser spülen, dann zusammen mit den 500ml Wasser in einen kleinen Topf geben. Einmal aufkochen lassen, dann vom Herd ziehen, abdecken und die Bohnen etwa 9–10 Minuten einweichen lassen. Die eingeweichten Bohnen aus dem Topf nehmen, mit kaltem Wasser abspülen und dann abtropfen lassen – am besten auf etwas Küchenpapier, damit die Bohnen schön trocken werden.
2. Etwas Öl in einer Pfanne erhitzen, die abgetropften Bohnen dazugeben und bei mittlerer Hitzezufuhr einige Minuten anrösten, dabei immer wieder umrühren, bis die Bohnen knusprig und goldbraun sind. Vom Herd ziehen, aus der Pfanne entfernen und komplett abkühlen lassen. Die knusprigen Mungobohnen kann man in einem luftdichten Behälter bis zu einem Monat aufbewahren.
DIRECTIONS / ZUBEREITUNG
1. The night before, wash the rice until the water is only slightly cloudy, then soak it in enough water for at least 3 hours or overnight.
2. Before you continue with the rice, make the salted coconut sauce. Add the 1/2 cup (120ml) coconut milk and salt to a small saucepan and heat up. Combine cornstarch and water, add it to the coconut milk and stir it in. Let the sauce simmer for a moment until it has thickened nicely. Remove from the heat and transfer to a small bowl – set aside and let cool down.
3. To the same saucepan, add the coconut milk (2/3 cup/160ml) for the rice, as well as the sugar and salt. Heat up until the sugar has dissolved completely. Set aside.
4. Soak your bamboo rice steamer (huad)* in water for about 10 minutes, so the rice does not stick to the basket later on. Bring a tall pot with water to a boil. Add the rice to the steamer basket and set it on top of the pot, cover the rice with a lid. Make sure the boiling water is not touching the basket. Let the rice steam for about 23-25 minutes, flipping the rice once, halfway through.
5. About a minute or so before the rice is done, heat up the coconut milk once more and bring it back to a boil – you want the coconut milk and rice to be both hot when mixing.
6. Add the steamed rice and hot coconut milk to a bowl and stir to combine. Cover the rice and let it sit for about 15-20 minutes. Mix the rice once more and let it sit another 15-20 minutes (still covered). After this, the rice is ready to be served. While the rice is soaking in the coconut milk, you can prepare the crispy mung beans, if you like to use them as a topping (optional). You can keep the soaked rice at room temperature for several hours if you are not ready to serve yet. Do not place it in the fridge before serving.
7. To serve, cut the mangoes into two big slices along the stone. Cut crosswise into the flesh, then press against the mango peel from the back to push the cut mango flesh out. Arrange the mangoes on plates (or in bowls), along with the sticky rice, the salted coconut sauce and some crispy mung beans (or black sesame). Enjoy!
Note: If you don’t have a bamboo rice steamer at hand, you can use a metal steamer basket* or a regular metal sieve instead – both give you a similar result. If the holes in the basket/sieve are larger, you should wrap the rice in a damp cheesecloth* or similar beforehand.
1. Den Reis am Vorabend waschen, bis das Wasser nur noch leicht trüb ist, und dann in ausreichend Wasser für mind. 3 Stunden oder über Nacht einweichen lassen.
2. Bevor es mit dem Reis weitergeht, die gesalzene Kokossauce zubereiten. Für die Sauce die 120ml Kokosmilch und das Salz in einem kleinen Topf erhitzen. Stärke und Wasser verrühren, zur Kokosmilch dazugeben und unterrühren. Die Sauce kurz köcheln lassen, bis sie schön angedickt hat. Die fertige Sauce in eine kleine Schüssel umfüllen, zur Seite stellen und abkühlen lassen.
3. Die Kokosmilch (160ml) für den Reis, sowie Zucker und Salz in den gleichen Topf geben und ebenfalls erhitzen, bis sich der Zucker vollständig aufgelöst hat. Zur Seite stellen.
4. Einen Bamboo Rice Steamer (Huad)* für etwa 10 Minuten in Wasser einweichen lassen, damit der Reis später nicht am Korb kleben bleibt. Einen hohen Topf mit Wasser zum Kochen bringen. Den Reis in den Korb schütten, diesen dann auf den Topf setzen und den Reis mit einem Deckel abdecken. Darauf achten, dass der Korb das kochende Wasser nicht berührt. Den Reis etwa 23–25 Minuten dämpfen lassen, nach etwa der Hälfte der Zeit einmal wenden.
5. Kurz bevor der Reis fertig ist, die Kokosmilch noch einmal erhitzen und aufkochen lassen – Kokosmilch und Reis sollten beim Vermischen beide sehr heiß sein.
6. Den gedämpften Reis und die heiße Kokosmilch in eine Schüssel geben und alles gut vermengen. Den Reis abdecken und etwa 15–20 Minuten ziehen lassen. Danach den Reis noch einmal durchmischen und abgedeckt weitere 15–20 Minuten ziehen lassen – nach dieser Ruhezeit ist der Reis servierfertig. Während sich Reis und Kokosmilch kennenlernen, kann man die Crispy Mung Beans für das Topping zubereiten (optional). Den fertigen Reis kann man übrigens mehrere Stunden bei Zimmertemperatur aufbewahren und auch erst später servieren. Nur nicht in den Kühlschrank stellen.
7. Zum Anrichten die Mangos entlang des Steins in zwei dicke Scheiben schneiden. Das Fruchtfleisch längs und quer einschneiden, damit ein quadratisches Muster entsteht. Die Schale von der Rückseite her eindrücken, damit die geschnittenen Fruchtfleischstücke nach vorne treten (s. Fotos). Die Mangos zusammen mit jeweils einer Portion Klebreis, etwas gesalzener Kokosnusssauce und Crispy Mung Beans (oder schwarzem Sesam) auf Tellern oder in Schüsseln anrichten. Guten Appetit!
Hinweis: Wer keinen Bambuskorb für den Reis hat, kann hier auch einen Dämpfaufsatz* ein ganz normales Metallsieb verwenden – funktioniert beides genauso gut. Sind die Löcher beim Aufsatz oder Sieb größer, sollte man den Reis vorab noch in ein feuchtes Passiertuch* ö.Ä. einschlagen.

Craving more? Keep in touch on Facebook, Instagram and Pinterest for new post updates and more. You can also contact me with any questions or inquiries!
Here is a version of the recipe you can print easily.
Print
Mango & Sticky Rice aka. Khao Niew Mamuang
- Prep Time: 00:30
- Cook Time: 00:25
- Total Time: 04:30
- Yield: 6 1x
- Category: Dessert
- Method: -
- Cuisine: Thailand
- Diet: Vegetarian
Description
Mango & Sticky Rice is a popular dessert in Thailand – we love it since our first visit to the country. Sweet rice, a salty coconut sauce and fruity mango. So good!
Ingredients
For the rice:
9.5 oz. (270g) Thai (long grain) sticky rice*
2/3 cup (160ml) coconut milk*
1/4 cup (50g) sugar (add a bit more if you like it sweeter)
1/8 tsp. salt
For the salted coconut sauce:
1/2 cup (120ml) coconut milk*
1/4 tsp. salt
1 tsp. cornstarch
1 tbsp. water
To finish:
some crispy bung beans (see recipe below) or black sesame seeds
3 ripe mangos
Instructions
1. The night before, wash the rice until the water is only slightly cloudy, then soak it in enough water for at least 3 hours or overnight.
2. Before you continue with the rice, make the salted coconut sauce. Add the 1/2 cup (120ml) coconut milk and salt to a small saucepan and heat up. Combine cornstarch and water, add it to the coconut milk and stir it in. Let the sauce simmer for a moment until it has thickened nicely. Remove from the heat and transfer to a small bowl – set aside and let cool down.
3. To the same saucepan, add the coconut milk (2/3 cup/160ml) for the rice, as well as the sugar and salt. Heat up until the sugar has dissolved completely. Set aside.
4. Soak your bamboo rice steamer (huad)* in water for about 10 minutes, so the rice does not stick to the basket later on. Bring a tall pot with water to a boil. Add the rice to the steamer basket and set it on top of the pot, cover the rice with a lid. Make sure the boiling water is not touching the basket. Let the rice steam for about 23-25 minutes, flipping the rice once, halfway through.
5. About a minute or so before the rice is done, heat up the coconut milk once more and bring it back to a boil – you want the coconut milk and rice to be both hot when mixing.
6. Add the steamed rice and hot coconut milk to a bowl and stir to combine. Cover the rice and let it sit for about 15-20 minutes. Mix the rice once more and let it sit another 15-20 minutes (still covered). After this, the rice is ready to be served. While the rice is soaking in the coconut milk, you can prepare the crispy mung beans, if you like to use them as a topping (optional). You can keep the soaked rice at room temperature for several hours if you are not ready to serve yet. Do not place it in the fridge before serving.
7. To serve, cut the mangoes into two big slices along the stone. Cut crosswise into the flesh, then press against the mango peel from the back to push the cut mango flesh out. Arrange the mangoes on plates (or in bowls), along with the sticky rice, the salted coconut sauce and some crispy mung beans (or black sesame). Enjoy!
Notes
If you don’t have a bamboo rice steamer at hand, you can use a metal steamer basket* or a regular metal sieve instead – both give you a similar result. If the holes in the basket/sieve are larger, you should wrap the rice in a damp cheesecloth* or similar beforehand.
Links marked with an asterisk (*) are affiliate links (advertising/Werbung) to Amazon Germany. If you click on one of those links and buy something via this link, I will get a commission for that sale. The price of whatever you buy is not affected in any way by this.