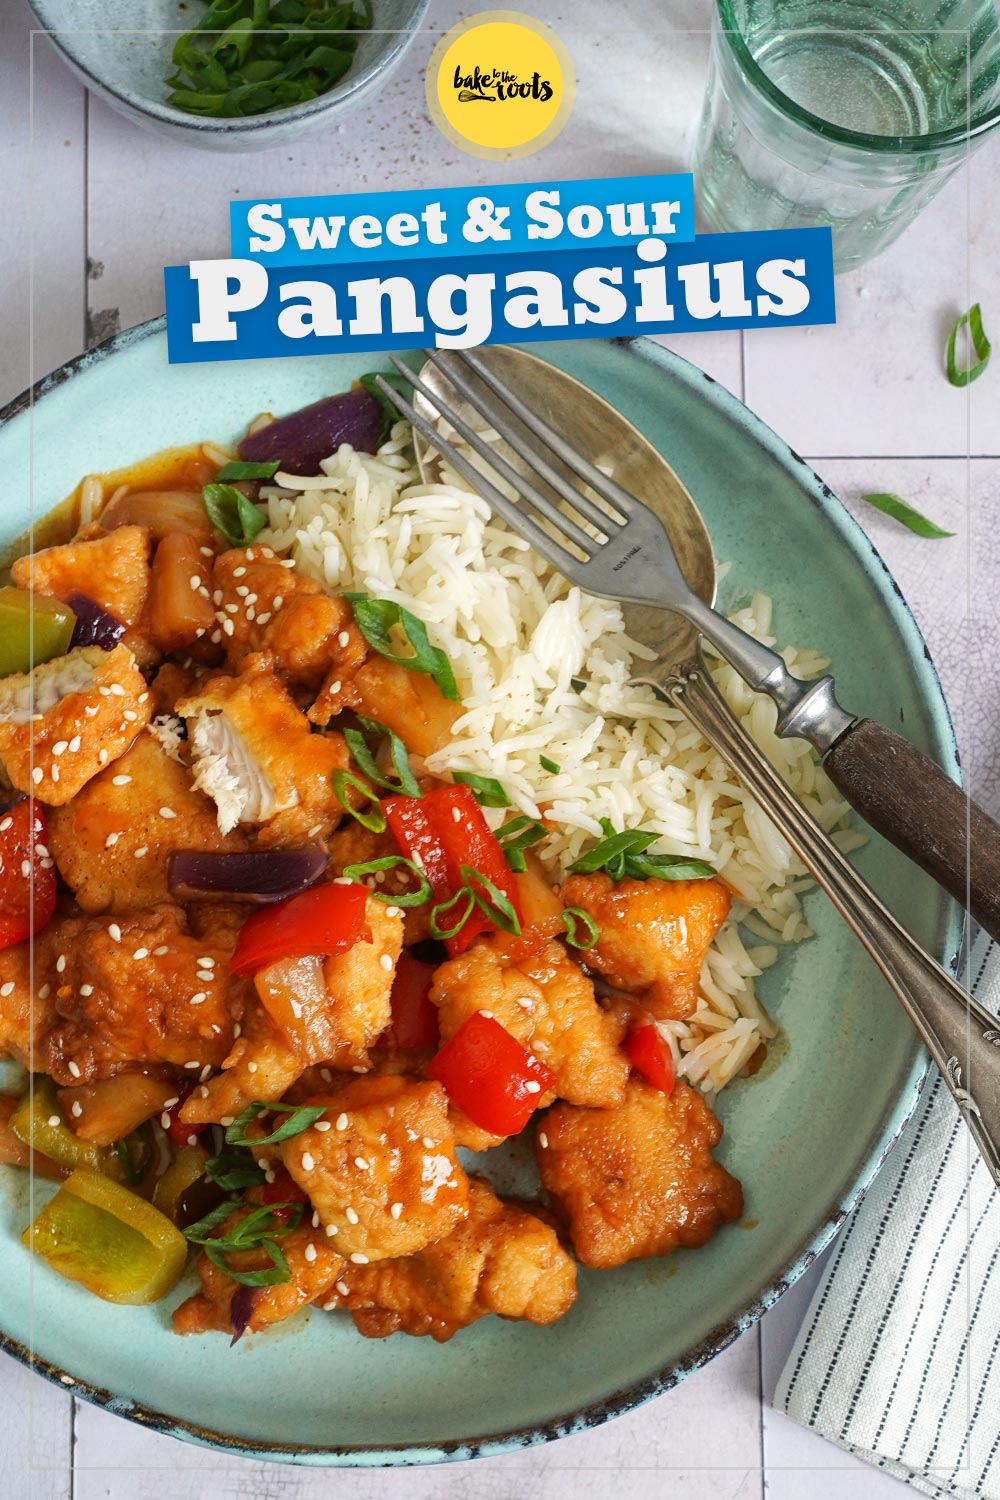


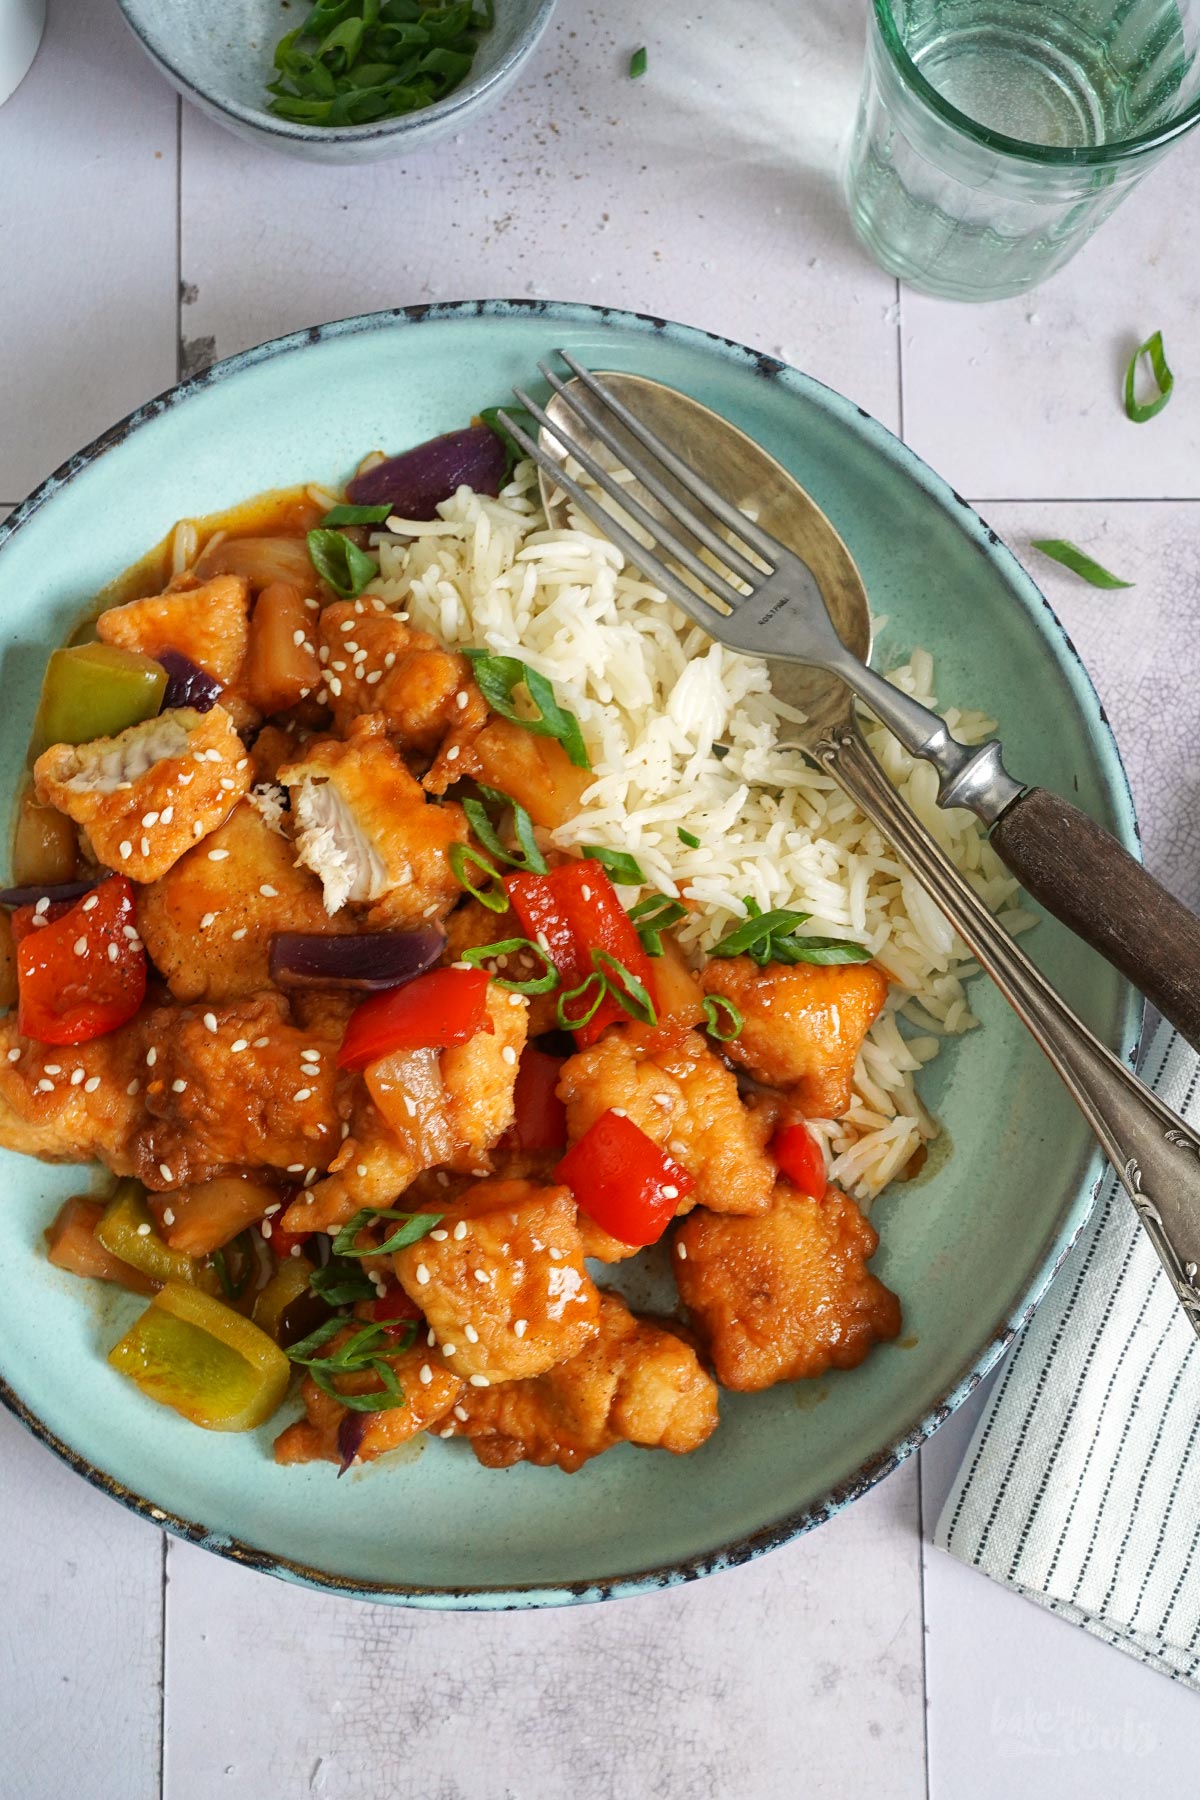
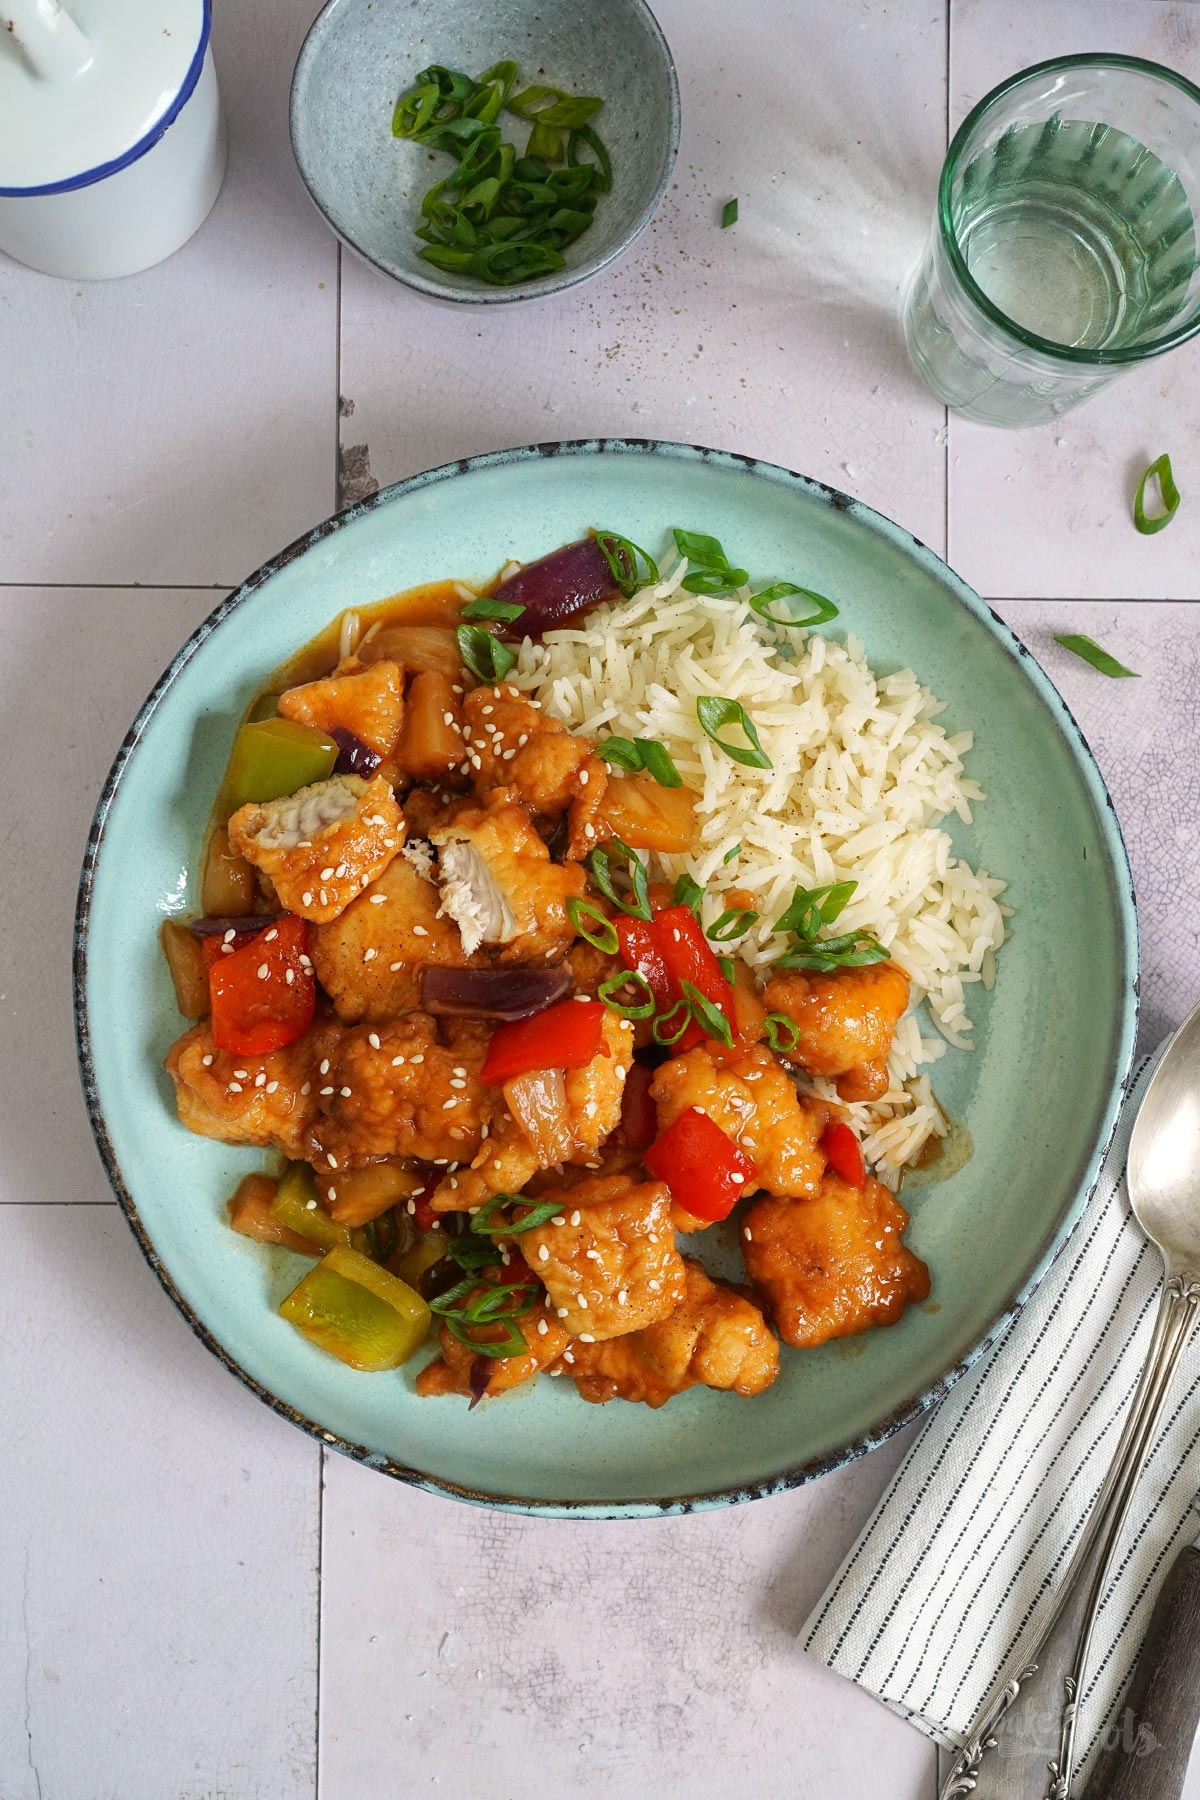
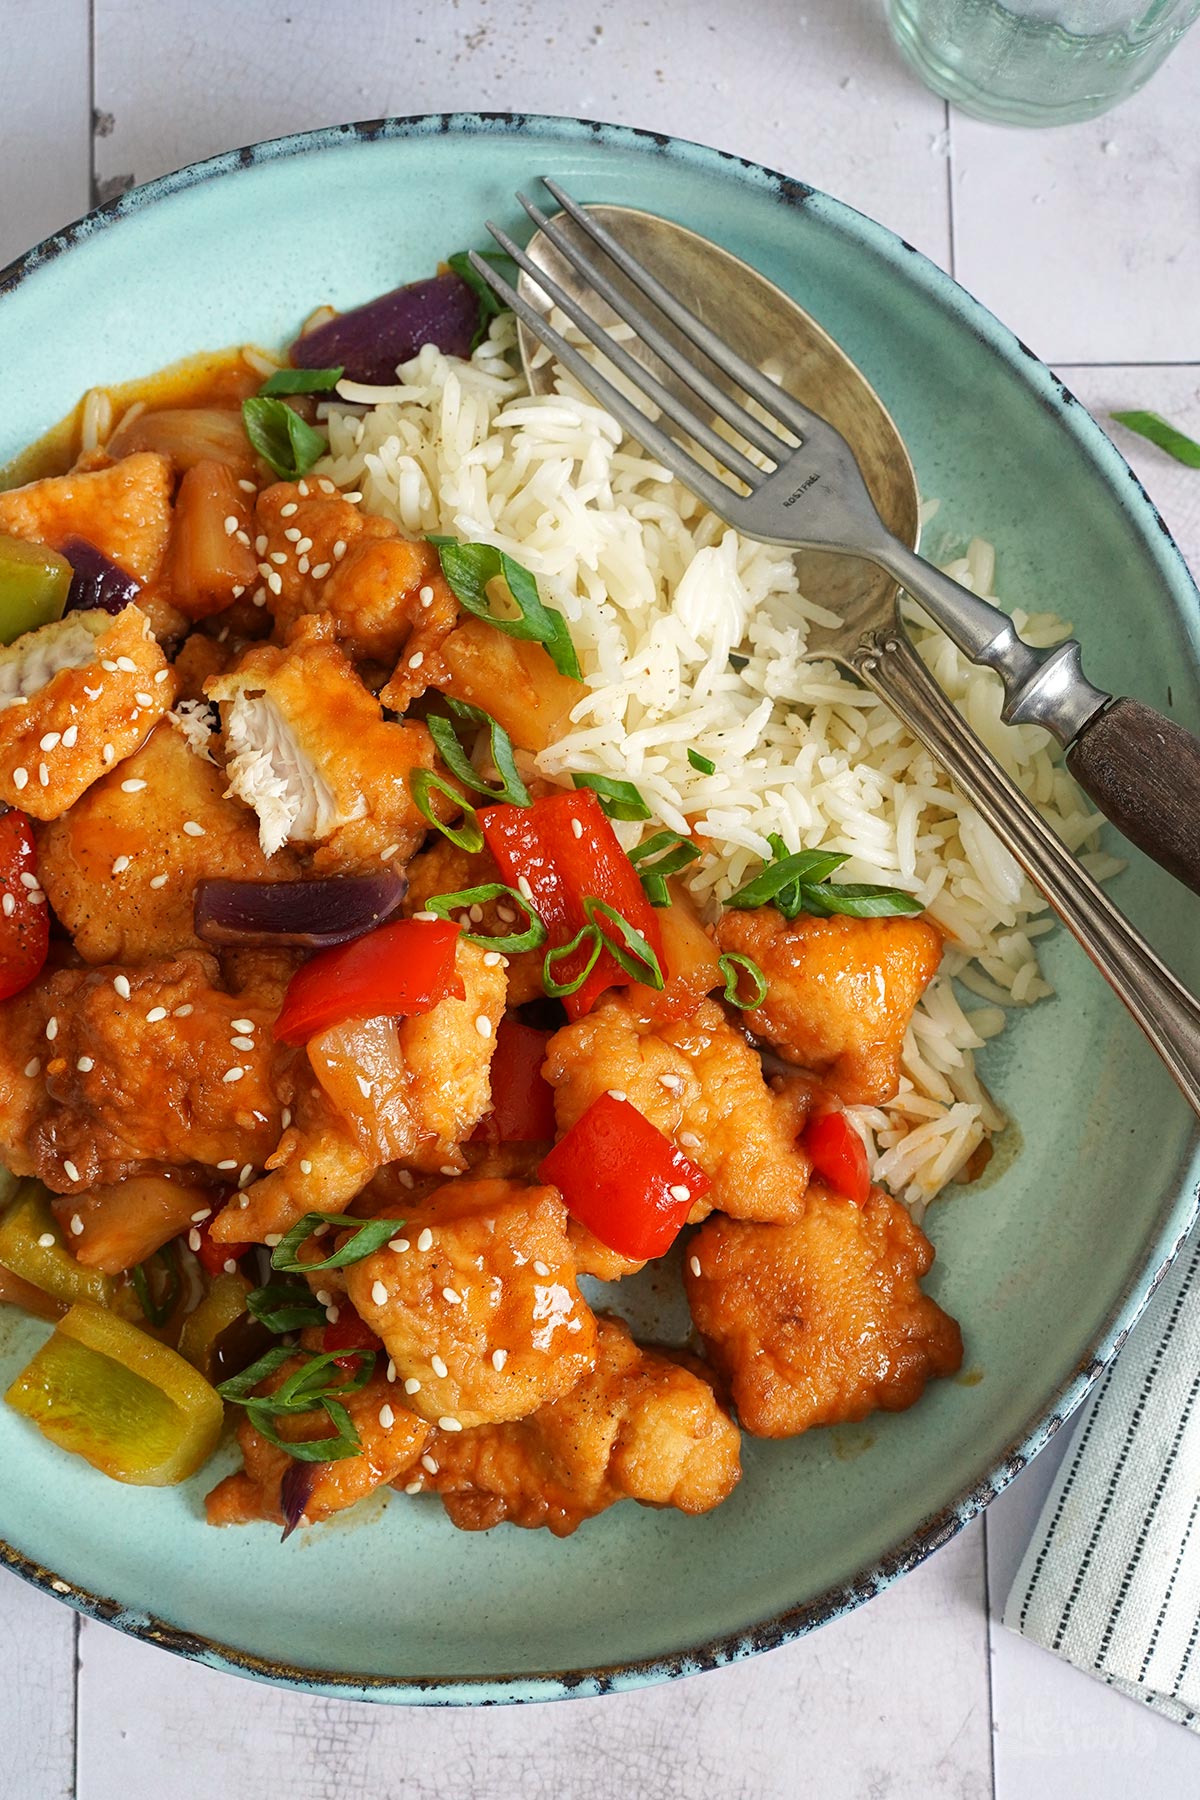
Back in the day, Friday was the day of the week for fish dishes. Even though none of our family was raised particularly religiously, this tradition persisted for decades. These days, fish dishes like this Sweet & Sour Fish Stir-fry with Rice appear on the menu a bit less often because not everyone in the household enjoys fish. Yet, strangely enough, Friday has somehow remained the day for dishes like that…
Personally, I do enjoy eating fish and seafood. However, that mostly happens when we’re on vacation by the sea. People typically say that fish and seafood taste best right where they’re caught – and I agree. In Berlin, far from the ocean, you sometimes have to make a few compromises when you are in the mood for something fishy…
That’s why there aren’t all that many fish recipes here on the blog. Currently, you could count them on two hands – and given the speed at which I publish recipes like that, that’s likely to remain the case for quite a while. It’ll probably be another few years before the next one comes along…
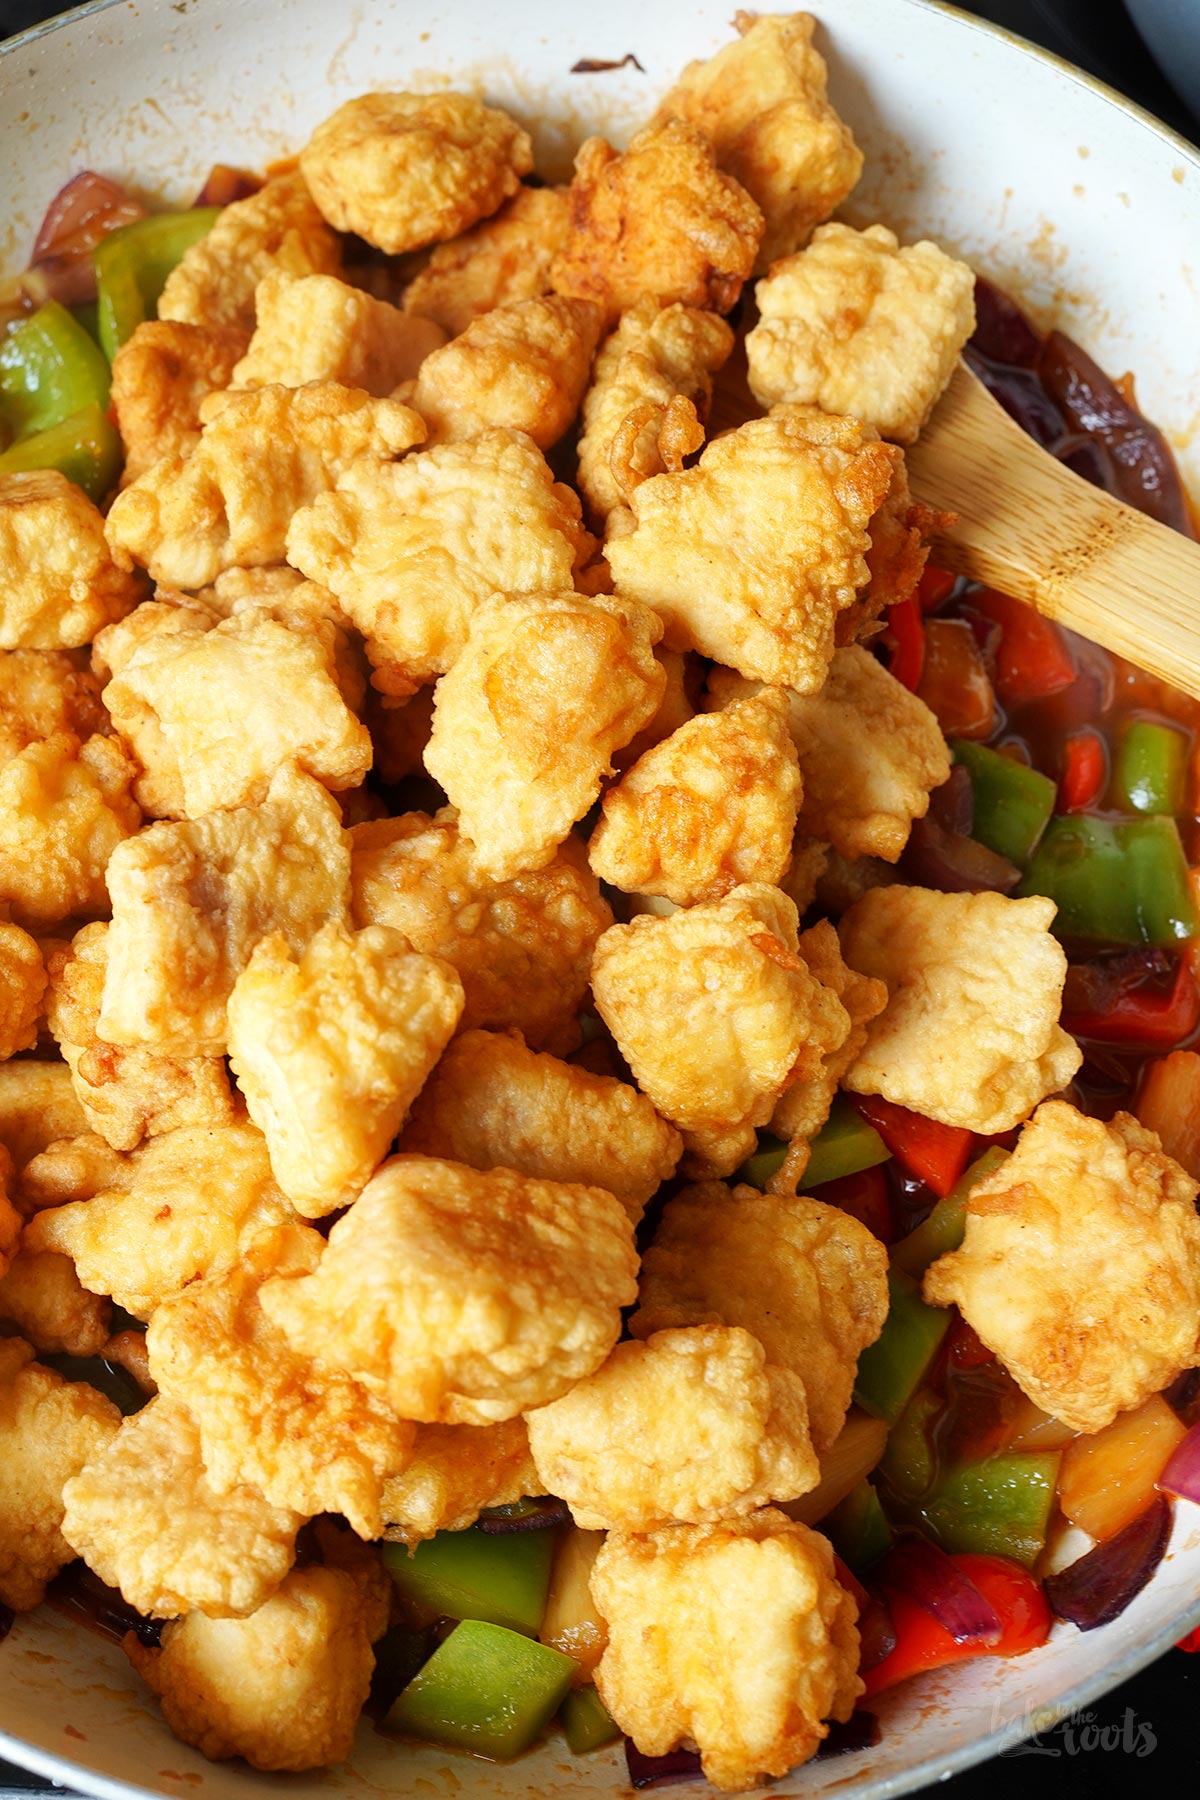
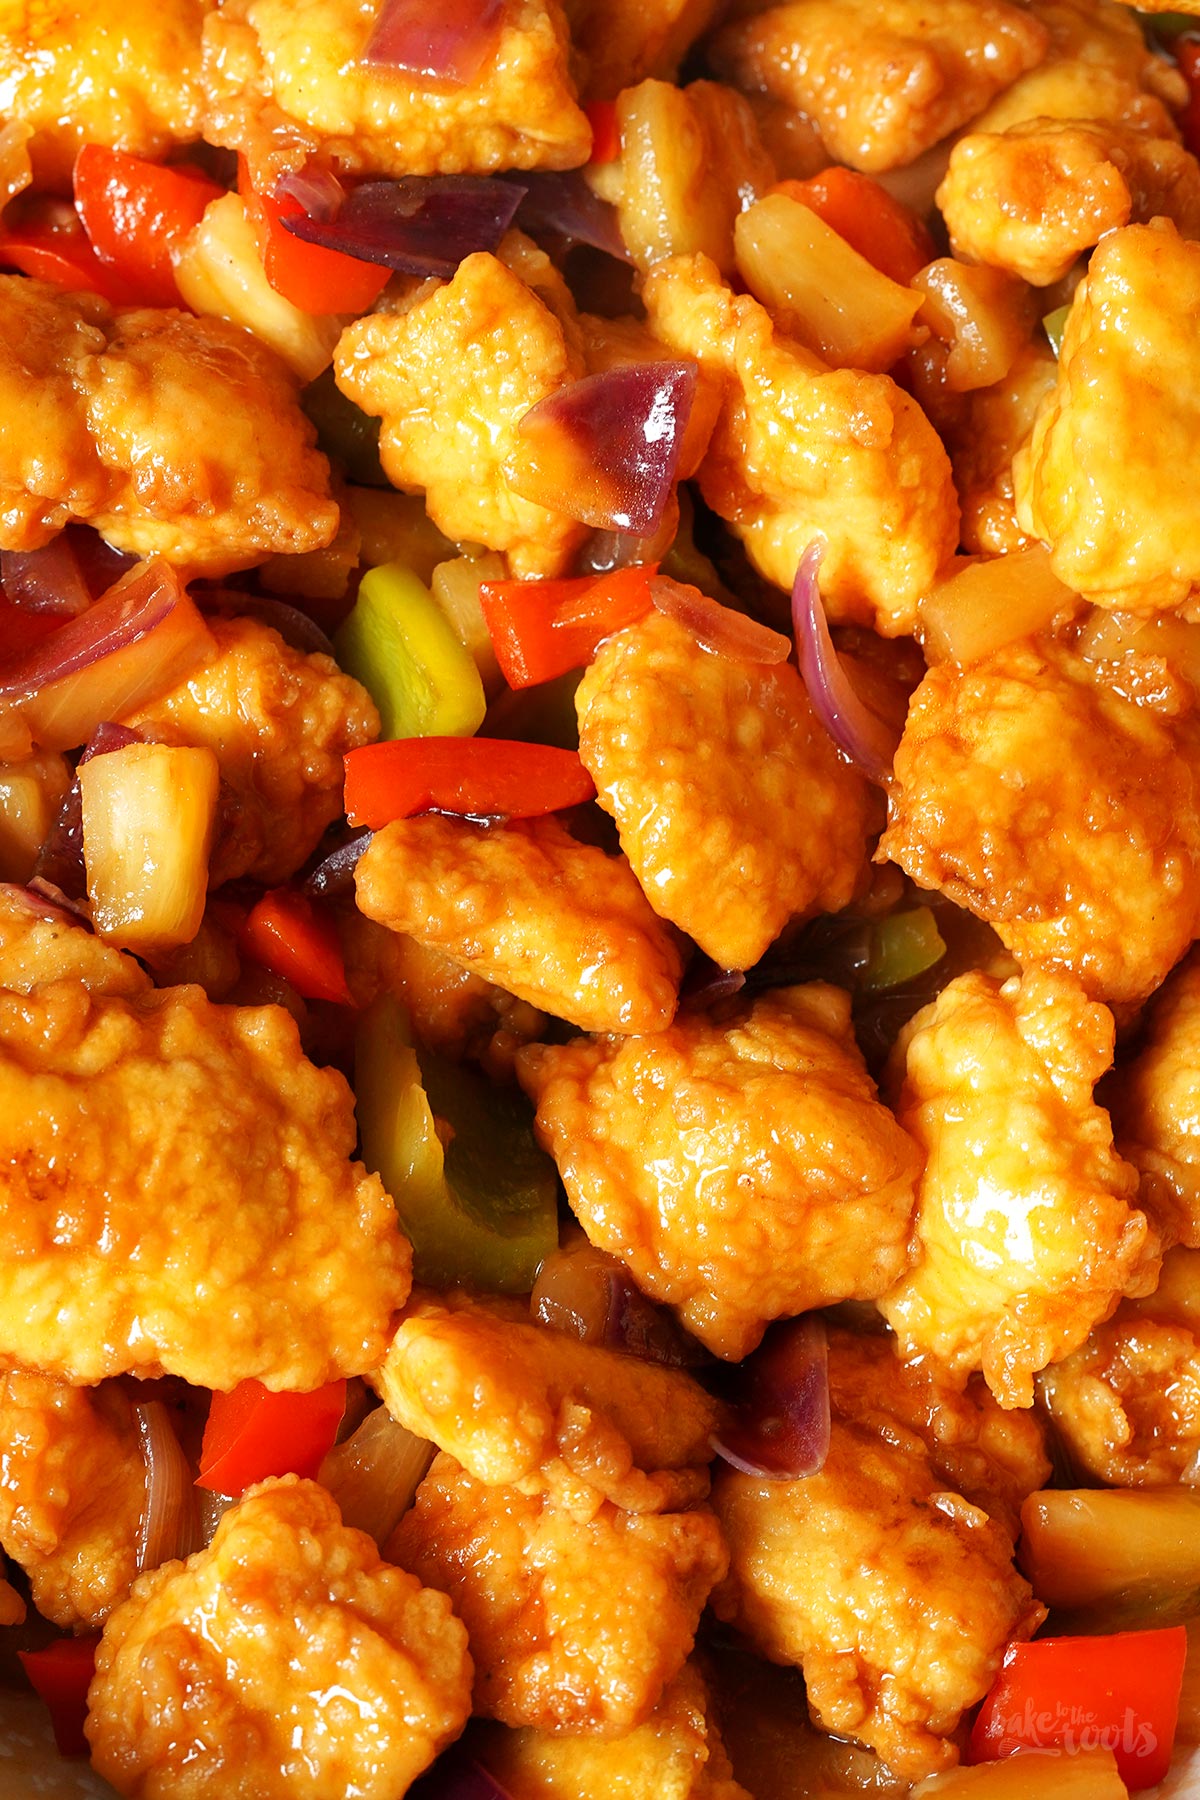
Anyway. Even though there isn’t much »fishy« content here on the blog, I can still highly recommend this delicious battered pangasius in a sweet-and-sour sauce. This dish appeals even to people who aren’t usually fans of salty, ocean-y, or fishy flavors, since pangasius has a naturally mild, neutral taste – provided, of course, that the fish is of good quality.
That is certainly an important issue when it comes to pangasius. Because the species is so popular, large-scale fish farms sometimes resort to heavy chemical use to ensure that as many of the fish as possible make it to market. Ultimately, though, whatever the fish are fed ends up on your plate. So, it pays to be careful and buy products from certified aquaculture sources – or perhaps even get organic fish from ecologically conscious farms. It’s not the easiest thing to find fish like that and it often costs a bit more, but it’s definitely better for you and the environment.
A quick word on the recipe – the preparation is actually quite simple. But all the steps together take some time. Keep that in mind. We use frozen fish here and let it thaw halfway so it’s easier to cut into small pieces. It’s a good idea to wear gloves so your hands don’t smell like fish forever. Once that’s done, you just follow the rest of the recipe…
Work fairly quickly once the fish is fried. If the fish sits around too long before going into the sauce, the breading eventually gets soggy. Crispy breaded fish in sweet-and-sour sauce is simply a much better experience than soggy fish in sauce. It still tastes delicious, of course, but just not as good as it could be. So, don’t let it sit there for an hour.
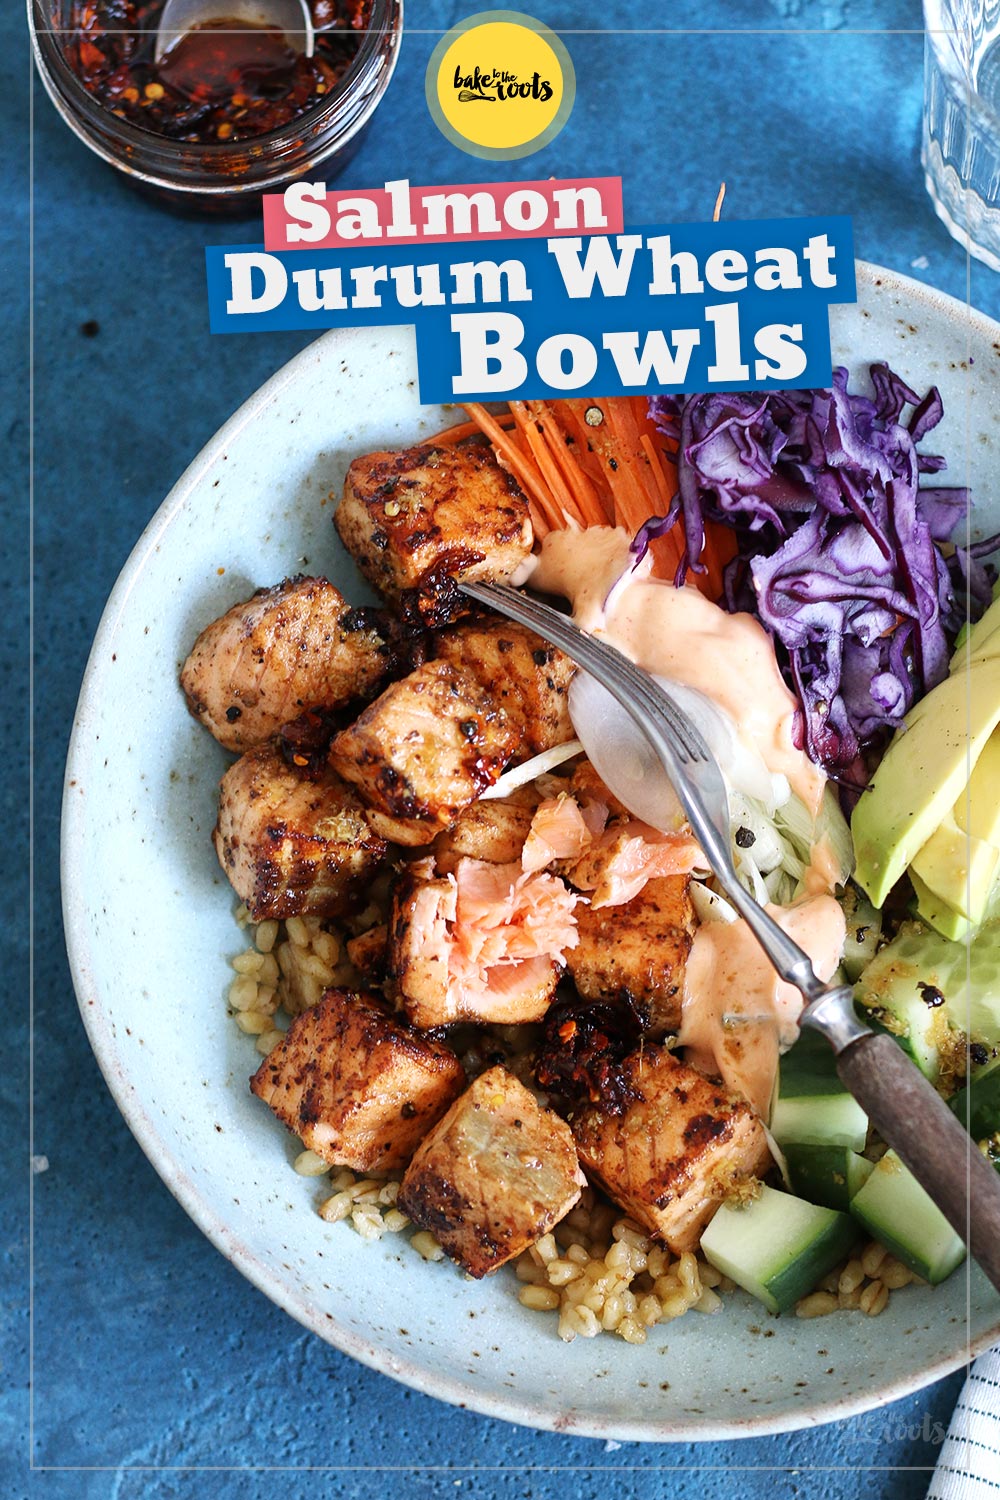
As mentioned before, there aren’t all that many fish/seafood recipes here on the blog. That doesn’t mean the few we do have aren’t super delicious. You could say that less is more in this case. I can highly recommend our Salmon Durum Wheat Bowls, for example. They aren’t too complicated to make and are reasonably healthy.
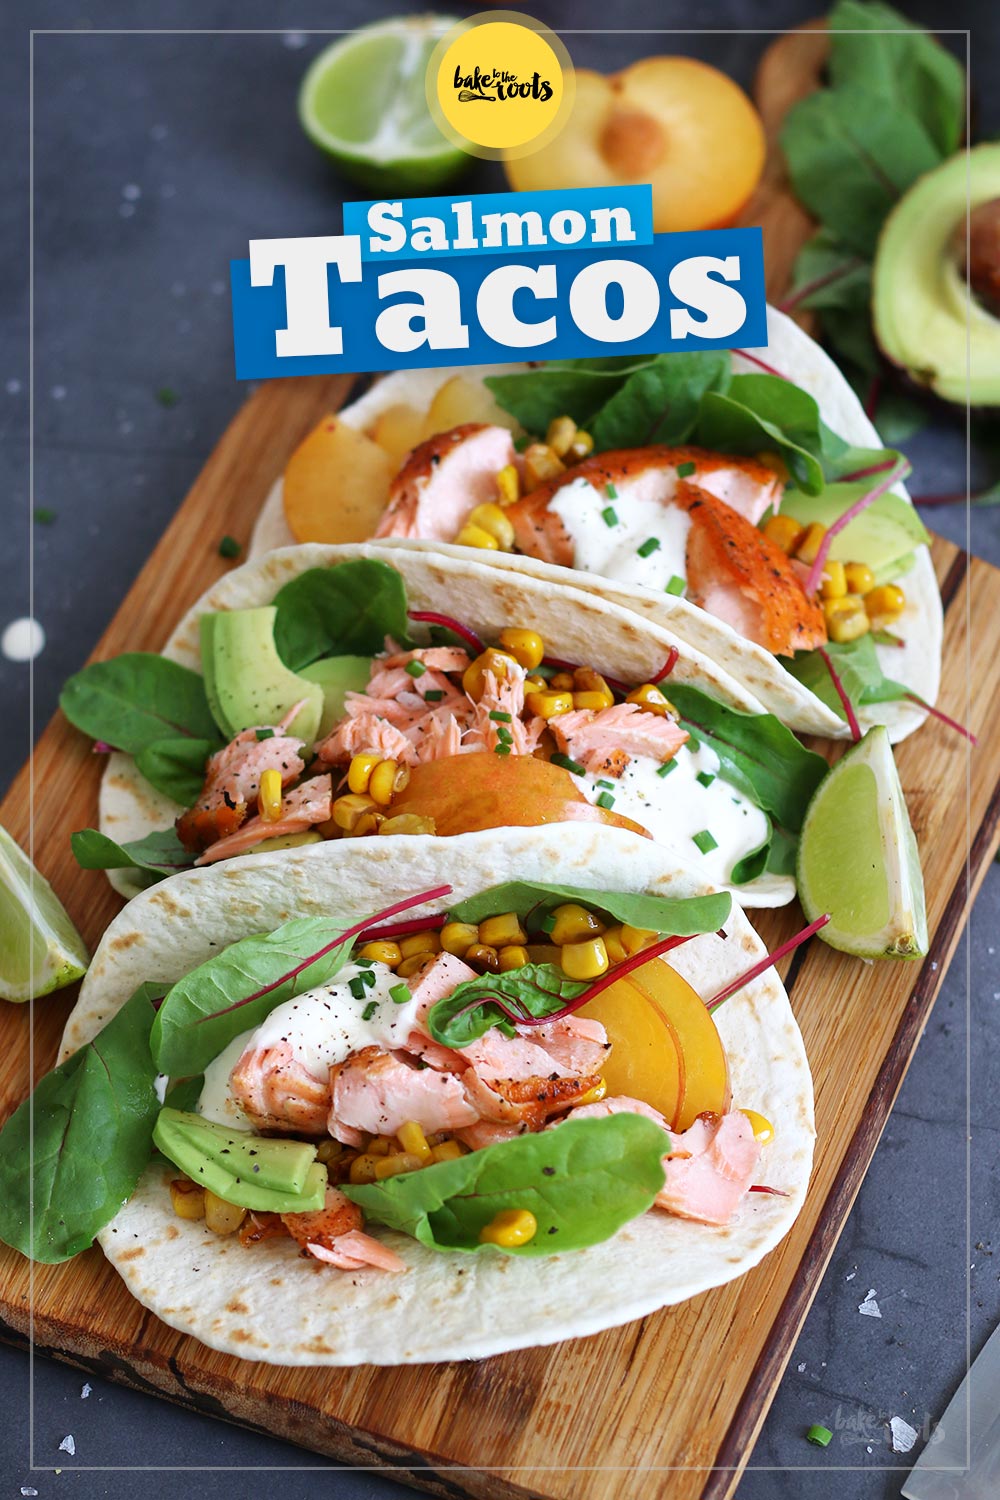
Another really tasty option made with salmon is our Salmon Tacos with Plums & Avocado. If you’re hosting guests who enjoy this kind of food, you can’t go wrong with these tacos. They’re perfect for snacking and chatting. We love taco parties, though they are most of the time without fish! ;)
INGREDIENTS / ZUTATEN
(4-5 servings)
For the fish:
a good amount of oil for deep-frying
3 Pangasius fish fillets (approx. 500g), thawed
5 tbsp. all-purpose flour*
3 tbsp. cornstarch*
2 medium eggs
1.7 fl. oz. (50ml) of water
salt, pepper
For the sauce:
5 fl. oz. (150ml) of water
4 tbsp. ketchup
2 tbsp. honey (or maple syrup)
2 tbsp. soy sauce*
1 tbsp. dark soy sauce*
1 tbsp. rice vinegar*
5 fl. oz. (150ml) pineapple juice (from a can)
1 tsp. cornstarch*
Other ingredients:
some oil for frying
1 red onion, cut into wedges
2 bell peppers (e.g. green & red), cut into chunks
7 oz. (200g) pineapple (from a can)*, drained & cut into pieces
some toasted white sesame seeds (optional)
some spring onion rings (optional)
cooked rice (e.g. Basmati), for serving
(4-5 Portionen)
Für den Fisch:
eine gute Portion Öl zum Ausbacken
3 Pangasiusfilets (etwa 500g), aufgetaut
5 EL Mehl (Type 405)*
3 EL Speisestärke*
2 Eier (M)
50ml Wasser
Salz, Pfeffer
Für die Soße:
150ml Wasser
4 EL Ketchup
2 EL Honig (oder Ahornsirup)
2 EL Sojasauce*
1 EL dunkle Sojasoße*
1 EL Reisessig*
150ml Ananassaft (aus der Dose)
1 TL Speisestärke*
Sonstiges:
etwas Öl zum Anbraten
1 rote Zwiebel, in Spalten
2 Paprika (z.B. grün & rot), in Stücken
200g Ananas (aus der Dose)*, abgetropft & in Stücken
etwas gerösteter weißer Sesam (optional)
einige Frühlingszwiebelringe (optional)
gekochter Reis (z.B. Basmati) zum Servieren
DIRECTIONS / ZUBEREITUNG
1. First, remove the fish from the freezer and let it thaw. Once the fish is partially thawed, you can cut it into bite-sized pieces. If any liquid accumulates, discard it and pat the fish dry – for instance, with a paper towel.
2. Prepare a thick batter using the flour, cornstarch, eggs, and water. Season the fish with some salt and pepper, then add it to the batter. Each individual piece of fish should be completely coated in the batter. At this stage, you can also go ahead and prepare the rice. It typically takes a bit longer to cook. If you are using microwave rice, you can wait to prepare it until just before serving.
3. Heat up a frying pan (or saucepan) with a generous amount of oil – the fish pieces should be able to »float« in the oil without touching the bottom too much. Deep-fry the fish in the hot oil in batches. Do not add too much at once, or the oil temperature might drop too much. The fish pieces should get a nice golden-yellow color – 1–2 minutes per batch should be enough. Remove the fried fish pieces from the oil and let them drain on a wire rack or paper towels.
4. Drain the canned pineapple, reserving the juice. You need about 150ml for the sauce. If the can does not contain quite that much juice, simply top it up with water. Cut the drained pineapple into pieces (or simply purchase pre-cut pineapple chunks).
5. For the sauce, mix the water, ketchup, honey (or maple syrup), both types of soy sauce, rice vinegar, pineapple juice (from the can), and cornstarch in a bowl. Set the mixture aside.
6. Peel the onion, cut it in half, and slice it into wedges. Clean the bell pepper and cut it into bite-sized pieces.
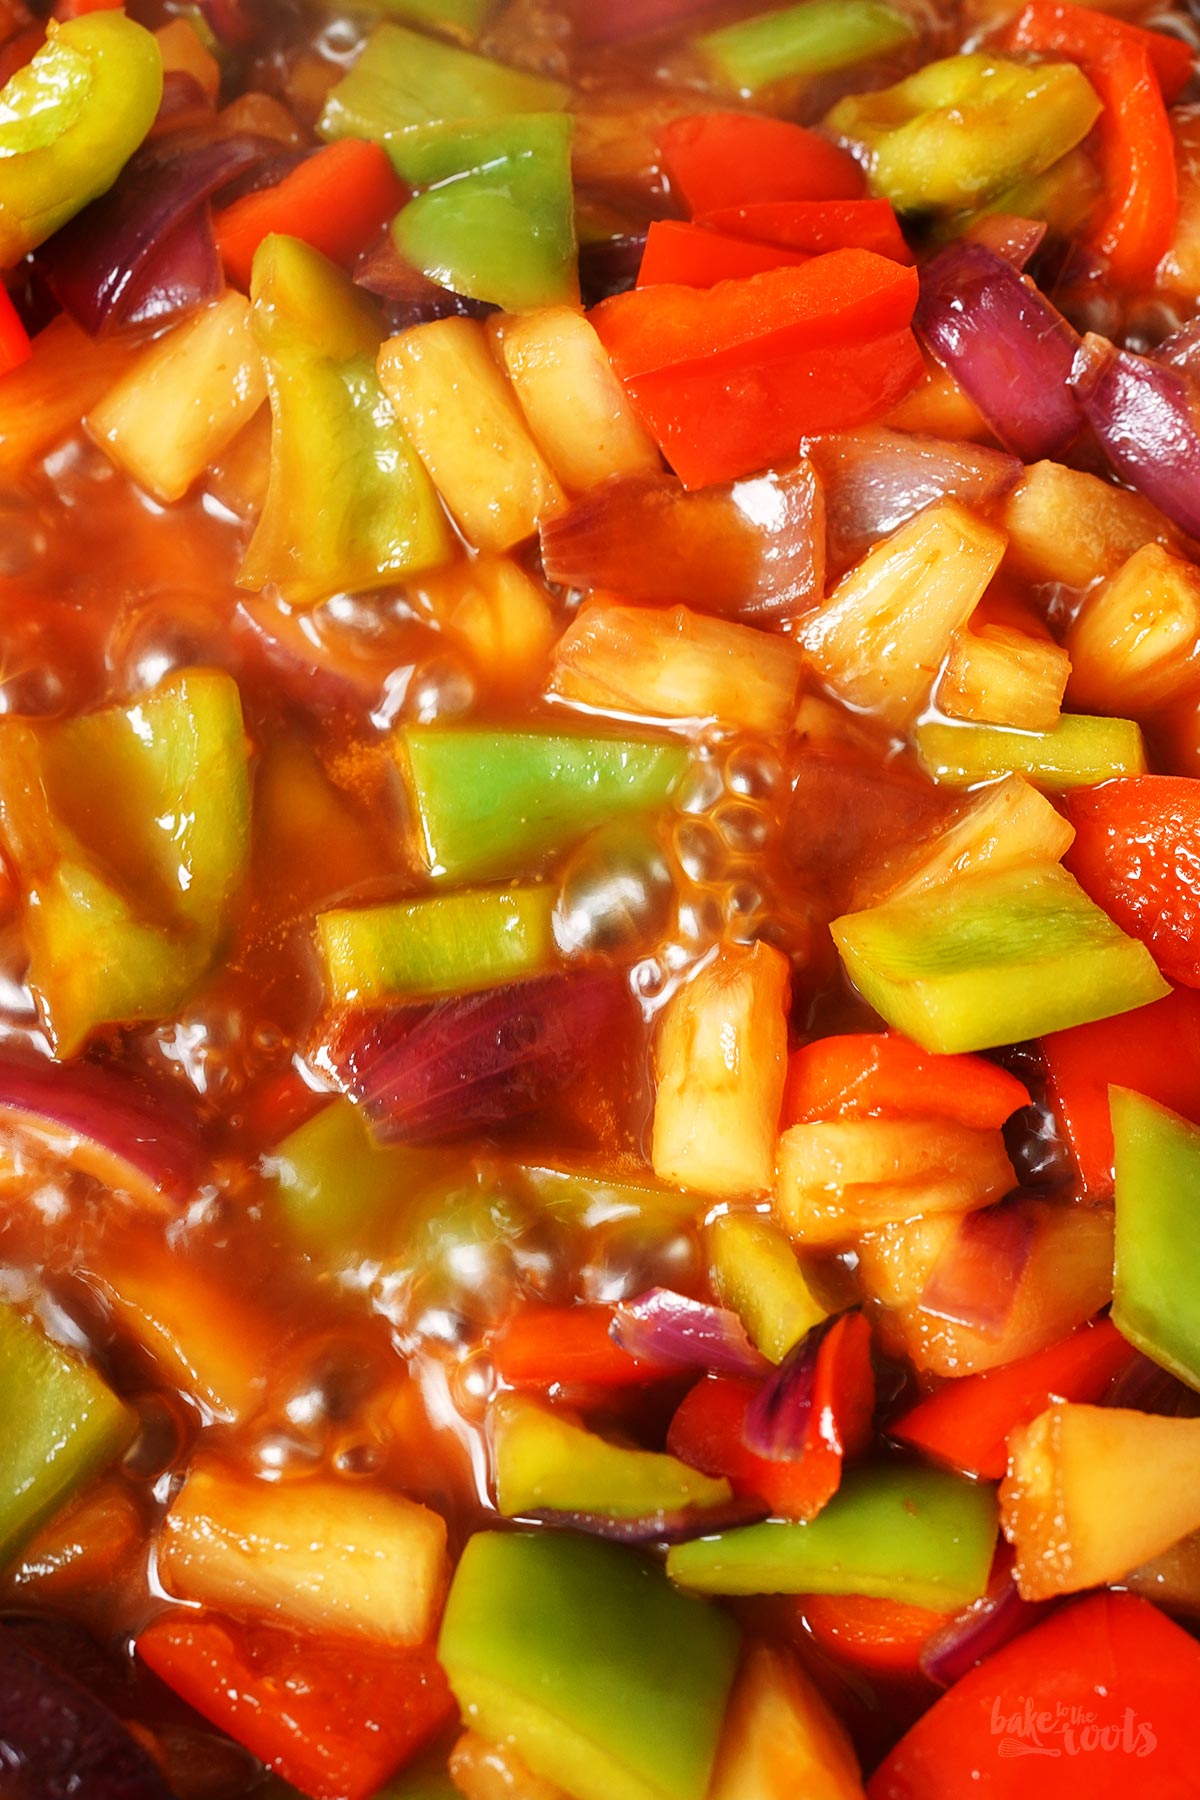
7. Heat a little oil in a large frying pan. Add the onion and sauté until soft and glossy. Next, add the bell pepper and stir-fry for 1–2 minutes. Next, add the chopped pineapple and briefly stir-fry it as well. Once the veggies got a little color, add the sauce mixture and let everything simmer for 2–3 minutes, stirring constantly over slightly reduced heat. The sauce should start to thicken during this time.
8. Add the pieces of Pangasius fish and heat them up in the sauce for 2–3 minutes, turning them frequently, while allowing the sauce to continue thickening. If the sauce becomes too thick, you can add a little extra pineapple juice or simply some water to thin it out. Arrange the fish and rice together on plates or in bowls, and garnish to your liking with some toasted sesame seeds and sliced green onions (optional).
1. Den Fisch als Erstes aus dem Tiefkühler nehmen und auftauen lassen. Wenn der Fisch halbwegs aufgetaut ist, kann man ihn schon in mundgerechte Stücke schneiden. Falls sich Flüssigkeit ansammelt, entsorgen und den Fisch z.B. mit etwas Küchenpapier trockentupfen.
2. Aus Mehl, Speisestärke, Eiern und Wasser einen dickflüssigen Teig zubereiten. Den Fisch mit etwas Salz und Pfeffer würzen, dann zum Teig dazugeben. Die einzelnen Fischstücke sollten rundum mit Teig bedeckt sein. An dieser Stelle kann man jetzt auch schon einmal den Reis vorbereiten – der braucht i.d.R. ja etwas länger. Wer Mikrowellenreis verwendet, kann den erst kurz vor dem Servieren zubereiten.
3. Eine Pfanne (oder einen Topf) mit genügend Öl erhitzen – die Fischstücke sollten ohne Probleme im Öl »schwimmen« können. Den Fisch dann portionsweise im heißen Öl ausbacken. Nicht zu viel auf einmal in die Pfanne geben, sonst sinkt die Temperatur des Öls zu stark. Die Fischstücke sollten eine schöne goldgelbe Farbe bekommen – 1-2 Minuten pro Portion sollten i.d.R. ausreichen. Die frittierten Fischstücke aus dem Fett nehmen und auf einem Gitter oder Küchenpapier abtropfen lassen.
4. Die Ananas aus der Dose abtropfen lassen und den Saft dabei auffangen – man braucht etwa 150ml für die Soße. Falls nicht ganz so viel in der Dose vorhanden ist, einfach mit Wasser auffüllen. Die abgetropfte Ananas in Stücke schneiden (oder gleich gestückelte Ananas besorgen).
5. Für die Soße das Wasser mit Ketchup, Honig (oder Ahornsirup), beiden Sojasoßensorten, Reisessig, Ananassaft (aus der Dose) und Speisestärke in einem Gefäß verrühren. Zur Seite stellen.
6. Die Zwiebel schälen, halbieren und in Spalten schneiden. Die Paprika säubern und dann in mundgerechte Stücke schneiden.
7. Etwas Öl in einer großen Pfanne erhitzen und dann als Erstes die Zwiebelspalten einige Zeit glasig andünsten. Als Nächstes die Paprika dazugeben und 1-2 Minuten mit anbraten, dann die klein geschnittene Ananas dazugeben und ebenfalls kurz mit anbraten/erhitzen. Wenn das Gemüse etwas Farbe bekommen hat, die Soßenmischung dazugeben und alles unter ständigem Rühren 2-3 Minuten bei leicht reduzierter Hitzezufuhr köcheln lassen – die Soße sollte in der Zeit schon etwas andicken.
8. Die Pangasiusstücke dazugeben und unter häufigem Wenden für 2-3 Minuten in der Soße aufwärmen und die Soße weiter andicken lassen. Sollte die Soße zu dickflüssig werden, kann man etwas zusätzlichen Ananassaft oder einfach etwas Wasser zum Verdünnen dazugeben. Den Fisch mit dem Reis zusammen auf Tellern oder in Schüsseln anrichten und nach Belieben noch mit etwas geröstetem Sesam und Frühlingszwiebelringen dekorieren (optional).
Craving more? Keep in touch on Facebook, Instagram and Pinterest for new post updates and more. You can also contact me with any questions or inquiries!
Here is a version of the recipe you can print easily.
Print
Sweet & Sour Fish Stir-fry with Rice
- Prep Time: 00:40
- Cook Time: 00:25
- Total Time: 04:00
- Yield: 4 1x
- Category: Fish
- Method: -
- Cuisine: Asian
Description
We are not cooking with fish that often, but this Sweet & Sour Fish Stir-fry with Rice is the absolute best! That one we love to cook over and over…
Ingredients
For the fish:
a good amount of oil for deep-frying
3 Pangasius fish fillets (approx. 500g), thawed
5 tbsp. all-purpose flour*
3 tbsp. cornstarch*
2 medium eggs
1.7 fl. oz. (50ml) of water
salt, pepper
For the sauce:
5 fl. oz. (150ml) of water
4 tbsp. ketchup
2 tbsp. honey (or maple syrup)
2 tbsp. soy sauce*
1 tbsp. dark soy sauce*
1 tbsp. rice vinegar*
5 fl. oz. (150ml) pineapple juice (from a can)
1 tsp. cornstarch*
Other ingredients:
some oil for frying
1 red onion, cut into wedges
2 bell peppers (e.g. green & red), cut into chunks
7 oz. (200g) pineapple (from a can)*, drained & cut into pieces
some toasted white sesame seeds (optional)
some spring onion rings (optional)
cooked rice (e.g. Basmati), for serving
Instructions
1. First, remove the fish from the freezer and let it thaw. Once the fish is partially thawed, you can cut it into bite-sized pieces. If any liquid accumulates, discard it and pat the fish dry – for instance, with a paper towel.
2. Prepare a thick batter using the flour, cornstarch, eggs, and water. Season the fish with some salt and pepper, then add it to the batter. Each individual piece of fish should be completely coated in the batter. At this stage, you can also go ahead and prepare the rice. It typically takes a bit longer to cook. If you are using microwave rice, you can wait to prepare it until just before serving.
3. Heat up a frying pan (or saucepan) with a generous amount of oil – the fish pieces should be able to »float« in the oil without touching the bottom too much. Deep-fry the fish in the hot oil in batches. Do not add too much at once, or the oil temperature might drop too much. The fish pieces should get a nice golden-yellow color – 1–2 minutes per batch should be enough. Remove the fried fish pieces from the oil and let them drain on a wire rack or paper towels.
4. Drain the canned pineapple, reserving the juice. You need about 150ml for the sauce. If the can does not contain quite that much juice, simply top it up with water. Cut the drained pineapple into pieces (or simply purchase pre-cut pineapple chunks).
5. For the sauce, mix the water, ketchup, honey (or maple syrup), both types of soy sauce, rice vinegar, pineapple juice (from the can), and cornstarch in a bowl. Set the mixture aside.
6. Peel the onion, cut it in half, and slice it into wedges. Clean the bell pepper and cut it into bite-sized pieces.
7. Heat a little oil in a large frying pan. Add the onion and sauté until soft and glossy. Next, add the bell pepper and stir-fry for 1–2 minutes. Next, add the chopped pineapple and briefly stir-fry it as well. Once the veggies got a little color, add the sauce mixture and let everything simmer for 2–3 minutes, stirring constantly over slightly reduced heat. The sauce should start to thicken during this time.
8. Add the pieces of Pangasius fish and heat them up in the sauce for 2–3 minutes, turning them frequently, while allowing the sauce to continue thickening. If the sauce becomes too thick, you can add a little extra pineapple juice or simply some water to thin it out. Arrange the fish and rice together on plates or in bowls, and garnish to your liking with some toasted sesame seeds and sliced green onions (optional).
Notes
Let’s cook something amazing!
Links marked with an asterisk (*) are affiliate links (advertising/Werbung) to Amazon Germany. If you click on one of those links and buy something via this link, I will get a commission for that sale. The price of whatever you buy is not affected in any way by this.