There it is again – my beloved rhubarb! It is the same every year – as soon as the season begins I am standing in front of those red stalks like a little child in front of the christmas tree – happy and full of joy ;) Dunno why, but I just looooove rhubarb – the combination of sweet and sour, the color, the many things you can do… for example here rhubarb with marzipan – awesome!
As soon as the red stalks are in the supermarkets my heart makes a big jump :P So many things I want to do with it, so many recipes to try… the season for rhubarb is way too short to be honest. For that reason I started to freeze it at the end of the season – gives you more time to make something ;)
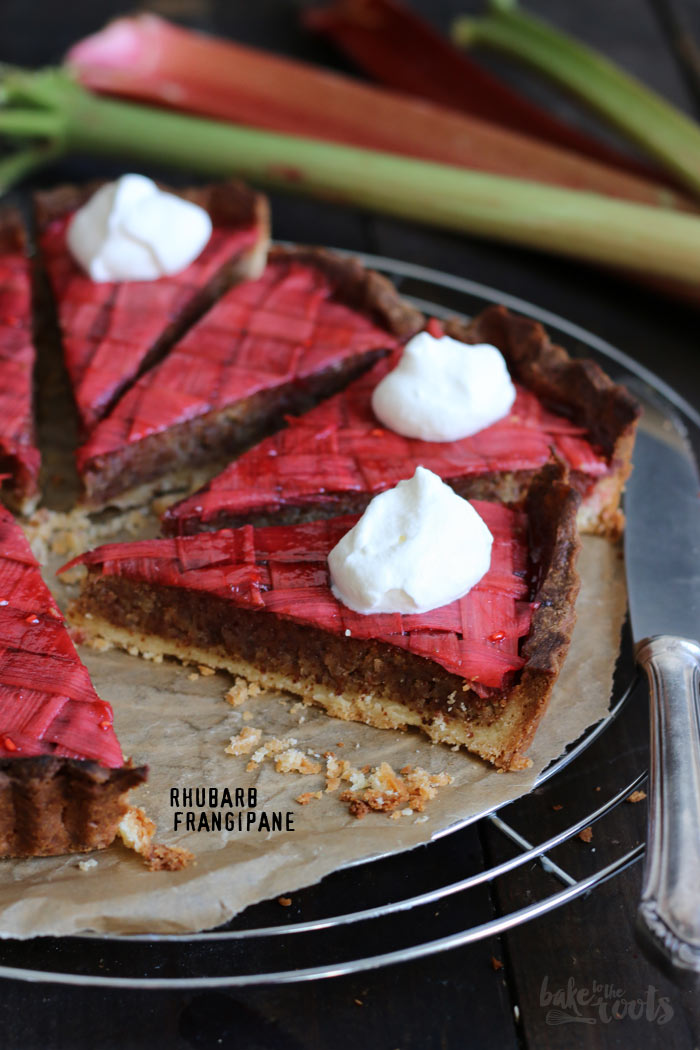
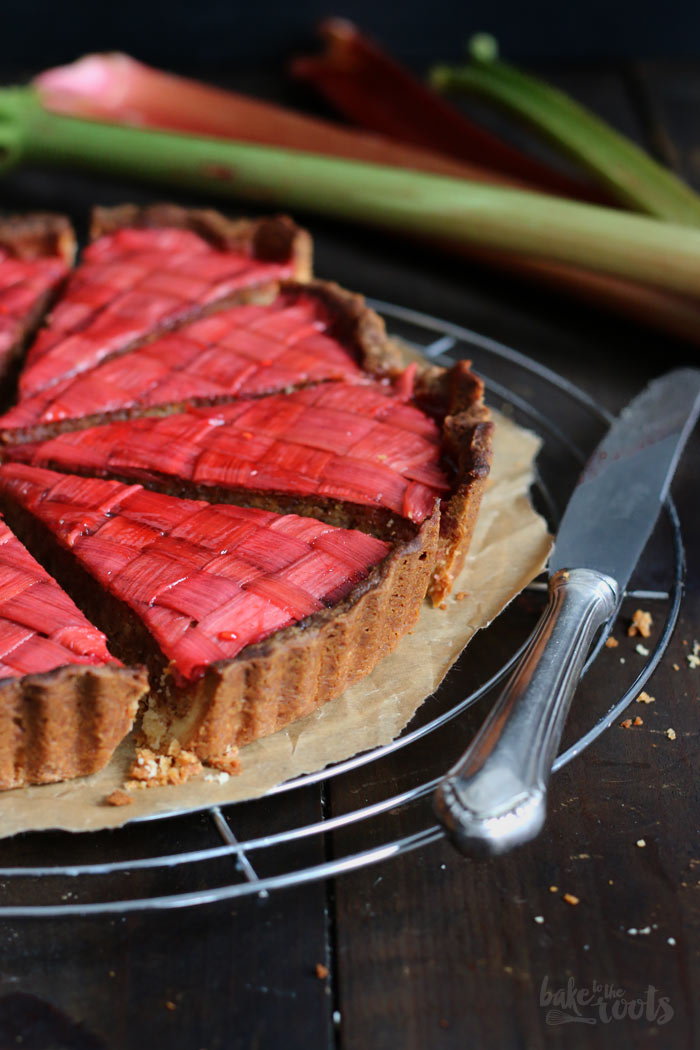
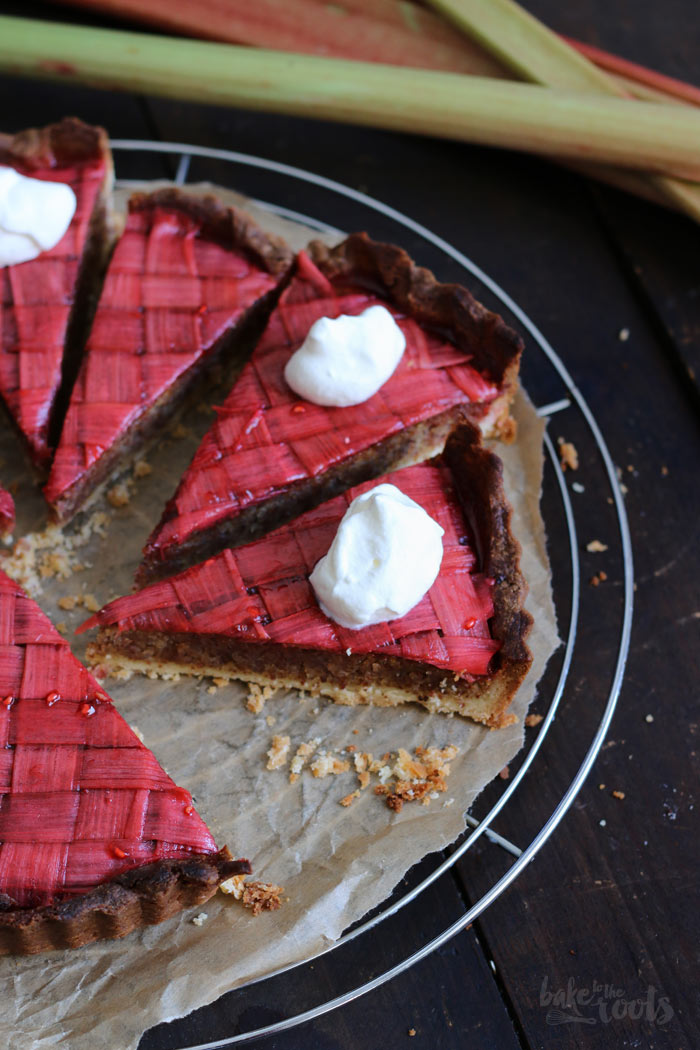
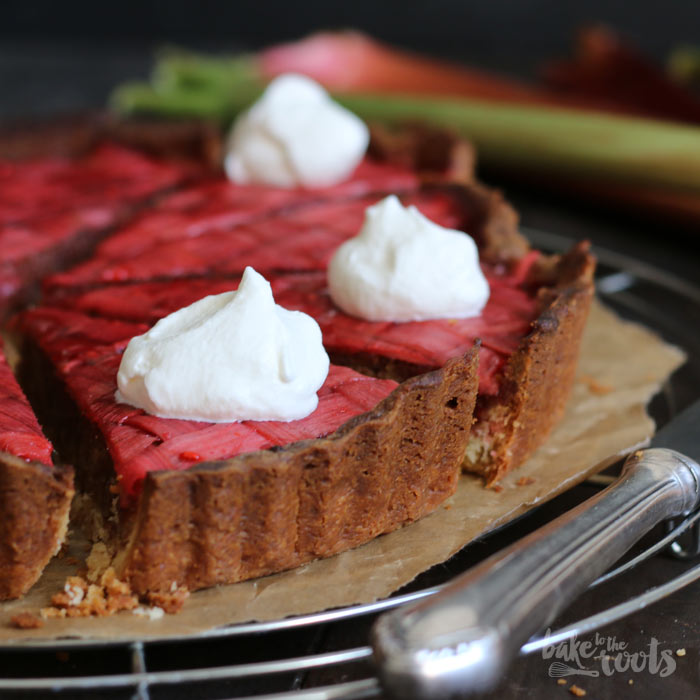
This frangipane aka. almond cake would not work with frozen rhubarb – unfortunately – you need fresh long rhubarb stalks to get the stripes for the lattice work on top. But that is fine – you can do it once a season and then many other things…
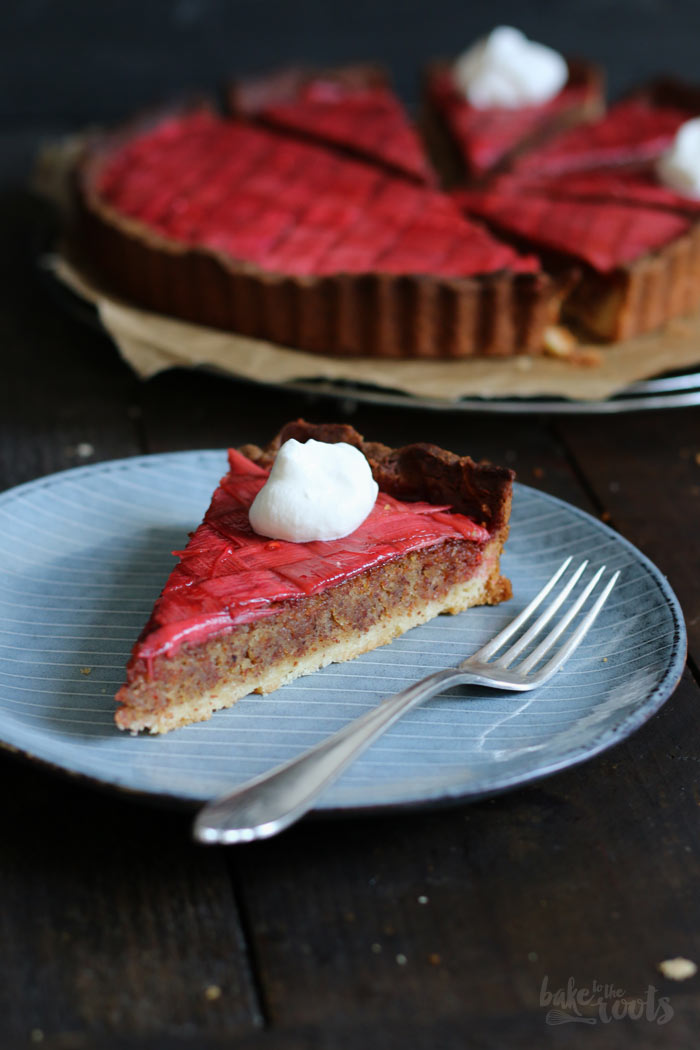
To be honest – you probably make this lattice work only once (a year) anyways – it is a loooot of work. Really ;) So be warned… the cake itself is easy peasy, but for the lattice you have to peel/cut the rhubarb in long stripes, cook them in syrup, drain and dry them and then make the lattice… I was really close to end my friendship with rhubarb. BUT – and that is the good thing – the result is awesome! At least that’s what I think ;) It looks great and the flavors are awesome!
So if you want to make this cake – take your time. You will need it ;) If you want to do something more quick, I recommend this Olive Oil Cake with Red Grapes much faster to do and also very delicious :)
INGREDIENTS / ZUTATEN
1 1/4 cups (160g) all-purpose flour
2/3 cup (90g) confectioner’s sugar
1/4 tsp. salt
1/2 cup (115g) cold butter, cut into cubes
1 egg yolk
1 tbsp. heavy cream
1/2 tsp. vanilla extract
For the filling:
2 tbsp. (30g) butter
1 1/2 cups (180g) ground almonds
2/3 cup (130g) sugar
2 eggs
1/3 cup (80ml) amaretto
1 tsp. vanilla extract
zest of 1/2 small lemon
pinch of salt
For the rhubarb lattice topping:
5-7 large stalks of rhubarb
1 cup (240ml) water
1/2 cup (100g) sugar
5-6 raspberries
red food color (optional)
160g Mehl (Type 405)
90g Puderzucker
1/4 TL Salz
115g kalte Butter, in Stücken
1 Eigeln
1 EL Sahne
1/2 TL Vanille Extrakt
Für die Füllung:
30g Butter
180g Mandeln, gemahlen
130g Zucker
2 Eier
80ml Amaretto
1 TL Vanille Extrakt
Schale einer kleinen 1/2 Zitrone
Prise Salz
Für das Rhabarbergitter:
5-7 große Rhabarberstangen
240ml Wasser
100g Zucker
5-6 Himbeeren
rote Lebensmittelfarbe (optional)
DIRECTIONS / ZUBEREITUNG
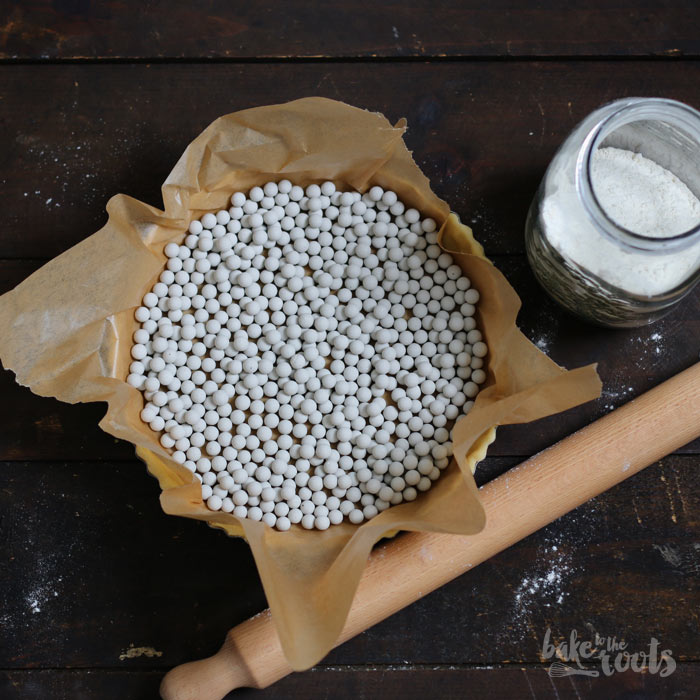
2. Preheat the oven to 375˚F (190°C). Grease a 9 inch (23cm) springform tin with loose bottom and set aside. Roll out the dough on a floured surface slightly bigger than the tin. Place the dough in the tin and press to the bottom and sides to form a nice crust – cut off any overlapping dough. Blindbake for about 10-15 minutes, then take out of the oven and let cool down on a wire rack. Keep the oven on it’s temperature.
3. While the crust is baking, prepare the filling by melting the butter in a small saucepan. Let cook until it starts to brown. Remove from the heat and let cool down. Add the ground almonds, sugar, eggs, amaretto, vanilla extract, lemon zest and salt to a bowl and mix until combined. Add the cooled butter and mix in. Pour the filling into the pre-baked crust and bake for 25-30 minutes. The tart should have a nice golden brown color, but not burn, so keep an eye on it. Let cool down on a wire rack.
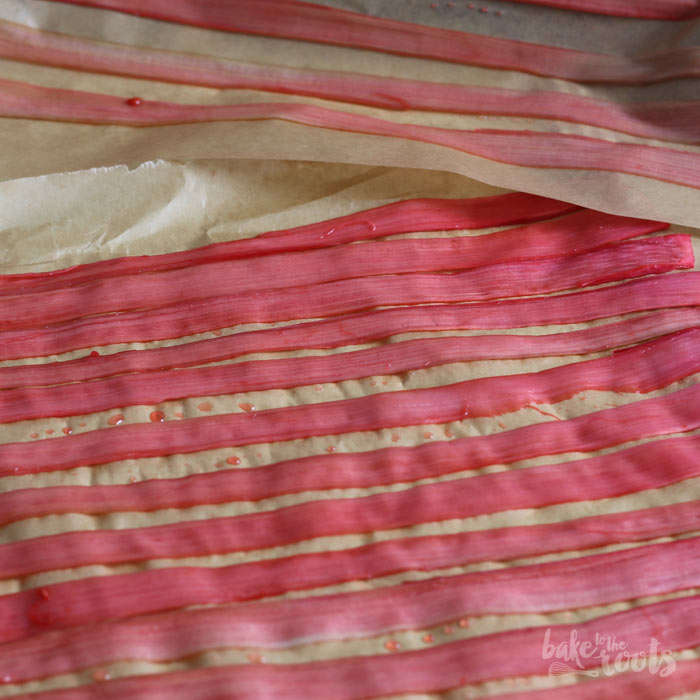
4. For the rhubarb lattice wash the rhubarb and dry. Cut off the ends – use a vegetable peeler or similar to slice the rubarb into long stripes – try not to make the slices too thin, or you will have problems later. Add the water, sugar and raspberries to a small pot. Smash the raspberries and bring the mixture to a boil. The syrup should be somehwat red/pink from the raspberries – this will help to get a nice color for the rhubarb stripes (add some drops red food color if you want it more intense). Reduce the heat to low, remove the smashed raspberries and place several stripes of rhubarb in the syrup – do not add too many at a time, 4-5 are enough. Let soak for couple minutes until softer but not completely cooked. Take out, remove excess liquid and spread on a piece of baking parchment to cool down. Continue with more rhubarb stripes until you have enough to make the lattice. Increase the heat again so the remaining syrup can thicken a bit more, then set aside to cool down.
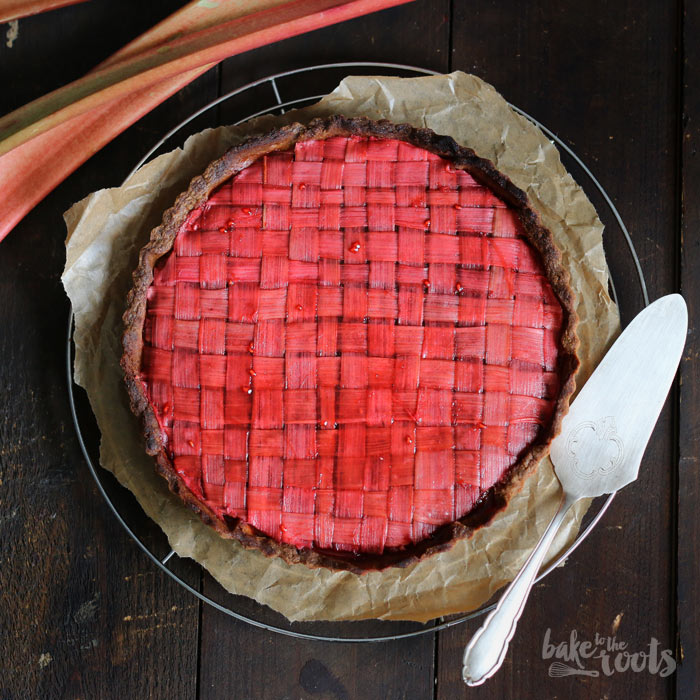
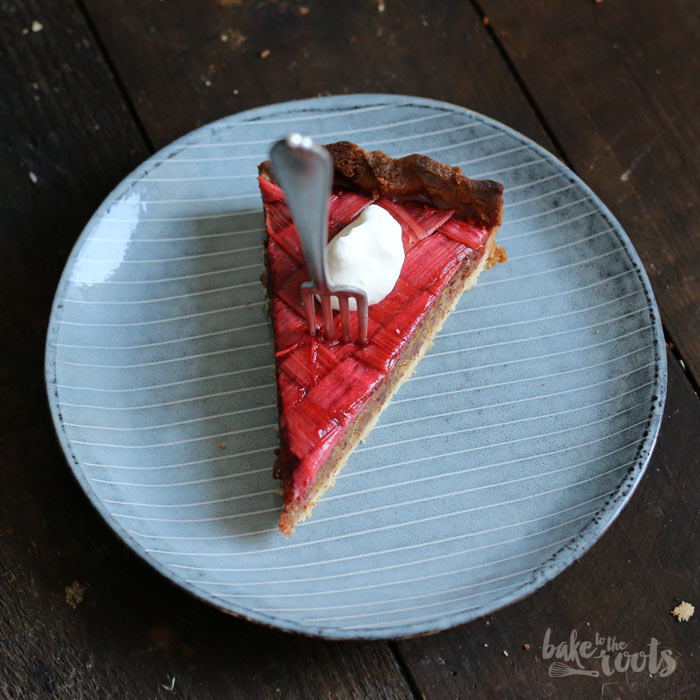
5. Take a second sheet of baking parchment and line up the slices of rhubarb side by side. Fold alternating slices up to one side and place a slice of rhubarb at an angle of 90° on top, fold slices over that slice and the alternating slices up to one side again. Repeat the procedure until the lattice pattern is big enough to cover the tart. Flip the sheet on top of the tart and peel the parchment off. Trim the overlapping rhubarb with a really sharp knife or better a pair of scissors. Pour the syrup on top and spread all over the tart (by using a pastry brush). Serve with whipped cream.
2. Den Ofen auf 190°C (375°F) vorheizen. Eine 23cm (9 inch) Springform mit Hebeboden einfetten und zur Seite stellen. Den Teig auf einer bemehlten Fläche etwas größer als die Form ausrollen. Teig in die Form drücken und überstehenden Teig abschneiden. Für 10-15 Minuten blindbacken und dann herausnehmen und auf einem Kuchengitter abkühlen lassen. Den Ofen auf der selben Temperatur lassen.
3. Während der Tarteboden im Backofen ist, mit der Füllung anfangen und die Butter in einem kleinen Topf schmelzen und solange köcheln lassen, bis sie kleine braune Flecken bekommt (gebräunte Butter). Vom Herd nehmen und abkühlen lassen. Die gemahlenen Mandeln mit Zucker, Eiern, Amaretto, Vanille Extrakt, Zitronenschale und Salz in einer Schüssel verrühren. Die etwas abgekühlte Butter zugeben und verrühren. Die Füllung auf den vorgebackenen Boden schütten und für 25-30 Minuten backen. Die Tarte sollte eine schöne goldbraune Farbe bekommen, aber nicht verbrennen – also im Auge behalten. Auf einem Kuchengitter auskühlen lassen.
4. Für das Rhabarbergitter den Rhabarber waschen und trocknen. Die Enden abschneiden und dann mit einem Gemüseschäler oder ähnlichem lange Streifen vom Rhabarber abschneiden/hobeln. Die Streifen sollten nicht zu dünn sein, sonst gibt es später Probleme. Wasser, Zucker und Himbeeren in einen kleinen Topf geben, die Himbeeren zerdrücken und alles aufkochen. Der Zuckersirup sollte durch die Himbeeren eine leicht rote/pinke Farbe bekommen haben – dadurch bekommen die Rhabarberstreifen eine schöne Farbe – wer es intensiv mag, gibt noch ein paar Tropfen rote Lebensmittelfarbe dazu. Die Hitzezufuhr verringern – der Sirup sollte nur noch heiß sein, nicht kochen oder köcheln. Die Himbeerreste entfernen und 4-5 Rhabarberstreifen hineinlegen und für wenige Minuten einweichen lassen. Der Rhabarber soll etwas garen und weicher werden, aber nicht komplett aufweichen. Herausnehmen, auf einem Papiertuch etwas abtropfen lassen und dann auf einem großen Stück Backpapier ausbreiten und abkühlen lassen. Mit so vielen Streifen wiederholen, bis genügend vorhanden sind, um die Tarte komplett zu bedecken. Den übrig gebliebenen Sirup nochmal kurz aufkochen und etwas eindicken lassen und dann zur Seite stellen zum Abkühlen.
5. Auf einem zweiten Stück Backpapier die Streifen direkt nebeneinander legen, möglichst ohne Lücken. Dann jeden zweiten Streifen zu einer Seite wegklappen und einen Streifen Rhabarber im 90° Winkel über die verbliebenen Streifen legen, die anderen Streifen zurückklappen. Jetzt die Streifen zurückklappen, die unter dem Querstreifen liegen und einen weiteren Streifen quer legen – so lange weitermachen und den Rhabarber weben, bis das Geflecht groß genug ist für die Tarte. Das Papier mit dem Rhabarbergitter auf den Kuchen legen, das Backpapier abziehen und dann mit einem sehr scharfen Messer oder besser mit einer Schere auf die Größe der Tarte zuschneiden. Den Sirup auf das Gitter schütten und verteilen (zB. mit einem Backpinsel). Mit Schlagsahne servieren.
Craving more? Keep in touch on Facebook, Twitter, Instagram and Pinterest for new post updates and more. You can also contact me with any questions or inquiries!
Here is a version of the recipe you can print easily.
Print
Rhubarb Lattice Frangipane
- Prep Time: 80
- Cook Time: 45
- Total Time: 160
Ingredients
For the crust
- 1 1/4 cups (160g) all-purpose flour
- 2/3 cup (90g) confectioner’s sugar
- 1/4 tsp. salt
- 1/2 cup (115g) cold butter, cut into cubes
- 1 egg yolk
- 1 tbsp. heavy cream
- 1/2 tsp. vanilla extract
For the filling
- 2 tbsp. (30g) butter
- 1 1/2 cups (180g) ground almonds
- 2/3 cup (130g) sugar
- 2 eggs
- 1/3 cup (80ml) amaretto
- 1 tsp. vanilla extract
- zest of 1/2 small lemon
- pinch of salt
For the rhubarb lattice topping
- 5-7 large stalks of rhubarb
- 1 cup (240ml) water
- 1/2 cup (100g) sugar
- 5-6 raspberries
- red food color (optional)
Instructions
- Add the flour, confectioner’s sugar and salt to a large bowl and mix. Add the butter in small pieces and cut with a pastry blender until you get small crumbs. Mix egg, heavy cream and vanilla extract in a small bowl. Add to the bowl with the flour-butter mixture and mix with a wooden spoon until the dough starts coming together, then use your hands to quickly knead the dough until smooth. Wrap into plastic wrap and place in the fridge for at least 30 minutes (or over night).
- Preheat the oven to 375˚F (190°C). Grease a 9 inch (23cm) springform tin with loose bottom and set aside. Roll out the dough on a floured surface slightly bigger than the tin. Place the dough in the tin and press to the bottom and sides to form a nice crust – cut off any overlapping dough. Blindbake for about 10-15 minutes, then take out of the oven and let cool down on a wire rack. Keep the oven on it’s temperature.
- While the crust is baking, prepare the filling by melting the butter in a small saucepan. Let cook until it starts to brown. Remove from the heat and let cool down. Add the ground almonds, sugar, eggs, amaretto, vanilla extract, lemon zest and salt to a bowl and mix until combined. Add the cooled butter and mix in. Pour the filling into the pre-baked crust and bake for 25-30 minutes. The tart should have a nice golden brown color, but not burn, so keep an eye on it. Let cool down on a wire rack.
- For the rhubarb lattice wash the rhubarb and dry. Cut off the ends – use a vegetable peeler or similar to slice the rubarb into long stripes – try not to make the slices too thin, or you will have problems later. Add the water, sugar and raspberries to a small pot. Smash the raspberries and bring the mixture to a boil. The syrup should be somehwat red/pink from the raspberries – this will help to get a nice color for the rhubarb stripes (add some drops red food color if you want it more intense). Reduce the heat to low, remove the smashed raspberries and place several stripes of rhubarb in the syrup – do not add too many at a time, 4-5 are enough. Let soak for couple minutes until softer but not completely cooked. Take out, remove excess liquid and spread on a piece of baking parchment to cool down. Continue with more rhubarb stripes until you have enough to make the lattice. Increase the heat again so the remaining syrup can thicken a bit more, then set aside to cool down.
- Take a second sheet of baking parchment and line up the slices of rhubarb side by side. Fold alternating slices up to one side and place a slice of rhubarb at an angle of 90° on top, fold slices over that slice and the alternating slices up to one side again. Repeat the procedure until the lattice pattern is big enough to cover the tart. Flip the sheet on top of the tart and peel the parchment off. Trim the overlapping rhubarb with a really sharp knife or better a pair of scissors. Pour the syrup on top and spread all over the tart (by using a pastry brush). Serve with whipped cream.
Notes
- Enjoy baking!
Nutrition
- Serving Size: 12