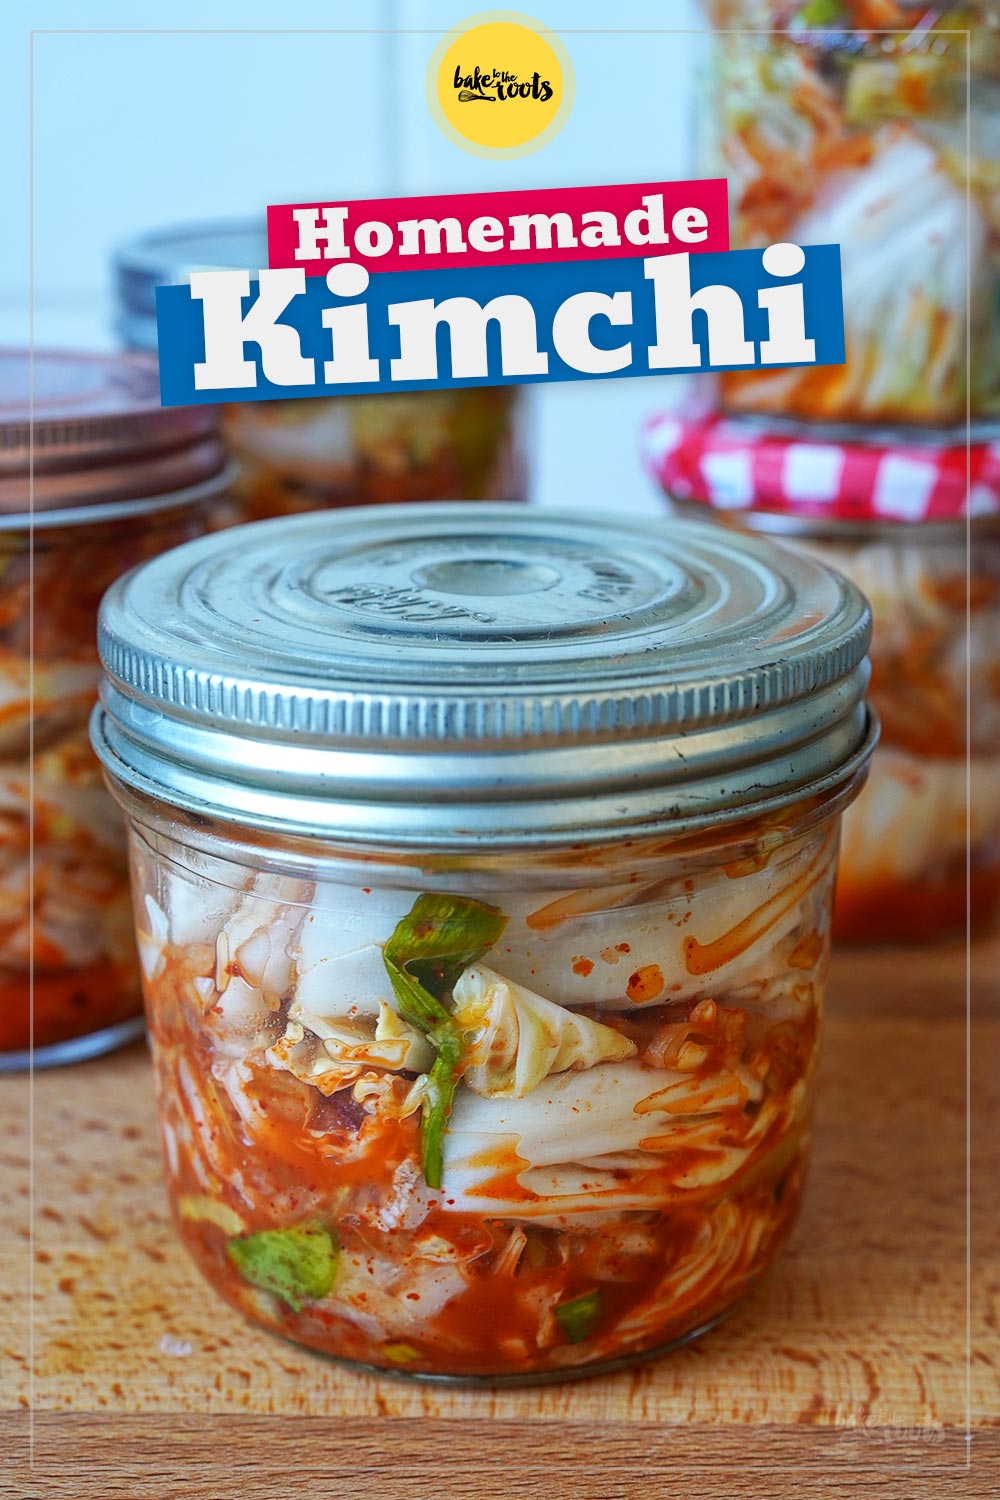
We’re absolute fanboys (and fangirls) of all sorts of things you can pickle and ferment here at home. Homemade is often miles better than anything you can find in the supermarkets. A few years ago, we started making our own Korean Kimchi, also known as Tongbaechu Kimchi. It was a total game-changer, you could say. Super easy to prepare, and the result is incredibly delicious!
We’re big fans of Asian cuisine. This isn’t limited to just one country, it’s more of a general love for Asian food. We like that they cook with so many fresh veggies, that the dishes are easy to prepare, and that they’re always well-seasoned. Spicy is generally a good thing, as long as you don’t end up in tears or it hurts the next day, right?!
Kimchi is definitely one of the spicier Asian dishes – provided you prepare it traditionally. Of course, you can always adapt it however you like. Mild or super spicy is up to you. When you make Kimchi at home, you have complete control over the flavor and spiciness.
If you enjoy Asian food and like Kimchi, you don’t necessarily have to make it yourself, let’s be honest. Asian supermarkets offer countless varieties, and some of them aren’t bad at all. Unfortunately, they’re often a bit pricier.
That’s not really surprising, since Kimchi is not something you can prepare in five minutes. But what you pay for a small portion of Kimchi in the supermarket is normally more than what you have to pay for the separate ingredients to make a large glass of Kimchi at home. Honestly, that was the deciding factor for us to try fermenting cabbage ourselves for the first time.


In terms of flavor, Kimchi is characterized by a sweet and sour balance of spiciness and umami. Gochujang, Gochugaru, and fish sauce add depth, while pears and sugar provide a sweeter balance. The flavor develops over time – fresh Kimchi is crisp and mild, but after one to two weeks it becomes significantly more intense and complex. It’s a living food that’s constantly evolving.
Once prepared, Kimchi is incredibly versatile: eat it on its own as a side dish, mix it with some rice, use it in stir-fry dishes, or even use it as a filling for dumplings. We always keep a jar of it in the fridge. It’s supposed to be good for your gut and microbiome, after all…


If you happen to have a jar of Kimchi in your fridge (homemade or store-bought) and need some ideas for what to do with it… How about some Easy Kimchi Fried Rice? Extremely easy to make and absolutely delicious! The perfect weeknight dinner!
Or how about some Kimchi Grilled Cheese? It might sound a little strange, but it tastes spectacular! We love this »Koreanized«, originally American sandwich with plenty of cheese. It’s also a quick and tasty weeknight dinner, made even more delicious with homemade Kimchi!
INGREDIENTS / ZUTATEN
3 tbsp. salt
28 oz. (800g) Napa cabbage
9 oz. (250g) Daikon radish or white radish, in sticks
1/2 pear, in sticks
3 spring onions, in sticks
2-3 garlic cloves, finely chopped
1 piece of ginger, finely chopped or grated
2 tbsp. Gochujang*
2 tbsp. Gochugaru*
3 tbsp. fish sauce*
1 tbsp. coconut sugar*
3 EL Salz
800g Chinakohl
250g Daikon oder weißer Rettich, in Stiften
1/2 Birne, in Stiften
3 Frühlingszwiebeln, in Stiften
2-3 Knoblauchzehen, fein gehackt
1 Stück Ingwer, fein gehackt oder gerieben
2 EL Gochujang*
2 EL Gochugaru*
3 EL Fischsauce*
1 EL Kokosblütenzucker*

How do you make Kimchi?
Homemade Kimchi is a relatively easy way to try fermentation at home and integrate it into your everyday cooking – you just need to set aside some time for it. It all starts with a napa cabbage (other types of cabbage work too), which is first salted to draw out some of its water. This creates the ideal environment for lactic acid bacteria to get working. This contributes to the typical sour flavor and also helps the Kimchi keep longer. To further refine the taste, we also add radish, pears, spring onions, garlic, and ginger. So far, that doesn’t sound very spicy, does it? Well, that’s where Gochujang and Gochugaru come in – a chili paste and Korean chili flakes…
For a good result, clean working and a little patience are paramount. This is actually true for all types of fermentation. That means always working with clean tools/jars and using only truly fresh ingredients. When preparing the cabbage, make sure everything is layered as tightly as possible, trapping as little air as possible. Only then can the fermentation process be controlled and work properly.
In case you want to make Kimchi or something like sauerkraut more often, getting a suitable fermentation container or glass jar* that uses a weight or similar device to keep the fermenting ingredients compact might be a good idea. In the past, a plate and a stone were used for this purpose, nowadays, glass weights and similar devices are available and are the much cleaner option. The goal is to keep the veggies that are being fermented submerged in the liquid that forms during the fermentation process and prevent unnecessary contact with air.
The fermentation process also produces gases. For this reason, some fermentation jars have devices that allow these gases to escape in a controlled manner without letting air into the container. You can buy one of these devices, or simply don’t seal the jar tightly at the beginning of the fermentation process – this allows the gases to escape easily.
DIRECTIONS / ZUBEREITUNG
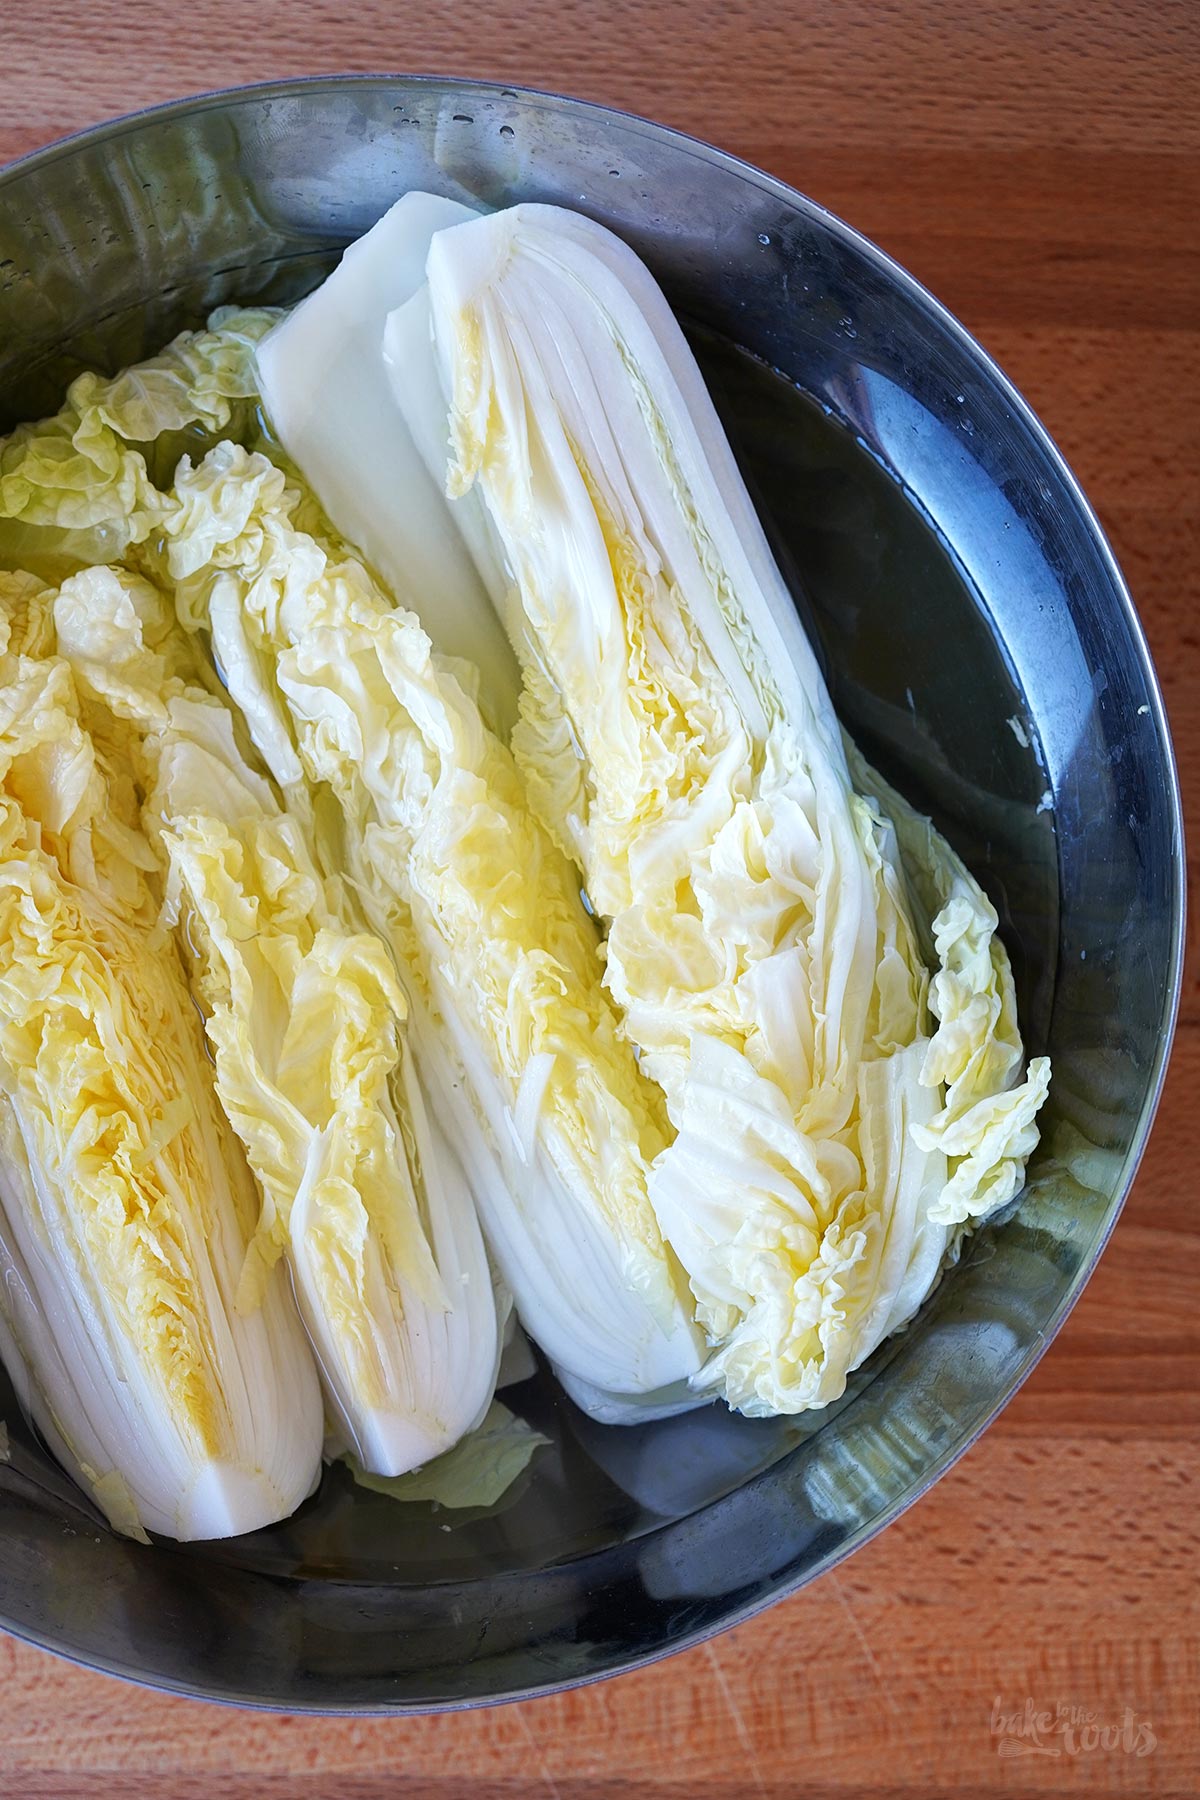
1. Remove any wilted or damaged outer leaves from the Napa cabbage. Trim the stem as little as possible, then quarter the cabbage starting from the stem – the leaves should still be held together at the stem, if possible. Place the quartered cabbage in a shallow bowl so the individual pieces can sit next to each other. Carefully pull the cabbage leaves apart and sprinkle the salt between the leaves. Pour a little cold water over the cabbage – the cabbage should only be submerged halfway. Then place a heavy object on top and let the cabbage rest at room temperature for about 2-2 1/2 hours, turning it over once.
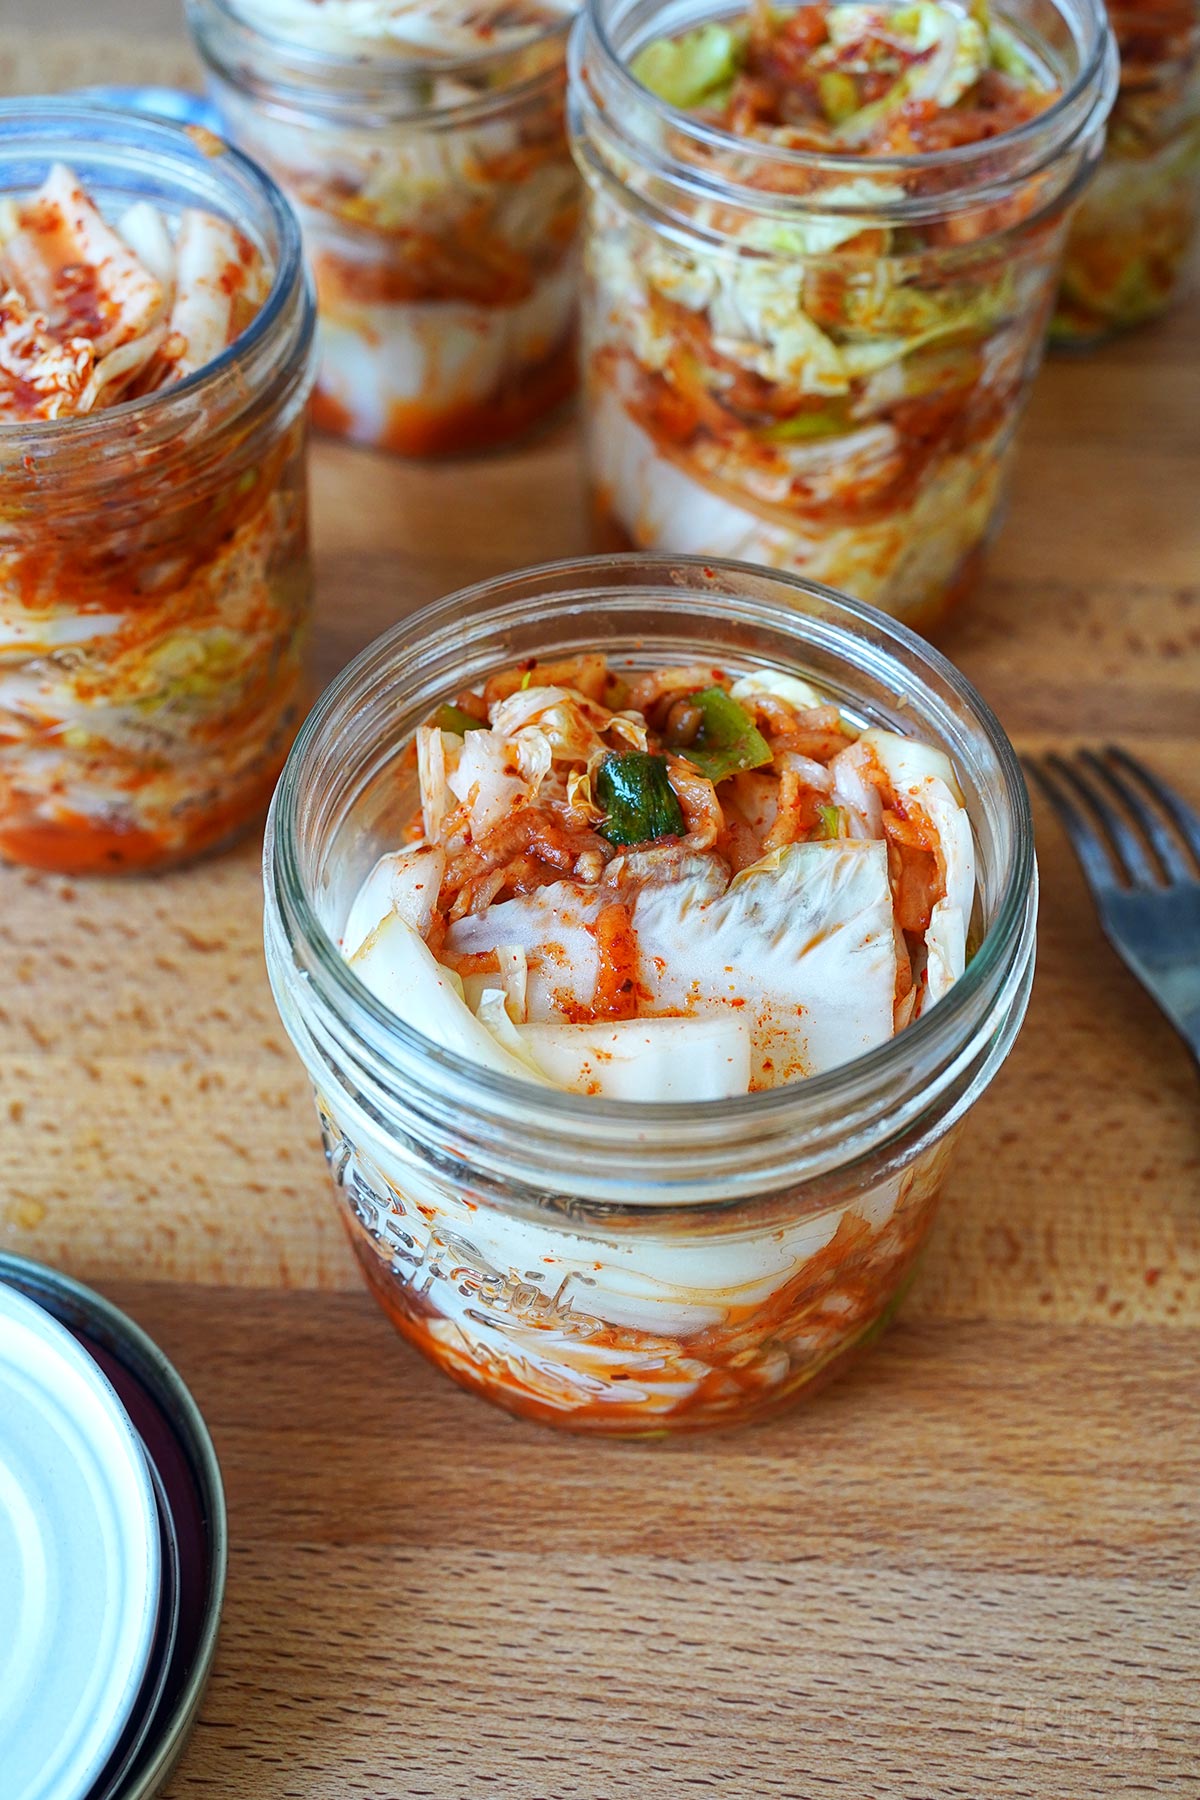
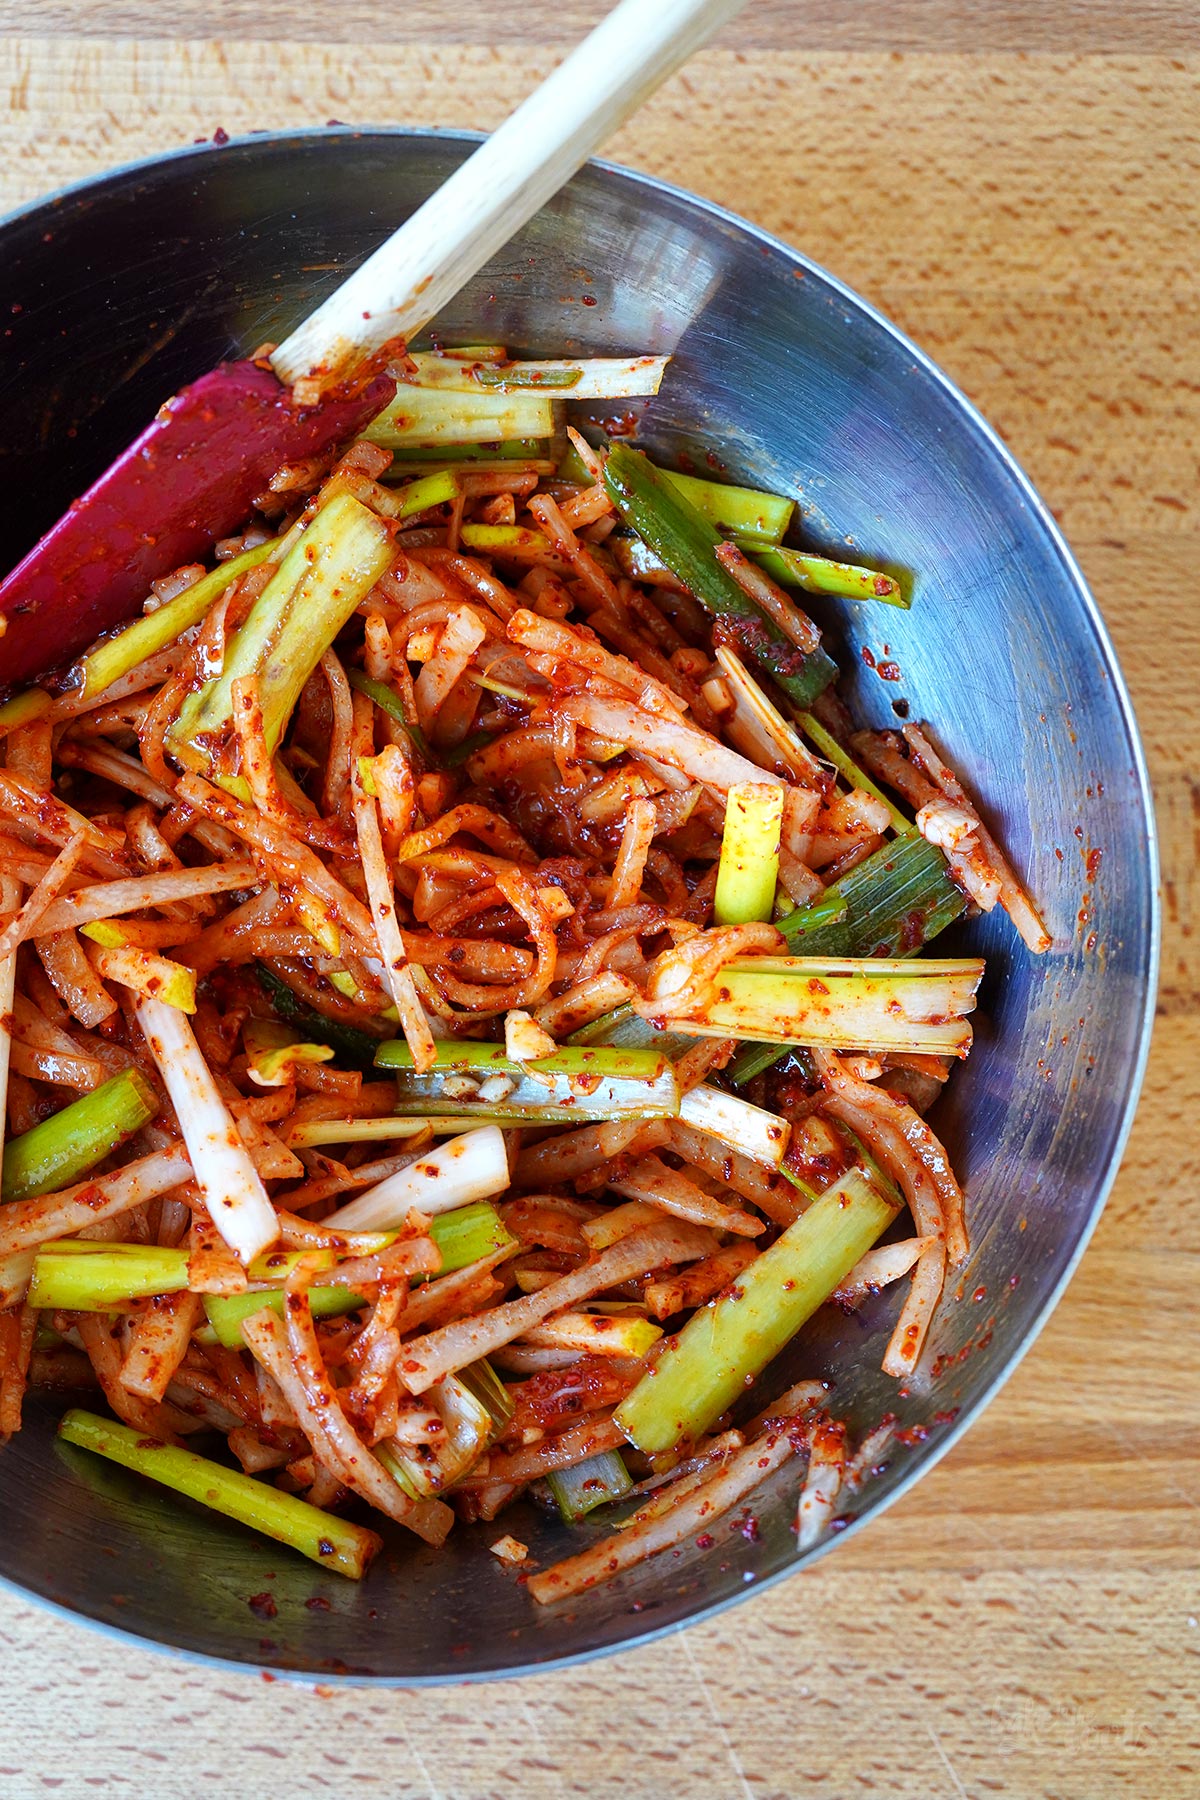
2. Peel the Daikon or white radish and cut it into thin sticks. Core the pear and cut it into thin sticks as well. Clean the spring onions, half or quarter them lengthwise (depending on their thickness), and cut them into 3cm long pieces. Peel and finely chop the garlic. Peel the ginger and then finely chop or grate it. Mix everything with the Gochujang, Gochugaru, fish sauce, and coconut sugar in a bowl until well combined. You want the veggies to soften slightly in the process. You can mix and mash everything by hand (we recommend wearing gloves) or use the bottom of a small bowl or similar and press everything down. Set aside until ready to use.
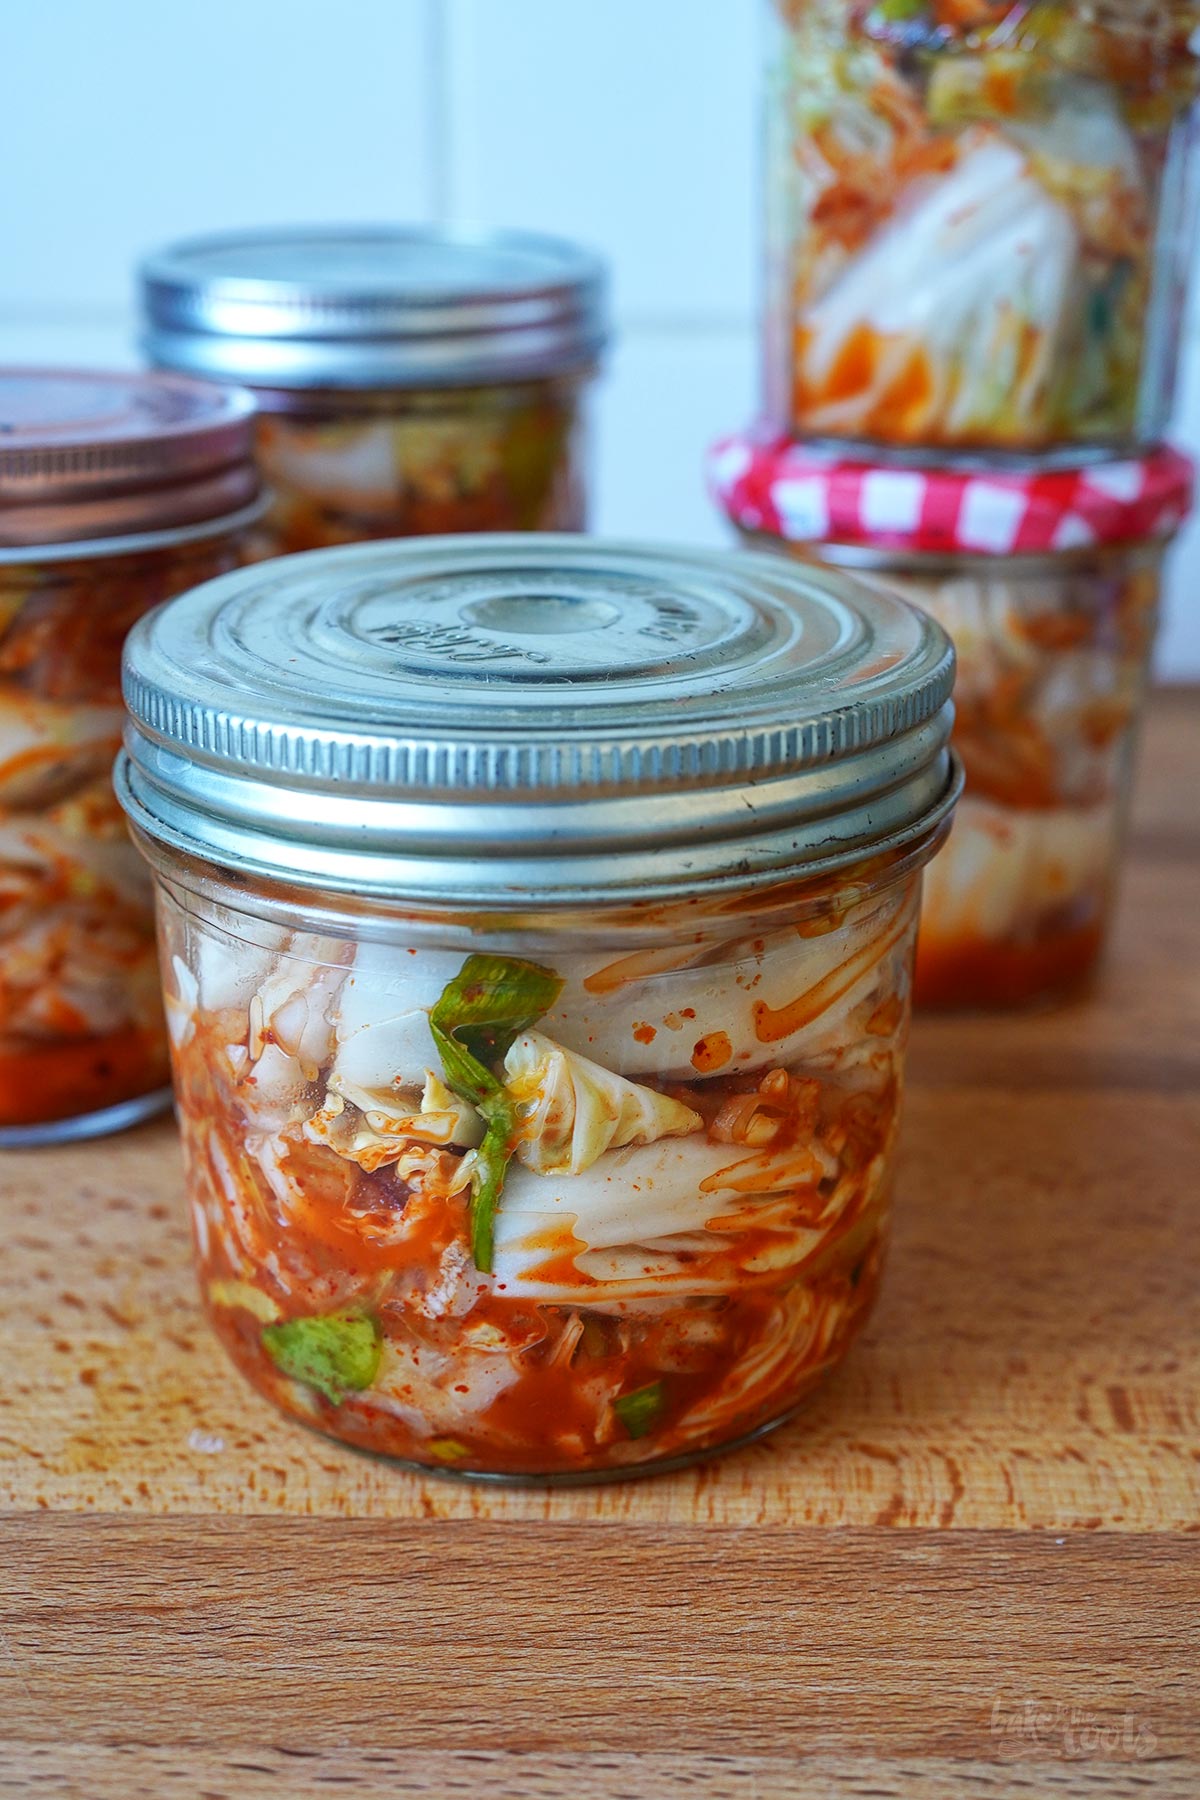
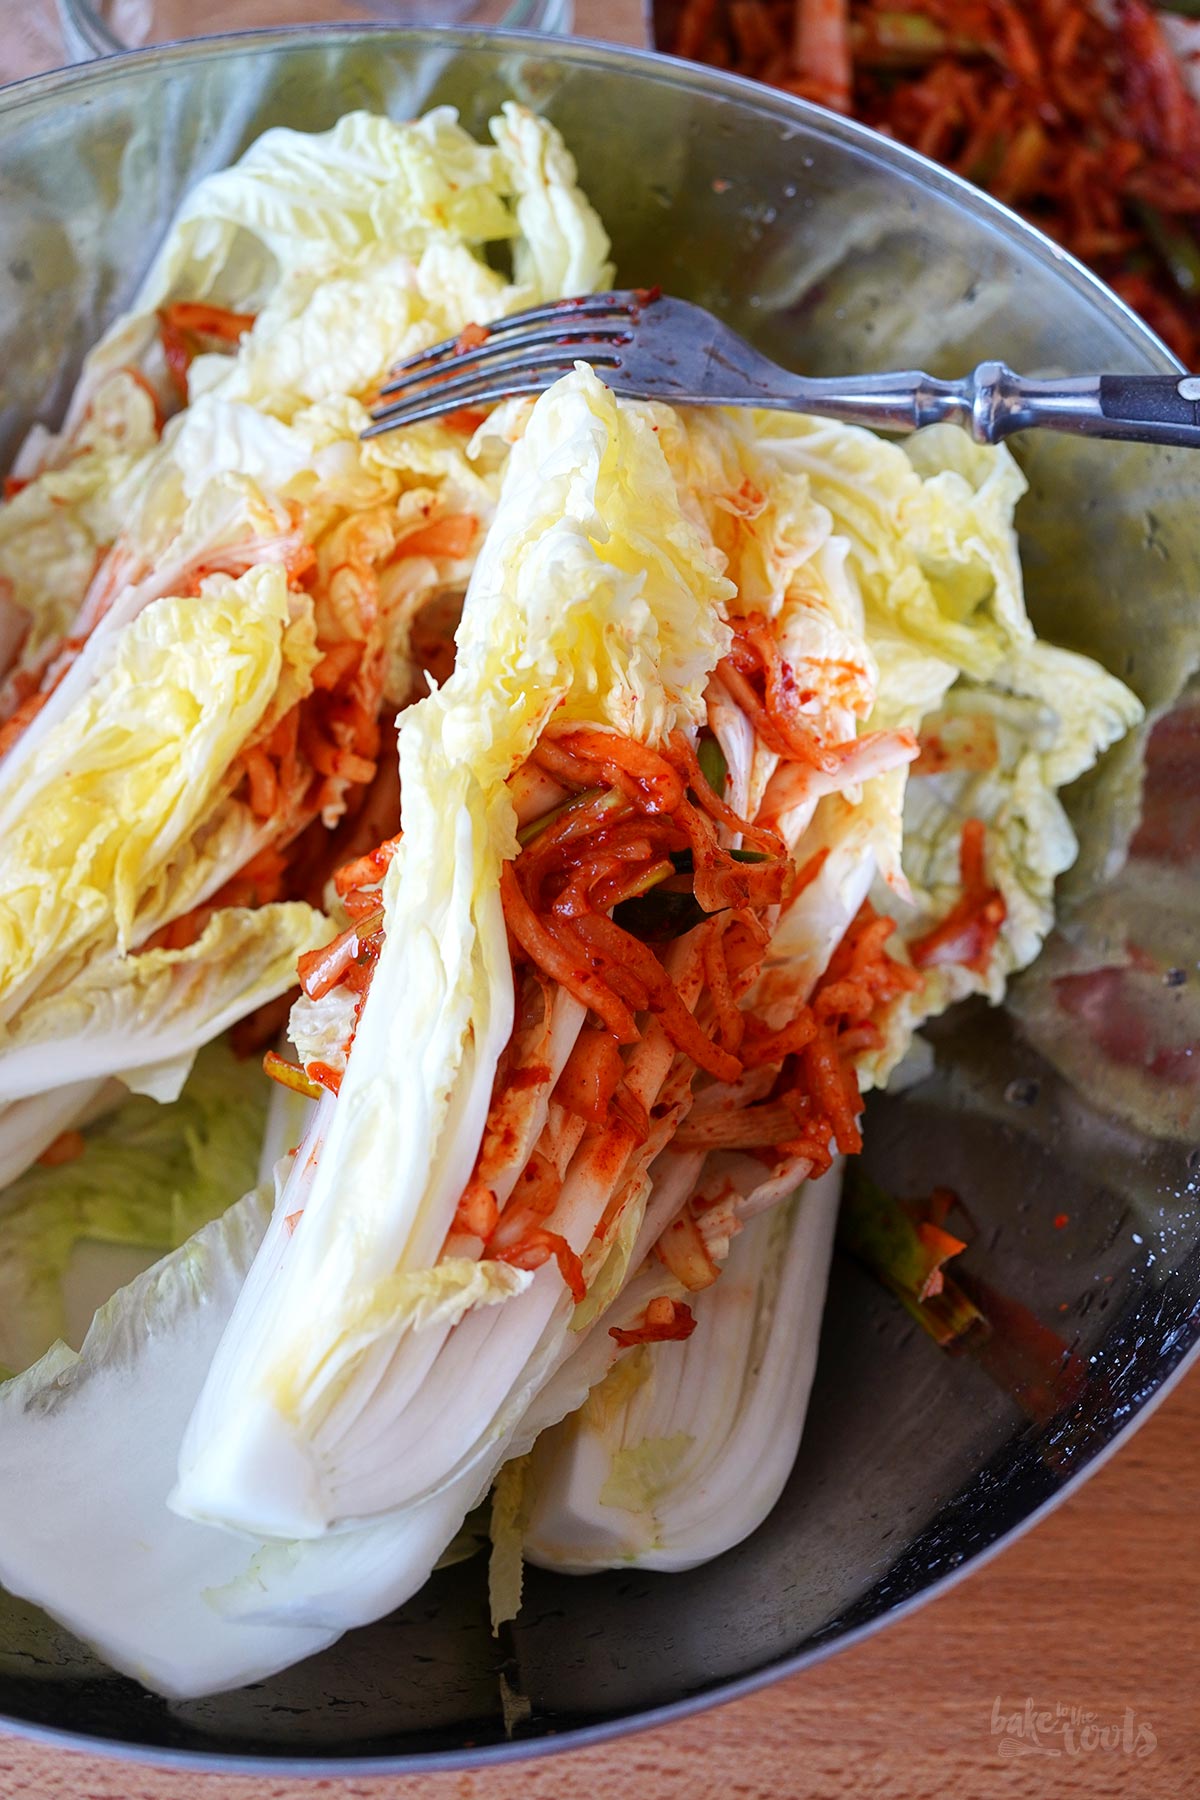
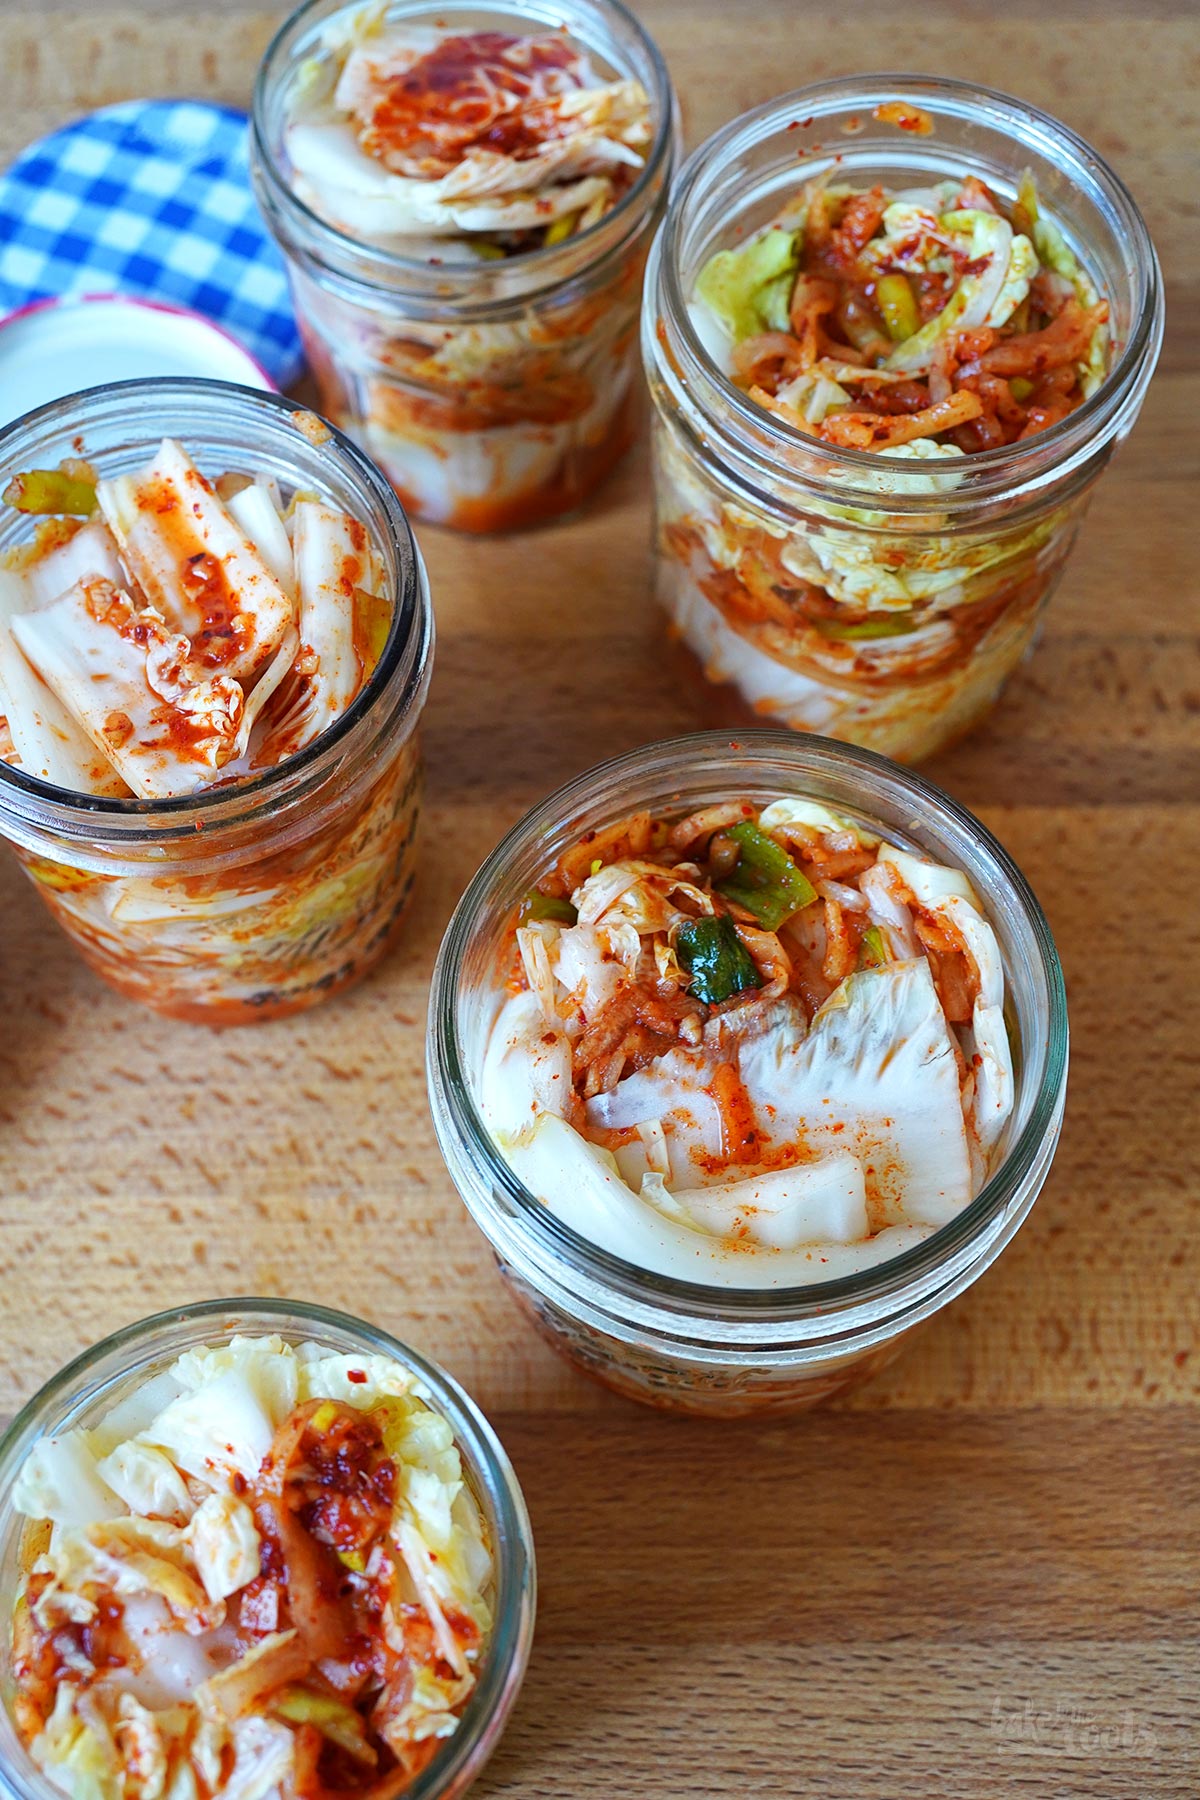
3. Remove the Napa cabbage from the water and let it drain. Discard the salty water. Return the cabbage to the bowl and spread the radish mixture evenly between the cabbage leaves. Layer the prepared cabbage with the remaining radish mixture in a large (clean) jar or several smaller jars. Try to avoid air bubbles between the layers. The jar(s) should be almost completely full. If the quartered cabbage is too bulky for smaller jars, you can also cut it into smaller pieces and then layer those. Seal the jars (we always leave the lids slightly loose to allow any gases that will develop to escape) and let them sit at room temperature for 1-2 days.
4. As soon as you can see red liquid in the jar(s), the fermentation process has begun. The jars should now be kept in the fridge. After about a week, the kimchi will be thoroughly fermented and ready to use. If you’ve worked with clean equipment, the kimchi will keep in the fridge for up to 3 months, but it will become more intense in flavor (and smell) with each minute.
1. Welke oder beschädigte Blätter vom Chinakohl entfernen. Den Strunk minimal abschneiden, dann den Kohl vom Strunk aus vierteln – die Blätter sollten möglichst noch zusammenhalten. Den geviertelten Kohl in eine flache Schüssel legen, sodass die einzelnen Stücke möglichst nebeneinander liegen können. Die Blätter des Kohls vorsichtig auseinanderziehen und das Salz zwischen die Blätter streuen. Ein wenig kaltes Wasser über den Kohl gießen – der Kohl sollte nur maximal zur Hälfte im Wasser liegen. Einen schweren Gegenstand auflegen und den Kohl dann für etwa 2-2 1/2 Stunden bei Zimmertemperatur ruhen lassen. Zwischendurch einmal wenden.
2. Den Daikon/Rettich schälen und in dünne Stifte schneiden. Die Birne entkernen und dann ebenfalls in dünne Stifte schneiden. Die Frühlingszwiebeln säubern, längs halbieren oder vierteln (je nach Größe der Zwiebeln) und in etwa 3cm lange Stücke schneiden. Den Knoblauch schälen und fein hacken. Den Ingwer schälen und dann ebenfalls fein hacken oder reiben. Zusammen mit Gochujang, Gochugaru, Fischsauce und Kokosblütenzucker in eine Schüssel geben und alles vermengen. Die Mischung sollte durch das Vermengen weicher werden – man kann hier alles per Hand (mit Handschuhen) mischen und zerdrücken oder auch eine kleinere Schüssel (o.Ä.) hernehmen und damit alles mit dem flachen Boden der Schüssel zusammendrücken. Bis zur weiteren Verwendung zur Seite stellen.
3. Den Kohl aus dem Wasser herausnehmen und abtropfen lassen. Das Salzwasser wegschütten. Den Kohl zurück in die Schüssel legen und dann die Rettich-Mischung zwischen die Kohlblätter packen. Den präparierten Kohl dann mit verbliebener Rettich-Mischung in ein großes (sauberes) Glas oder mehrere Gläser schichten. Man sollte darauf achten, dass möglichst keine Luftblasen zwischen den Schichten sind und das Glas bzw. die Gläser fast voll sind. Sollte der geviertelte Kohl für kleinere Gläser zu wuchtig sein, kann man ihn auch in kleinere Stücke zurechtschneiden und dann schichten. Die Gläser verschließen (wir lassen die Deckel immer etwas lockerer, damit entstehende Gase entweichen können) und dann bei Zimmertemperatur 1-2 Tage stehen lassen.
4. Sobald das Kimchi Flüssigkeit bildet, hat der Gärprozess eingesetzt. Die Gläser sollten jetzt in den Kühlschrank gestellt werden. Nach etwa einer Woche ist das Kimchi gut durchgezogen und kann verwendet werden. Wenn man sauber gearbeitet hat, hält sich das Kimchi bis zu 3 Monate im Kühlschrank, wird aber mit jeder Minute intensiver (geschmacklich und geruchlich).
Craving more? Keep in touch on Facebook, Instagram and Pinterest for new post updates and more. You can also contact me with any questions or inquiries!
Here is a version of the recipe you can print easily.
Print
Homemade Korean Kimchi (Tongbaechu Kimchi)
- Prep Time: 02:00
- Cook Time: 00:00
- Total Time: 160:00
- Yield: 8 1x
- Category: Homemade Stuff
- Method: -
- Cuisine: Korea
- Diet: Vegan
Description
Kimchi is one of the most popular items when people think about Korea. We love to use it not only as a side – you can use Kimchi in many different dishes too.
Ingredients
3 tbsp. salt
28 oz. (800g) Napa cabbage
9 oz. (250g) Daikon radish or white radish, in sticks
1/2 pear, in sticks
3 spring onions, in sticks
2-3 garlic cloves, finely chopped
1 piece of ginger, finely chopped or grated
2 tbsp. Gochujang*
2 tbsp. Gochugaru*
3 tbsp. fish sauce*
1 tbsp. coconut sugar*
Instructions
1. Remove any wilted or damaged outer leaves from the Napa cabbage. Trim the stem as little as possible, then quarter the cabbage starting from the stem – the leaves should still be held together at the stem, if possible. Place the quartered cabbage in a shallow bowl so the individual pieces can sit next to each other. Carefully pull the cabbage leaves apart and sprinkle the salt between the leaves. Pour a little cold water over the cabbage – the cabbage should only be submerged halfway. Then place a heavy object on top and let the cabbage rest at room temperature for about 2-2 1/2 hours, turning it over once.
2. Peel the Daikon or white radish and cut it into thin sticks. Core the pear and cut it into thin sticks as well. Clean the spring onions, half or quarter them lengthwise (depending on their thickness), and cut them into 3cm long pieces. Peel and finely chop the garlic. Peel the ginger and then finely chop or grate it. Mix everything with the Gochujang, Gochugaru, fish sauce, and coconut sugar in a bowl until well combined. You want the veggies to soften slightly in the process. You can mix and mash everything by hand (we recommend wearing gloves) or use the bottom of a small bowl or similar and press everything down. Set aside until ready to use.
3. Remove the Napa cabbage from the water and let it drain. Discard the salty water. Return the cabbage to the bowl and spread the radish mixture evenly between the cabbage leaves. Layer the prepared cabbage with the remaining radish mixture in a large (clean) jar or several smaller jars. Try to avoid air bubbles between the layers. The jar(s) should be almost completely full. If the quartered cabbage is too bulky for smaller jars, you can also cut it into smaller pieces and then layer those. Seal the jars (we always leave the lids slightly loose to allow any gases that will develop to escape) and let them sit at room temperature for 1-2 days.
4. As soon as you can see red liquid in the jar(s), the fermentation process has begun. The jars should now be kept in the fridge. After about a week, the kimchi will be thoroughly fermented and ready to use. If you’ve worked with clean equipment, the kimchi will keep in the fridge for up to 3 months, but it will become more intense in flavor (and smell) with each minute.
Notes
Have fun fermenting some cabbage!
Links marked with an asterisk (*) are affiliate links (advertising/Werbung) to Amazon Germany. If you click on one of those links and buy something via this link, I will get a commission for that sale. The price of whatever you buy is not affected in any way by this.