

Preserving, pickling, and fermenting were once everyday practices for our grandparents. Nowadays, for many people, this stuff is more like a hobby rather than a necessity. We enjoy making a lot of things ourselves at home – partly because it can save money, but mostly because it’s fun. In the case of this Homemade Fermented Hot Sauce, however, the motivation was actually necessity. It’s difficult to find good hot sauce in Berlin shops.
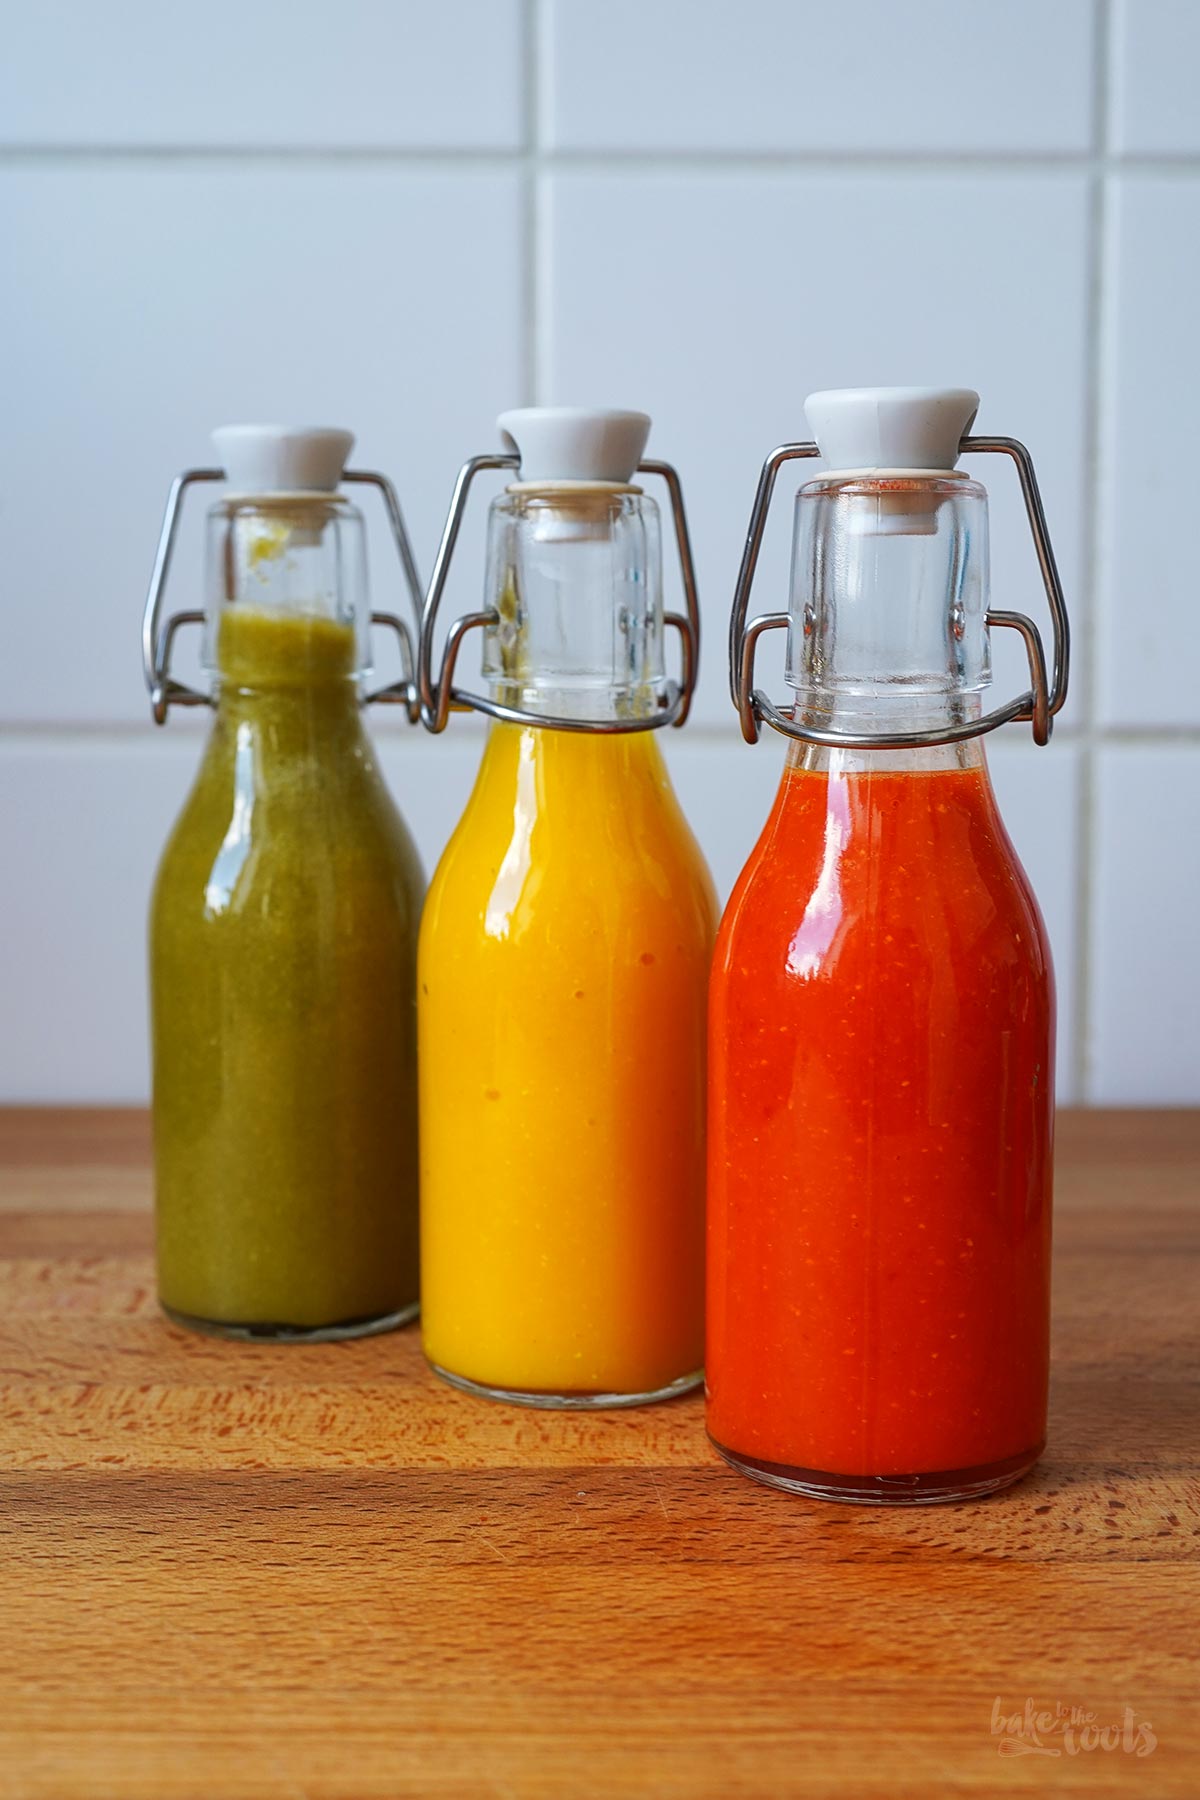
Of course, I’m not entirely serious about that. You can find pretty much anything imaginable in Berlin – including hot sauce. But is the store-bought stuff as good as the homemade version? That’s open to debate. What you find on supermarket shelves certainly isn’t as fresh as what you can whip up yourself at home using this recipe…
Whether store-bought or homemade, hot sauce is a fantastic condiment with versatile uses in the kitchen. Buffalo chicken wings are the first thing that comes to mind. These spicy wings are hugely popular in the US and are often served with blue cheese sauce. Absolutely delicious! We also have a vegetarian version on the blog aka. Buffalo Cauliflower. It rivals the original in every way (except, of course, for the lack of meat). It’s definitely worth a try!
Of course, there’s so much more you can do with a good hot sauce. It adds a lovely kick to barbecue marinades and can be used to spice up dips and dressings. And for anyone who enjoys a bit of heat, it’s also great to simply drizzle it over meat or veggies whenever you’re in the mood. A few dashes on a fried egg or omelet, on a pizza or a burger, or maybe mixed with a little mayo for a batch of french fries… The possibilities are truly endless.
So, keeping a bottle of hot sauce in the fridge is never a bad idea. If you have family or friends who love things a bit spicy, a bottle like this makes for a nice gift. It’s also a perfect gift to bring along if you’re invited to a barbecue…
Making fermented hot sauce is actually quite simple. As the mommy or daddy of a sauce like that, you don’t have to do much work yourself. Tiny lactic acid bacteria handle most of the job. During fermentation, these bacteria convert the sugars from the chili peppers and bell peppers into lactic acid, giving the finished sauce a tangy flavor. At the same time, the lactic acid fermentation preserves the sauce, making it difficult for mold and harmful bacteria to thrive in such an acidic environment.
This does not mean that mold and bacteria can’t still strike when fermenting hot sauce or other foods. You do need to work cleanly to ensure that »bad« bacteria and mold – which you certainly don’t want in your food – don’t have good conditions to spread easily. Further down, you’ll find a list of tips and tricks for fermentation, including some specific ones for this hot sauce recipe.

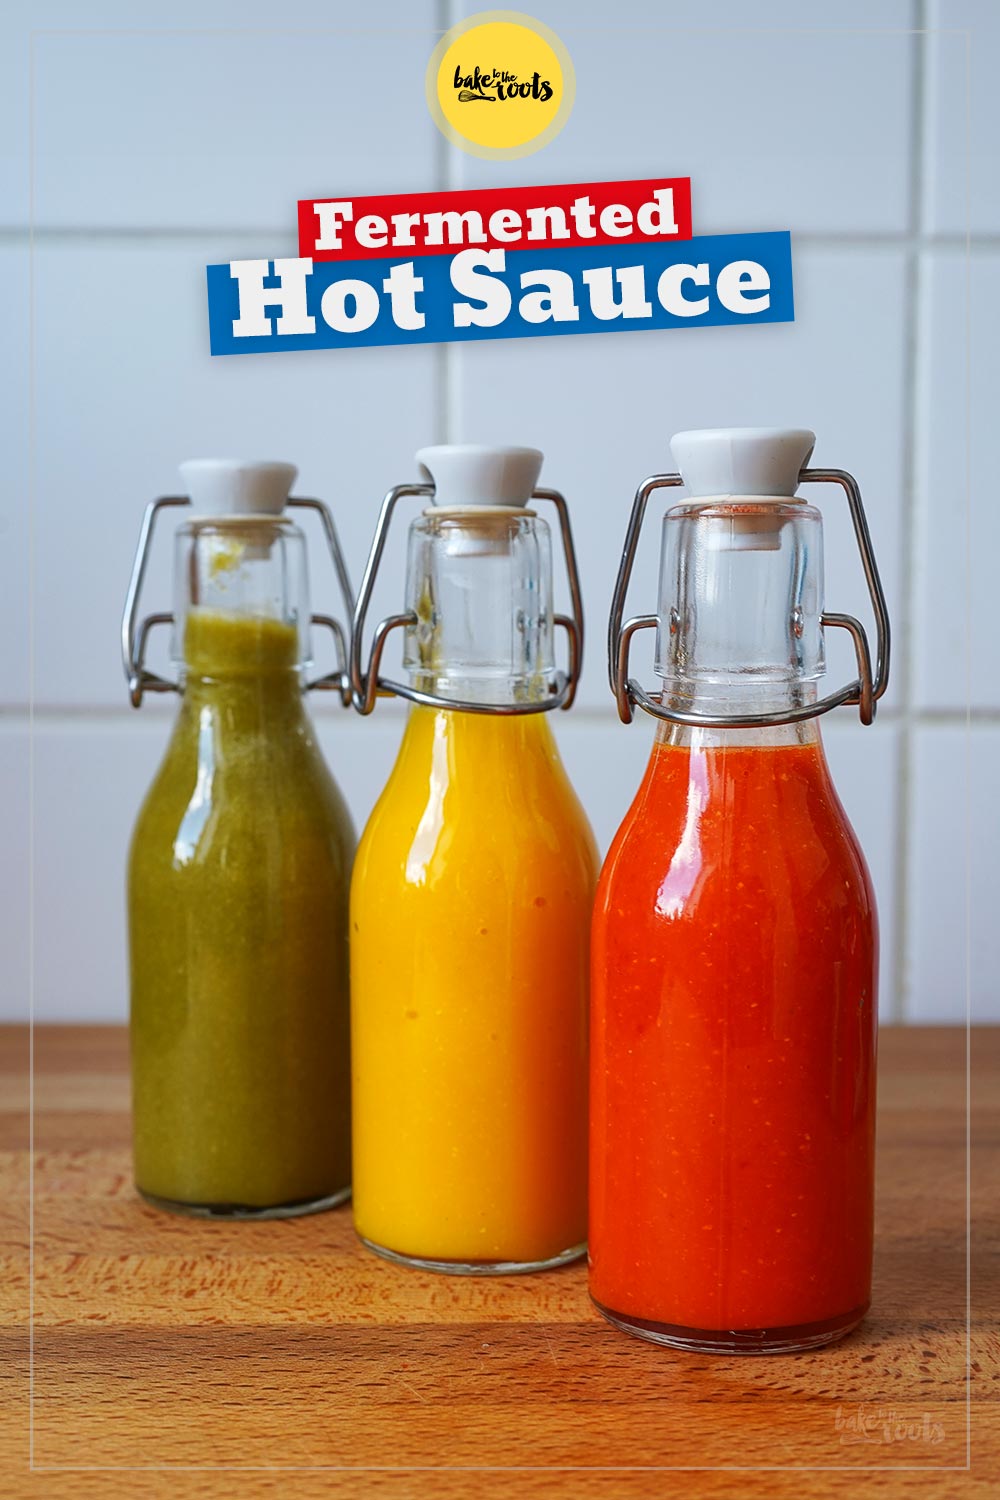
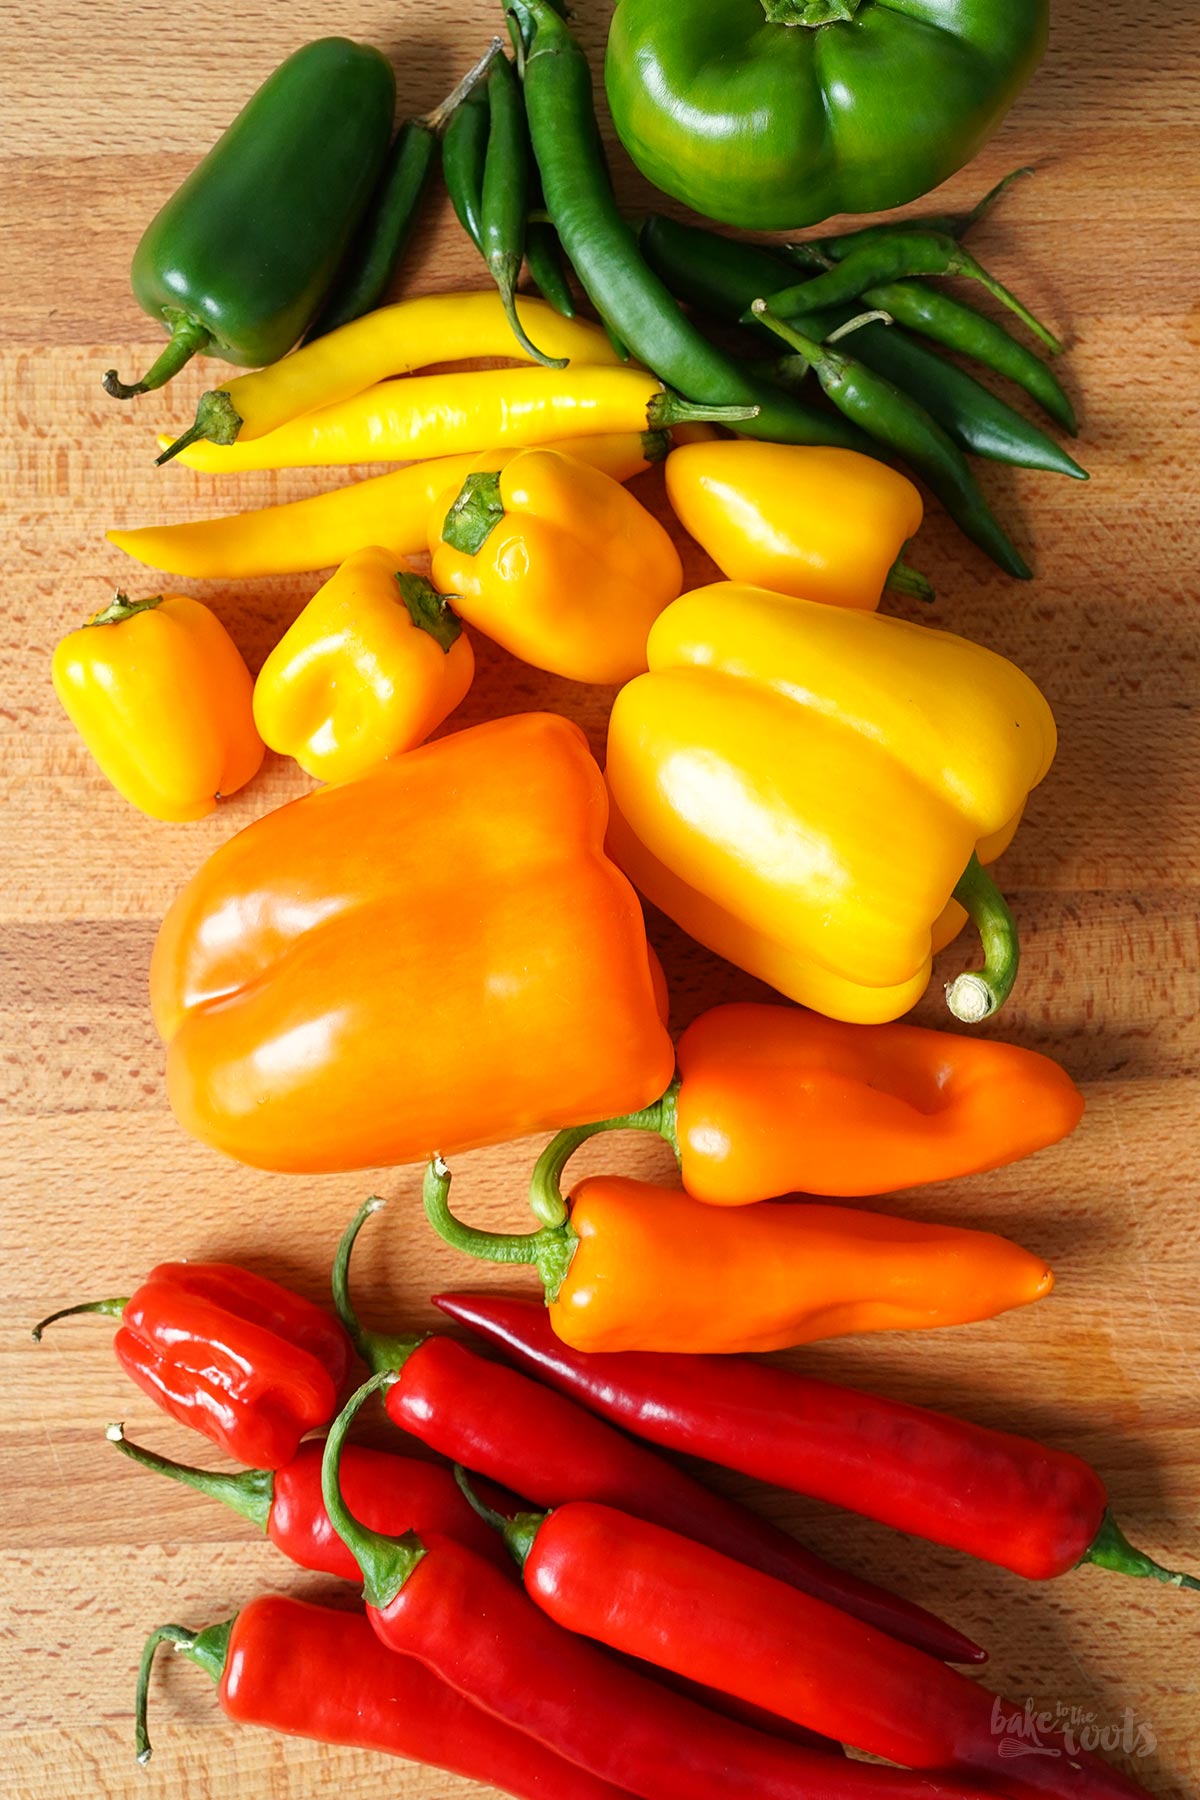
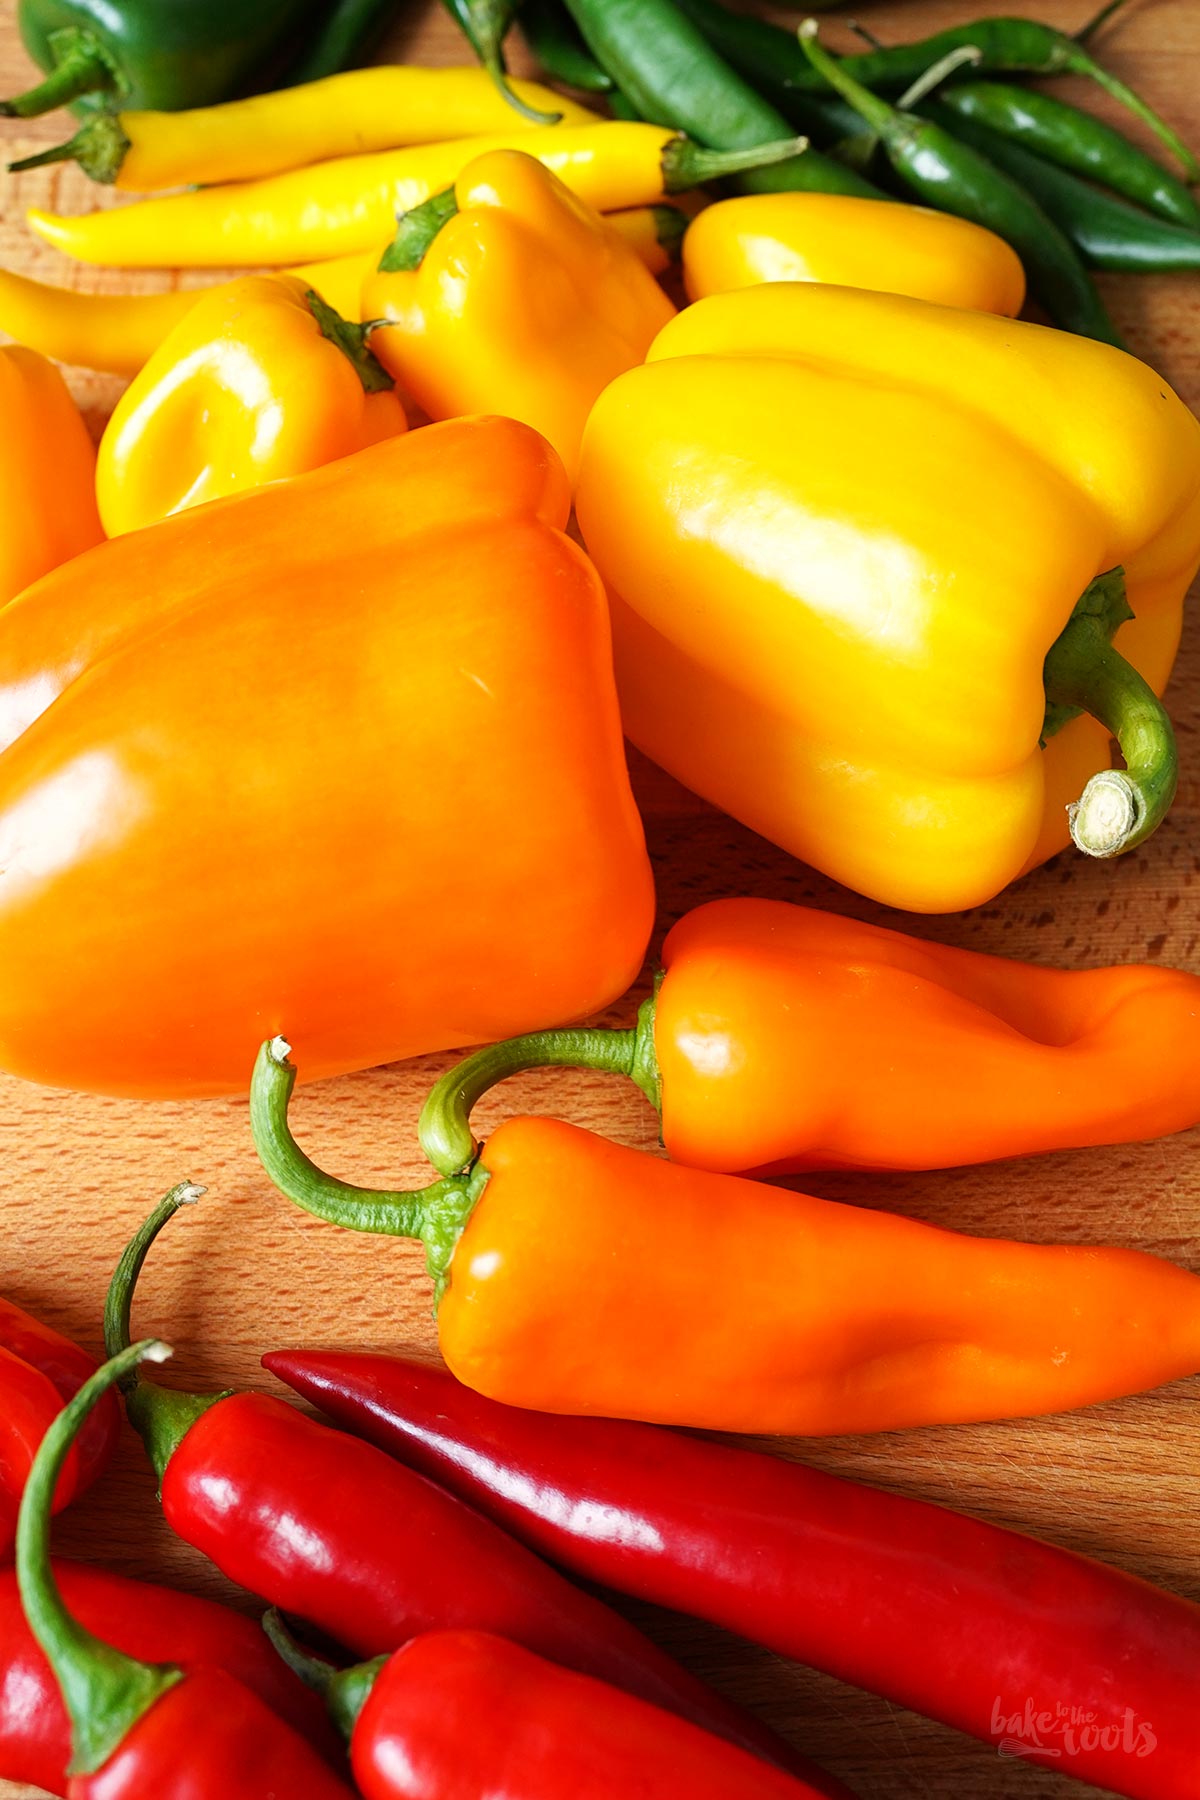
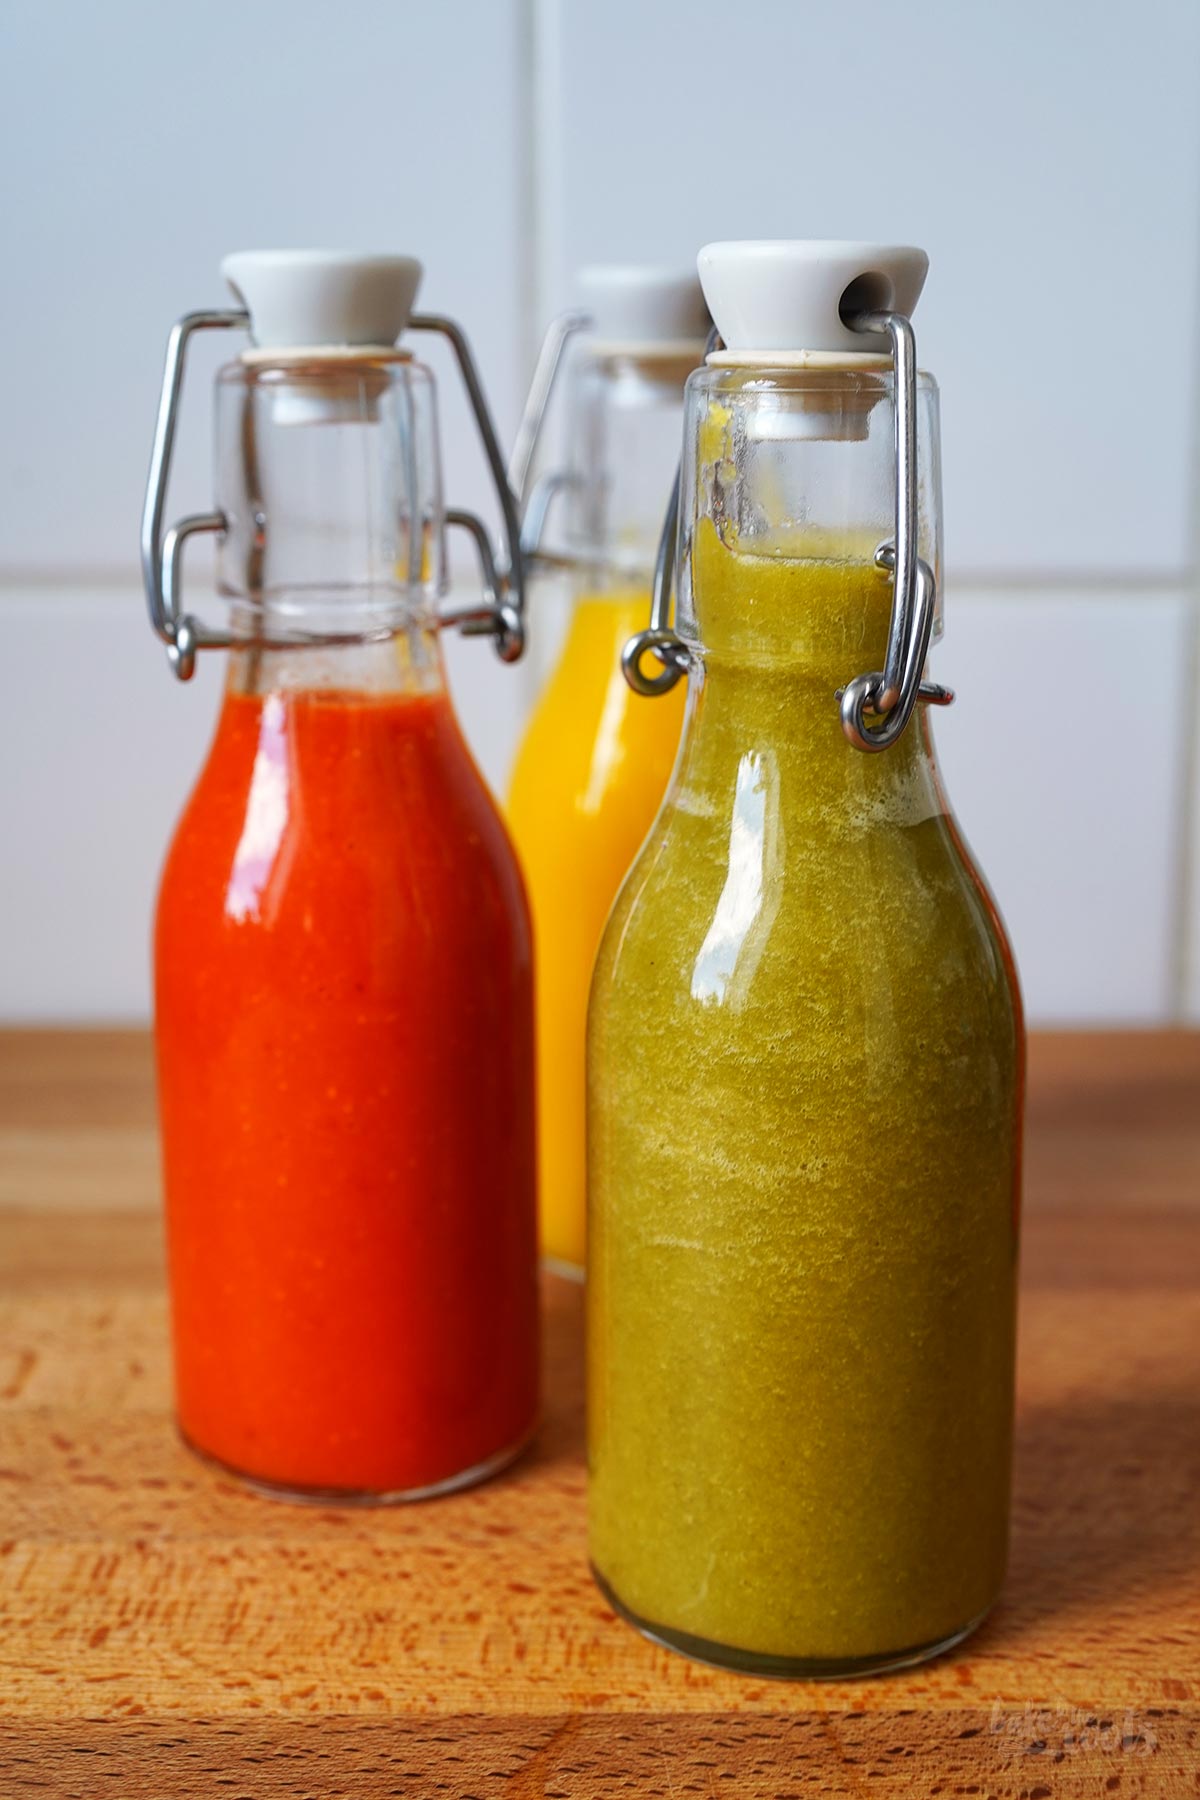
As you can see from the photos, hot sauce can be made in various colors and also in various levels of heat. The results vary significantly depending on the type of chili peppers used, the quantity, and the preparation method. I tend to use »run-of-the-mill« supermarket chilies. They have a decent kick, but they won’t blow your taste buds away. You can find some real heavy hitters at Asian supermarkets and specialty shops, though. Take the Carolina Reaper, for instance.
It’s best to ease your way into the heat, I’d say. For your first attempt, you might want to use a balanced mix of bell peppers and chili peppers – that definitely makes for a milder sauce. Removing the seeds also reduces the heat. But if you really love it hot, you can eventually work your way up to making a hot sauce using nothing but chili peppers… Yeeha!
INGREDIENTS / ZUTATEN
(for 2–3 small bottles of hot sauce)
6–7 chili peppers (red, yellow, or green)
1–2 bell peppers (red, yellow, or green)
sea salt brine (2%)
some white wine vinegar
(für 2-3 Fläschchen Hot Sauce)
6-7 Chilischoten (rot, gelb oder grün)
1-2 Paprikaschoten (rot, gelb oder grün)
Salzlösung mit Meersalz (2%)
etwas Weißweinessig
Tips & tricks for the fermenting process
Although fermenting food, such as hot sauce, is a fairly simple process, there are a few things to keep in mind to ensure the final result is edible and easy on the stomach.
Use only glass jars!
During fermentation lactic acid is produced which means you should avoid using plastic or metal containers. Both materials can react with the acid generated during the process. Plasticizers and chemicals in plastic containers are real and you don’t want them in your food.
Wearing gloves is recommended.
Gloves are generally a good idea when handling hot chili peppers. Anyone who has worked without them and then accidentally touched their eyes knows exactly what I mean. Rubber gloves also reduce the risk of introducing unwanted bacteria or mold to the glass jars.
Always work cleanly!
Gloves are a good start, but the jars themselves should also be thoroughly cleaned and, if possible, sterilized beforehand. Sterilizing is quite simple: either boil the glass jars for 10 minutes in water or place them in the oven at a temperature of 120°C (250°F) for about 15–20 minutes. Just be careful with lids that have plastic coatings, as they might not withstand the heat.
Whatever is being fermented should not come into contact with air.
When fermenting hot sauce, for example, a salt brine with 2% salt is used, in which the chili and bell peppers soak for several days. During this time, none of the veggies should rise to the surface of the brine. If the ingredients come into contact with air and the bacteria or mold spores it carries the entire fermentation project can be ruined. It has happened to me already. Unfortunately, if mold forms, you have to throw everything away.
How do you make the brine?
Making a salt brine is extremely simple. Just add salt to water and stir until it has completely dissolved. A 2% salt brine is ideal for fermenting hot sauce. This means you need about 20g of salt per liter of water. Technically, 20.41g would be more precise, but few scales can measure that accurately. It is best to use pure rock salt or unrefined sea salt. Iodized table salt and the anti-caking agents it contains can hinder the fermentation process.
It is better to end the fermentation process a little too early than too late.
The longer the chili peppers and sweet peppers sit in the brine, the more of their natural sugars and carbs are converted. While generally desirable, this can possibly make the hot sauce too acidic. There is also an increased risk of mold forming after a few days. You should be especially careful in summer, when the kitchen might get a bit warmer than usual.
Always work cleanly. Part two!
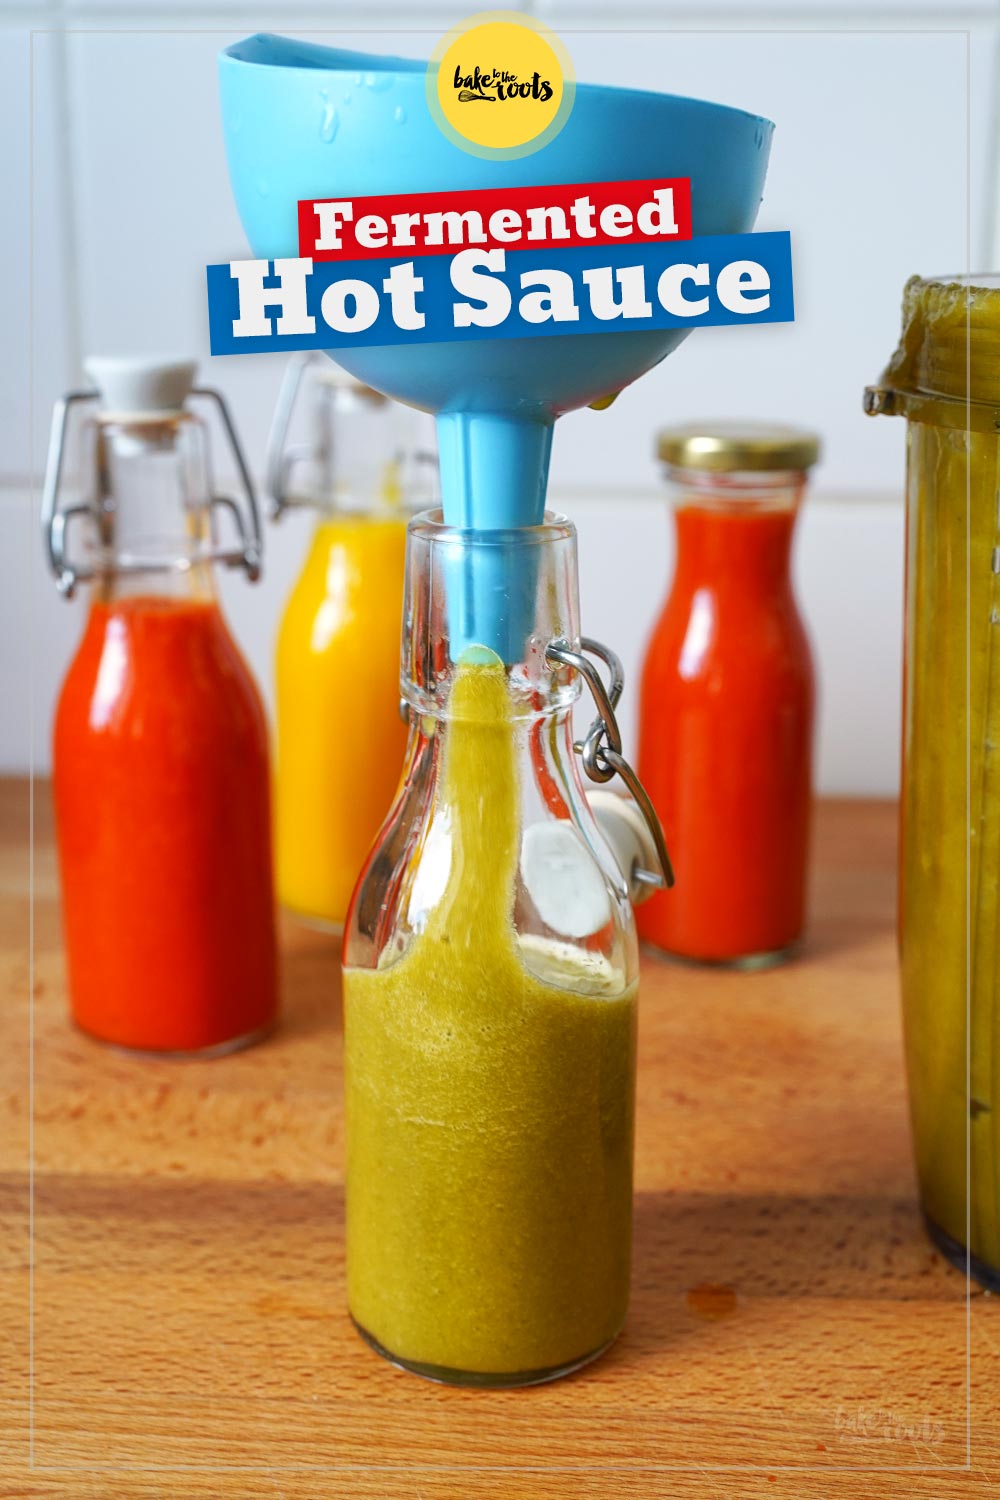
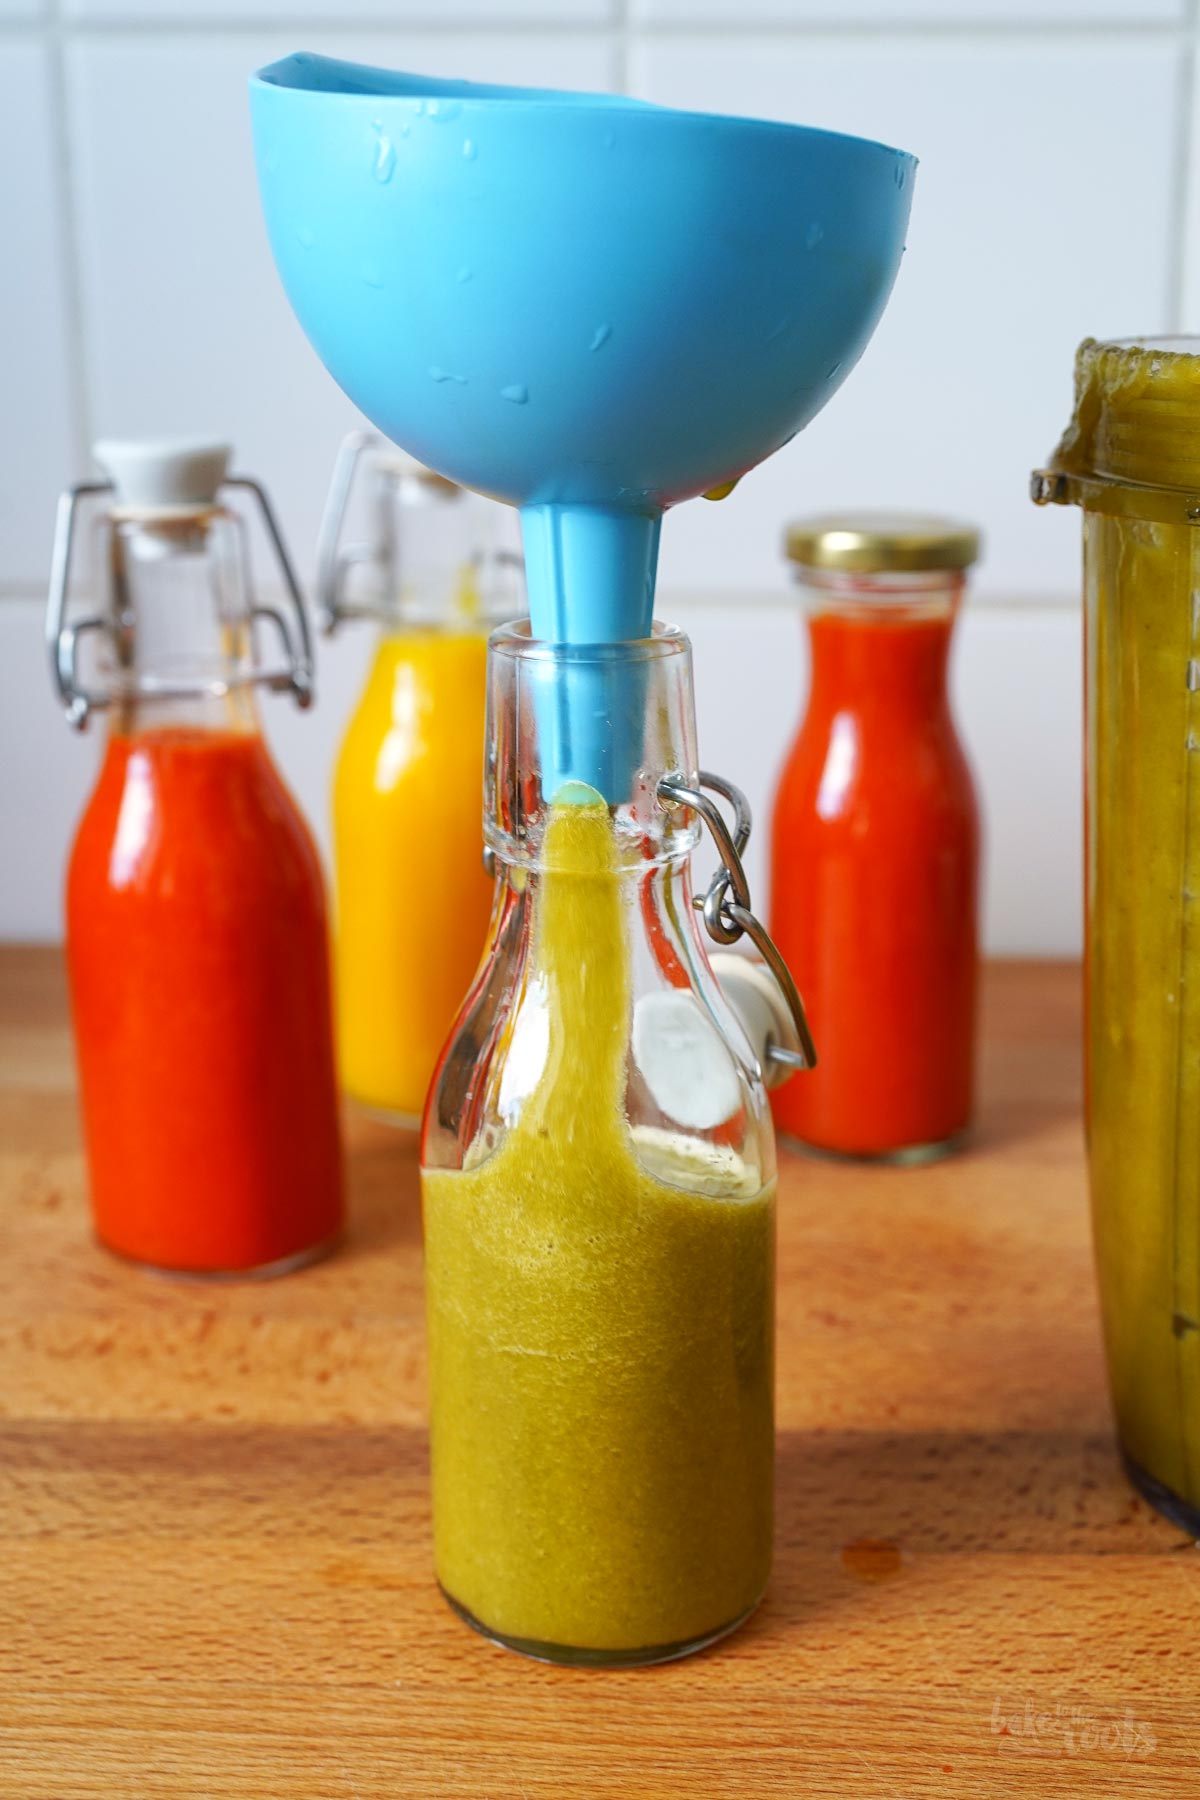
You should continue to work very cleanly even after the fermentation process is complete. This means rinsing the blender with hot water before using it and sterilizing the funnel and the glass bottles used to store the hot sauce. The cleaner you work, the longer the finished hot sauce will last.
Can you extend the shelf life of the hot sauce?
If you have worked cleanly, the hot sauce will easily keep for six months in the fridge. Bacteria and mold are much less active at temperatures below 7°C (44°F), which is why it lasts so long in the fridge. Adding vinegar (see recipe) after the fermentation process artificially lowers the sauce’s pH level, thereby further inhibiting harmful bacteria. We like to add an extra splash of vinegar to the bottles immediately after filling to boost this effect even more. Theoretically, you could briefly boil the hot sauce (to pasteurize it) before bottling to extend its shelf life, but doing so would kill off all the beneficial lactic acid bacteria you actually want in the sauce.
DIRECTIONS / ZUBEREITUNG
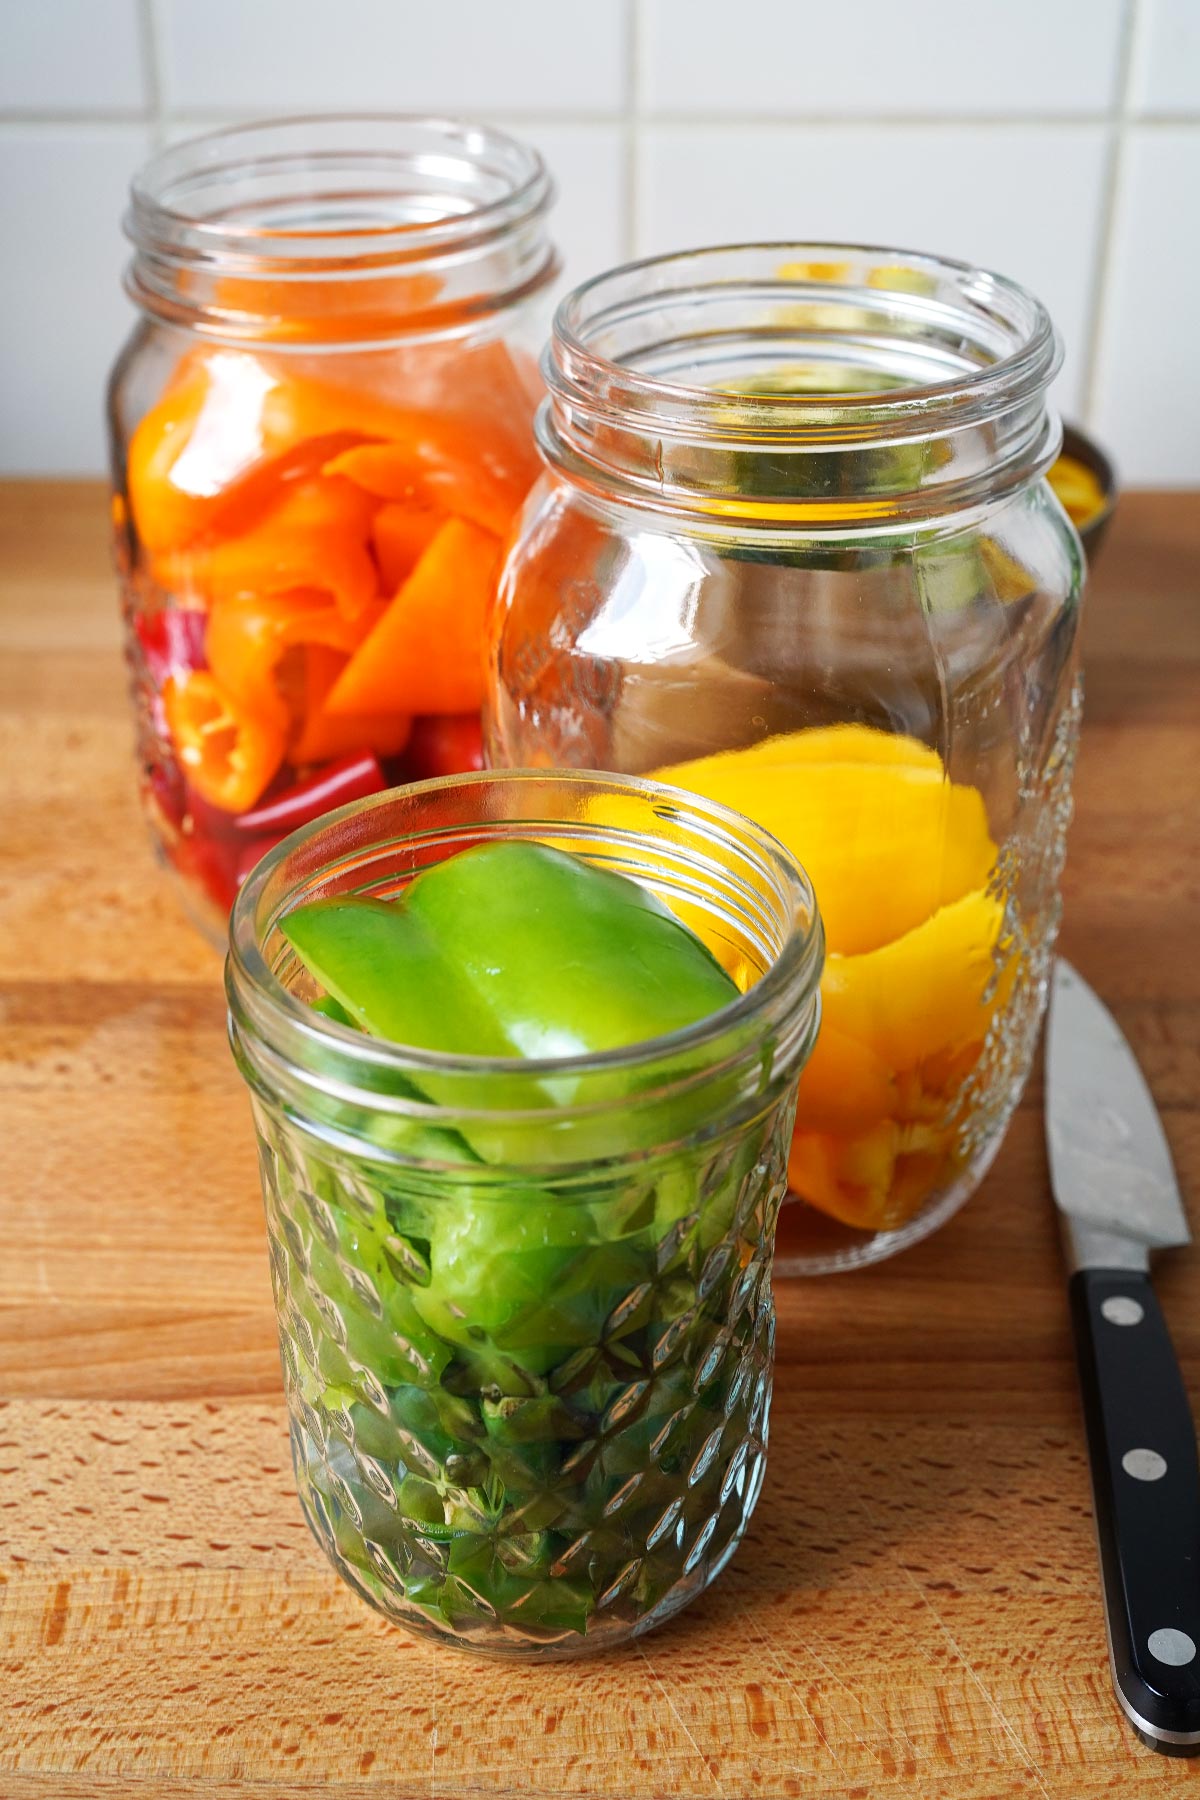
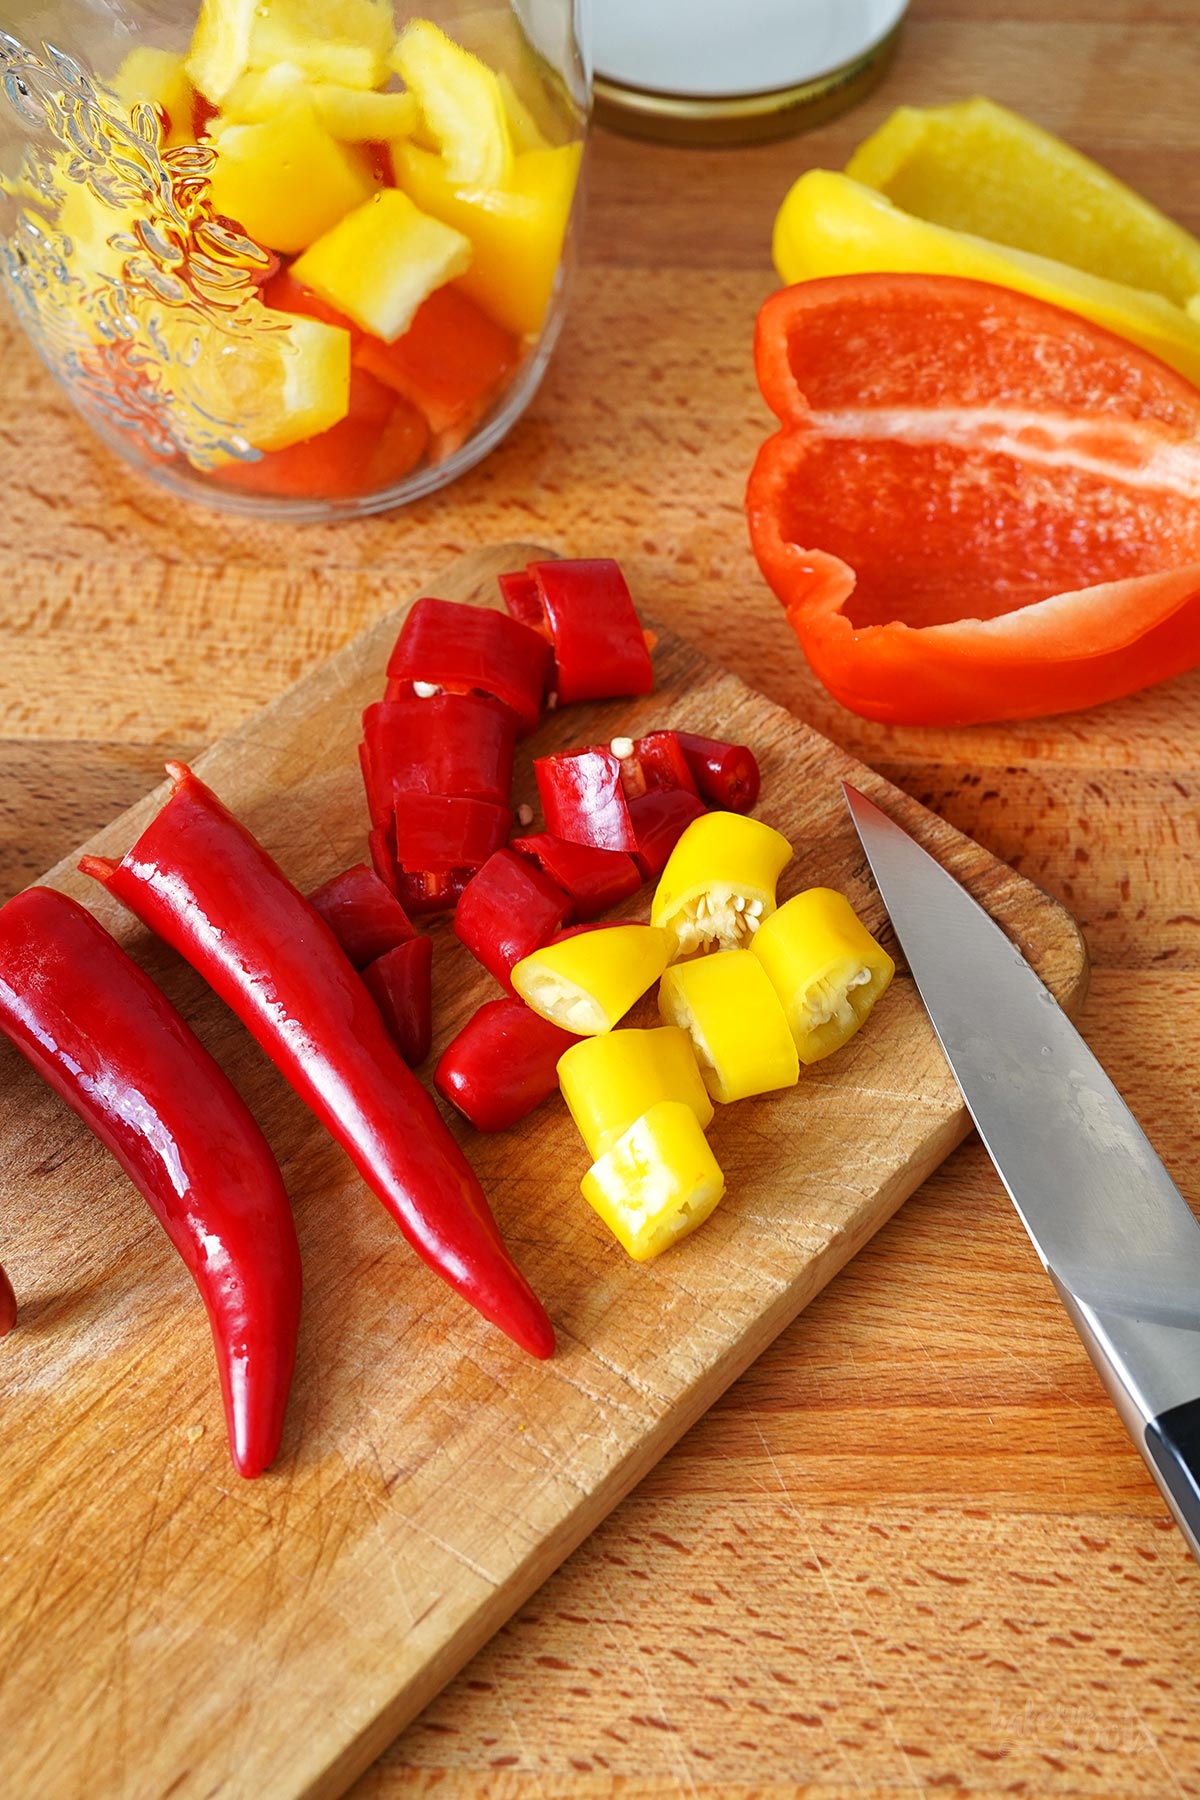
1. Wash and dry the chilis and bell peppers. Remove the green stems from the chili peppers and cut them into (not too small) pieces. If you prefer a milder hot sauce, remove all or at least some of the seeds. Halve the bell peppers and remove the seeds and membranes. Cut the bell peppers into pieces as well. Keep one larger piece intact to serve as a »lid«.
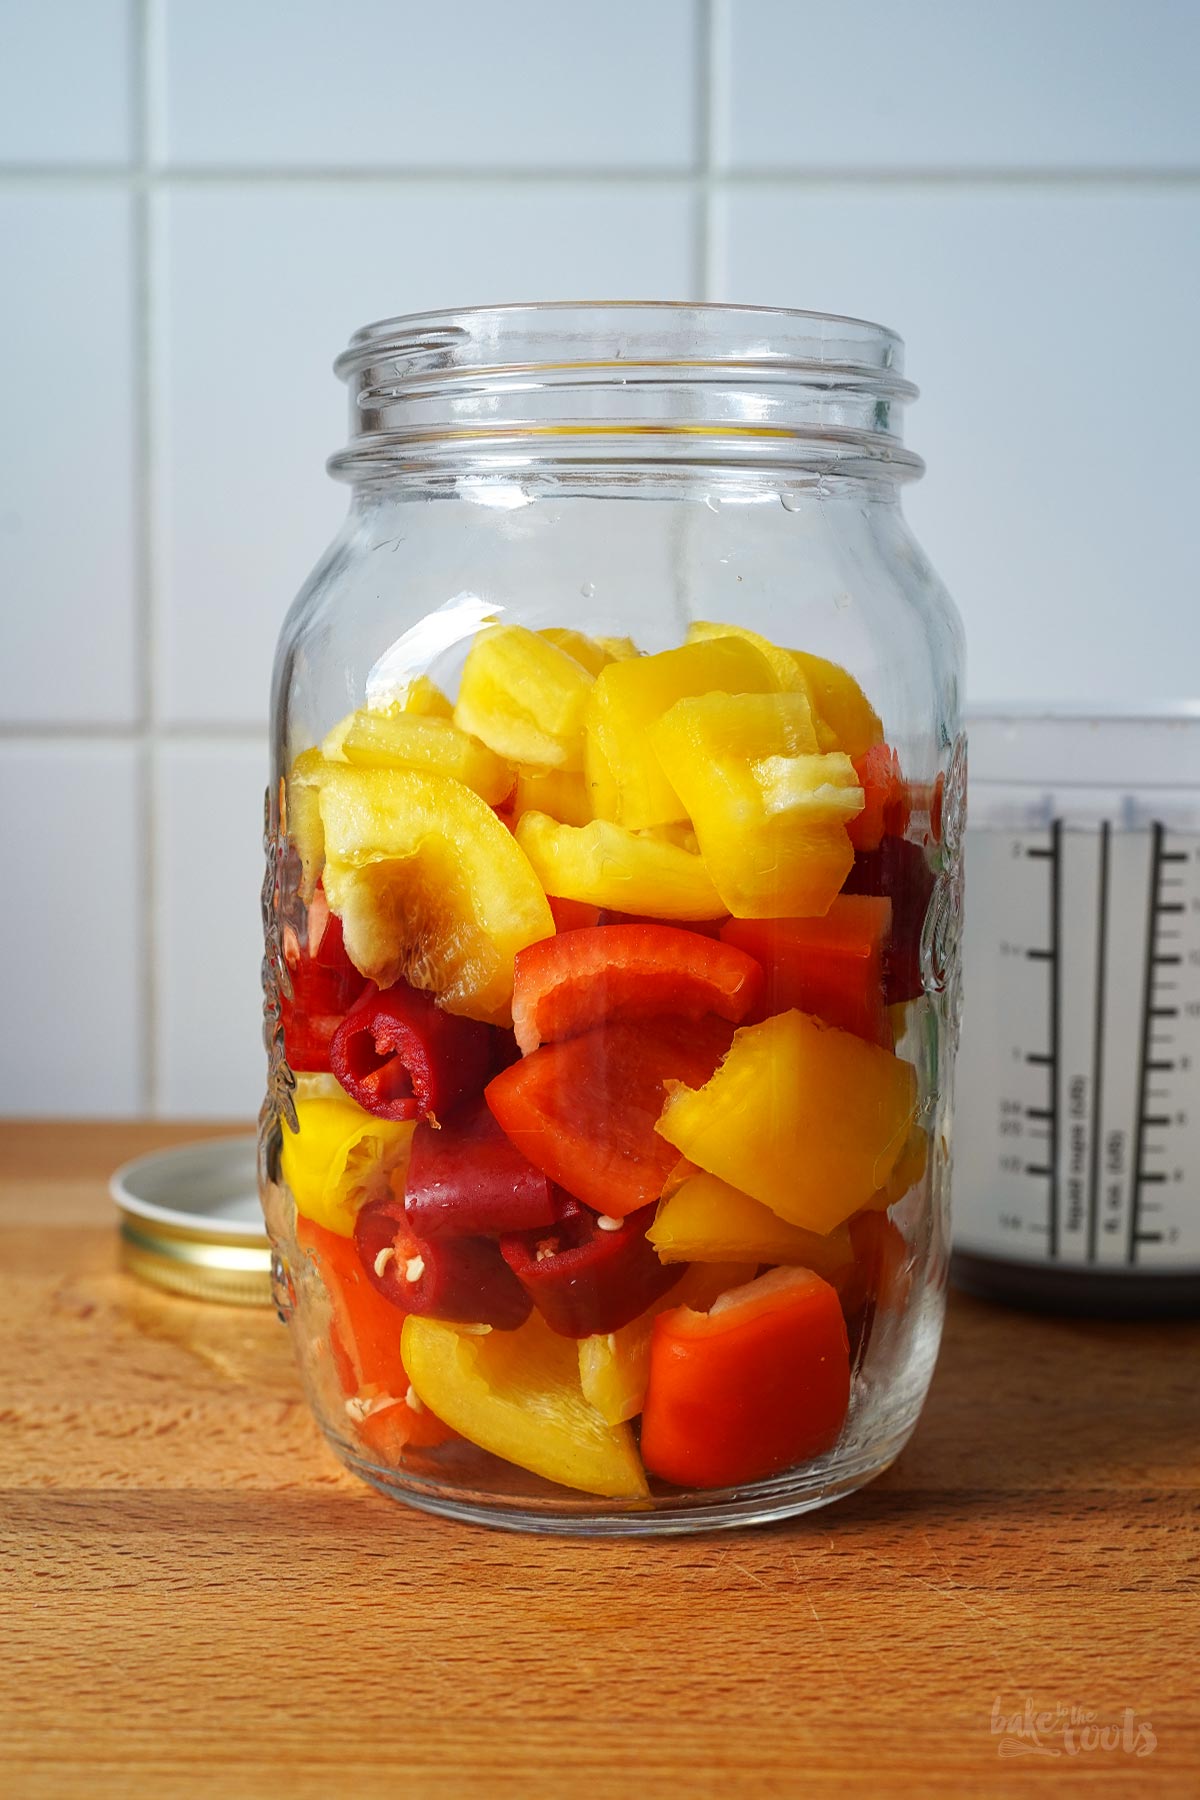
2. Add the chili and bell pepper pieces to a clean preserving glass jar and press them down a bit. Add the larger piece of bell pepper last so it covers everything underneath. Hold the pieces in place using a fermentation weight* or a similar tool.
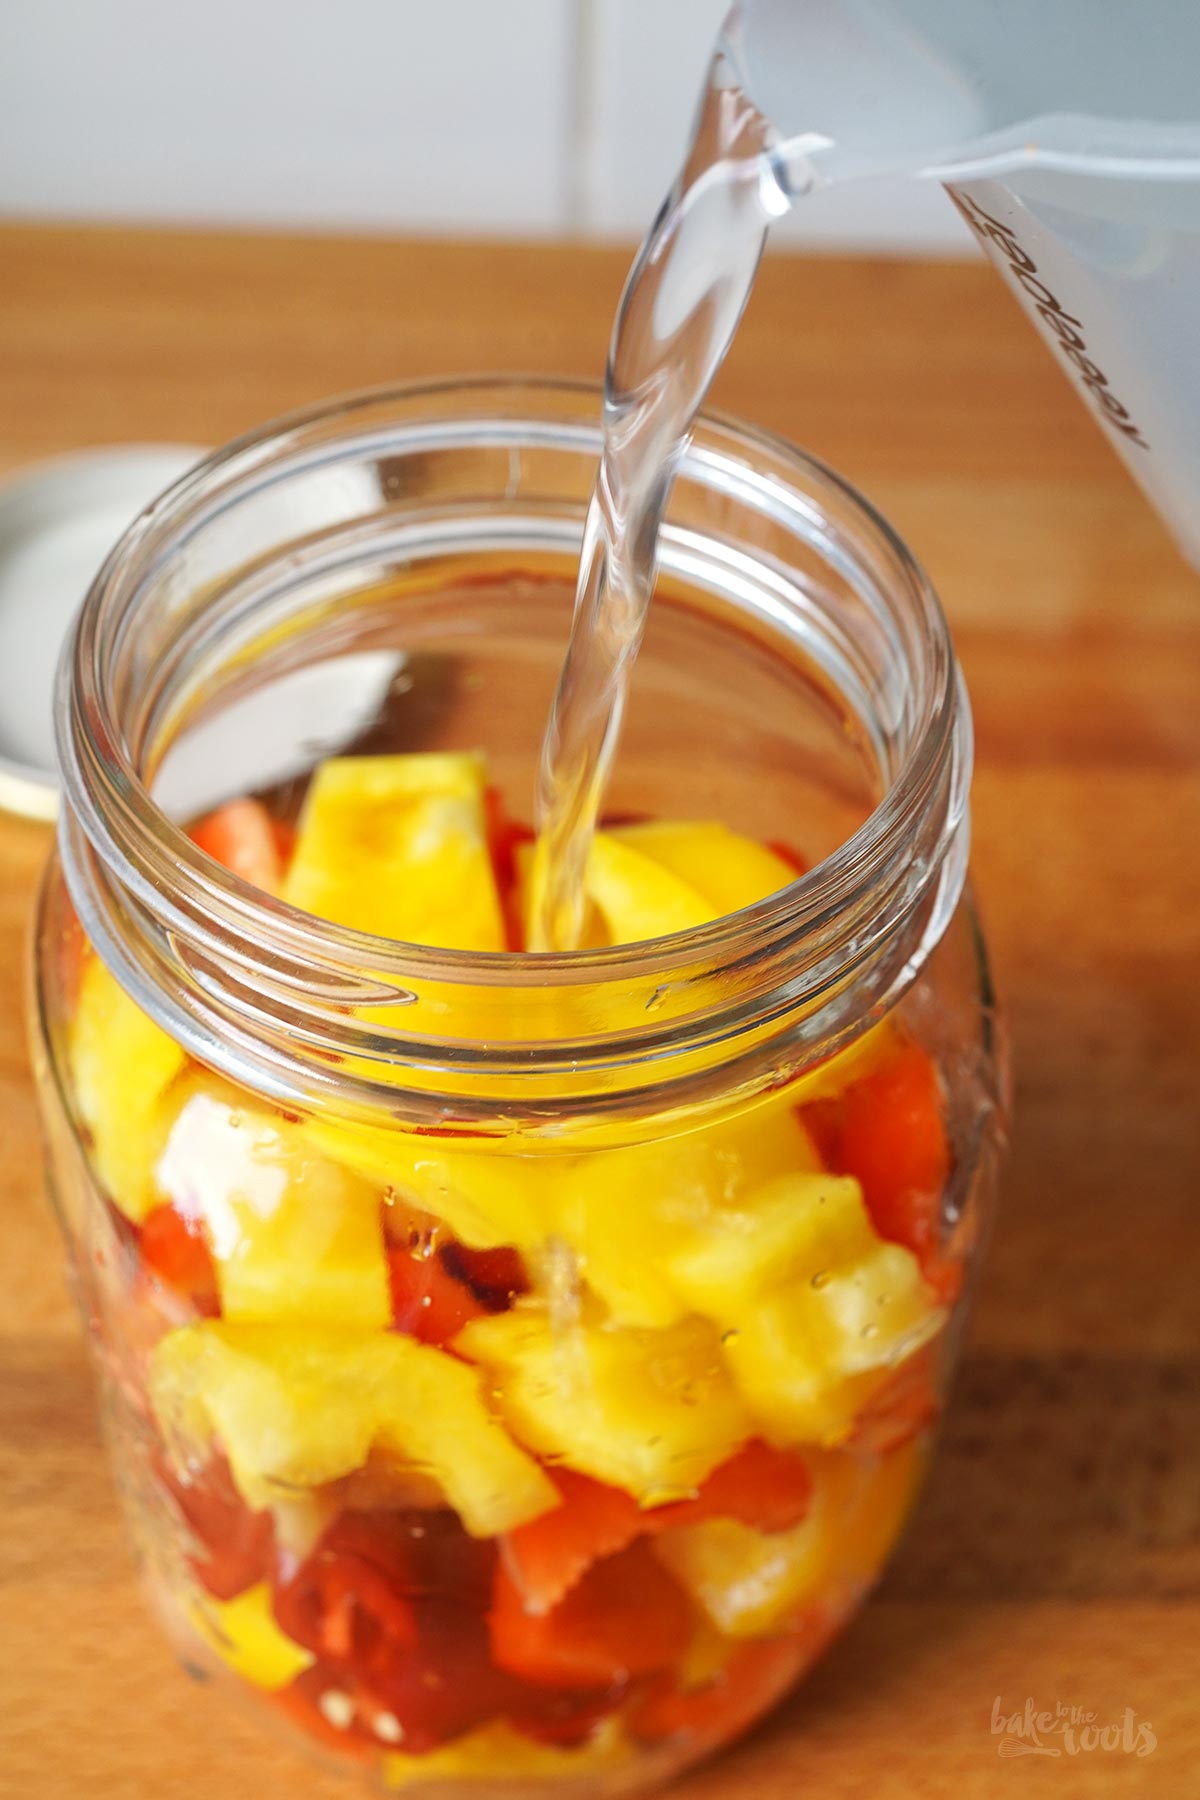
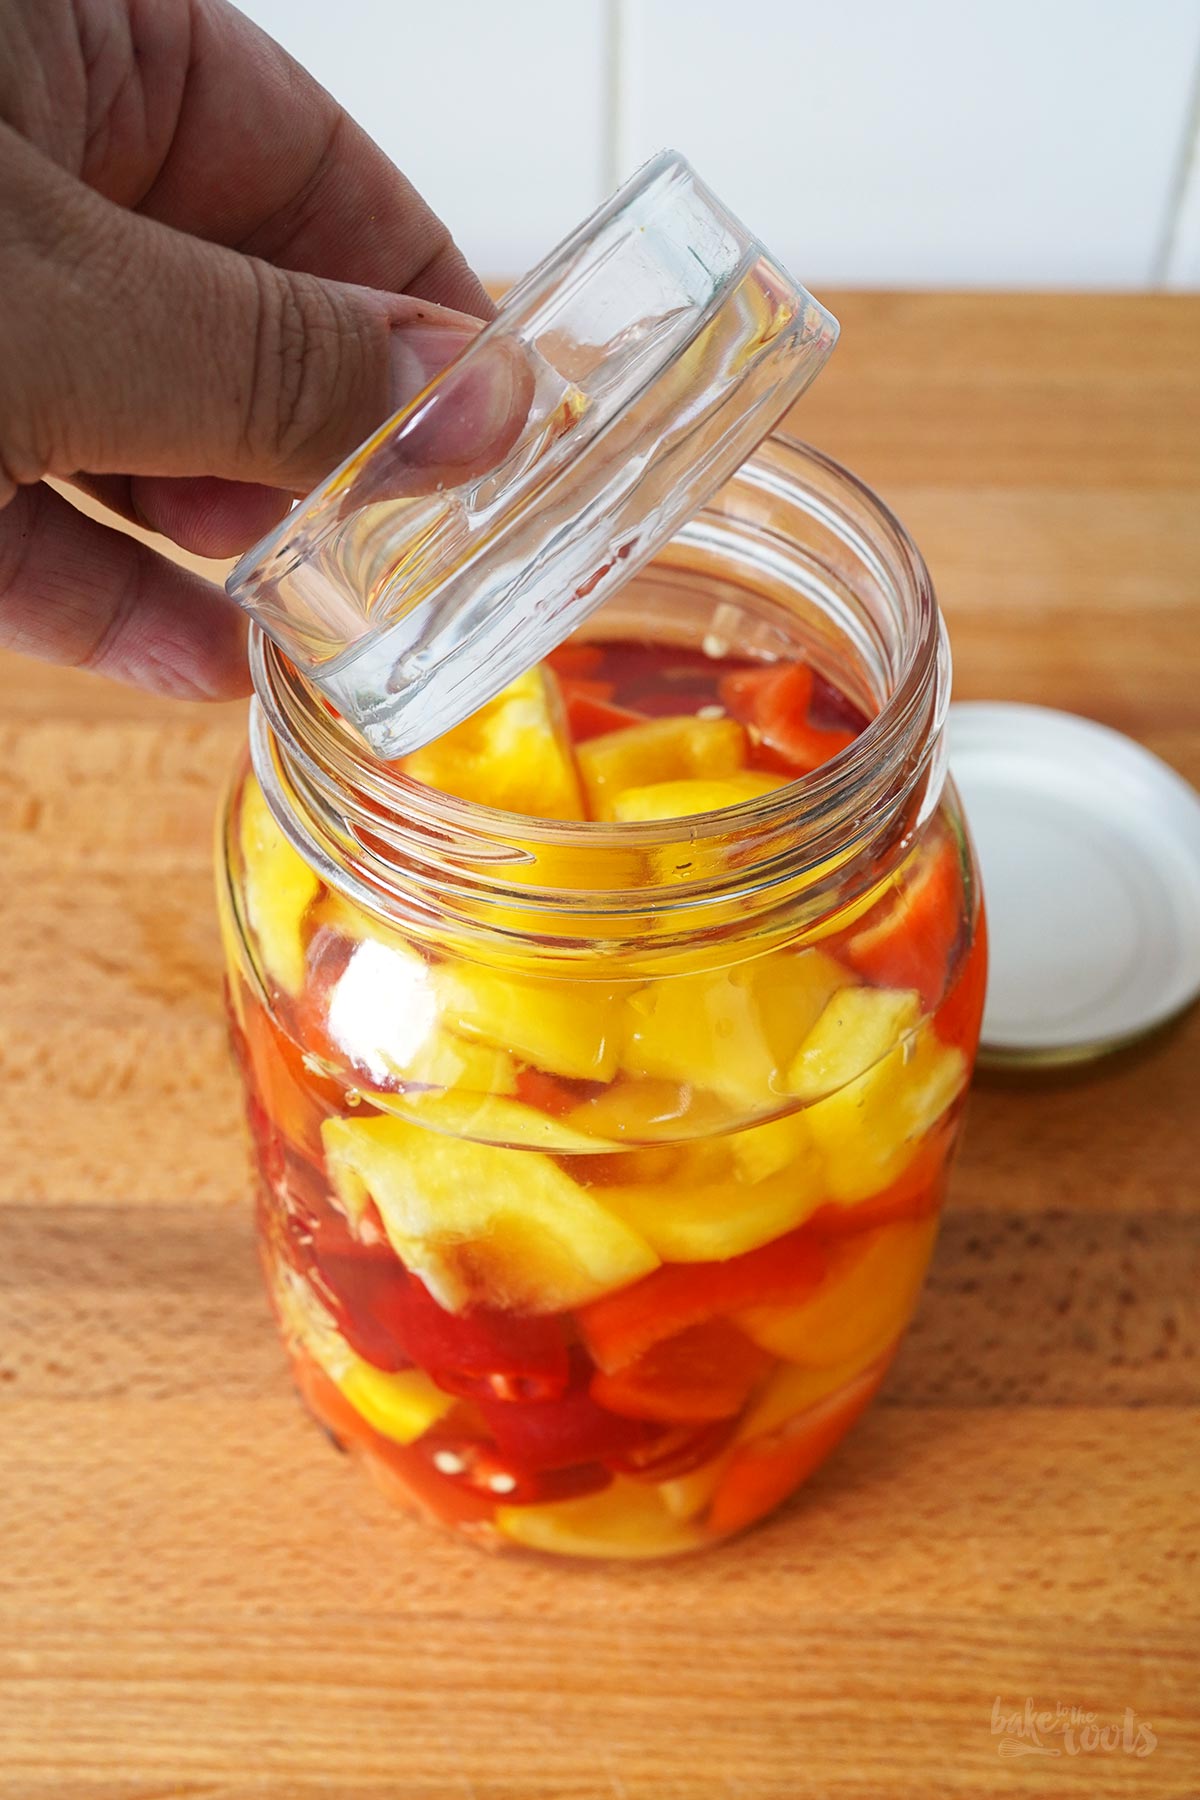
3. Next, prepare a brine using water and sea salt. The quantity depends on the size of the jar. The solution should contain 2% salt. This means for 1 liter of water you need about 20g (0.7 oz) of sea salt. Once the salt has completely dissolved, pour the brine into the glass jar. The veggies should be fully submerged in the brine. Give the jar a gentle shake to release any trapped air bubbles. Nothing should be floating on the surface – remove any seeds that have risen to the top, for example. Discard any leftover brine or use it, for example, for cooking pasta. Close the glass jar with the lid, but do not tighten it too much. Gases produced during fermentation need a way to escape. If you plan to ferment foods frequently, it might be worth investing in fermentation jars* with special lids designed to allow gas to escape easily without letting air in.
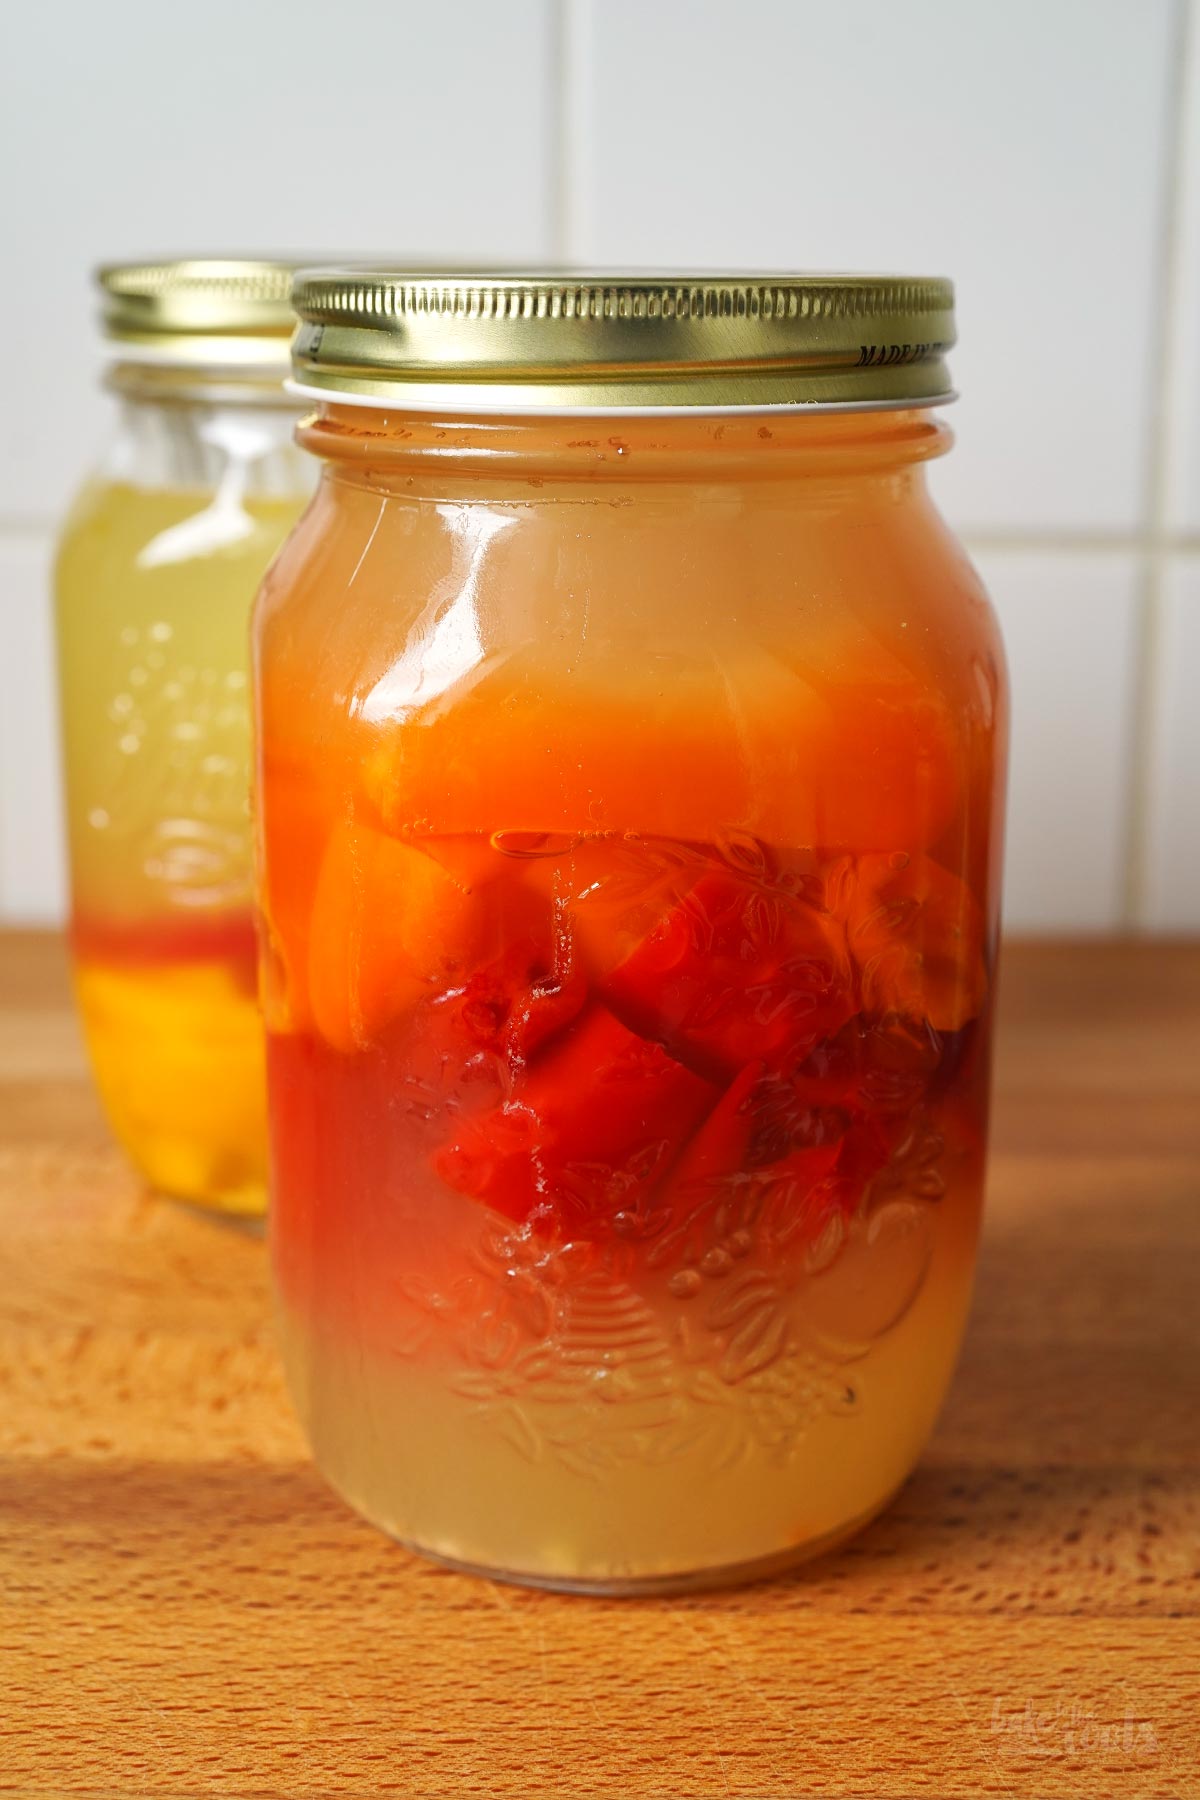
4. Once the glass jar is fully prepared and nothing is floating on the surface of the brine, place it in a corner of the kitchen that stays cool and out of direct sunlight. An ideal temperature range for fermentation is approximately 20–24°C (68–75°F) over a period of 5–10 days. The warmer the environment, the faster the fermentation process proceeds. However, higher temperatures also increase the risk of unwanted bacteria or mold developing. The brine will turn cloudy after a few days, but this is perfectly normal. I usually check the glass jar on day 3 or 4 to ensure everything looks good, removing any bits that may have floated to the surface and could cause issues.
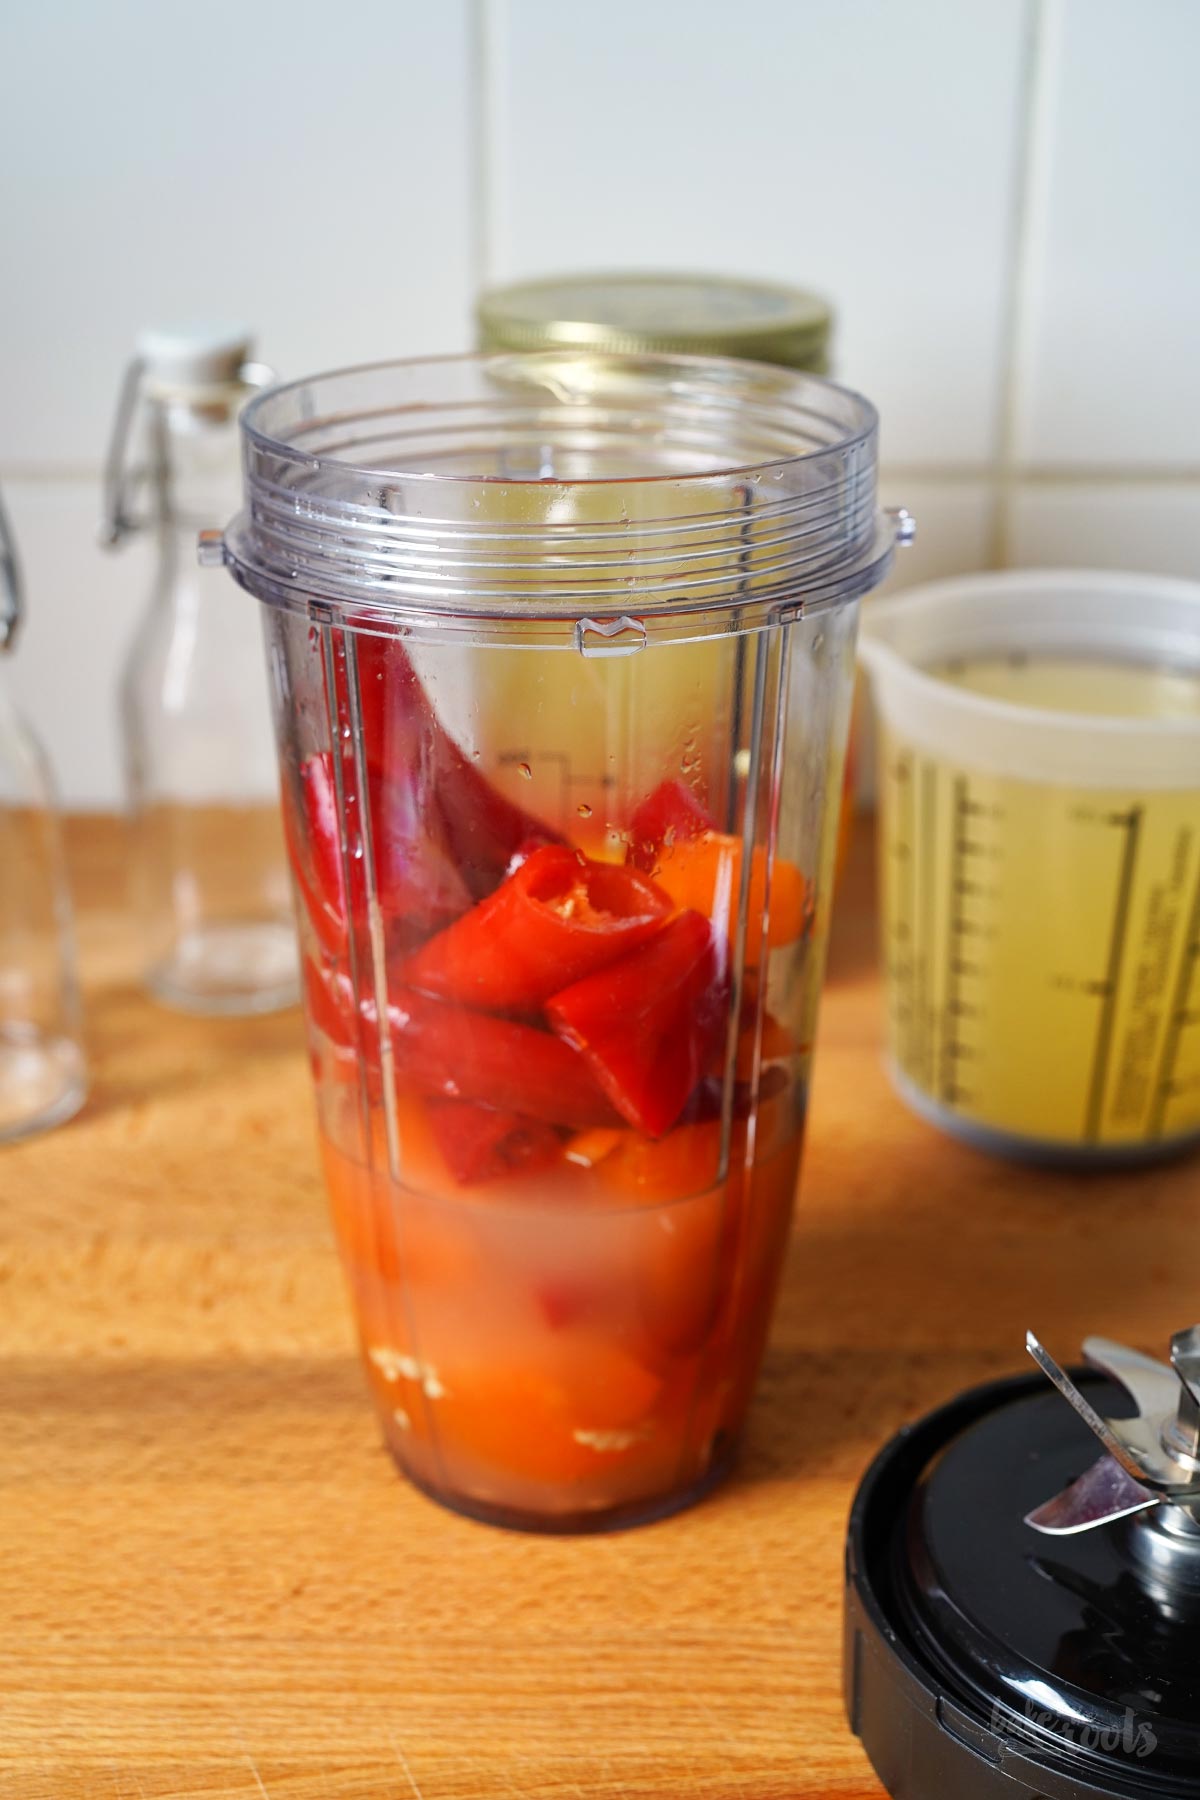
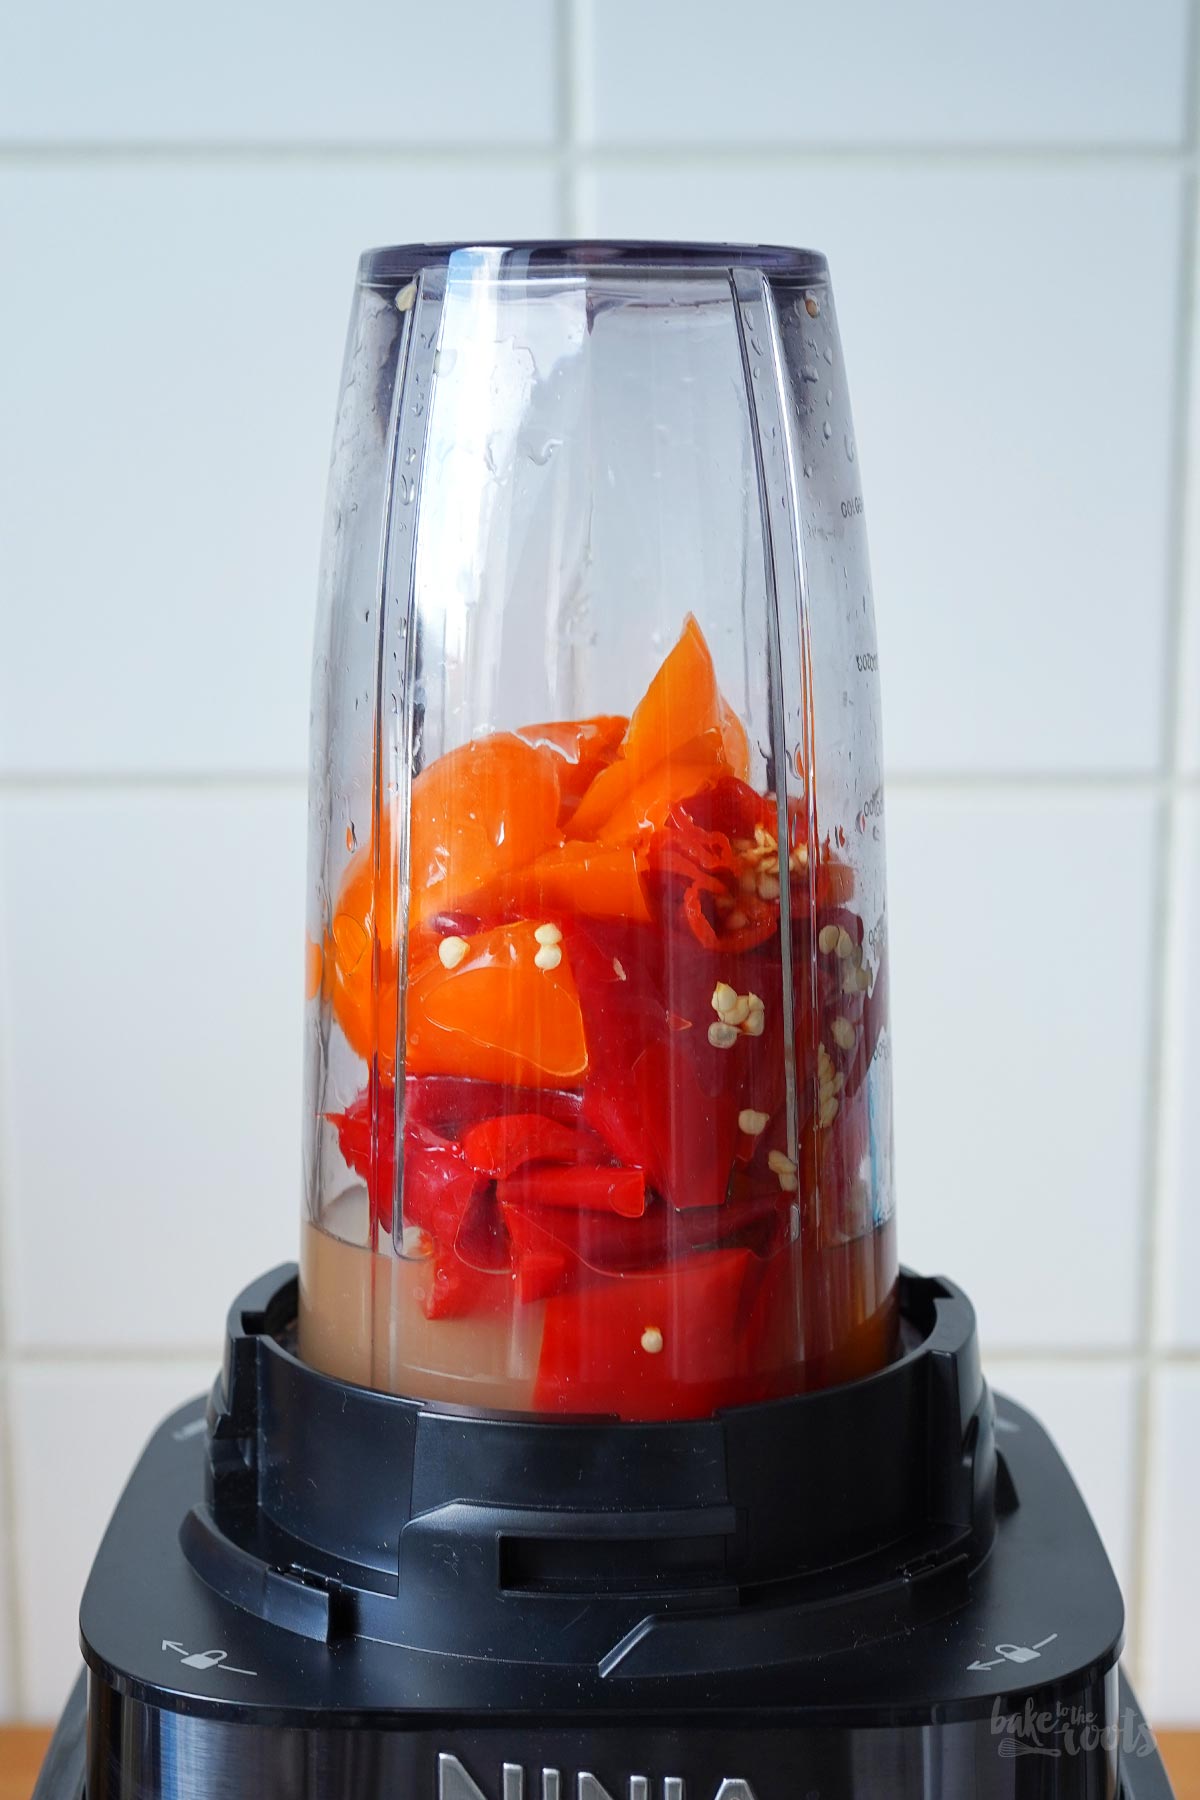
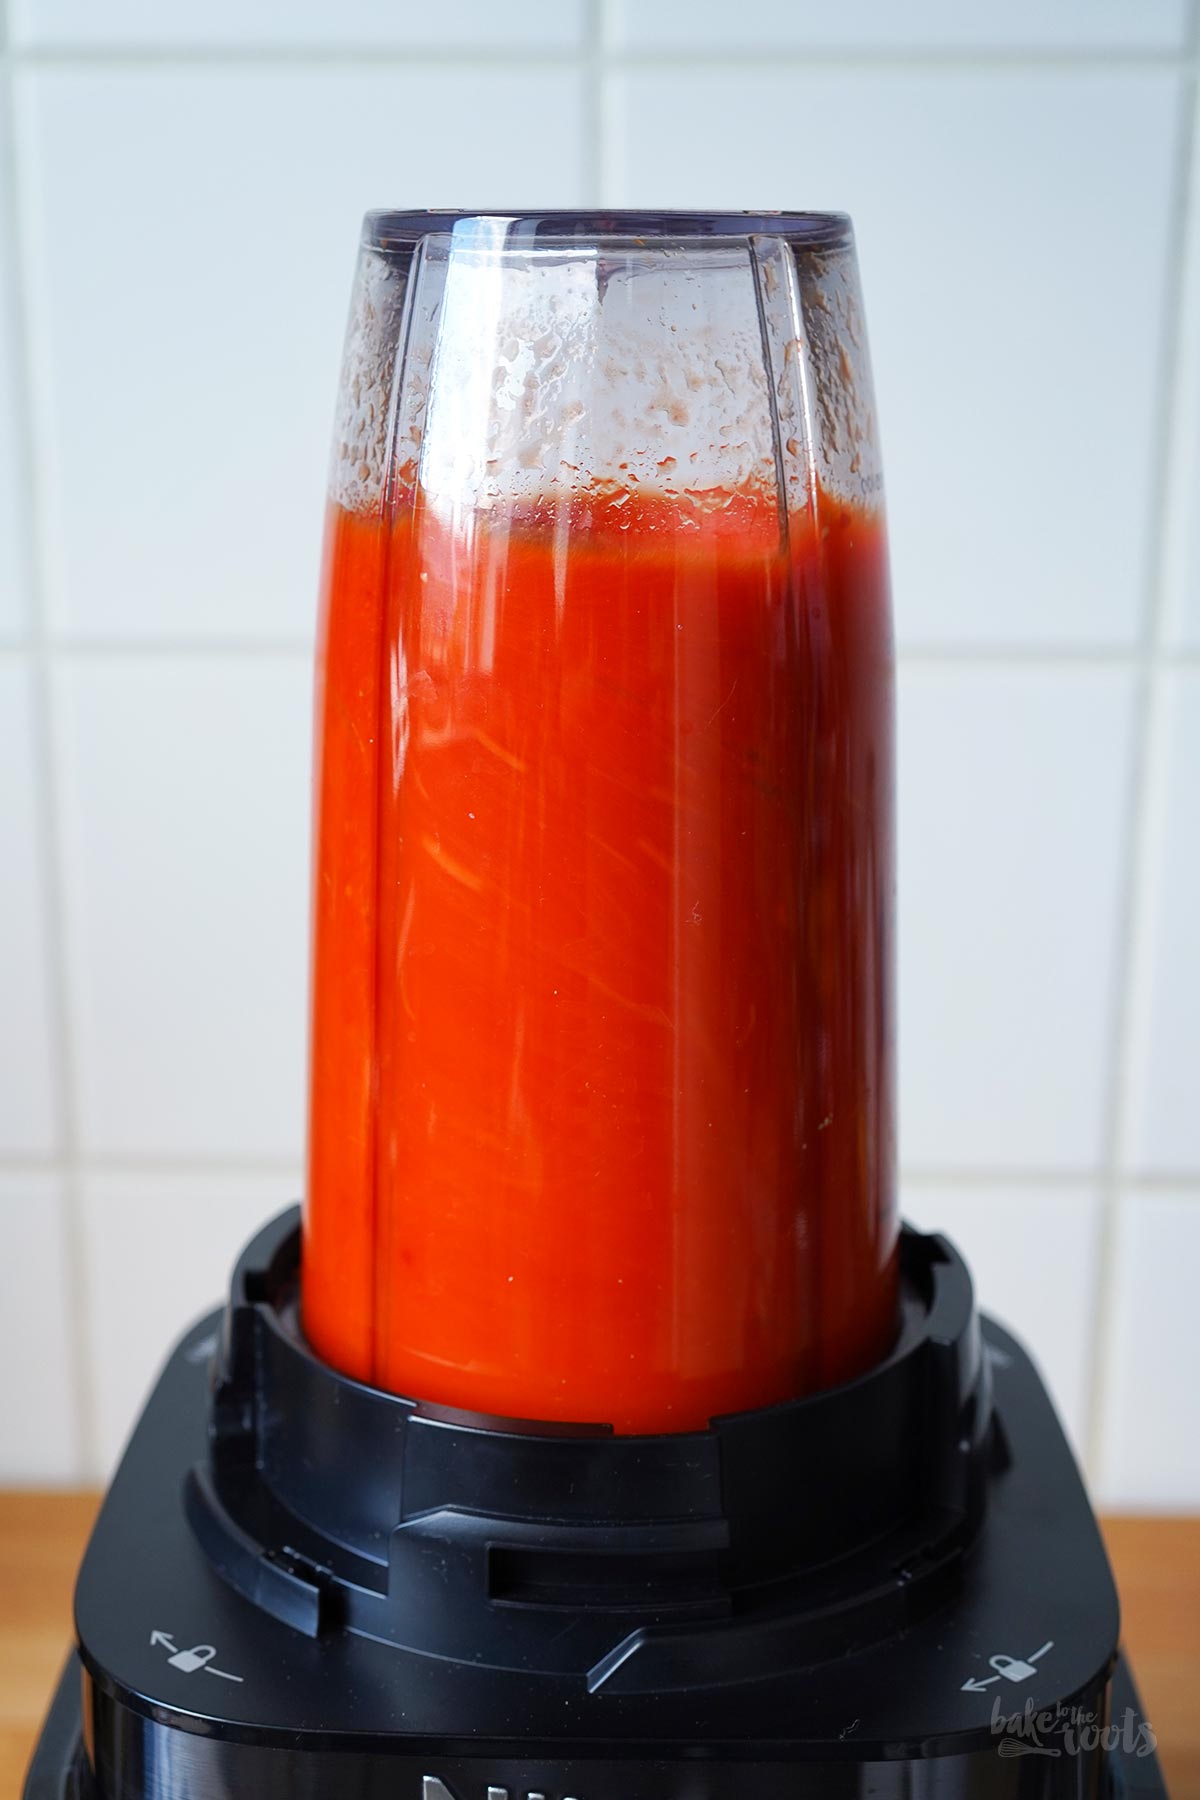
5. Once the chili and bell peppers have fermented sufficiently, and provided no mold or other contaminants have formed, you can proceed to process the peppers. Simply drain the brine, making sure to reserve some of it. Place the drained peppers in a blender and blend/purée until smooth. If the mixture seems too thick or paste-like, add a little of the reserved brine and blend again. Finally, add some white wine vinegar – 1 tablespoon should suffice – and blend once more. Pour the hot sauce into sterilized bottles and store them in the fridge. If you worked clean and no harmful bacteria developed during fermentation, the hot sauce should keep in the refrigerator for up to 6 months.
1. Die Chilischoten und Paprika waschen und trocknen. Die grünen Stiele der Chilischoten entfernen und die Schoten dann in nicht zu kleine Stücke schneiden. Wer die Hot Sauce nicht ganz so hot/scharf mag, sollte die Samen der Chilischoten ganz, oder zumindest teilweise entfernen. Die Paprikaschoten halbieren und die Innereien entfernen. Die Paprika ebenfalls in Stücke schneiden – hier empfiehlt es sich, ein größeres Stück intakt zu halten, das dann als »Deckel« dienen kann.
2. Die Chilischoten- und Paprikastücke in ein sauberes Einmachglas geben und etwas zusammendrücken. Das größere Stück der Paprikaschote sollte am Ende dazugeben werden und alles deckeln. Die Chilischoten- und Paprikastücke mit einem Fermentiergewicht* oder einem anderen Hilfsmittel an Ort und Stelle halten.
3. Als Nächstes eine Salzlösung aus Wasser und Meersalz zubereiten. Die Menge hängt hier von der Größe des Einmachglases ab. Die Lösung sollte 2 % Salz enthalten. Bei 1l Wasser wären das also knapp 20g Meersalz. Wenn sich das Salz im Wasser komplett aufgelöst hat, die Salzlake in das Glas füllen. Das Gemüse sollte komplett mit der Salzlösung bedeckt sein. Ein wenig am Glas rütteln, damit sich eingeschlossene Luftblasen lösen können. Es darf nichts an der Oberfläche schwimmen – aufgestiegene Samen z.B. sollten entfernt werden. Reste der Salzlösung einfach wegschütten oder eventuell zum Kochen von Pasta verwenden. Das Einmachglas mit dem Deckel verschließen, aber nicht zu fest – Gase, die sich beim Fermentieren entwickeln, sollten die Möglichkeit haben, entweichen zu können. Für alle, die öfter etwas fermentieren möchten, lohnt vielleicht die Anschaffung von Fermentiergläsern* mit speziellen Deckeln, die das Entweichen von Gasen begünstigen.
4. Wenn das Glas mit dem Gemüse komplett präpariert wurde und nichts an der Oberfläche schwimmt, kann das Glas in eine Ecke der Küche gestellt werden, die nicht zu warm wird und keine direkte Sonne bekommt. Ideal zum Fermentieren sind etwa 20-24°C für einen Zeitraum von 5-10 Tagen. Je wärmer das Gemüse in der Salzlake lagert, umso schneller geht der Fermentierungsprozess vonstatten. Bei höheren Temperaturen läuft man allerdings auch Gefahr, dass sich irgendwann unerwünschte Keime und Schimmelpilze bilden. Nach ein paar Tagen wird die Salzlake trüb werden, aber das ist vollkommen in Ordnung. Ich checke meist an Tag 3 oder 4, ob alles in Ordnung ist, und entferne ggf. Sachen, die an die Oberfläche der Salzlake aufgestiegen sind und Probleme bereiten könnten.
5. Wenn die Chili- und Paprikaschoten ausreichend fermentiert haben und sich kein Schimmel o.Ä. gebildet hat, kann es mit der Verarbeitung der Schoten weitergehen. Dafür einfach die Salzlake abgießen – einen Teil davon auffangen. Die abgetropften Schoten in einen Mixer geben und fein mixen/pürieren. Sollte die Mischung zu breiig wirken, ein wenig Salzlake dazugeben und noch einmal durchmixen. Zum Schluss noch ein wenig Weißweinessig dazugeben – 1 EL sollte reichen – und noch einmal durchmixen. Die Hot Sauce in sterile Fläschchen füllen und im Kühlschrank lagern. Wenn sauber gearbeitet wurde und sich keine Keime beim Fermentieren gebildet haben, sollte die Hot Sauce bis zu 6 Monate im Kühlschrank durchhalten.
Craving more? Keep in touch on Facebook, Instagram and Pinterest for new post updates and more. You can also contact me with any questions or inquiries!
Here is a version of the recipe you can print easily.
Print
Homemade Fermented Hot Sauce
- Prep Time: 00:15
- Cook Time: 00:00
- Total Time: 7 days
- Yield: 1 1x
- Category: Homemade Stuff
- Method: -
- Cuisine: International
- Diet: Vegan
Description
Do you like it hot? Well, then you should try this homemade fermented hot sauce! So easy to make and perfect if you want to add some heat to many dishes.
Ingredients
6–7 chili peppers (red, yellow, or green)
1–2 bell peppers (red, yellow, or green)
sea salt brine (2%)
some white wine vinegar
Instructions
1. Wash and dry the chilis and bell peppers. Remove the green stems from the chili peppers and cut them into (not too small) pieces. If you prefer a milder hot sauce, remove all or at least some of the seeds. Halve the bell peppers and remove the seeds and membranes. Cut the bell peppers into pieces as well. Keep one larger piece intact to serve as a »lid«.
2. Add the chili and bell pepper pieces to a clean preserving glass jar and press them down a bit. Add the larger piece of bell pepper last so it covers everything underneath. Hold the pieces in place using a fermentation weight* or a similar tool.
3. Next, prepare a brine using water and sea salt. The quantity depends on the size of the jar. The solution should contain 2% salt. This means for 1 liter of water you need about 20g (0.7 oz) of sea salt. Once the salt has completely dissolved, pour the brine into the glass jar. The veggies should be fully submerged in the brine. Give the jar a gentle shake to release any trapped air bubbles. Nothing should be floating on the surface – remove any seeds that have risen to the top, for example. Discard any leftover brine or use it, for example, for cooking pasta. Close the glass jar with the lid, but do not tighten it too much. Gases produced during fermentation need a way to escape. If you plan to ferment foods frequently, it might be worth investing in fermentation jars* with special lids designed to allow gas to escape easily without letting air in.
4. Once the glass jar is fully prepared and nothing is floating on the surface of the brine, place it in a corner of the kitchen that stays cool and out of direct sunlight. An ideal temperature range for fermentation is approximately 20–24°C (68–75°F) over a period of 5–10 days. The warmer the environment, the faster the fermentation process proceeds. However, higher temperatures also increase the risk of unwanted bacteria or mold developing. The brine will turn cloudy after a few days, but this is perfectly normal. I usually check the glass jar on day 3 or 4 to ensure everything looks good, removing any bits that may have floated to the surface and could cause issues.
5. Once the chili and bell peppers have fermented sufficiently, and provided no mold or other contaminants have formed, you can proceed to process the peppers. Simply drain the brine, making sure to reserve some of it. Place the drained peppers in a blender and blend/purée until smooth. If the mixture seems too thick or paste-like, add a little of the reserved brine and blend again. Finally, add some white wine vinegar – 1 tablespoon should suffice – and blend once more. Pour the hot sauce into sterilized bottles and store them in the fridge. If you worked clean and no harmful bacteria developed during fermentation, the hot sauce should keep in the refrigerator for up to 6 months.
Notes
Let your creativity shine in the kitchen!
Links marked with an asterisk (*) are affiliate links (advertising/Werbung) to Amazon Germany. If you click on one of those links and buy something via this link, I will get a commission for that sale. The price of whatever you buy is not affected in any way by this.