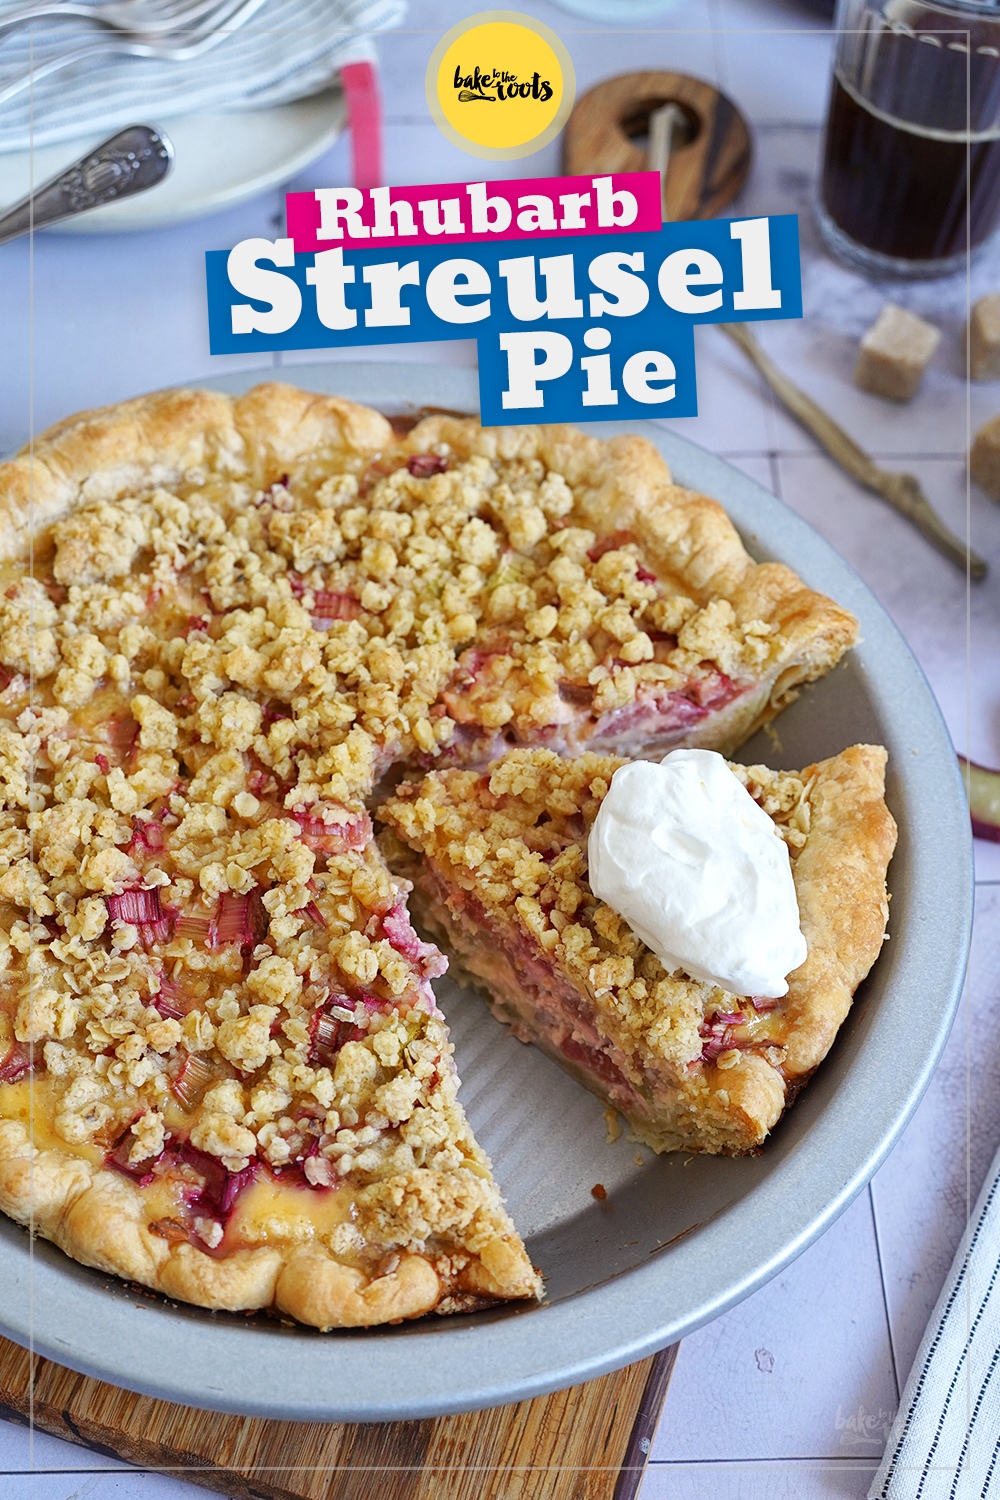
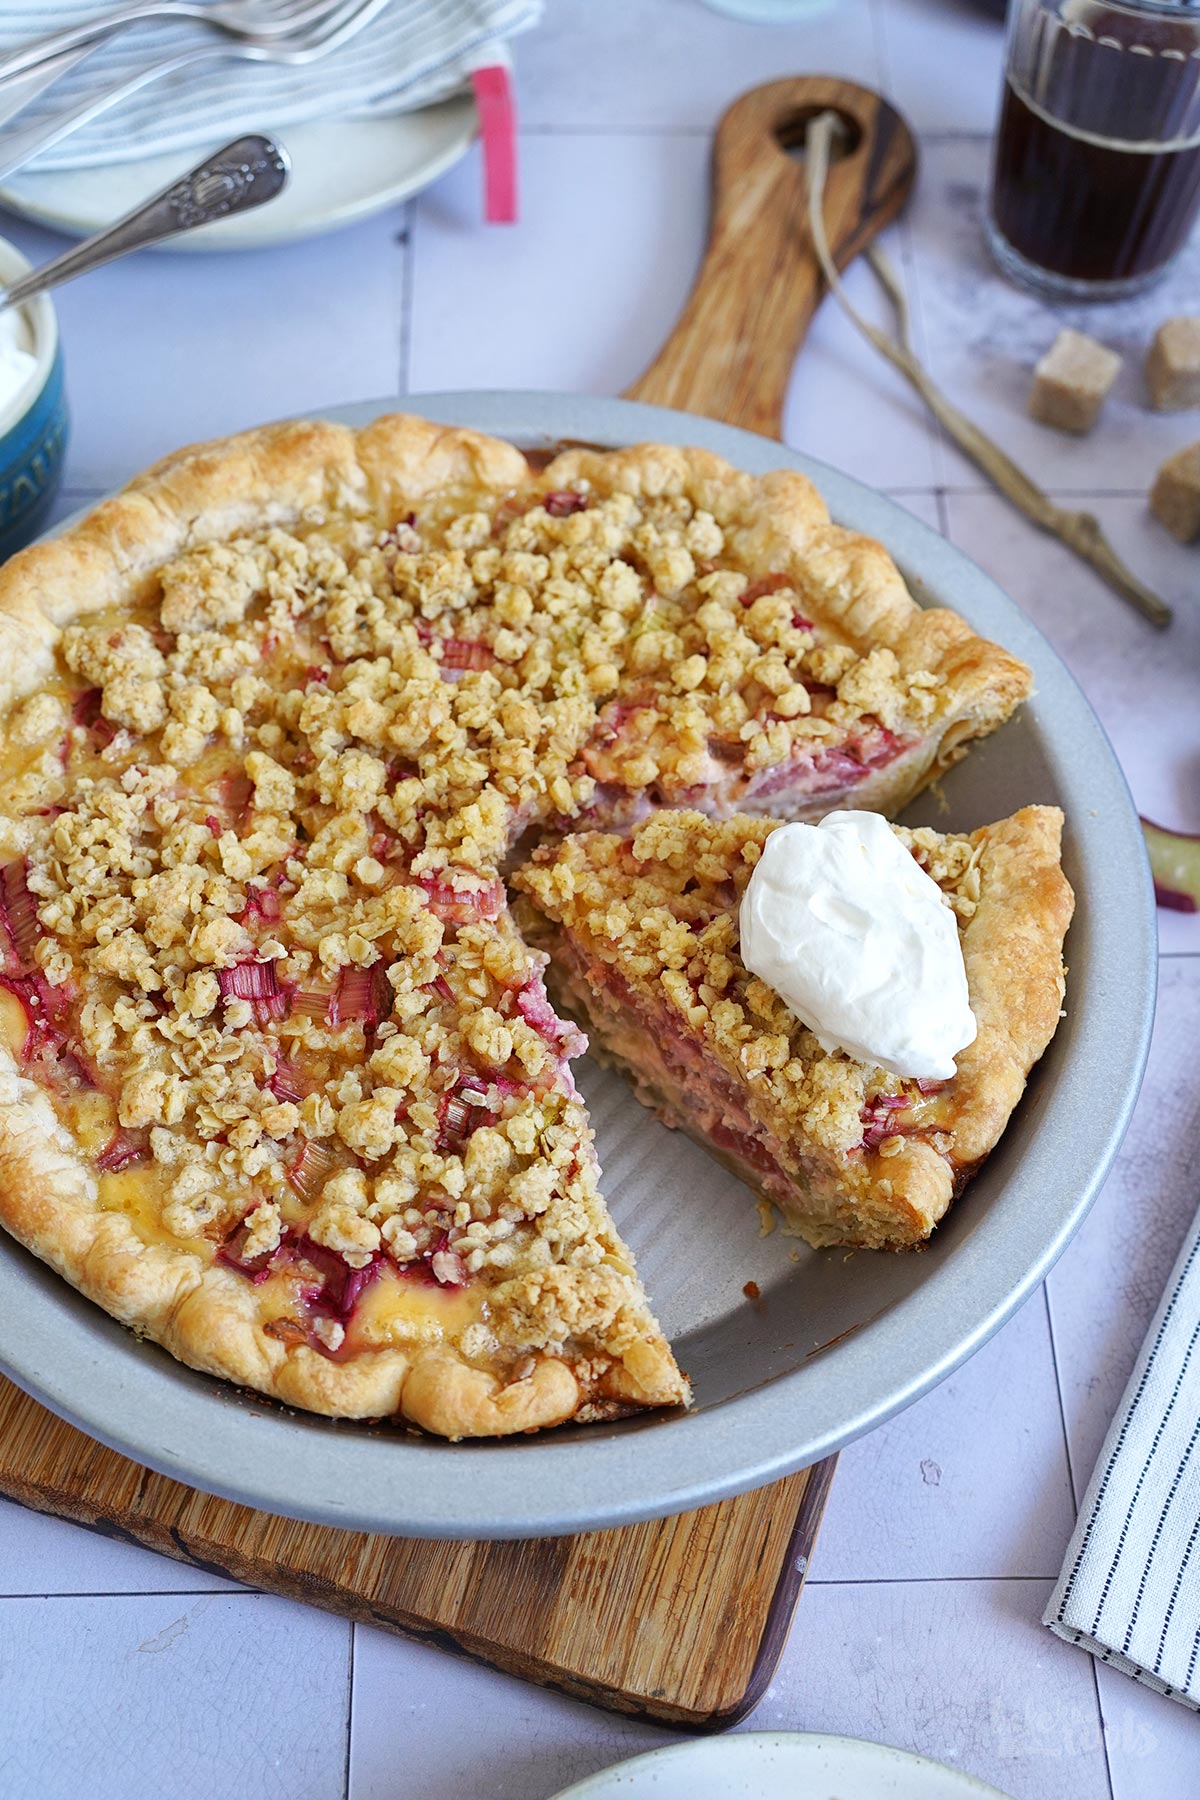
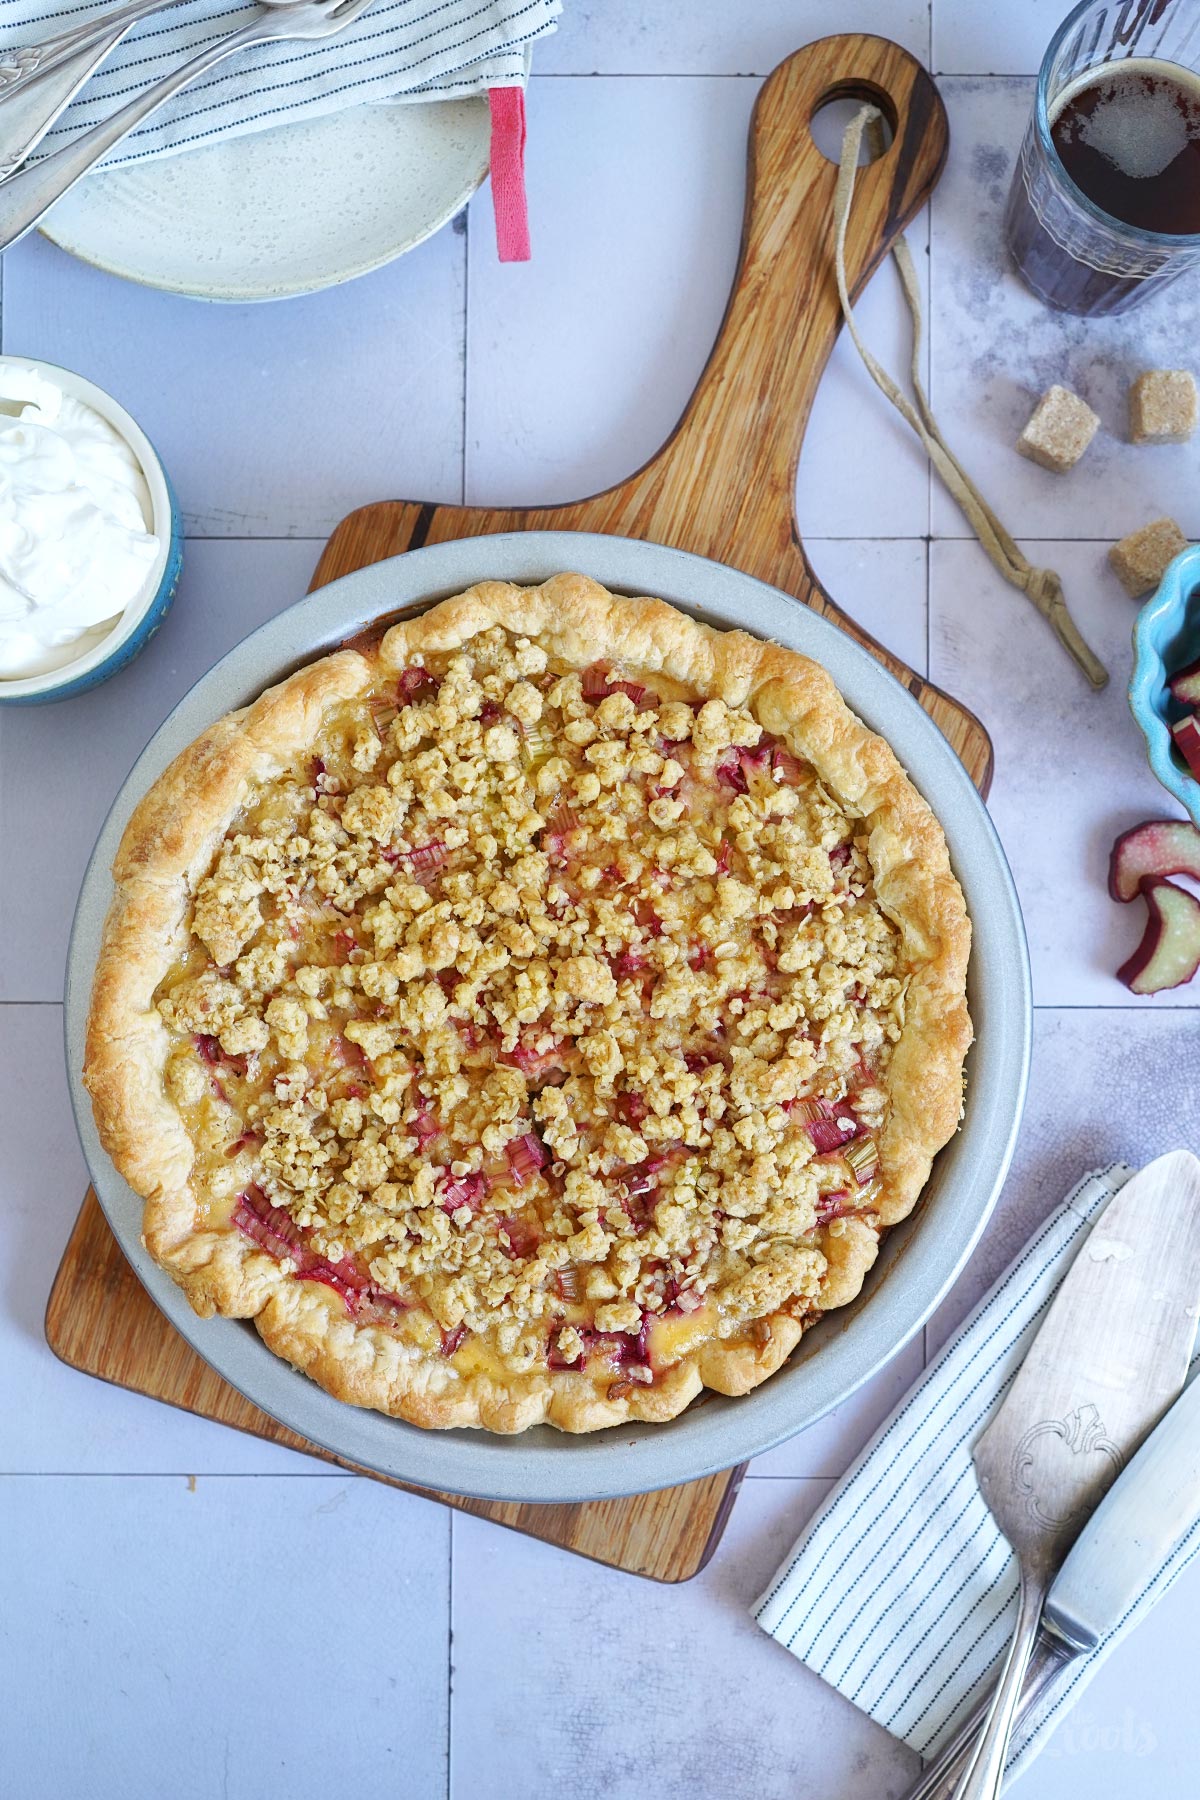
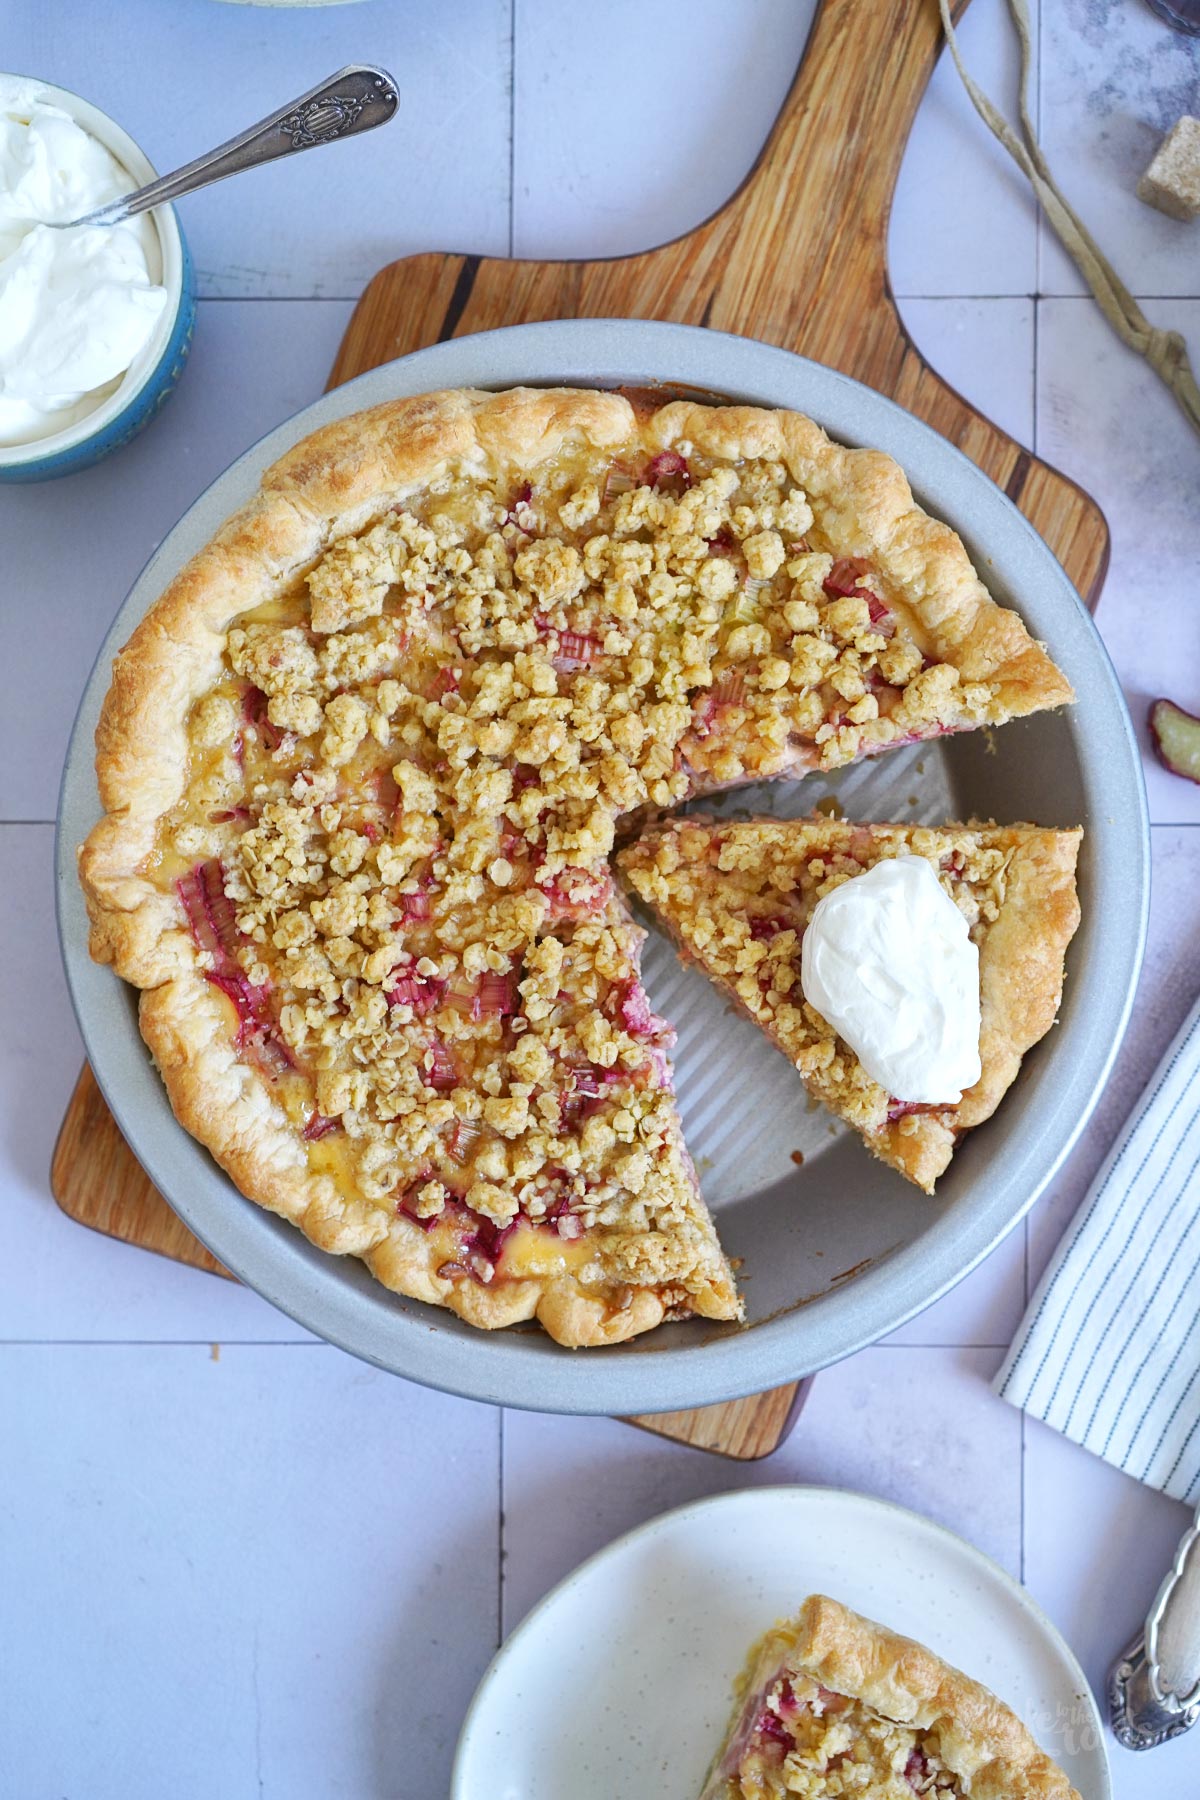
What could be better than taking a quick break in the afternoon? With a cup of coffee and someone to chat with. When it slowly starts getting warmer in the spring and you can sit outside in the fresh air – it’s just wonderful! Add a delicious Rhubarb Streusel Custard Pie to that, and everything is just perfect. After a really relaxing break it’s not that bad you have to get back to work, right?
Seriously though, aside from a lunch break, do you also take a break for a coffee in the afternoon on a regular basis? If the weather’s nice and I don’t have too much on my plate, I like to take the time to sip a cup of coffee. Ideally on the terrace in the sun. Even better if there’s cake left over from a photoshoot that needs to be eaten…
Unfortunately, good weather and a cake do not automatically go hand in hand. I try to bake on sunny days mostly because I prefer real light for taking pictures, but that does not mean there is still light when I am done working. Well… that’s a food blogger thing, I guess. Regular bakers don’t have to worry about whether the sun is shining or not while they are baking, right? Do you mind if it’s light or dark outside on a baking day?
I’m getting sidetracked here it seems. Ideally, this post should provide some additional information about the rhubarb pie and how to make it, not ramble on about sunshine and coffee chats.
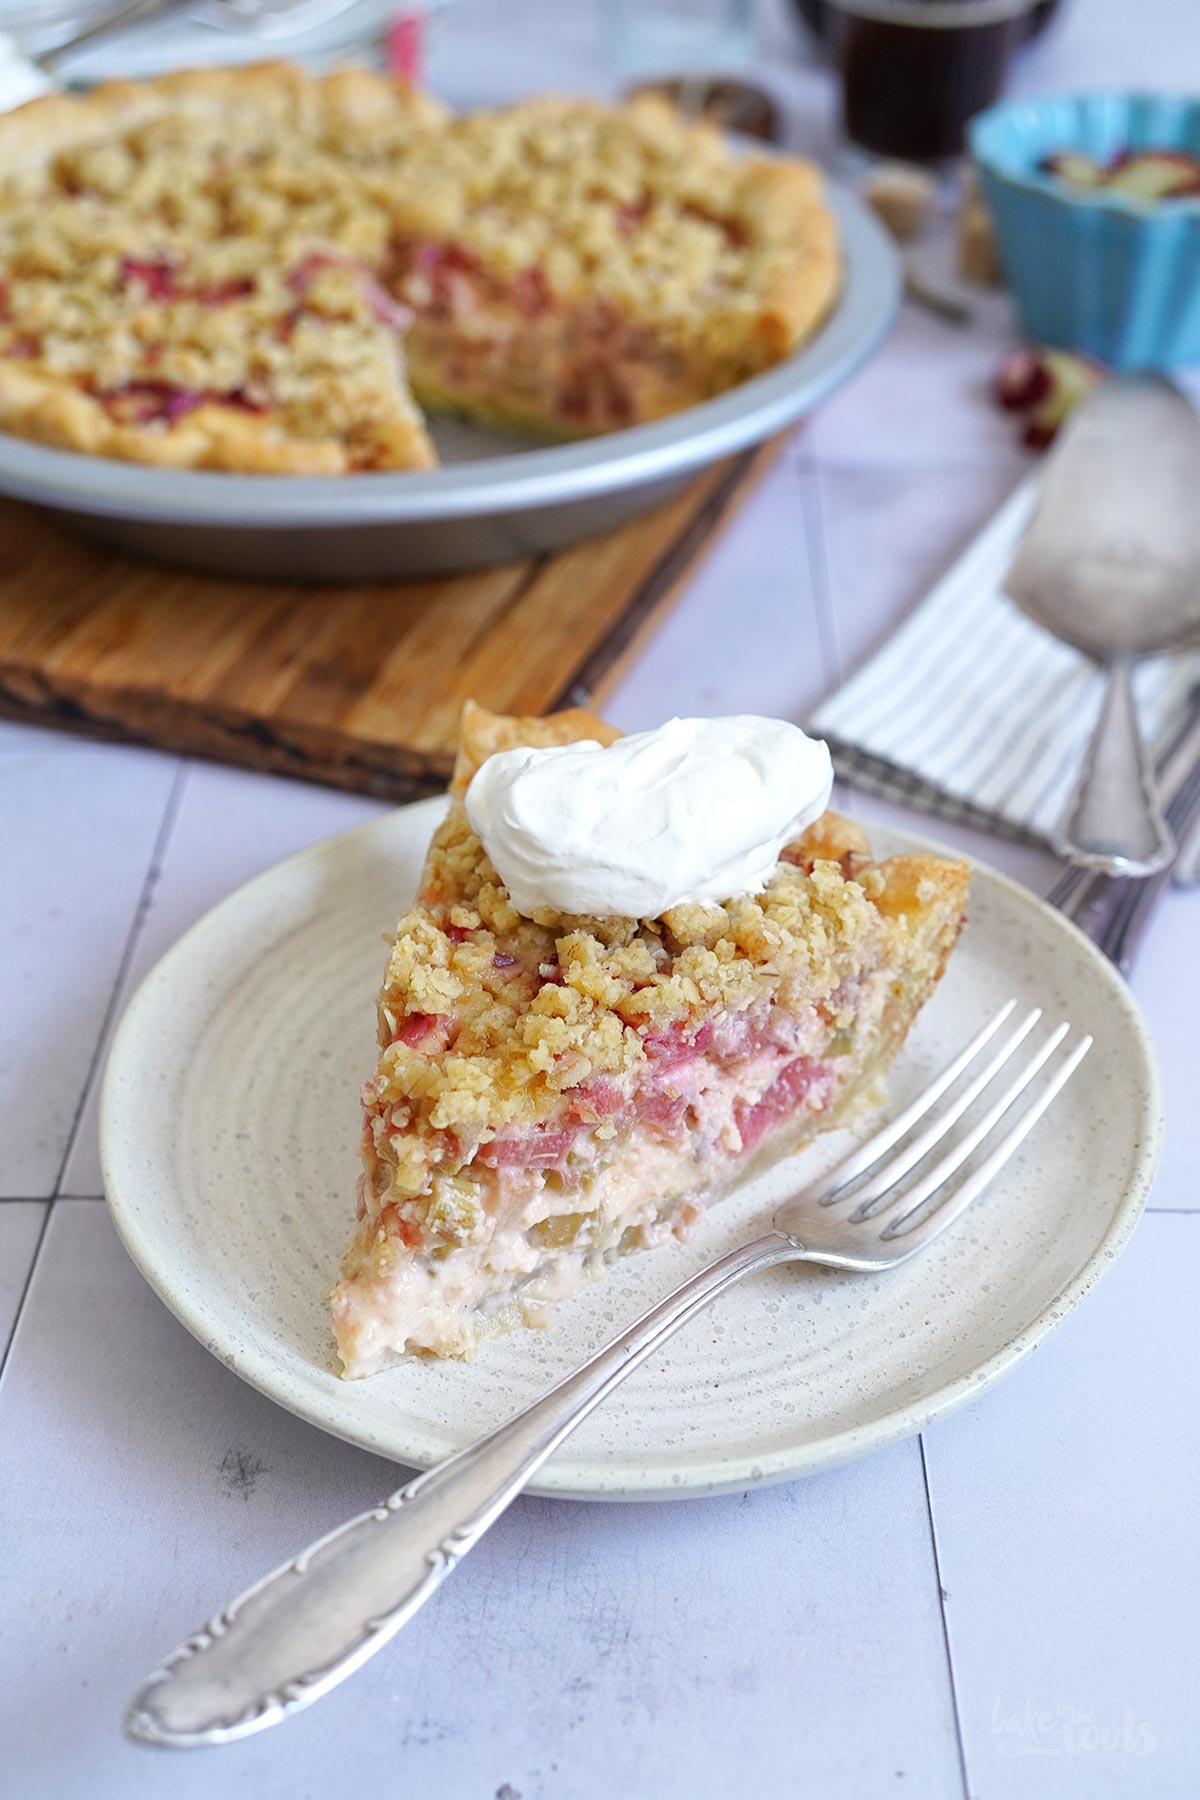
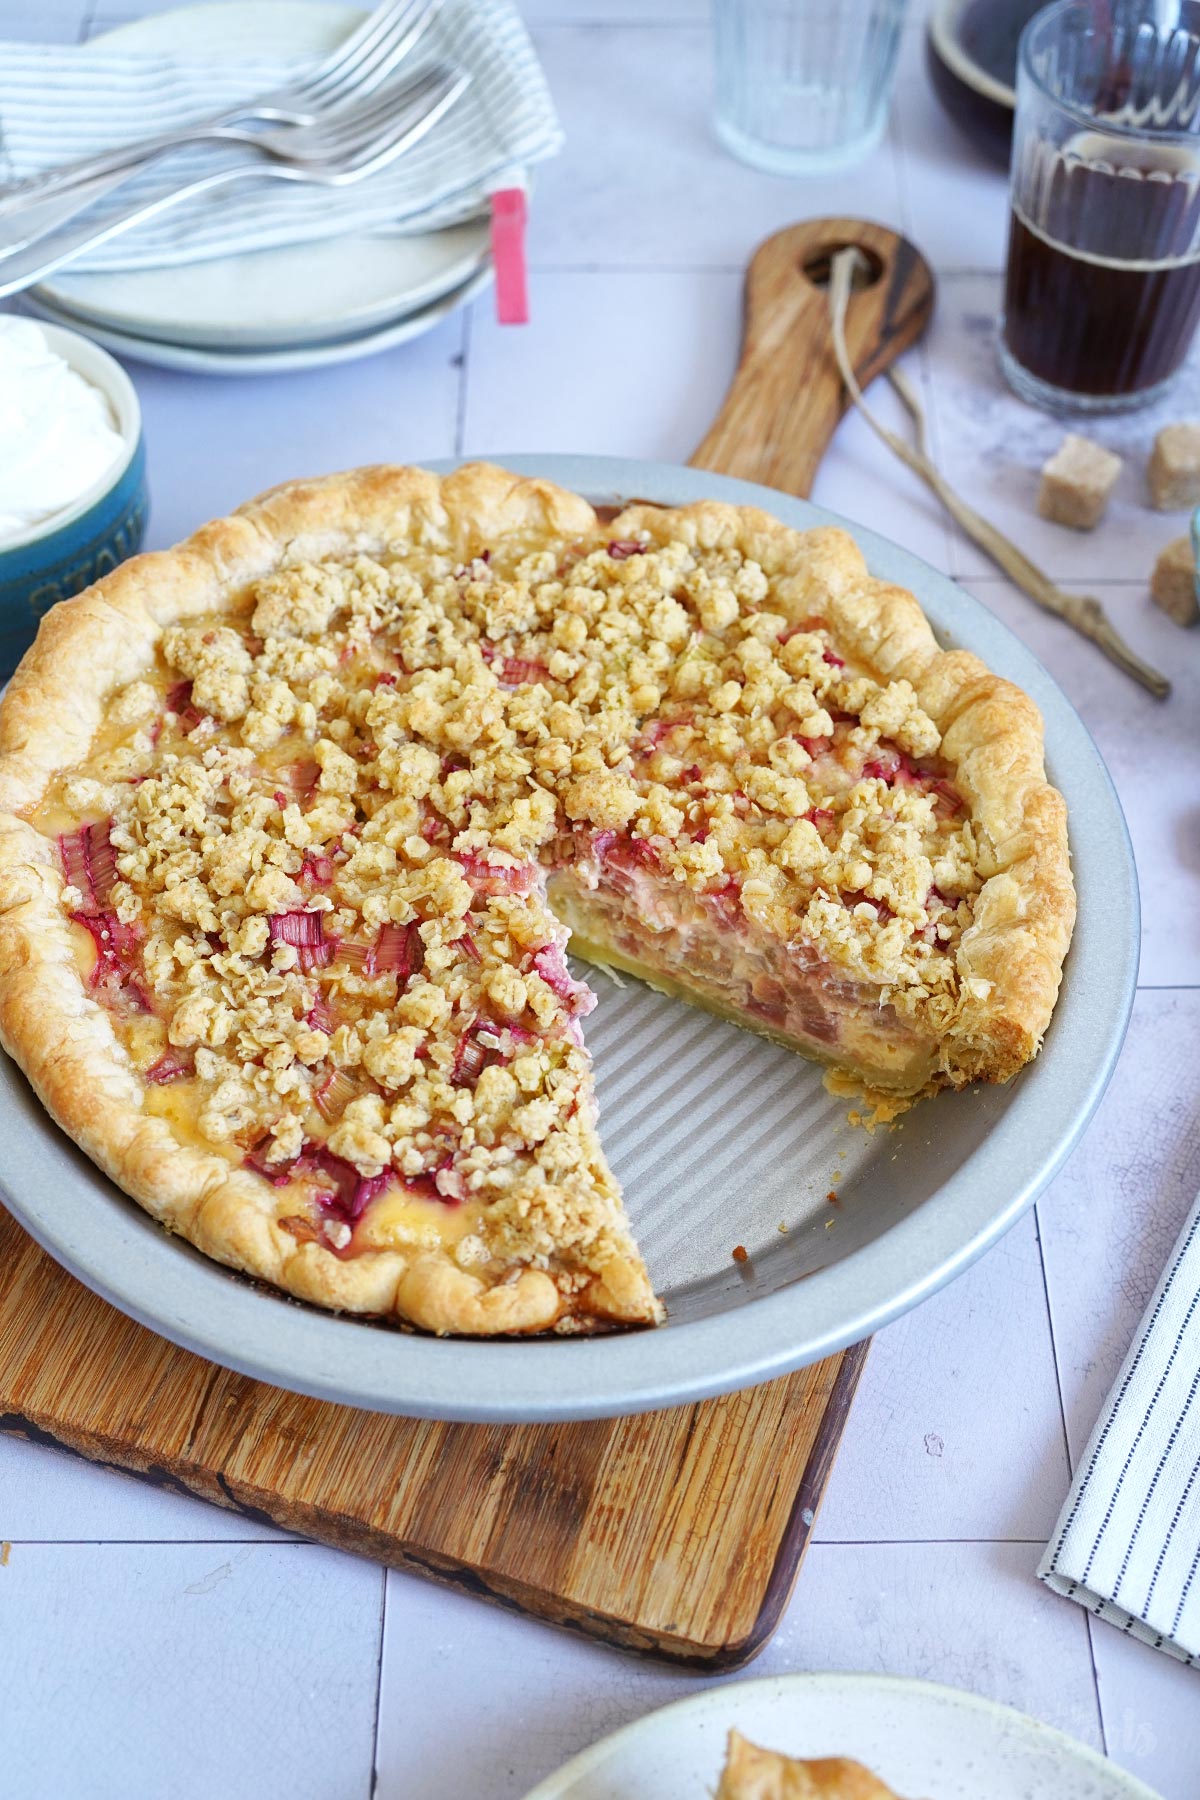
Pies are a staple of British and American cuisine. Here in Germany, of course, you can find similar bakes, but we normally just call those »cakes«, and they are baked in springform tins instead of special pie dishes. What makes a pie dish special are its slightly slanted sides. It’s a bit like a bowl with a big, flat bottom.
Over the years, we’ve tried out quite a few of those pie dishes. All sorts of materials, sizes, etc. because there is quite a selection on the market. For classic pies, like our Rhubarb Streusel Custard Pie, a very simple metal pie dish* works best. It may not look like much on the table when serving the pie, but a pie bakes perfectly in it and comes out of the dish without any trouble. If you bake pies more often, you might want to get one of these or something similar.
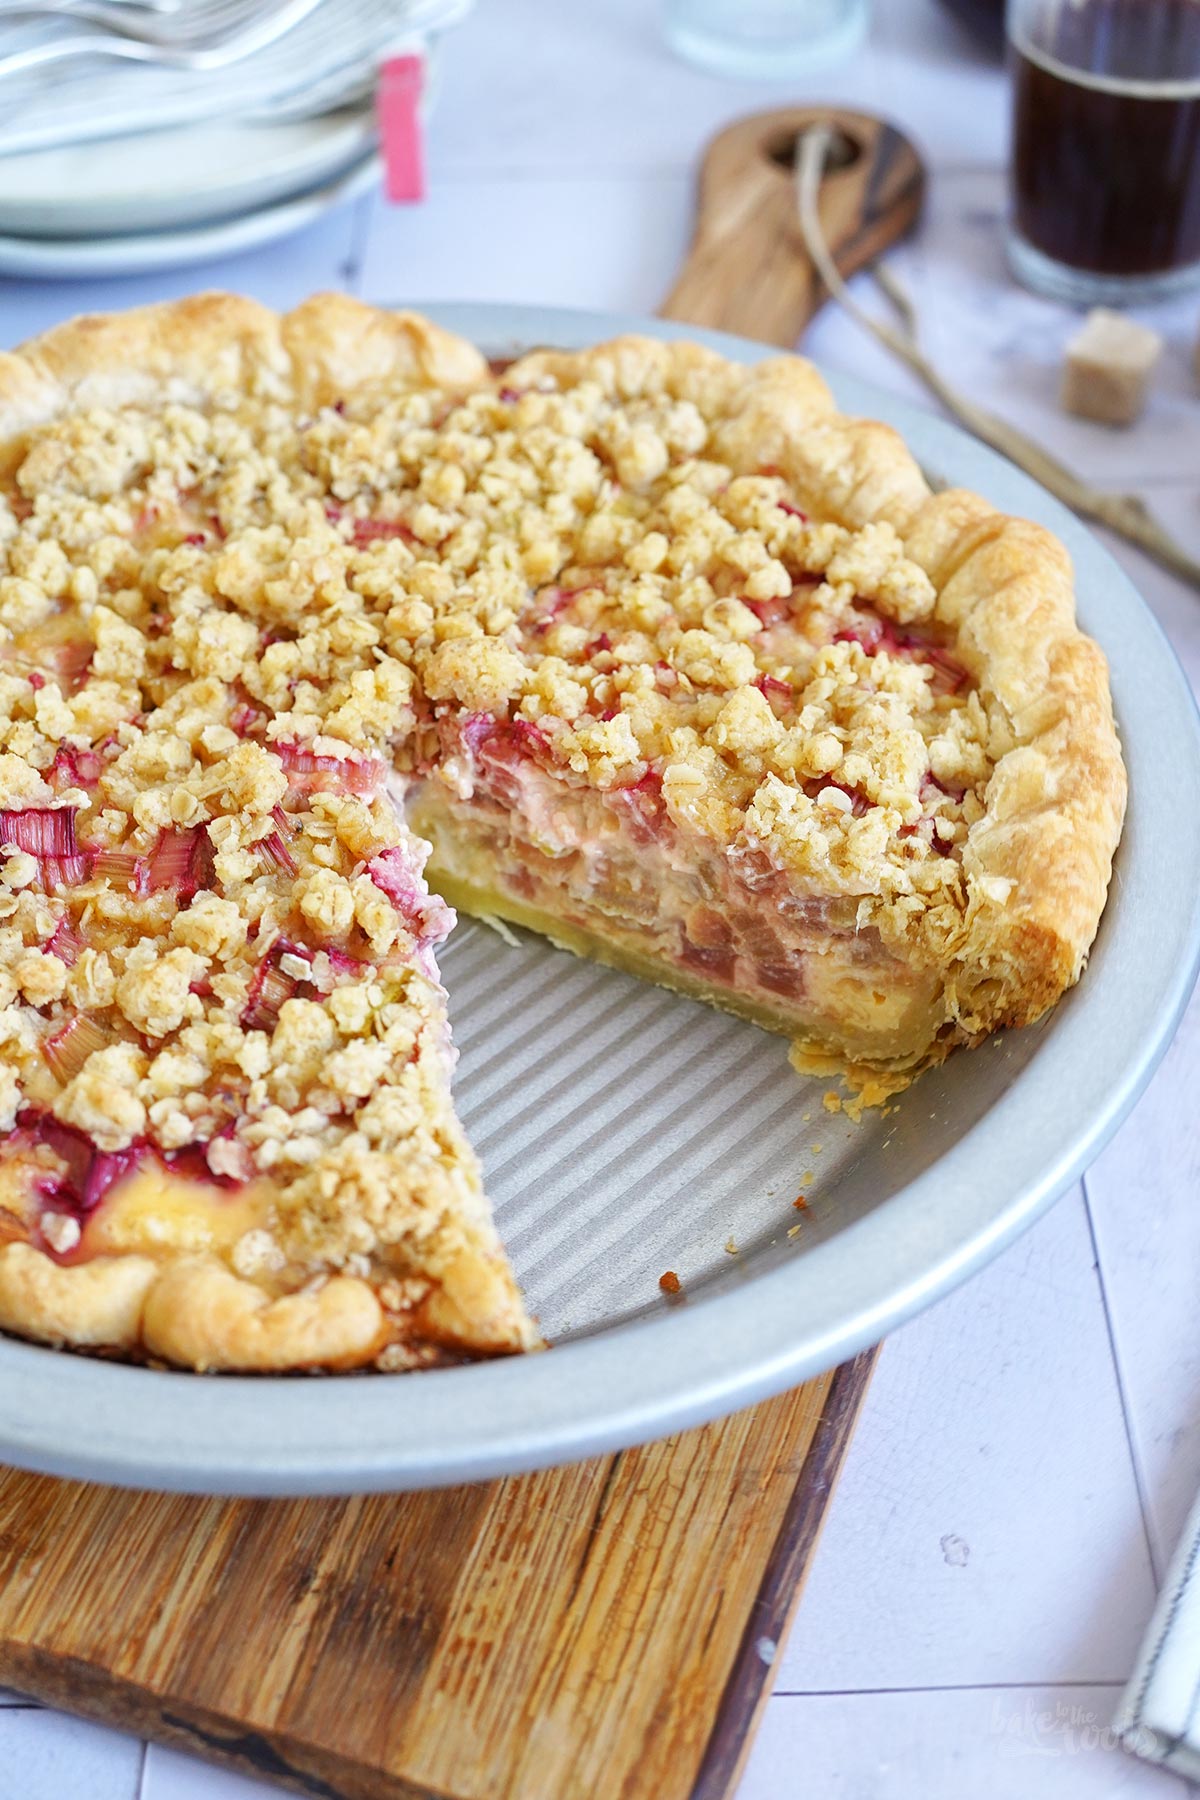
Anyway. What makes pies like this one here special is the crispy, flaky crust it develops during baking. To achieve the perfect texture, the baking dish is important, of course, but not necessarily the deciding factor. It’s much more critical to handle the dough and ingredients correctly. That means first of all using well-chilled ingredients. The butter, in particular, should be nice and cold. And under no circumstances you whould be overworking the dough. The butter should not warm up during the preparation process. Otherwise, it will melt and bind with the other ingredients in the dough. If that happens, fewer air pockets will form during baking, which are what makes the crust crispy and flaky.
For this very reason, many recipes list cold or ice water as an ingredient for a pie dough. This isn’t some silly gimmick that someone came up with to annoy bakers but rather helps keep the butter cool. So if you can spare an ice cube, you should definitely use it to chill the water. The dough will thank you for it.

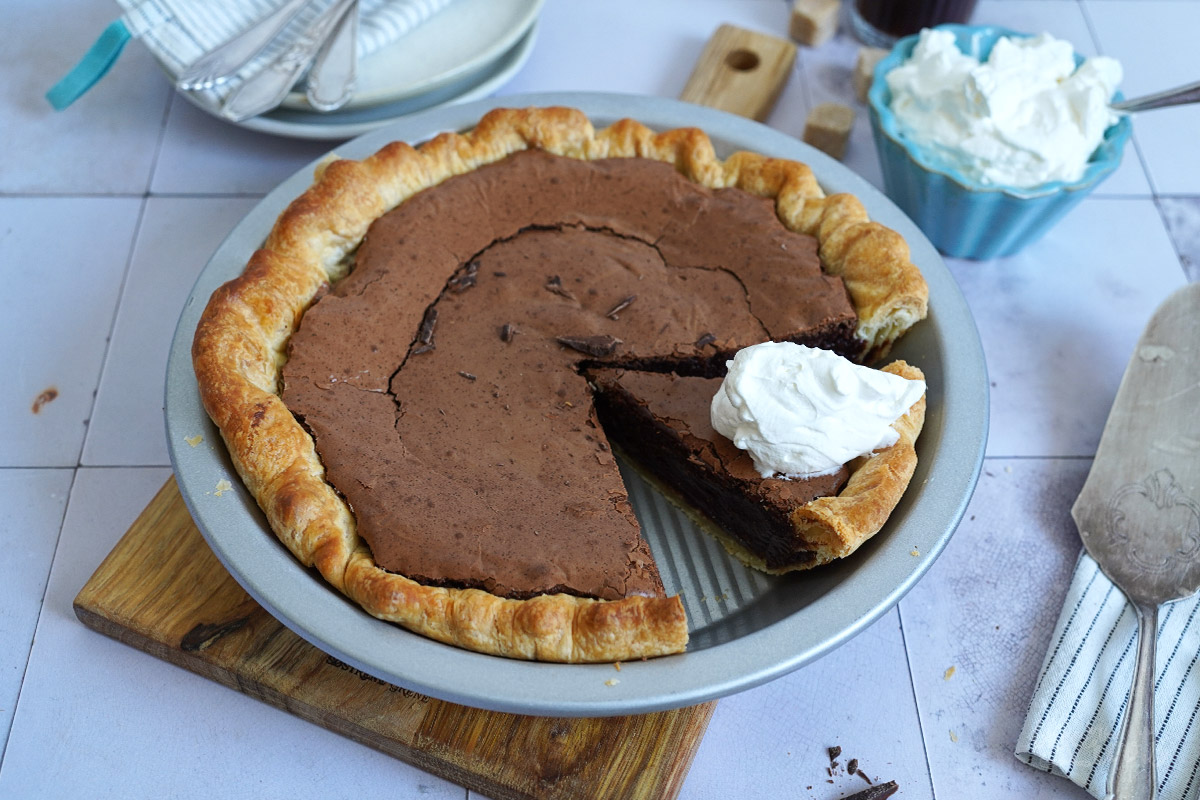
Once you’ve mastered the dough, the filling and crumble topping are relatively simple. The dough we used here can also be used for other pies. For example for our delicious Fudgy Brownie Chocolate Pie. A pie you should certainly also try…
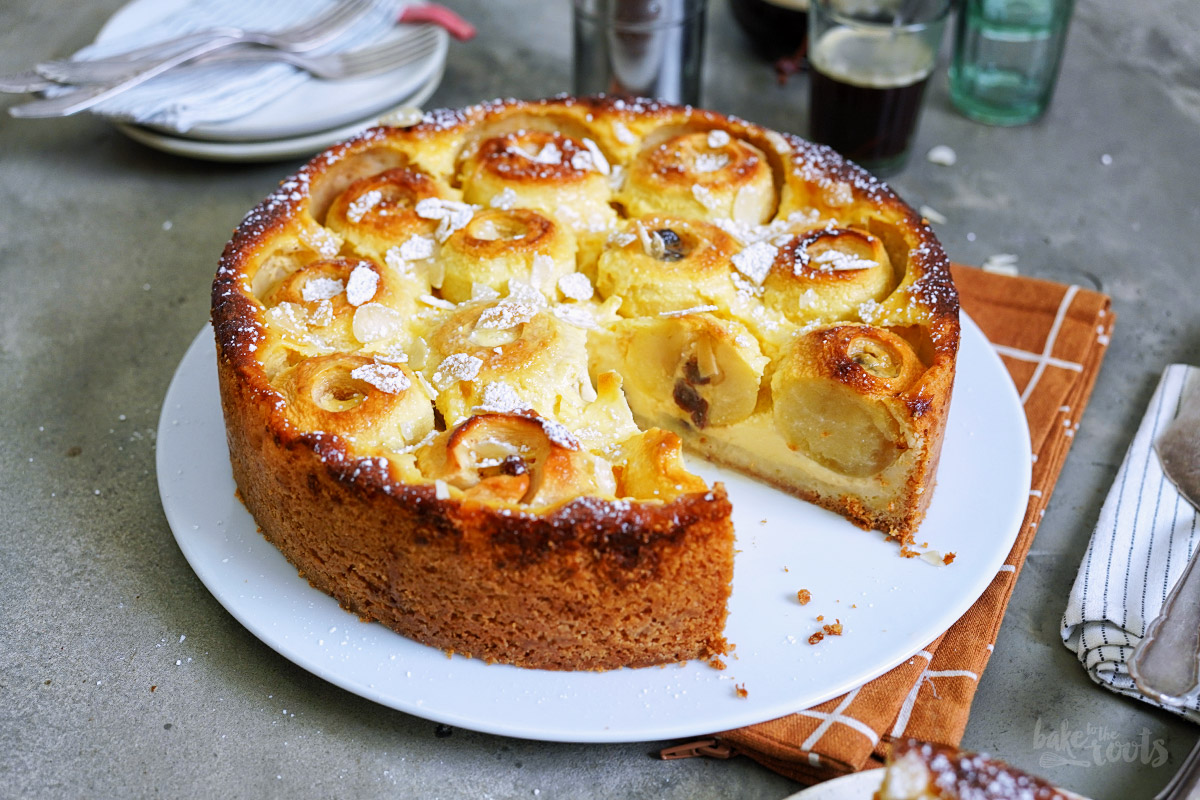
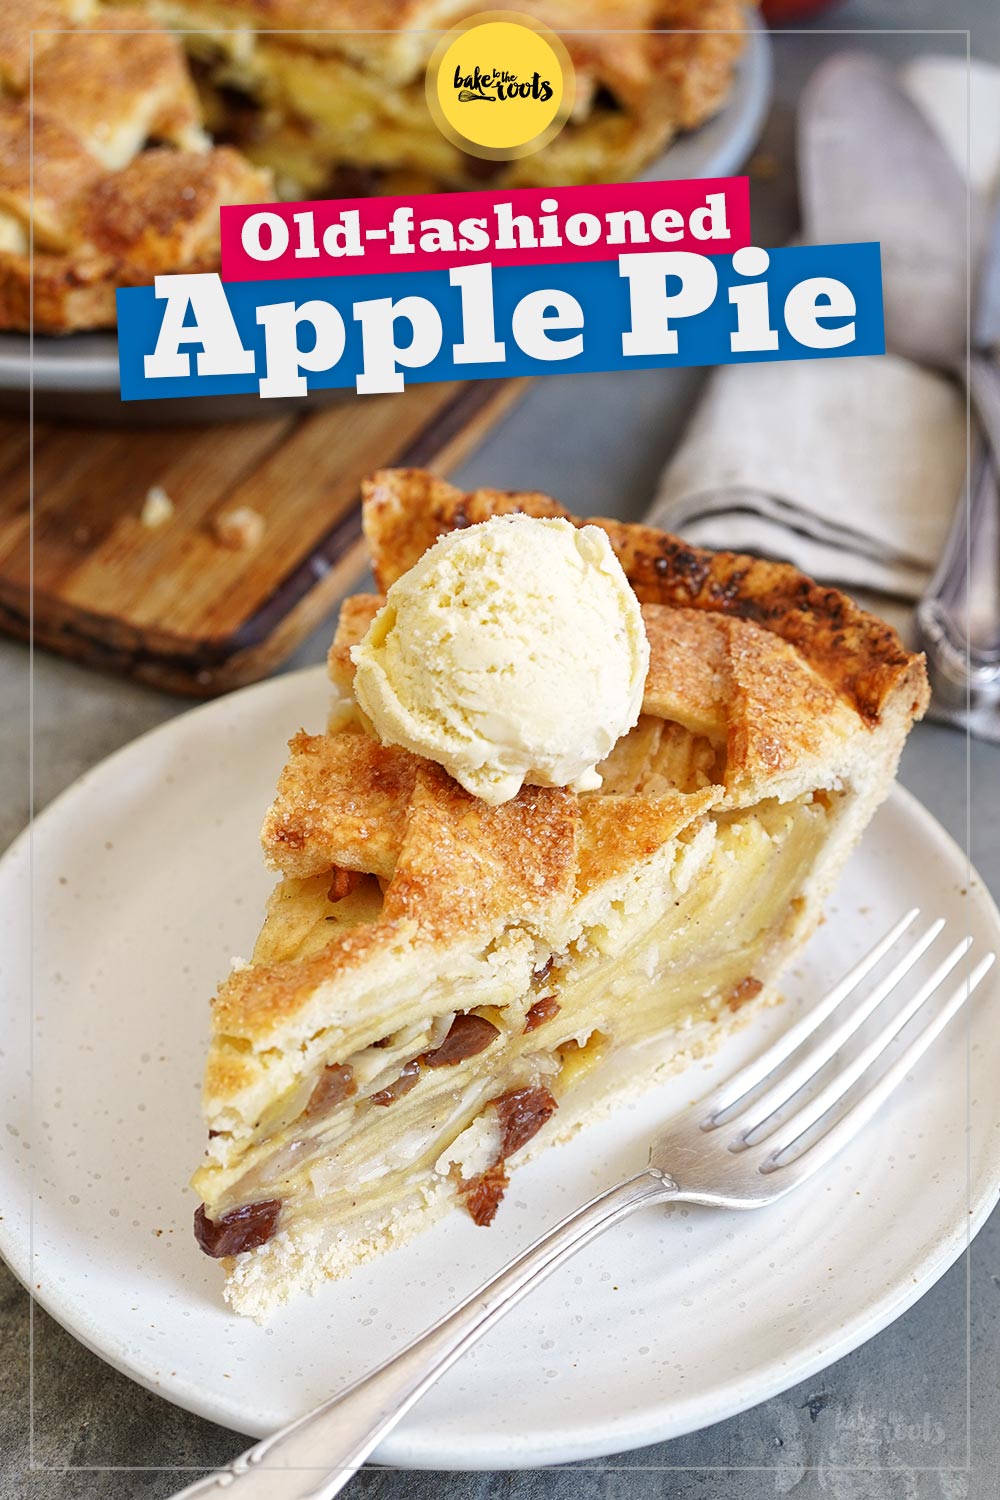
For our Old-Fashioned Apple Pie, we use a slightly modified dough. Since the dough needs to be a bit sturdier for the lattice topping, a (cold) egg is used instead of ice water. This creates a slightly firmer texture, which is important for the lattice.
INGREDIENTS / ZUTATEN
For the pie crust:
7 oz. (200g) all-purpose flour*
1 pinch of Salt
1/2 cup (120g) cold butter, in cubes
about 1/2 cup (120ml) cold water
2 tbsp. (30ml) apple cider vinegar*
For the streusel topping:
1/3 cup (40g) all-purpose flour*
2 tbsp. brown sugar*
1 oz. (30g) butter, melted
2-3 tbsp. old-fashioned rolled oats
For the rhubarb custard filling:
about 15.9 oz. (450g) rhubarb, thinly sliced
4 medium eggs
1/2 cup (100g) sugar (fine)*
1/4 tsp. ground cardamom*
1/4 tsp. salt
5.3 oz. (150g) sour cream, at room temperature
1 tsp. vanilla extract*
Für den Boden:
200g Mehl (Type 405)*
1 Prise Salz
120g kalte Butter, in kleinen Stücken
etwa 120ml kaltes Wasser
2 EL (30ml) Apfelessig*
Für die Streusel:
40g Mehl (Type 405)*
2 EL brauner Zucker*
30g Butter, geschmolzen
2-3 EL Haferflocken
Für die Rhabarberfüllung:
etwa 450g Rhabarber, in Scheiben geschnitten
4 Eier (M)
100g Zucker (fein)*
1/4 TL Kardamom*
1/4 TL Salz
150g Schmand
1 TL Vanille Extrakt*
DIRECTIONS / ZUBEREITUNG
1. Add the flour and salt to a large bowl. Cut the butter into small cubes and toss it in the flour to coat it evenly. Use a pastry blender* or knife and cut the butter into pea-sized pieces. Combine cold water and vinegar (you can cool it further down with some ice cubes). Add about half of the water-vinegar mixture to the bowl and mix it in. Gradually add more while working the dough until it starts sticking together – you might not need all the liquid. The dough should not feel wet. Some dry spots in the dough are fine. Wrap the dough in plastic wrap and place it in the fridge for about one hour.
2. Roll out the dough into a rectangle on a lightly floured surface. Fold the long sides towards the center in thirds, one layer over the other, to create a three-layer package. Repeat this process two more times – roll out to a rectangle and fold it towards the center. After the last round of folding, wrap the dough once more in plastic wrap and let it rest in the fridge for at least two hours or (even better) overnight. The dough can be stored in the fridge for up to 3 days.
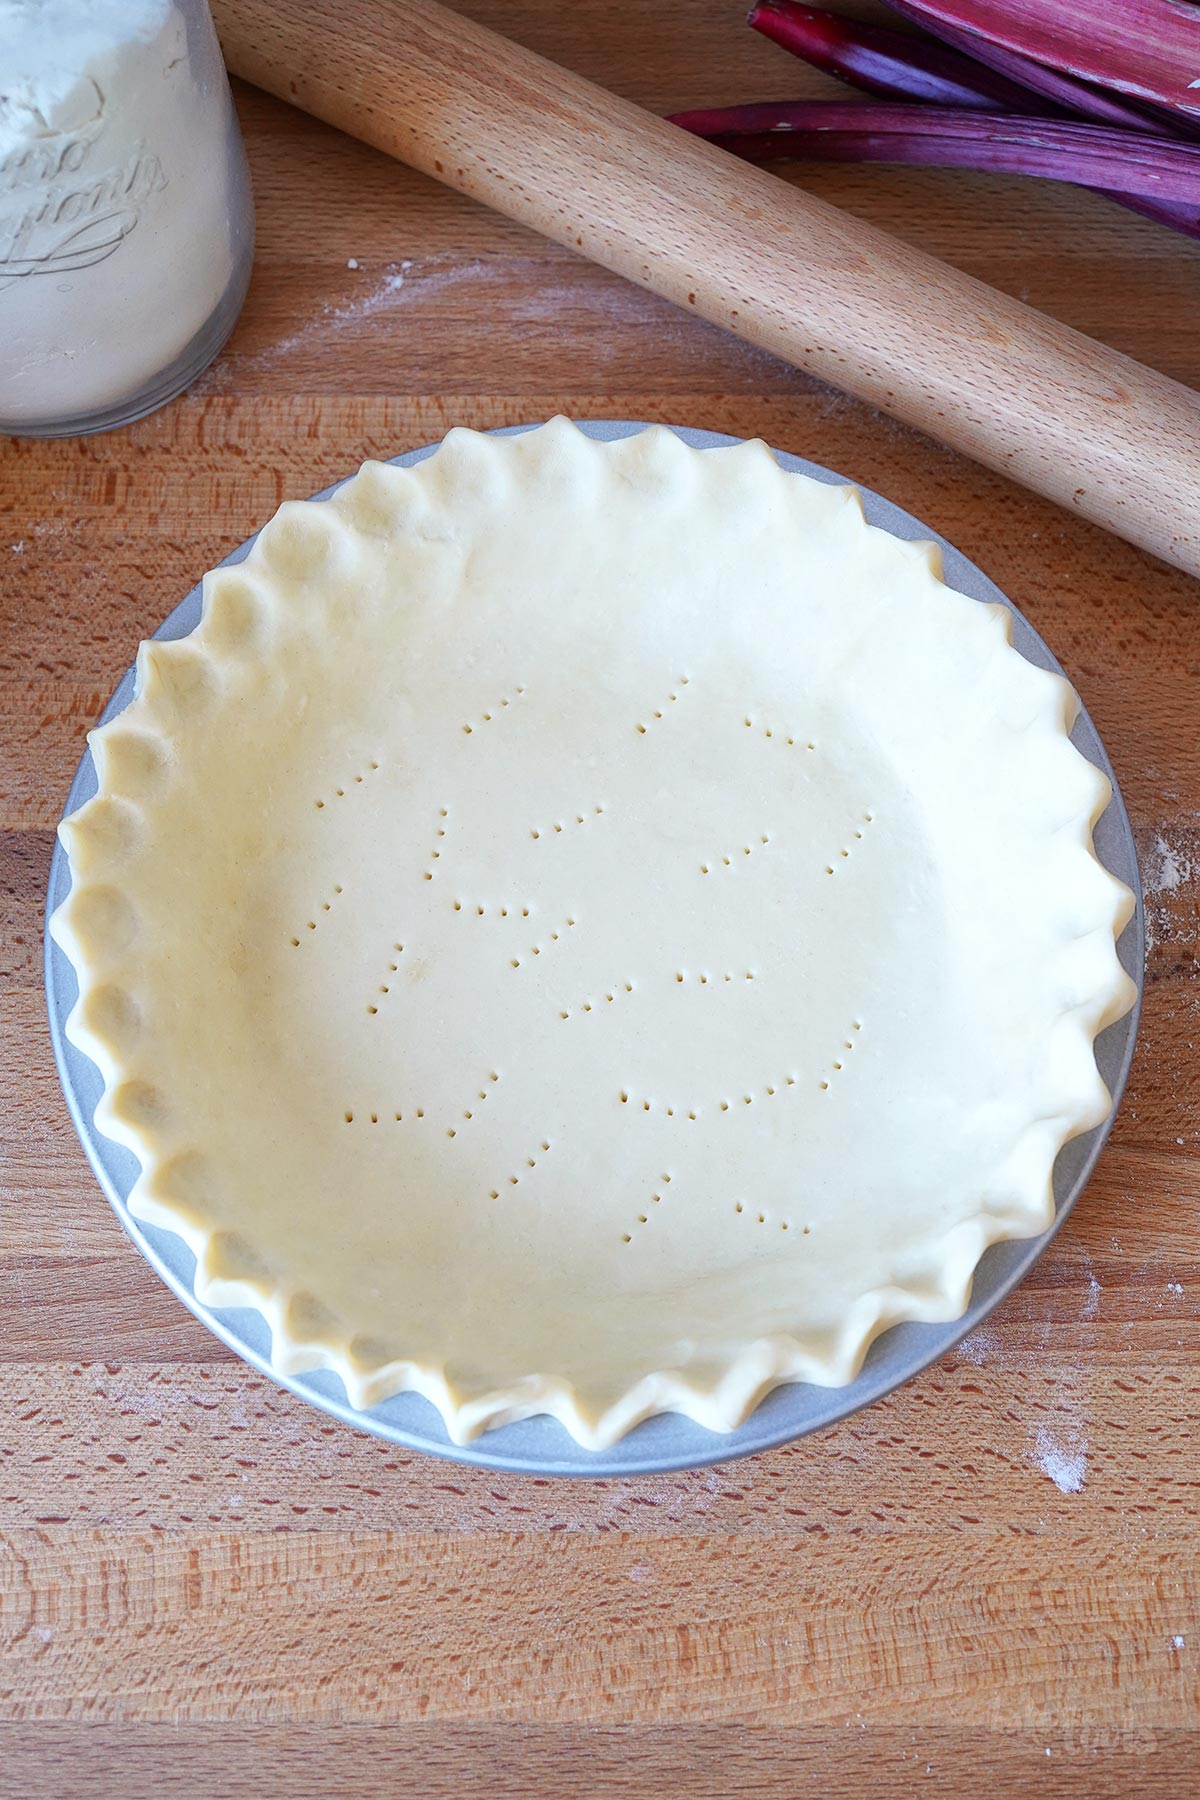
3. Roll out the dough on a floured surface slightly larger than a 9-inch pie dish*. Place the dough inside the pie dish, press it down, tuck in overlapping dough around the edges and crimp to your liking. Prick the bottom several times with a fork. Place the pie dish in the fridge for about 20-30 minutes.
4. While the dough is resting, add the flour, brown sugar, and melted butter for the streusels to a bowl and mix to combine. Mix in the rolled oats, and place the streusels in the fridge until needed.
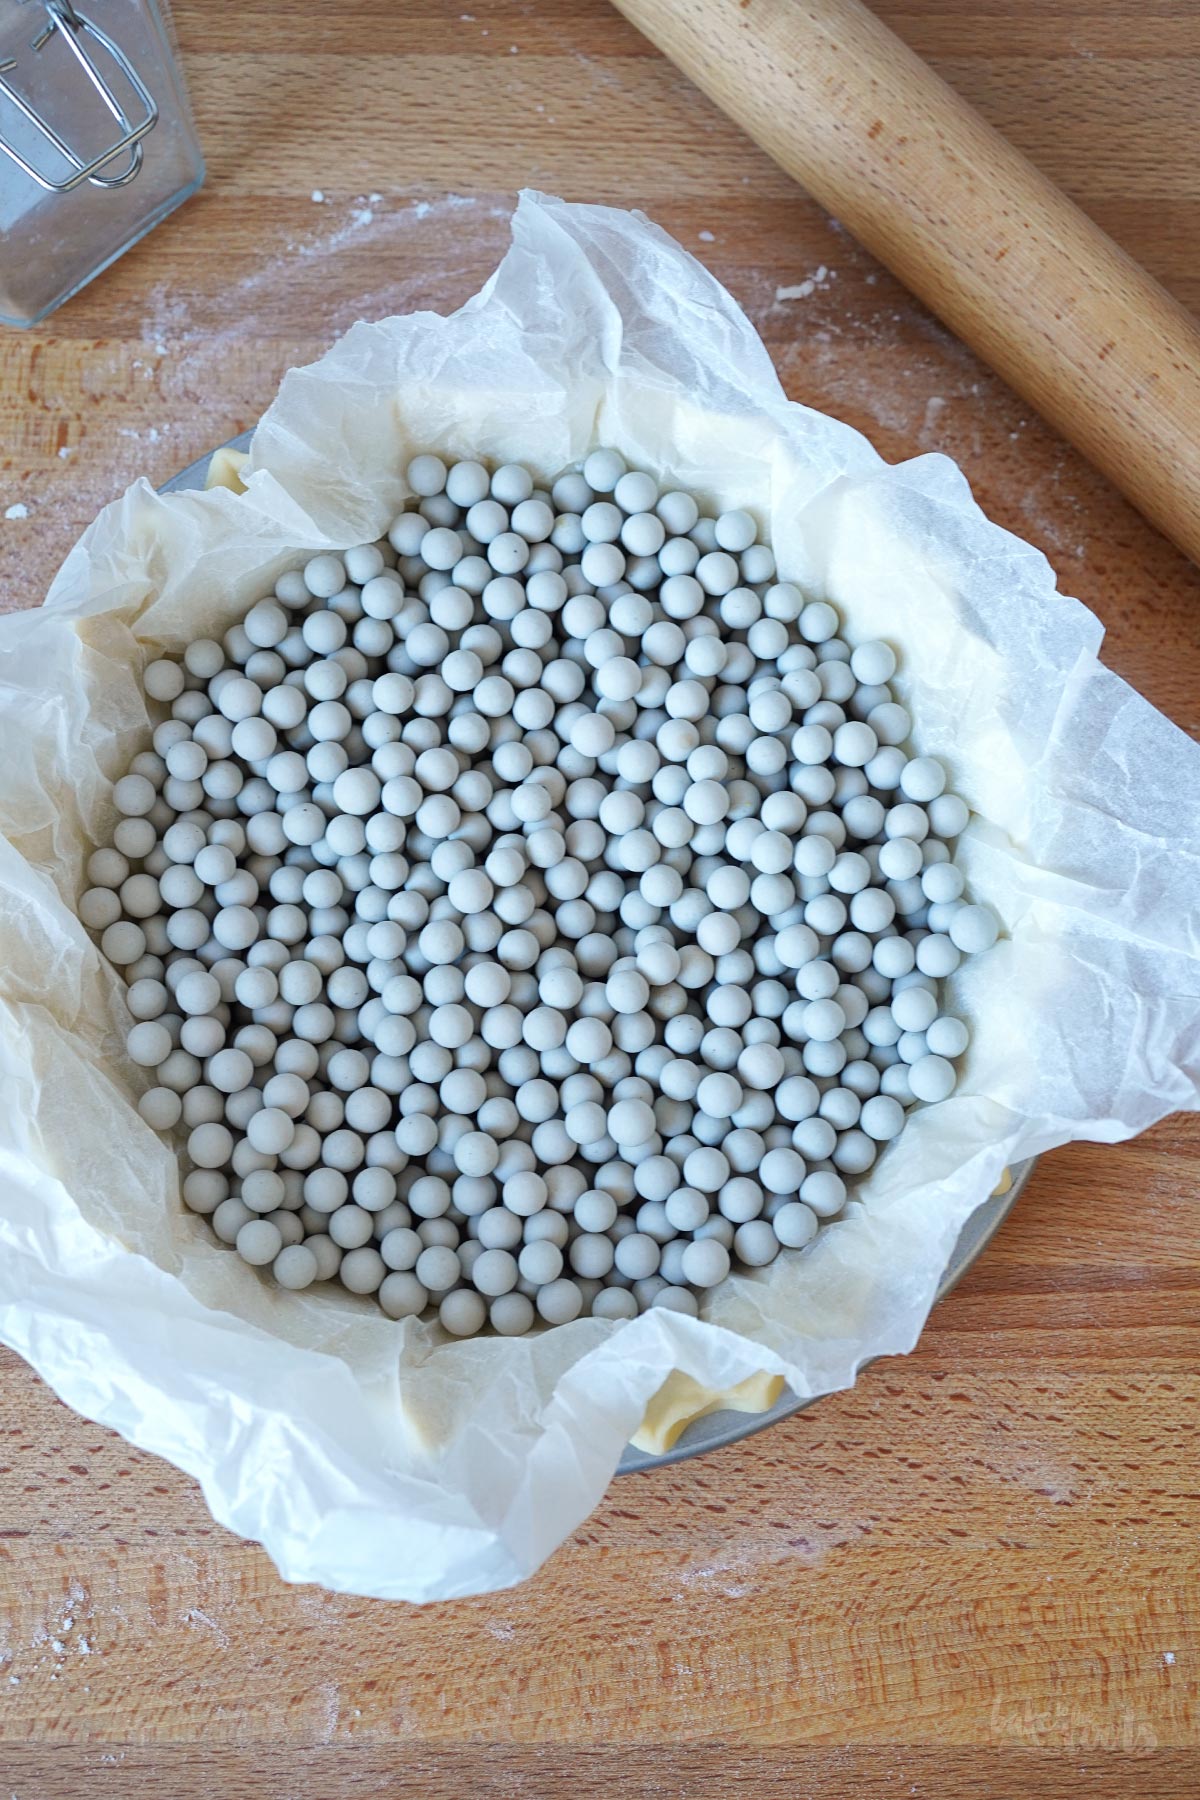
5. Preheat the oven to 220°C (425°F). Place a piece of baking parchment on the dough and fill up with baking beans*. Blind bake the pie crust for about 15-16 minutes, take it out, remove the baking beans and baking parchment and bake another 5-6 minutes until the bottom is slightly golden brown – it should not look wet anymore. Take out of the oven and let cool down completely.
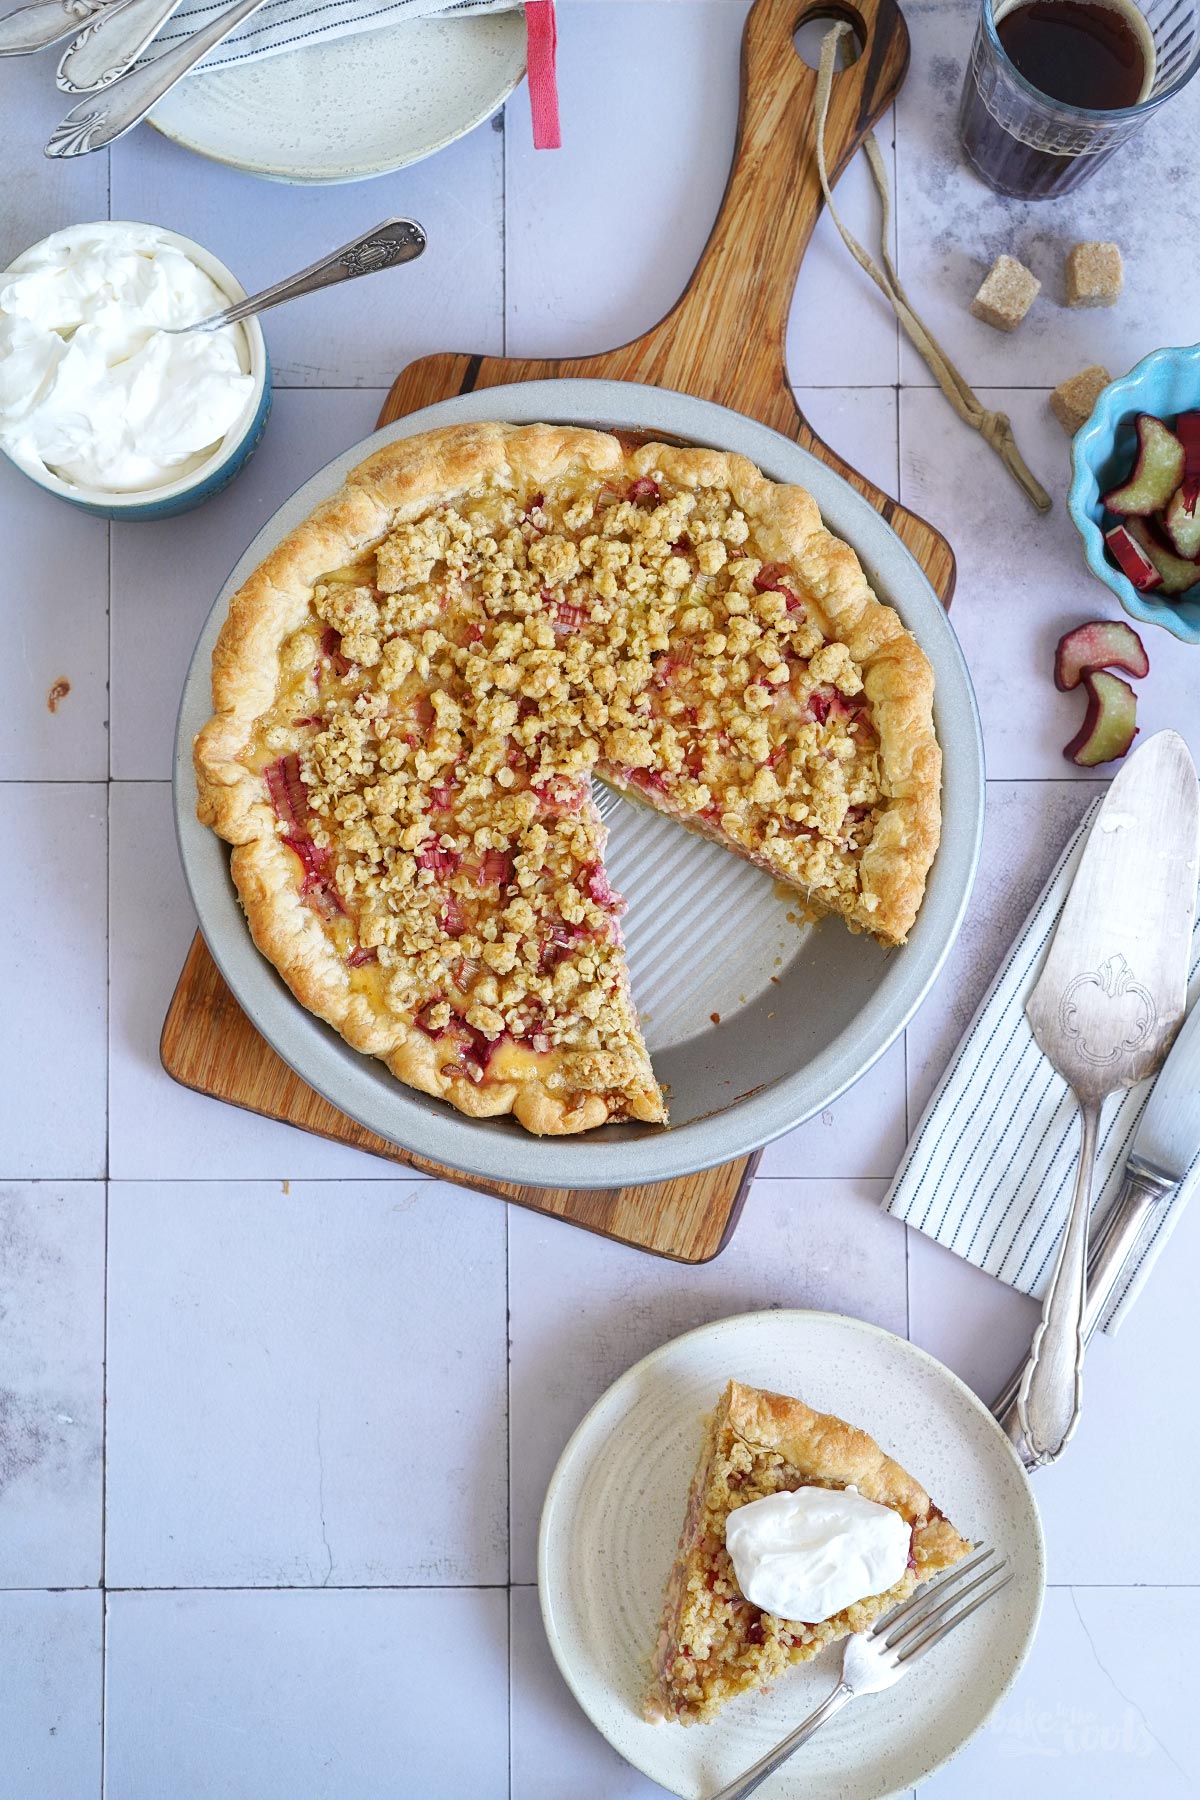
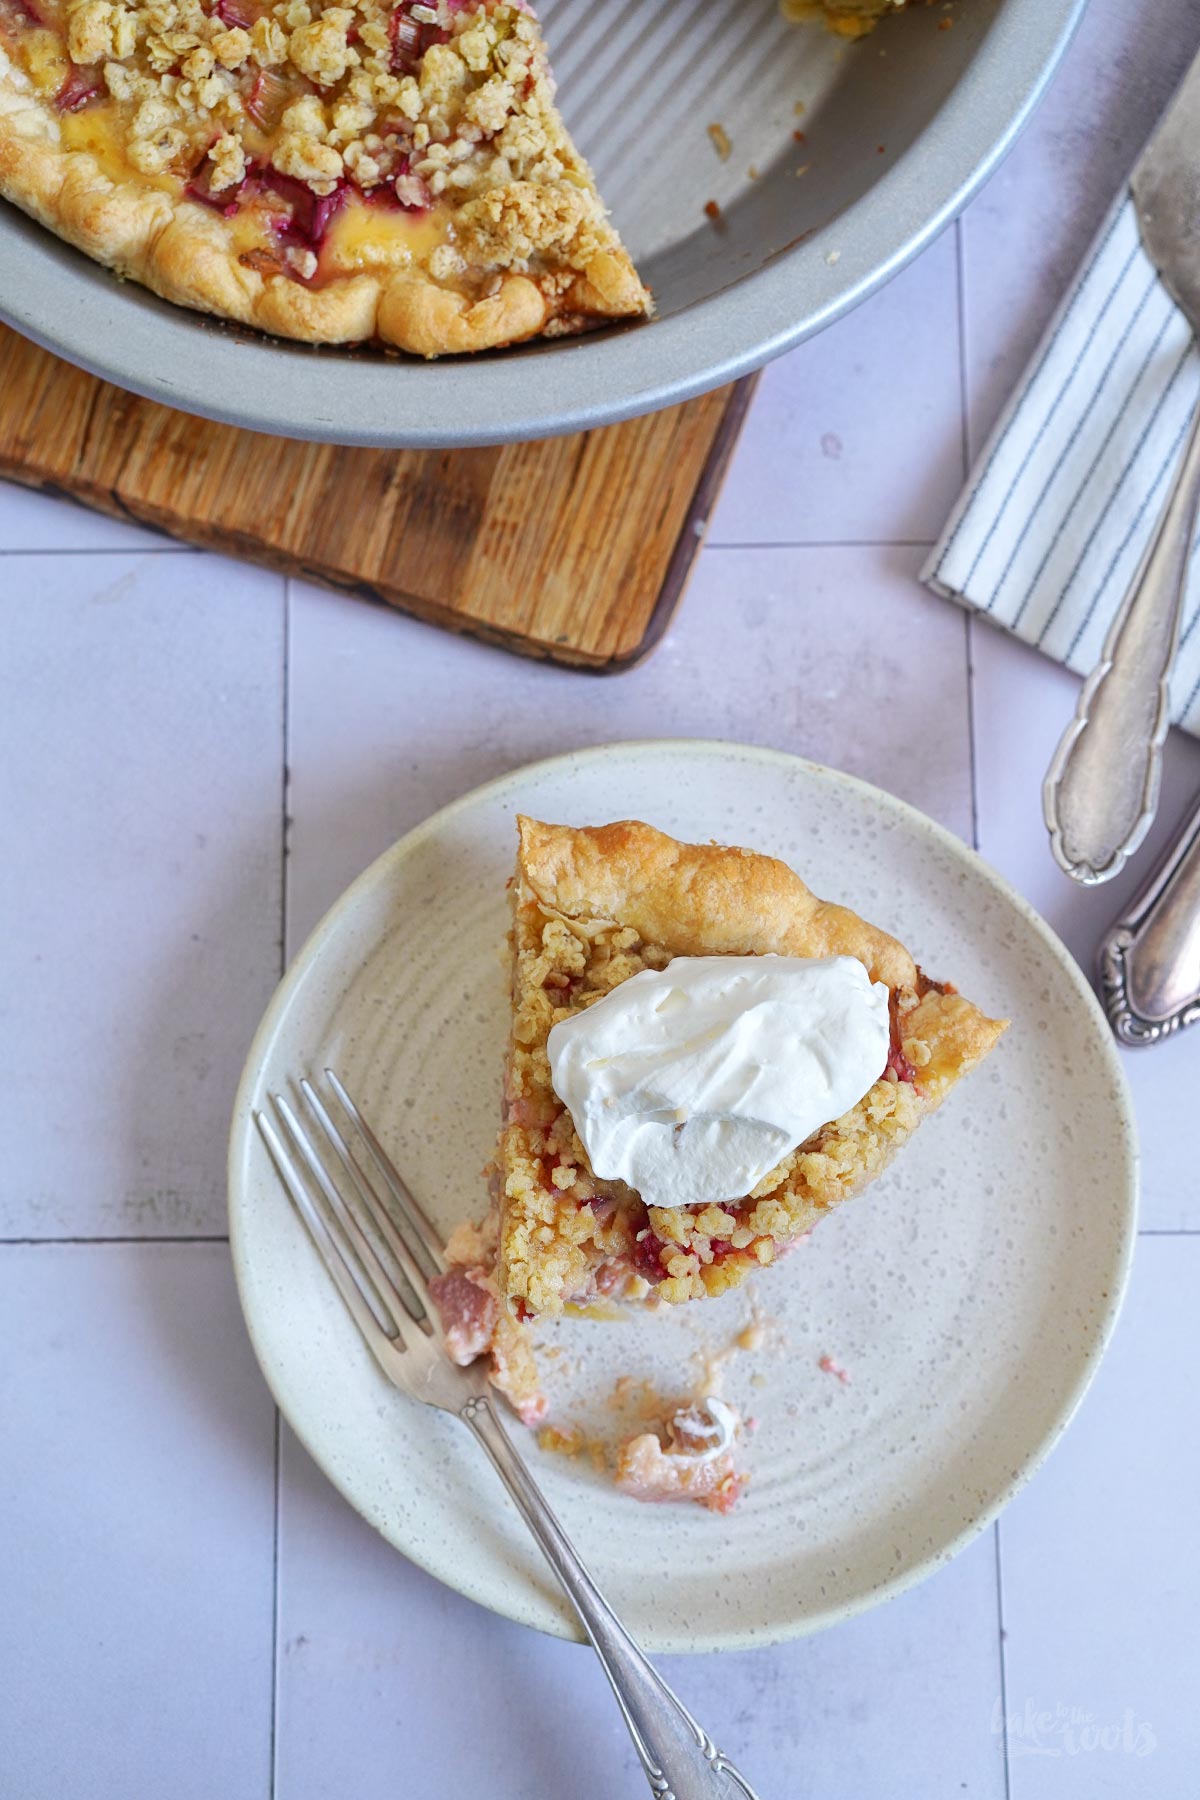
6. Reduce the temperature of the oven to 180°C (350°F). Clean the rhubarb and cut it into thin slices. Add it to the cooled pie crust and distribute evenly. Mix the eggs, sugar, cardamom, salt, sour cream, and vanilla extract in a large bowl until well combined. Pour this mixture over the rhubarb, sprinkle the streusels on top, and bake the pie (at reduced heat) for about 50-55 minutes. Take out of the oven and let cool down completely, then place in the fridge for at least 2-3 hours (or overnight) before serving.
1. Mehl und Salz in einer großen Schüssel vermengen. Die Butter in kleinen Stücken dazugeben und kurz im Mehl schwenken. Die Butter dann mit einem Teigmischer* oder einem Messer in erbsengroße Stücke zerteilen. Kaltes Wasser und Essig verrühren (mit einem Eiswürfel kann man die Mischung noch weiter runterkühlen). Etwa die Hälfte der Wasser-Essig-Mischung in die Schüssel dazugeben und untermengen. Nach und nach mehr Flüssigkeit dazugeben und in den Teig einarbeiten, bis die Mischung anfängt zusammenzuhalten – man braucht hier eventuell nicht die komplette Flüssigkeitsmenge. Der Teig sollte sich auf keinen Fall nass anfühlen. Einige trockene Stellen hier und da sind in Ordnung. Den Teig in Klarsichtfolie einschlagen und für etwa eine Stunde in den Kühlschrank legen.
2. Den Teig auf einer leicht bemehlten Fläche zu einem Rechteck ausrollen. Die langen Seiten des Rechtecks zu je einem Drittel zur Mitte einschlagen – es entsteht ein kleines Paket mit 3 Teigschichten. Den Vorgang zweimal wiederholen mit Ausrollen und zur Mitte einschlagen. Nach dem letzten Falten den Teig wieder in Klarsichtfolie einschlagen und dann für mindestens 2 Stunden oder (besser) über Nacht in den Kühlschrank legen. Der Teig kann hier bis zu 3 Tage im Kühlschrank aufbewahrt werden.
3. Den Teig auf einer bemehlten Fläche etwas größer als eine 23cm Pieform* ausrollen. Den Teig in die Form legen, am Boden festdrücken, und überlappenden Teig an den Rändern einschlagen. Wer mag, kann den Rand nach Belieben noch bearbeiten/verschönern. Den Boden mehrmals mit einer Gabel einstechen und dann für etwa 20-30 Minuten in den Kühlschrank stellen.
4. Während der Teig ruht, Mehl, Zucker und geschmolzene Butter für die Streusel in eine Schüssel geben und vermengen. Die Haferflocken untermischen und die entstandenen Streusel bis zur Verwendung in den Kühlschrank stellen.
5. Den Ofen auf 220°C (425°F) Ober-/Unterhitze vorheizen. Ein Stück Backpapier auf den Teig legen und mit Backbohnen* auffüllen. Den Boden des Pies für etwa 15-16 Minuten blind backen, dann Backpapier und Backbohnen entfernen und noch einmal 5-6 Minuten backen, bis der Boden leicht goldbraun ist. Der Boden sollte nicht mehr feucht aussehen. Aus dem Ofen nehmen und vollständig auskühlen lassen.
6. Die Temperatur des Ofens auf 180°C (350°F) reduzieren. Den Rhabarber säubern, in dünne Scheiben schneiden und auf dem abgekühlten Pie-Boden verteilen. Eier, Zucker, Kardamom, Salz, Schmand und Vanille Extrakt in einer großen Schüssel verrühren. Diese Mischung über den Rhabarber gießen, die Streusel darauf verteilen und den Pie (bei reduzierter Temperatur) für etwa 50-55 Minuten backen. Aus dem Ofen holen und vollständig abkühlen lassen, dann vor dem Servieren mindestens 2 Stunden in den Kühlschrank stellen.
Craving more? Keep in touch on Facebook, Instagram and Pinterest for new post updates and more. You can also contact me with any questions or inquiries!
Here is a version of the recipe you can print easily.
Print
Rhubarb Streusel Custard Pie
- Prep Time: 00:50
- Cook Time: 01:15
- Total Time: 10:00
- Yield: 1 1x
- Category: Pies
- Method: -
- Cuisine: United States
- Diet: Vegetarian
Description
This delicious Rhubarb Streusel Custard Pie is the best option to celebrate spring and the start of rhubarb season. A family favorite!
Ingredients
For the pie crust:
7 oz. (200g) all-purpose flour*
1 pinch of Salt
1/2 cup (120g) cold butter, in cubes
about 1/2 cup (120ml) cold water
2 tbsp. (30ml) apple cider vinegar*
For the streusel topping:
1/3 cup (40g) all-purpose flour*
2 tbsp. brown sugar*
1 oz. (30g) butter, melted
2-3 tbsp. old-fashioned rolled oats
For the rhubarb custard filling:
about 15.9 oz. (450g) rhubarb, thinly sliced
4 medium eggs
1/2 cup (100g) sugar (fine)*
1/4 tsp. ground cardamom*
1/4 tsp. salt
5.3 oz. (150g) sour cream, at room temperature
1 tsp. vanilla extract*
Instructions
1. Add the flour and salt to a large bowl. Cut the butter into small cubes and toss it in the flour to coat it evenly. Use a pastry blender* or knife and cut the butter into pea-sized pieces. Combine cold water and vinegar (you can cool it further down with some ice cubes). Add about half of the water-vinegar mixture to the bowl and mix it in. Gradually add more while working the dough until it starts sticking together – you might not need all the liquid. The dough should not feel wet. Some dry spots in the dough are fine. Wrap the dough in plastic wrap and place it in the fridge for about one hour.
2. Roll out the dough into a rectangle on a lightly floured surface. Fold the long sides towards the center in thirds, one layer over the other, to create a three-layer package. Repeat this process two more times – roll out to a rectangle and fold it towards the center. After the last round of folding, wrap the dough once more in plastic wrap and let it rest in the fridge for at least two hours or (even better) overnight. The dough can be stored in the fridge for up to 3 days.
3. Roll out the dough on a floured surface slightly larger than a 9-inch pie dish*. Place the dough inside the pie dish, press it down, tuck in overlapping dough around the edges and crimp to your liking. Prick the bottom several times with a fork. Place the pie dish in the fridge for about 20-30 minutes.
4. While the dough is resting, add the flour, brown sugar, and melted butter for the streusels to a bowl and mix to combine. Mix in the rolled oats, and place the streusels in the fridge until needed.
5. Preheat the oven to 220°C (425°F). Place a piece of baking parchment on the dough and fill up with baking beans*. Blind bake the pie crust for about 15-16 minutes, take it out, remove the baking beans and baking parchment and bake another 5-6 minutes until the bottom is slightly golden brown – it should not look wet anymore. Take out of the oven and let cool down completely.
6. Reduce the temperature of the oven to 180°C (350°F). Clean the rhubarb and cut it into thin slices. Add it to the cooled pie crust and distribute evenly. Mix the eggs, sugar, cardamom, salt, sour cream, and vanilla extract in a large bowl until well combined. Pour this mixture over the rhubarb, sprinkle the streusels on top, and bake the pie (at reduced heat) for about 50-55 minutes. Take out of the oven and let cool down completely, then place in the fridge for at least 2-3 hours (or overnight) before serving.
Notes
Make something amazing in the kitchen!
Links marked with an asterisk (*) are affiliate links (advertising/Werbung) to Amazon Germany. If you click on one of those links and buy something via this link, I will get a commission for that sale. The price of whatever you buy is not affected in any way by this.