Fresh Mung bean sprouts are a crunchy, nutrient-rich addition to many dishes. You can find them in many supermarkets, but when you grow them at home, they are cheaper and fresher than anything you can buy in a store. We’ve written a short guide on how to grow them at home, super easy and without much effort. Everything you need to know from choosing the right beans to harvesting and the proper storage of the small sprouts.
We have a sprouting jar* for many years already and regularly grow various microgreens for salads, sandwiches, etc. The small plant seedlings are healthy and add some additional flavors wherever you use them. You can find seeds of kohlrabi, radishes, broccoli, etc. in stores (often in well-stocked organic markets) or online, all of which are ideal for cultivating microgreens at home.
Why should you grow your own mung bean sprouts?
- They are fresher and cheaper than store-bought sprouts
- No pesticides or preservatives
- Rich in protein, fiber, vitamins A, B, C, E, and K
- Ready to harvest in 3-4 days
- Little space or equipment needed
We started growing mung bean sprouts at home only recently. Sometimes we wonder why – growing these small sprouts (similar to microgreens) is very easy and straightforward. The only difference when cultivating bean sprouts compared to other seeds is the fact that you have to let them grow in the dark. As soon as the germinated seeds are exposed to light, leaves develop. With microgreens, as the name (greens) suggests, this is something you want – with mung bean sprouts you don’t want this to happen.
If you want to work professionally, you can get a sprouting jar with a textile cover*. It’s basically the same as a sprouting jar for microgreens, except it has a cover that prevents light from entering the jar when the seeds are germinating. If you plan to do this more often, you can’t go wrong with purchasing one of those. They do a good job and are easy to clean. For those who only want to grow a few sprouts now and then, there’s a simple and much cheaper solution…
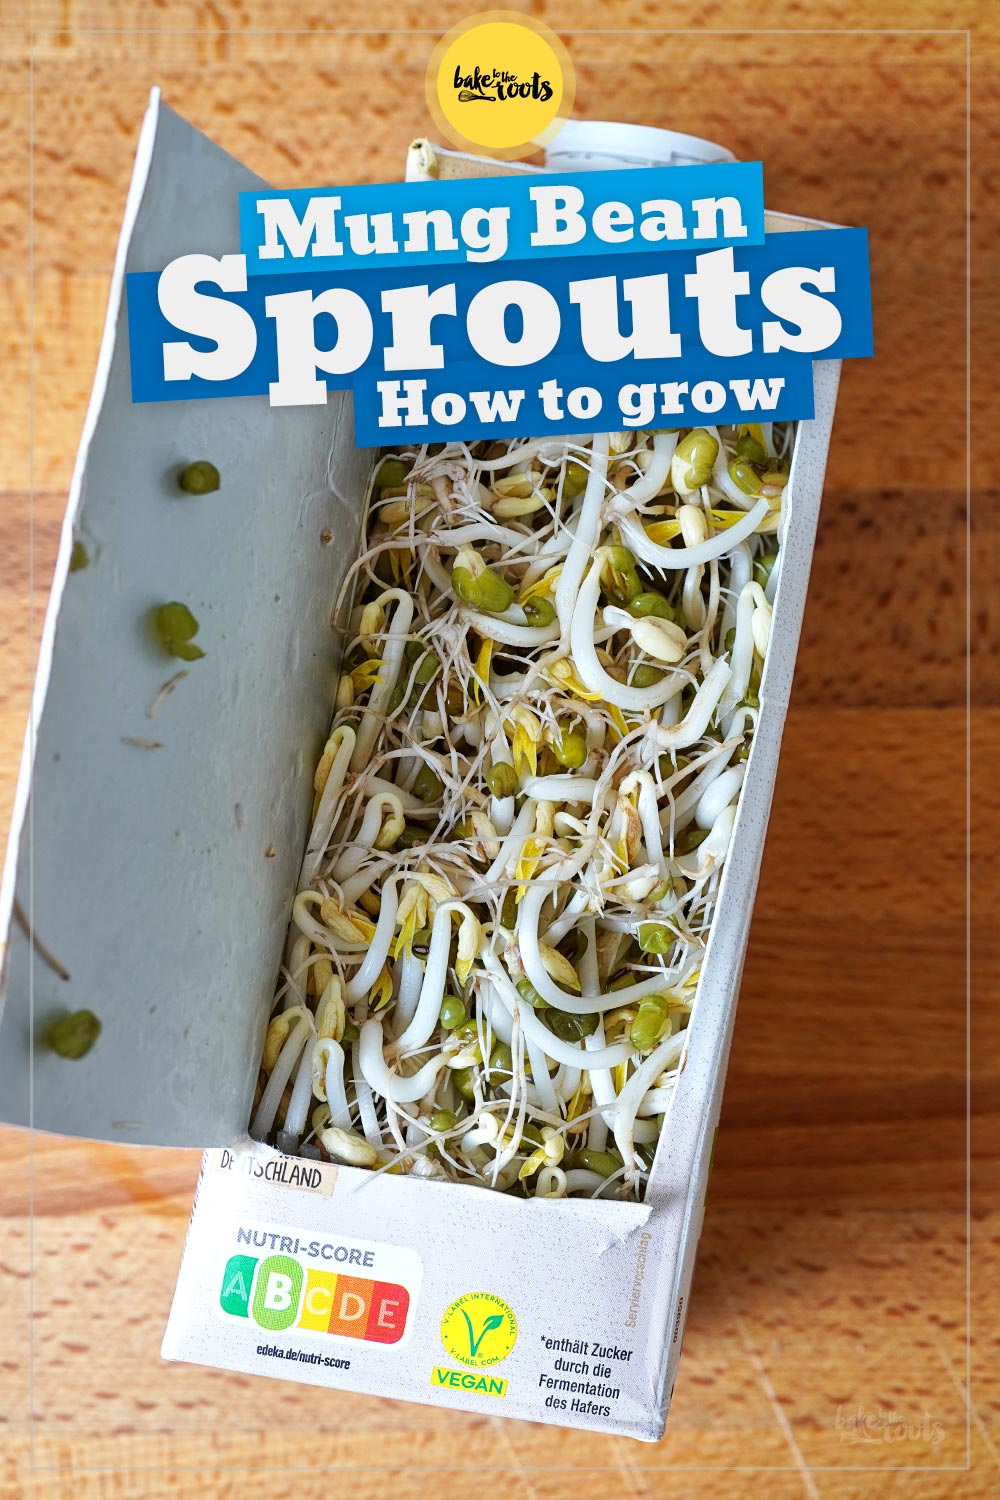
Mung beans are so-called »dark germinators«. They need the absence of light to germinate properly. If too much light hits the seedlings, they discolor and become bitter. In the garden, you would simply sprinkle soil over the seeds and let them do their job. This would be suboptimal for sprouts you want to use for cooking. Nobody wants to eat dirty sprouts. For this reason, in the kitchen, you simply use a container that can block out light… No need for fancy equipment, though – a good old milk carton does the job perfectly!
It’s that easy: Homegrown mung bean sprouts in 6 easy steps
Step 1: Get the right beans!
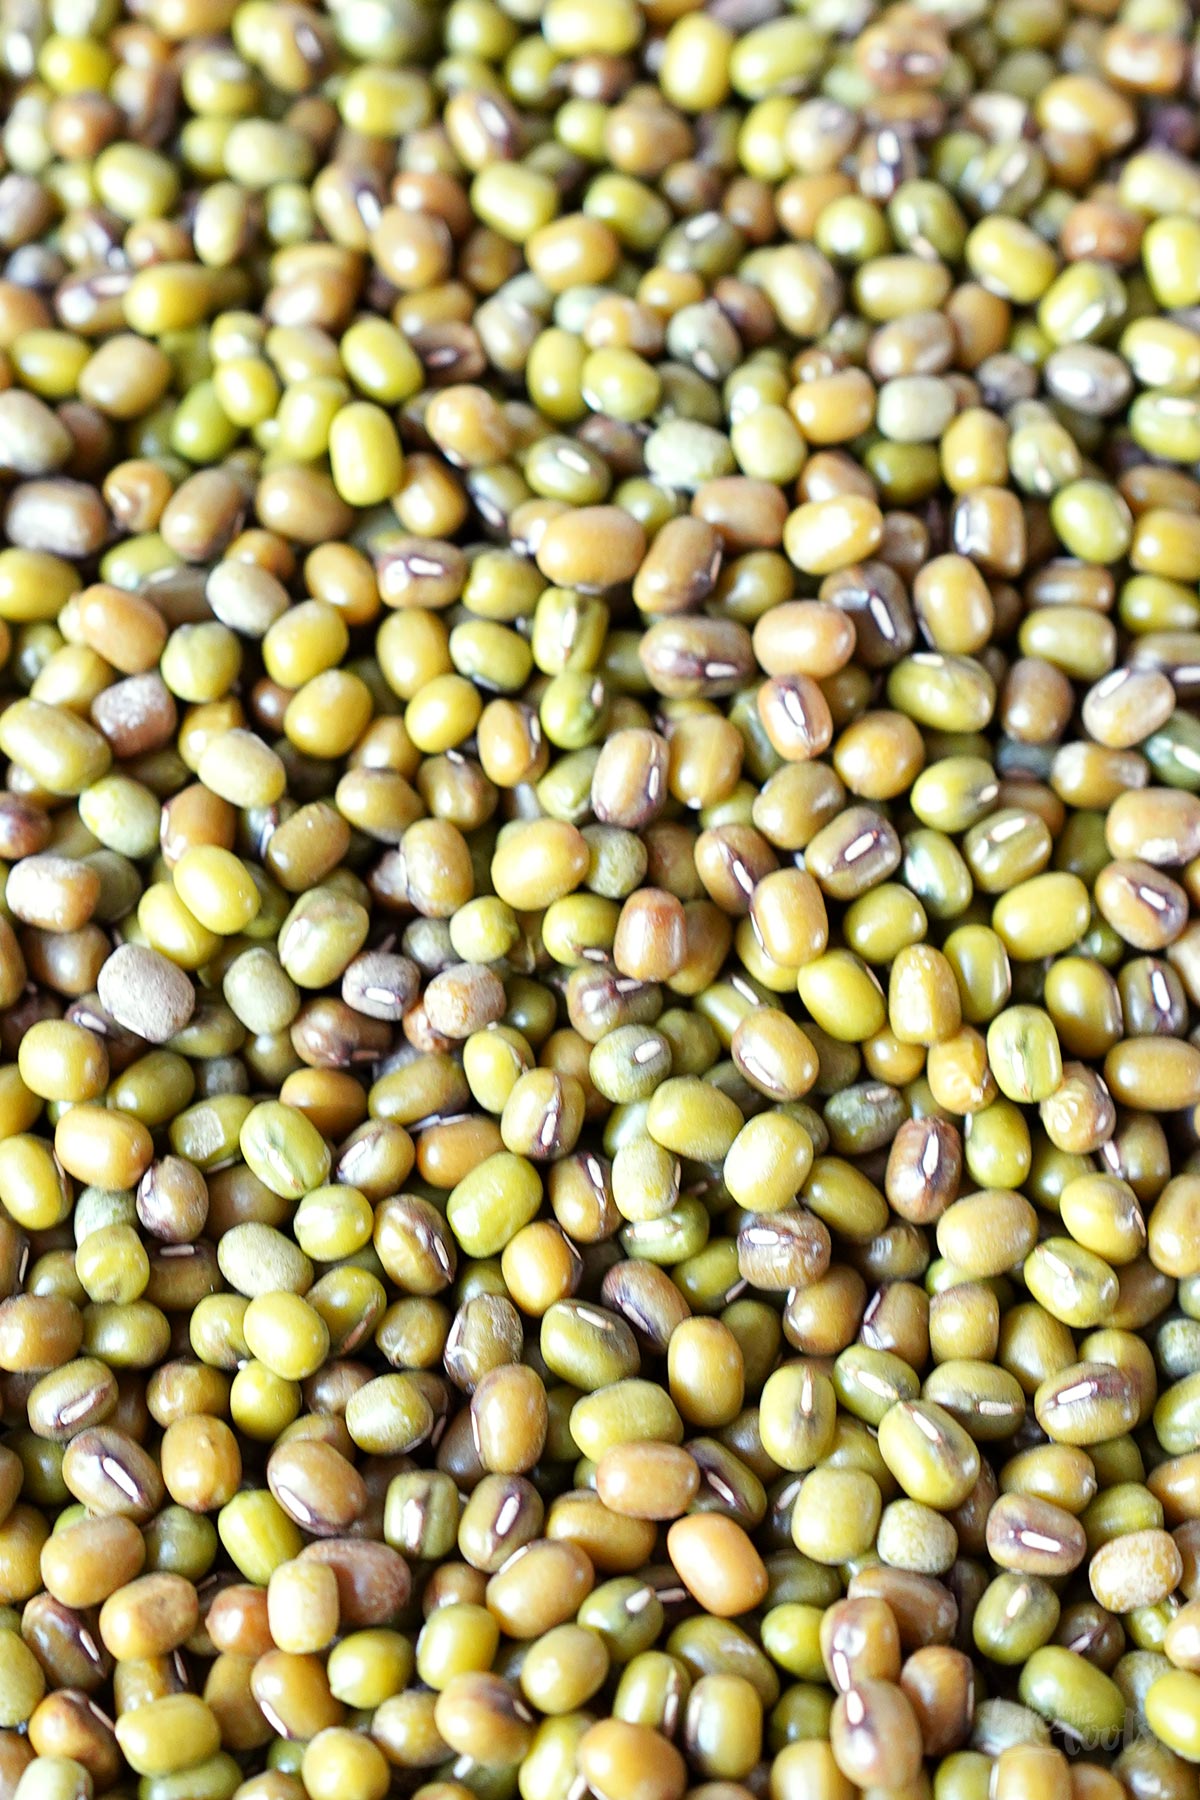
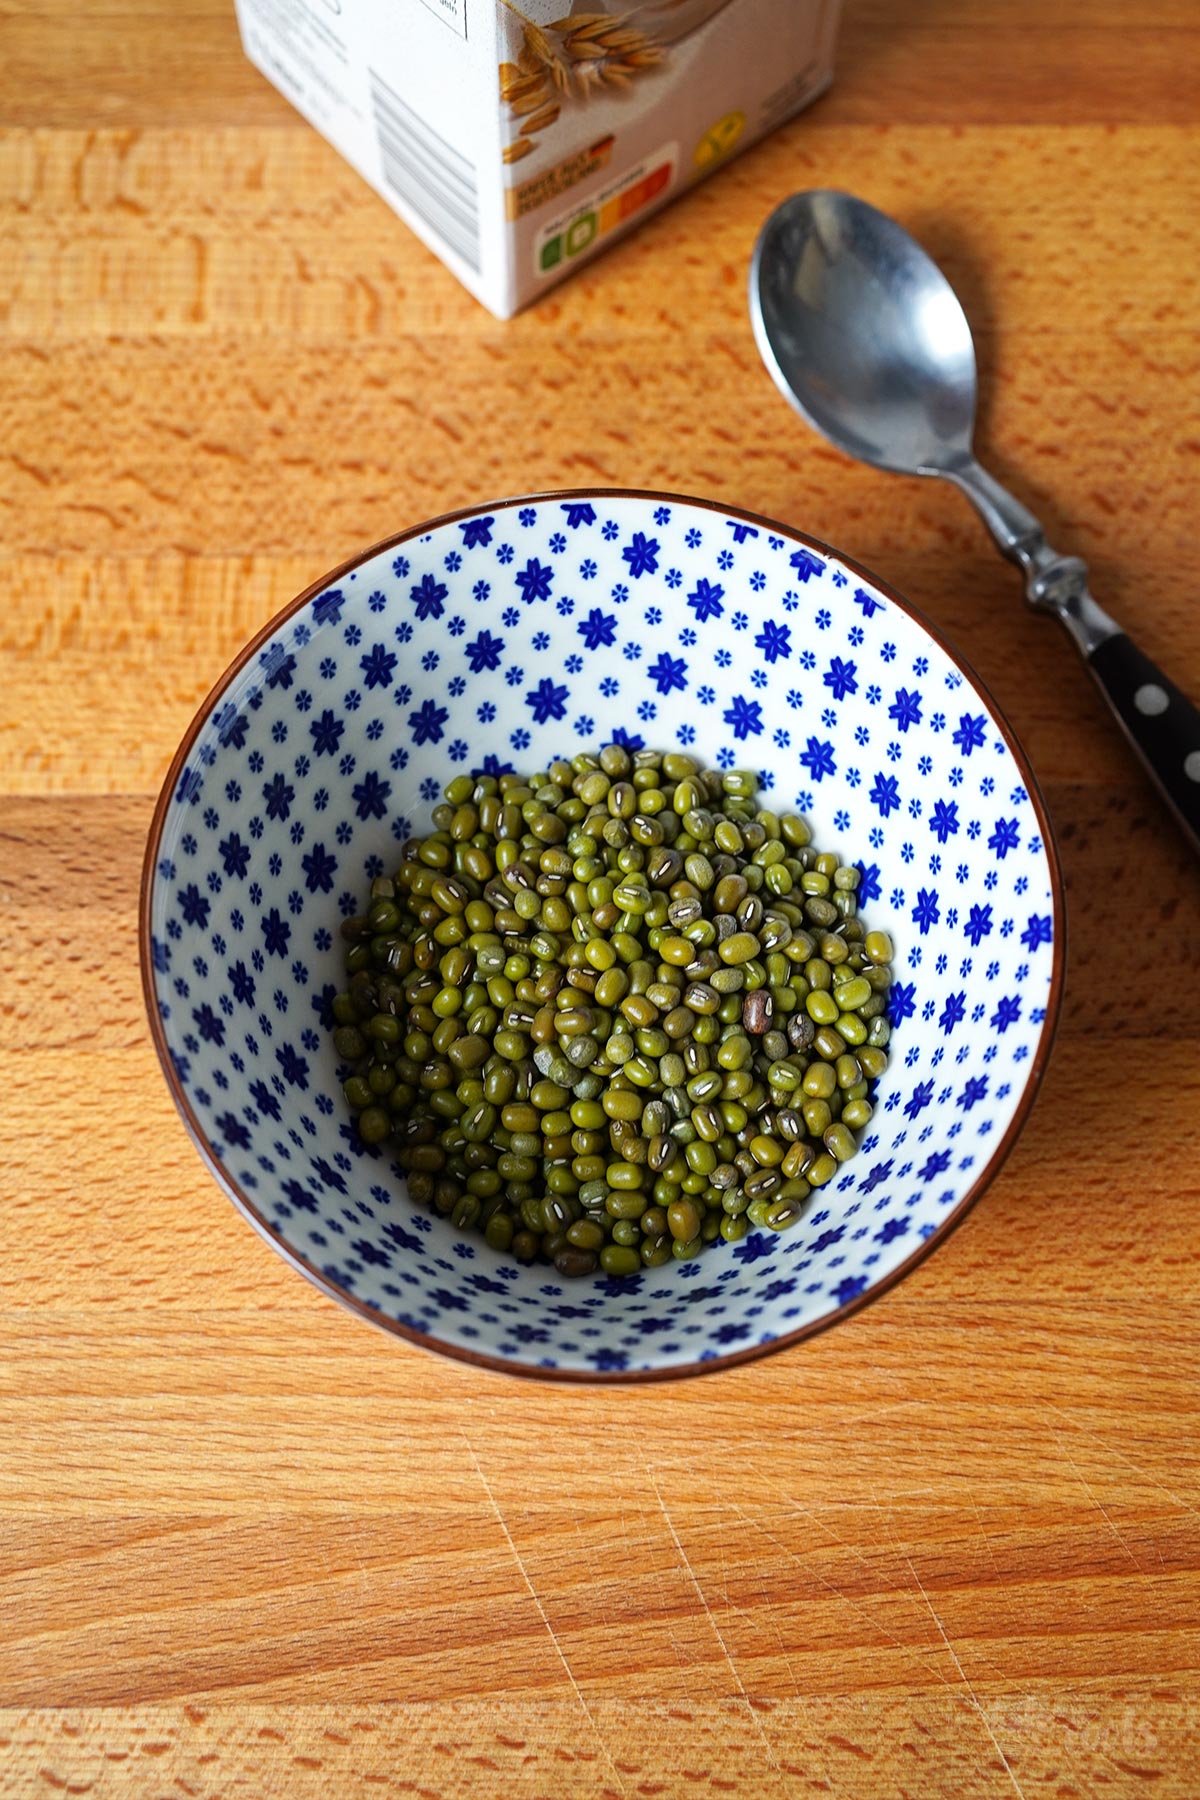
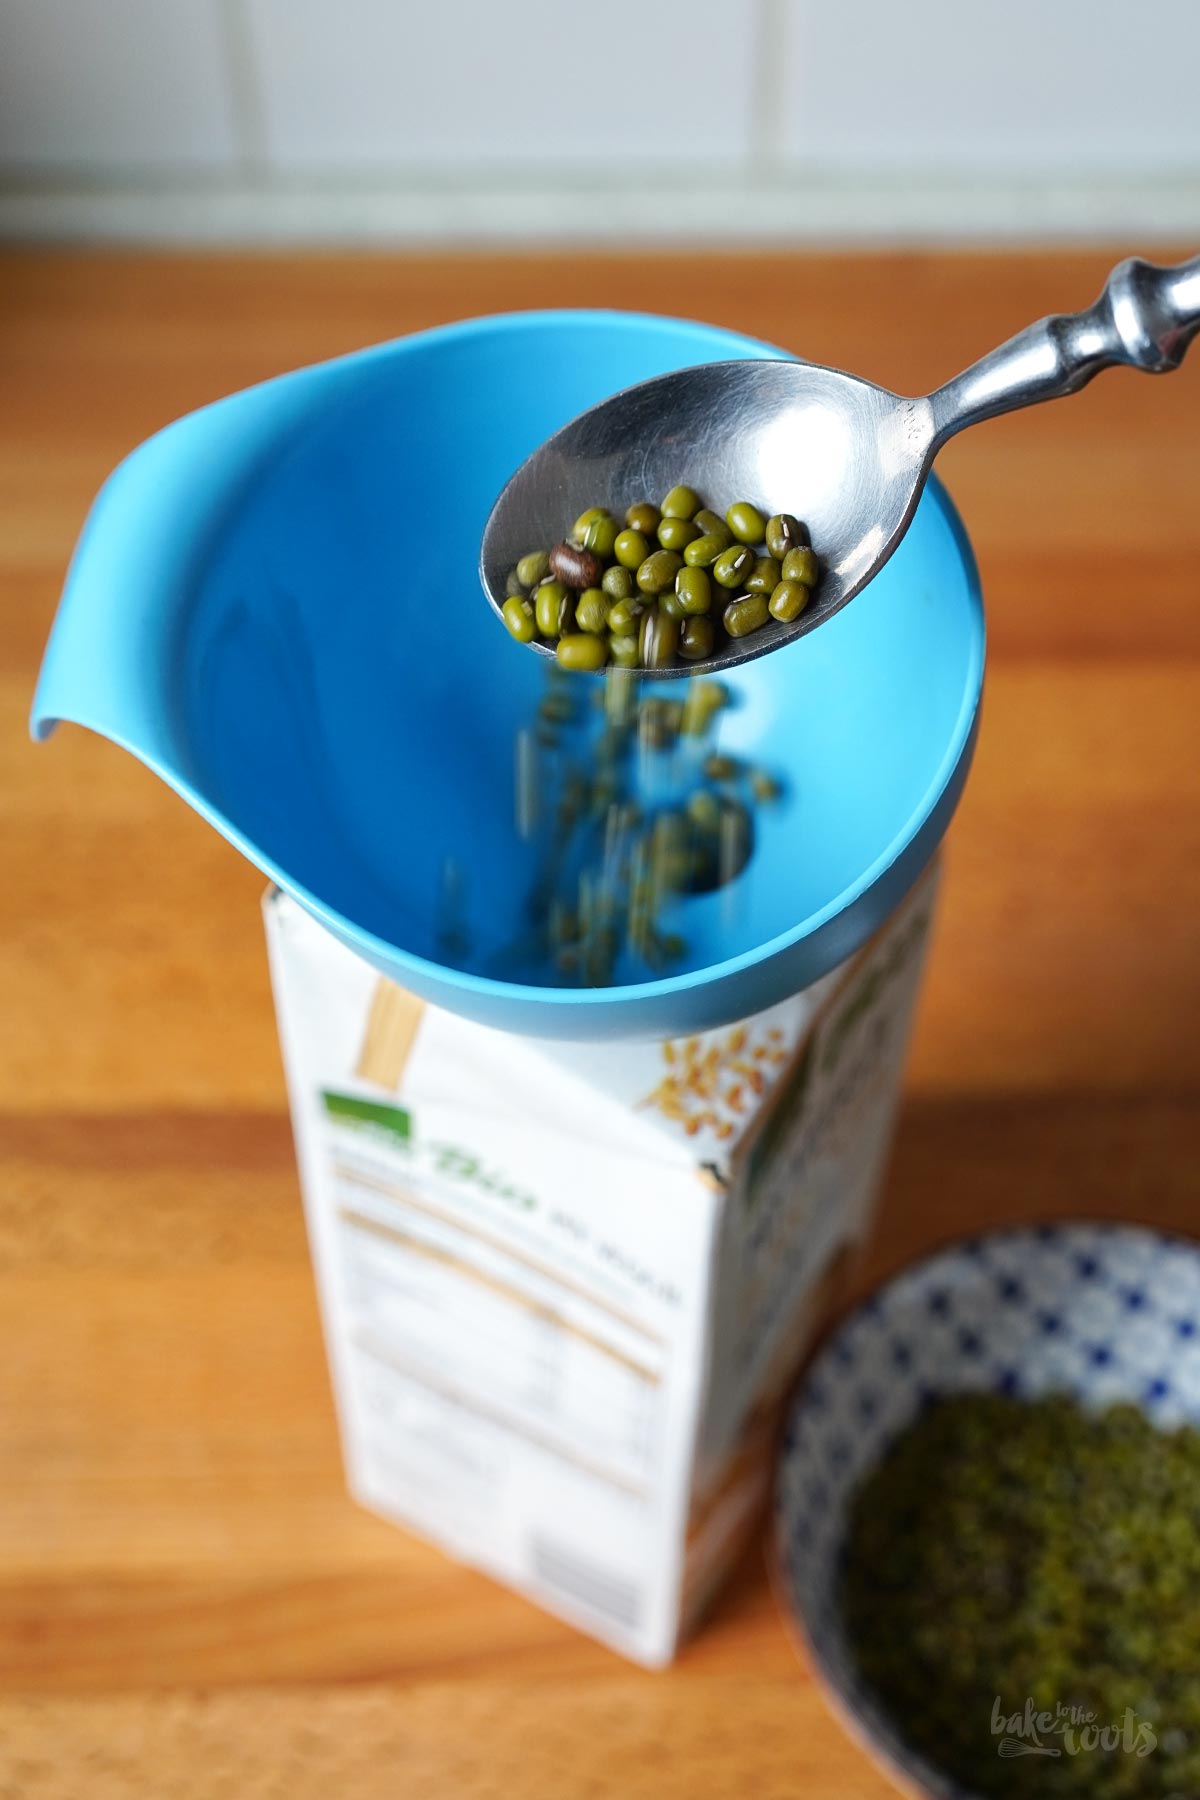
In order to get mung bean sprouts, you require dried mung beans that are suitable for consumption, ideally some organic beans. Nobody wants pesticides on their food. No need for specifically designated sprouting beans – simple, good-quality organic beans are fine here. The beans should not be split or polished, otherwise germination will fail.
Step 2: Prepare the container for sprouting.
As already mentioned, there are special sprouting jars you can buy. If you don’t want to spend extra money, you can simply use a milk carton or something similar. These cartons are perfect for sprouting mung beans. Those cartons have the right size and also prevent that light is getting inside. You need to clean that carton thoroughly, though. Rinse it several times with warm water until no milk residue is visible in the water anymore. The cleaner you work here, the better. Dishwashing detergent or similar products aren’t necessary, however. Plain water is fine.
Next, use scissors to cut off the corners at the top of the carton – the openings should be small enough to prevent beans from slipping through. A small cut on each corner is fine here. These small holes will help you to rinse the beans later on. The small openings are also important for the ventilation of the sprouts.
Step 3: Prepare and soak the beans.
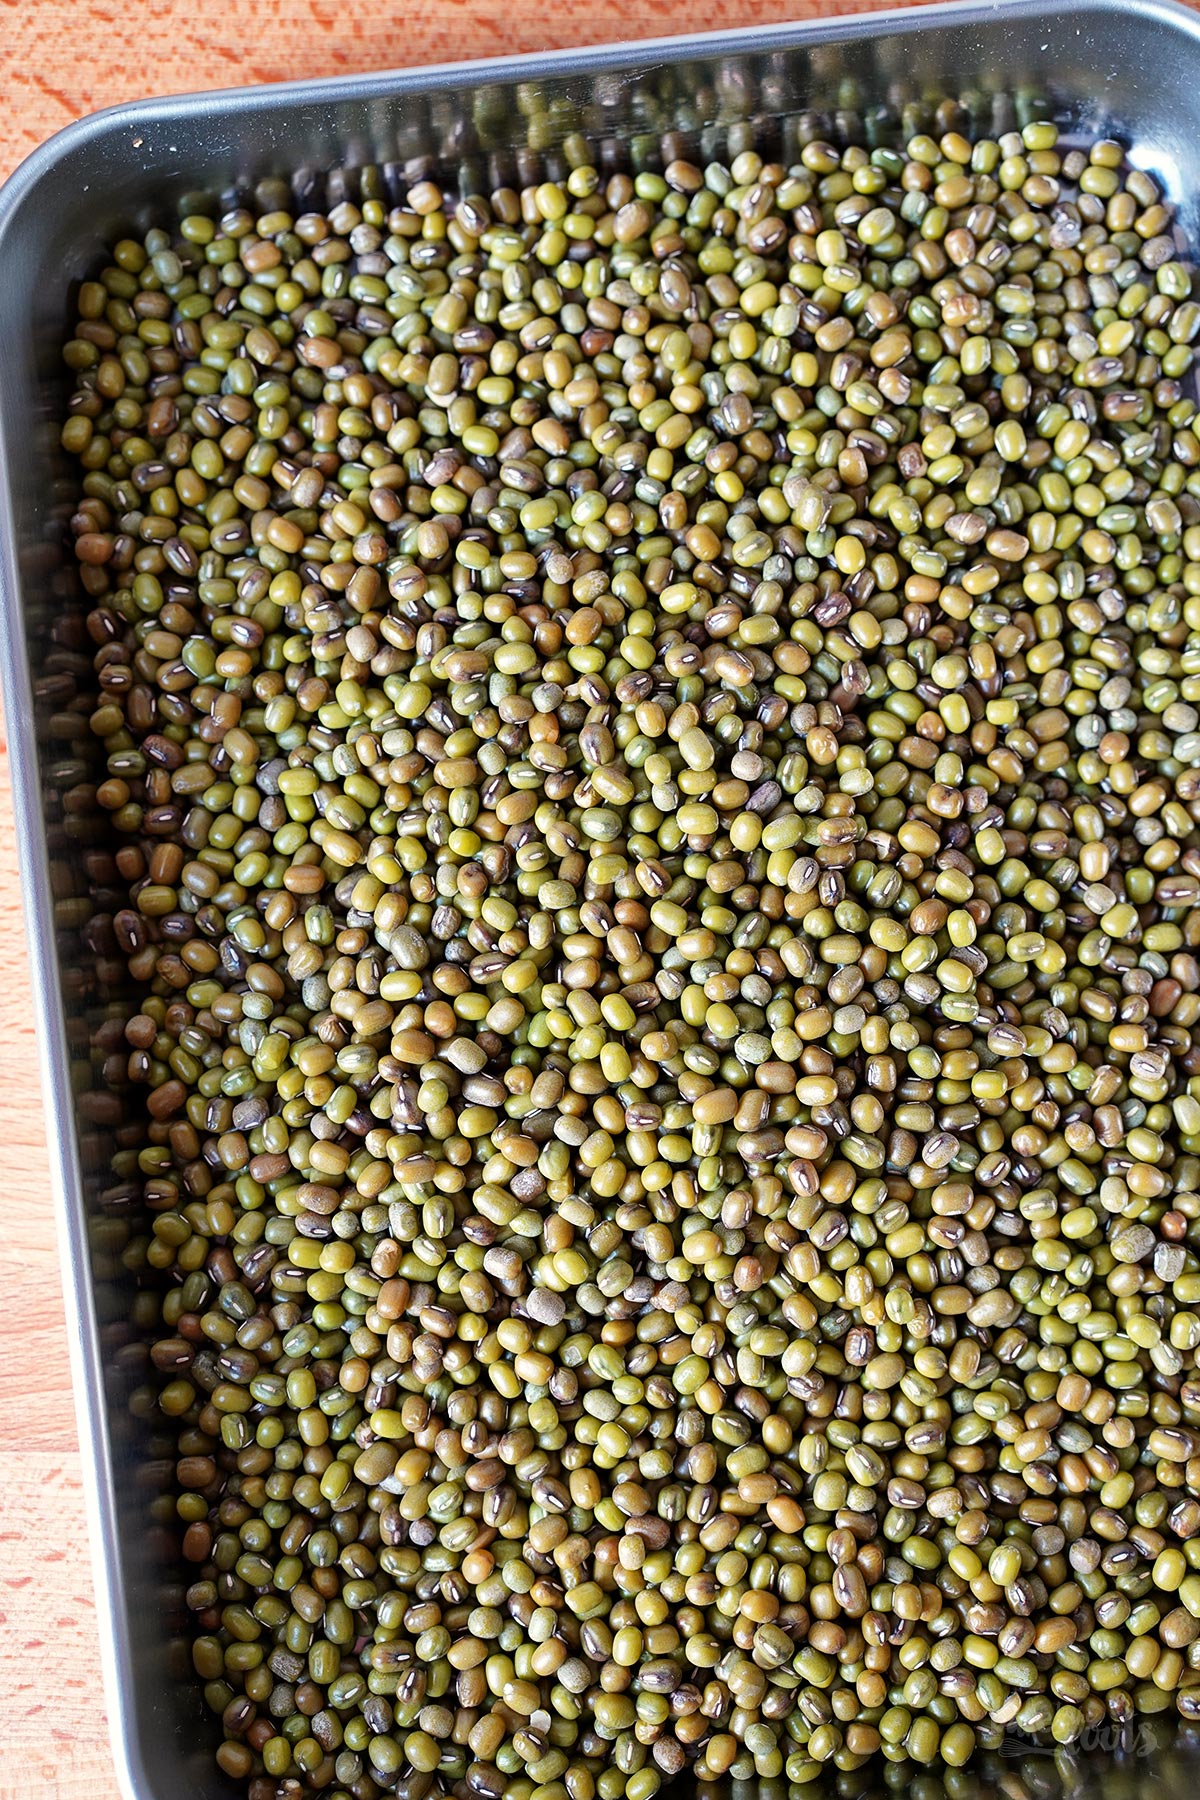
Before filling the mung beans into the prepared milk carton – we normally use 50g per carton – the beans should be rinsed thoroughly to remove any dirt. To get the beans into the carton, it’s best using a funnel. Next, the beans need to soak in water for about 8-10 hours – you can simply fill the milk carton with water (we use filtered water here) until 1/4 full. Close the carton, and leave it somewhere on the counter. The carton should stand upright. If you lay it on its side, leftover water will get out of the small holes.
Step 4: Drain & Rinse.
After the 8-10 hours, remove the water through the drainage holes (this water can be used to water plants) and then rinse the beans with fresh water and let them drain completely again. To do this, simply place them upside down in the sink and wait a few minutes. If too much water remains in the carton, the sprouts may spoil or become moldy. After that, simply let the carton sit on your counter (upright). The optimal germination temperature for mung beans is between 18°C and 22°C – 20°C is considered ideal. For most people, this is roughly the same as room temperature in their kitchen. If you live in the attic and your kitchen temperature is around 30°C in the summer, you might want to find a slightly cooler spot for the beans.

Step 5: Rinse and… wait.
After the first soaking and rinsing, you can leave the beans alone overnight. Starting the next morning, you should rinse the beans once in the morning and once in the evening to keep them moist and allow them to germinate properly. You don’t really need to do anything else. After 2-3 days, the mung bean sprouts are ready to be harvested.
Step 6: Harvesting the Sprouts.
You can almost watch the mung beans grow – after the second or third rinse, you’ll notice that the beans eventually stop rattling when shaking the carton. The milk carton gradually fills with constantly growing sprouts. To access the harvest, simply cut open one side of the container. You can harvest the sprouts at different stages. After 2 days, they have the ideal size for us and are perfect to use in a Pad Thai, for example. If you let the sprouts grow longer, they will naturally grow larger, but they will also develop small roots. Older sprouts can also taste lightly bitter. You might want to avoid that. It might be a good idea to check how the sprouts look occasionally. By the time we normally harvest, the sprouts will have increased in weight from 50g (when they were still beans) to about 300-350g.

How to properly store sprouts after harvest
If you’re growing sprouts at home, you should make sure they are ready whenever you are ready to use them – this ensures the sprouts are at their freshest. You don’t want them to sit in the fridge for days before using them in a recipe. Rinse the sprouts thoroughly and dry them when ready to use – a salad spinner always helps here. If there are any leftover sprouts, add them to an airtight container and keep them in the fridge – up to 3 days. The sprouts are good to use even longer (if you worked clean during the germinating process), but we don’t like it when the ends of the sprouts turn brownish after several days. They’re still edible then, but they’re not quite as pretty as they could be.
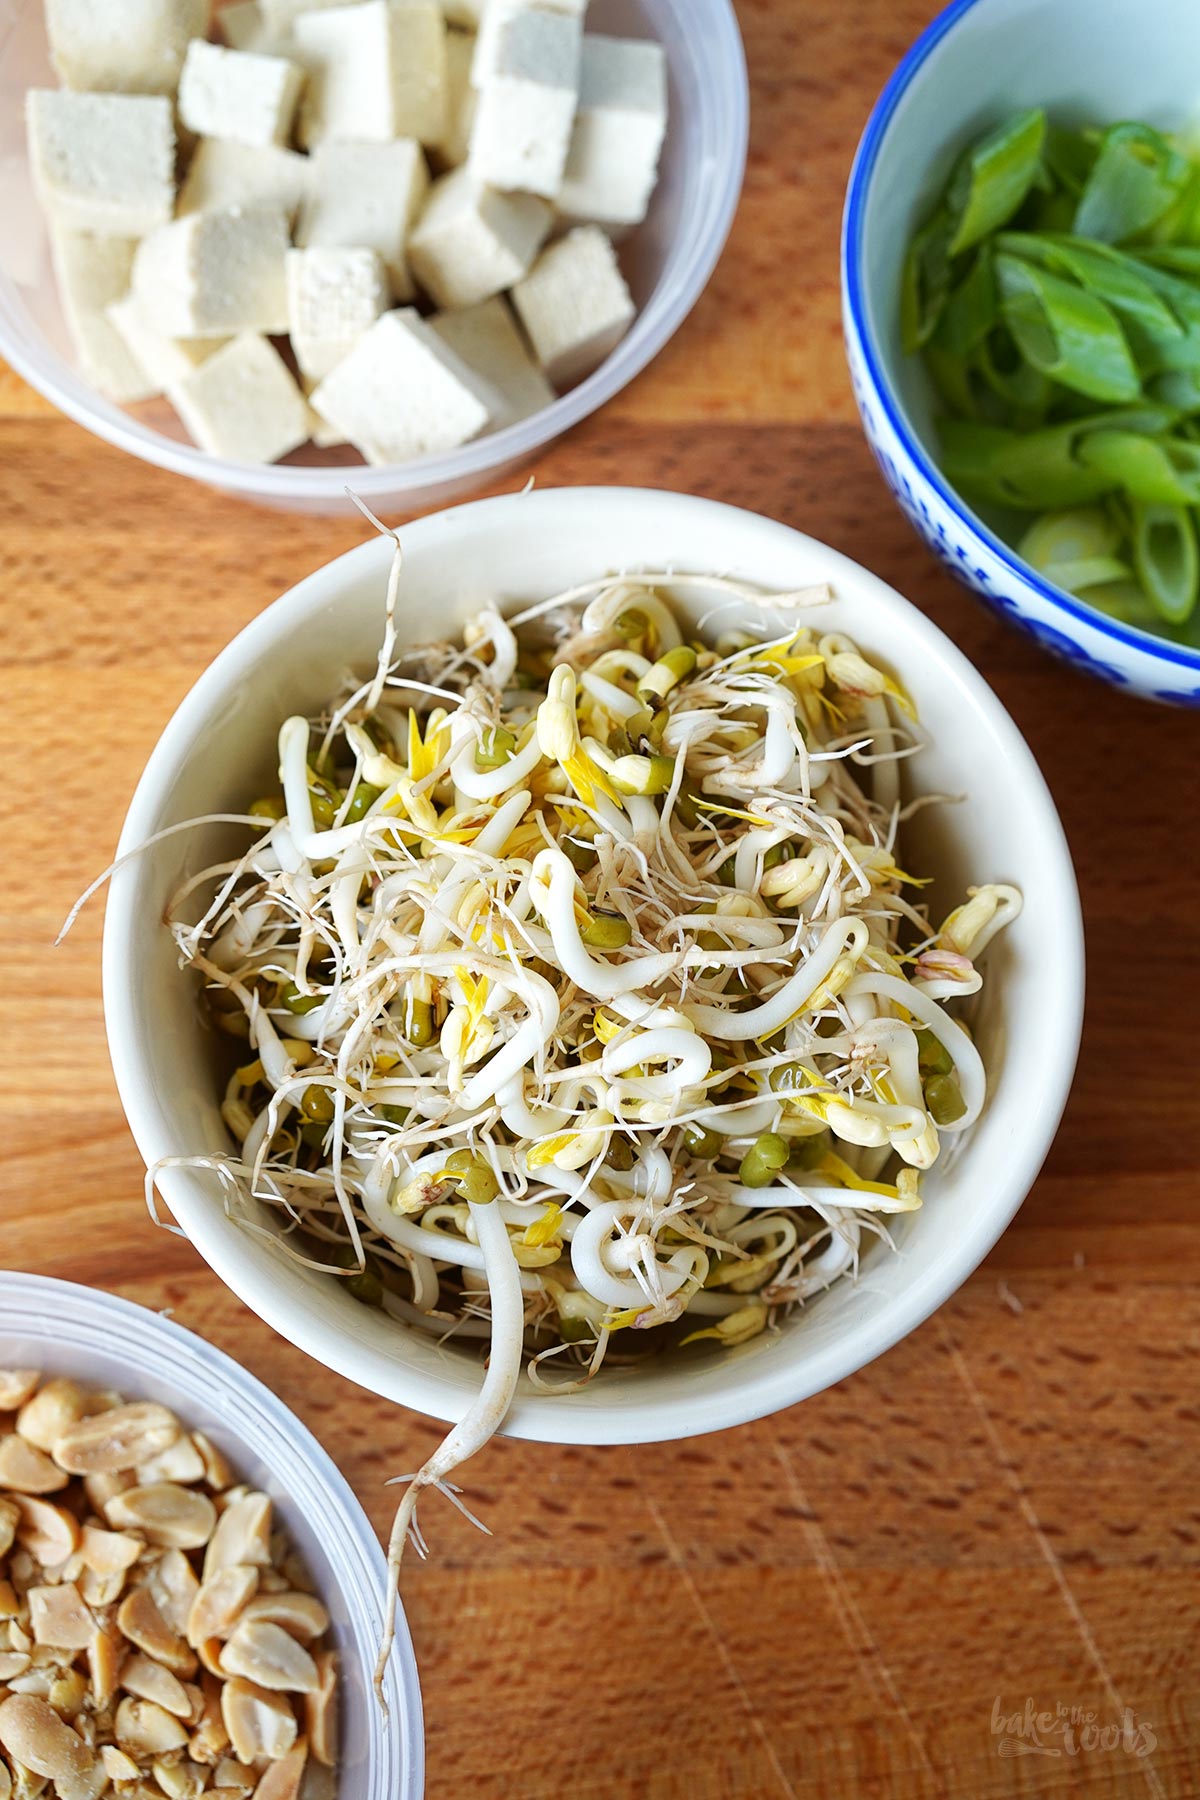
Where can you use sprouts in the kitchen
Sprouts and microgreens can be used in a variety of ways in the kitchen. Whether as an ingredient in a recipe or simply as a garnish for a finished dish, sprouts add additional nutrients and, quite frankly, look good just thrown on top of your cooked veggies or meat.
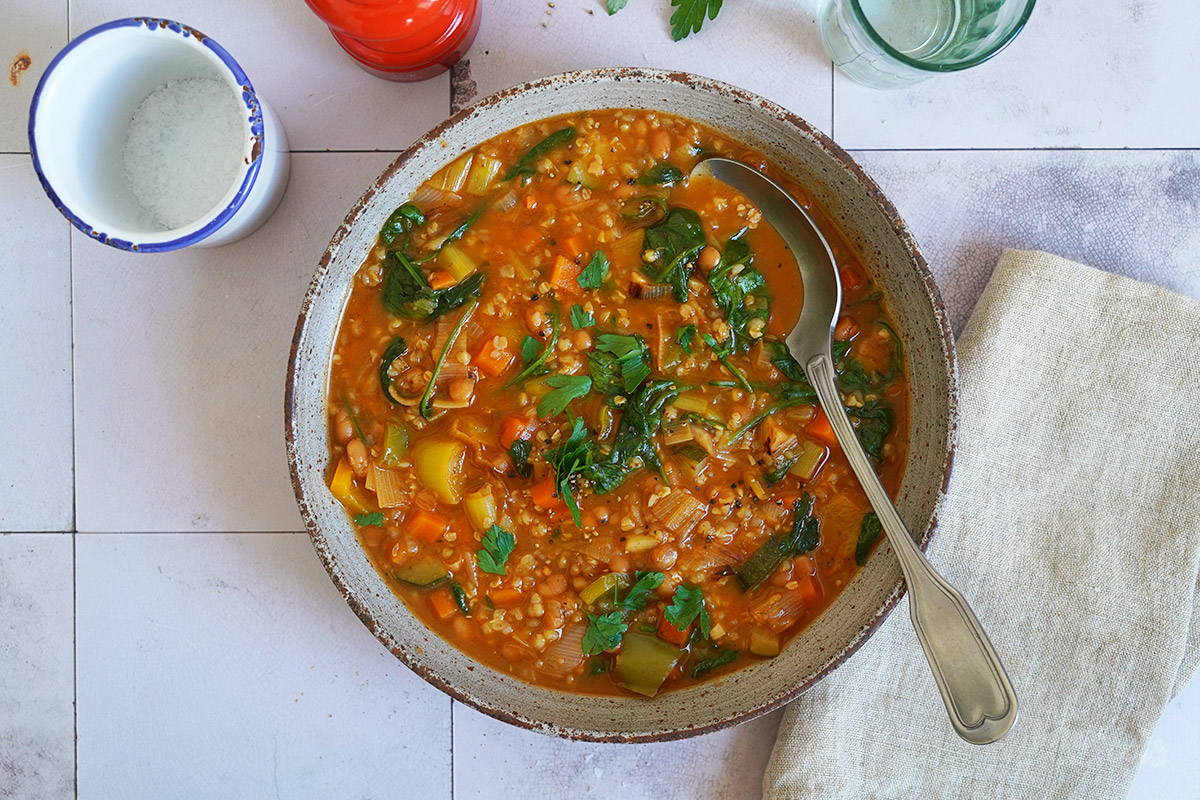
- Stir-fries: Use them in a stir-fry, but cook them only briefly so they stay crisp.
- Salads: You can use sprouts for many salads – as ingredient or garnish.
- Spring rolls: Sprouts are a frequently used for the filling of spring rolls and similar dishes.
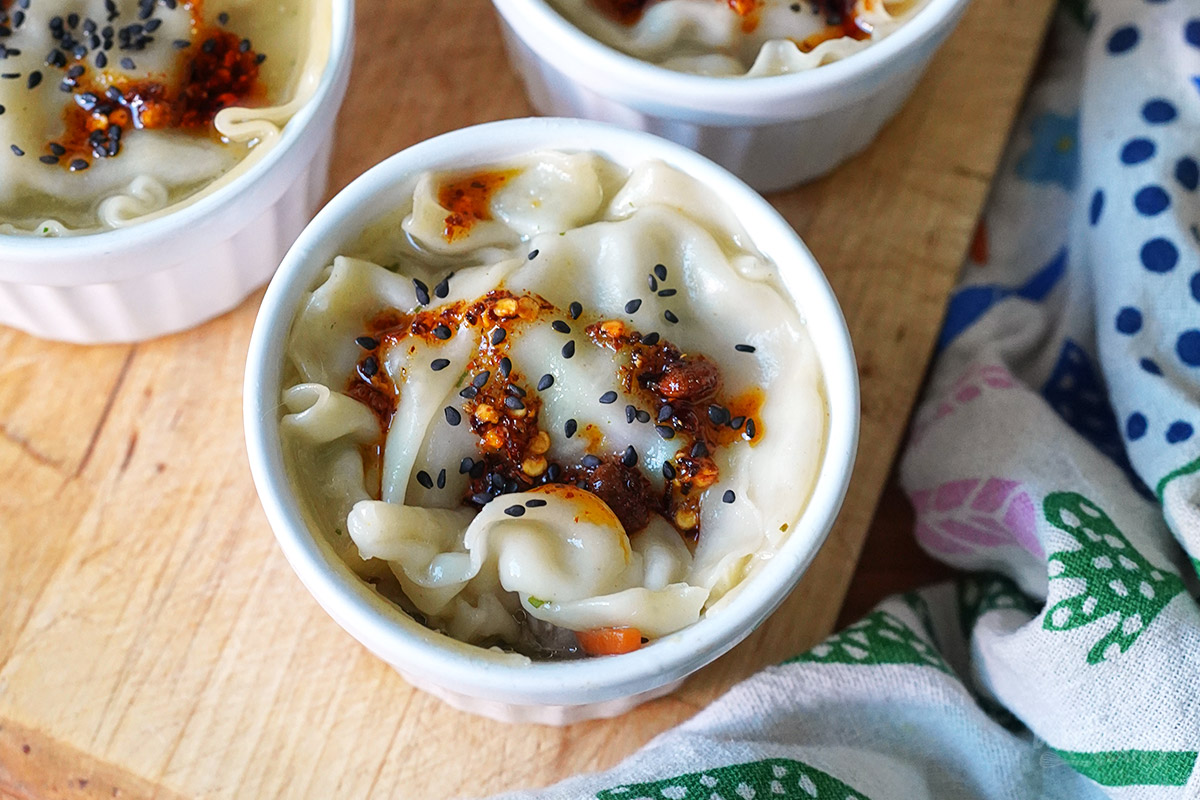
- Soups (e.g., pho): Sprouts are used as a topping/garnish.
- Smoothies: A handful added to the fruit/veggie mix for additional nutrients.
Growing your own sprouts conserves resources, produces no waste, and is also cheaper. You save on packaging waste and transportation costs, and you get a fresher product than you’d ever be able to find in a store. If you enjoy using sprouts for cooking and baking, you should definitely consider growing them at home.

Craving more? Keep in touch on Facebook, Instagram and Pinterest for new post updates and more. You can also contact me with any questions or inquiries!
Links marked with an asterisk (*) are affiliate links (advertising/Werbung) to Amazon Germany. If you click on one of those links and buy something via this link, I will get a commission for that sale. The price of whatever you buy is not affected in any way by this.