
In summer, fruits and berries are often plentiful – and frequently a bit cheaper, too. For us, it’s always the perfect time to be a little more generous with them. This delicious Raspberry Mascarpone Layer Cake requires quite a few raspberries, so it might not be the best or most economical choice to make for yourself, family, or friends during the winter months. Just sayin’.
Summer is the ideal time for this raspberry layer cake, especially when the raspberries in the garden are ready for picking. Of course, if you don’t have your own raspberry bush, you’ll have to rely on berries from the supermarket or farmers’ market. Which is fine. If you catch a day when raspberries are on sale, making this cake isn’t too expensive. After all, the other ingredients are normally reasonably priced year-round.
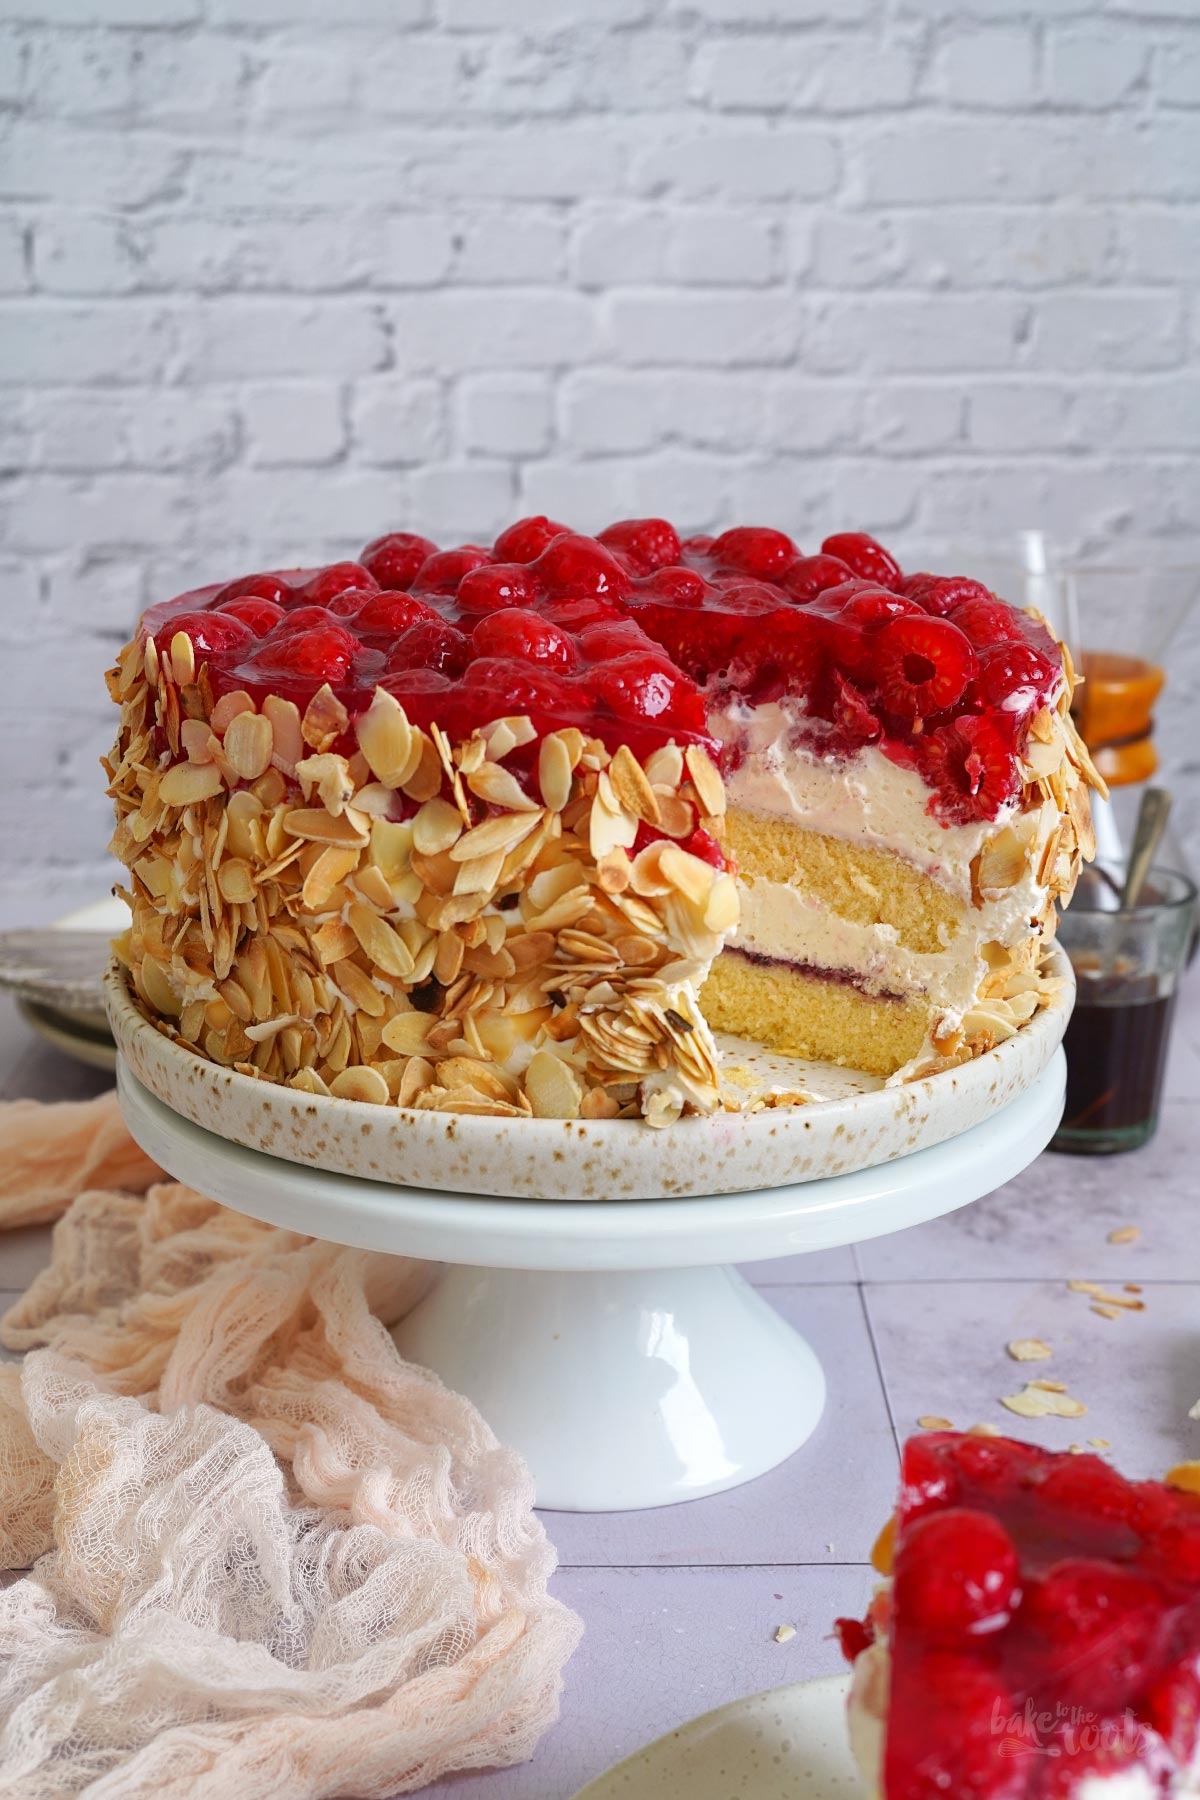
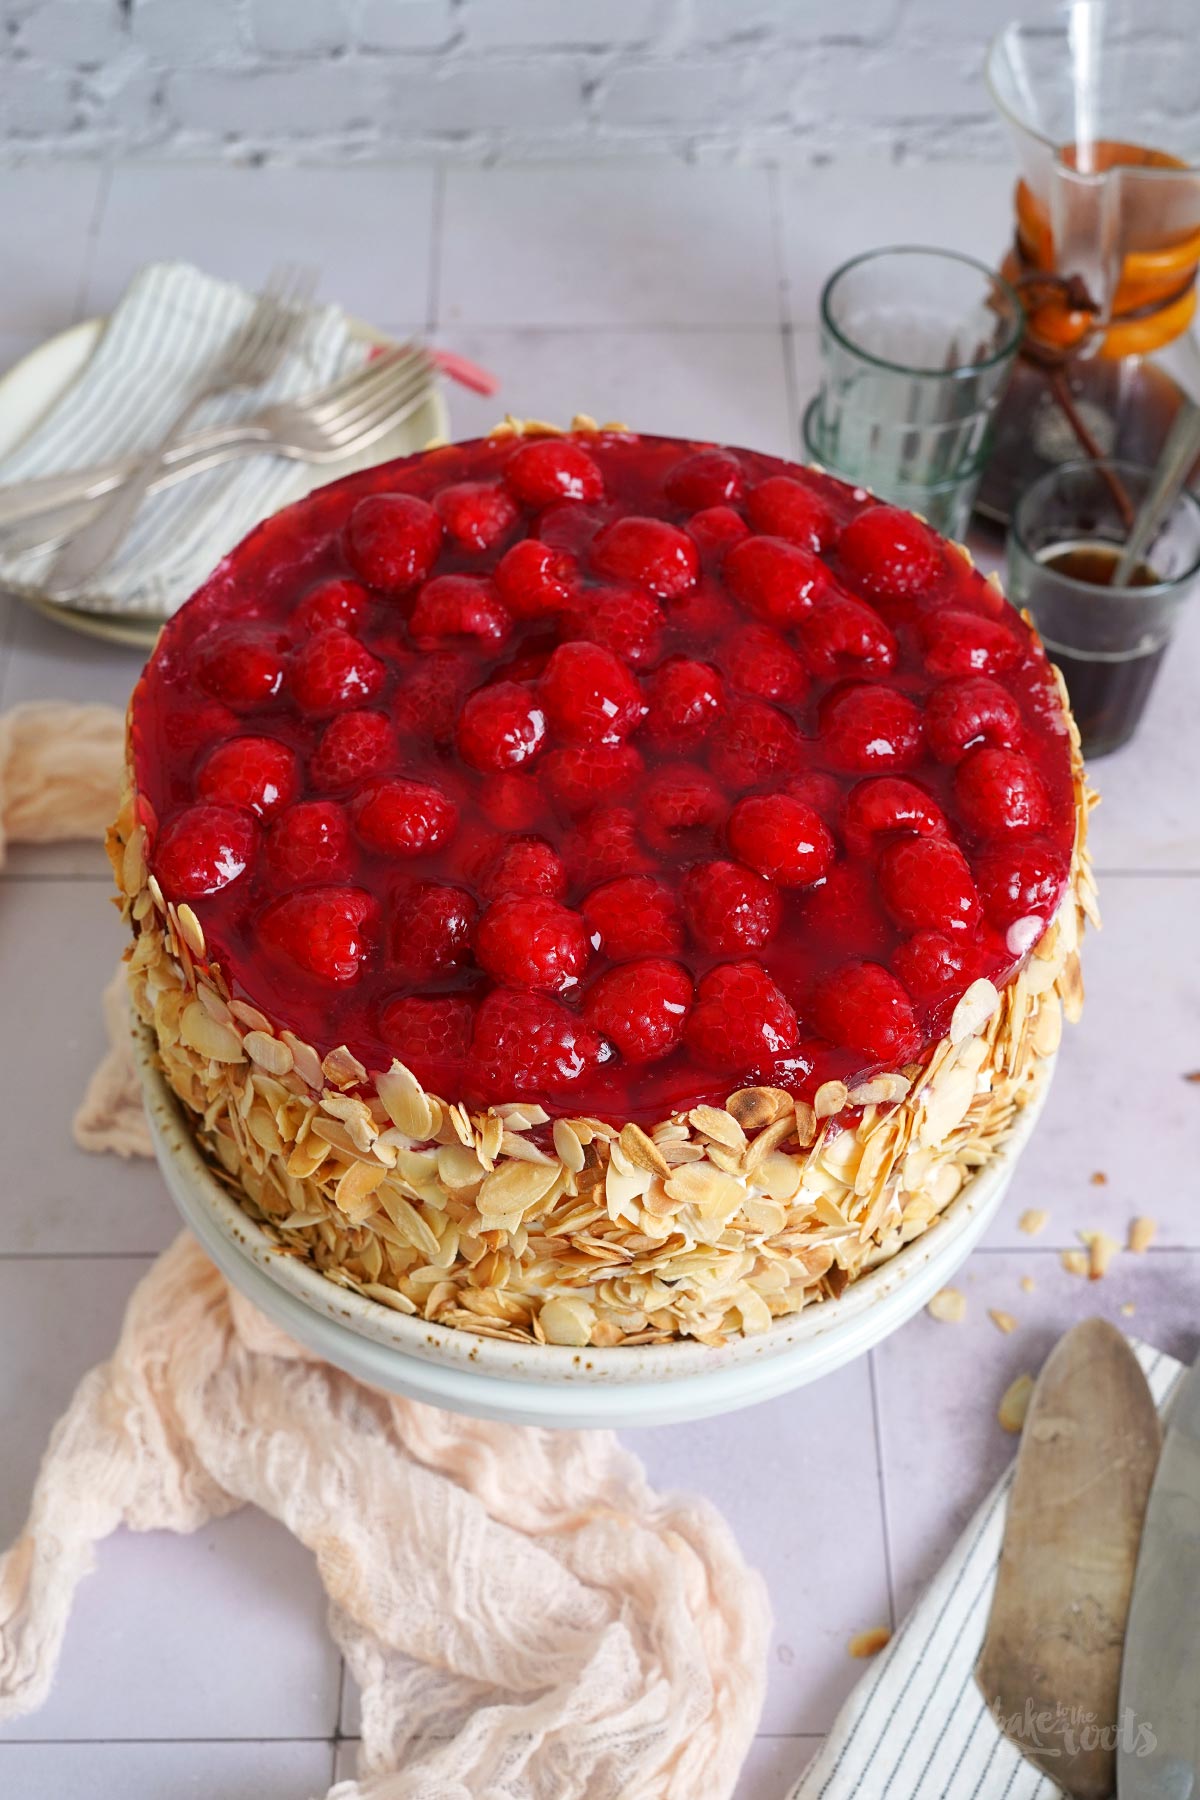
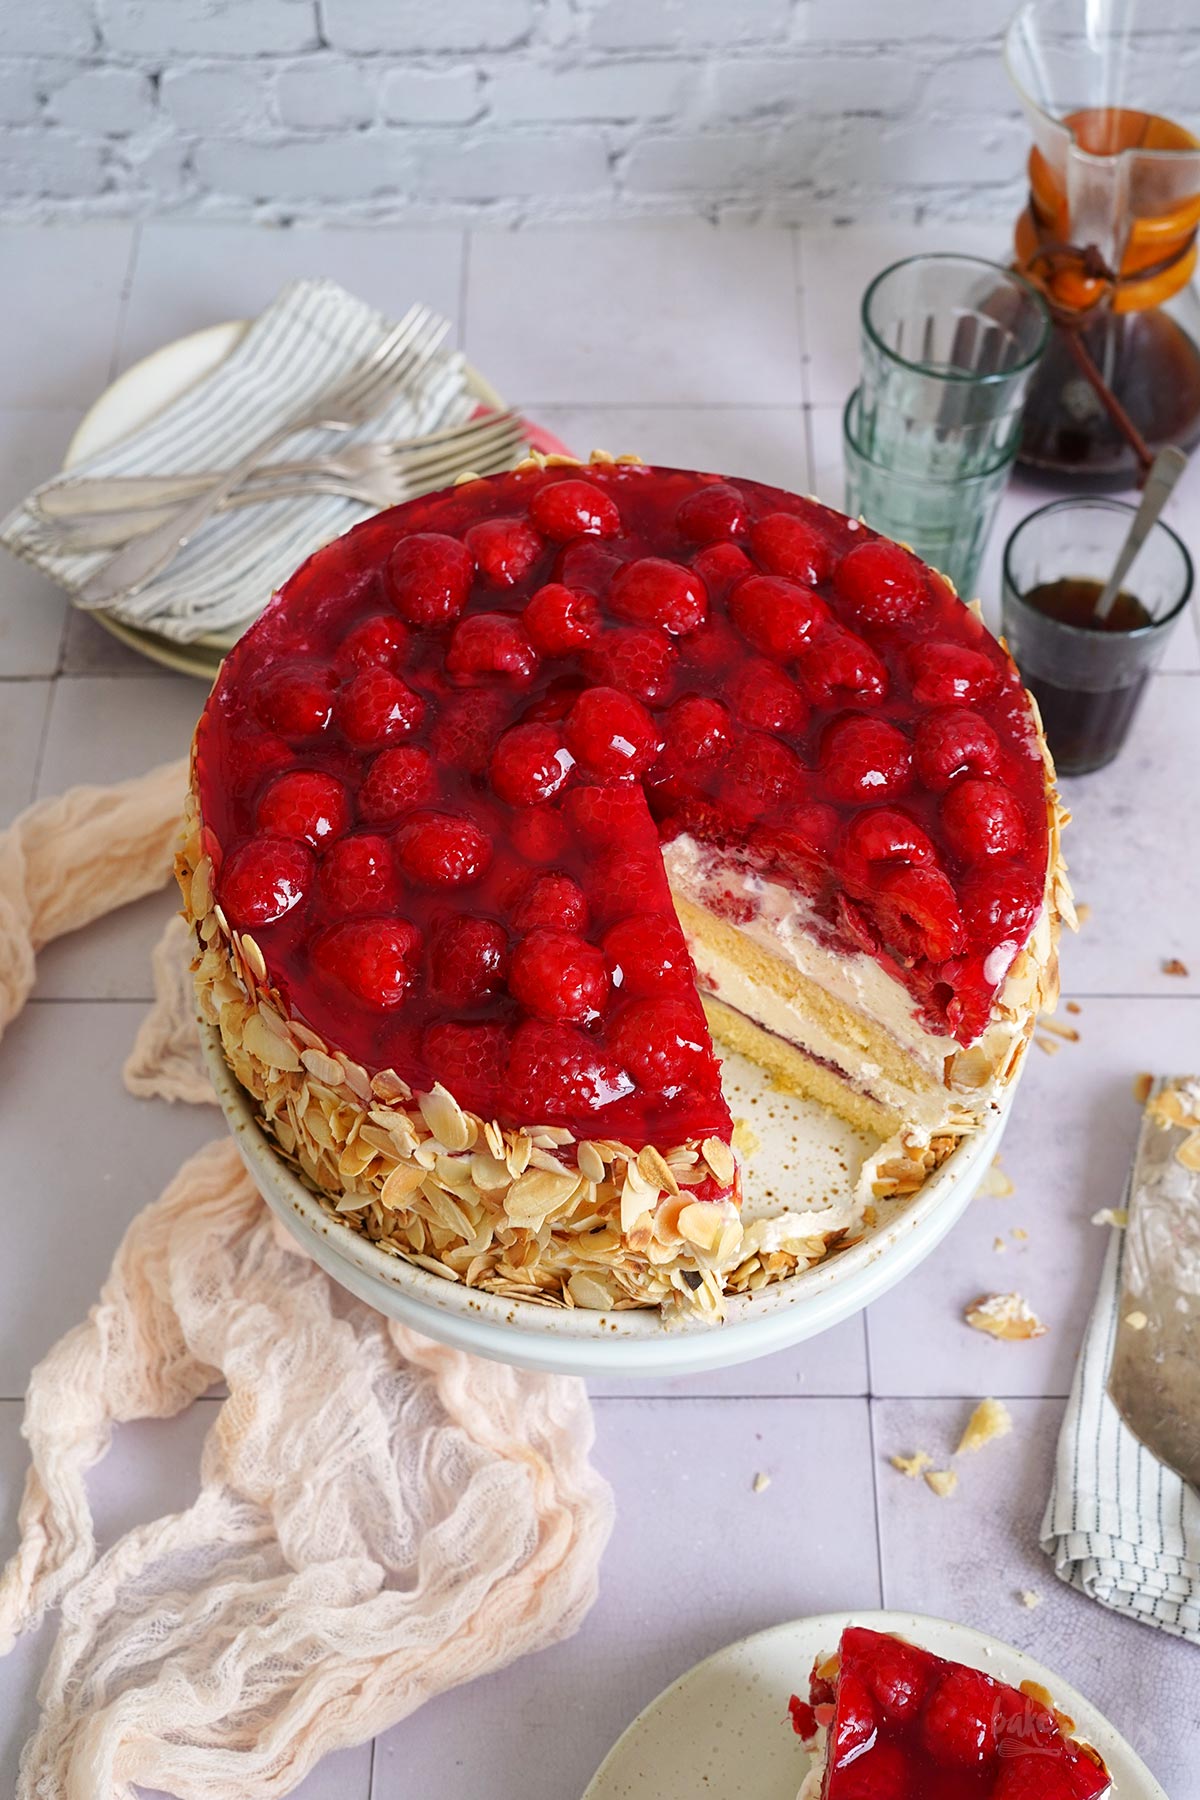
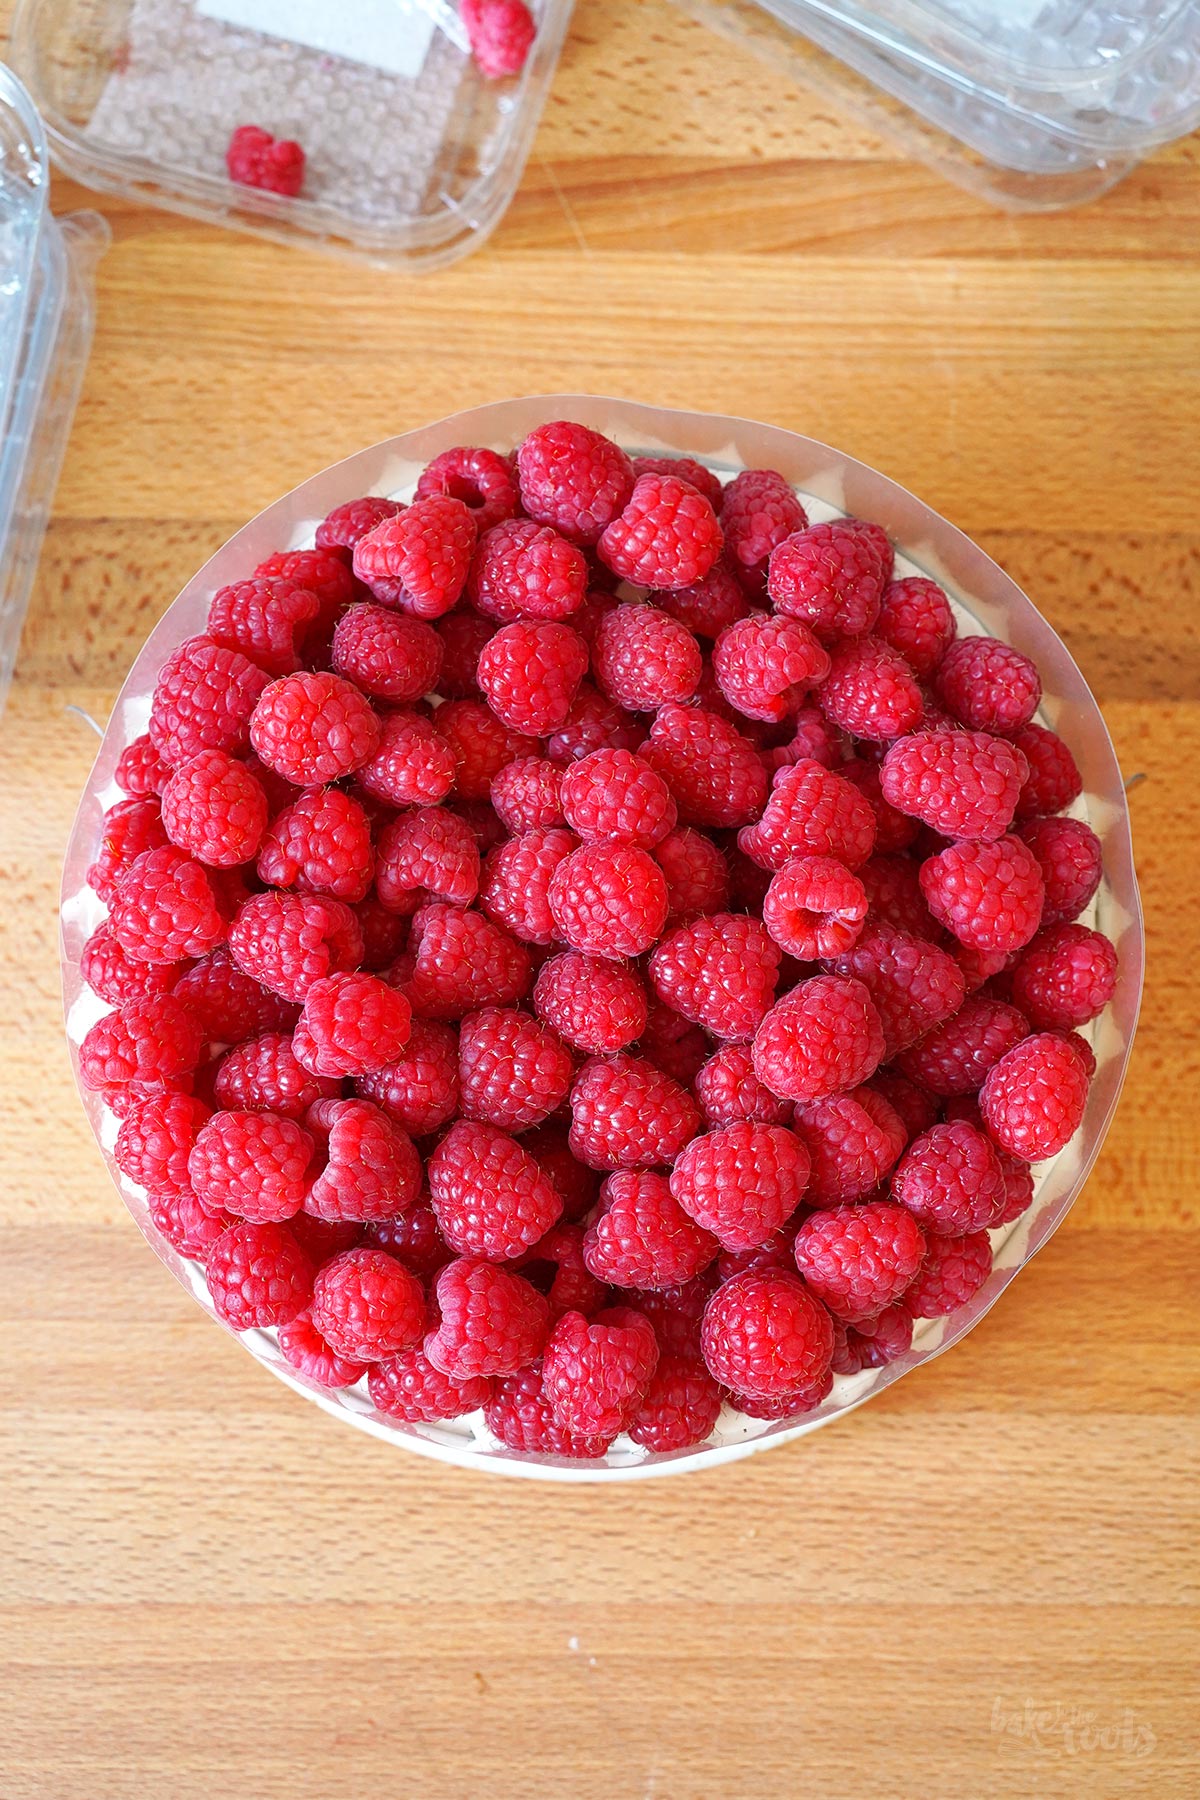
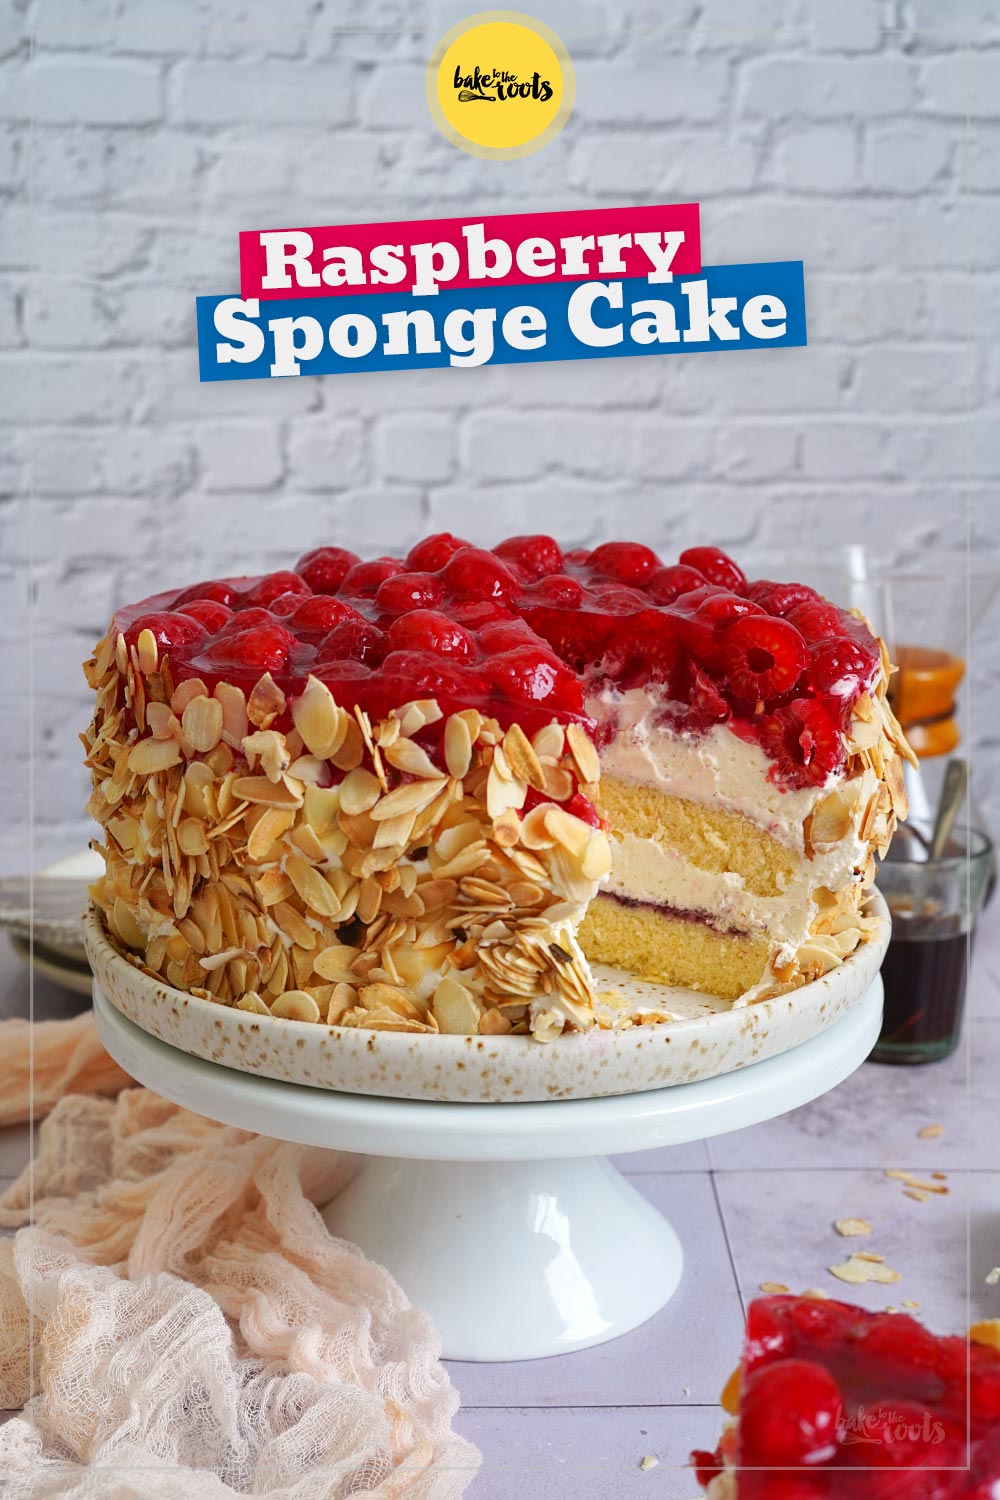
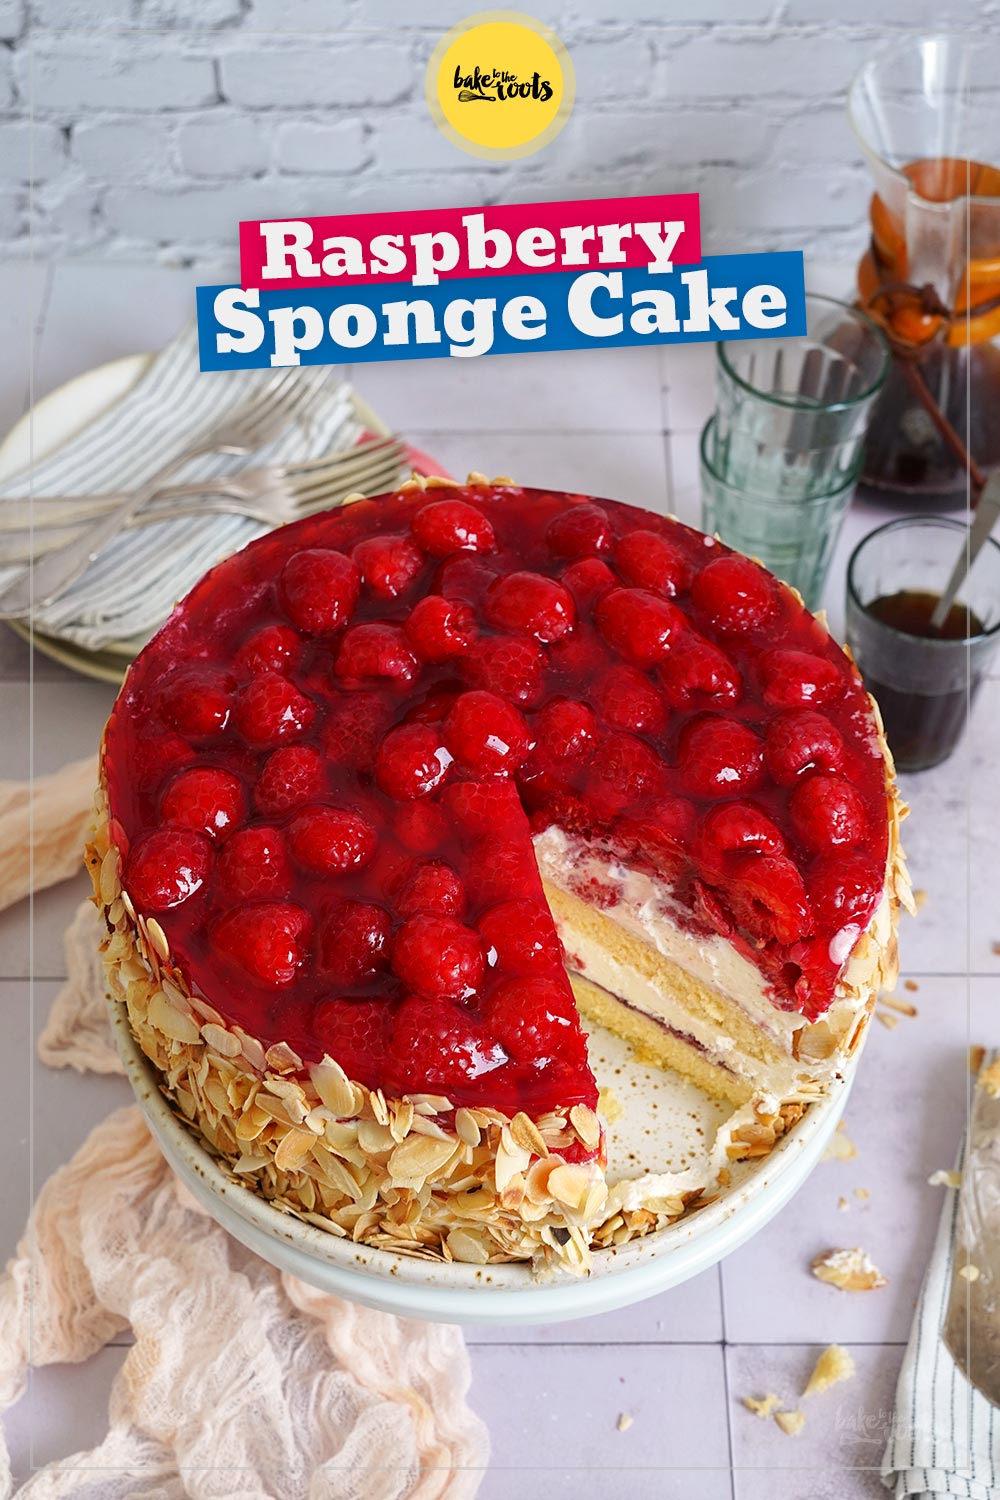
Admittedly, I didn’t skimp on the raspberries for this cake. In theory, you could certainly use fewer berries – especially for the top layer. I layered the berries quite generously on top and then »cemented« them together with some red cake glaze. More or less. Of course, it would have been possible to use half the amount of berries and place just a single layer on the cake. But hey…
We also like using frozen raspberries – those work perfectly for many recipes. You can easily use frozen raspberries in creams or a cake batter, for example. However, when it comes to decorations, fresh raspberries are pretty much essential. Once thawed, frozen raspberries turn mushy and simply don’t look as appealing as fresh ones.
So, for this cake, you have to »bite the bullet« and get fresh raspberries. The result really justifies getting the absolute best berries possible… though, as I mentioned, you probably don’t want to do this in the dead of winter. A large bowl of raspberries is simply cheaper in the summer, since the berries are available from local farmers and don’t need to be flown halfway across the globe at great expense…

Anyway, making the cake is quite simple to make. Or let’s say, relatively simple to make. Anyone who bakes and assembles cakes like that regularly certainly won’t have any trouble here. However, someone choosing this as their very first cake-baking project might see things a bit differently. The recipe text itself is fairly extensive, and there’s quite a bit of work involved in preparing the individual components. Still, the preparation and assembly aren’t overly complicated. Even a baking novice can manage can do this cake. Just read everything through carefully and work through the steps in order…
Making the mascarpone cream is extremely easy – no need to say more about that. The same goes for the filling and the decoration components. As for the sponge cake, the important thing here is to make sure the egg whites are beaten well and don’t lose too much volume when folded into the batter. That’s the only way to get nice, light, and airy cake layers. But really, it’s not rocket science.
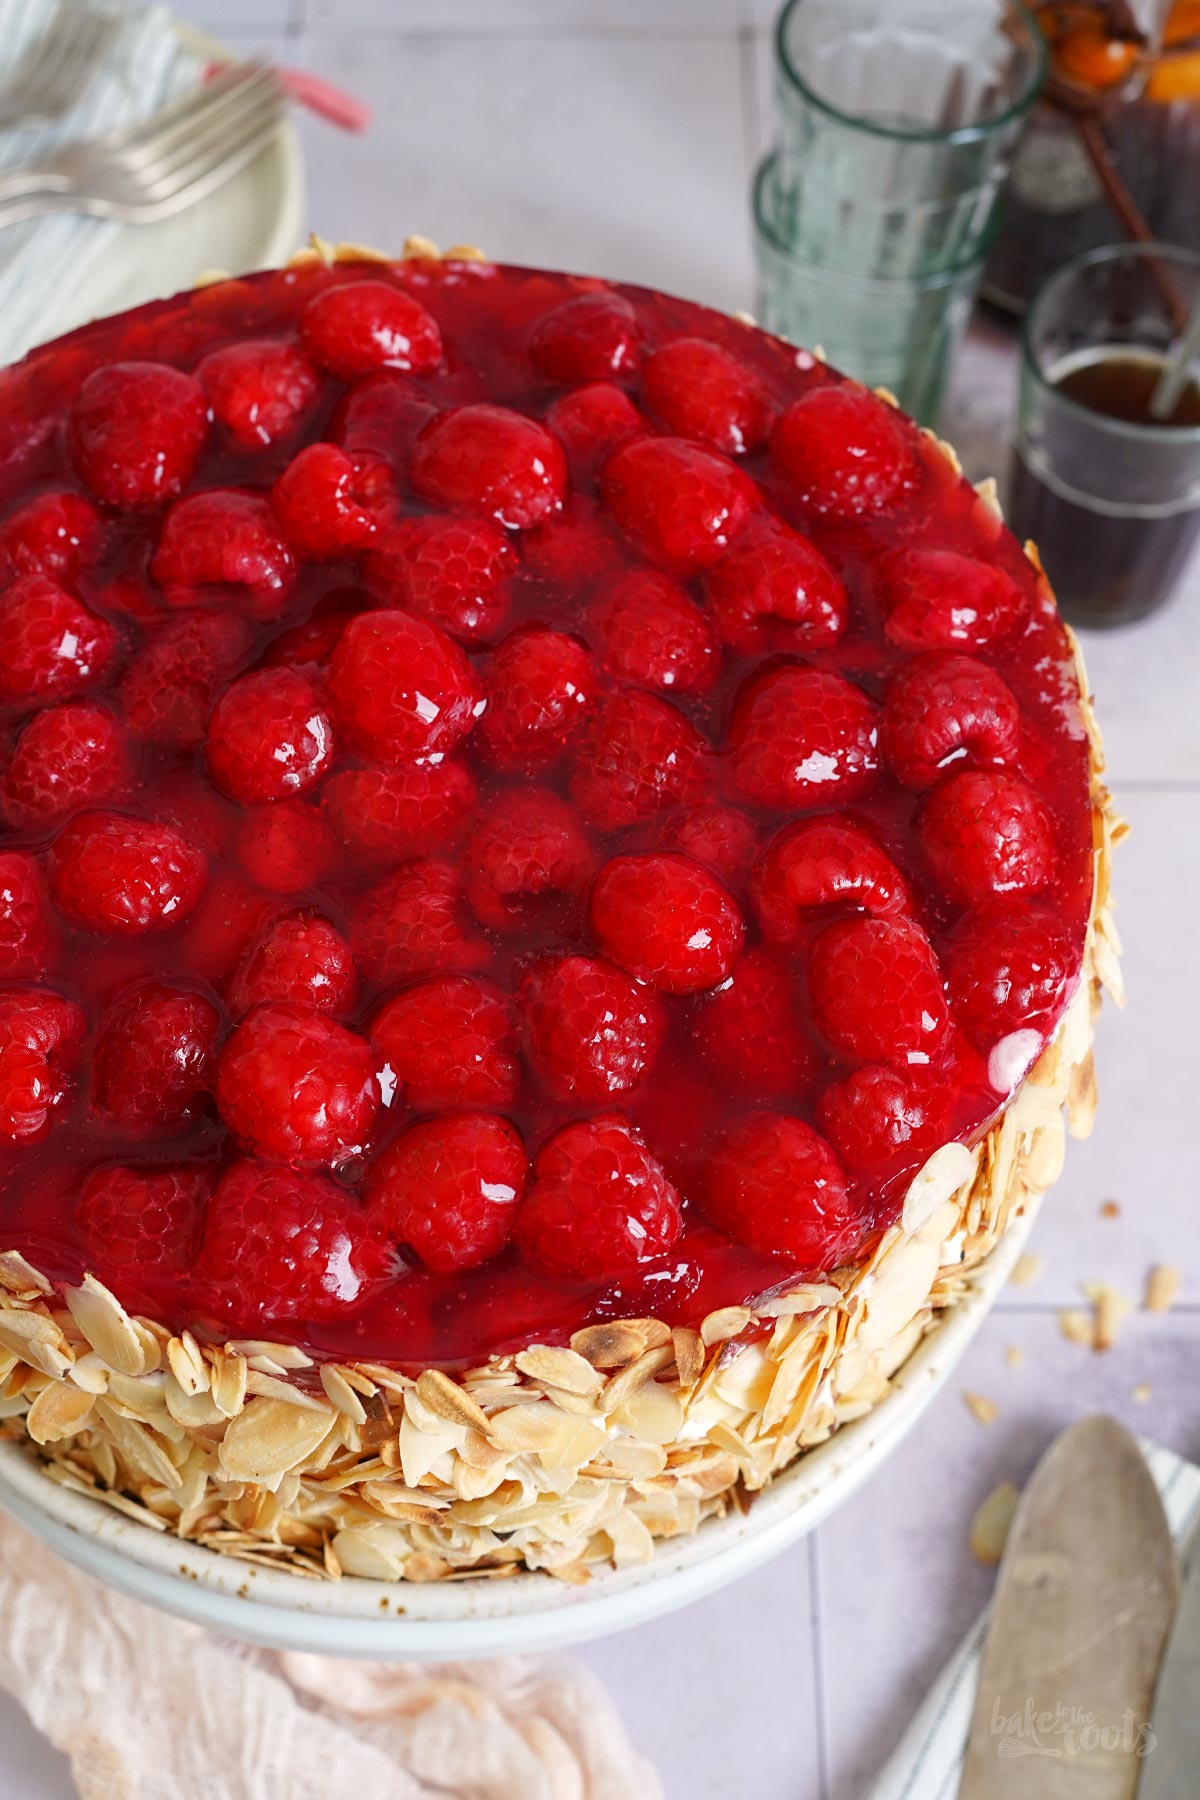
The only part that might give some bakers a bit of trouble is coating the cake with the sliced almonds. That can easily turn into a mess. But it’s manageable, too. The rule is simple here is: more is more. If you prepare a few extra toasted sliced almonds, you can press them more generously onto the sides of the cake. If you hold the cake over a bowl, a baking sheet, or something similar to catch the falling pieces, the mess stays pretty minimal.
The 3.5 oz./100g of sliced almonds listed in the recipe represents roughly the amount that actually ends up sticking to the sides of the cake. Using a few grams more makes the decorating process significantly easier, though. Any leftovers can be used for other recipes – such as layered desserts in glasses or as a garnish for cakes and stuff like that. If no mascarpone cream has stuck to the fallen pieces, they will keep well for quite some time. Just so you know.

If you’re in the mood to do even more with raspberries, you’ll find plenty of other recipes featuring these little berries right here on the blog. Our No-Bake Raspberry Cheesecake is a fantastic summer treat. Truly delicious and wonderfully refreshing. Since there’s no baking involved, it’s perfect to make even when the kitchen is hot as hell. After all, it’s not uncommon for a kitchen to feel like a Finnish sauna in the summer, especially when useing an oven. Well, at least our kitchen on the top floor does…
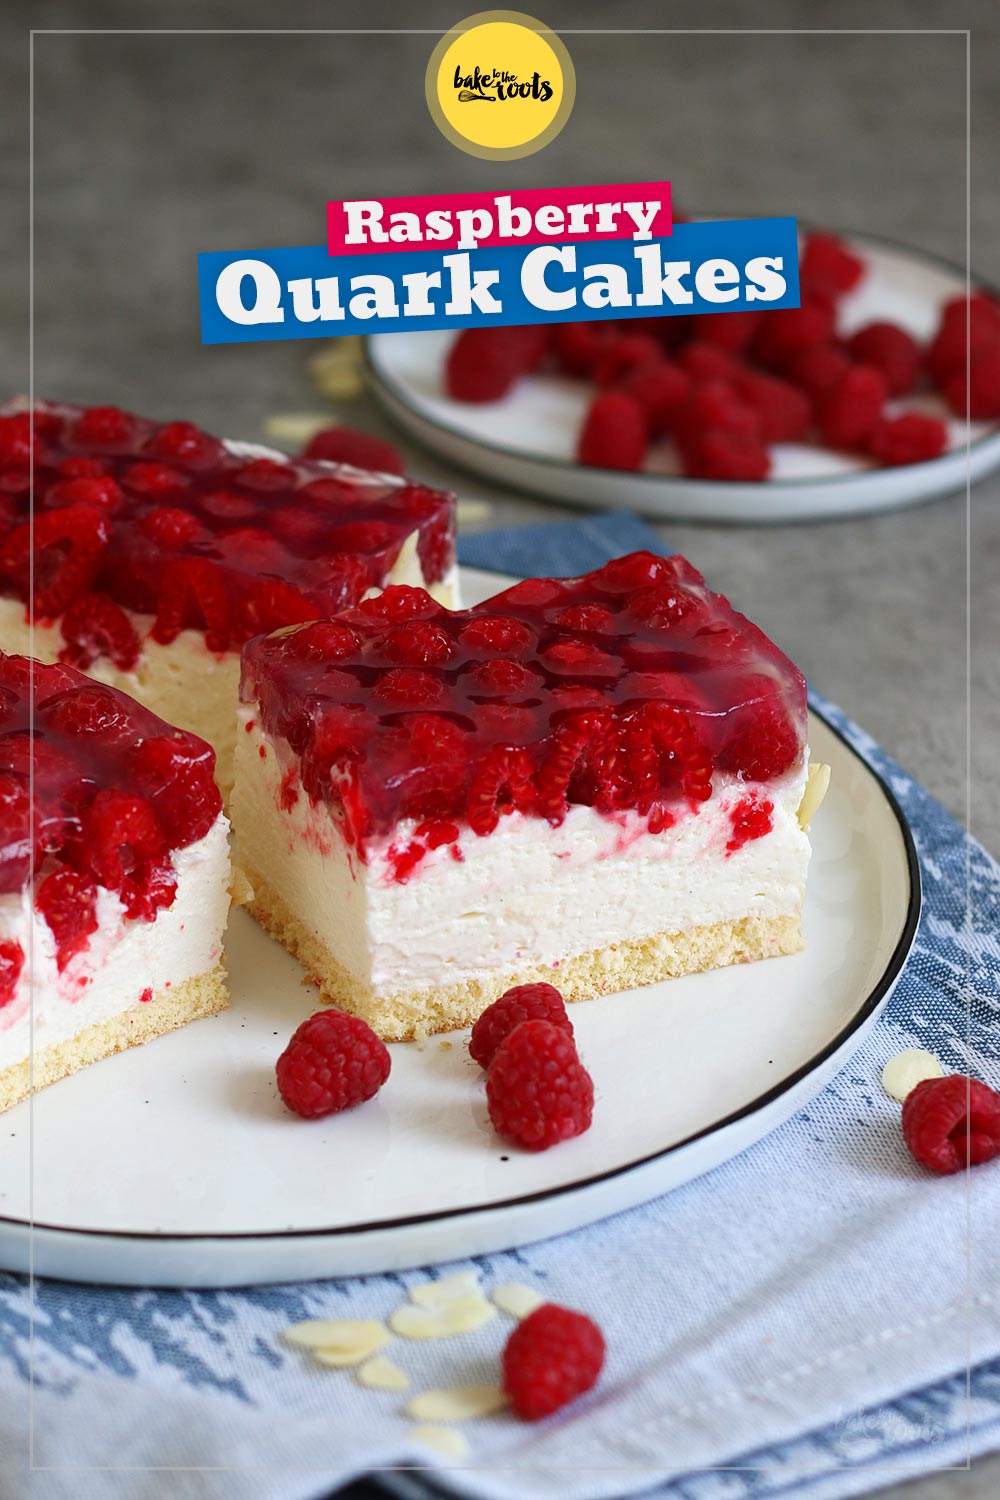
By the way, the inspiration for this little layer cake comes from classic Raspberry Cheesecakes aka. German Quark Himbeerschnitten. They, too, have an airy sponge cake as a base, but instead of mascarpone, quark is used for the filling. Theoretically, you could swap the quark for mascarpone in this recipe (if you don’t have quark, for example), but that would make the cheesecake slices significantly richer. Perhaps not always the best idea in summer, right?!
INGREDIENTS / ZUTATEN
For the sponge cake:
4 medium eggs, separated
1 pinch of salt
1/2 cup (100g) sugar (fine)* , divided
1 tsp. vanilla bean paste*
3.5 oz. (100g) all-purpose flour*
For the mascarpone cream:
9 oz. (250g) mascarpone, cold
2 tbsp. confectioners’ sugar*
2 tsp. vanilla bean paste*
7 oz. (200g) heavy cream or an alternative* (see notes), cold
For the filling/decoration:
2–3 tbsp. raspberry jam*
3.5 oz. (100g) almonds*, sliced & toasted
For the raspberry layer:
14-21 oz. (400–600g) fresh raspberries (see notes)
1 sachet of red cake glaze* (Tortenguss)
1 cup (250ml) water
2 tbsp. sugar (fine)*
Für den Biskuit:
4 Eier (M), getrennt
1 Prise Salz
100g Zucker (fein)*, aufgeteilt
1 TL Vanillepaste*
100g Mehl (Type 405)*
Für die Mascarponecreme:
250g Mascarpone, kalt
2 EL Puderzucker*
2 TL Vanillepaste*
200g Schlagsahne oder eine Alternative* (s. Hinweis), kalt
Für die Füllung/Dekoration:
2-3 EL Himbeermarmelade*
100g Mandelblättchen*, geröstet
Für die Himbeerschicht:
400g-600g frische Himbeeren (s. Hinweise)
1 Pkg. Tortenguss (rot)*
250ml Wasser
2 EL Zucker (fein)*
DIRECTIONS / ZUBEREITUNG
1. Preheat the oven to 180°C (350°F). Line a 20cm springform tin* with baking parchment and lightly grease it. Set aside.
2. Separate the eggs – add the yolks to a large bowl and set them aside. In a second bowl, mix the egg whites with a pinch of salt until they start looking foamy. Gradually add half of the sugar (1/4 cup/50g) while mixing, then continue mixing for about 3–4 minutes until the mixture is thick and glossy.
3. Add the remaining sugar and the vanilla paste to the egg yolks and mix for about 3–4 minutes as well – the mixture should look light and fluffy. Sift the flour into the bowl in several batches and fold it in using a rubber spatula. Next, fold in the beaten egg whites (meringue), also in several batches. You may mix a bit more vigorously at the beginning to loosen the batter. However, the majority of the meringue should be folded in gently to preserve as much volume as possible. Pour the batter into the prepared springform tin and smooth out the top.
4. Place the pan in the preheated oven, pour a small amount of water onto the oven floor to create steam, and immediately close the oven door. Bake the sponge cake for about 26–28 minutes. Remove it from the oven, let it cool briefly inside the baking tin, then carefully remove it from the tin and let it cool down completely on a wire rack.
5. For the mascarpone cream, add the mascarpone, confectioners’ sugar, and vanilla paste to a large bowl and stir to combine. Add the heavy cream and mix – start slow then increase the mixing speed until the cream is nice and stiff – this may take 2–3 minutes.
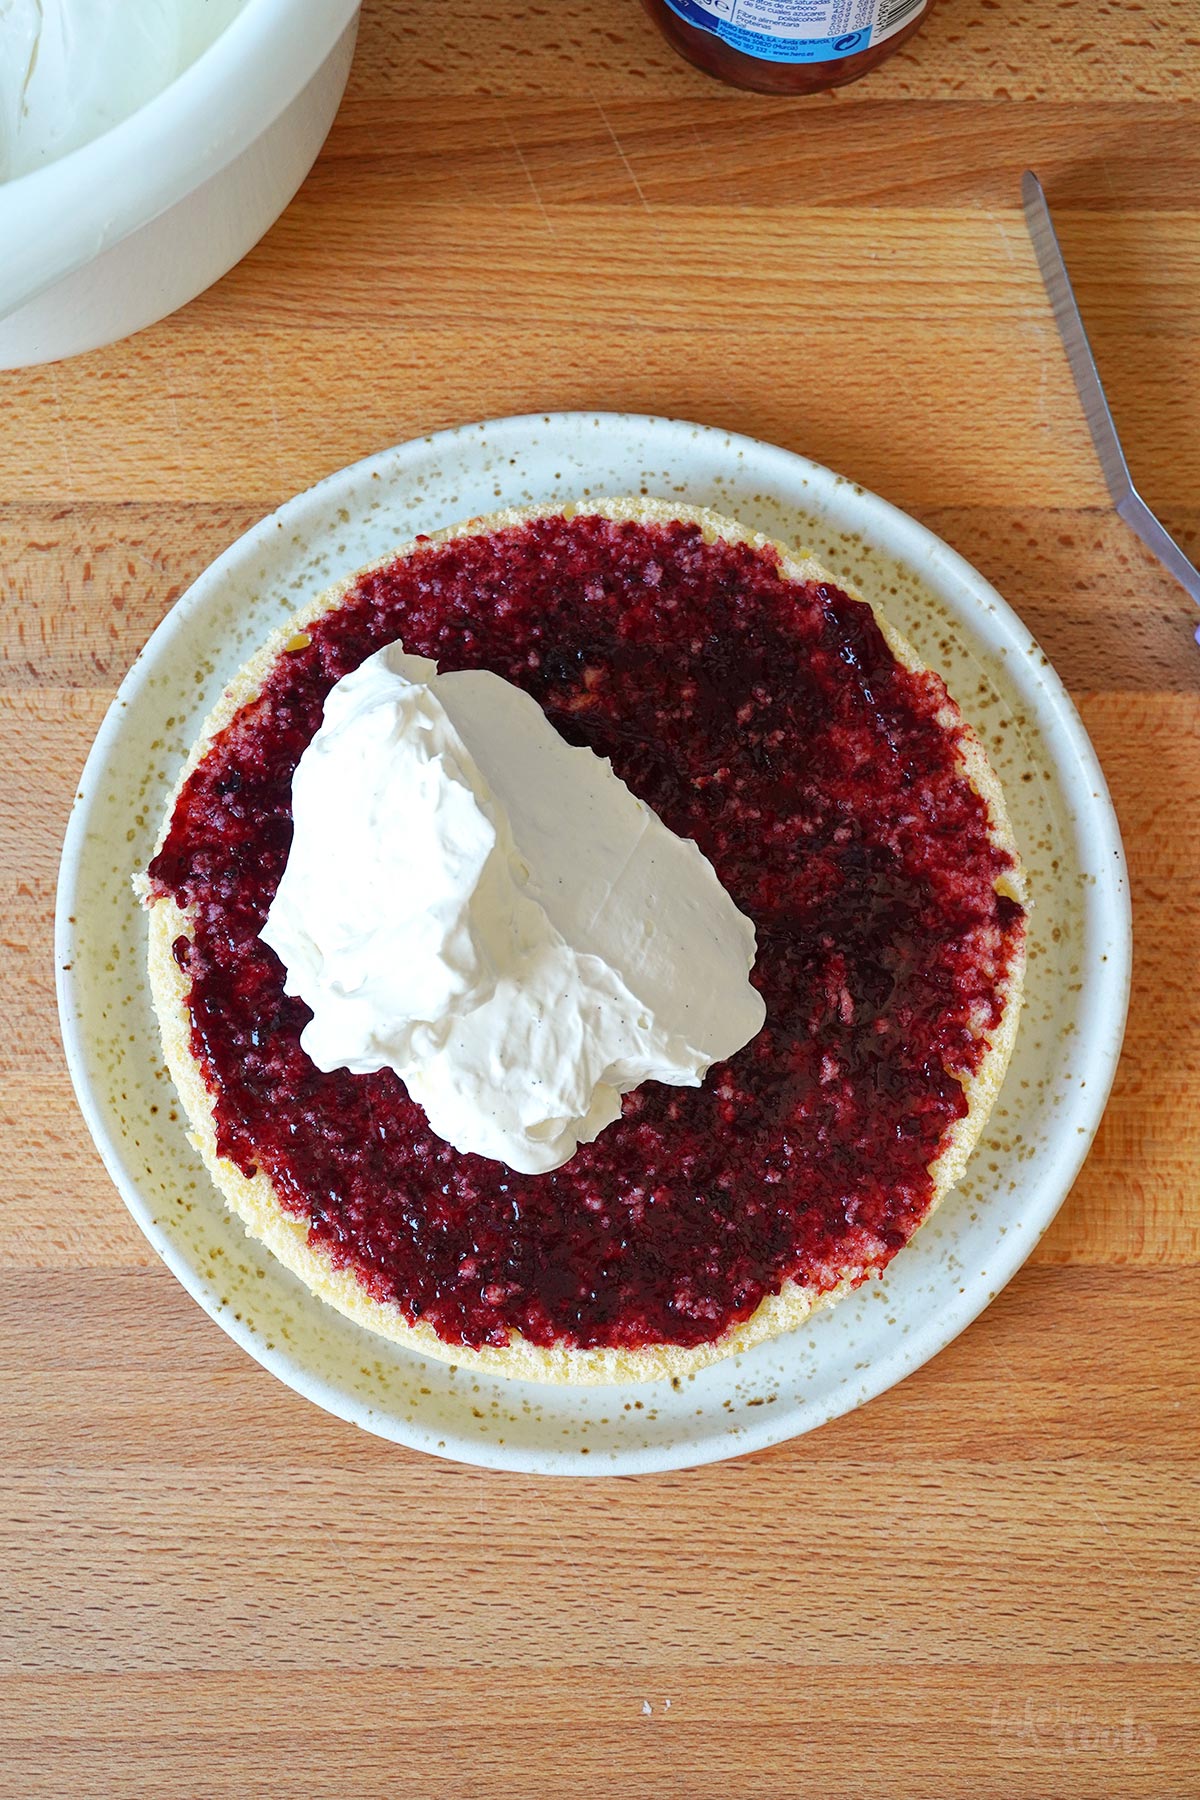
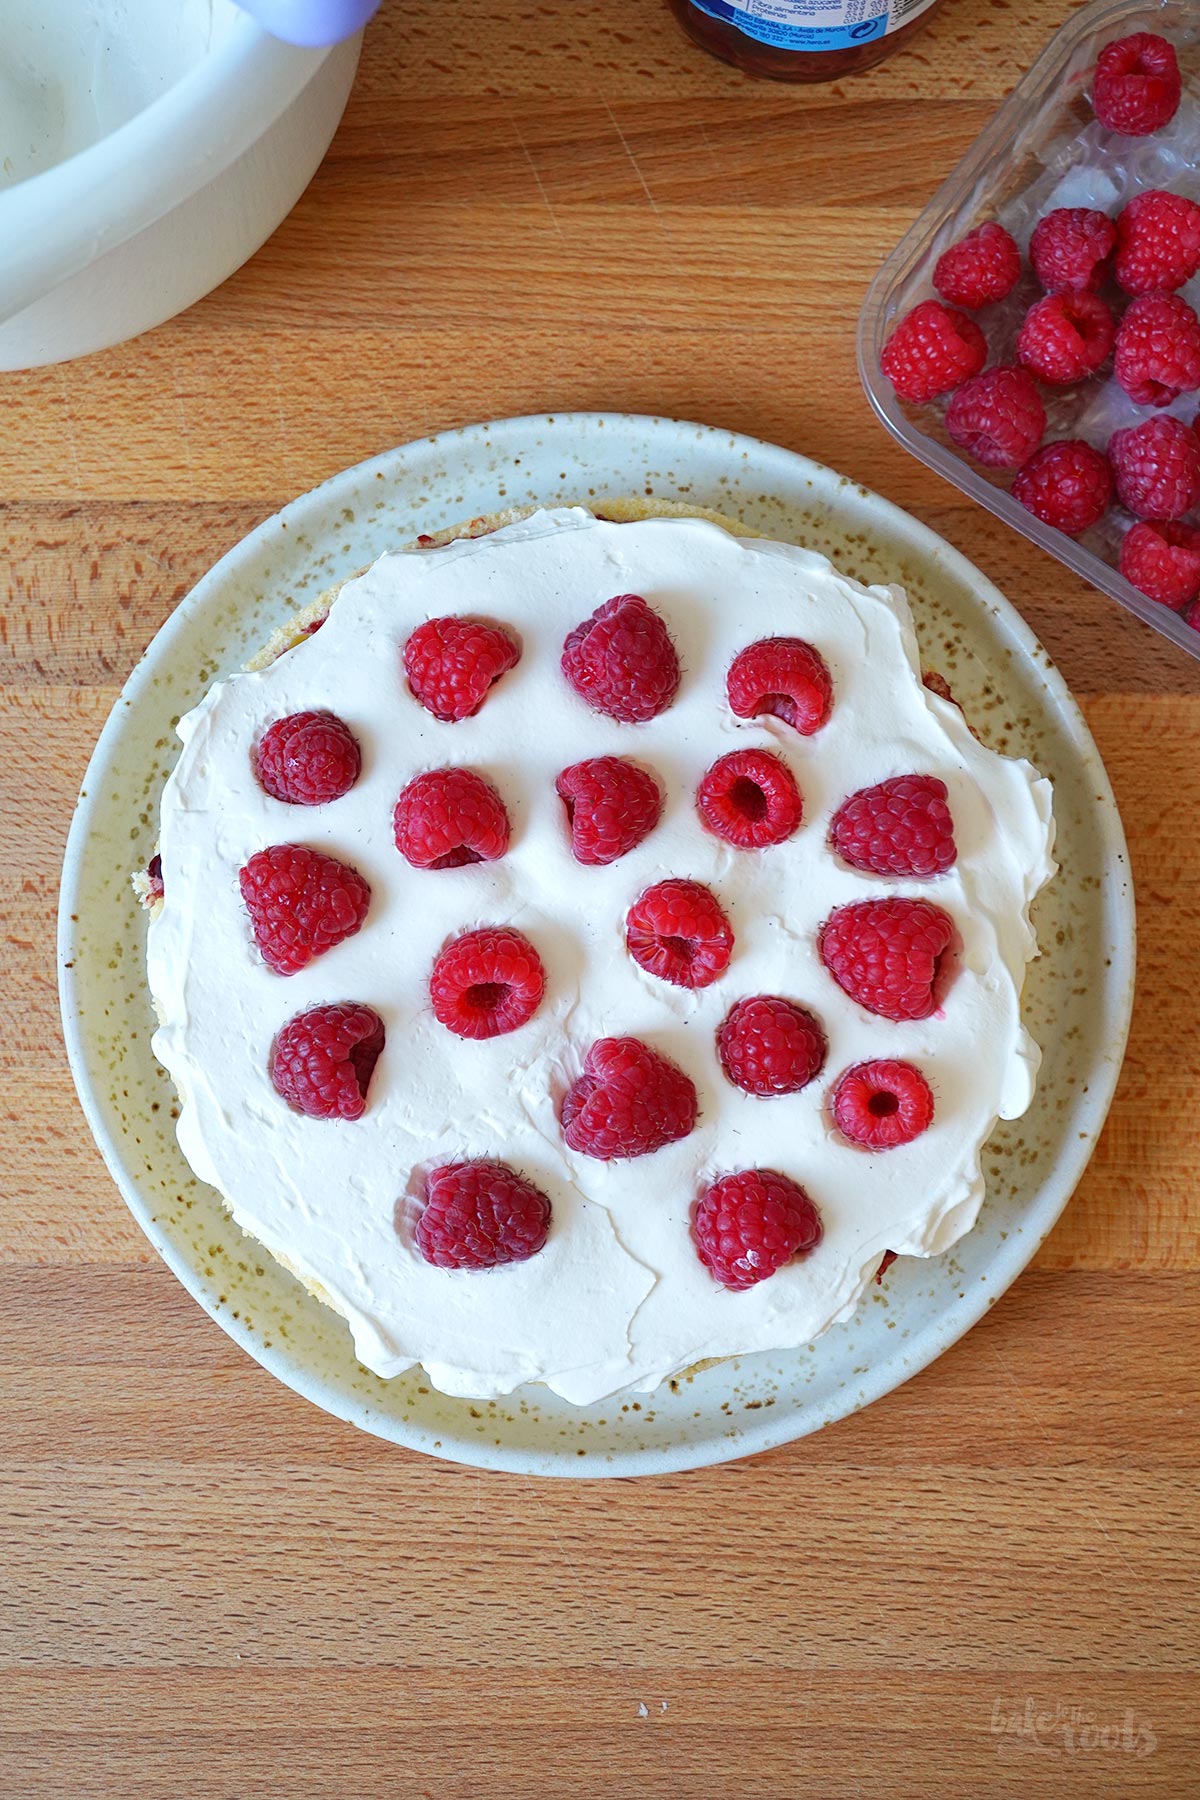
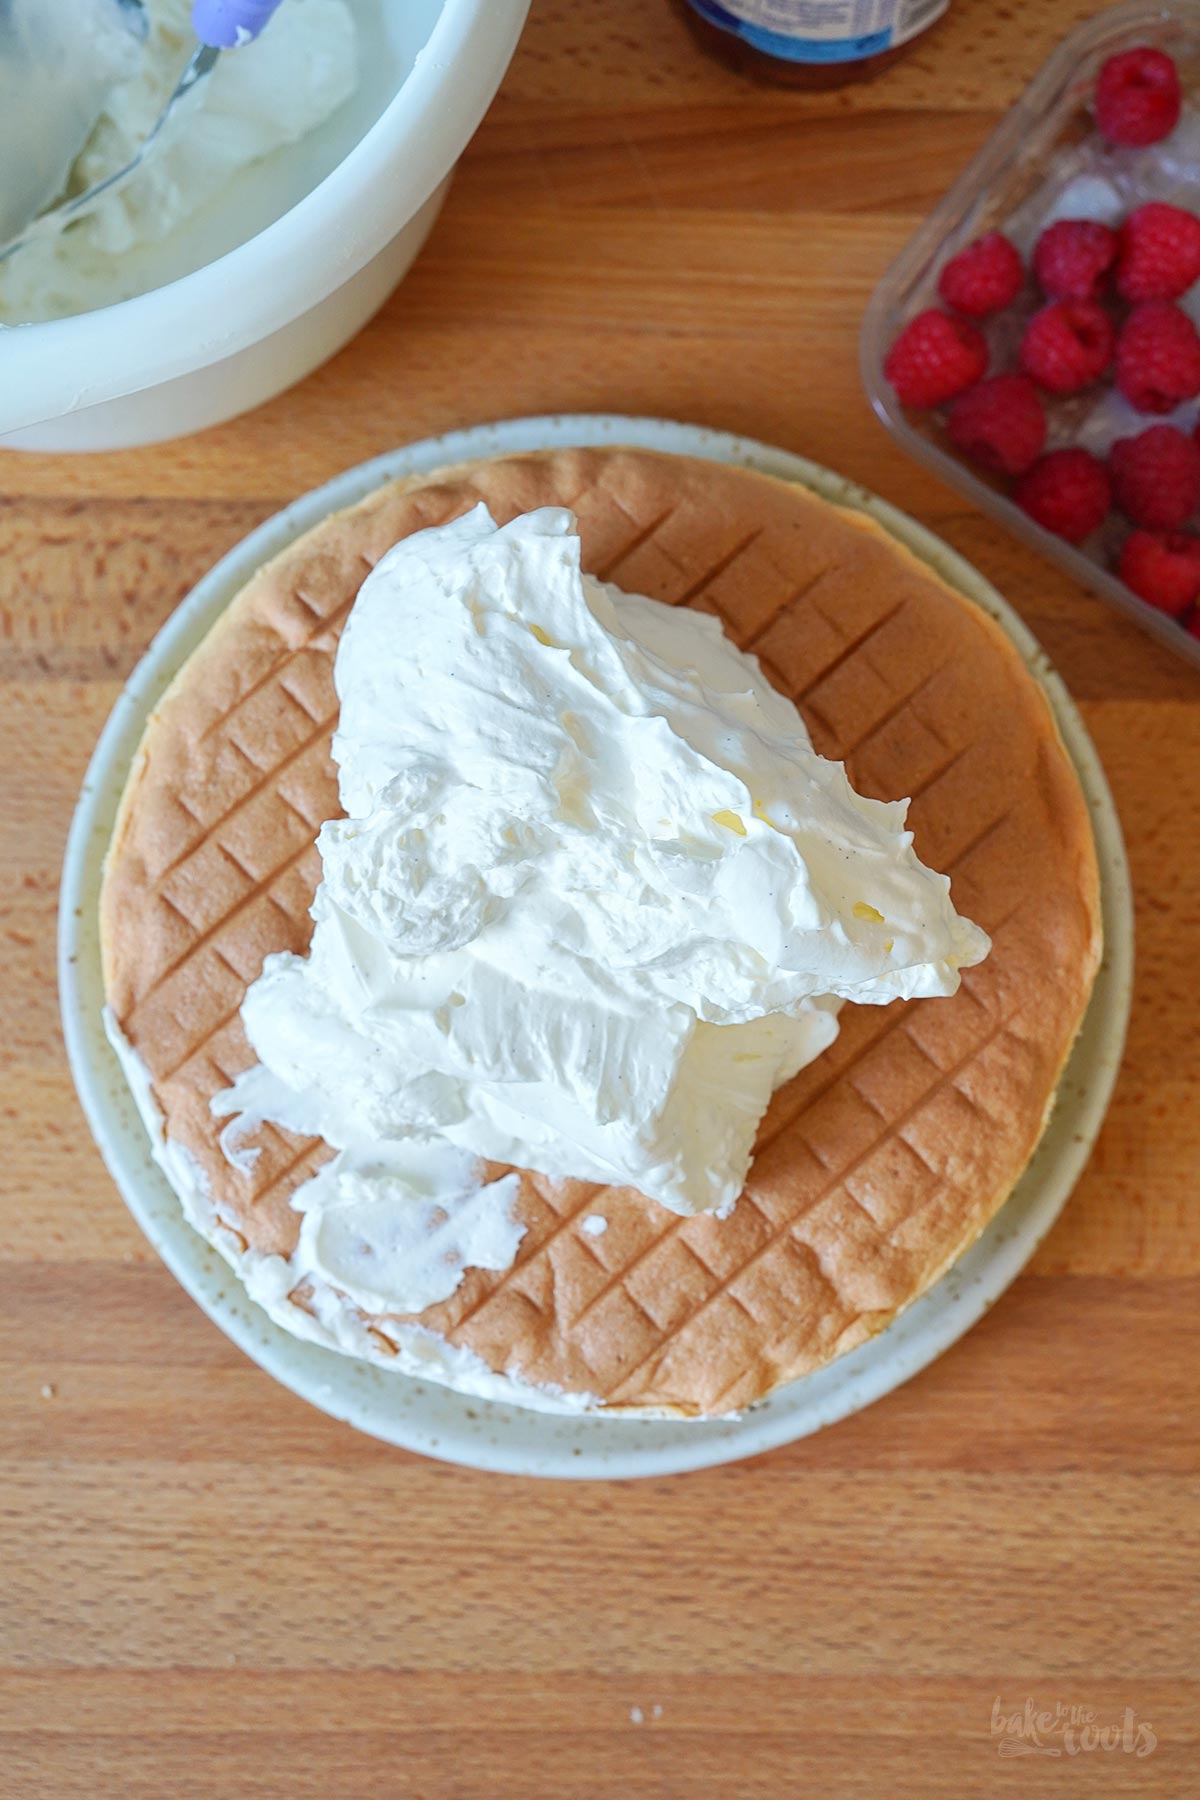
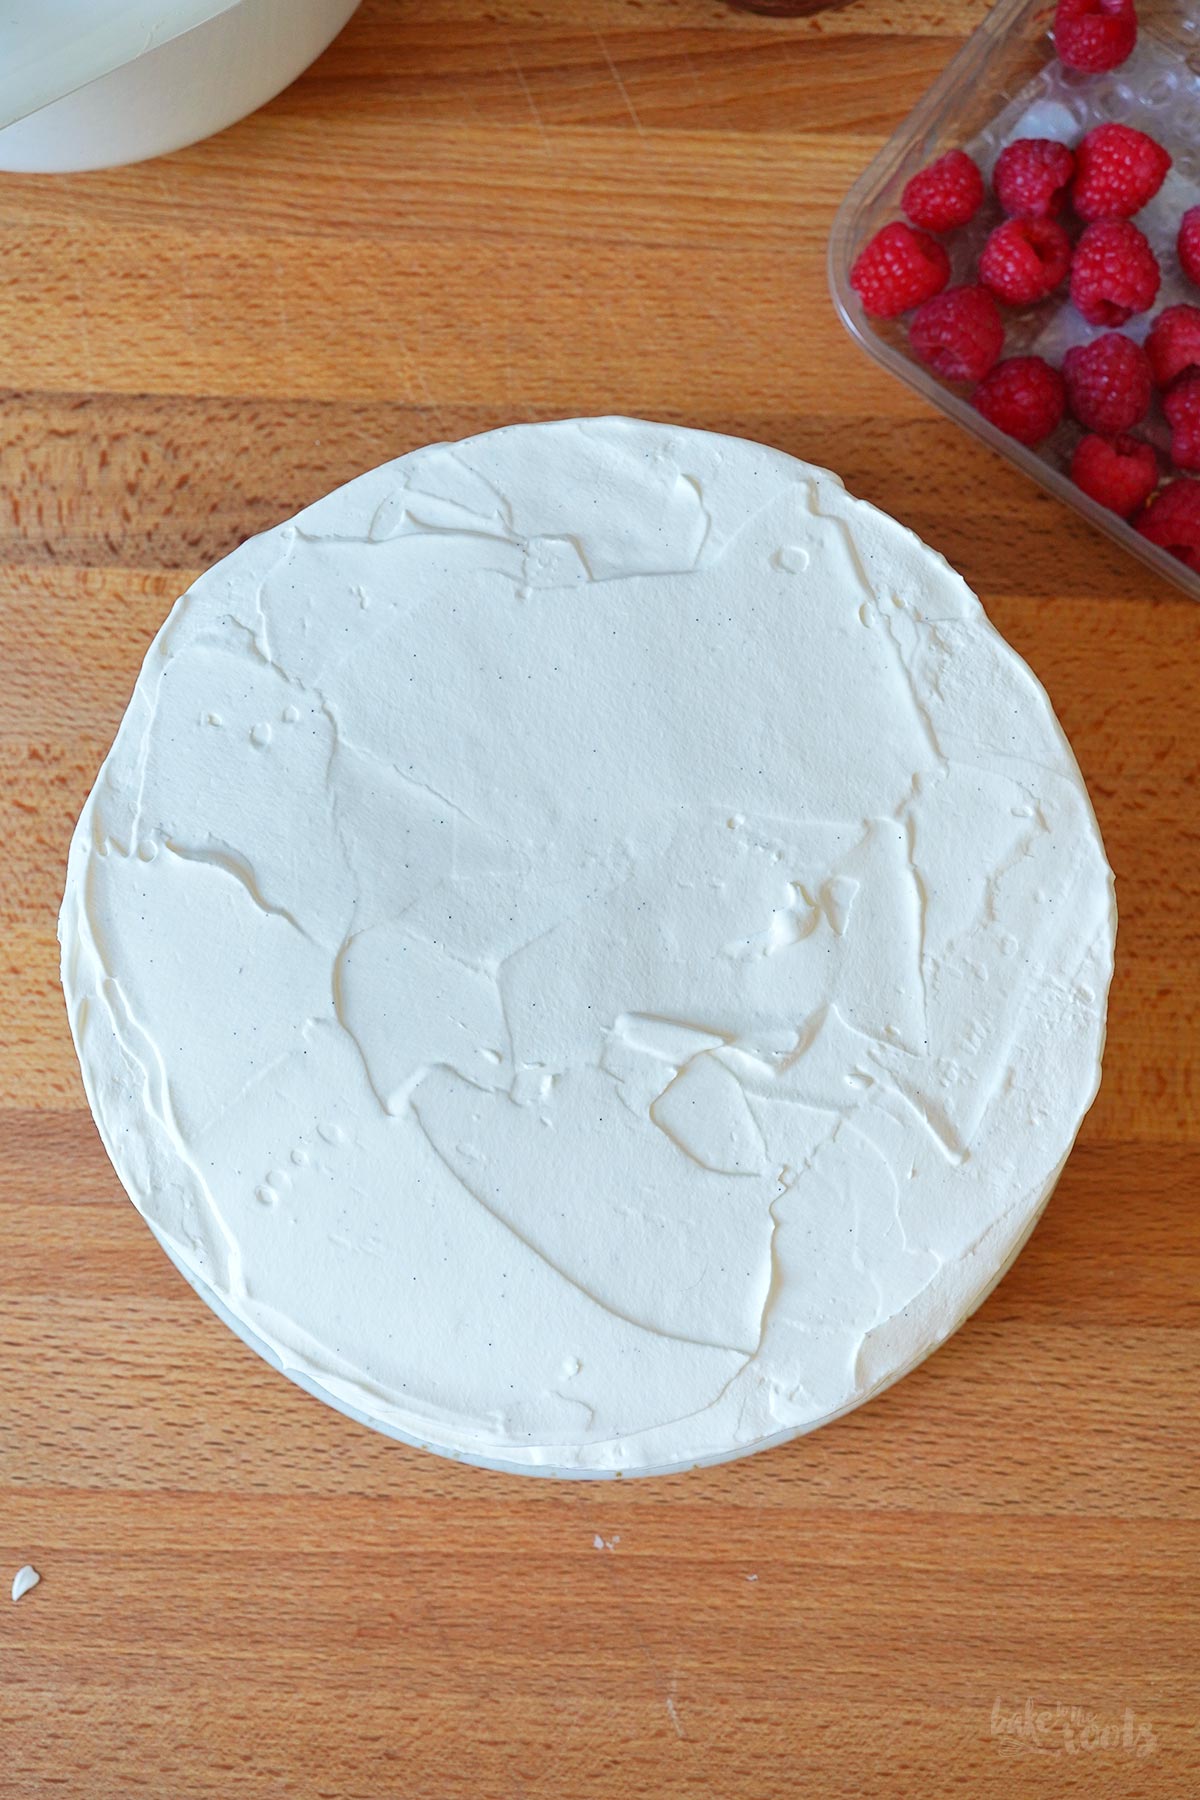
6. To assemble the cake, slice the cake layer horizontally in half. Place the bottom half on a serving platter and spread the jam evenly on top. Add a generous dollop of the mascarpone cream and spread it evenly. If desired, you can press a few raspberries into the cream at this stage – this helps make the cake a bit more stable. Place the top half of the sponge on top and press down gently, then coat the entire cake, sides and top, with the mascarpone cream. Place in the fridge for about 20 minutes.
7. While the cake is chilling, briefly toast the sliced almonds in a non-stick frying pan without any fat or oil added.
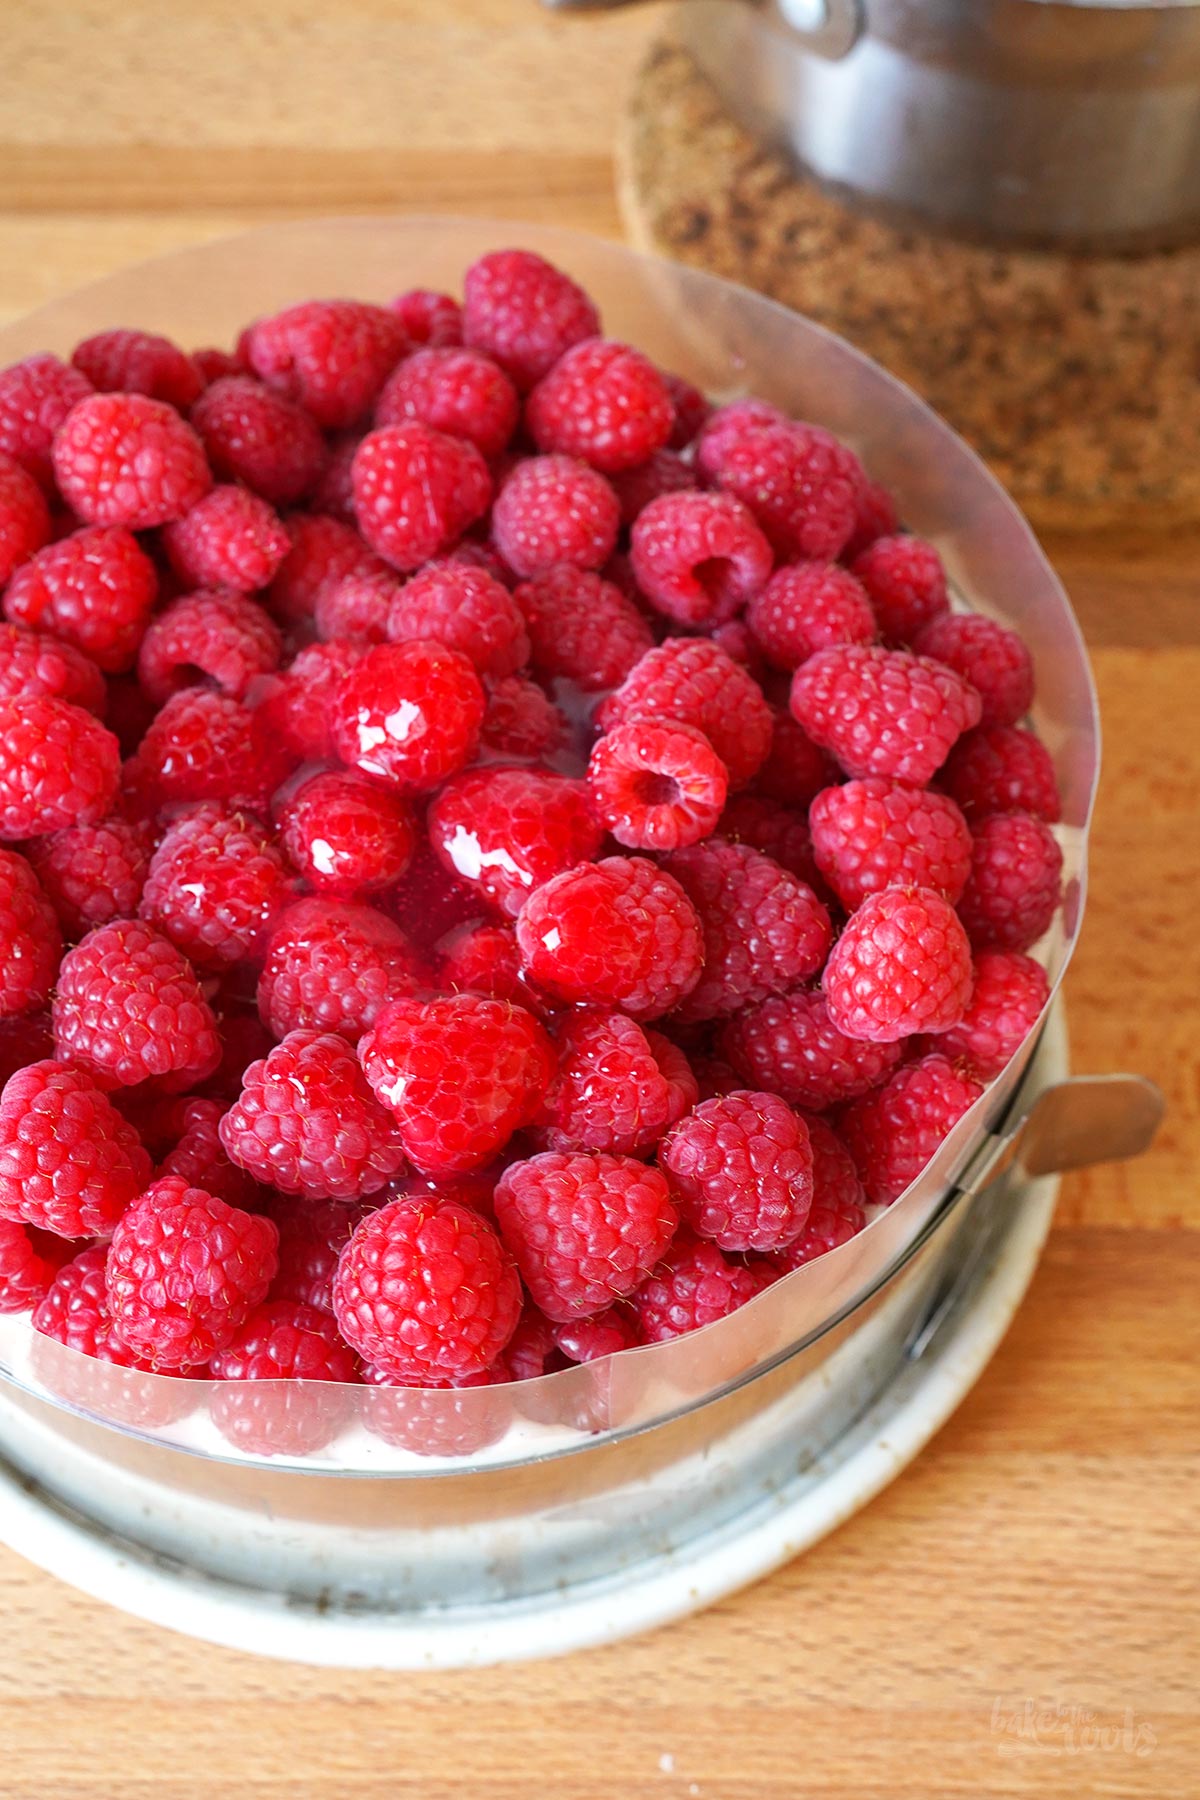
8. Wrap an acetate cake foil* around the cake or use a tall cake ring* and tighten it securely. Arrange raspberries on top of the cake. You can add a single layer only or a more generous amount – we love it when there are plenty of berries.
9. Prepare the cake glaze (Tortenguss) using water and sugar according to the package instructions (see notes). Spoon the glaze over the raspberries to cover them. The berries do not need to be swimming in the glaze, but they should be evenly coated on all sides. Return the cake to the fridge for another 30 minutes.
10. Remove the acetate foil or cake ring, smooth the sides of the cake slightly if necessary, then carefully press the toasted sliced almonds onto the sides of the cake. Return the cake to the fridge until ready to serve.
Notes:
+ If the cake needs to sit out for an extended period, it is advisable to add some cream stiffener* to the mascarpone cream to ensure it holds its shape better.
+ I prefer working with a heavy cream alternative – it’s easier to work with and more stable.
+ For a single layer of raspberries, one packet of cake glaze should be enough – for the cake pictured here, I used a double batch of glaze because I added a more generous amount of raspberries to the top.
1. Den Ofen auf 180°C (350°F) Ober-/Unterhitze vorheizen. Eine 20cm Springform* mit Backpapier auslegen und leicht einfetten. Zur Seite stellen.
2. Die Eier für den Biskuit trennen – das Eigelb in eine große Schüssel geben und zur Seite stellen. Das Eiweiß in einer zweiten Schüssel mit einer Prise Salz aufschlagen, bis es schaumig wird. Die Hälfte des Zuckers (50g) während des Aufschlagens langsam einrieseln lassen und dann für weitere 3-4 Minuten aufschlagen, bis die Masse schön dick und glänzend ist.
3. Den restlichen Zucker und die Vanillepaste zum Eigelb dazugeben und ebenfalls für etwa 3-4 Minuten aufschlagen – die Mischung sollte hell und luftig aussehen. Das Mehl in mehreren Portionen in die Schüssel sieben und mit einem Gummispatel unterziehen. Als Nächstes das aufgeschlagene Eiweiß (Baisermasse) ebenfalls in mehreren Portionen unterheben. Zu Anfang kann man hier etwas forscher mischen, um den Teig zu lockern, der Großteil der Baisermasse sollte allerdings vorsichtig untergehoben werden, um so viel Volumen wie möglich zu erhalten.
4. Den Teig in die vorbereitete Springform füllen und glatt streichen. Die Form in den vorgeheizten Ofen stellen, etwas Wasser auf den Boden des Ofens schütten, um Dampf zu erzeugen, und die Ofentür dann sofort schließen. Den Biskuit für etwa 26-28 Minuten backen. Aus dem Ofen holen, kurz in der Form abkühlen lassen, dann vorsichtig aus der Form lösen und auf einem Kuchengitter komplett abkühlen lassen.
5. Für die Mascarponecreme den Mascarpone mit Puderzucker und Vanillepaste in eine große Schüssel geben und verrühren. Die Sahne dazugeben und zunächst langsam, dann auf höchster Stufe aufschlagen, bis die Creme schön kompakt ist – das kann gerne mal 2-3 Minuten dauern.
6. Zum Zusammenbau des Törtchens den Biskuit horizontal halbieren, dann die untere Hälfte auf eine Servierplatte setzen und die Marmelade darauf verteilen. Eine gute Portion der Mascarponecreme daraufgeben und gleichmäßig verteilen. Wer mag, kann hier noch ein paar Himbeeren in die Creme drücken – macht das Törtchen etwas stabiler. Die obere Hälfte des Biskuit auflegen und leicht festdrücken, dann das Törtchen rundum mit der Mascarponecreme einstreichen. Für etwa 20 Minuten in den Kühlschrank stellen.
7. Während das Törtchen durchkühlt, kann man die Mandelbättchen in einer beschichteten Pfanne ohne Fett oder Öl kurz anrösten.
8. Eine Acetatfolie* oder einen höheren Tortenring* um das Törtchen legen und festziehen. Die Himbeeren auf der Oberfläche verteilen – je nach nach Belieben nur eine Lage, oder auch etwas mehr.
9. Den Tortenguss mit Wasser und Zucker nach Packungsanleitung zubereiten/kochen (s. Hinweise). Mit einem Löffel auf den Himbeeren verteilen – die Beeren müssen nicht im Tortenguss schwimmen, sollten aber überall gleichmäßig mit dem Guss bedeckt sein. Das Törtchen noch einmal für 30 Minuten in den Kühlschrank stellen.
10. Die Folie bzw. den Tortenring entfernen und die Seiten ggf. noch einmal ein wenig glätten, dann die gerösteten Mandelblättchen vorsichtig an die Seiten des Törtchens drücken. Das Törtchen bis zum Servieren wieder in den Kühlschrank stellen.
Hinweise:
+ Wenn das Törtchen etwas länger herumstehen muss, empfiehlt es sich, für die Creme noch etwas Sahnesteif* zu verwenden, damit die Creme stabiler wird.
+ Ich bevorzuge, mit einer Alternative für die Sahne zu arbeiten – die Handhabung ist einfacher und die Creme wird fester.
+ Bei einer einfachen Schicht Himbeeren sollte eine Packung Tortenguss ausreichen – für das Törtchen hier habe ich die doppelte Menge verwendet, weil auch mehr Himbeeren auf dem Törtchen gelandet sind.
Craving more? Keep in touch on Facebook, Instagram and Pinterest for new post updates and more. You can also contact me with any questions or inquiries!
Here is a version of the recipe you can print easily.
Print
Raspberry Mascarpone Layer Cake
- Prep Time: 01:00
- Cook Time: 00:28
- Total Time: 04:00
- Yield: 1 1x
- Category: Layer Cakes
- Method: -
- Cuisine: Germany
- Diet: Vegan
Description
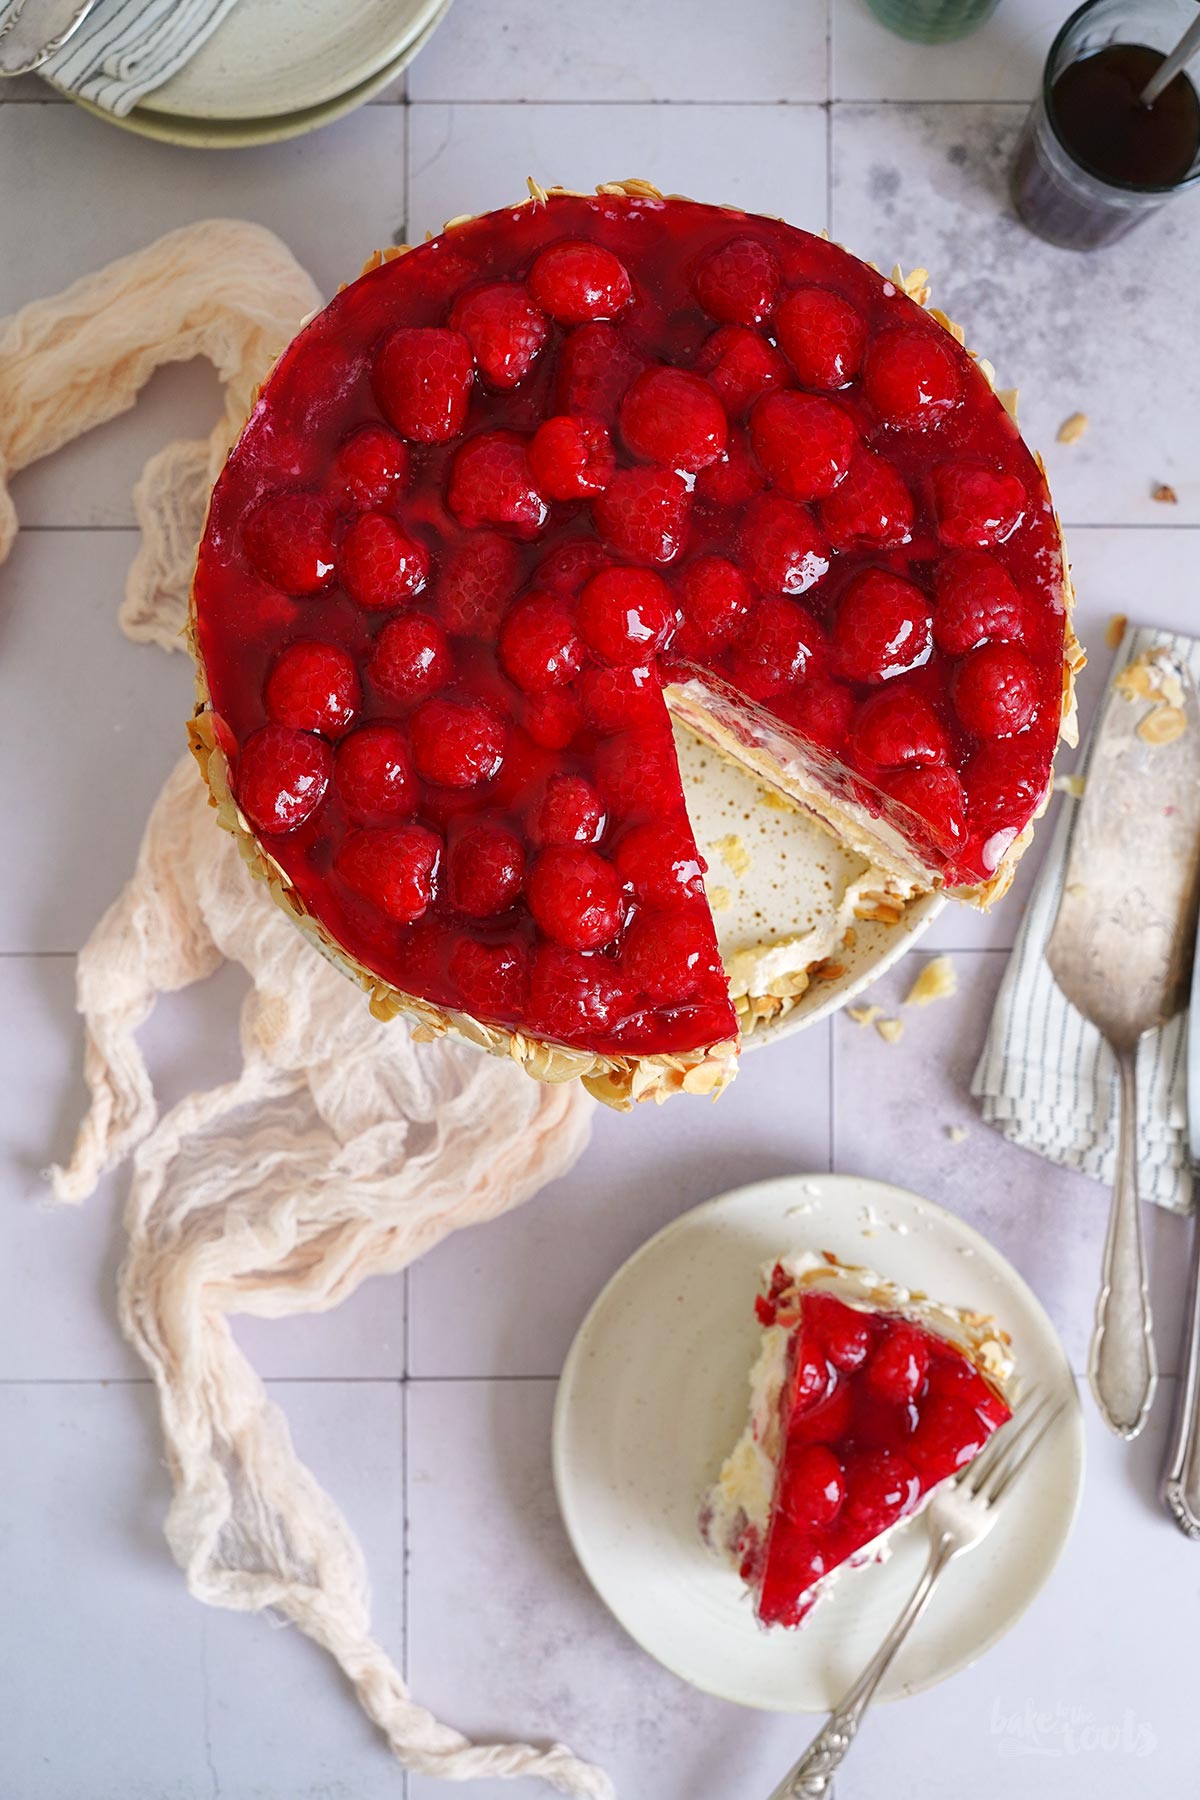
This Raspberry Mascarpone Layer Cake is an absolute dream – it’s the perfect cake to celebrate something special! We love this delicious raspberry treat!
Ingredients
For the sponge cake:
4 medium eggs, separated
1 pinch of salt
1/2 cup (100g) sugar (fine)* , divided
1 tsp. vanilla bean paste*
3.5 oz. (100g) all-purpose flour*
For the mascarpone cream:
9 oz. (250g) mascarpone, cold
2 tbsp. confectioners‘ sugar*
2 tsp. vanilla bean paste*
7 oz. (200g) heavy cream or an alternative* (see notes), cold
For the filling/decoration:
2–3 tbsp. raspberry jam*
3.5 oz. (100g) almonds*, sliced & toasted
For the raspberry layer:
14-21 oz. (400–600g) fresh raspberries (see notes)
1 sachet of red cake glaze* (Tortenguss)
1 cup (250ml) water
2 tbsp. sugar (fine)*
Instructions
1. Preheat the oven to 180°C (350°F). Line a 20cm springform tin* with baking parchment and lightly grease it. Set aside.
2. Separate the eggs – add the yolks to a large bowl and set them aside. In a second bowl, mix the egg whites with a pinch of salt until they start looking foamy. Gradually add half of the sugar (1/4 cup/50g) while mixing, then continue mixing for about 3–4 minutes until the mixture is thick and glossy.
3. Add the remaining sugar and the vanilla paste to the egg yolks and mix for about 3–4 minutes as well – the mixture should look light and fluffy. Sift the flour into the bowl in several batches and fold it in using a rubber spatula. Next, fold in the beaten egg whites (meringue), also in several batches. You may mix a bit more vigorously at the beginning to loosen the batter. However, the majority of the meringue should be folded in gently to preserve as much volume as possible. Pour the batter into the prepared springform tin and smooth out the top.
4. Place the pan in the preheated oven, pour a small amount of water onto the oven floor to create steam, and immediately close the oven door. Bake the sponge cake for about 26–28 minutes. Remove it from the oven, let it cool briefly inside the baking tin, then carefully remove it from the tin and let it cool down completely on a wire rack.
5. For the mascarpone cream, add the mascarpone, confectioners‘ sugar, and vanilla paste to a large bowl and stir to combine. Add the heavy cream and mix – start slow then increase the mixing speed until the cream is nice and stiff – this may take 2–3 minutes.
6. To assemble the cake, slice the cake layer horizontally in half. Place the bottom half on a serving platter and spread the jam evenly on top. Add a generous dollop of the mascarpone cream and spread it evenly. If desired, you can press a few raspberries into the cream at this stage – this helps make the cake a bit more stable. Place the top half of the sponge on top and press down gently, then coat the entire cake, sides and top, with the mascarpone cream. Place in the fridge for about 20 minutes.
7. While the cake is chilling, briefly toast the sliced almonds in a non-stick frying pan without any fat or oil added.
8. Wrap an acetate cake foil* around the cake or use a tall cake ring* and tighten it securely. Arrange raspberries on top of the cake. You can add a single layer only or a more generous amount – we love it when there are plenty of berries.
9. Prepare the cake glaze (Tortenguss) using water and sugar according to the package instructions (see notes). Spoon the glaze over the raspberries to cover them. The berries do not need to be swimming in the glaze, but they should be evenly coated on all sides. Return the cake to the fridge for another 30 minutes.
10. Remove the acetate foil or cake ring, smooth the sides of the cake slightly if necessary, then carefully press the toasted sliced almonds onto the sides of the cake. Return the cake to the fridge until ready to serve.
Notes
+ If the cake needs to sit out for an extended period, it is advisable to add some cream stiffener* to the mascarpone cream to ensure it holds its shape better.
+ I prefer working with a heavy cream alternative – it’s easier to work with and more stable.
+ For a single layer of raspberries, one packet of cake glaze should be enough – for the cake pictured here, I used a double batch of glaze because I added a more generous amount of raspberries to the top.
Links marked with an asterisk (*) are affiliate links (advertising/Werbung) to Amazon Germany. If you click on one of those links and buy something via this link, I will get a commission for that sale. The price of whatever you buy is not affected in any way by this.


wow, this cake is a triumph!
Thxs :)