Even though you will find many more recipes for cakes and other sweet stuff here on the blog, we are big fans of all kinds of savory dishes! A delicious dinner like this simple Pierogi & Sausage Skillet is always devoured with great enthusiasm and in record time. Leftovers aren’t really happening with stuff like that. You might want to go for a short walk after dinner though – all those calories need to be distributed evenly before you go to bed!

We love Pierogi – these little dumplings take some time to make ’em yourself, but luckily, you can find them in the frozen food section of many supermarkets. Even the cheaper supermarkets often have them on sale every other month. Our Pierogi skillet is particularly quick to make with frozen dumplings – win-win!
When making the dumplings yourself, you have complete control – something we really like here. If you don’t quite like the filling of the ready-made Pierogi, you can simply use a filling you like better. Not in the mood for meaty dumplings? Well, don’t use meat. Want to add cheese? No problem! You can do anything you like. If you’re worried about not being able to get the shape right by hand, you can use a handy dumpling maker*. This isn’t just for making pierogi – that one is also useful for preparing Gyoza, for example.

Anyway, if you make the dumplings from scratch, they are also great for freezing. So, with a little extra work, you can freeze leftovers and that way you get several meals that are less time-consuming in the future.
Well. Pierogi go well with sausages like the Kraków sausages we used. If you don’t have them at hand, you can replace them with bacon, for example. When using smoked sausages, you have to be a bit careful, though. Never cook them at very high heat, or you might create substances (acrylamide) you don’t want to have in your food. Keep that in mind.
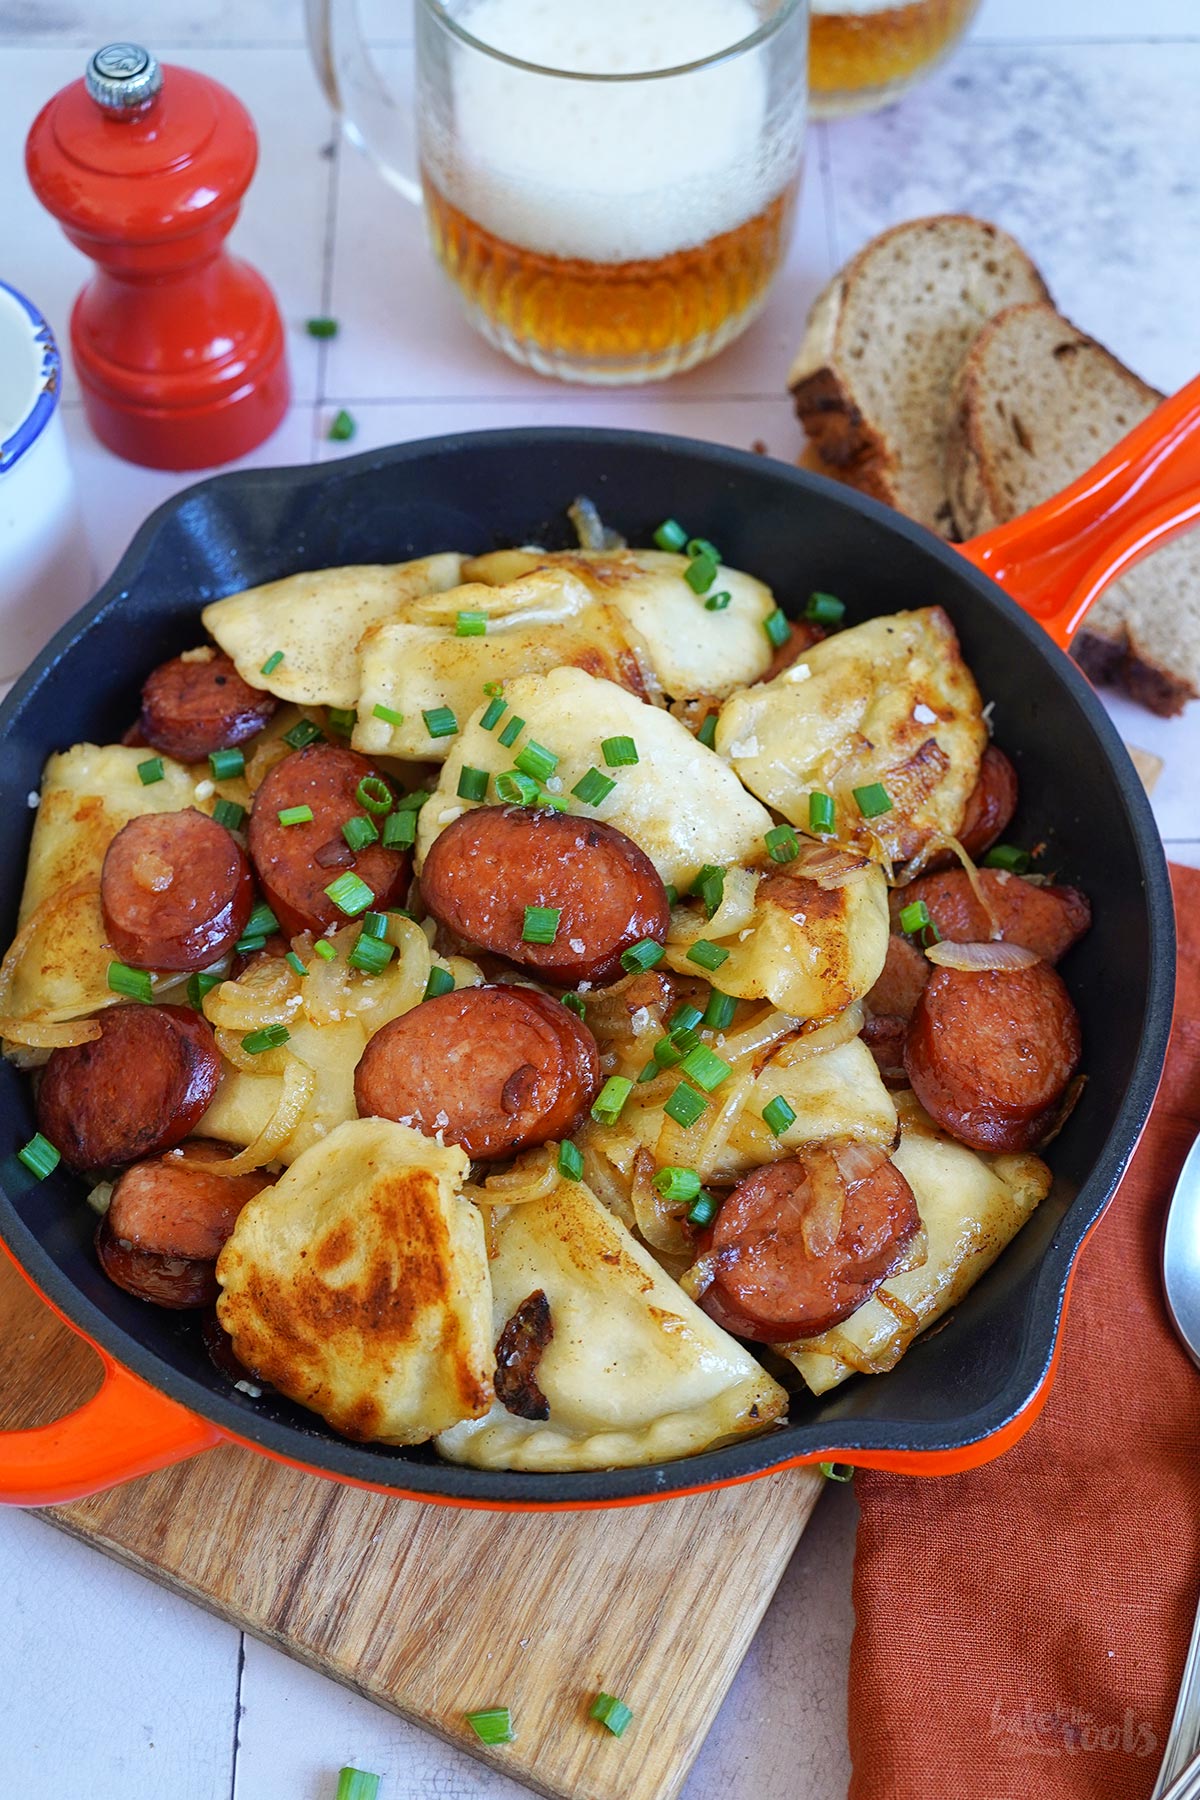
Otherwise, there’s not much more to say about this Pierogi skillet – just prepare and fry everything separately, and then bring everything together at the end. We usually work with one pan and simply place the ingredients on plates in between. You could also use several frying pans or pots at the same time – saves some time.
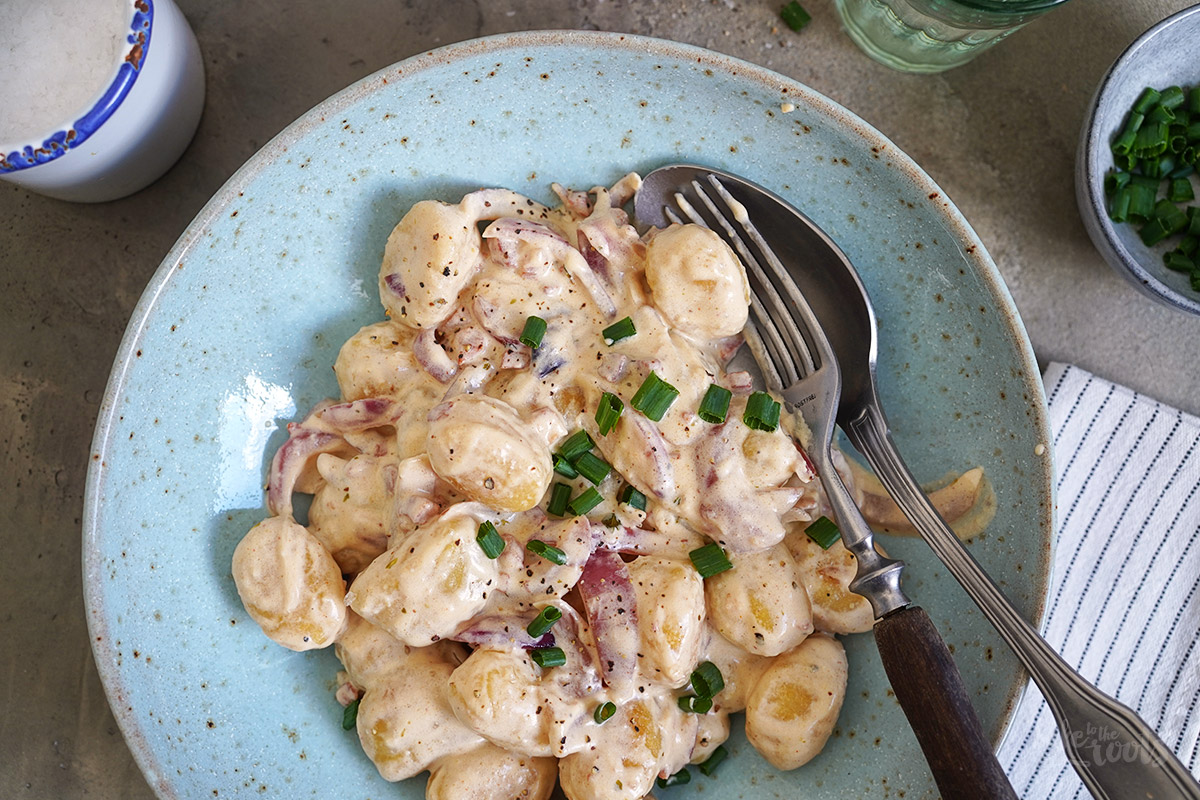
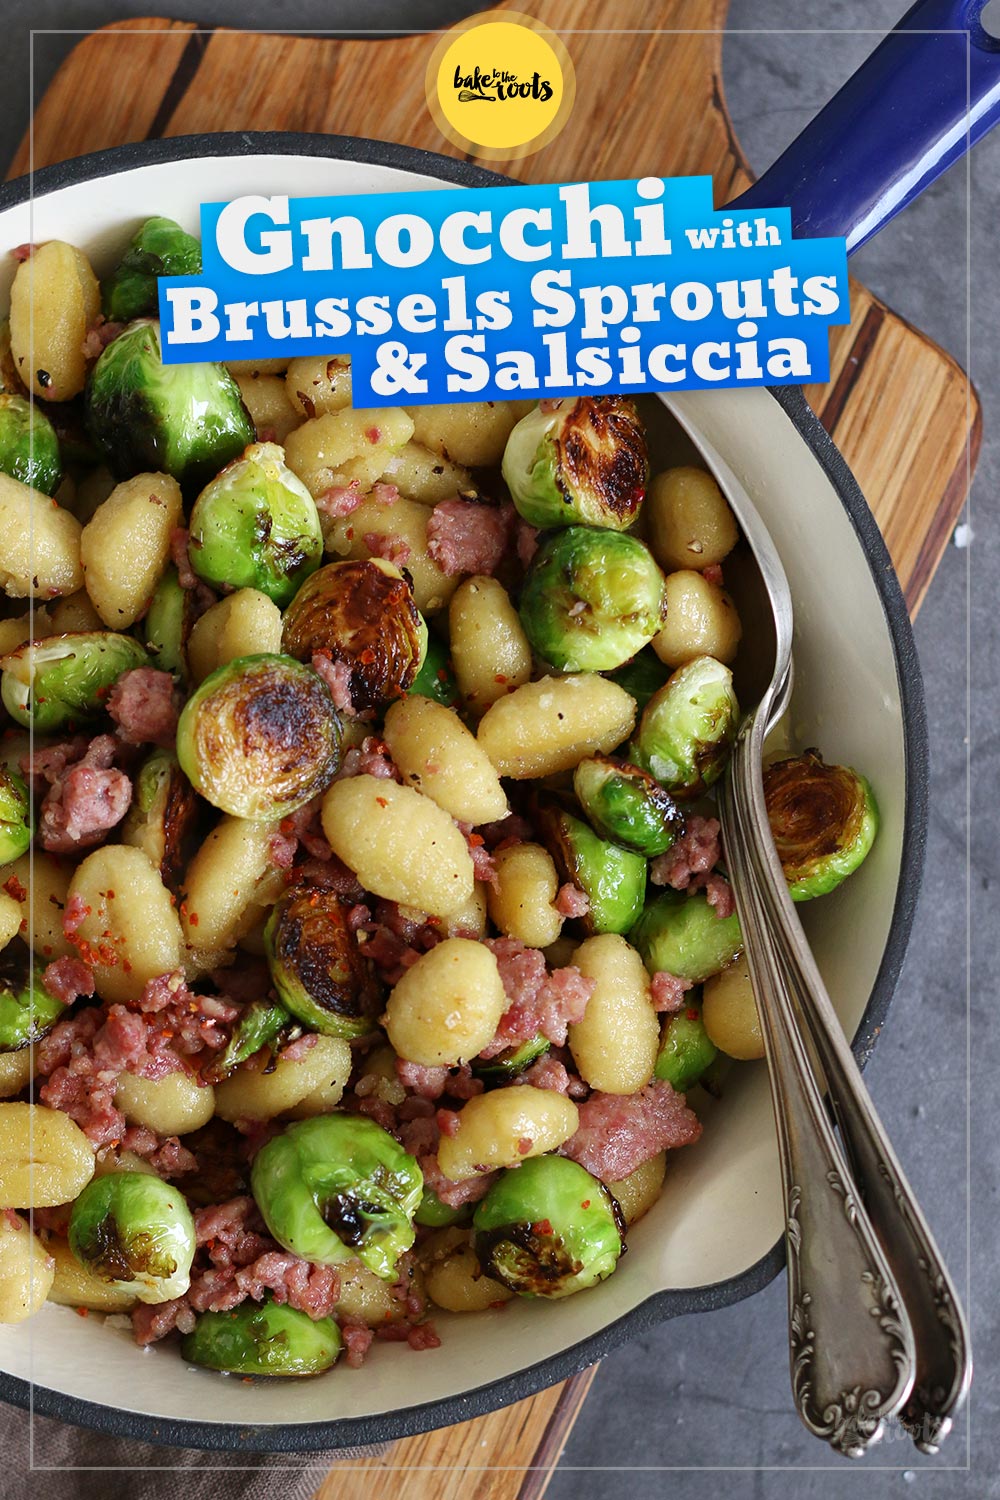
We like dishes like this where you can prepare everything in a frying pan and ideally serve it in that frying pan as well. You can save some time when washing up. If you feel the same way, you should try our Gnocchi with Brussels Sprouts & Salsiccia. A super delicious weeknight dinner – even though there are Brussels sprouts involved!
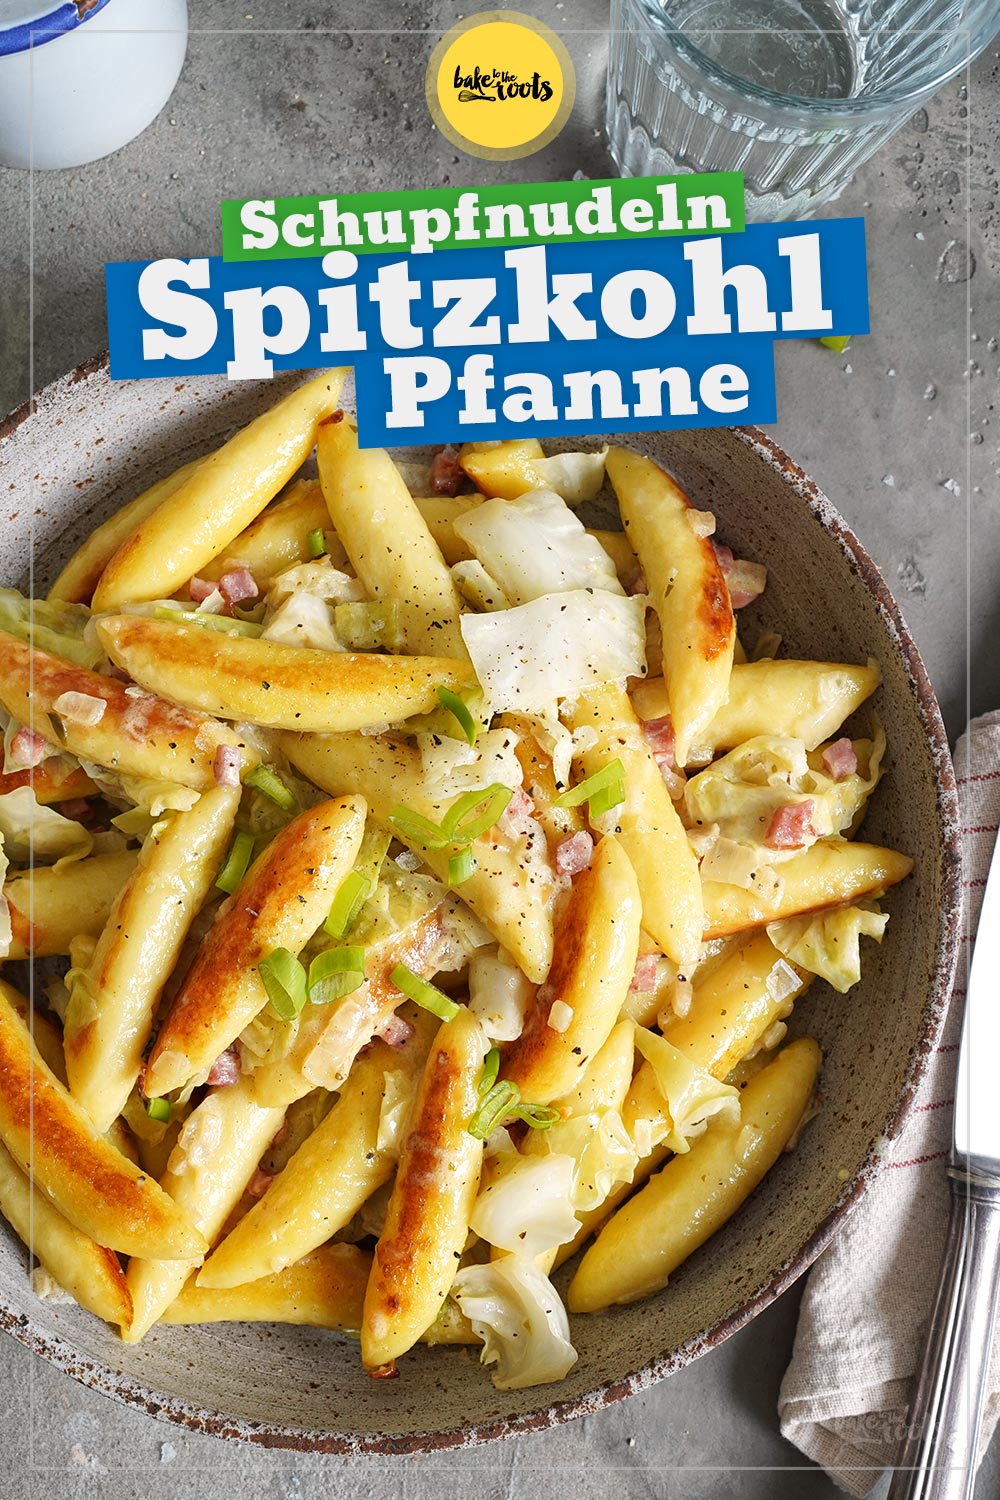
Have you heard of Schupfnudeln? They are the German version of Gnocchi… just differently shaped. Our German Schupfnudeln & Cabbage Skillet is an absolute treat! We love to make it in fall and winter when cabbage is in season. So good!
INGREDIENTS / ZUTATEN
(2-3 servings)
some oil & butter for frying
18 oz. (500g) Pierogi (pre-cooked)
9 oz. (250g) Kielbasa/Krakauer sausage*, sliced
1 large onion, halved & sliced
2-3 garlic cloves, finely chopped
salt, pepper
some chopped chives for serving
(2-3 Portionen)
etwas Öl & Butter zum Anbraten
500g Pierogi (Kühlregal)
250g Kielbasa/Krakauer*, in Scheiben
1 große Zwiebel, halbiert & in Spalten
2-3 Knoblauchzehen, fein gehackt
Salz, Pfeffer
etwas Schnittlauch, in Ringen


DIRECTIONS / ZUBEREITUNG
1. Prepare the Pierogi according to the package instructions – depending on the product, you may need to boil the dumplings briefly, most of them can be thrown directly into the frying pan.
2. Cut the sausage into thin slices. Peel the onion and garlic. Cut the onion in half and then slice it thinly. Chop the garlic finely.
3. Heat a frying pan with some oil and butter. Add the sausage slices and fry them for a few minutes until browned on all sides. The type of sausage we are using here should not be heated too much to prevent burning and the development of acrylamide. Remove the sausage from the frying pan and set aside.
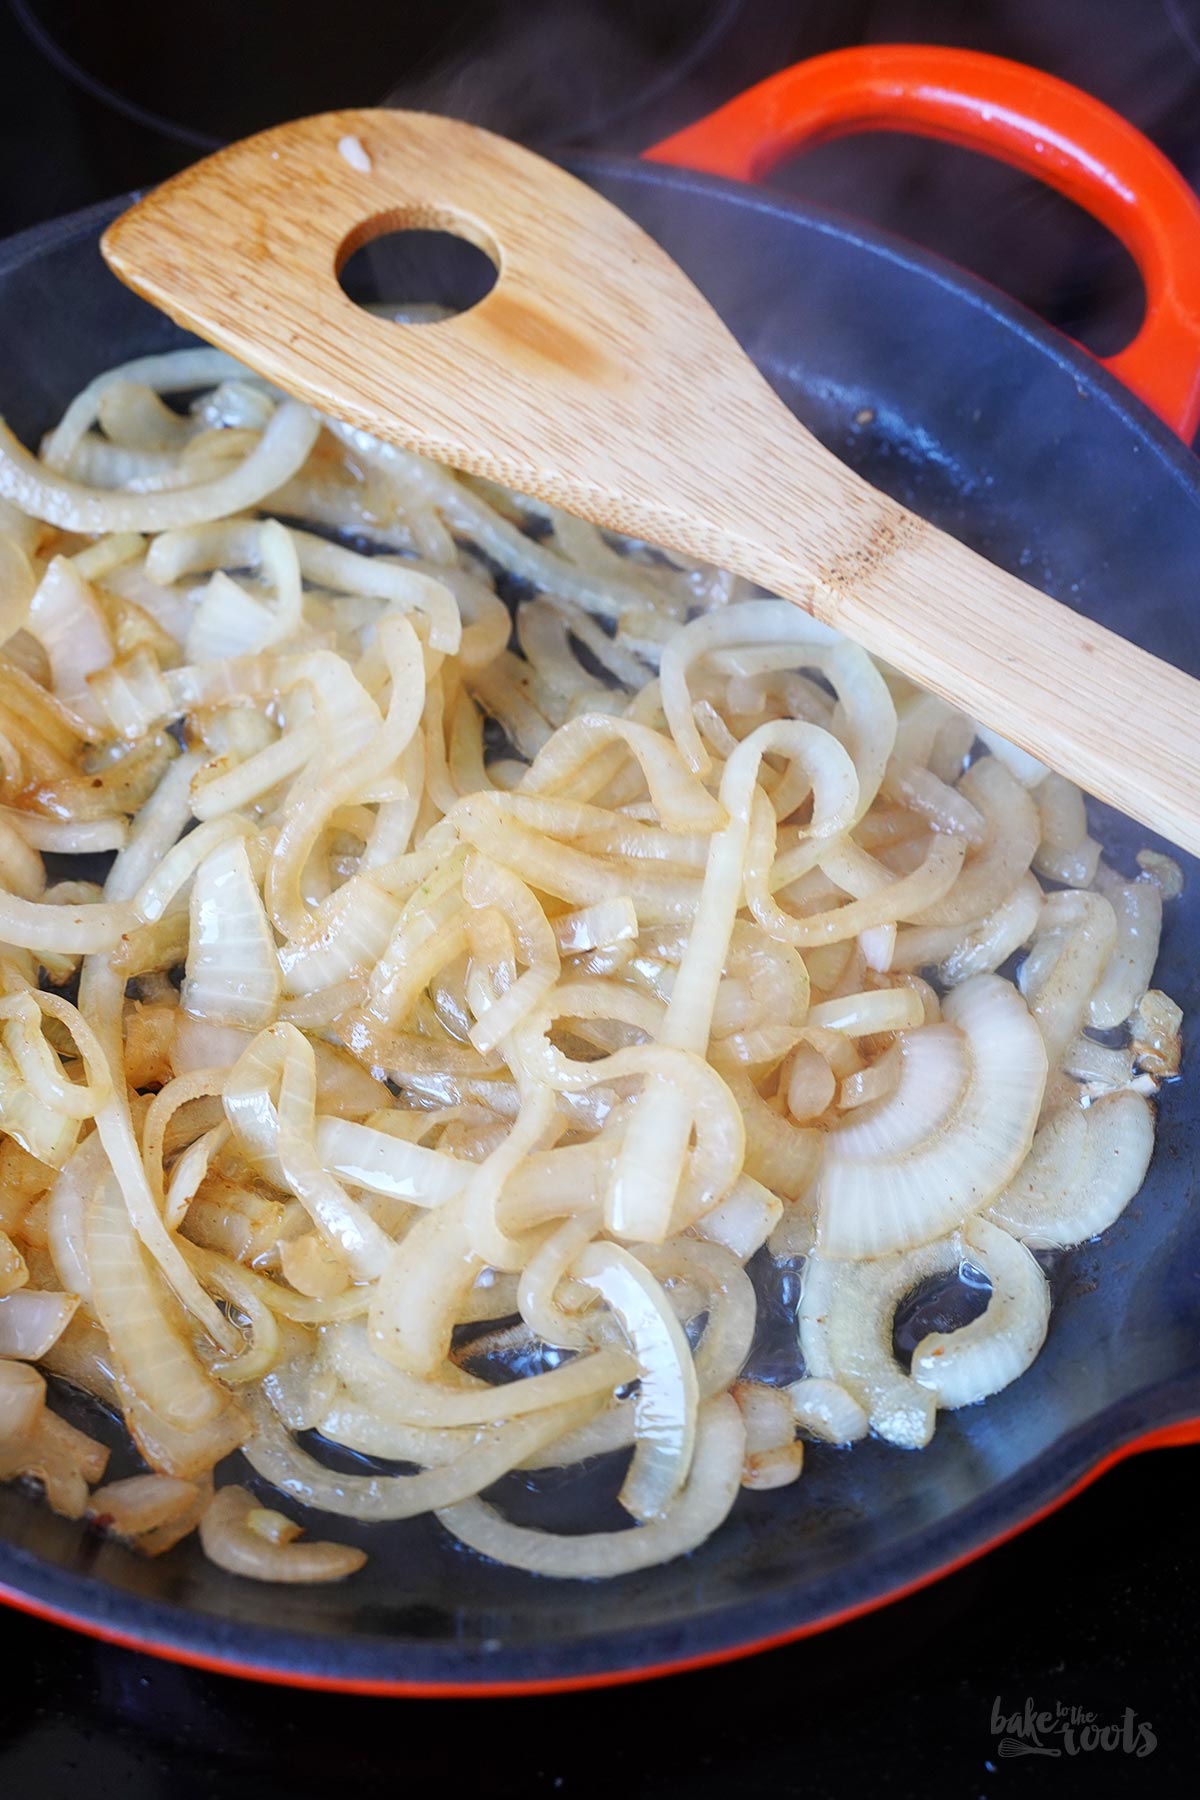
4. If necessary, add a little more butter and fry the sliced onion until it is nicely softened and has browned – this can take about 10-12 minutes.
5. Next, add the garlic to the onions and sauté briefly, then add the pierogi to the pan. If the Pierogi are pre-cooked, they need only 2-3 minutes in the pan. If you need/want to cook the pierogi in the pan, fry them together with the onions for about 7-8 minutes. Finally, return the sausage slices and let them warm up with the rest. Season the pierogi with salt and pepper to your liking, and sprinkle with chives before serving.
1. Die Pierogi nach Packungsanleitung vorbereiten – je nach Produkt muss man die Teigtaschen kurz kochen, manche kann man aber auch direkt in die Pfanne schmeißen.
2. Die Wurst in Scheiben schneiden. Zwiebel und Knoblauch jeweils schälen. Die Zwiebel halbieren und dann in dünne Scheiben schneiden, den Knoblauch fein hacken.
3. Eine Pfanne mit etwas Öl und Butter erhitzen. Die Wurstscheiben dazugeben und einige Minuten anbraten, bis sie rundum gebräunt sind. Man sollte bei dieser Art von Würsten nicht zu scharf anbraten, damit nichts anbrennt und sich möglichst kein Acrylamid entwickelt. Die angebratene Wurst aus der Pfanne nehmen und zur Seite stellen.
4. Falls notwendig, noch etwas Butter nachlegen und dann die dünn geschnittene Zwiebel so lange in der Pfanne anbraten, bis sie schön weich ist und auch Farbe bekommen hat – das kann durchaus 10-12 Minuten dauern.
5. Als Nächstes den Knoblauch zu den Zwiebeln dazugeben und kurz mit anbraten, dann die Pierogi mit in die Pfanne geben. Wenn die Pierogi vorgekocht sind, reichen etwa 2-3 Minuten in der Pfanne, wer die Pierogi in der Pfanne garen möchte, sollte sie etwa 7-8 Minuten mit den Zwiebeln zusammen anbraten. Zum Schluss die Wurst zurück in die Pfanne geben und noch einmal kurze Zeit mit erwärmen. Die Pierogi vor dem Servieren nach Belieben mit Salz und Pfeffer würzen und mit Schnittlauch bestreuen.

Craving more? Keep in touch on Facebook, Instagram and Pinterest for new post updates and more. You can also contact me with any questions or inquiries!
Here is a version of the recipe you can print easily.
Print
Pierogi & Sausage Skillet
- Prep Time: 00:05
- Cook Time: 00:30
- Total Time: 00:35
- Yield: 3 1x
- Category: Dinner
- Cuisine: Poland
Description
If you like hearty dishes, this one might be perfect for you: a simple and easy-to-prepare Pierogi & Sausage Skillet. A family favorite!
Ingredients
some oil & butter for frying
18 oz. (500g) Pierogi (pre-cooked)
9 oz. (250g) Kielbasa/Krakauer sausage*, sliced
1 large onion, halved & sliced
2-3 garlic cloves, finely chopped
salt, pepper
some chopped chives for serving
Instructions
1. Prepare the Pierogi according to the package instructions – depending on the product, you may need to boil the dumplings briefly, most of them can be thrown directly into the frying pan.
2. Cut the sausage into thin slices. Peel the onion and garlic. Cut the onion in half and then slice it thinly. Chop the garlic finely.
3. Heat a frying pan with some oil and butter. Add the sausage slices and fry them for a few minutes until browned on all sides. The type of sausage we are using here should not be heated too much to prevent burning and the development of acrylamide. Remove the sausage from the frying pan and set aside.
4. If necessary, add a little more butter and fry the sliced onion until it is nicely softened and has browned – this can take about 10-12 minutes.
5. Next, add the garlic to the onions and sauté briefly, then add the pierogi to the pan. If the Pierogi are pre-cooked, they need only 2-3 minutes in the pan. If you need/want to cook the pierogi in the pan, fry them together with the onions for about 7-8 minutes. Finally, return the sausage slices and let them warm up with the rest. Season the pierogi with salt and pepper to your liking, and sprinkle with chives before serving.
Notes
Make something amazing in the kitchen!
Links marked with an asterisk (*) are affiliate links (advertising/Werbung) to Amazon Germany. If you click on one of those links and buy something via this link, I will get a commission for that sale. The price of whatever you buy is not affected in any way by this.