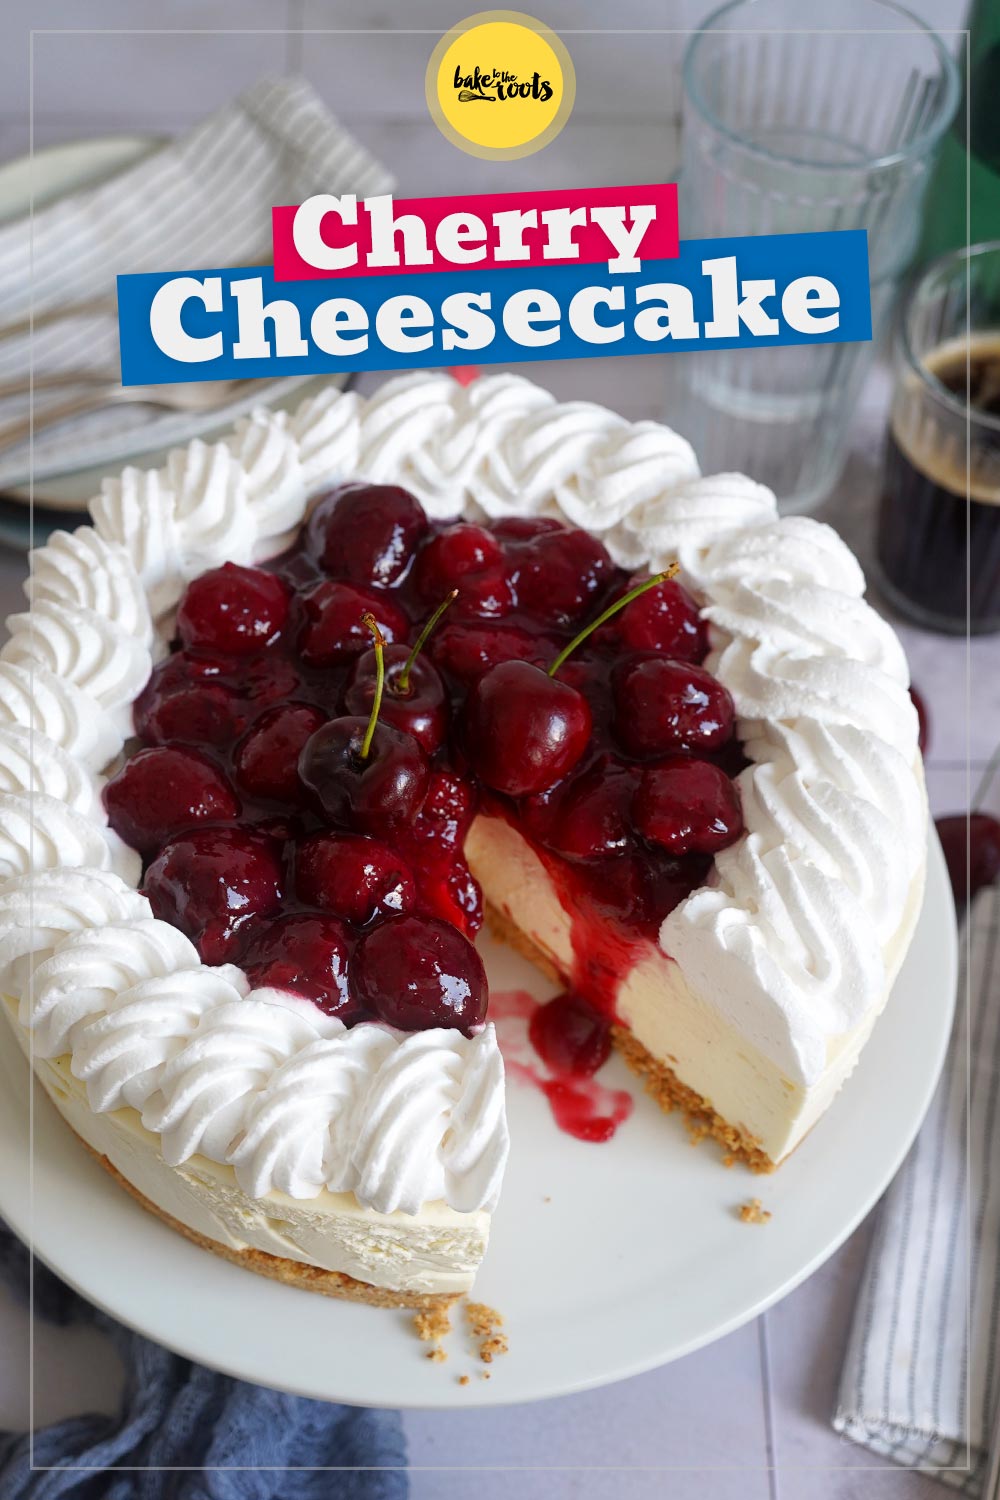
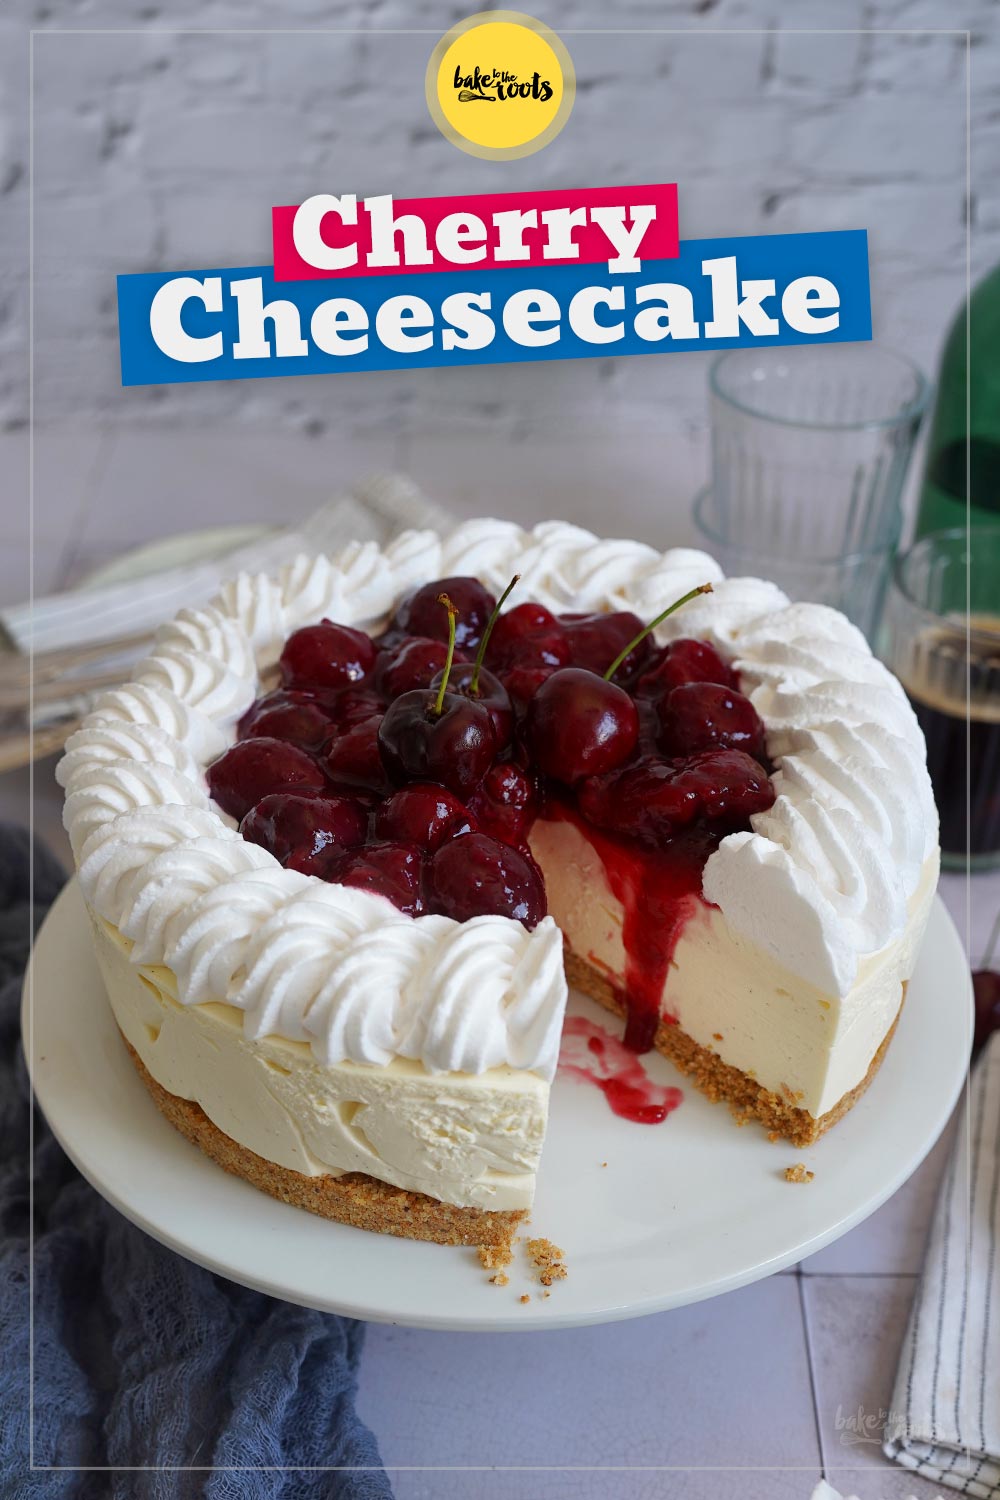
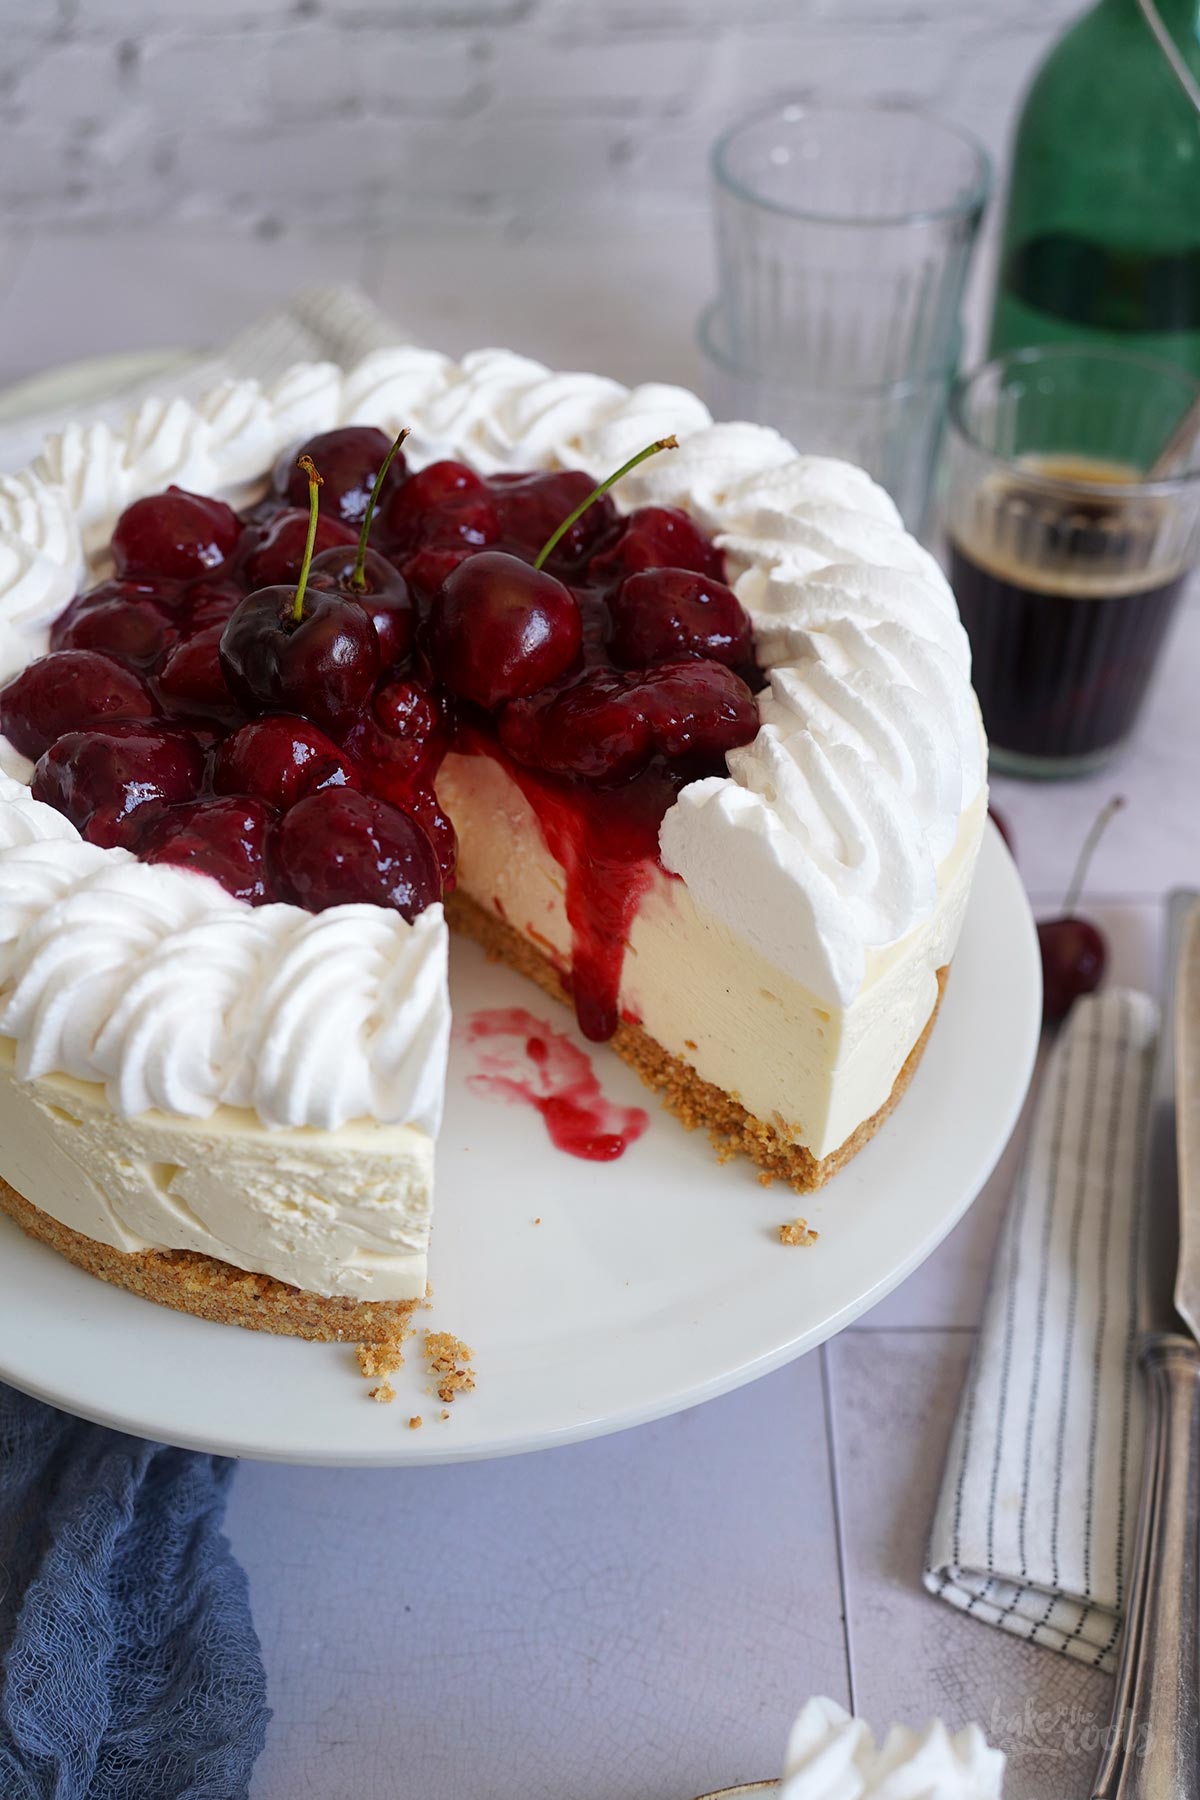
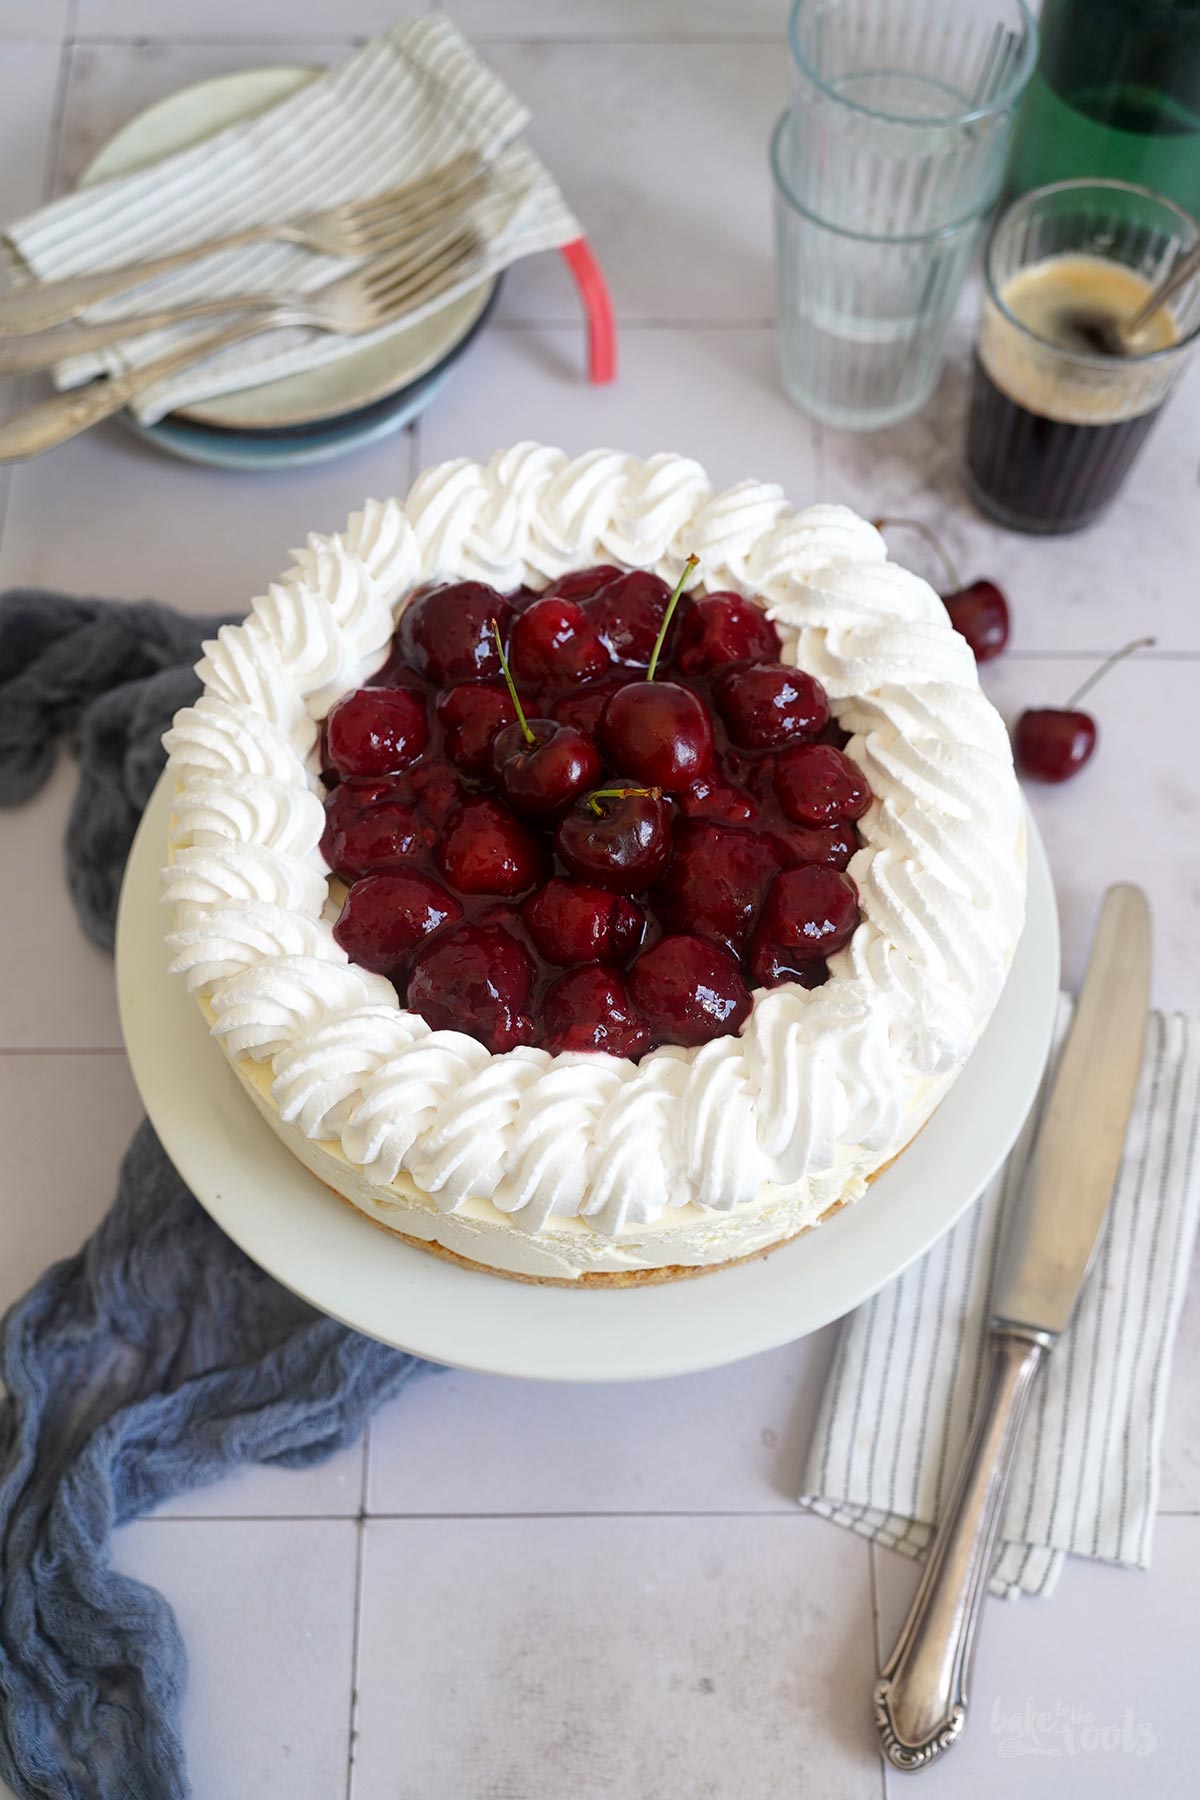
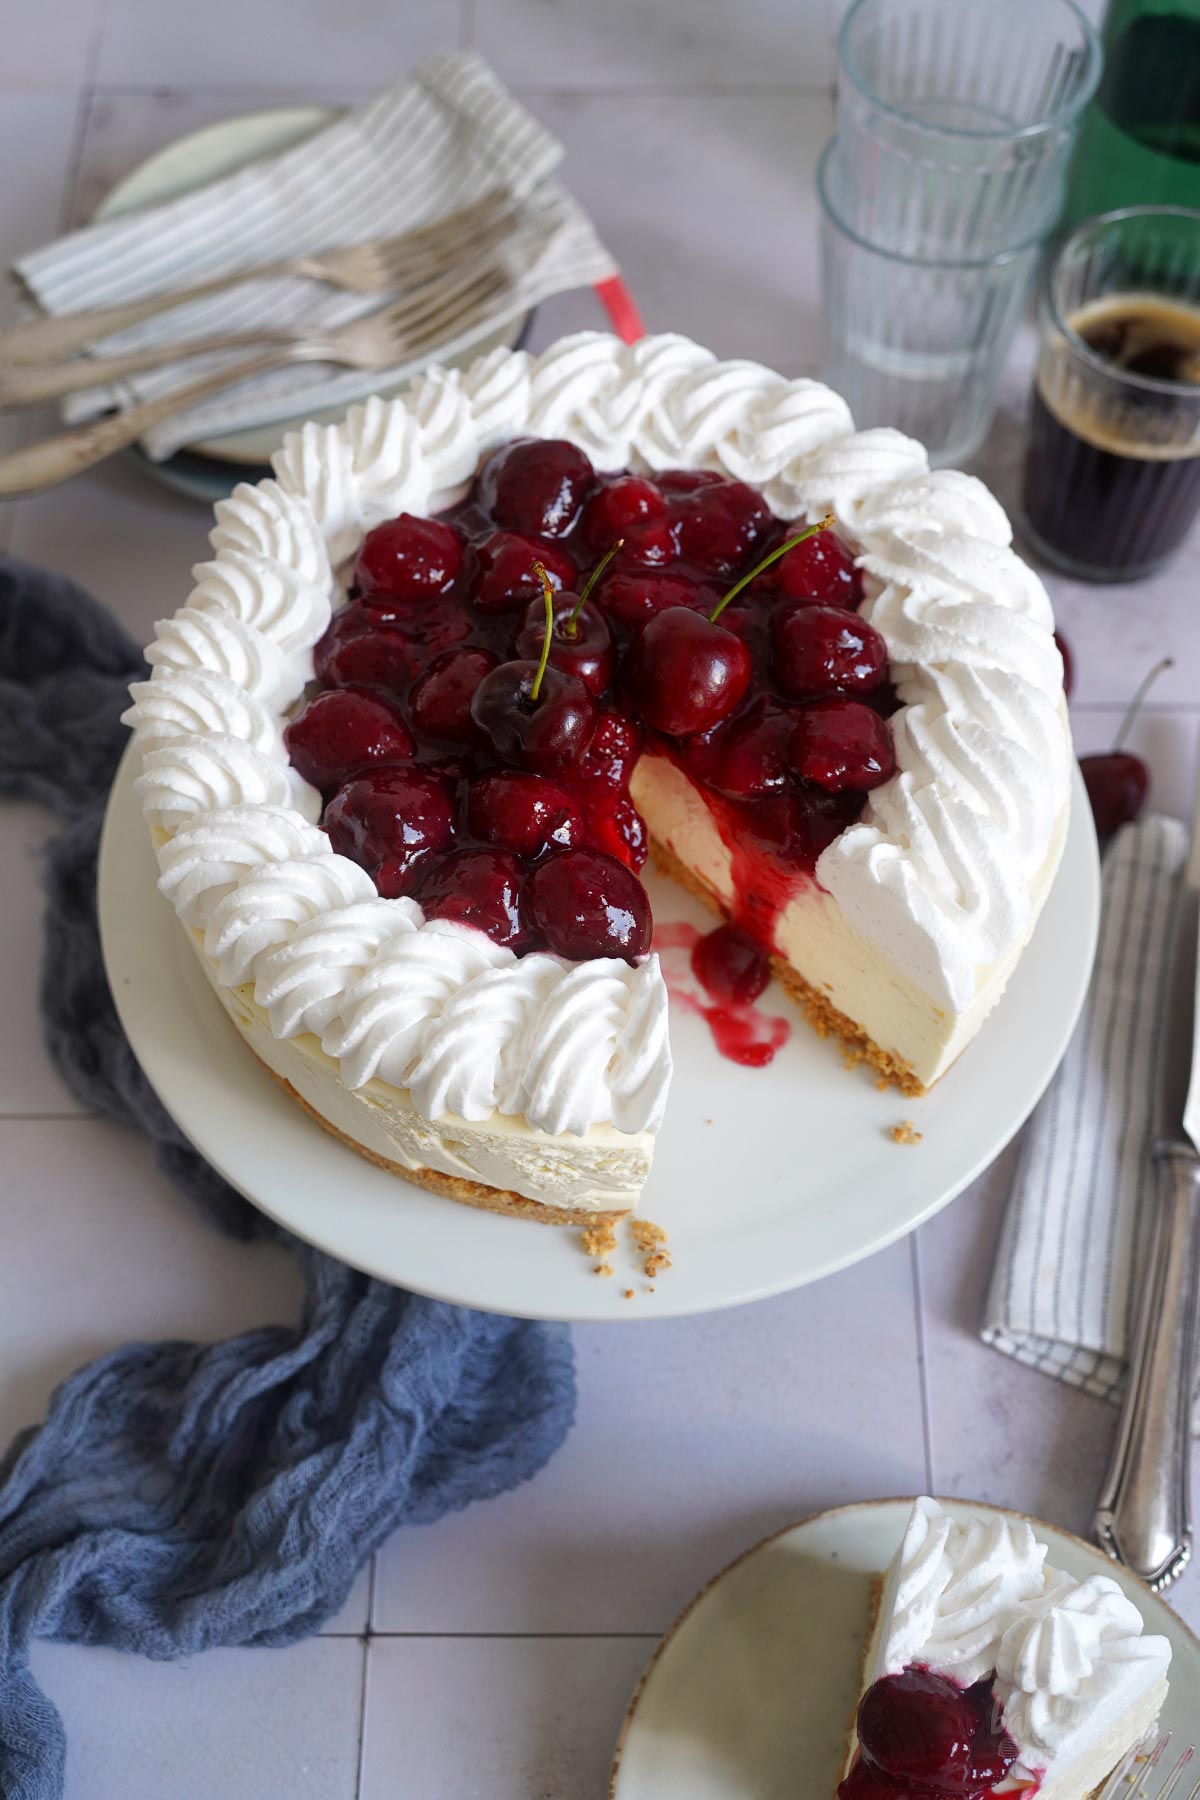
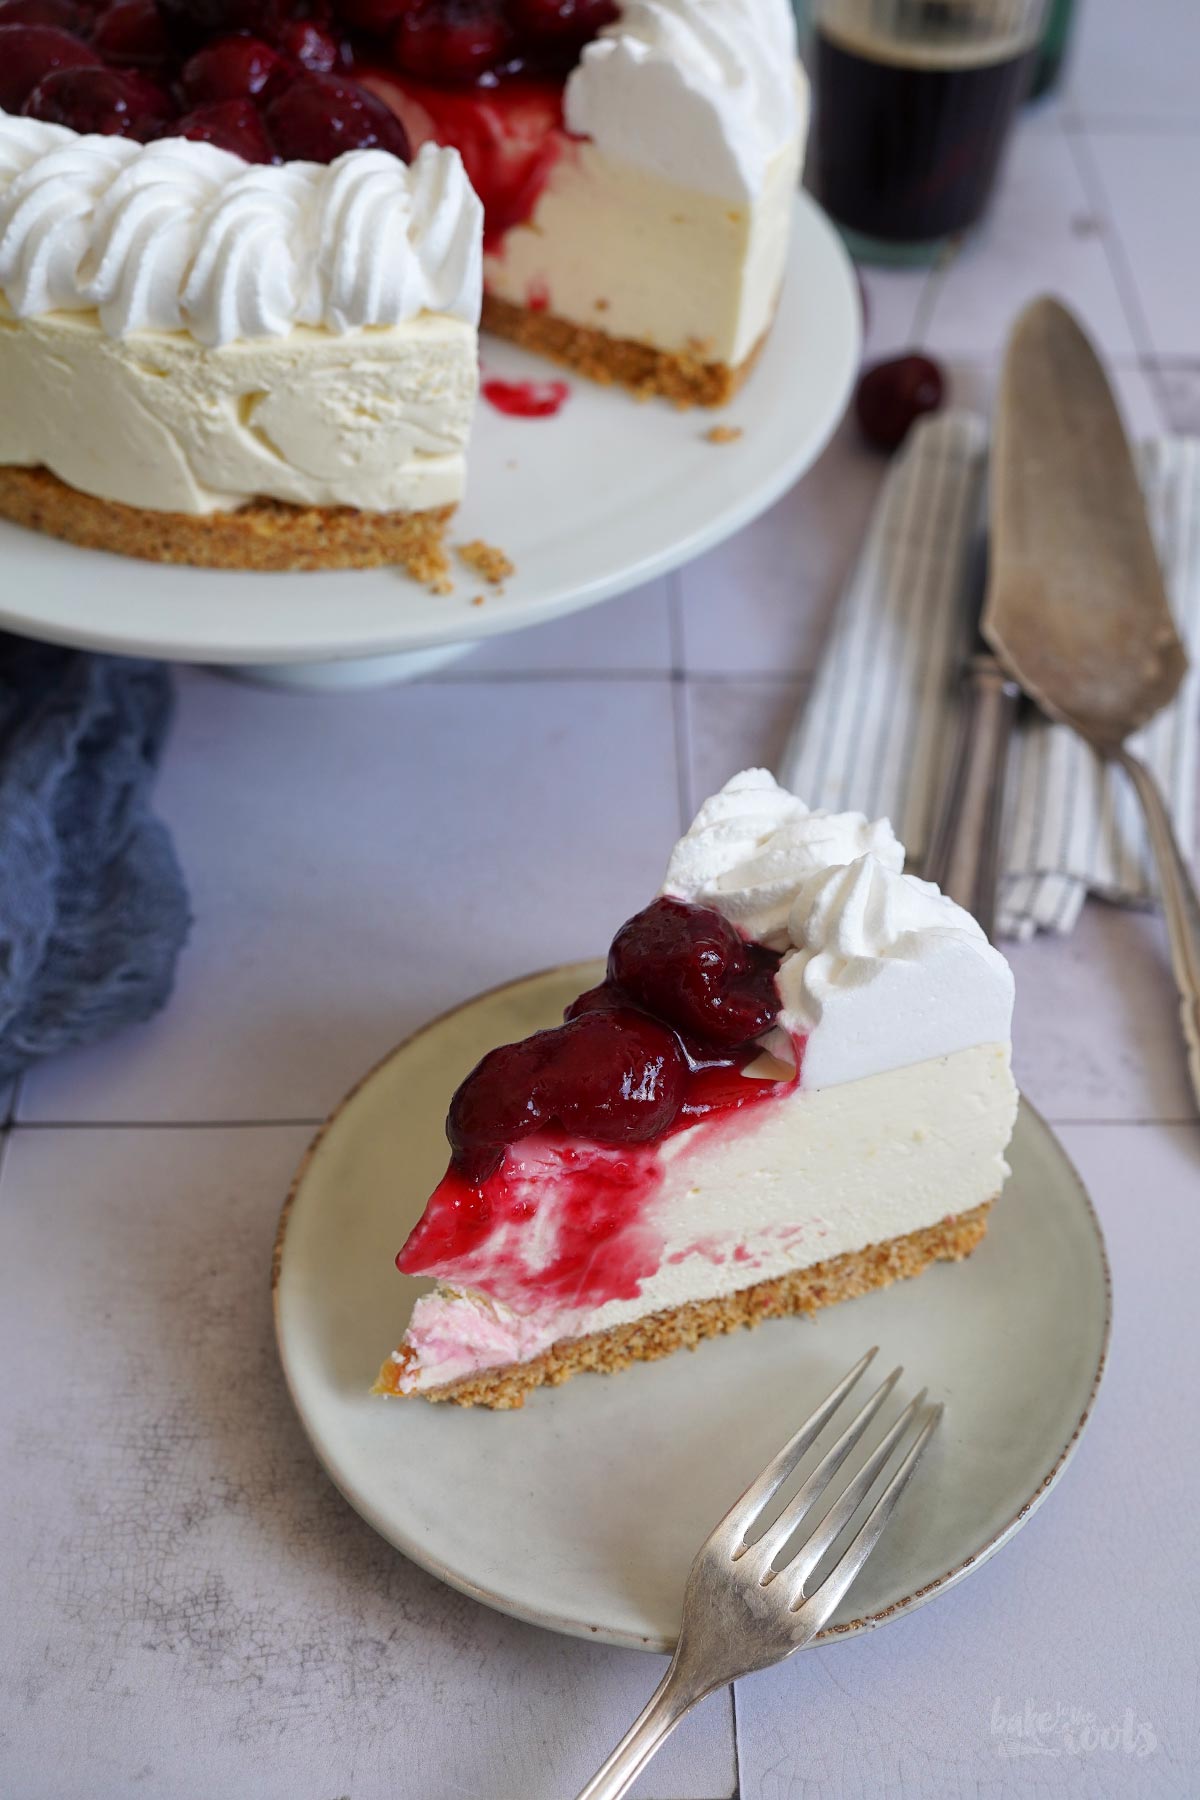
There’s almost nothing better in summer than a delicious, chilled cheesecake, right? Simple no-bake cheesecakes are always my first choice when I want to offer something sweet to family and friends. We are also big fans of cherries, so combining a no-bake cheesecake and cherries seemed perfect. The result – this absolutely delicious No-Bake Cheesecake with Cherry Topping – is incredible. One of the best (if not THE best) cakes for a hot summer day! Definitely worth making. I wished I could pass around a few pieces so you could get a taste.
Well. If you’ve been here before you might know that I got quite a few no-bake cheesecake recipes here on the blog. They are quick to prepare and usually not really complicated. And delicious as well, of course! My readers here and my followers on Instagram seem to agree. As soon as a cheesecake like this one here hits the blog or is posted on Instagram everybody appears to be very happy. This is, of course, not only happening with my cheesecake recipes – cheesecakes, in general, are very popular and loved by pretty much everyone. Maybe not the ones that are lactose intolerant. Sorry.
This beautiful specimen of a no-bake cheesecake is my contribution to the »Bake Together – The Baking Surprise« with Andrea from Zimtkeks & Apfeltarte. Some of you might know my favorite blogger colleague by now. We do our little baking event once a month. We choose a topic and each of us creates a recipe and at the end we surprise each other with the results. Hence, the name of the whole thing here.

This month we agreed on »no-bake cheesecakes« as our topic. In the past we came up with very similar recipes, but I don’t think this will happen here. Too many possibilities. TBH I made several no-bake cheesecakes this month because I had difficulties to decide what to use for our event. So don’t be surprise to see more no-bake cheesecakes coming um in the next few weeks. Definitely not gonna waste those perfectly delicious recipes.
Well… about this one here – super easy to prepare. Like most of these cheesecakes. All you got to do is crumble some cookies for the base, mix up a filling, and then decorate it to your liking. That’s all. Not really complicated.
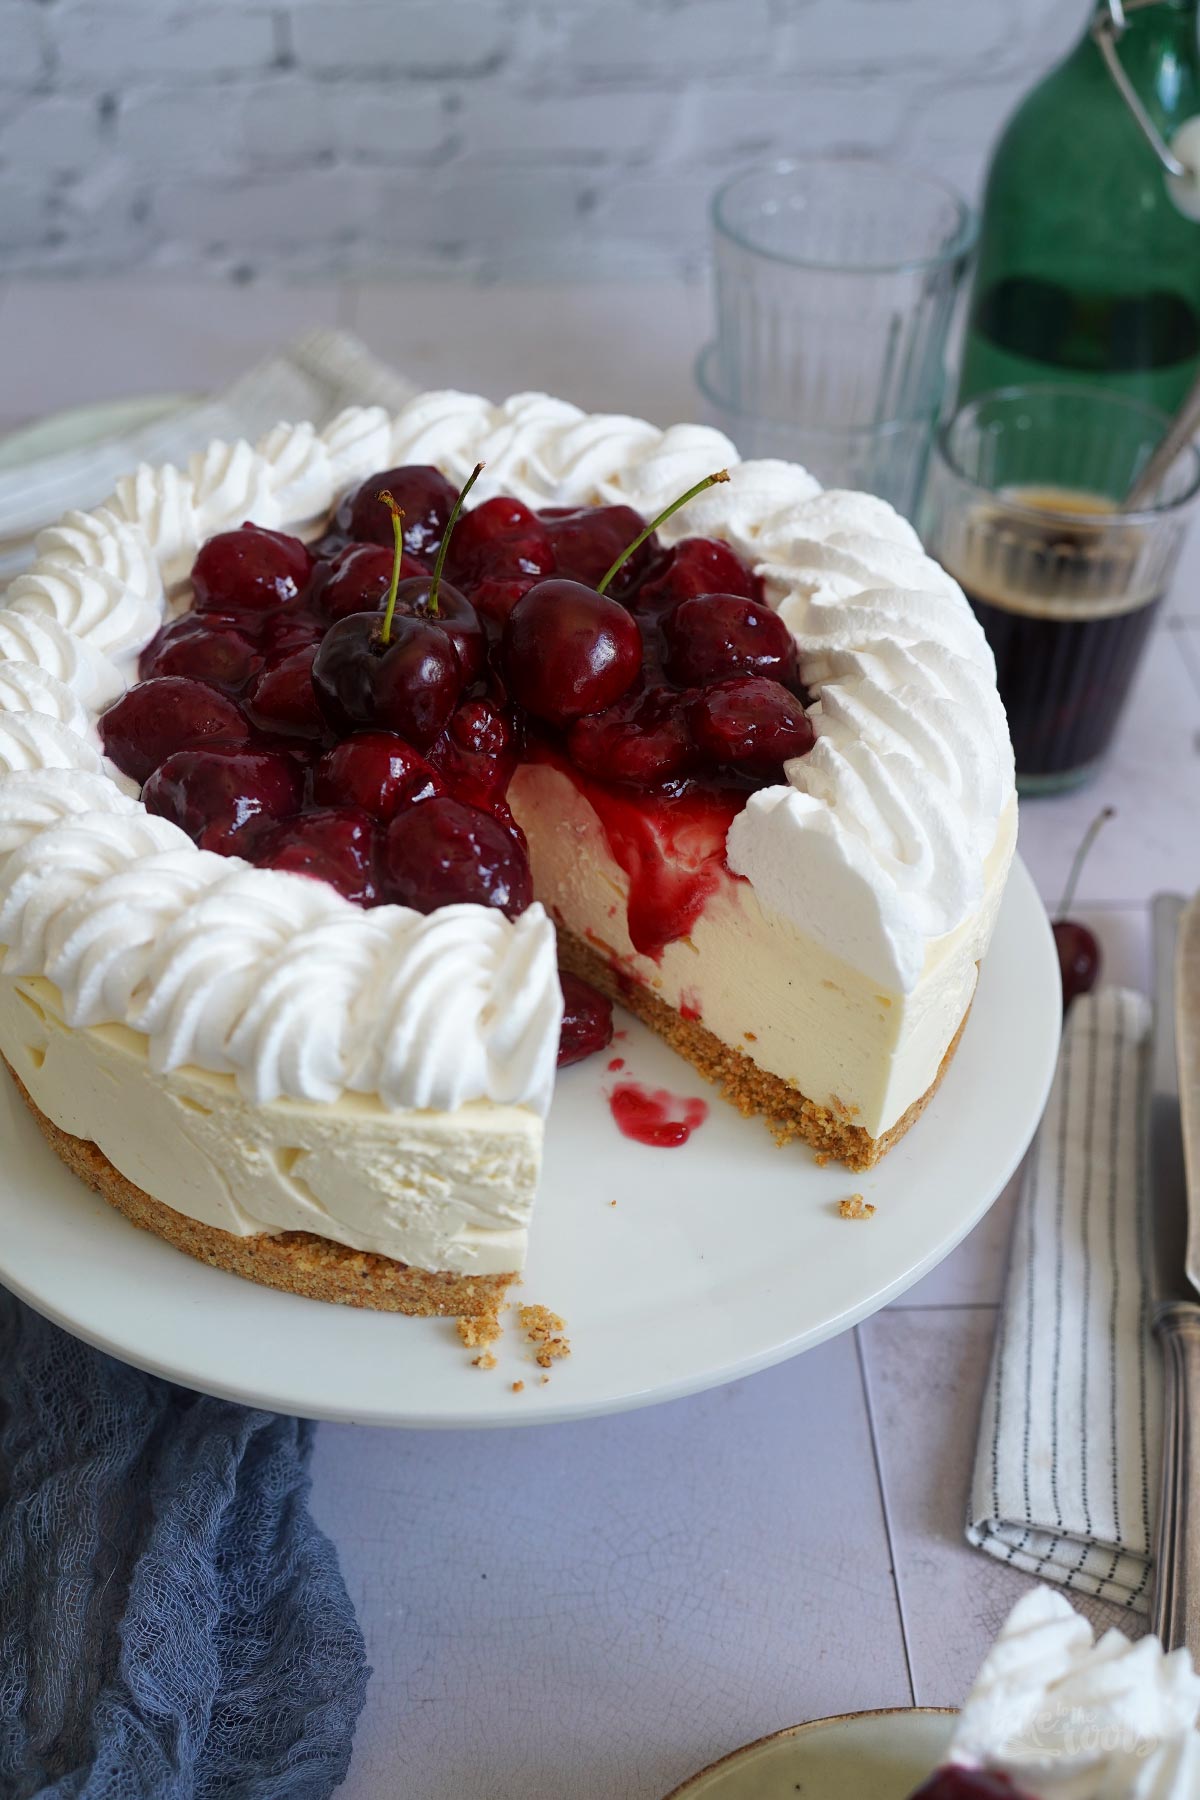
I like to use biscotti* for my cookie cake bases. They are available in different versions (cocoa, coffee, white chocolate, etc.) and perfect for this kind of cake base. It holds together really well and thanks to the nuts in the biscotti you always have a bit of a crunch. A base made with biscotti basically never turns mushy. Something that can happen if you have a very liquid filling and when you use regular shortcrust cookies. They soak up everything.
The star in this cheesecake is – of course – the cheesecake filling. Also, really easy to prepare. If you worked with gelatin before you should not have any problems here. If gelatin is not your thing you can switch to agar-agar. Also, not an issue. The filling has a slight orange flavor thanks to orange marmalade and orange blossom water. I don’t use a lot of sugar here (I prefer it less sweet) – for some of you it probably won’t be enough. Depending on the bitterness of the orange marmalade used, I recommend adjusting the amount of sugar a bit. Use the amount that works best for you.
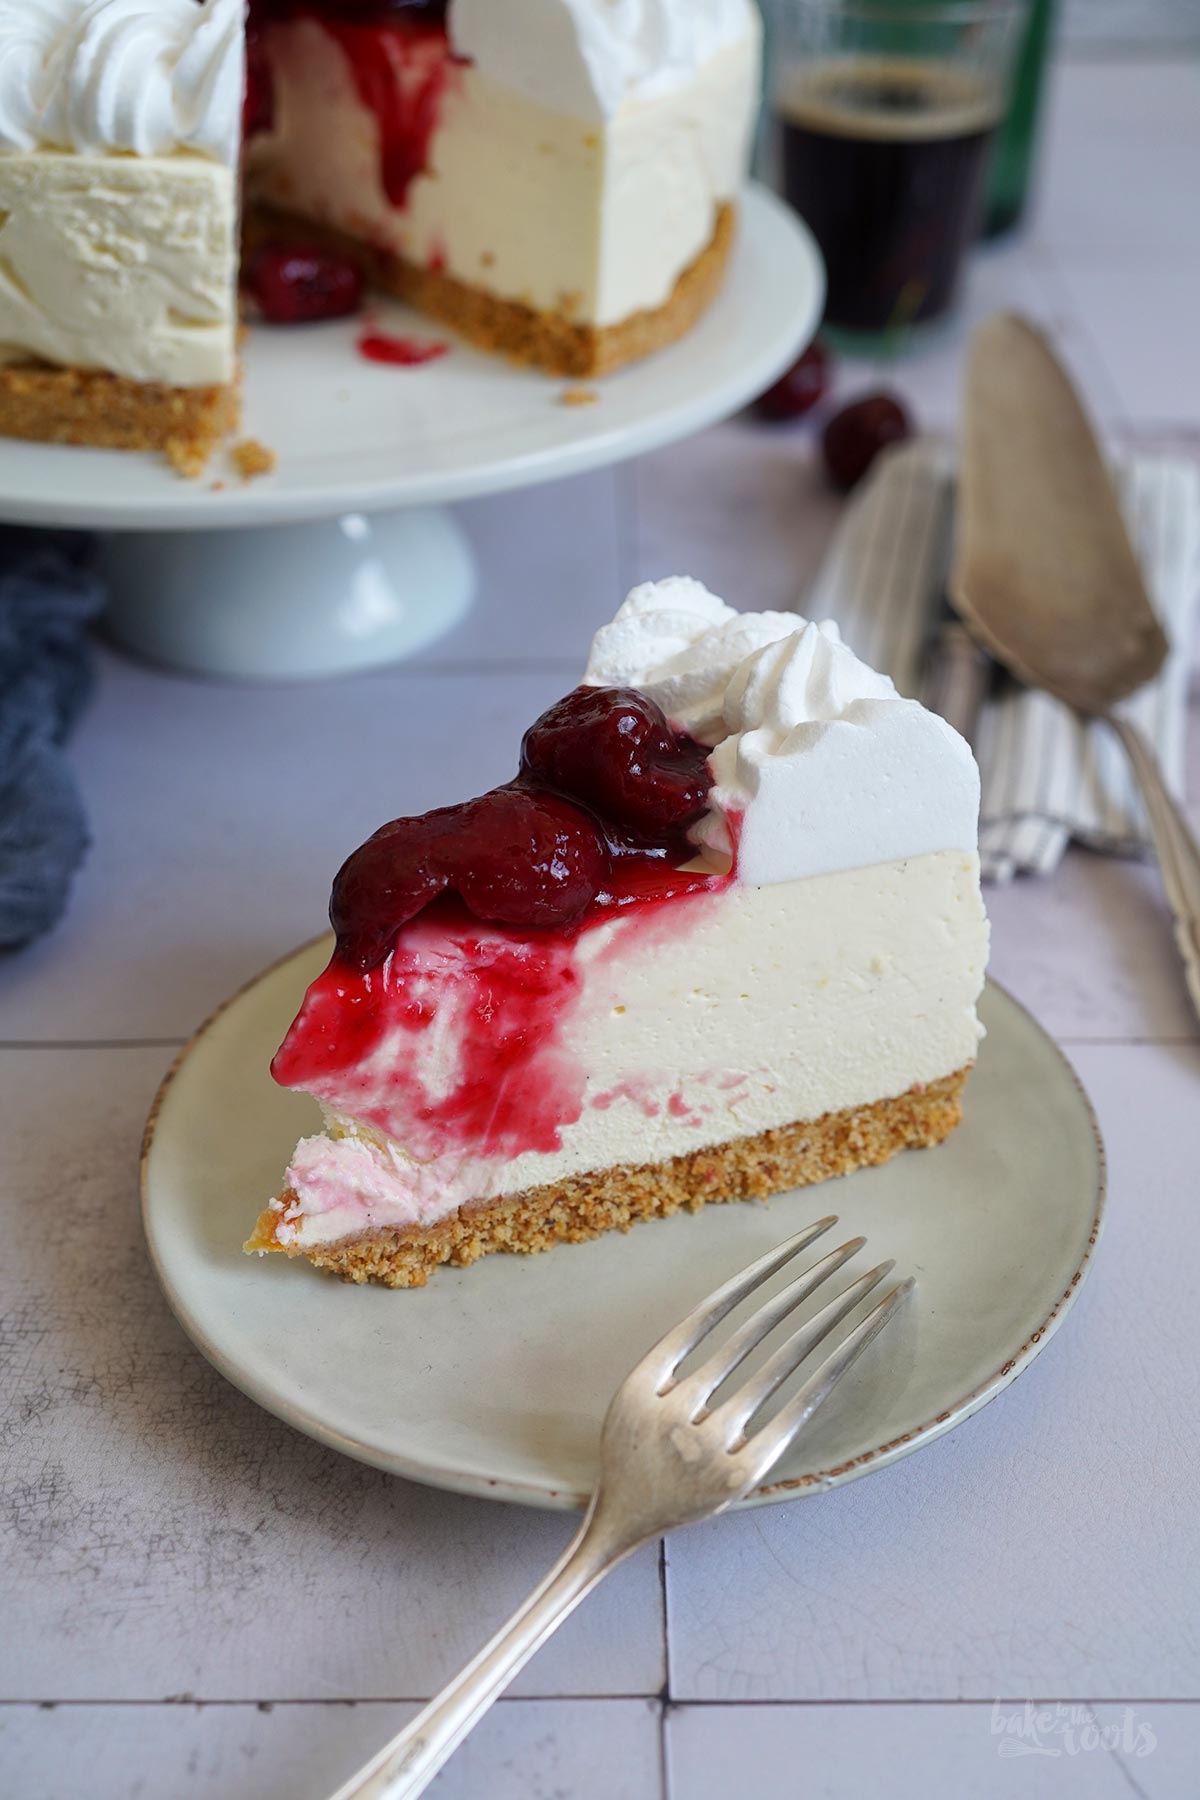
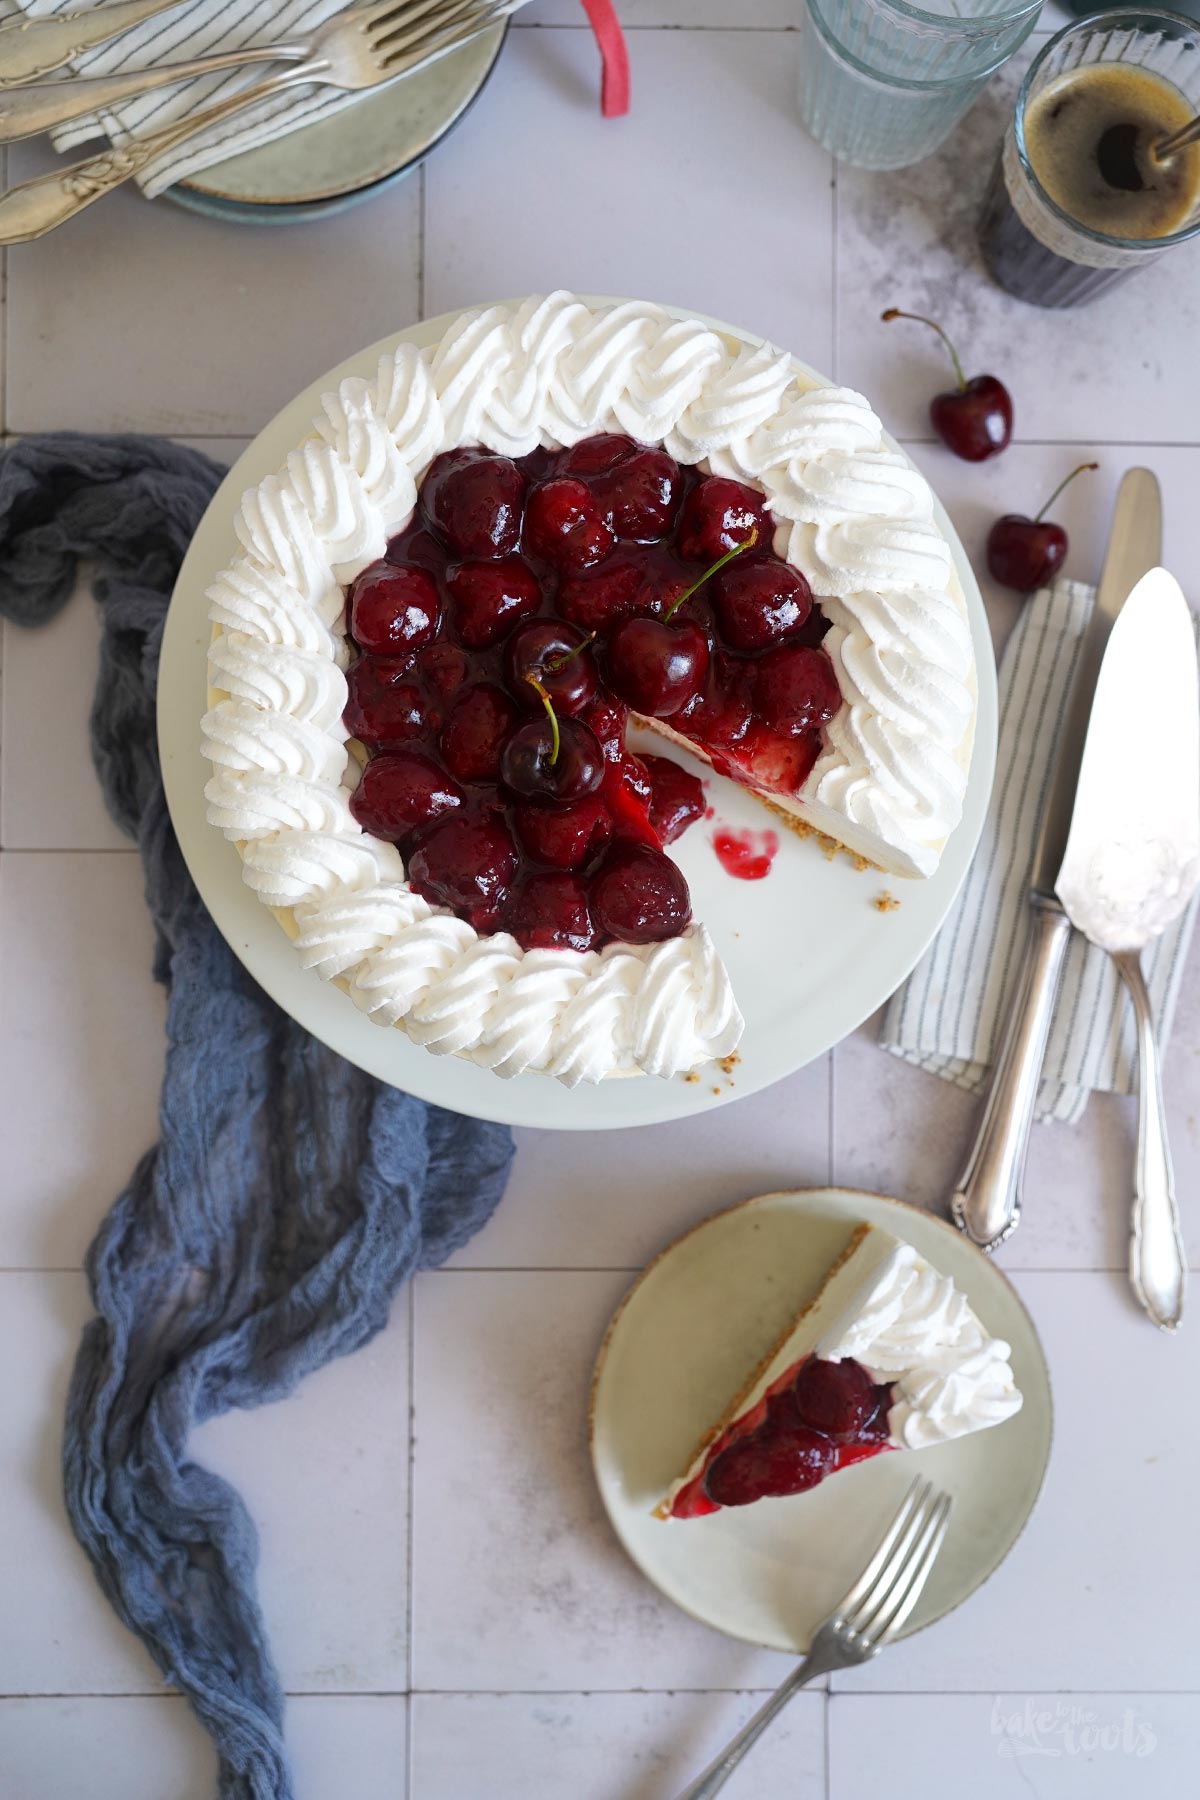
The cherry topping is a simple cherry compote. You can easily make it yourself, as described in the recipe, or you can use something pre-made from the supermarket. Saves some time, tbh. However – if you use homemade compote you are in control of how much sugar you use or if you use sugar at all. A cherry compote like the one used here can easily be made without adding refined sugar. Also, the homemade cherries normally are not as mushy as the ones in a store-bought compote (if you do not accidentally overcook the compote).
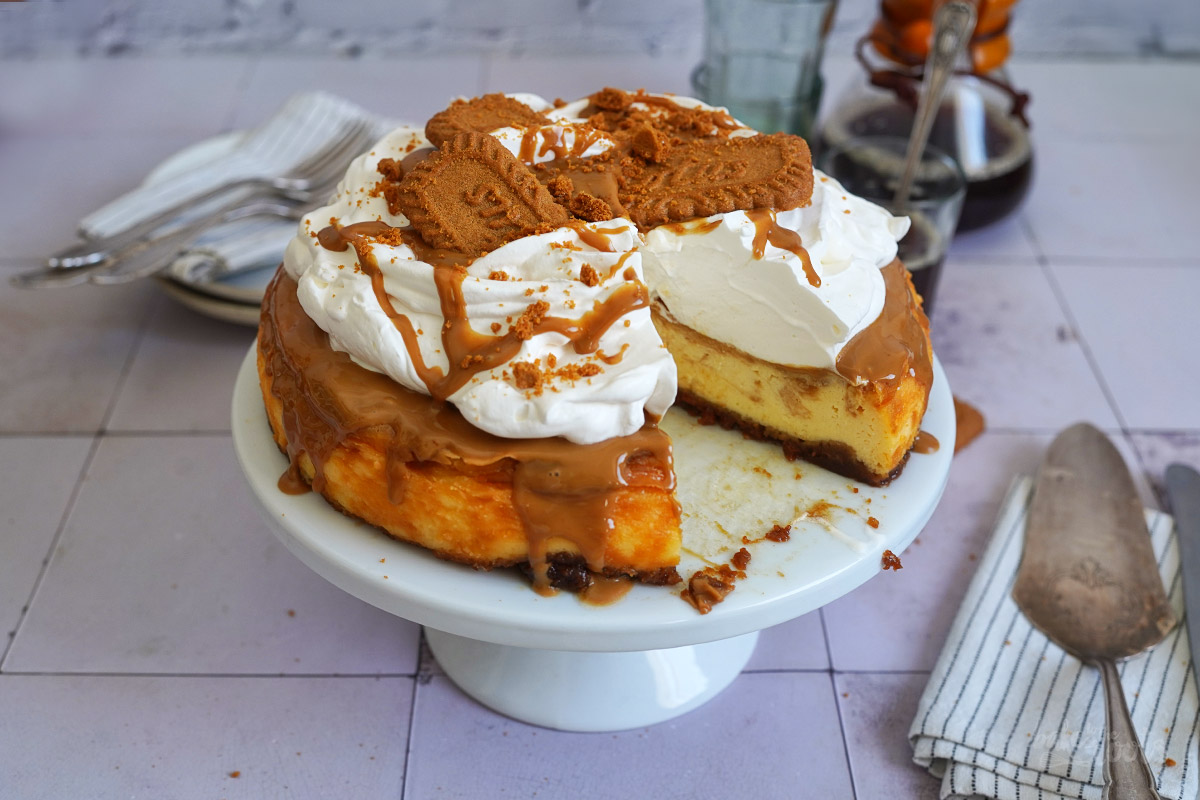
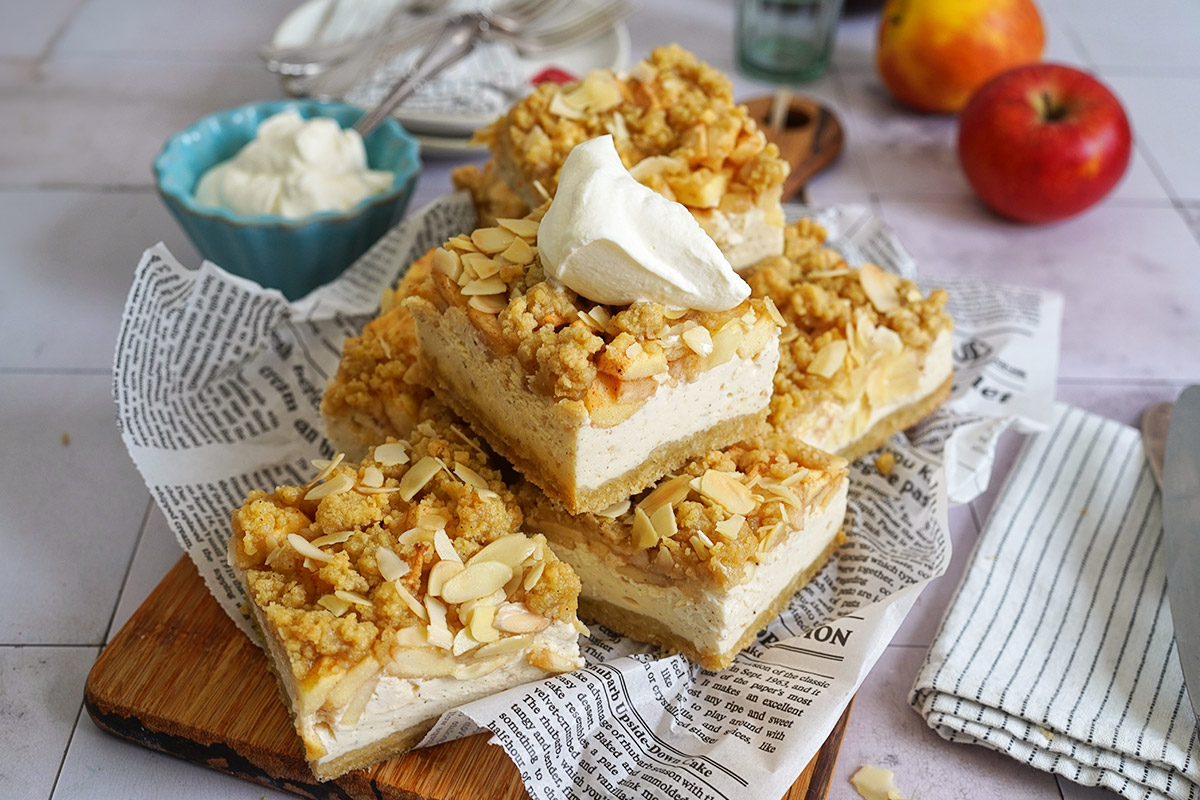
We love this cheesecake, but there are much more recipes on the blog you might want to check. Take a look at the cheesecake category – you might find something you like.
INGREDIENTS / ZUTATEN
For the cherry compote:
14 oz. (400g) cherries, washed & pitted
1.4 oz. (40g) sugar (fine)* (or xylitol)
0.35 oz. (10g) cornstarch*
3 tbsp. water (plus 1-2 tbsp. if necessary)
1 tbsp. lemon juice
1/2 tsp. vanilla extract*
For the base:
200g almond cantuccini/biscotti*
2 tbsp. sugar (fine)* ( or xylitol)
1.4 oz. (40g) butter, melted
For the filling:
6 gelatin leaves*
21 oz. (600g) cream cheese, at room temperature
8.8 oz. (250g) mascarpone, at room temperature
2-3 tbsp. orange marmalade
1 1/2 tsp. orange blossom water*
1 tsp. vanilla bean paste*
2 tbsp. sugar (fine)* or xylitol (optional)
7 oz. (200g) heavy cream (cold), whipped
For the decoration:
3.5 oz. (100g) heavy cream
some confectioners’ sugar
Für das Kirschkompott:
400g Kirschen, gewaschen & entsteint
40g Zucker (fein)* (oder Xylit)
10g Speisestärke*
3 EL Wasser (plus 1-2 EL, falls notwendig)
1 EL Zitronensaft
1/2 TL Vanille Extrakt*
Für den Boden:
200g Cantuccini/Biscotti* (mit Mandeln)
2 EL Zucker (fein)* (oder Xylit)
40g Butter, geschmolzen
Für die Füllung:
6 Blätter Gelatine*
600g Frischkäse, Zimmertemperatur
250g Mascarpone, Zimmertemperatur
2-3 EL Orangenmarmelade
1 1/2 TL Orangenblütenwasser*
1 TL Vanillepaste*
2 EL Zucker (fein)* oder Xylit (optional)
200g Schlagsahne (kalt), aufgeschlagen
Für die Dekoration:
100g Schlagsahne
etwas Puderzucker
DIRECTIONS / ZUBEREITUNG
1. For the cherry compote, wash, dry, and pit the cherries. Mix sugar, cornstarch, 3 tbsp. of water, lemon juice, and vanilla extract in a saucepan and heat up slowly. As soon as the mixture thickens, add the cherries, reduce the heat, and let cook until the cherries are soft. Keep stirring to make sure nothing burns. If the cherries do not release liquid immediately, you can add another 1-2 tbsp of water. Let simmer until the cherries are slightly softer, but not mushy – about 6-8 minutes. The liquid in the pot should have thickened to a nice sauce that is coating the cherries. Remove from heat and let cool completely. The cherry compote can be made up to 2 days ahead and stored in the fridge.
2. Crush the biscotti for the base in a blender until you get fine crumbs. Add the sugar and melted butter and mix until well combined. Line a 20cm springform tin* with baking parchment. Add the moist biscotti crumbs and press down to get one even layer. Set aside.
3. Add the gelatin sheets to a bowl with cold water and let them soak for about 5-7 minutes. Add cream cheese, mascarpone, orange marmalade, vanilla extract, and orange blossom water to a large bowl and mix until well combined. If the orange marmalade is very bitter, I recommend adding some sugar or xylitol as well to the filling. Set aside.
4. Squeeze out the gelatin and add it to a small saucepan. Heat up gently until completely melted, then add about 2-3 tablespoons of the cream cheese mixture to the saucepan and stir to combine with the gelatin. Return this mixture to the large bowl and mix well. Whisk the heavy cream until stiff and then fold (gently) into the cream cheese mixture. Pour the filling into the base in the springform tin and smooth out the top. Place in the fridge for at least 4 hours or overnight.
5. Carefully remove the chilled cheesecake from the tin and place it on a serving platter. Whisk the heavy cream for the decoration with a little confectioners’ sugar until stiff peaks form and fill into a piping bag with a star nozzle. Decorate the cheesecake with the cream and fill/pile the cherry compote in the center of the cheesecake.
Tip 1: If you use a rather bitter orange marmalade, you may want to add extra sugar to the filling. Otherwise the cheesecake may not be sweet enough. Make sure to taste the filling before you pour it into the tin.
Tip 2: The cherry compote might thicken a lot when stored in the fridge – this can make it look »grainy«. If that’s the case just briefly warm half of the compote in the microwave and then mix with the rest – this should help to get a smoother-looking compote again.
1. Für das Kirschkompott die Kirschen waschen, trocknen und entsteinen. Zucker, Stärke, 3 EL Wasser, Zitronensaft und Vanille Extrakt in einem Topf verrühren und langsam erwärmen. Sobald die Mischung andickt, die Kirschen dazugeben, die Hitzezufuhr reduzieren und alles langsam einkochen lassen. Immer wieder rühren, damit nichts anbrennt. Sollten die Kirschen nicht sofort Flüssigkeit abgeben, kann man noch 1-2 EL Wasser dazugeben. Die Kirschen so lange köcheln lassen, bis sie etwas weicher, aber nicht matschig sind – etwa 6-8 Minuten. Die Flüssigkeit im Topf sollte zu einer dickflüssigen Soße angedickt haben und die Kirschen umhüllen. Vom Herd ziehen und komplett abkühlen lassen. Das Kirschkompott kann man bis zu 2 Tage vorab zubereiten und im Kühlschrank aufbewahren.
2. Die Cantuccini für den Boden in einem Mixer zu feinen Bröseln zermahlen. Zucker und geschmolzene Butter dazugeben und alles gut vermischen. Eine 20cm Springform* mit Backpapier auslegen und dann die feuchten Brösel hineingeben und zu einer glatten Schicht zusammendrücken. Zur Seite stellen
3. Die Gelatineblätter in eine Schüssel mit kaltem Wasser legen und für 5-7 Minuten quellen lassen. Frischkäse, Mascarpone, Orangenmarmelade, Vanille Extrakt und Orangenblütenwasser in eine große Schüssel geben und gut verrühren. Sollte die Orangenmarmelade etwas bitterer sein, empfiehlt es sich, noch etwas Zucker oder Xylit unterzurühren (optional). Zur Seite stellen.
4. Die Gelatine ausdrücken und in einen kleinen Topf geben und vorsichtig erwärmen, bis sie komplett geschmolzen ist. Vom Herd ziehen und 2-3 Esslöffel der Frischkäsemasse dazugeben und unterrühren. Diese Mischung in die große Schüssel zurückgeben und gut verrühren. Die Sahne steif schlagen und dann vorsichtig unter die Masse ziehen. In die vorbereitete Form füllen und glatt streichen. Für mindestens 4 Stunden oder über Nacht in den Kühlschrank stellen.
5. Den durchgekühlten Käsekuchen vorsichtig aus der Form lösen und auf eine Servierplatte setzen. Die Sahne für die Dekoration mit ein wenig Puderzucker steif schlagen und in einen Spritzbeutel mit Sterntülle füllen. Den Käsekuchen mit der Sahne dekorieren und das Kirschkompott in die Mitte des Käsekuchens füllen/aufschichten.
Tipp 1: Wer eine recht bittere Orangenmarmelade verwendet, sollte eventuell zusätzlichen Zucker in die Füllung geben, da der Käsekuchen sonst vielleicht nicht süß genug ist – Füllung also auf jeden Fall einmal probieren, bevor sie in die Form geht.
Tipp 2: Sollte das Kirschkompott nach längerer Zeit im Kühlschrank stark andicken, kann es etwas »krümelig« aussehen. In dem Fall einfach einen Teil in der Mikrowelle kurz erwärmen und dann mit dem Rest verrühren. Das sollte die Soße wieder glatter aussehen lassen.
Craving more? Keep in touch on Facebook, Instagram and Pinterest for new post updates and more. You can also contact me with any questions or inquiries!
Here is a version of the recipe you can print easily.
Print
No-Bake Cheesecake with Cherry Topping
- Prep Time: 00:40
- Cook Time: 00:00
- Total Time: 05:00
- Yield: 1 1x
- Category: Cheesecake
- Cuisine: International
Description
The perfect (not too) sweet treat for a hot summer day – this No-Bake Cheesecake with Cherry Topping is an absolute showstopper. Treat yourself to something delicious!
Ingredients
For the cherry compote:
14 oz. (400g) cherries, washed & pitted
1.4 oz. (40g) sugar (fine)* (or xylitol)
0.35 oz. (10g) cornstarch*
3 tbsp. water (plus 1-2 tbsp. if necessary)
1 tbsp. lemon juice
1/2 tsp. vanilla extract*
For the base:
200g almond cantuccini/biscotti*
2 tbsp. sugar (fine)* ( or xylitol)
1.4 oz. (40g) butter, melted
For the filling:
6 gelatin leaves*
21 oz. (600g) cream cheese, at room temperature
8.8 oz. (250g) mascarpone, at room temperature
2-3 tbsp. orange marmalade
1 1/2 tsp. orange blossom water*
1 tsp. vanilla bean paste*
2 tbsp. sugar (fine)* or xylitol (optional)
7 oz. (200g) heavy cream (cold), whipped
For the decoration:
3.5 oz. (100g) heavy cream
some confectioners‘ sugar
Instructions
1. For the cherry compote, wash, dry, and pit the cherries. Mix sugar, cornstarch, 3 tbsp. of water, lemon juice, and vanilla extract in a saucepan and heat up slowly. As soon as the mixture thickens, add the cherries, reduce the heat, and let cook until the cherries are soft. Keep stirring to make sure nothing burns. If the cherries do not release liquid immediately, you can add another 1-2 tbsp of water. Let simmer until the cherries are slightly softer, but not mushy – about 6-8 minutes. The liquid in the pot should have thickened to a nice sauce that is coating the cherries. Remove from heat and let cool completely. The cherry compote can be made up to 2 days ahead and stored in the fridge.
2. Crush the biscotti for the base in a blender until you get fine crumbs. Add the sugar and melted butter and mix until well combined. Line a 20cm springform tin* with baking parchment. Add the moist biscotti crumbs and press down to get one even layer. Set aside.
3. Add the gelatin sheets to a bowl with cold water and let them soak for about 5-7 minutes. Add cream cheese, mascarpone, orange marmalade, vanilla extract, and orange blossom water to a large bowl and mix until well combined. If the orange marmalade is very bitter, I recommend adding some sugar or xylitol as well to the filling. Set aside.
4. Squeeze out the gelatin and add it to a small saucepan. Heat up gently until completely melted, then add about 2-3 tablespoons of the cream cheese mixture to the saucepan and stir to combine with the gelatin. Return this mixture to the large bowl and mix well. Whisk the heavy cream until stiff and then fold (gently) into the cream cheese mixture. Pour the filling into the base in the springform tin and smooth out the top. Place in the fridge for at least 4 hours or overnight.
5. Carefully remove the chilled cheesecake from the tin and place it on a serving platter. Whisk the heavy cream for the decoration with a little confectioners‘ sugar until stiff peaks form and fill into a piping bag with a star nozzle. Decorate the cheesecake with the cream and fill/pile the cherry compote in the center of the cheesecake.
Notes
Tip 1: If you use a rather bitter orange marmalade, you may want to add extra sugar to the filling. Otherwise the cheesecake may not be sweet enough. Make sure to taste the filling before you pour it into the tin.
Tip 2: The cherry compote might thicken a lot when stored in the fridge – this can make it look »grainy«. If that’s the case just briefly warm half of the compote in the microwave and then mix with the rest – this should help to get a smoother-looking compote again.
Links marked with an asterisk (*) are affiliate links (advertising/Werbung) to Amazon Germany. If you click on one of those links and buy something via this link, I will get a commission for that sale. The price of whatever you buy is not affected in any way by this.