Can I be honest with you? I think Biscoff cookies are terrible! Why? Because they are soo delicious! Sounds like a clickbait title, but it’s true ;) The cookies taste like caramel and are super tasty, but thanks to all that added sugar they have, they are really not good for me (as a diabetic). I really have to hold myself back here. Same for this delicious Biscoff Cheesecake here. I would love to jump right in and eat it completely by myself… but no. Not possible ;P
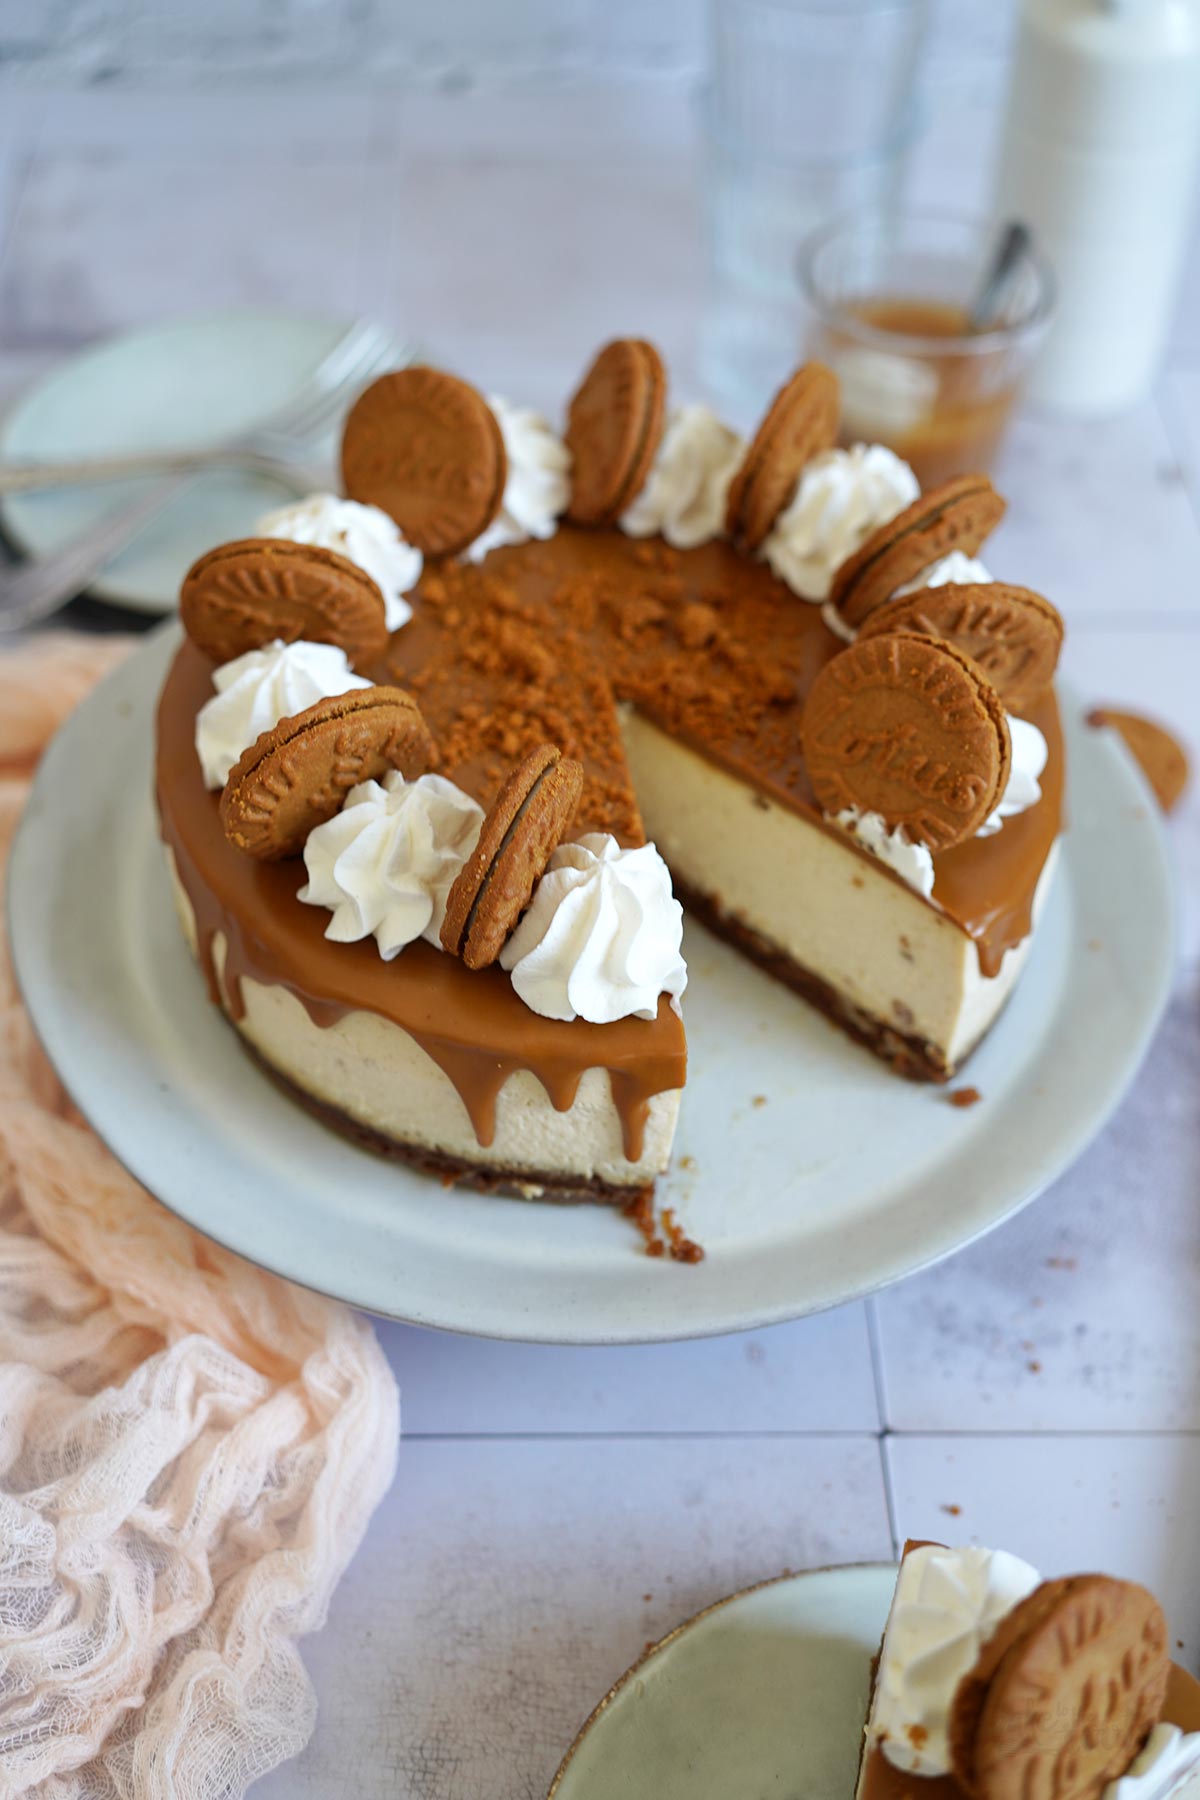
I am kidding. Mostly. Not completely. I would really like to eat a lot of this cheesecake but unfortunately, I can only eat a tiny piece… or maybe half a piece without getting into trouble. My blood sugar does not like this kind of cake. I love it. Two very different opinions collide here ;P Fortunately, most of you out there do not have my problems. This means you can have a full slice or even several slices here if you like. With a healthy and balanced diet, you should be able to indulge yourself from time to time with something sweet (and delicious) ;)
I hope I haven’t made anyone feel bad now. That was not my intention ;) If you love and want delicious Biscoff Cheesecake, you should also get some delicious Biscoff Cheesecake. Whether a half, a whole, or even two pieces ;P
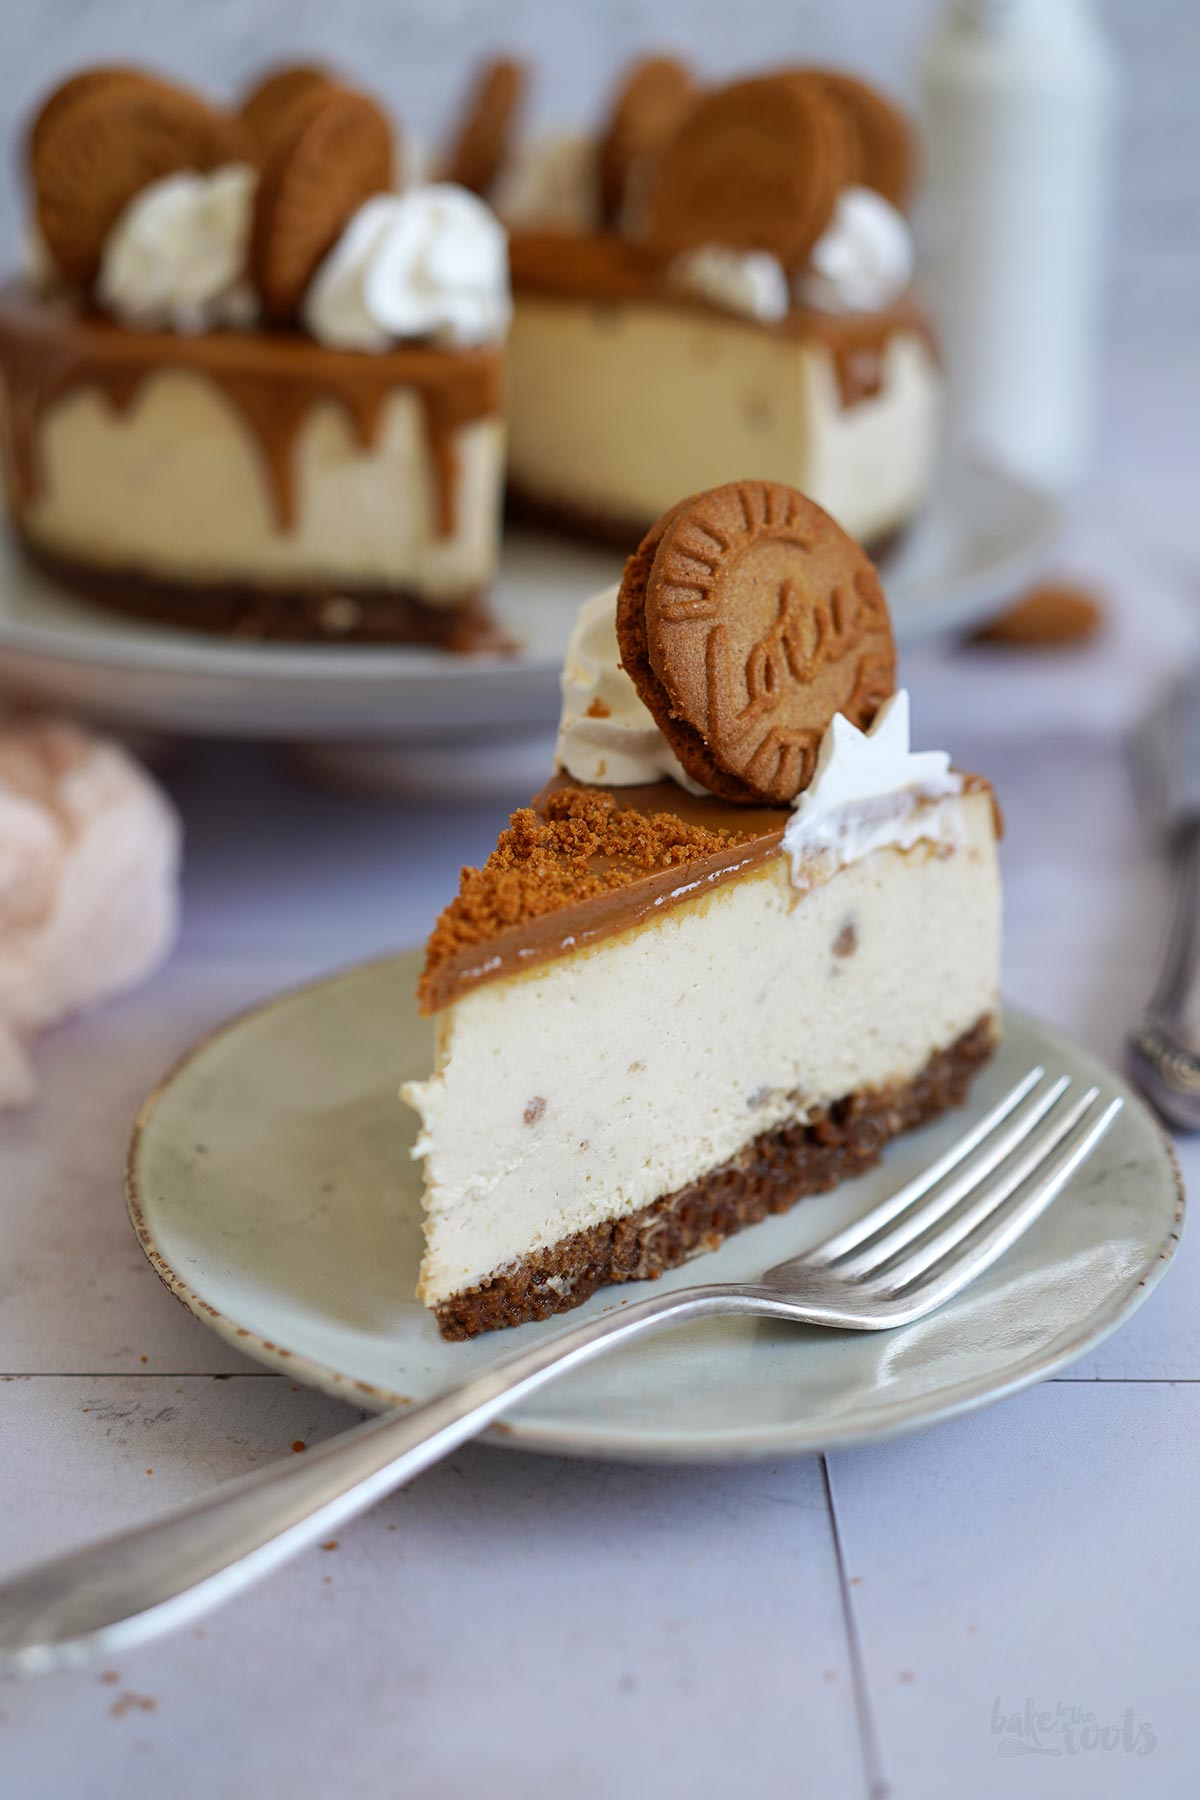
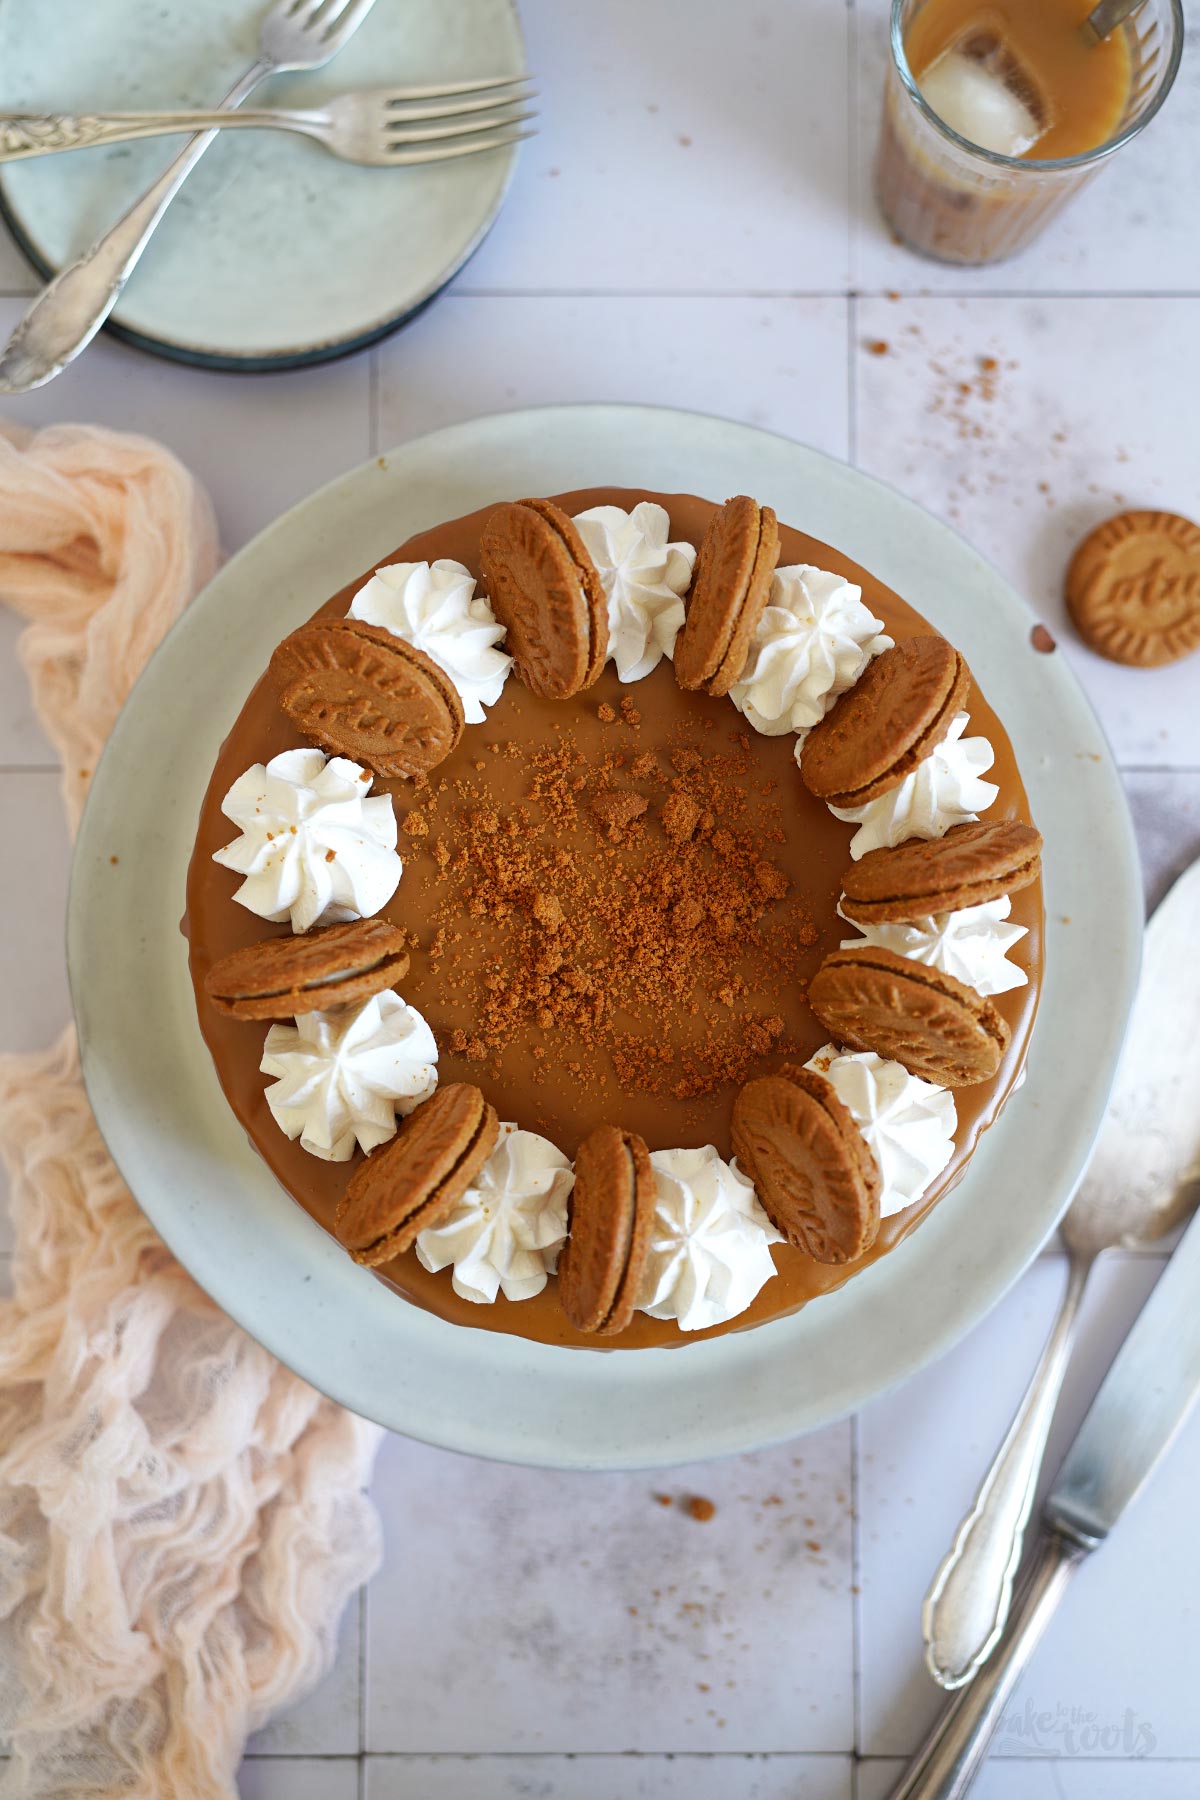
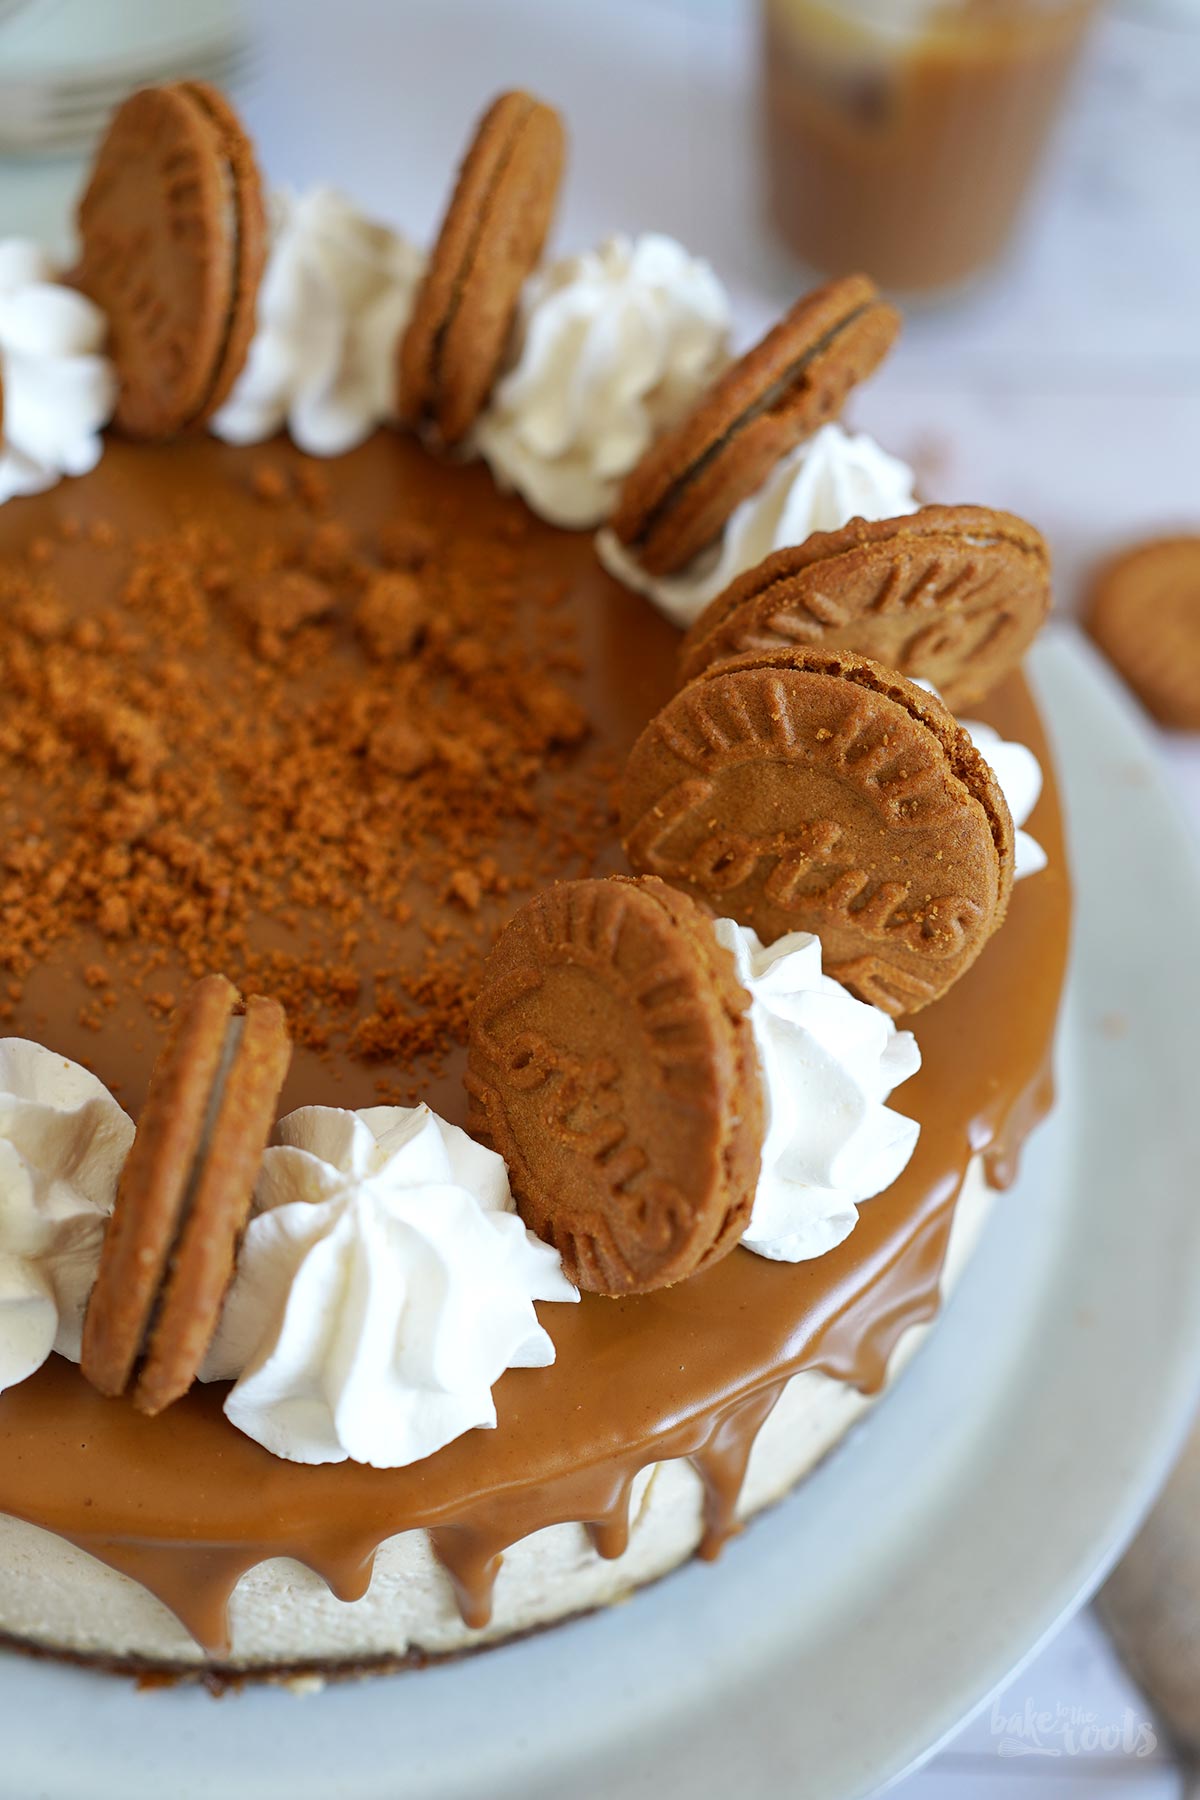
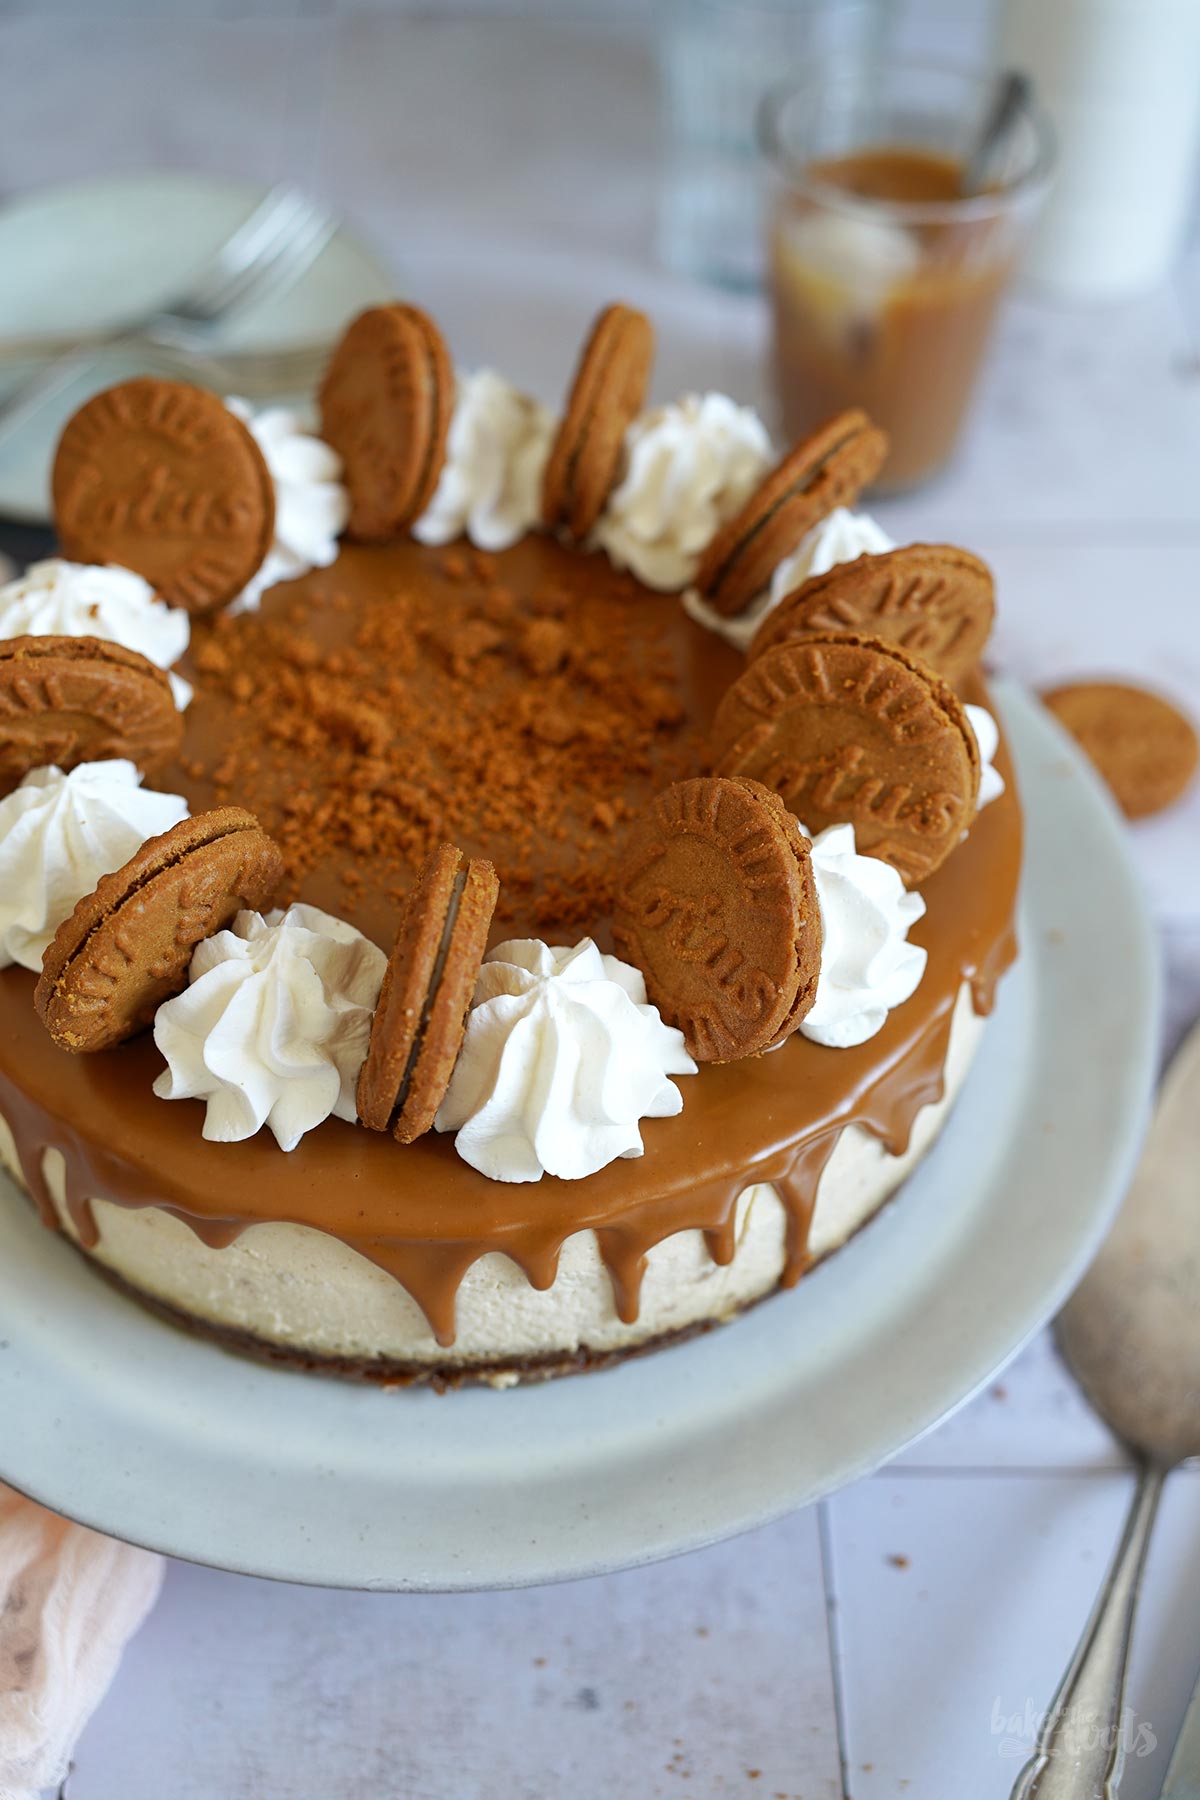
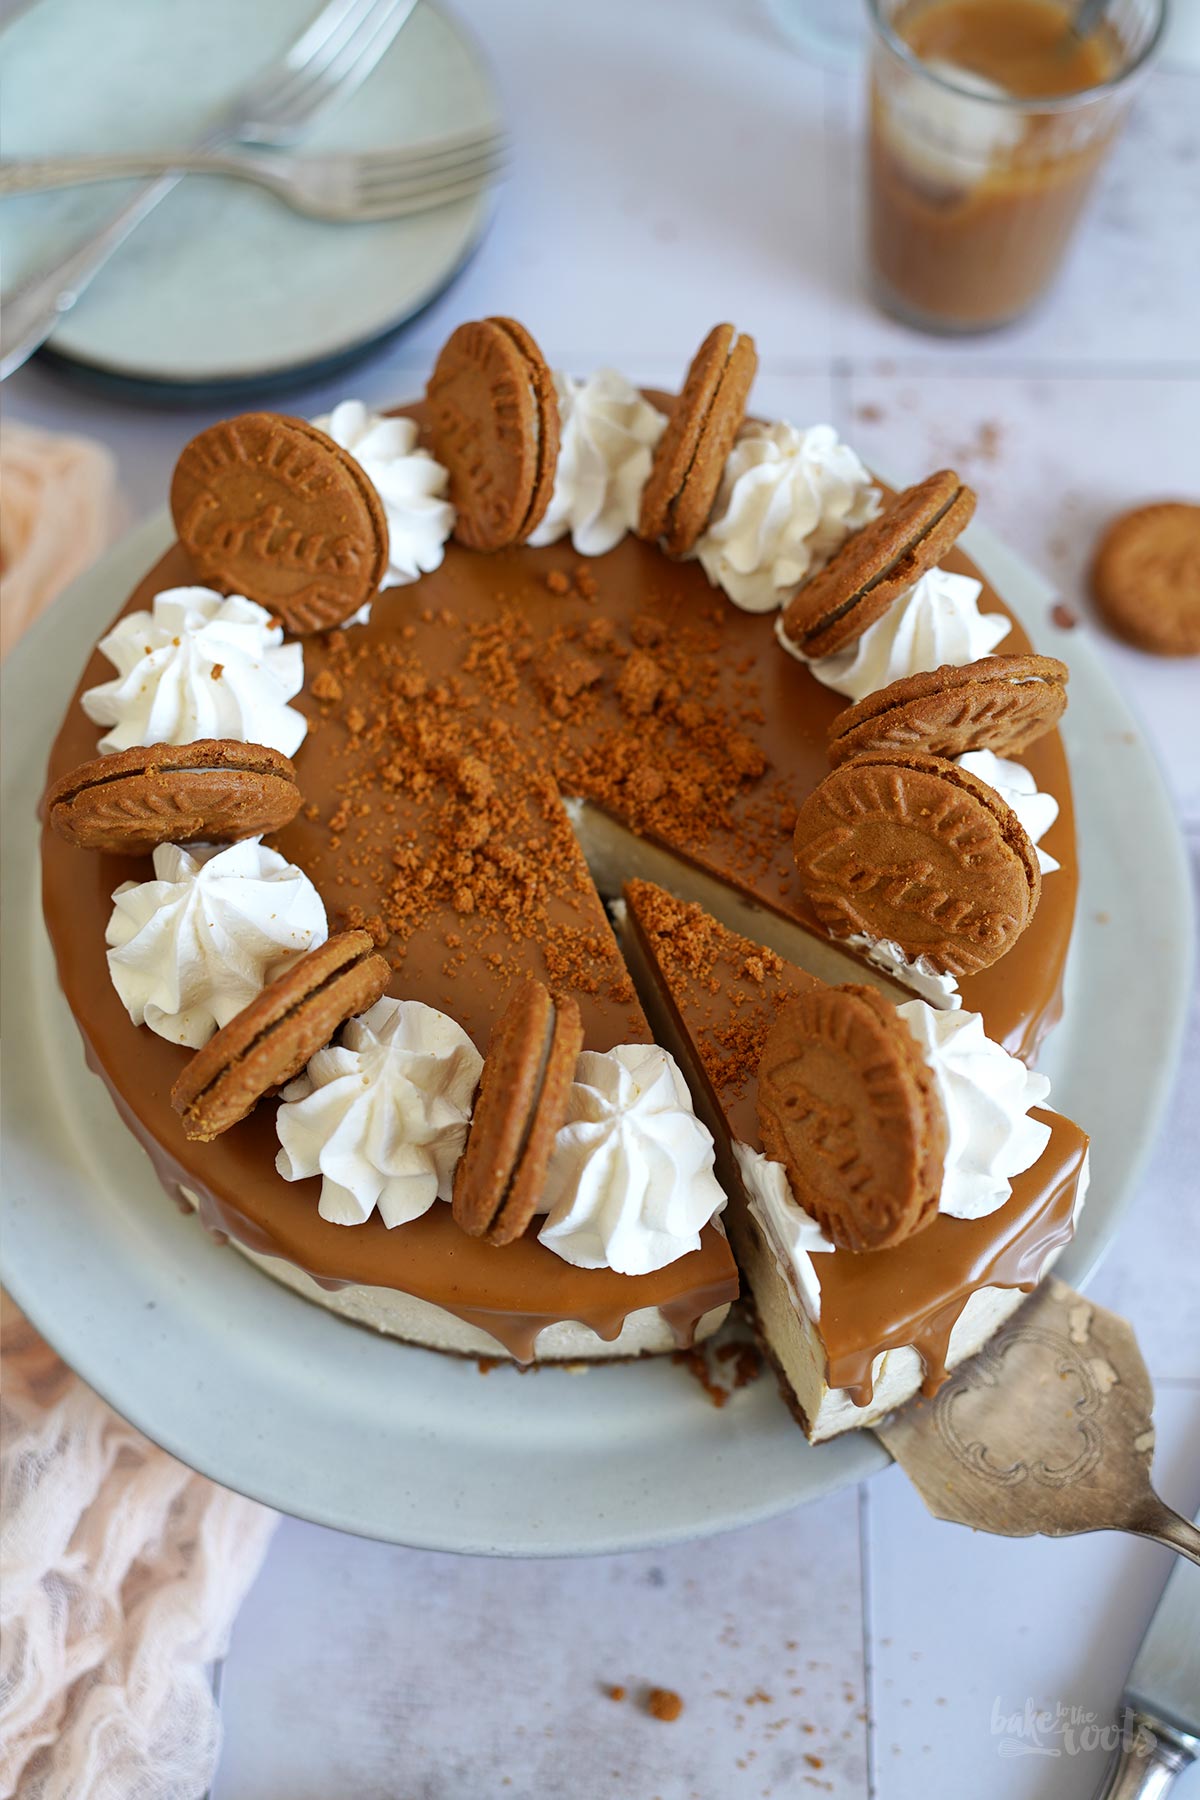
Anyway. The cheesecake is really delicious and has a really nice and creamy texture. You might be able to tell from the pictures. Just like a perfect cheesecake should be. The base is made with biscoff cookies and it’s quite caramel-y – same for the layer on top made with biscoff cookie butter. Plus the cheesecake filling with added biscoff cookies… all in all, an absolute delight! Really ;)
I am not making this cheesecake very often anymore due to the amount of sugar in the cookies and cookie butter. When I do I try to keep the added sugar as low as possible. That means I replace the listed sugar in the recipe with xylitol. It’s not much sugar you can replace here but every single sugar crystal counts ;P If you don’t (have to) care about sugar just forget about that and use regular white sugar as listed. No need to make it more complicated if it’s not necessary ;)
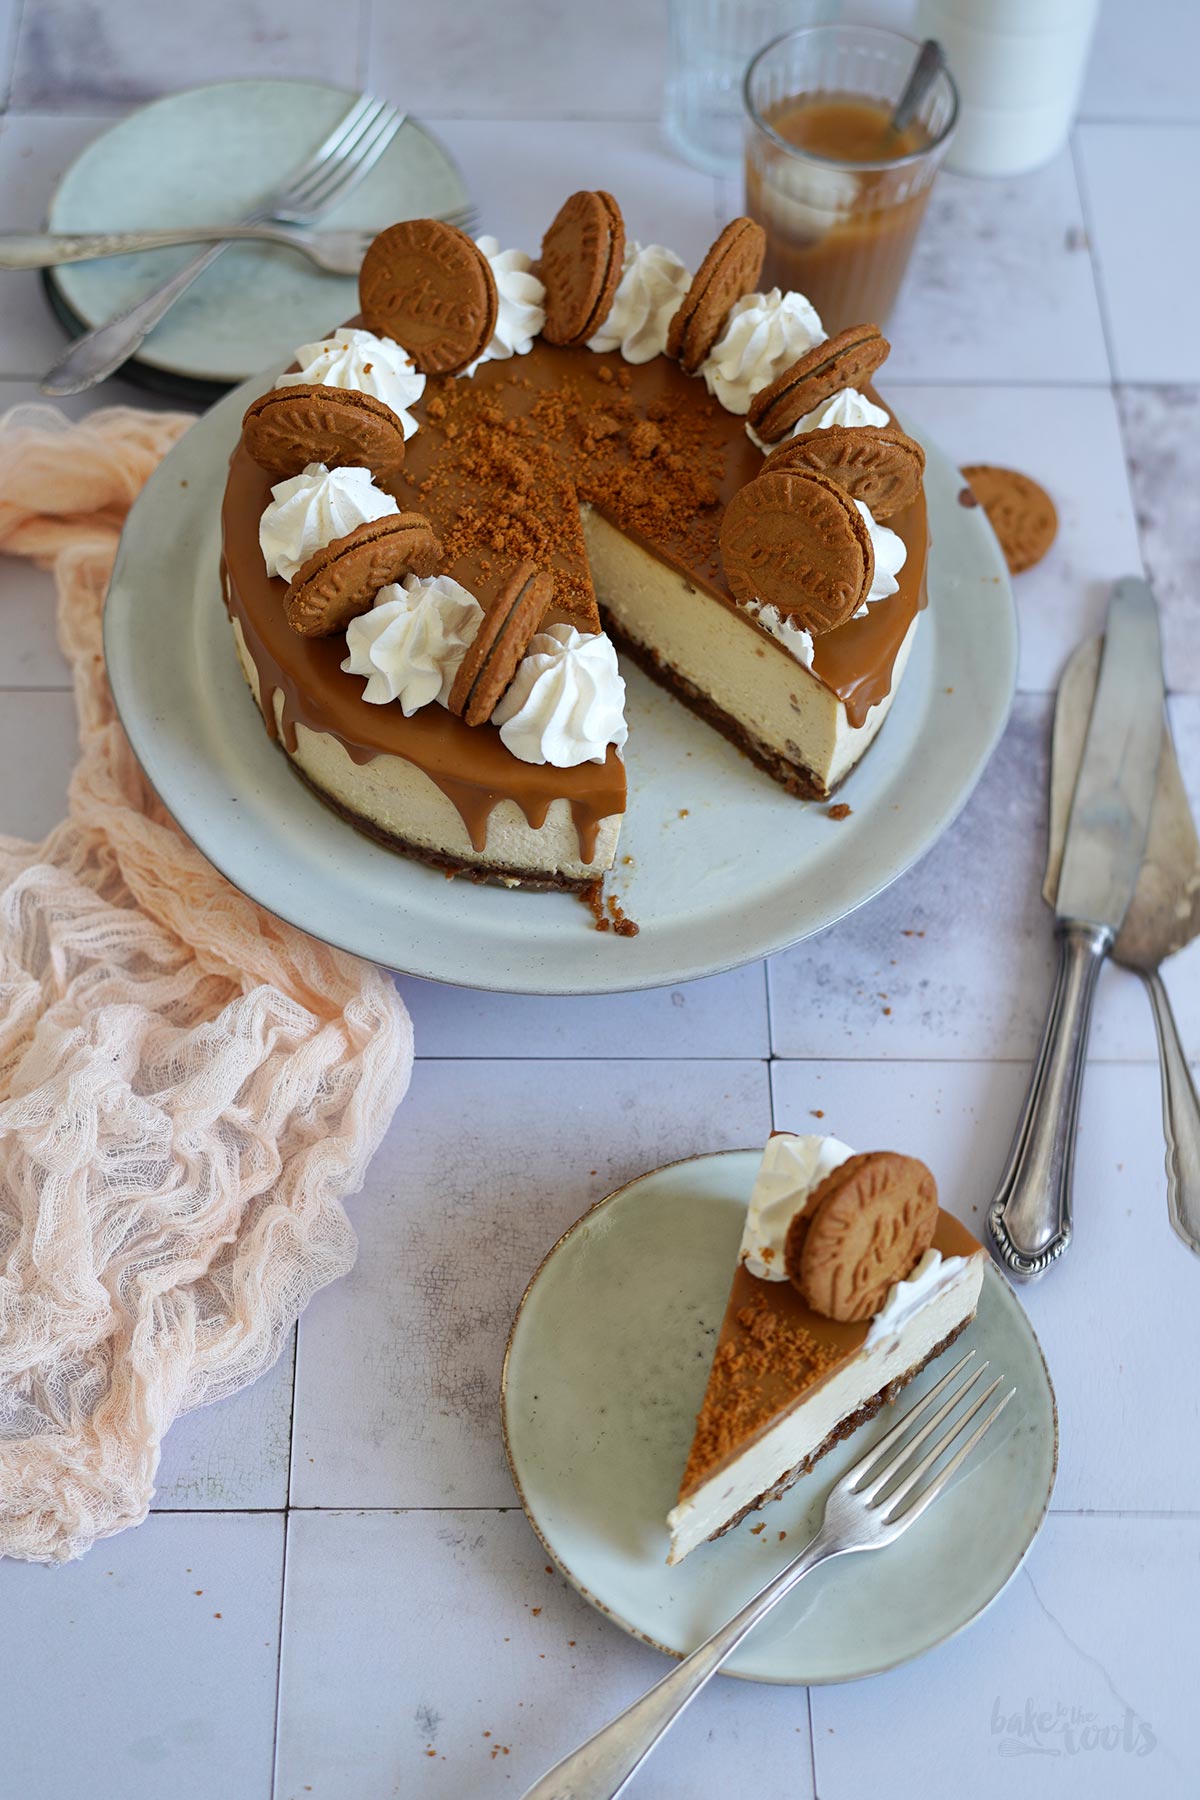
I linked the different Lotus biscoff cookies and the cookie butter/spread in the recipe. The regular biscoff cookies can be found in many larger supermarkets, as well as the cookie butter/spread. The round sandwich cookies I used for the decoration are sometimes a bit harder to find. If you can’t get hold of them just use the regular cookies and cut them in half. The cheesecake will look equally delicious with the cookies and whipped cream topping. For sure!
INGREDIENTS / ZUTATEN
For the base:
7 oz. (200g) Biscoff cookies*, crushed
2 tbsp. sugar (or xylitol)
3 oz. (85g) butter, melted
For the cheesecake filling:
32 oz. (900g) cream cheese, at room temperature
3.5 oz. (100g) sugar (or xylitol)
3.5 oz. (100g) heavy cream, at room temperature
3.5 oz. (100g) crème fraîche, room temperature
1.8 oz. (50g) Biscoff cookie spread*, at room temperature
4 medium eggs, at room temperature
1 tbsp. all-purpose flour
3 Biscoff cookies*, crumbled
For the decoration:
5 oz. (140g) Biscoff cookie spread*
some whipped cream
several Biscoff cookies*, whole & crushed
Für den Boden:
200g Biscoff Kekse*, zerkrümelt
2 EL Zucker (oder Xylitol)
85g Butter, geschmolzen
Für die Käsekuchenfüllung:
900g Frischkäse, Zimmertemperatur
100g Zucker (oder Xylitol)
100g Schlagsahne, Zimmertemperatur
100g Crème fraîche, Zimmertemperatur
50g Biscoff Aufstrich*
4 Eier (M), Zimmertemperatur
1 EL Mehl (Type 550)
3 Biscoff Kekse*, zerkrümelt
Für die Dekoration:
150g Biscoff Aufstrich*
etwas Schlagsahne
einige Biscoff Kekse*, im Ganzen und zerkrümelt
DIRECTIONS / ZUBEREITUNG
1. Preheat the oven to 320°F (160°C). Line an 8 inches (20cm) springform tin with baking parchment and grease lightly. Set aside. Let all the ingredients come to room temperature.
2. Add the Biscoff cookies to a freezer bag and crush them with a rolling pin. Add the sugar (or xylitol) and mix to combine. Melt the butter and add to the bag as well. Mix until the crumbs are evenly moist. Transfer to the springform tin and press down (with a spoon) to create one even layer. Bake for about 15 Minutes. Take out and let cool down a bit. Do not turn off the oven.
3. Add the cream cheese and sugar (or xylitol) to a large bowl and mix until well combined. Add the heavy cream, crème fraîche, and Biscoff cookie spread and mix until well combined. Add the eggs and mix in. Lastly, add the flour and mix everything until well combined. Crumble the three Biscoff cookies and fold them in. Pour the cheesecake filling into the springform tin with the pre-baked crust and smooth out the top. Wrap the bottom of the baking tin with some aluminum foil to make it waterproof and place it inside a larger casserole or baking dish. Add some hot water to that bigger baking dish so the springform tin with the cheesecake sits about 1 inch (2,5cm) deep in the hot water. Place in the center of the oven and bake for 85-90 minutes. The cheesecake should have set around the edges but be still a bit wobbly in the center. Turn off the oven and leave the oven door slightly open – leave the cheesecake inside the oven for another 20 minutes. Take out of the oven and remove it from the water bath. Run a knife around the cake to loosen it from the baking tin, then let cool down completely on a wire rack. When cooled, place in the fridge for at least 8 hours or overnight.
4. Remove the cheesecake from the baking tin and place it on a serving plate. Melt the Biscoff cookie spread in the microwave (takes only a few seconds) and pour over the cheesecake. You can either cover the top of the cake completely with the melted spread and let some of it drip down the sides or just create a layer that sits mostly in the center of the cake. Let the spread cool down and harden and decorate the cheesecake in addition with some whipped cream and Biscoff cookies if you like. Keep in the fridge until you serve it. Enjoy!
1. Den Ofen auf 160°C (320°F) Ober-/Unterhitze vorheizen. Eine 20cm (8 inches) Springform mit Backpapier auslegen und leicht einfetten. Zur Seite stellen. Alle Zutaten sollten in etwa Zimmertemperatur haben.
2. Die Biscoff Kekse in einen Gefrierbeutel geben und mit einem Nudelholz zu feinen Bröseln verarbeiten. Den Zucker (oder Xylit) dazugeben und untermischen. Die Butter schmelzen und ebenfalls in den Beutel dazu geben – alles gut vermischen. Die feuchten Brösel in die vorbereitete Backform umfüllen und zu einer glatten Schicht zusammendrücken. Im Ofen etwa 15 Minuten backen. Herausholen und etwas abkühlen lassen. Den Ofen in der Zwischenzeit nicht ausschalten.
3. Frischkäse und Zucker (oder Xylit) in einer großen Schüssel verrühren. Sahne, Crème fraîche und den Keksaufstrich dazugeben und gut unterrühren. Die Eier dazugeben und ebenfalls gut unterrühren. Zuletzt das Mehl dazugeben und sorgfältig unterrühren. Die drei Biscoff Kekse zerbröseln und kurz unterheben. Cheesecake Füllung in die Form mit dem vorgebackenen Boden gießen und glatt streichen. Die Backform dann in Alufolie wickeln, damit sie mehr oder weniger wasserdicht wird. Die Form dann in eine größere Backform oder Auflaufform stellen und die größeren Form dann mit heißem Wasser befüllen – die Backform mit dem Käsekuchen sollte etwa 2,5cm tief im Wasser stehen. Alles zusammen in die Mitte des Ofens stellen und den Käsekuchen etwa 85-90 Minuten backen. Der Kuchen sollte an den Rändern fest geworden sein, darf in der Mitte aber noch wackeln, wenn man an der Form etwas rüttelt. Den Ofen ausschalten, die Tür leicht öffnen und den Kuchen dann noch einmal etwa 20 Minuten im Ofen stehen lassen. Dann aus dem Ofen holen, das Wasserbad wegschütten und den Cheesecake auf ein Kuchengitter stellen. Den Kuchen mit einem scharfen Messer vorsichtig vom Rand der Backform lösen und dann komplett abkühlen lassen. Den erkalteten Kuchen noch einmal für mindestens 8 Stunden oder über Nacht in den Kühlschrank stellen.
4. Käsekuchen aus der Backform herauslösen und auf eine Servierplatte setzen. Den Biscoff Keksaufstrich in der Mikrowelle schmelzen (dauert nur einige Sekunden) und auf den Käsekuchen gießen. Man kann hier entweder nur einen großen Klecks auf den Kuchen setzen, oder den geschmolzenen Aufstrich bis an die Ränder verstreichen und auch über die Kanten fließen lassen für einen schönen Drip Effekt. Den Aufstrich abkühlen und wieder erhärten lassen, dann den Cheesecake nach Belieben mit Schlagsahne und Biscoff Keksen dekorieren. Bis zum Servieren in den Kühlschrank stellen.
Craving more? Keep in touch on Facebook, Twitter, Instagram and Pinterest for new post updates and more. You can also contact me with any questions or inquiries!
Here is a version of the recipe you can print easily.
Print
Baked Biscoff Cheesecake
- Prep Time: 00:40
- Cook Time: 01:30
- Total Time: 11:00
- Yield: 1 1x
- Category: Cheesecake
- Cuisine: America
- Diet: Vegetarian
Description
Super delicious Cheesecake made with Biscoff Cookies and Cookie Butter. This Baked Biscoff Cheesecake is an absolute highlight.
Ingredients
For the base:
7 oz. (200g) Biscoff cookies, crushed
2 tbsp. sugar (or xylitol)
3 oz. (85g) butter, melted
For the cheesecake filling:
32 oz. (900g) cream cheese, at room temperature
3.5 oz. (100g) sugar (or xylitol)
3.5 oz. (100g) heavy cream, at room temperature
3.5 oz. (100g) crème fraîche, room temperature
1.8 oz. (50g) Biscoff cookie spread, at room temperature
4 medium eggs, at room temperature
1 tbsp. all-purpose flour
3 Biscoff cookies, crumbled
For the decoration:
5 oz. (140g) Biscoff cookie spread
some whipped cream
several Biscoff cookies, whole & crushed
Instructions
1. Preheat the oven to 320°F (160°C). Line an 8 inches (20cm) springform tin with baking parchment and grease lightly. Set aside. Let all the ingredients come to room temperature.
2. Add the Biscoff cookies to a freezer bag and crush them with a rolling pin. Add the sugar (or xylitol) and mix to combine. Melt the butter and add to the bag as well. Mix until the crumbs are evenly moist. Transfer to the springform tin and press down (with a spoon) to create one even layer. Bake for about 15 Minutes. Take out and let cool down a bit. Do not turn off the oven.
3. Add the cream cheese and sugar (or xylitol) to a large bowl and mix until well combined. Add the heavy cream, crème fraîche, and Biscoff cookie spread and mix until well combined. Add the eggs and mix in. Lastly, add the flour and mix everything until well combined. Crumble the three Biscoff cookies and fold them in. Pour the cheesecake filling into the springform tin with the pre-baked crust and smooth out the top. Wrap the bottom of the baking tin with some aluminum foil to make it waterproof and place it inside a larger casserole or baking dish. Add some hot water to that bigger baking dish so the springform tin with the cheesecake sits about 1 inch (2,5cm) deep in the hot water. Place in the center of the oven and bake for 85-90 minutes. The cheesecake should have set around the edges but be still a bit wobbly in the center. Turn off the oven and leave the oven door slightly open – leave the cheesecake inside the oven for another 20 minutes. Take out of the oven and remove it from the water bath. Run a knife around the cake to loosen it from the baking tin, then let cool down completely on a wire rack. When cooled, place in the fridge for at least 8 hours or overnight.
4. Remove the cheesecake from the baking tin and place it on a serving plate. Melt the Biscoff cookie spread in the microwave (takes only a few seconds) and pour over the cheesecake. You can either cover the top of the cake completely with the melted spread and let some of it drip down the sides or just create a layer that sits mostly in the center of the cake. Let the spread cool down and harden and decorate the cheesecake in addition with some whipped cream and Biscoff cookies if you like. Keep in the fridge until you serve it. Enjoy!
Notes
Enjoy baking!
Links marked with an asterisk (*) are affiliate links (advertising/Werbung) to Amazon Germany. If you click on one of those links and buy something via this link, I will get a commission for that sale. The price of whatever you buy is not affected in any way by this.


 I love my job, but in between I love to bake and try new things in the kitchen. A lot of my friends and colleagues encourage me to bake - for a very simple reason: they get the leftovers - and it seems they like it most of the time ;)