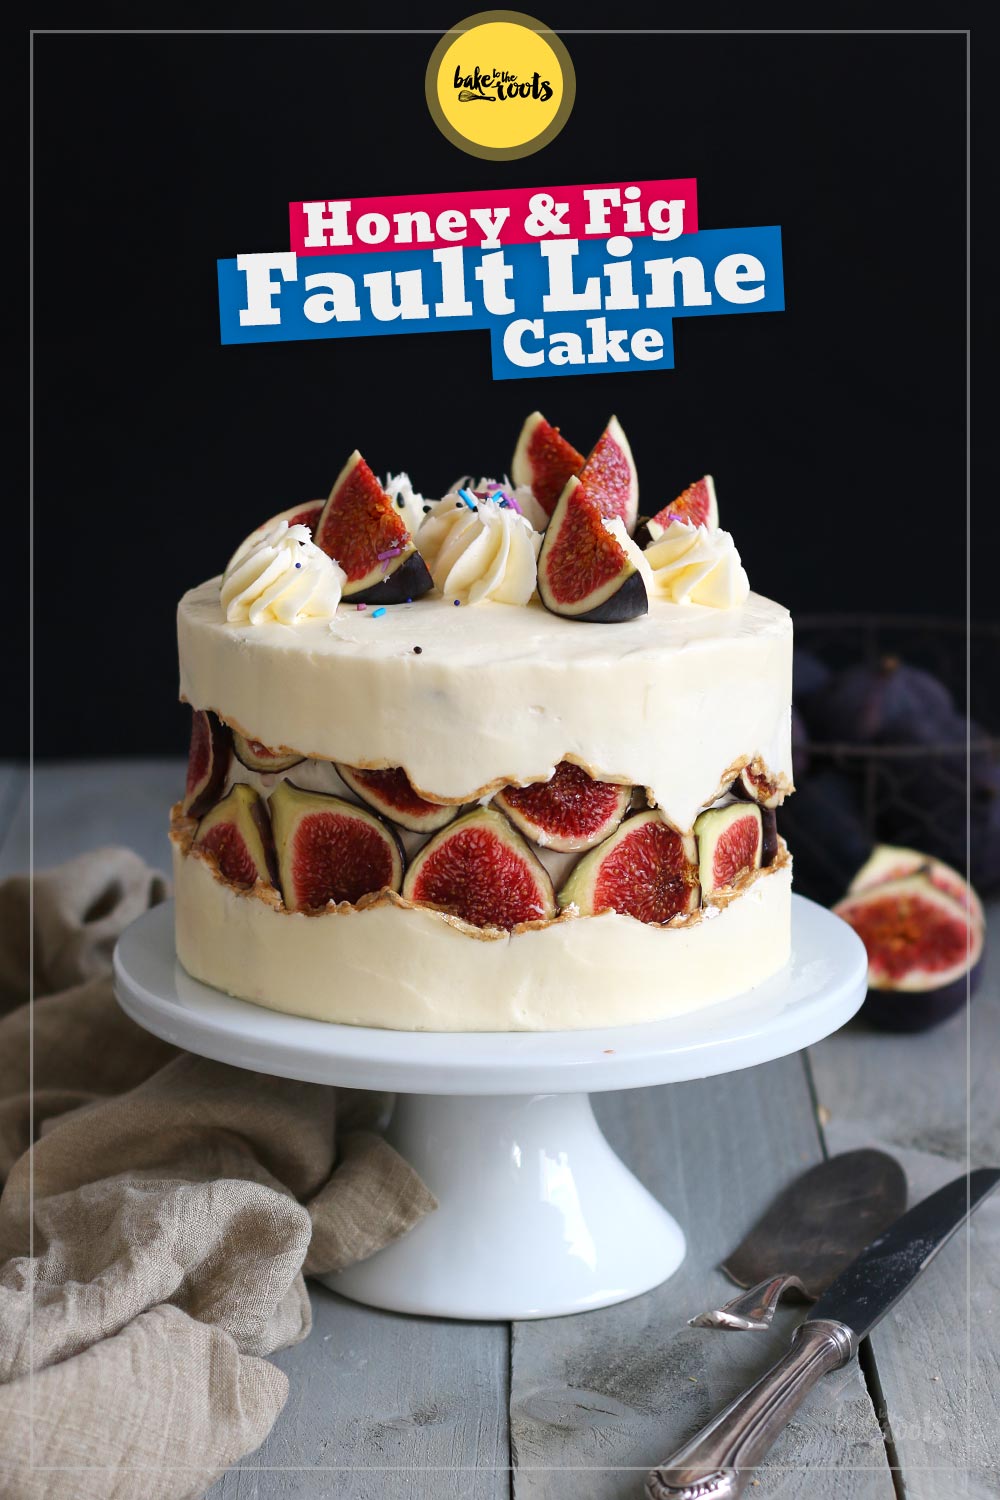
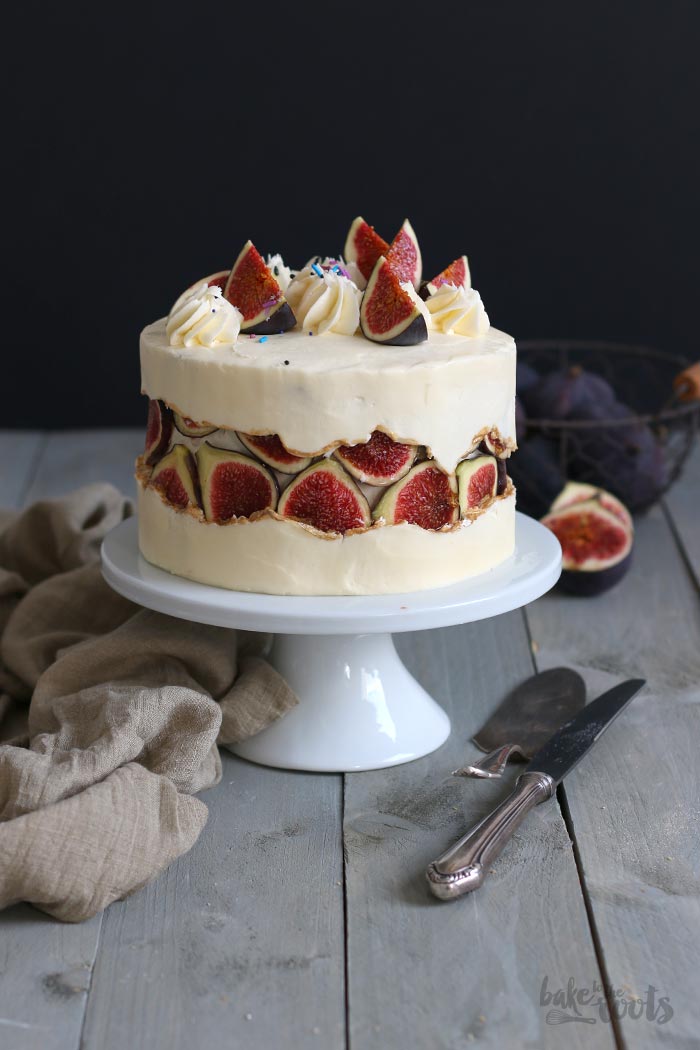
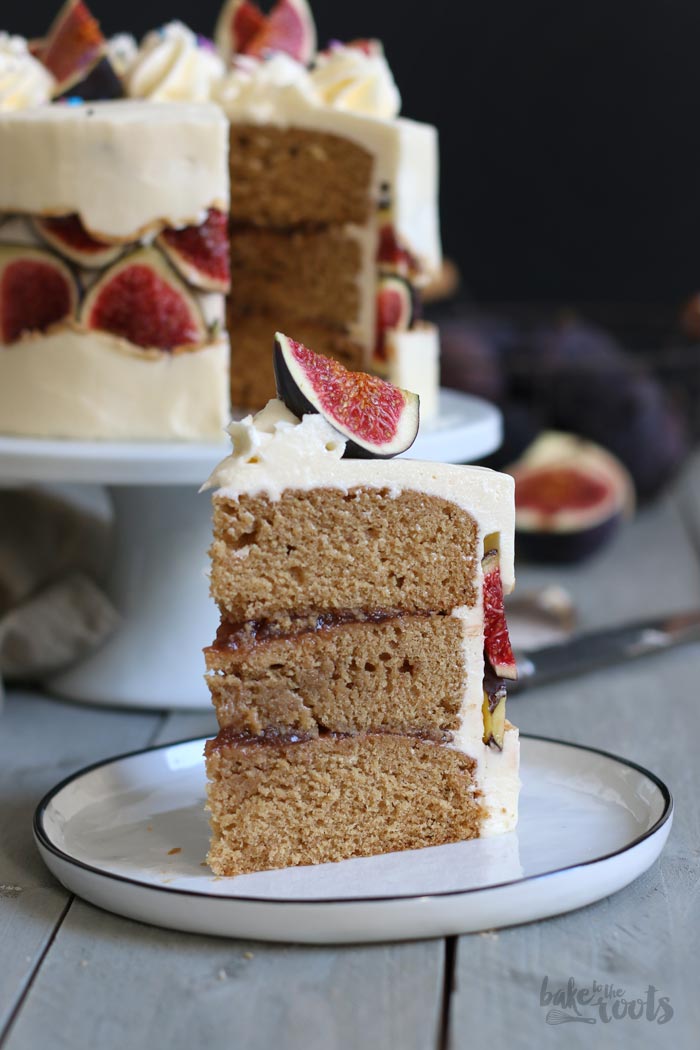
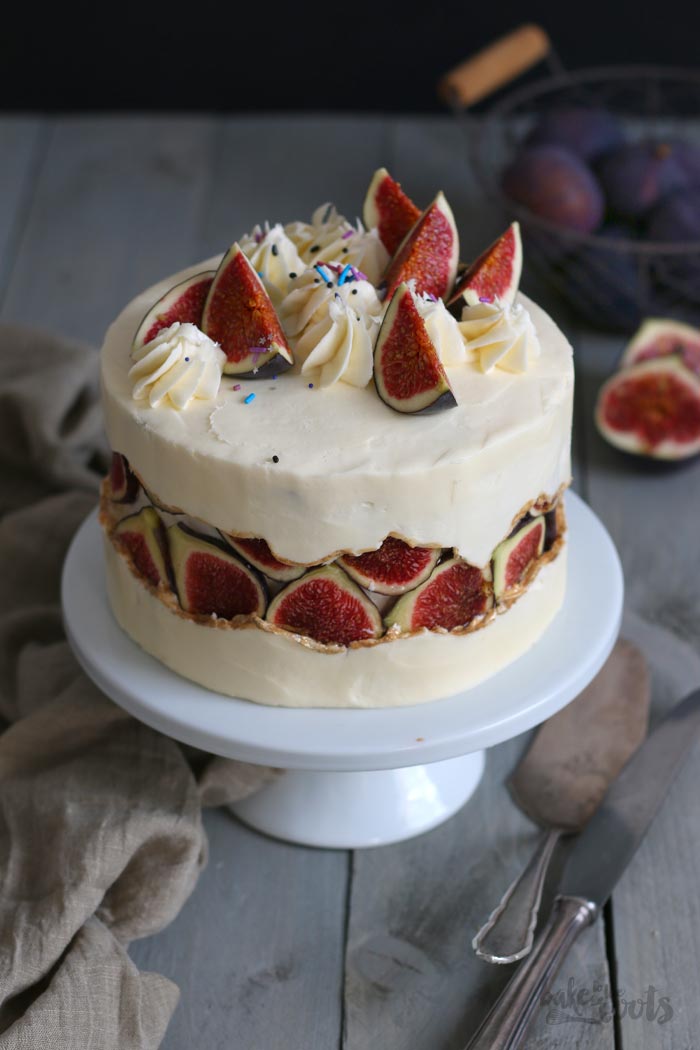
September is almost over already… time flies by so fast. It seems like Christmas is happening next week and Halloween somewhere in between. Just kidding! End of the month means Bake Together – The Baking Surprise with Andrea from Zimtkeks & Apfeltarte. Our monthly baking event brings us together even though we bake hundreds of miles apart from each other. We decide on one topic, each of us bakes something and we surprise each other with the result. September is the Season for figs so we decided to make that our topic. As you can see in the picture already and with the headline – I made a delicious Honey Fig Fault Line Cake today…
Well… of course I did not make that cake today. Actually, it took quite a while for me to make this one here. Don’t get me wrong – the cake is not difficult to make and it does not take longer than other cakes. It took me months to actually start making the cake. Call me »King of procrastination«! I am actually very organized when it comes to baking. I plan my recipes for the blog months in advance, I buy the stuff I need some time in advance… but then?! Dunno – other things happen and suddenly it takes two months to finish something I thought would be done in two days.
Happened here too. The moment I saw fault line cakes getting trendy, I knew I wanted to make one myself. An easy but quite stunning way to decorate a cake. Well… I thought about the stuff that could peek through that fault line and fresh figs were something that came to my mind almost immediately. Back then I hadn’t seen anybody using figs, so I thought – perfect! By now, of course, many others had the same idea already. Well… that’s life and you can’t be the first one all the time (or ever).
Anyway. Many things happened between then and now, I had several other projects to work on, was on vacation, and so on. But now the time finally has come to give you some cake… with a fault line decoration and fresh figs.
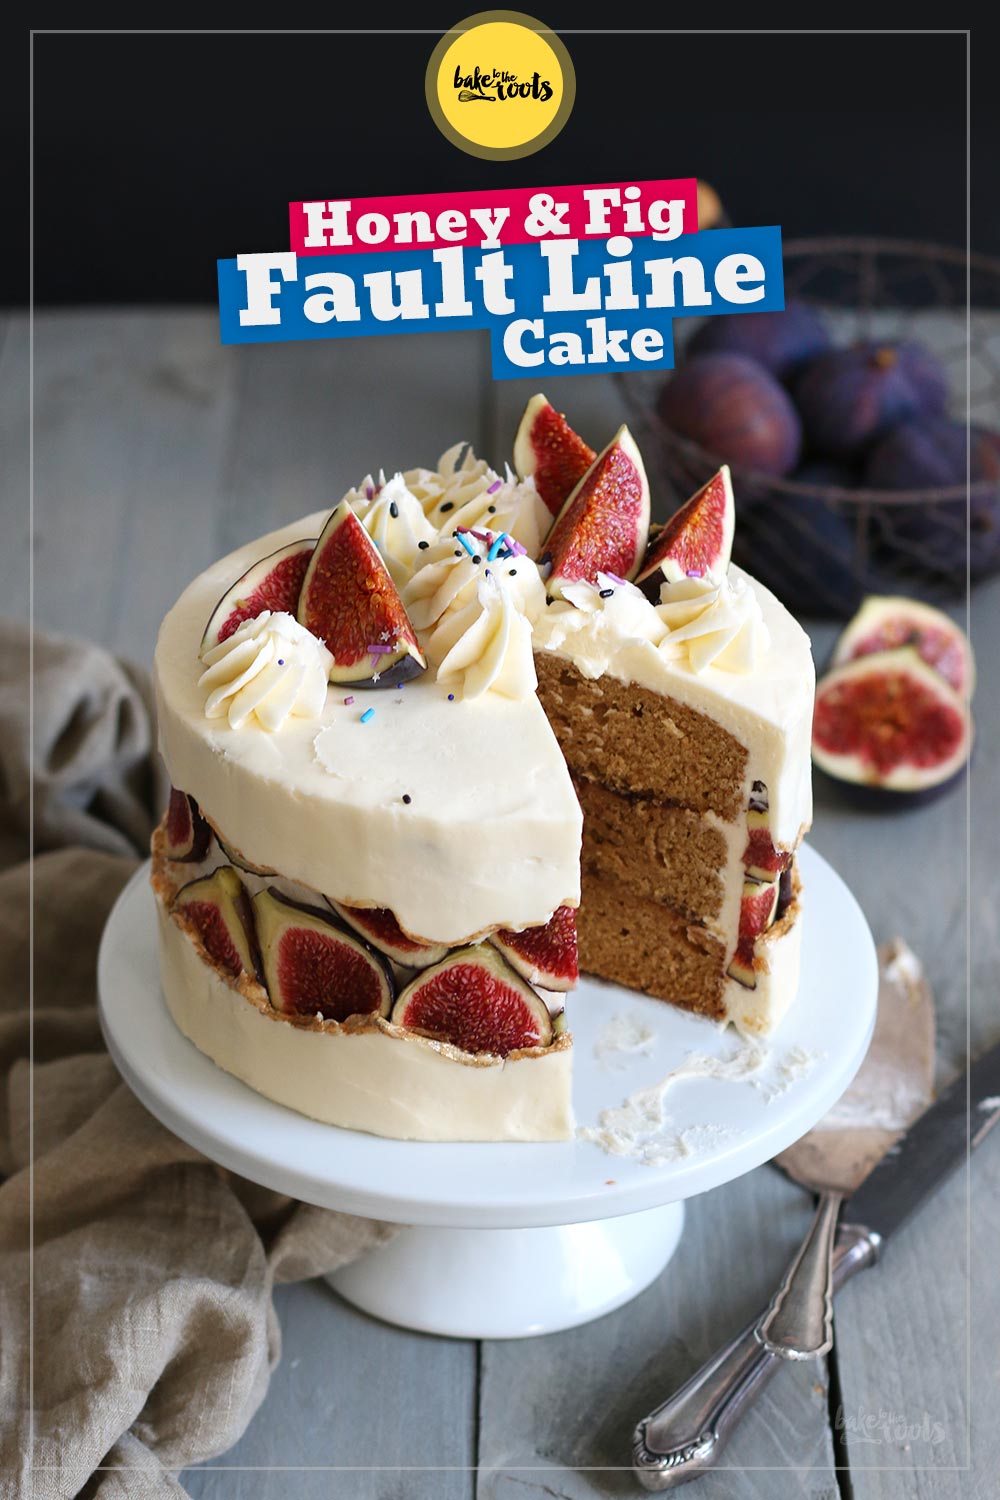
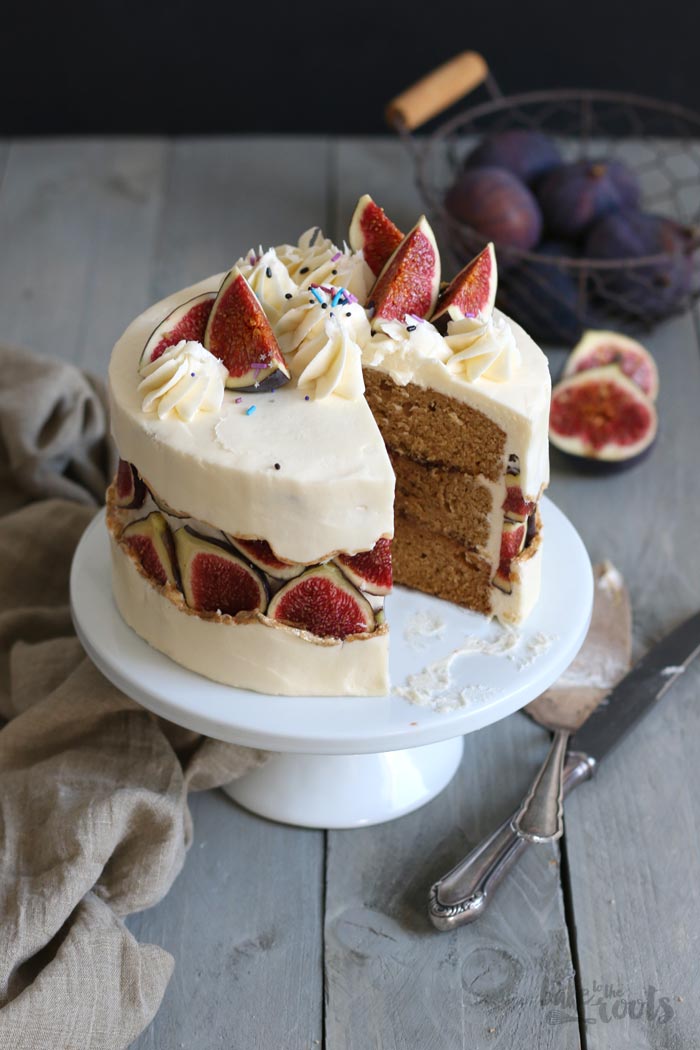
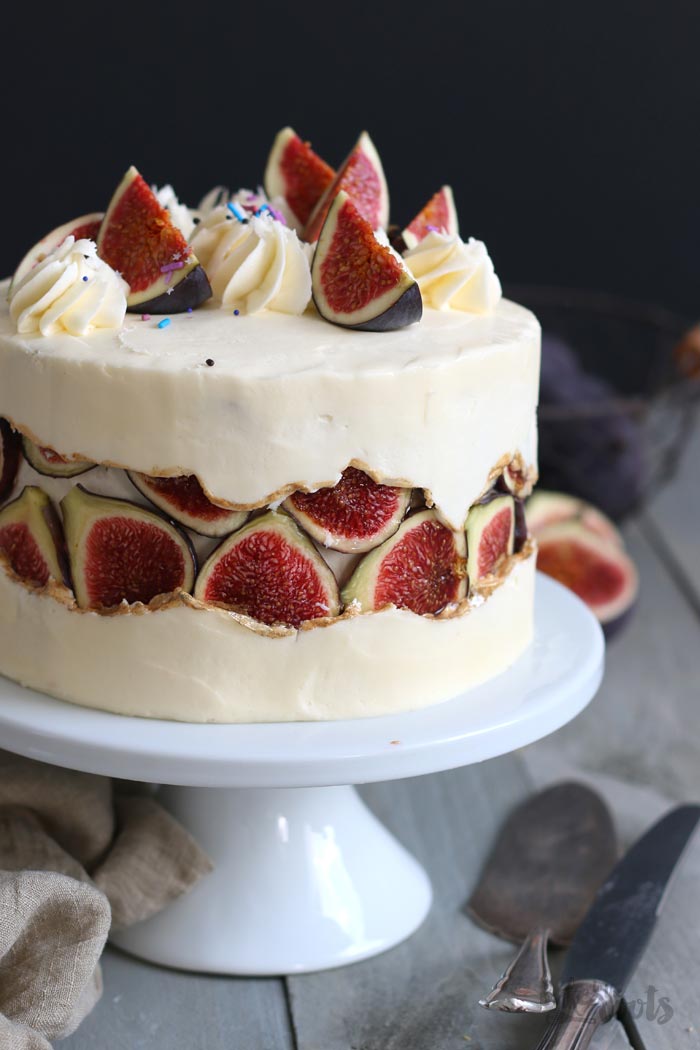
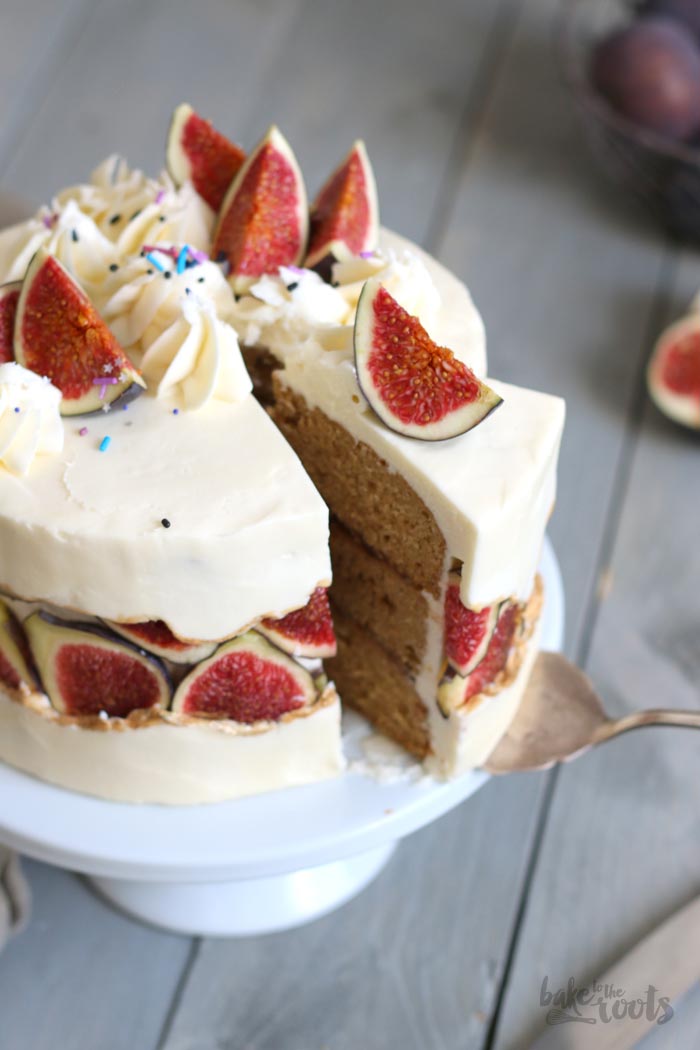
As I mentioned earlier already – fault line cakes are not too difficult to make. If you’ve made a layered cake with buttercream already, this will be an easy one for you. Everybody else can also calm down – this should work even for beginners. All you have to do is make a cake with some layers and any type of buttercream you like. I made a honey cake with homemade fig jam and a honey buttercream because it goes well with the figs. You can use whatever you like.
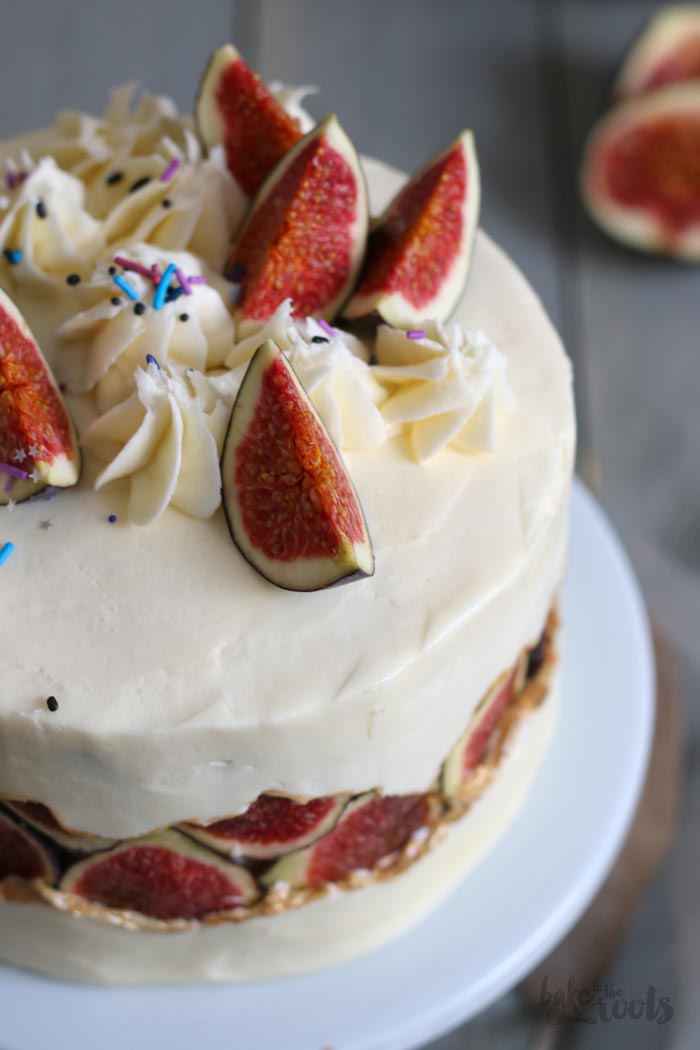
The »trick« with those fault line cakes is the decoration in the middle of the cake, around the cake. Most bakers use some sprinkles or just add some colored buttercream – I used fresh figs, thinly sliced. You smash that on the cake and then you add the buttercream on top – but only on the bottom and top so you can still see the decorated band around the cake. The rest is cake 101. Smoothing out the buttercream, decorate the top to your liking and then maybe some color on the fault line edges to make them more visible. That’s it…
Check YouTube for tutorials if you have problems – there are so many videos out there by now to show you exactly how it’s done… but it’s really not that difficult! If you want me to make a video tutorial, let me know and I will think about it. Well… that was my recipe with figs – I wonder what Andrea made? Probably not a fault line cake, but who knows?! Check her blog to find out!
INGREDIENTS / ZUTATEN
For the fig jam:
4 large figs, chopped
1/4 cup (50g) muscovado sugar*
4 tbsp. water
1 tbsp. lemon juice
For the cake layers:
3/4 cup (170g) butter, at room temperature
1/2 cup (100g) muscovado sugar*
3.5 oz. (100ml) honey (from local sources)
3 medium eggs
2 cups (260g) stronger all-purpose flour*
1 tsp. baking soda*
1 tsp. ground cinnamon*
1/2 tsp. ground ginger*
1/4 tsp. nutmeg*
1/2 cup (120ml) buttermilk
For the buttercream:
1 cup (230g) butter, at room temperature
6 tbsp. honey (from local sources)
3 1/2-4 cups (450-520g) confectioners’ sugar
1-3 tbsp. heavy cream
For the decoration:
5-6 small fresh figs
some edible gold color*
some sprinkles (optional)
Für die Feigenmarmelade:
4 große Feigen, gewürfelt
50g Mascobado Zucker*
4 EL Wasser
1 EL Zitronensaft
Für die Kuchenschichten:
170g Butter, Zimmertemperatur
100g Mascobado Zucker*
100ml Honig (von regionalen Quellen)
3 Eier (M)
260g Mehl (Type 550)*
1 TL Natron*
1 TL Zimt*
1/2 TL Ingwer*, gemahlen
1/4 TL Muskatnuss*
120ml Buttermilch
Für die Buttercreme:
230g Butter, Zimmertemperatur
6 EL Honig (von regionalen Quellen)
450-520g Puderzucker
1-3 EL Sahne
Für die Dekoration:
5-6 kleine frische Feigen
etwas goldene Lebensmittelfarbe*
einige Zuckerstreusel (optional)
DIRECTIONS / ZUBEREITUNG
1. Chop the figs into small pieces (remove the hard stems) and add them together with the sugar, water, and lemon to a small saucepan and bring to a boil. Let simmer over low heat for about 10-15 minutes until the figs are soft and the liquid has evaporated. Remove from the heat and let cool down completely. This can be done a day in advance. Keep the jam in the fridge until needed.
2. Preheat the oven to 180°C (350°F). Line three springform tins (15cm)* with baking parchment and grease lightly. Set aside.
3. Add the butter, sugar, and honey to a large bowl and mix until light and fluffy. Add the eggs one after another and mix well after each addition. In a second bowl mix flour with baking soda, cinnamon, ginger, and nutmeg. Add in three batches alternating with the buttermilk to the large bowl and mix until just combined. Divide the batter between the three tins and bake for about 18-20 minutes or until a skewer inserted into the center comes out clean. Take them out of the oven and let them cool down on a wire rack. When cooled, remove from the tins.
4. For the buttercream, add the butter to a large bowl and mix on high speed until light and creamy. Add the honey and mix for 2-3 minutes until light and fluffy. Gradually add the confectioners’ sugar and mix for about 4-5 minutes on high speed until nice and creamy. Mix in some heavy cream if the buttercream seems too thick and difficult to spread.
5. To assemble the cake, place the first cake layer on a serving plate. Spread some of the fig jam on top of that layer – try not to come too close to the edge of the cake. Place the second cake layer on top and repeat spreading fig jam on top, then finish with the last cake layer. Coat the cake with a thin layer of buttercream (crumb coat) and place it in the fridge for about 20 minutes. As soon as the buttercream is firm, add another layer of buttercream on top of the crumb coat. Cut the figs for the decoration into thin slices and place them close to each other in a band around the center of the cake – this is where the »insides of the cake« will peek through at the end. Make sure they stick well to the buttercream and cool the cake for another 15-20 minutes. To finish the cake add more buttercream around the base of the cake and on the upper part and top of the cake. Leave the middle with the figs untouched and cover them only slightly on the top and bottom to get that rough band (fault line) where the figs peek through. Smooth out the sides and the top. Brush the edges of the buttercream with some edible gold color and decorate the cake with the remaining buttercream, some figs, and sprinkles (optional). Cool until you serve the cake.
1. Die Feigen für die Marmelade in Würfel schneiden (vorher die harten Stiele entfernen) und zusammen mit Zucker, Wasser und Zitronensaft in einen kleinen Topf geben und zum Kochen bringen. Bei geringer Hitzezufuhr für 10-15 Minuten köcheln lassen, bis die Feigen weich sind und die Flüssigkeit eingekocht ist. Vom Herd nehmen und komplett abkühlen lassen. Die Marmelade kann man einen Tag eher machen und im Kühlschrank lagern.
2. Den Ofen auf 180°C (350°F) Ober-/Unterhitze vorheizen. Drei Springformen (15cm)* mit Backpapier auslegen und leicht einfetten. Zur Seite stellen.
3. Die Butter mit dem Zucker und Honig in eine große Schüssel geben und hell und luftig aufschlagen. Die Eier nacheinander dazugeben und jeweils gut unterrühren. In einer zweiten Schüssel das Mehl mit Natron, Zimt, Ingwer und Muskatnuss vermischen. Die Mischung in drei Portionen abwechselnd mit der Buttermilch zur großen Rührschüssel dazugeben und nur kurz unterrühren. Den Teig auf die drei Backformen aufteilen und dann für etwa 18-20 Minuten backen – mit einem Holzspieß testen, ob noch Teig kleben bleibt, und erst herausholen, wenn er sauber herauskommt. Kuchen auf einem Kuchengitter abkühlen lassen. Die abgekühlten Kuchen aus der Form lösen.
4. Für die Buttercreme die Butter in eine große Schüssel geben und auf höchster Stufe hell und luftig aufschlagen. Den Honig dazugeben und für 2-3 Minuten weiter aufschlagen. Den Puderzucker nach und nach dazugeben und unterrühren, dann für etwa 4-5 Minuten auf höchster Stufe aufschlagen, bis die Buttercreme schön geschmeidig und luftig ist. Sollte die Creme zu fest sein, etwas Sahne unterrühren, bis die Konsistenz passt.
5. Für den Zusammenbau der Torte als Erstes eine Kuchenschicht auf eine Servierplatte legen und mit etwas Feigenmarmelade bestreichen (nicht ganz bis zum Rand). Die zweite Kuchenschicht auflegen und dann erneut Feigenmarmelade aufstreichen und mit der dritten Kuchenschicht abschließen. Die Torte mit einer dünnen Schicht Buttercreme (Crumb Coat) einstreichen und dann für etwa 20 Minuten in den Kühlschrank stellen. Sobald die Creme fest geworden ist, eine zweite Schicht Buttercreme auftragen und glatt streichen. Die Feigen für die Deko in dünne Scheiben schneiden und dann in einem Band mittig um die Torte herum in die Buttercreme drücken. Den Kuchen für weitere 15-20 Minuten in den Kühlschrank stellen. Wenn die Creme wieder fest ist, eine letzte Schicht Buttercreme auftragen – dieses Mal nur im unteren und oberen Bereich der Torte und in der Mitte das Band mit den Feigen freilassen (Fault Line). Die Feigen sollten nur minimal abgedeckt werden, damit es aussieht, als wären sie überall unter der Buttercreme und würden nur an der Bruchstelle herausschauen. Die letzte Schicht Buttercreme rundum glattstreichen, die »Bruchstellen« dabei roh und kantig lassen. Diese Kanten mit goldener Lebensmittelfarbe bemalen, die Torte mit der restlichen Buttercreme und frischen Feigen dekorieren – wer mag, kann auch noch ein paar Zuckerstreusel verwenden (optional). Bis zum Servieren kühlen.
Craving more? Keep in touch on Facebook, Instagram and Pinterest for new post updates and more. You can also contact me with any questions or inquiries!
Here is a version of the recipe you can print easily.
Print
Honey & Fig Fault Line Cake
- Prep Time: 01:00
- Cook Time: 00:20
- Total Time: 02:30
- Yield: 1 1x
- Category: Layer Cakes
- Method: -
- Cuisine: United States
- Diet: Vegetarian
Description
Looking for something special? Try this latest baking trend: Fault Line Cakes! Stunning look but fairly easy to make – we love this Honey Fig Fault Line Cake!
Ingredients
For the fig jam:
4 large figs, chopped
1/4 cup (50g) muscovado sugar*
4 tbsp. water
1 tbsp. lemon juice
For the cake layers:
3/4 cup (170g) butter, at room temperature
1/2 cup (100g) muscovado sugar*
3.5 oz. (100ml) honey (from local sources)
3 medium eggs
2 cups (260g) stronger all-purpose flour*
1 tsp. baking soda*
1 tsp. ground cinnamon*
1/2 tsp. ground ginger*
1/4 tsp. nutmeg*
1/2 cup (120ml) buttermilk
For the buttercream:
1 cup (230g) butter, at room temperature
6 tbsp. honey (from local sources)
3 1/2-4 cups (450-520g) confectioners‘ sugar
1-3 tbsp. heavy cream
For the decoration:
5-6 small fresh figs
some edible gold color*
some sprinkles (optional)
Instructions
1. Chop the figs into small pieces (remove the hard stems) and add them together with the sugar, water, and lemon to a small saucepan and bring to a boil. Let simmer over low heat for about 10-15 minutes until the figs are soft and the liquid has evaporated. Remove from the heat and let cool down completely. This can be done a day in advance. Keep the jam in the fridge until needed.
2. Preheat the oven to 180°C (350°F). Line three springform tins (15cm)* with baking parchment and grease lightly. Set aside.
3. Add the butter, sugar, and honey to a large bowl and mix until light and fluffy. Add the eggs one after another and mix well after each addition. In a second bowl mix flour with baking soda, cinnamon, ginger, and nutmeg. Add in three batches alternating with the buttermilk to the large bowl and mix until just combined. Divide the batter between the three tins and bake for about 18-20 minutes or until a skewer inserted into the center comes out clean. Take them out of the oven and let them cool down on a wire rack. When cooled, remove from the tins.
4. For the buttercream, add the butter to a large bowl and mix on high speed until light and creamy. Add the honey and mix for 2-3 minutes until light and fluffy. Gradually add the confectioners‘ sugar and mix for about 4-5 minutes on high speed until nice and creamy. Mix in some heavy cream if the buttercream seems too thick and difficult to spread.
5. To assemble the cake, place the first cake layer on a serving plate. Spread some of the fig jam on top of that layer – try not to come too close to the edge of the cake. Place the second cake layer on top and repeat spreading fig jam on top, then finish with the last cake layer. Coat the cake with a thin layer of buttercream (crumb coat) and place it in the fridge for about 20 minutes. As soon as the buttercream is firm, add another layer of buttercream on top of the crumb coat. Cut the figs for the decoration into thin slices and place them close to each other in a band around the center of the cake – this is where the »insides of the cake« will peek through at the end. Make sure they stick well to the buttercream and cool the cake for another 15-20 minutes. To finish the cake add more buttercream around the base of the cake and on the upper part and top of the cake. Leave the middle with the figs untouched and cover them only slightly on the top and bottom to get that rough band (fault line) where the figs peek through. Smooth out the sides and the top. Brush the edges of the buttercream with some edible gold color and decorate the cake with the remaining buttercream, some figs, and sprinkles (optional). Cool until you serve the cake.
Notes
Enjoy baking!
Links marked with an asterisk (*) are affiliate links (advertising/Werbung) to Amazon Germany. If you click on one of those links and buy something via this link, I will get a commission for that sale. The price of whatever you buy is not affected in any way by this.