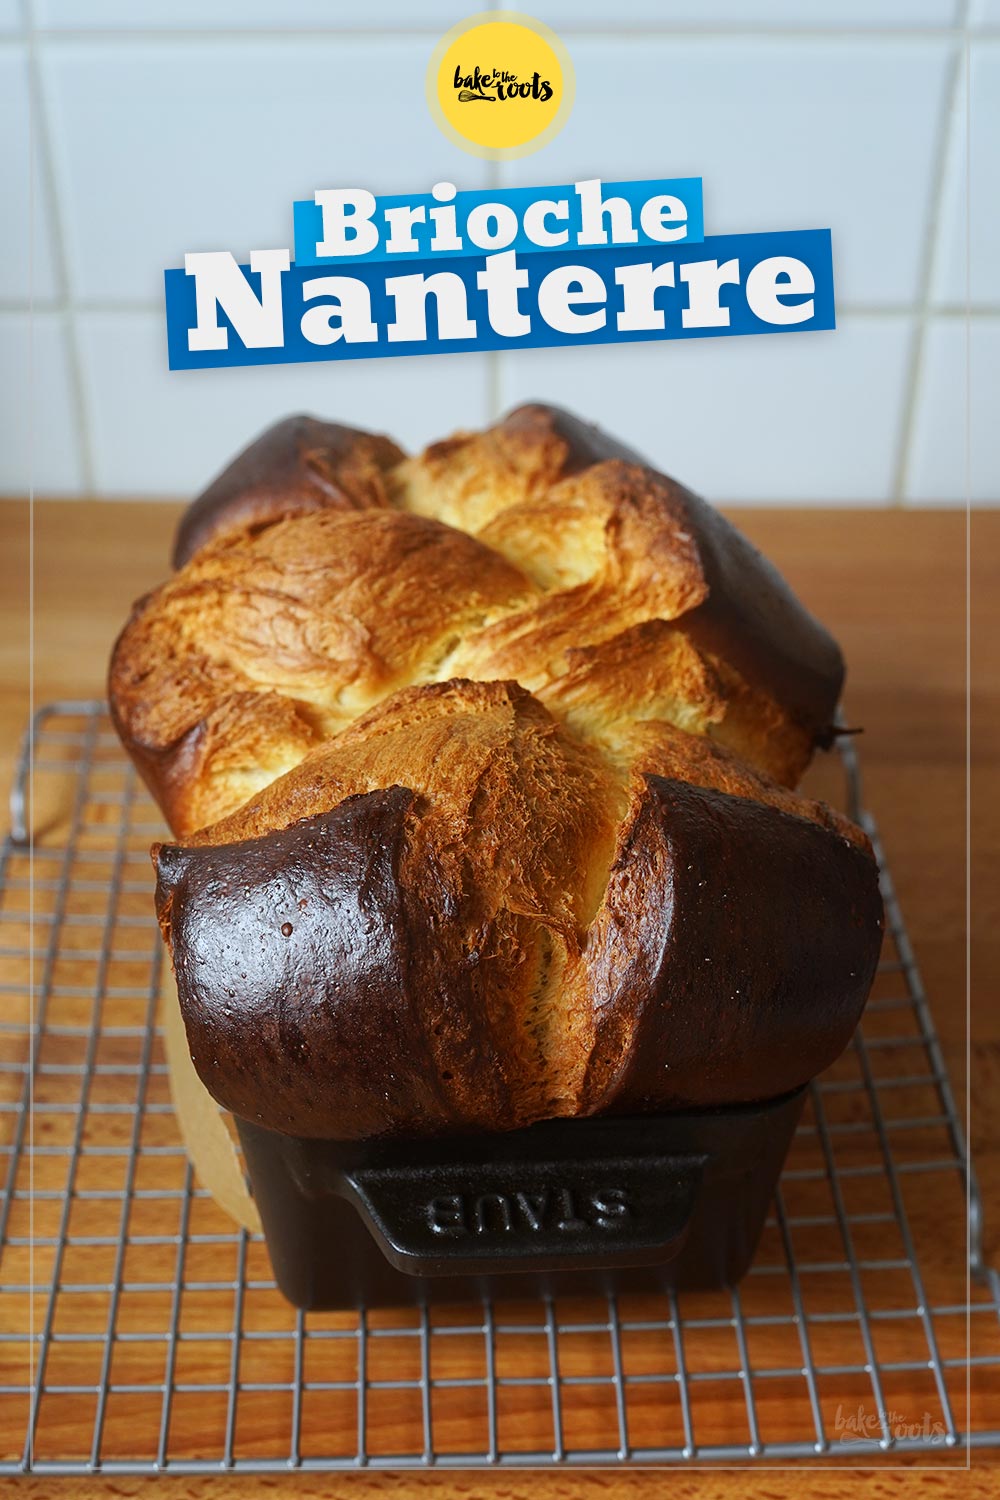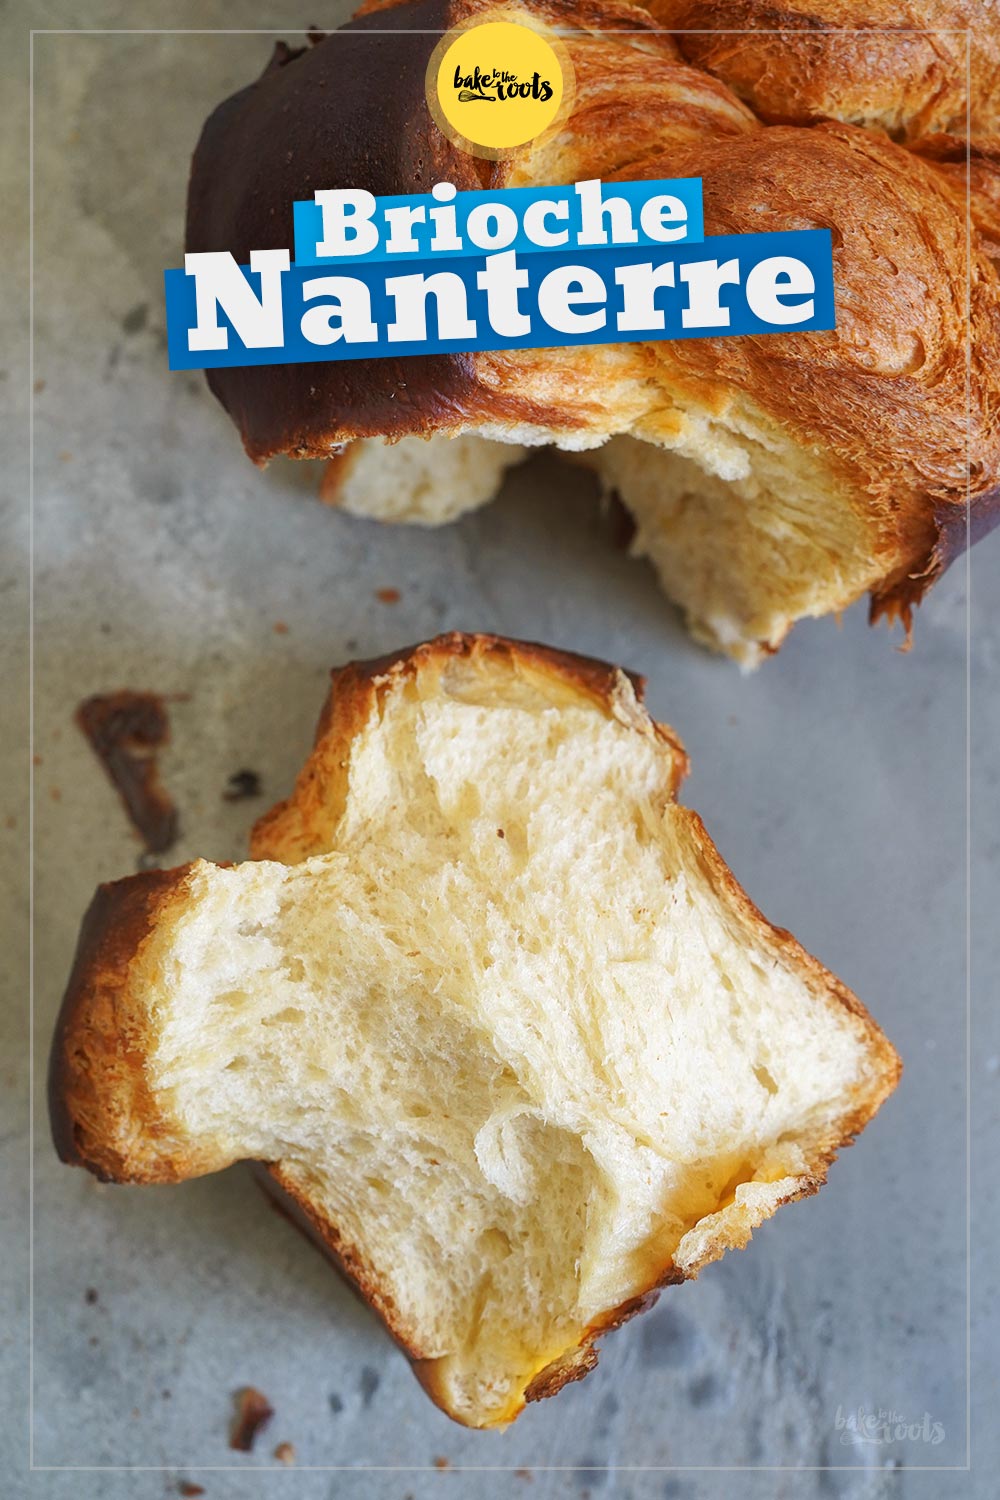


We’re huge fans of yeast-based pastries in every shape and size. A simple braided yeast loaf frequently finds its way into our oven. It’s perfect for breakfast or brunch, for example. Alternatively, we sometimes enjoy a Fluffy Brioche Nanterre. This variation of the classic brioche is baked in a loaf pan and is incredibly fluffy and delicious. The only downside is that you need to plan ahead. Preparing this pastry requires quite a bit of time (specifically, waiting time). Of course, that’s not for everyone…
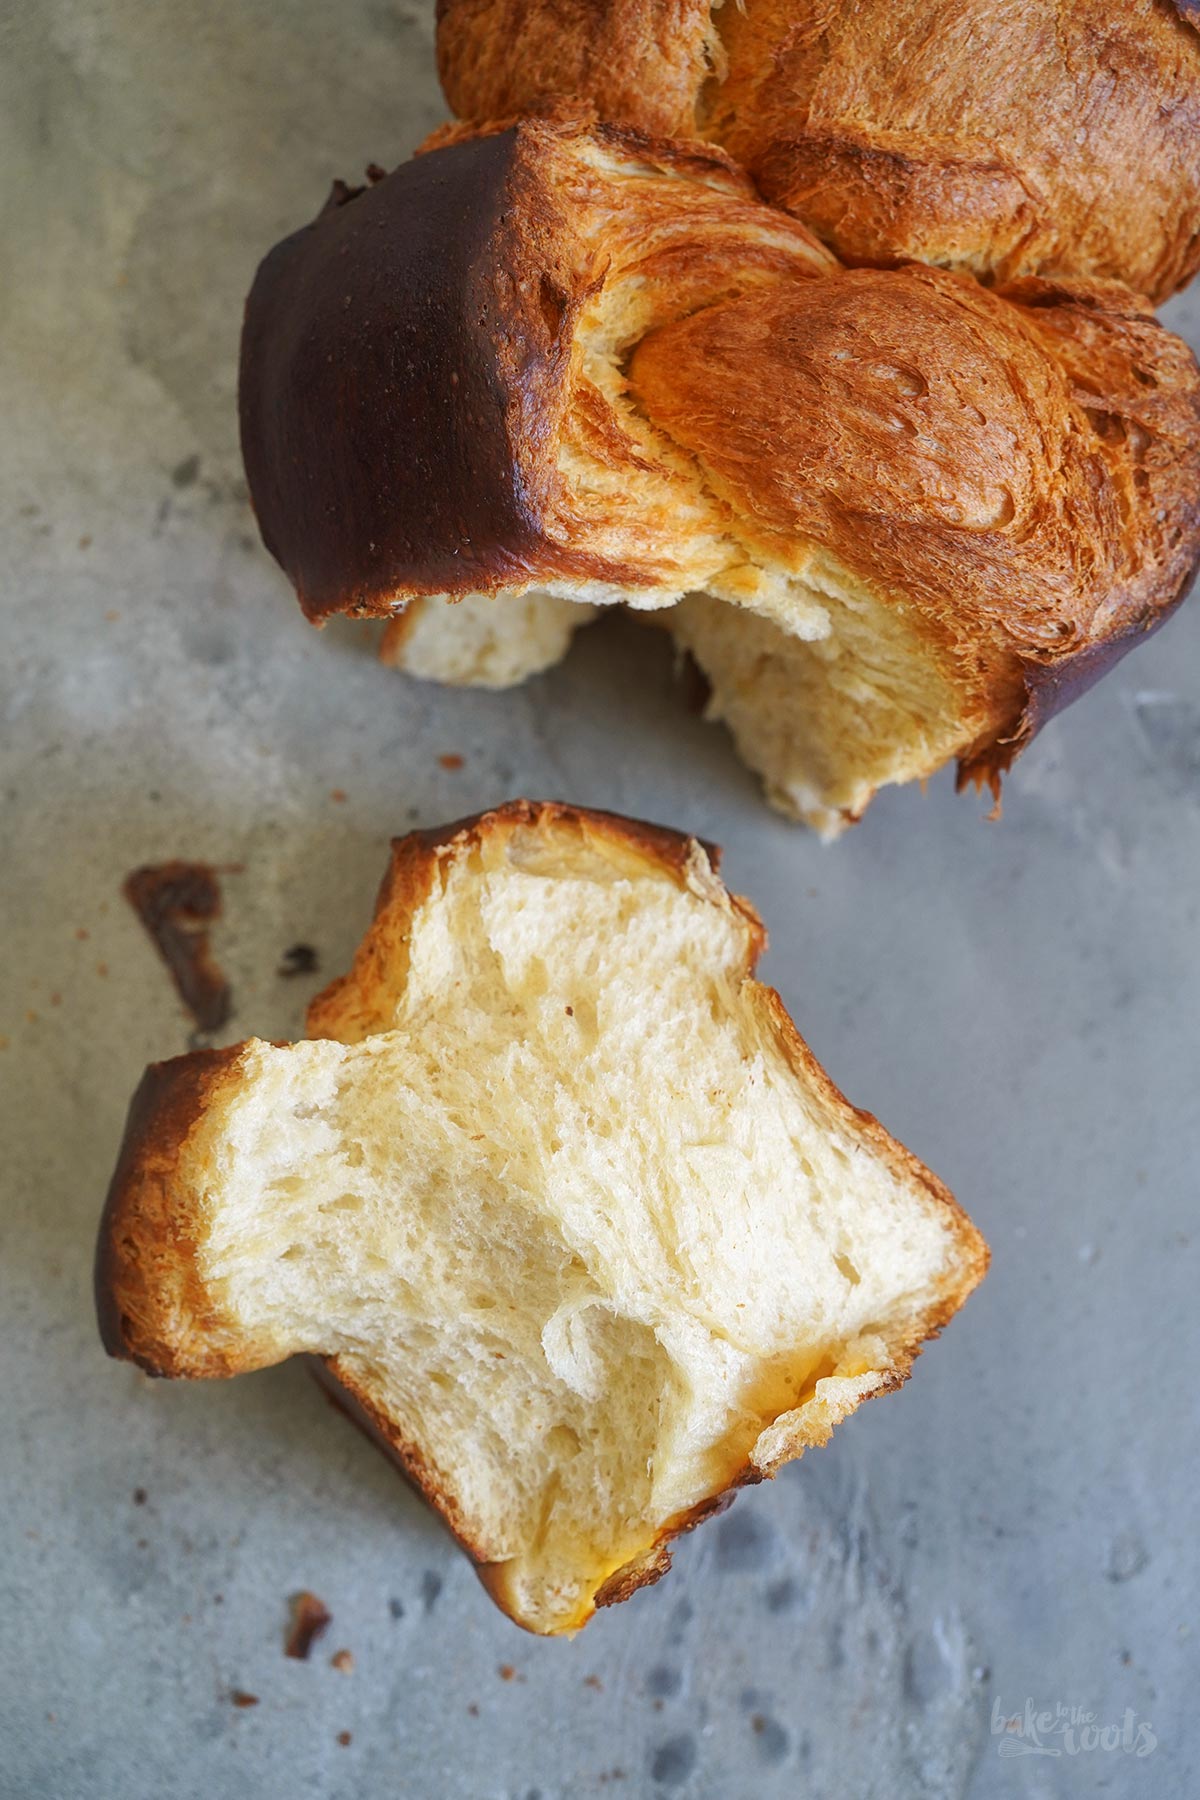
Yeast dough always needs time to rise – that’s a given. For this brioche version, you really should start a day in advance so the yeast has the chance to work effectively during an overnight stay in the fridge. Our simple braided yeast loaf only requires about an hour and a half to rise before being baked. So that one is much faster. However, if you let the yeast dough work longer, the flavor becomes truly exceptional!
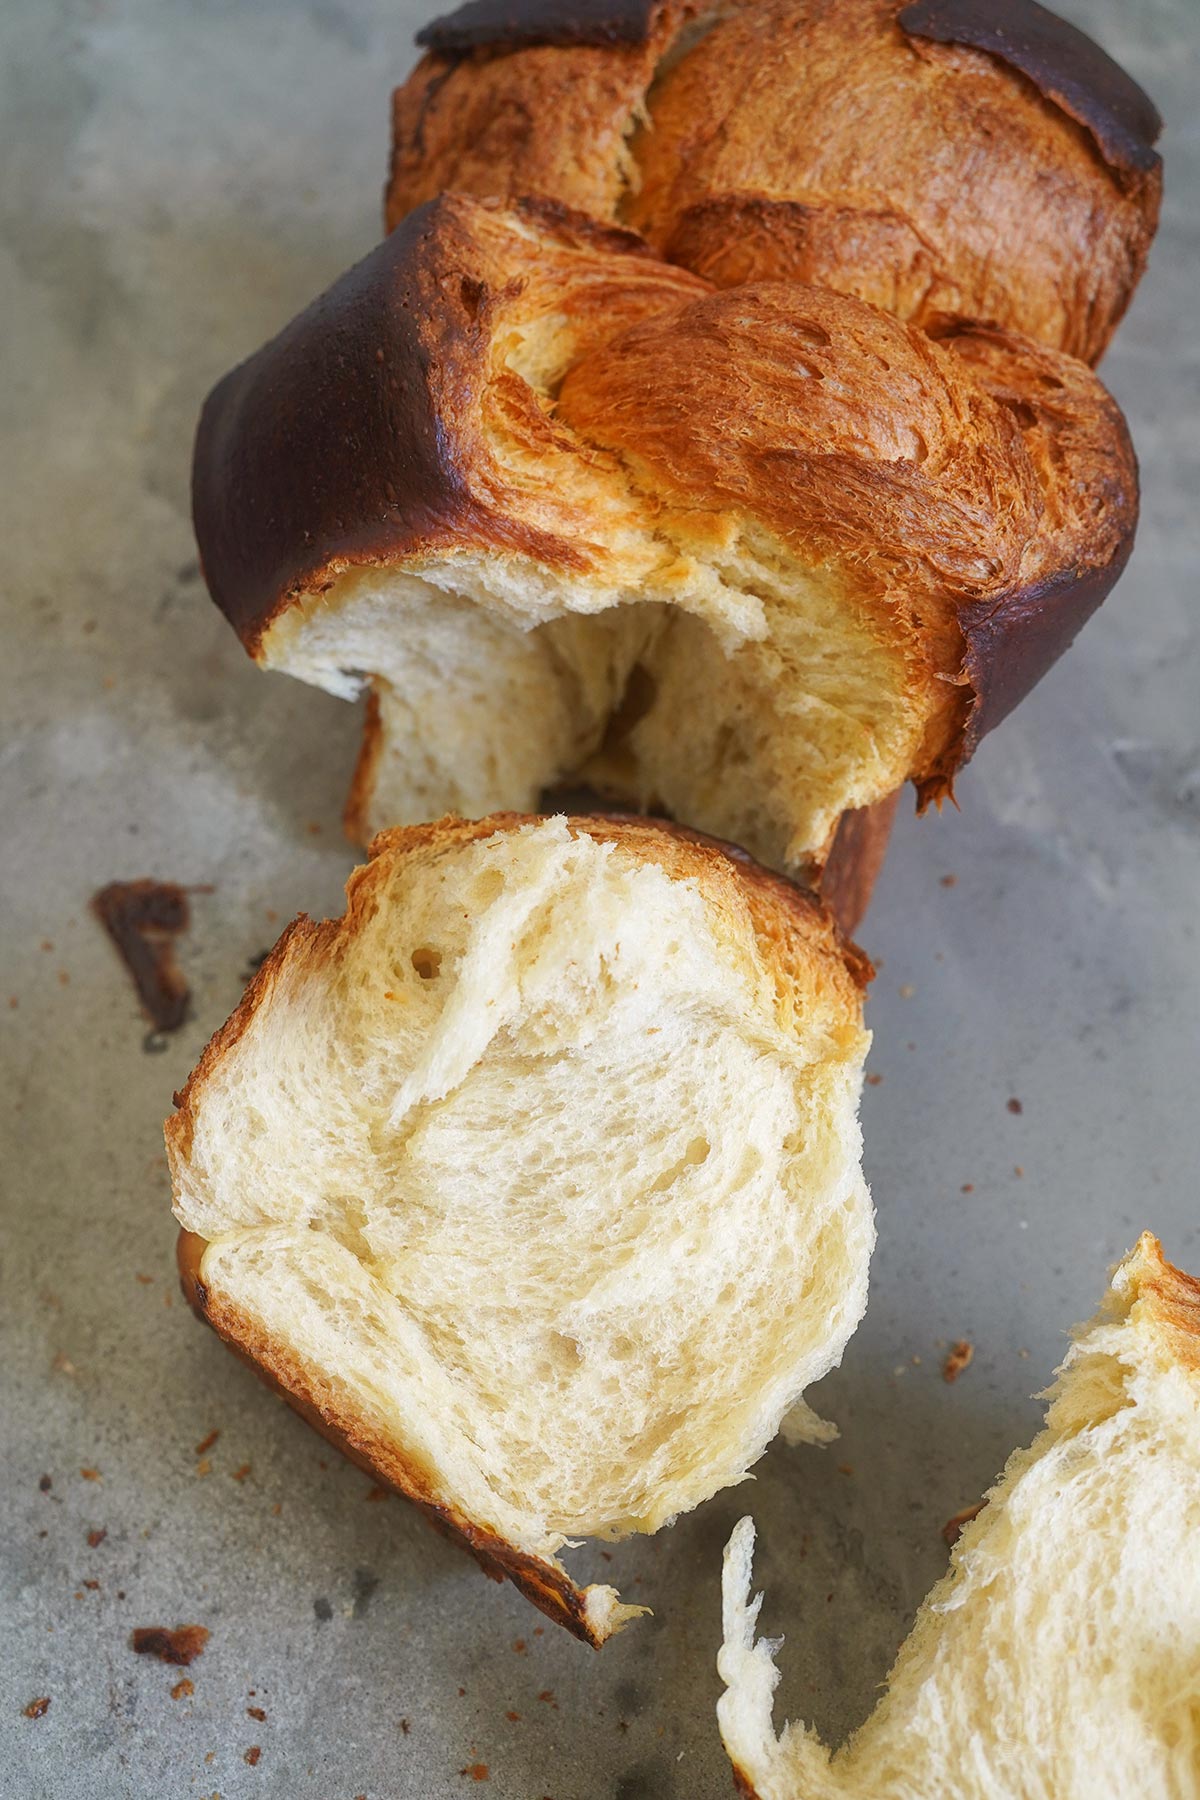
Whenever you have the opportunity and enough time, you really should opt for a recipe where the yeast dough rises slow overnight. It’s not just that the longer rising time improves the flavor – pastries with a longer fermentation time are also better for sensitive stomachs. The yeast breaks down various compounds that can upset the stomachs of sensitive individuals. The more time the yeast has to work, the more it accomplishes, ultimately making the pastry easier to digest for everyone.
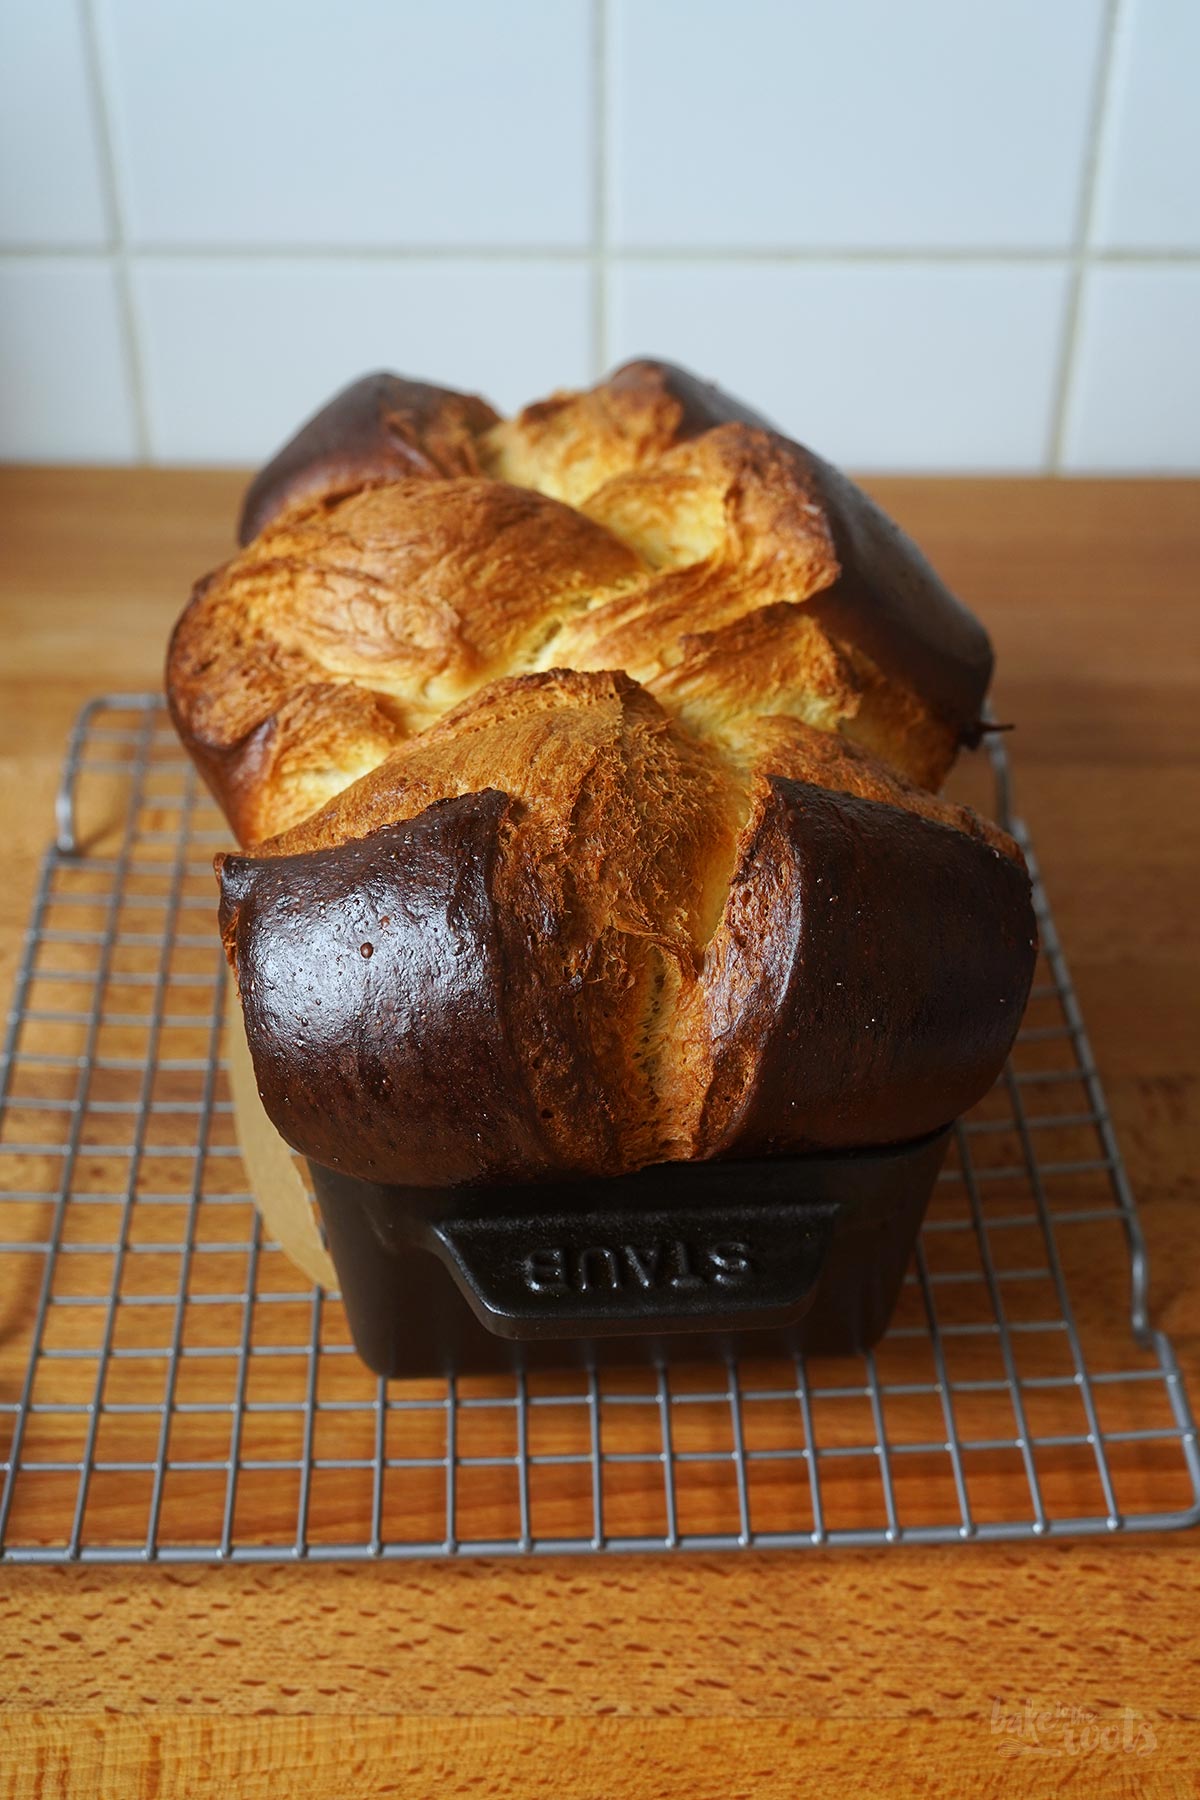
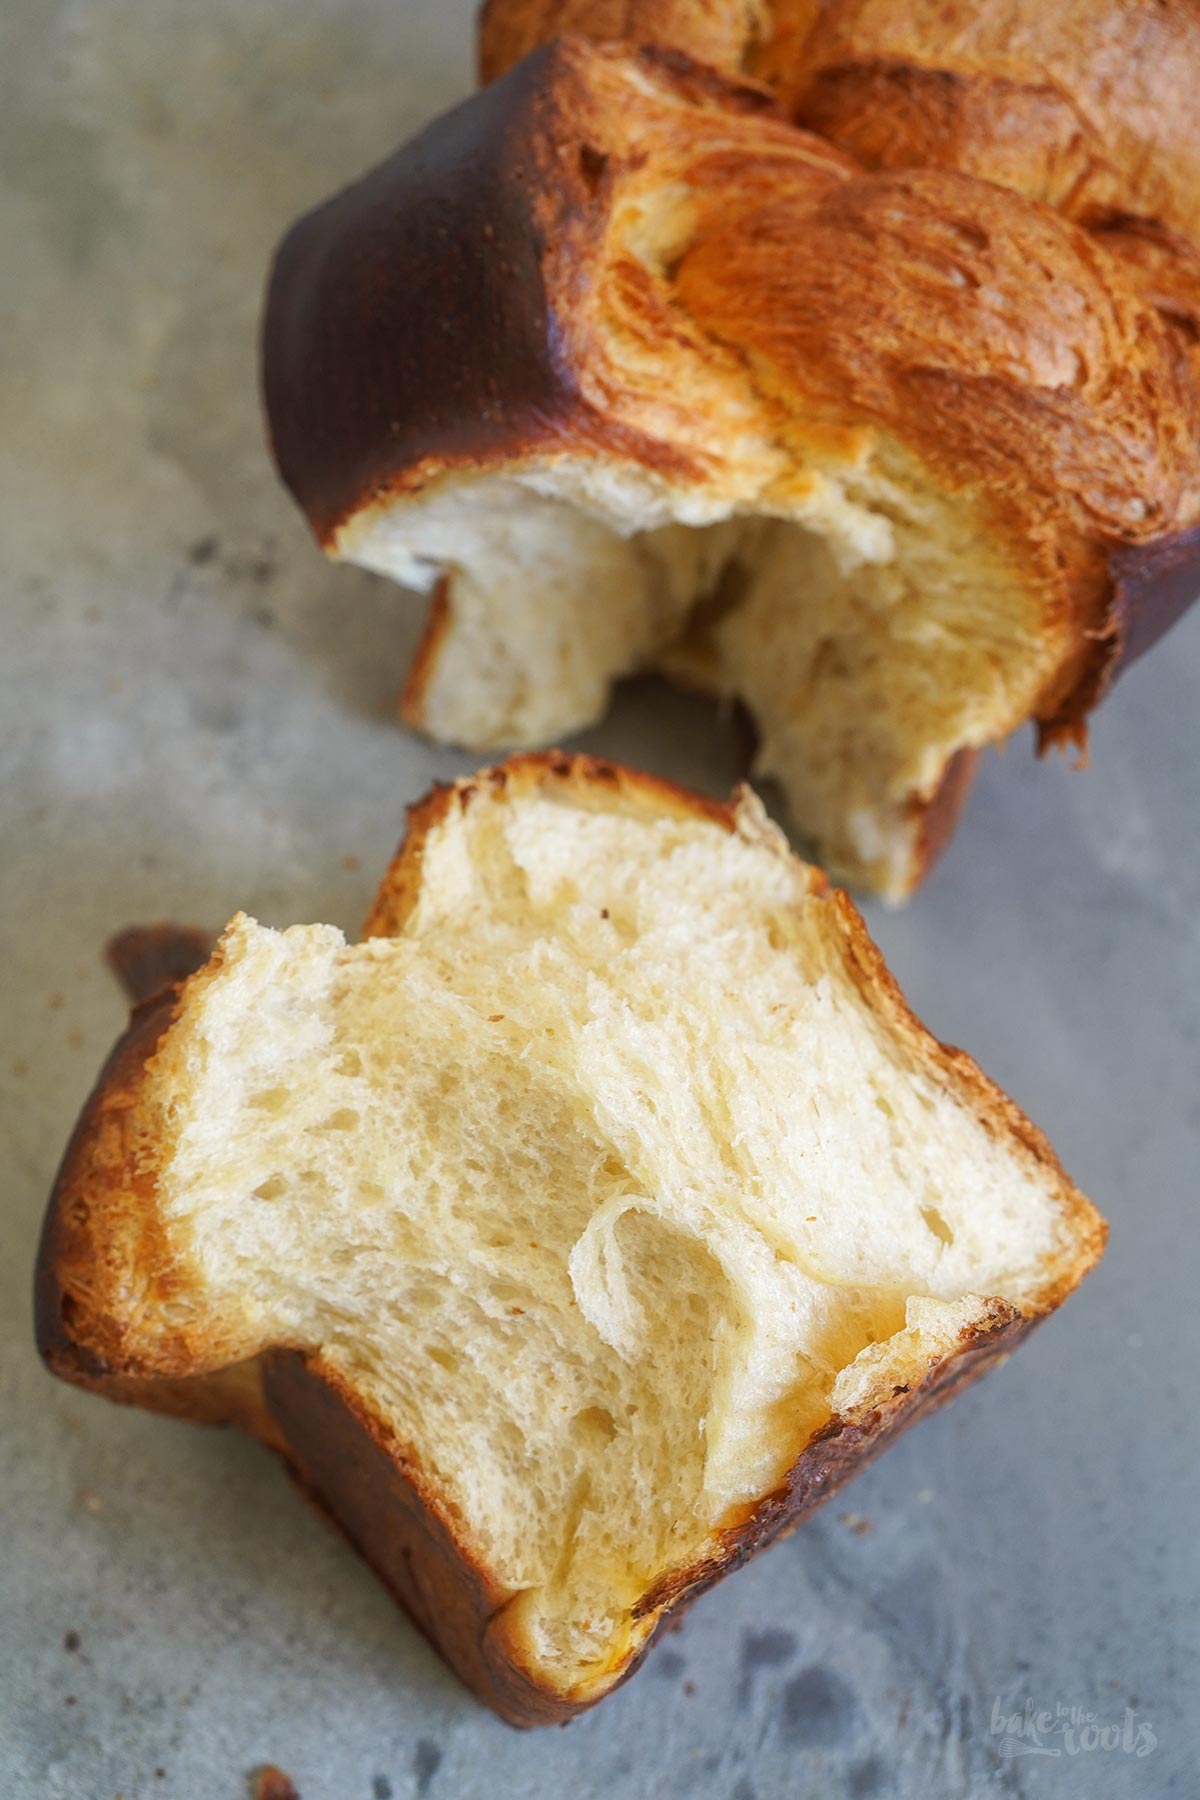
As the name suggests, Brioche Nanterre originates in Nanterre, France. A classic brioche usually comes in a round shape and often with a »knob« on top. The dough contains a generous amount of sugar and fat, making the pastry particularly rich. Unlike the classic version, however, Brioche Nanterre is baked in a rectangular loaf pan or something similar. Several pieces of dough are placed side-by-side, where they merge into a single, light, and airy loaf. This method has reportedly been used since the 5th century, so the idea isn’t exactly new…
We love Brioche Nanterre (or a classic brioche) as a sweeter option for breakfast or brunch. Easter is a popular time for yeast bakes. People typically have more time at hand and it’s a great way to impress guests at an Easter brunch. However, this kind of brioche loaf is also perfect whenever you need something light and yeasty for other recipes.
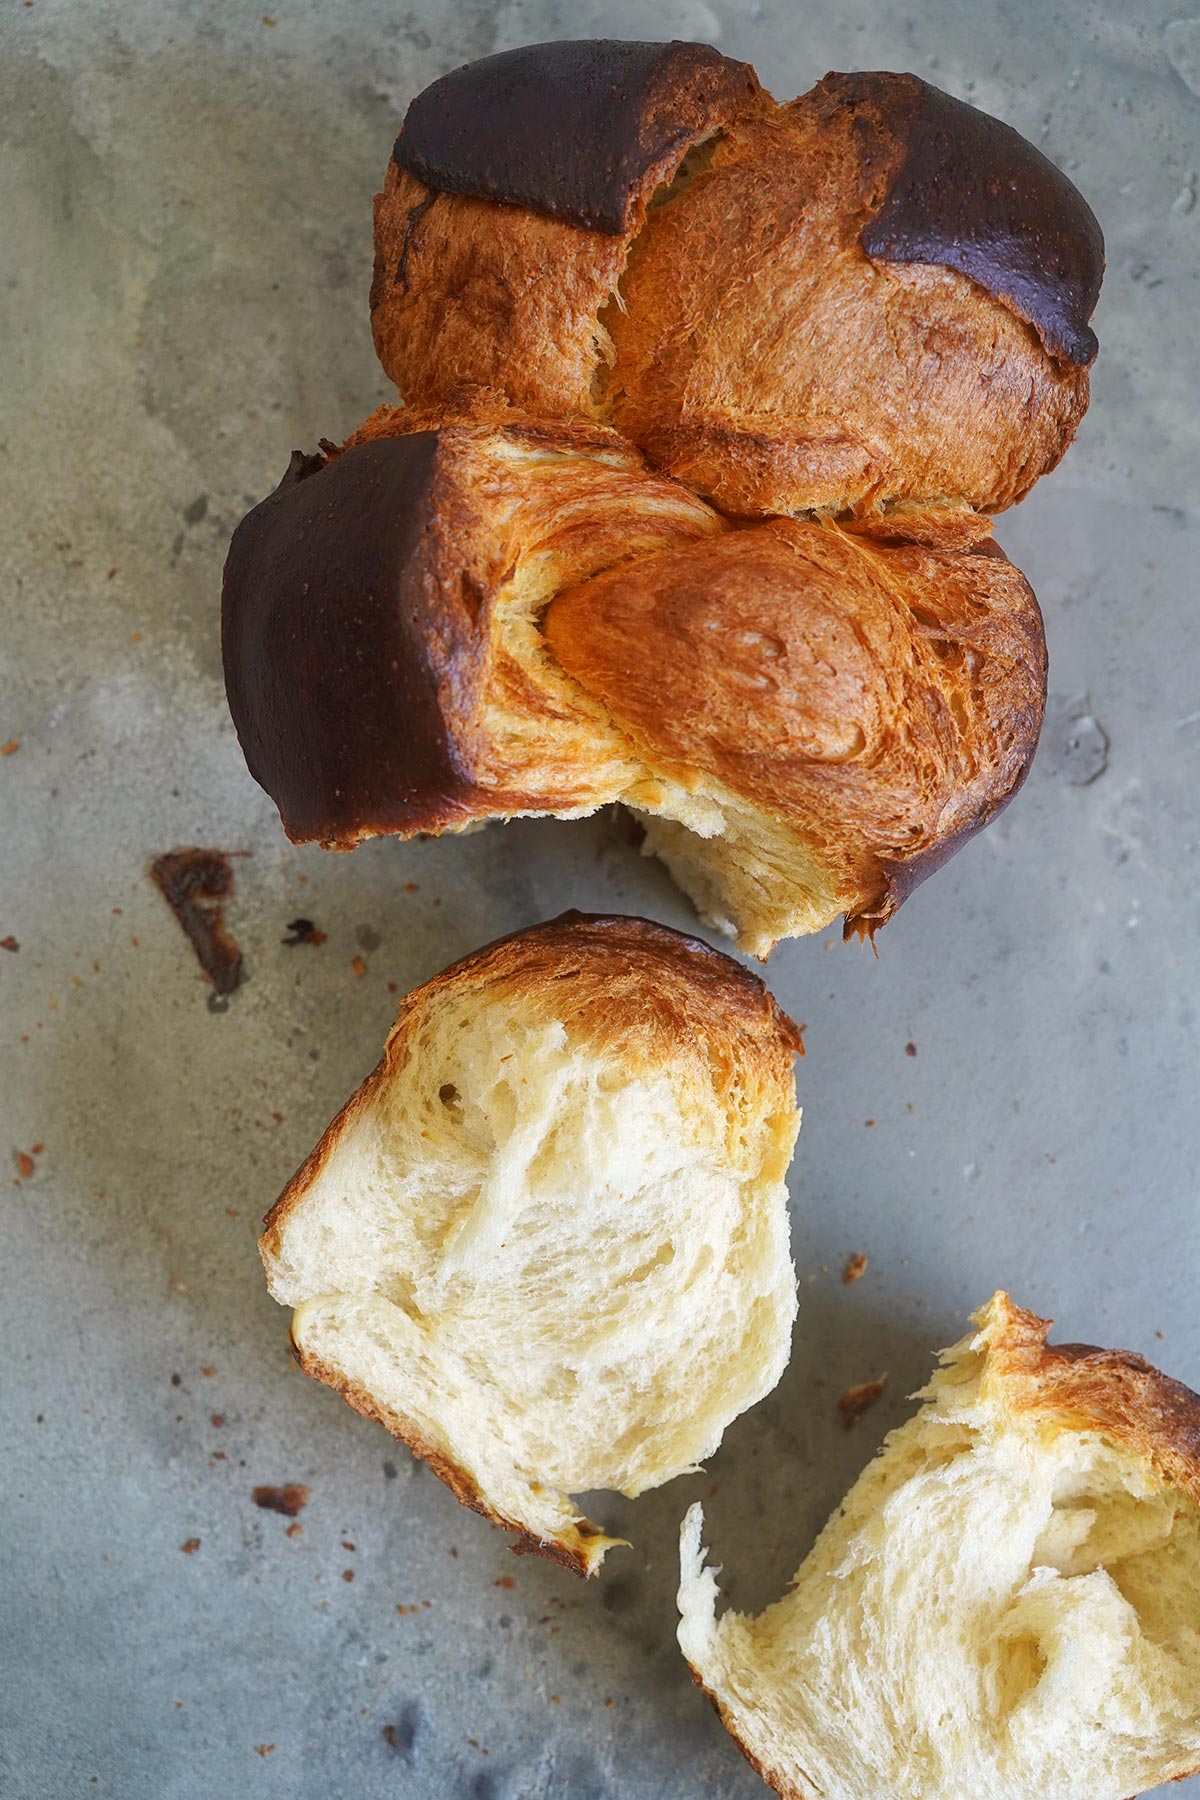
This might not be of interest to everyone, but as food bloggers, we often need specific ingredients for our recipes. Unfortunately, you can’t always find exactly what you require at the supermarket. For instance, neither our local bakery nor the corner store sells a whole loaf of brioche. Yet, that’s precisely what a recipe sometimes calls for. Like when you need thick slices for French toast or want to recreate one of those street-food market brioche sandwiches with scrambled eggs and bacon at home. You get the gist.
Well, I guess it’s not only a food blogger thing… you out there want to make that stuff too, otherweise you would not come to this blog here for the recipes. Right?!
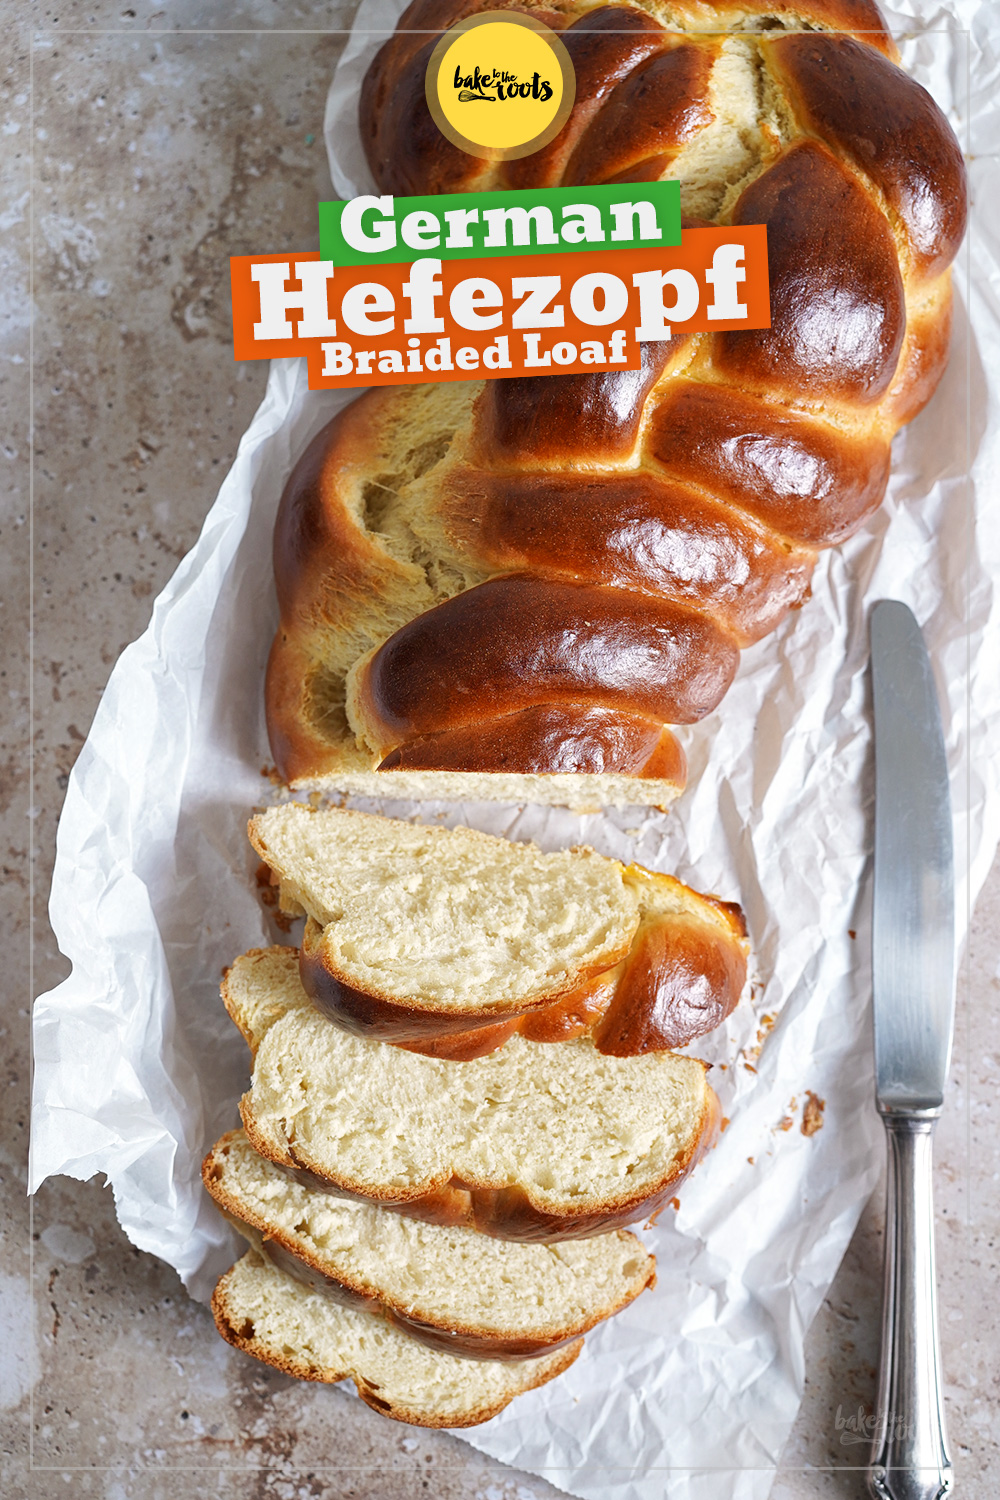
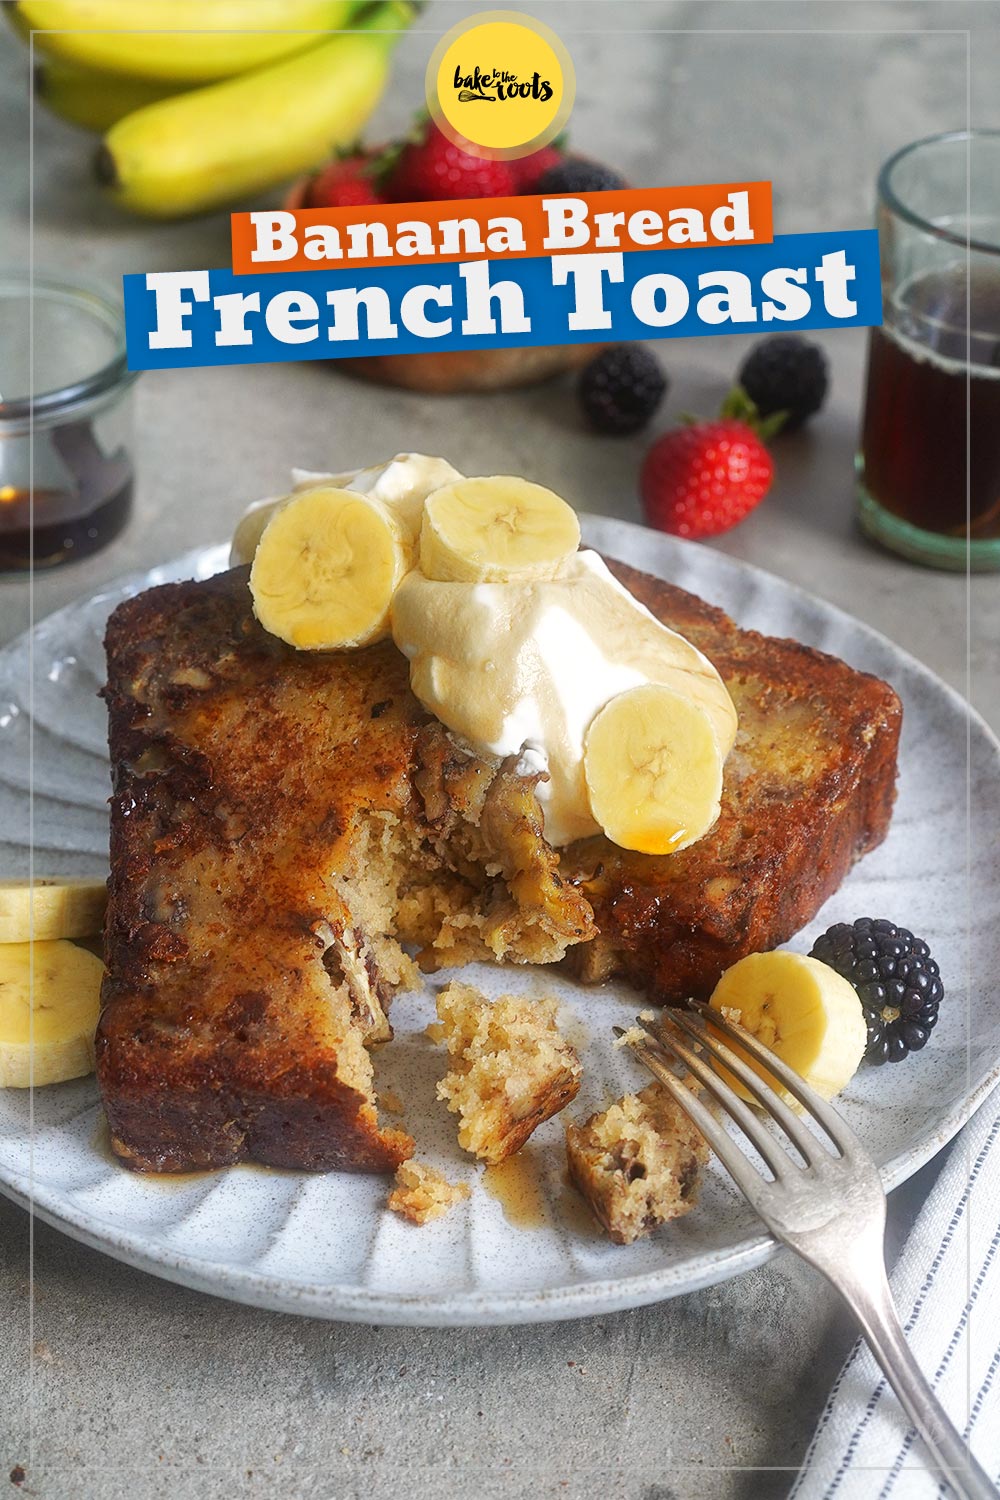
Anyway. If this brioche process takes a bit too long for your liking, you might want to check out our simple Sweet Braided Loaf (Dinkelzopf). It’s ready in a fraction of the time and is also perfect for breakfast and the like. When it comes to yeast-based treats, it’s our absolute favorite!
Brioche Nanterre is excellent for making French toast. If you’re looking to try something new, take a look at our Banana Bread French Toast. Instead of the classic brioche, we use banana bread as the base. It’s an absolute treat – a bit denser and richer compared to the original, but every bit as delicious!
INGREDIENTS / ZUTATEN
For the dough:
0.5 oz. (15g) fresh baker’s yeast
3 fl. oz. (90ml) cold water
12.3 oz. (350g) all-purpose flour*, plus a little more if needed
2.3 oz. (65g) sugar (fine)*
1/2 tsp. salt
2 large eggs
2 tsp. vanilla extract*
2 tsp. orange blossom water* (optional)
3.5 oz. (100g) cold butter, cut into small pieces
Additionally:
1 large egg yolk
about 0.7 oz. (20g) cold butter, cut into strips
Für den Teig:
15g frische Hefe
90ml Wasser (kalt)
350g Mehl (Type 405)*, plus ggf. etwas mehr
65g Zucker (fein)*
1/2 TL Salz
2 Eier (L)
2 TL Vanille Extrakt*
2 TL Orangenblütenwasser* (optional)
100g Butter, kalt & in Stücken
Zusätzlich:
1 Eigelb (L)
etwa 20g kalte Butter, in Streifen geschnitten
DIRECTIONS / ZUBEREITUNG
1. Dissolve the fresh baker’s yeast in the cold water and set aside.
2. Combine the flour, sugar, and salt in the bowl of a stand mixer fitted with a dough hook. Add the yeast water, eggs, vanilla extract, and orange blossom water (optional) and knead for about 5 minutes at medium speed. The dough will still be quite rough and sticky.
3. Reduce the speed slightly and gradually add the butter in small pieces, kneading until incorporated well. Knead the dough for another 5-6 minutes until no more pieces of butter are visible. Once the butter is well incorporated, increase the mixer speed again and knead for another 5-7 minutes. After this time, the dough should pull away from the sides of the bowl and pass the windowpane test (see note). If the dough passes the windowpane test after this time but doesn’t yet easily come away from the bowl, simply dust it with a little more flour (1/4 to 1/2 teaspoon should be sufficient) and briefly work it in. This will definitely help to get the dough out of the bowl more easily.
4. Shape the dough into a ball – if the dough is still very sticky, simply fold it over itself several times to create some tension – and place it in a large, lightly oiled bowl. The bowl should be relatively large, as the dough will rise considerably. Cover the bowl and let the dough rise at room temperature for about 30 minutes. Afterward, place the dough in the fridge for at least 8 hours (maximum 48 hours). To prevent the dough from drying out, the bowl should be very well covered.
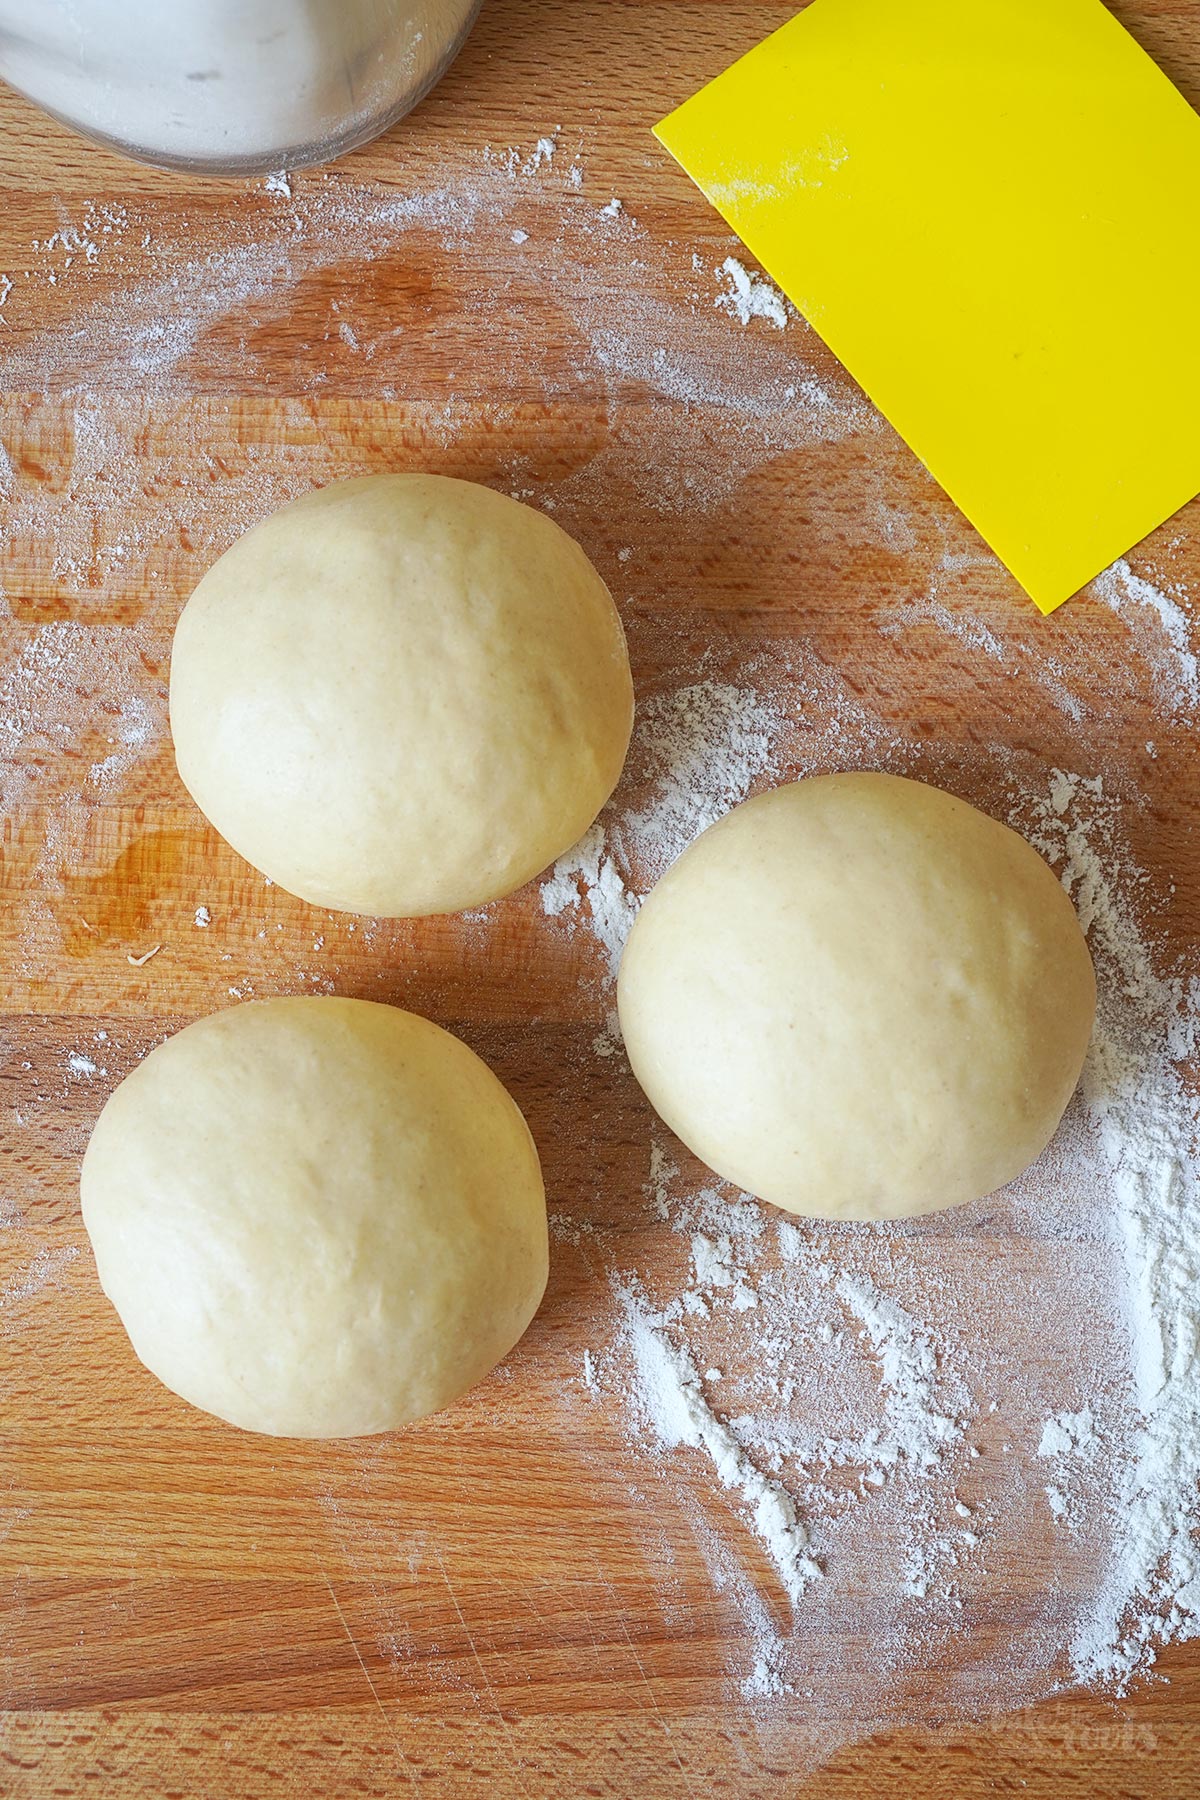
5. Remove the risen dough from the fridge and divide it into three equal portions on a (minimally) floured surface and shape them into balls. The surface of the balls should have some tension. Cover the dough balls and let them rise for about 20 minutes.
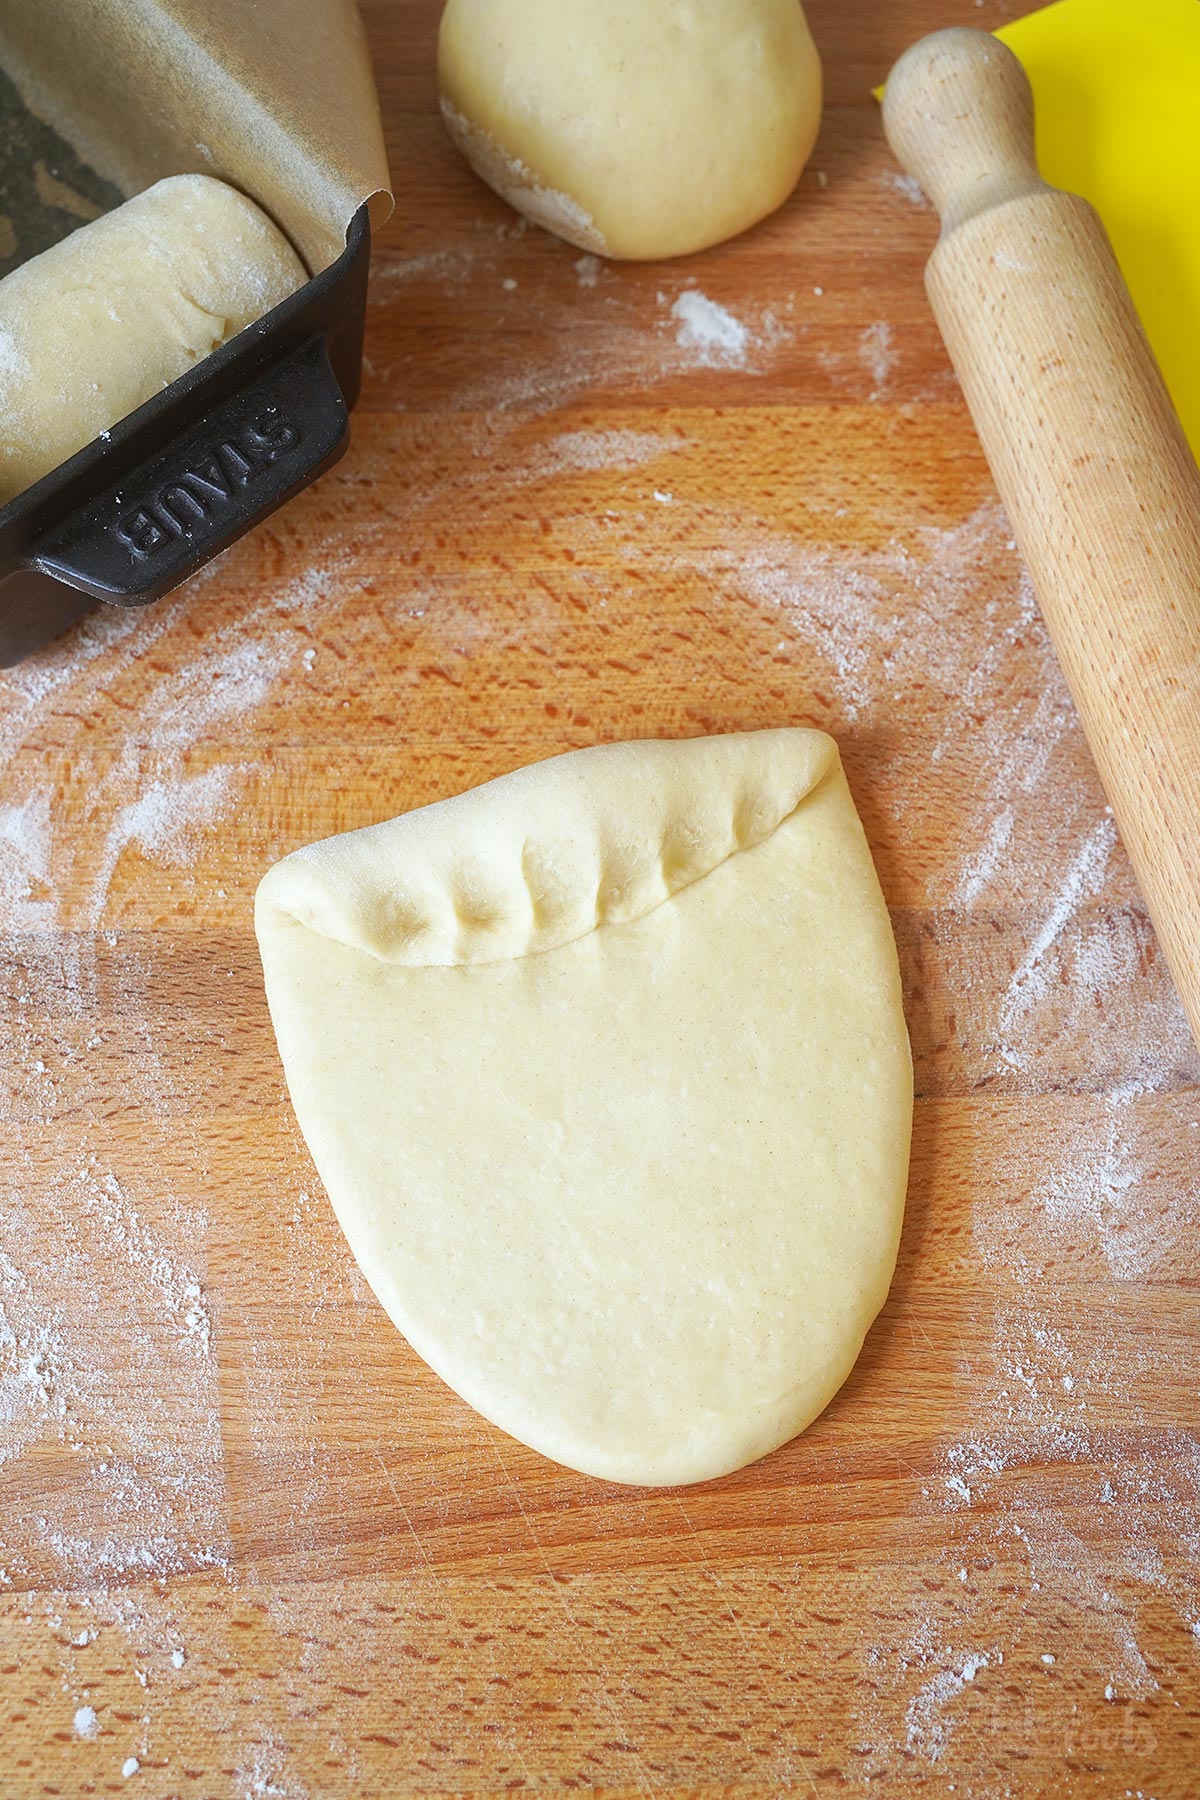
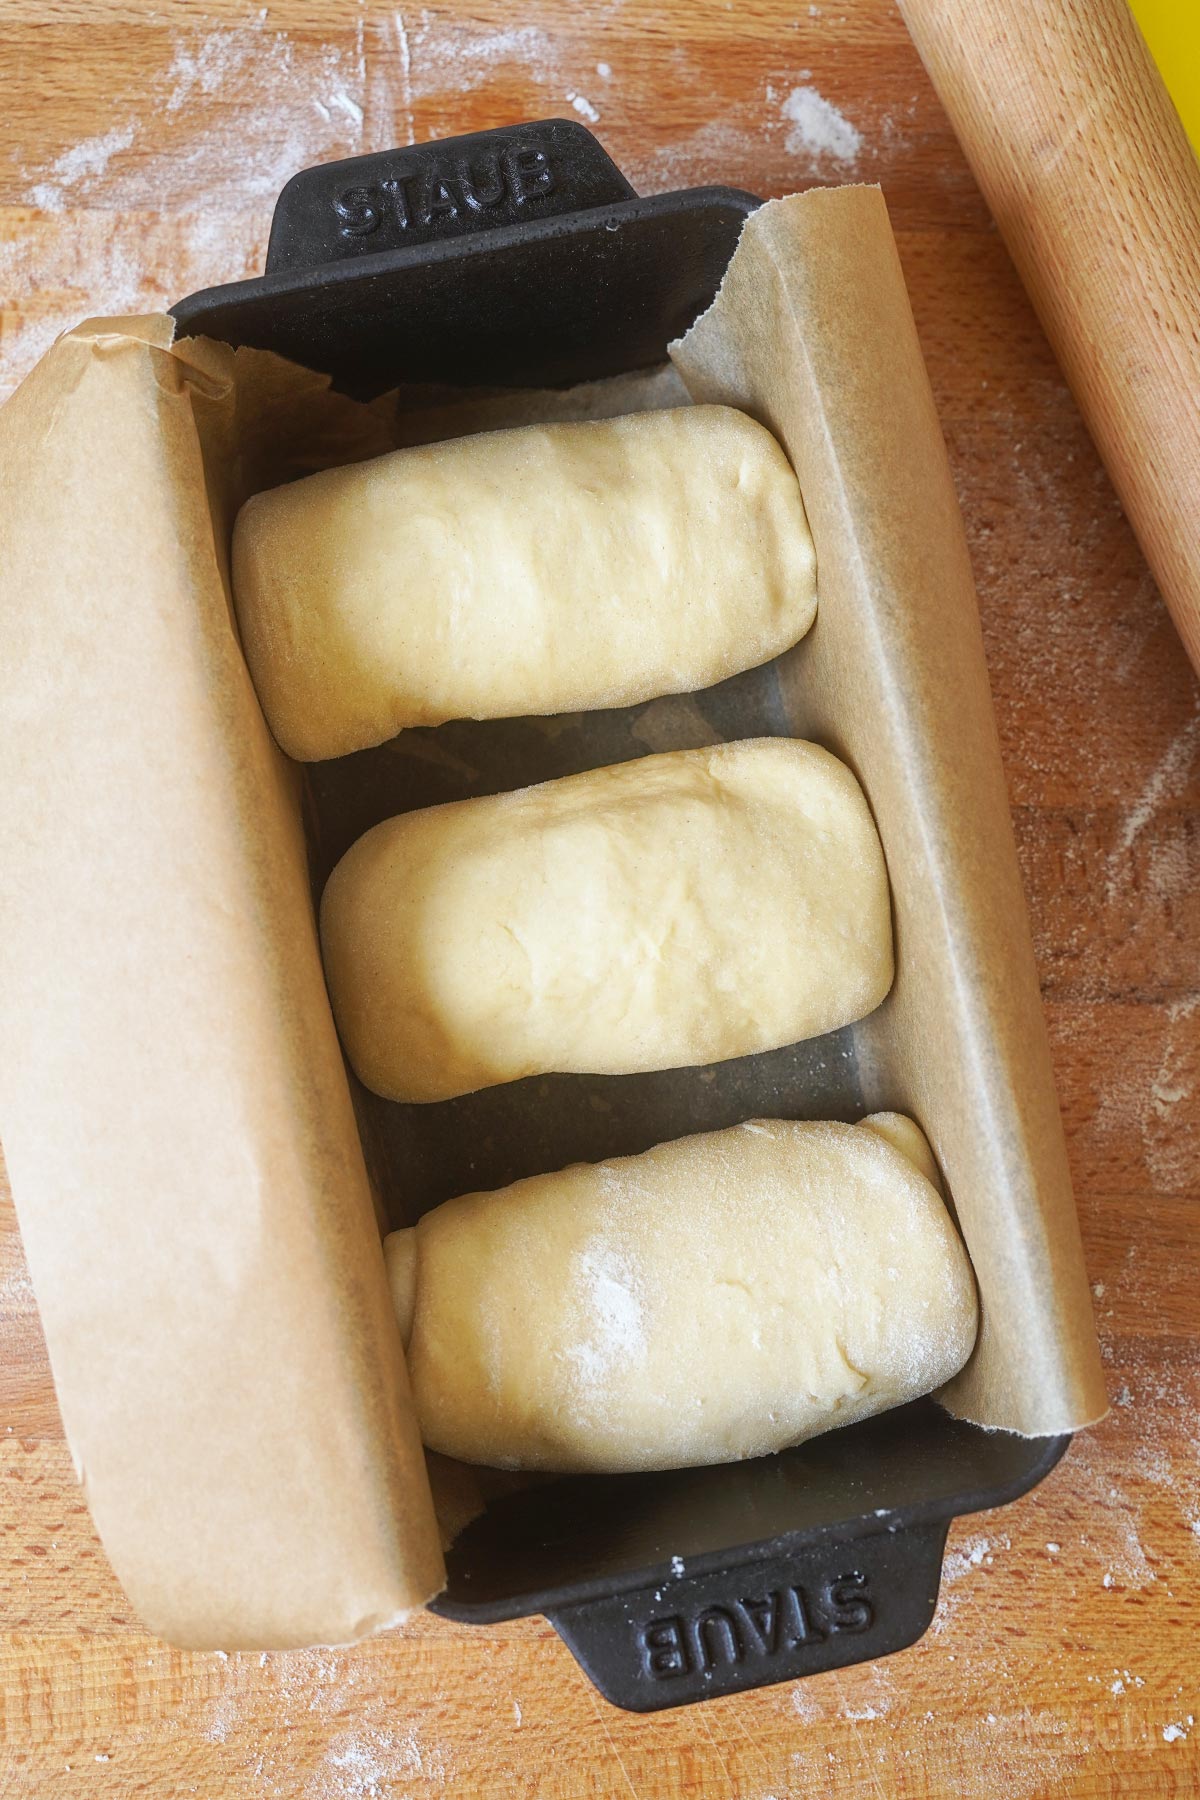
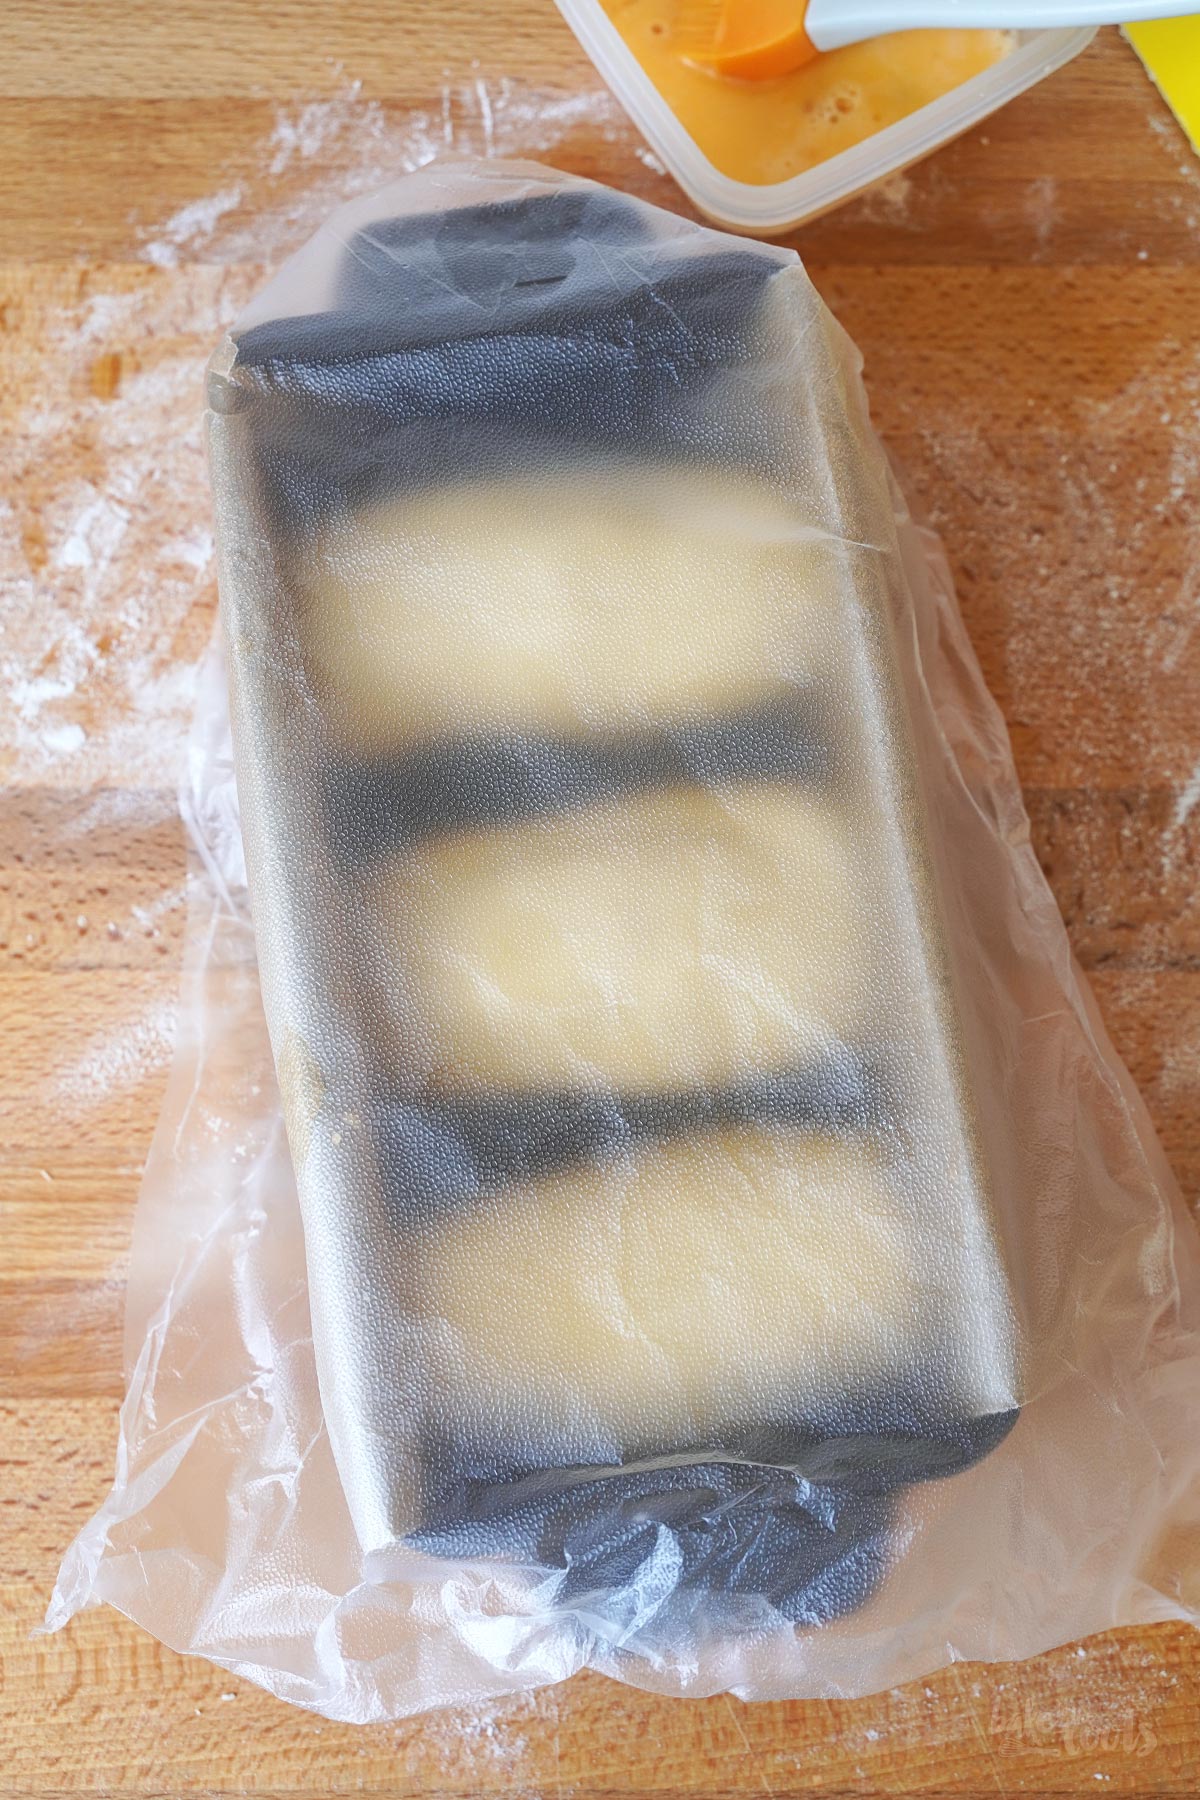
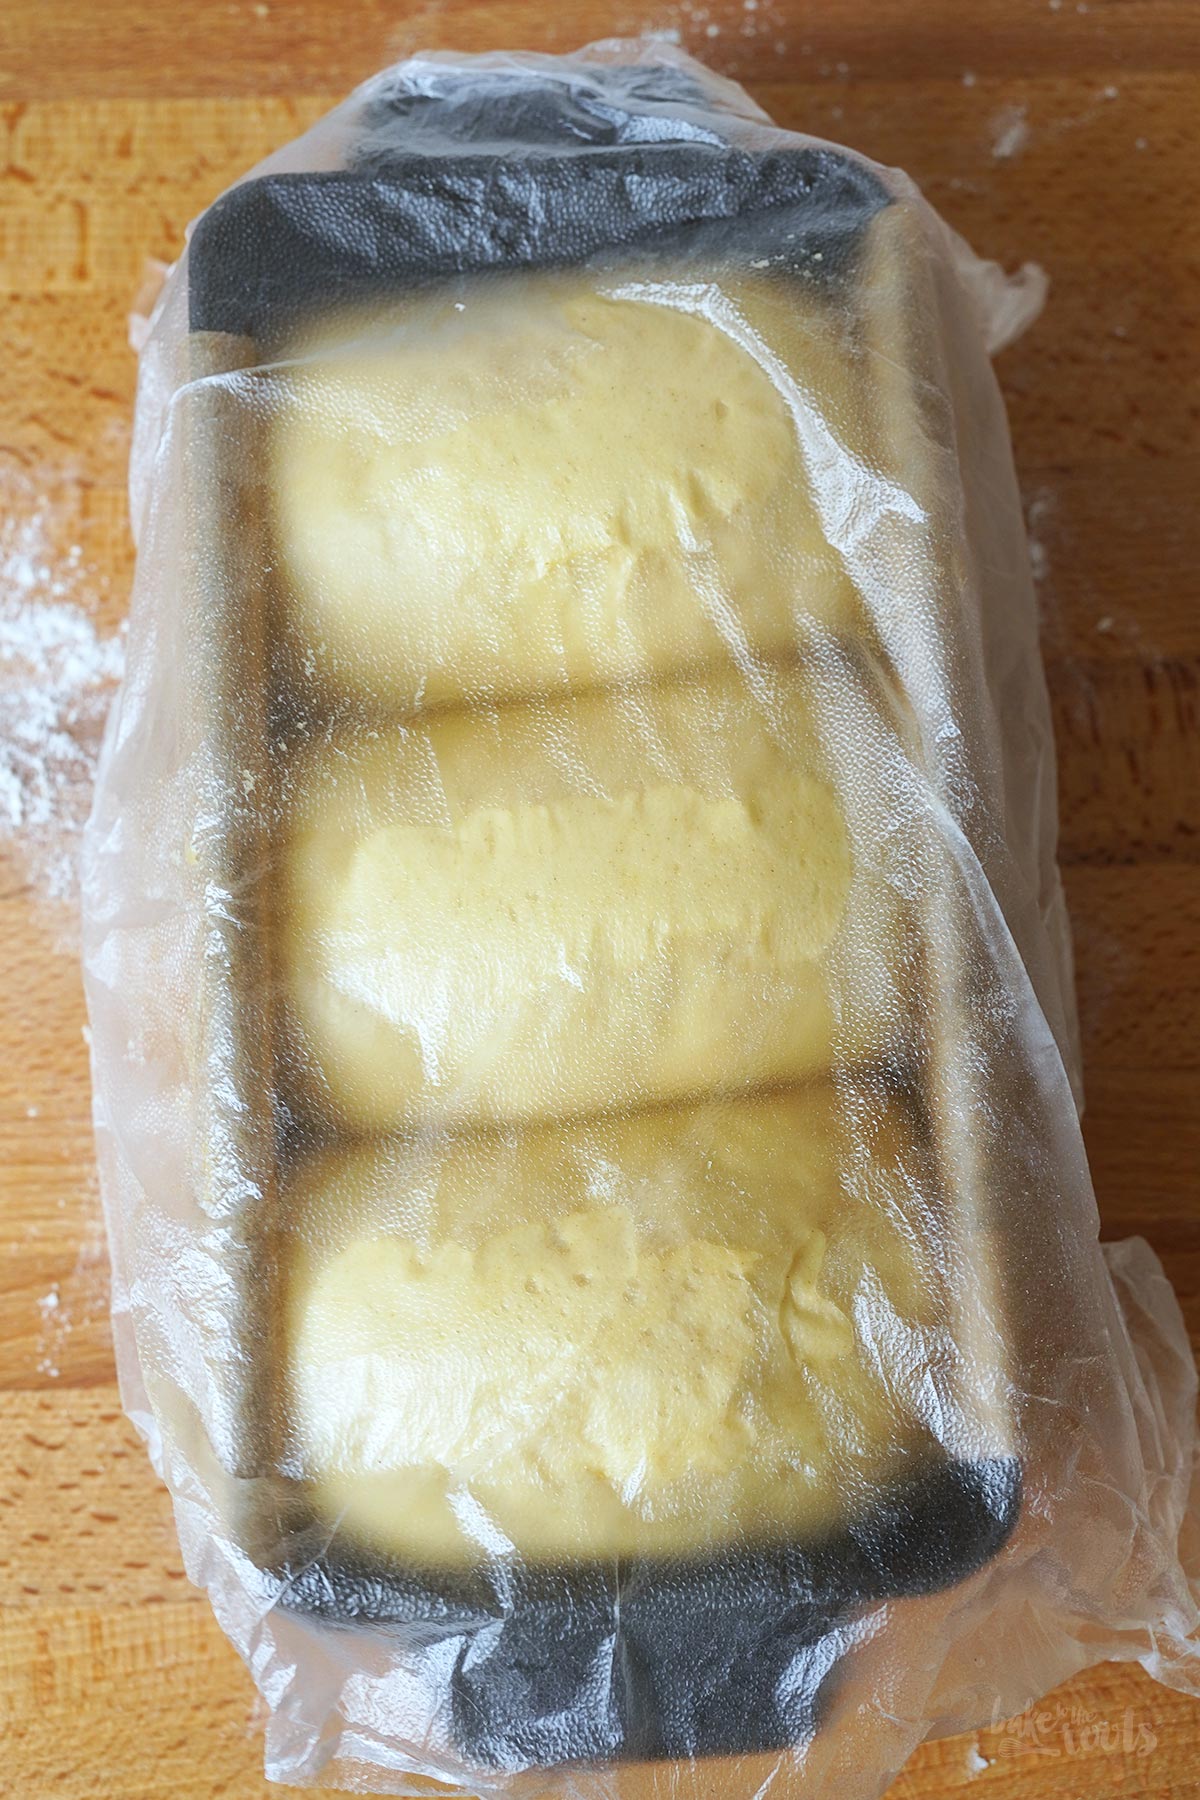
6. Lightly grease a 23x12cm loaf tin* (or slightly larger) and line it with a piece of baking parchment. Roll out the dough balls into elongated ovals using a rolling pin, then roll them up tightly. The result should look like thick, short sausages. Place these rolled-up dough sausages, seam-side down and spaced apart, in the prepared loaf tin (see photos). Lightly whisk an egg yolk and brush the dough with it (store any leftovers in the fridge). Cover the loaf tin and let the dough rise again for about 2 1/2 hours – it will increase significantly in size during this time.
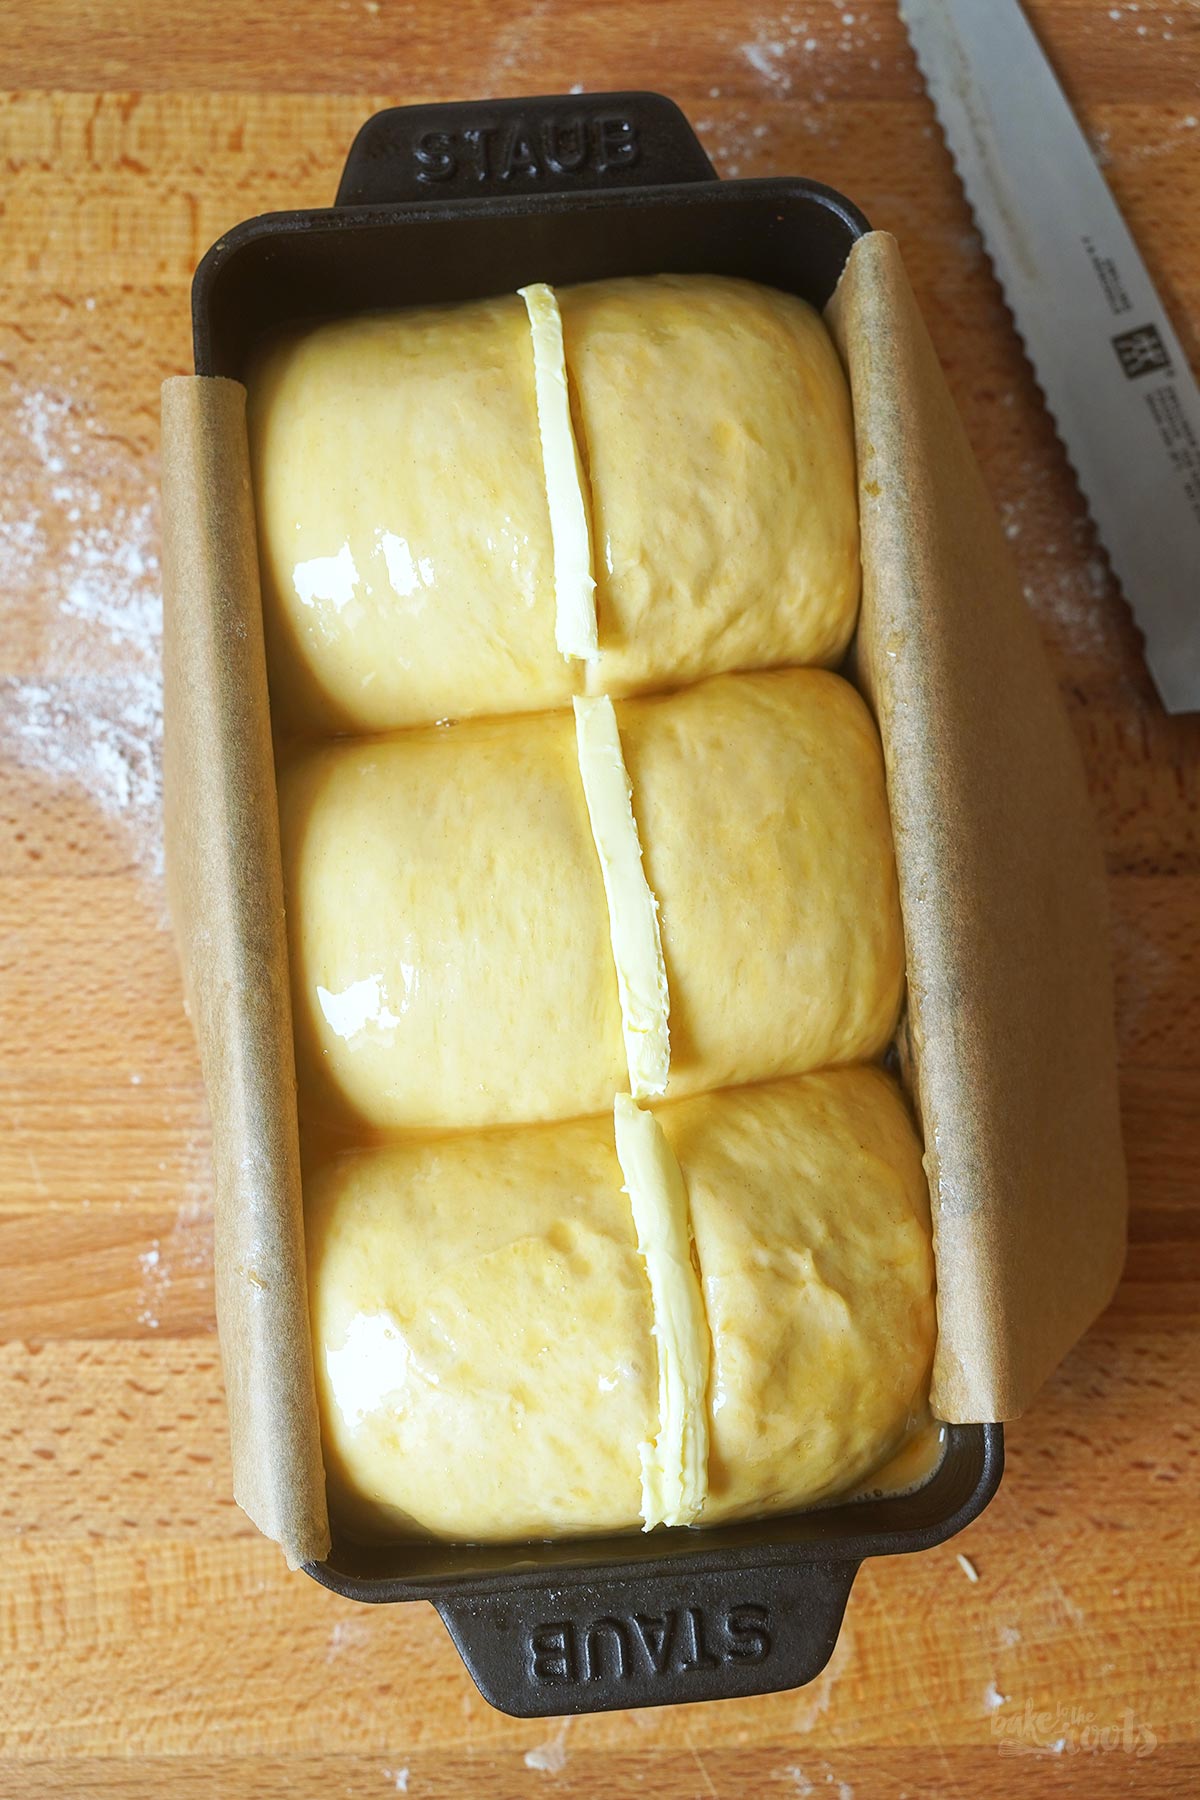
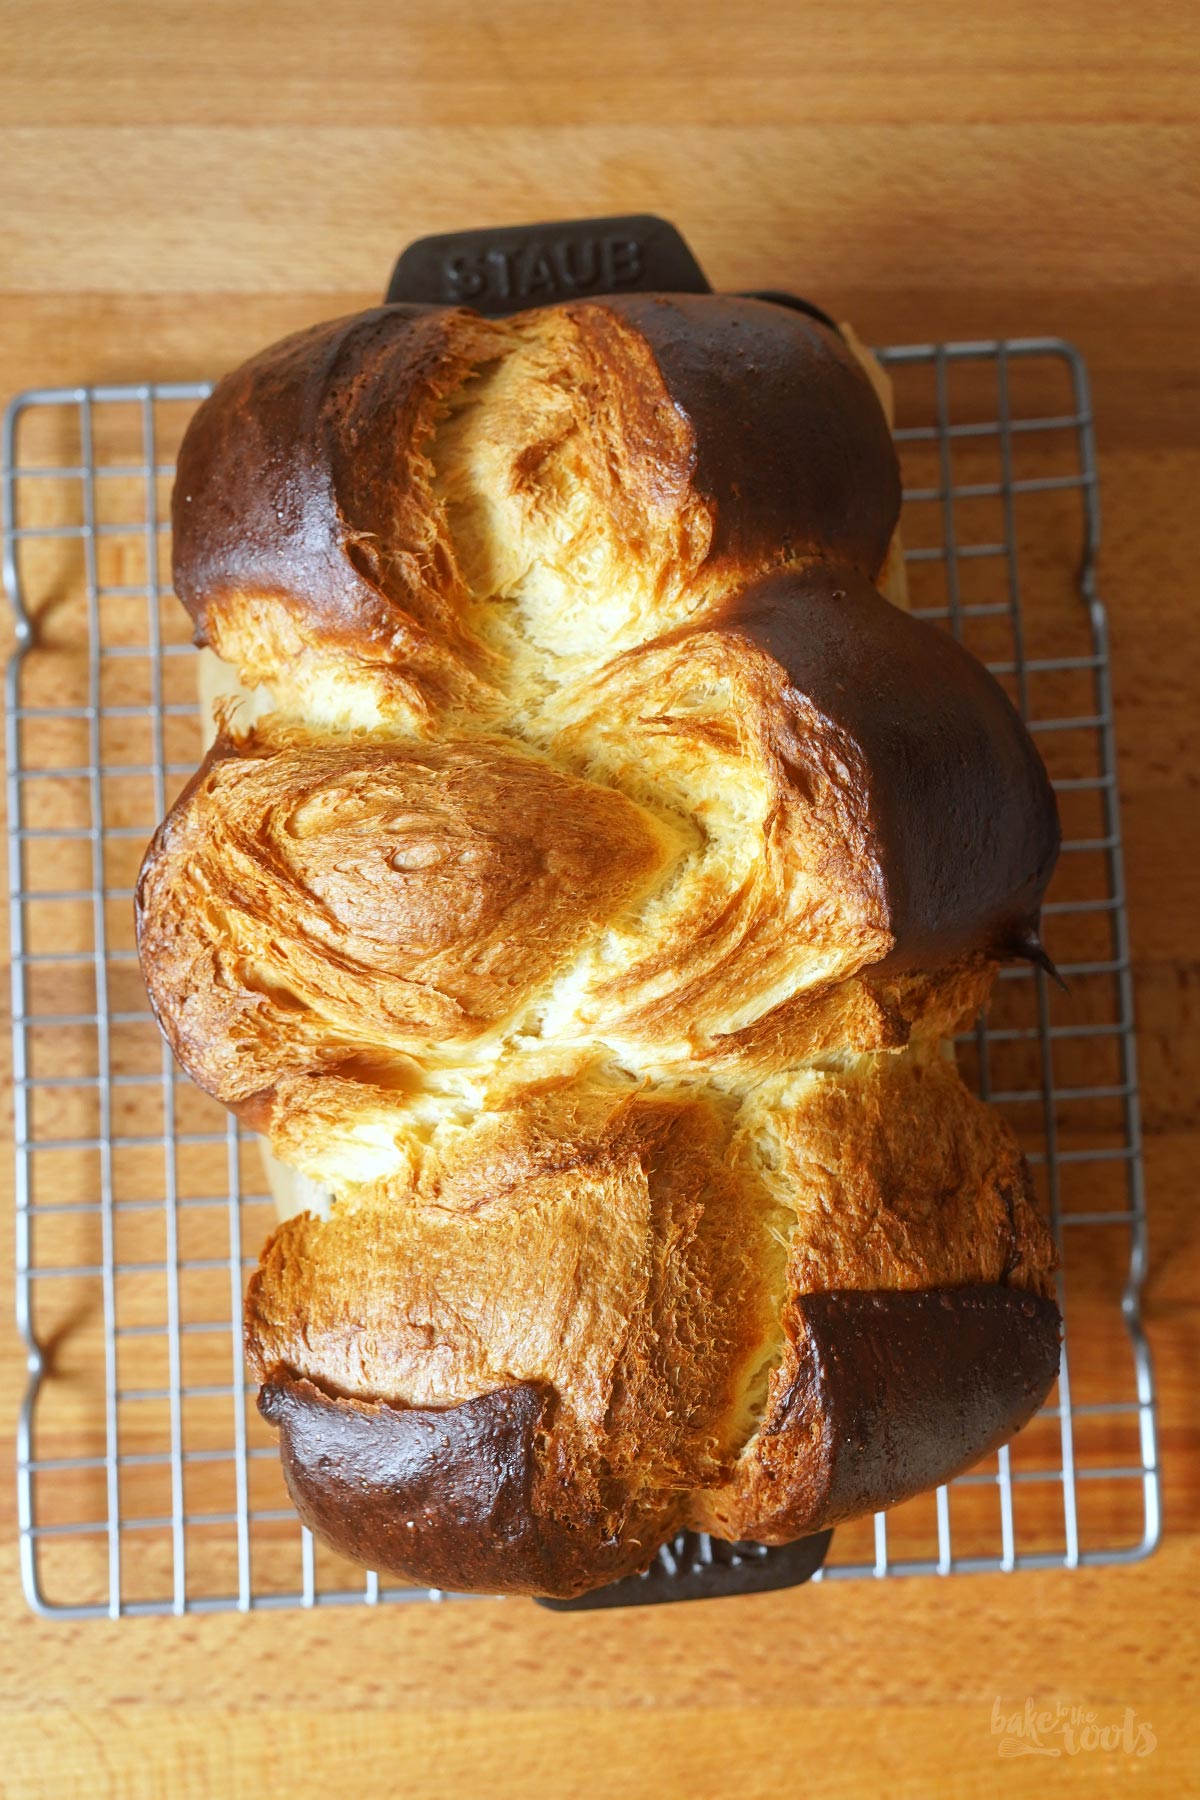
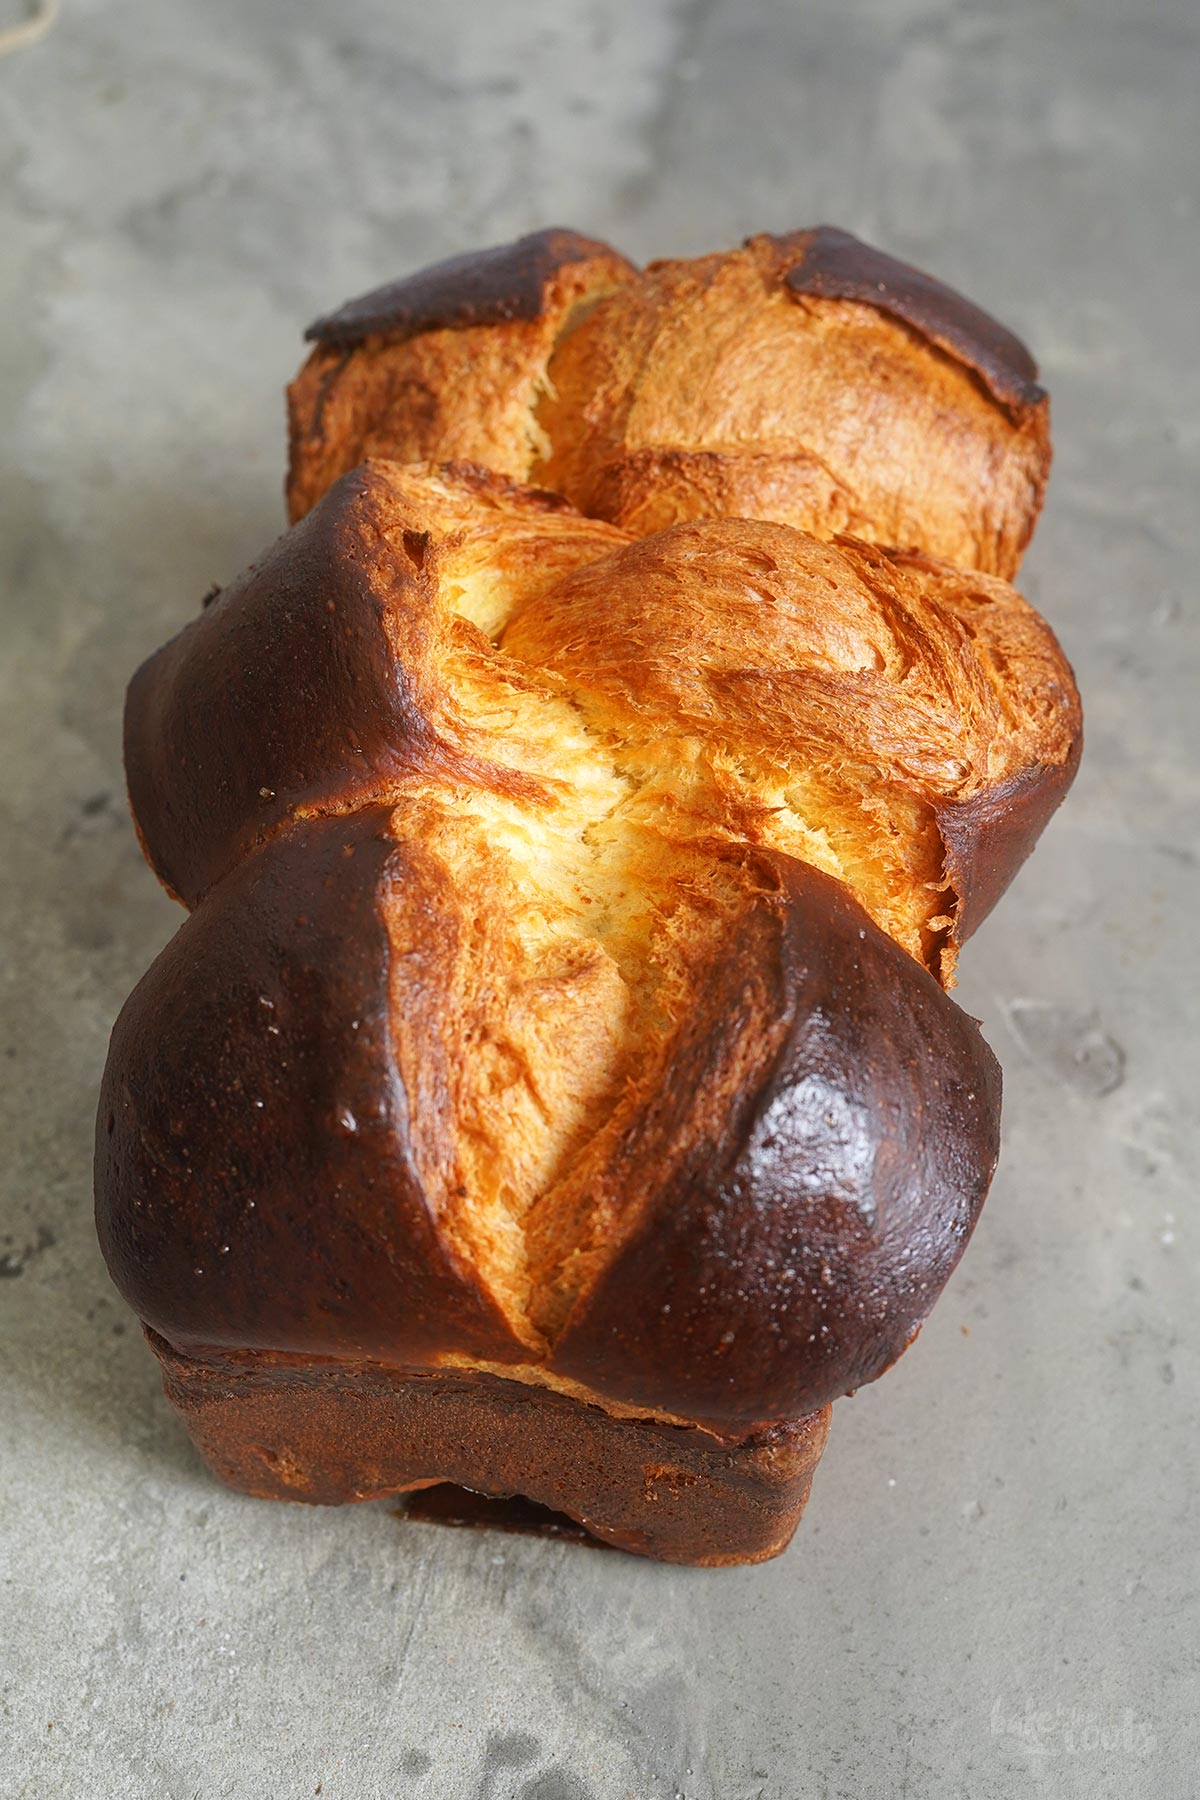
7. Preheat the oven to 170°C (340°F) fan-forced. When the dough has risen enough, the individual dough pieces should have fused into a compact loaf. Brush the dough once more with the remaining egg yolk, then make a lengthwise cut down the middle of the loaf with a sharp knife (the cut can be quite deep) and place thin strips of cold butter into the resulting slits (see photos). Place the loaf tin in the preheated oven and pour a little water onto the oven floor to create steam. Immediately close the oven door and bake the brioche for about 40 minutes. Remove the baked brioche from the oven and let it cool in the loaf tin for a while, then lift it out using the baking parchment and let it cool down completely on a wire rack.
Note: The windowpane test is a simple way to check if dough has been kneaded sufficiently. Simply stretch a piece of dough between your fingers. If you can stretch the dough so much that you can see through it, then enough gluten has formed. If the dough tears before you can see through it, it should be kneaded a little longer.
1. Die frische Hefe mit dem kalten Wasser in einem Gefäß verrühren, bis sich die Hefe komplett aufgelöst hat.
2. Mehl, Zucker und Salz in der Schüssel einer Küchenmaschine (mit Knethaken) vermischen. Hefewasser, Eier, Vanille Extrakt und Orangenblütenwasser (optional) dazugeben und alles für etwa 5 Minuten verkneten lassen (mittlere Geschwindigkeit). Der Teig wird noch sehr klebrig und unförmig sein.
3. Die Geschwindigkeit der Küchenmaschine etwas reduzieren und die Butter dann in kleinen Stücken nach und nach dazugeben und unterkneten lassen. Den Teig für weitere 5-6 Minuten kneten lassen, bis man keine Butterstücke mehr sehen kann. Wenn die Butter schön eingearbeitet ist, die Geschwindigkeit der Maschine wieder erhöhen und den Teig noch einmal für 5-7 Minuten kneten lassen. Der Teig sollte sich nach dieser Zeit vom Rand der Schüssel lösen und den Fenstertest (s. Hinweis) bestehen. Wenn der Teig nach dieser Zeit den Fenstertest besteht, sich aber bislang nicht schön von der Schüssel löst, einfach noch ein wenig Mehl darüberstauben (1/4 bis 1/2 TL sollte ausreichen) und kurz einarbeiten – das hilft auf jeden Fall, den Teig leichter aus der Schüssel zu bekommen.
4. Den Teig zu einer Kugel formen – sollte der Teig noch stark kleben, einfach mehrmals in sich selbst zusammenfalten, damit sich etwas Spannung aufbauen kann – und in eine große, leicht geölte Schüssel setzen. Die Schüssel sollte relativ groß sein, da der Teig einiges aufgehen wird. Die Schüssel abdecken und den Teig für etwa 30 Minuten bei Raumtemperatur gehen lassen. Danach geht es für den Teig mindestens 8 Stunden (max. 48 Stunden) in den Kühlschrank. Damit der Teig nicht austrocknet, sollte die Schüssel wirklich gut abgedeckt sein.
5. Den gegangenen Teig aus dem Kühlschrank nehmen und auf einer (minimal) bemehlten Fläche in drei gleichgroße Portionen aufteilen und zu Kugeln formen. Die Oberfläche der Kugeln sollte etwas Spannung haben. Die Kugeln abdecken und dann für etwa 20 Minuten gehen lassen.
6. Eine 23x12cm Kastenform* (oder etwas größer) leicht einfetten und mit einem Stück Backpapier auslegen. Die Kugeln mit einem Nudelholz zu länglichen Ovalen ausrollen und diese dann fest aufrollen. Das Ergebnis sollte wie dicke, kurze Würste aussehen. Diese aufgerollten Teigwürste mit der Nahtseite nach unten und mit Abstand zueinander in die vorbereitete Form setzen (s. Fotos). Ein Eigelb leicht verquirlen und den Teig damit rundum bestreichen (Reste im Kühlschrank aufbewahren). Die Form abdecken und den Teig dann noch einmal für etwa 2 1/2 Stunden gehen lassen – der Teig wird in dieser Zeit einiges aufgehen.
7. Den Ofen auf 170°C (340°F) Umluft vorheizen. Die einzelnen Teiglinge sollten nach der Gehzeit zu einem kompakten Laib zusammengewachsen sein. Den Teig noch einmal mit verbliebenem Eigelb bestreichen, dann den Laib mit einem scharfen Messer der Länge nach in der Mitte einschneiden (der Schnitt darf recht tief sein) und dann dünne Streifen kalter Butter in die entstandenen Schlitze legen (s. Fotos). Die Backform in den vorgeheizten Ofen stellen und ein wenig Wasser auf den Boden des Ofens schütten, damit sich Dampf entwickeln kann. Die Tür des Ofens sofort schließen und die Brioche dann für etwa 40 Minuten backen. Die gebackene Brioche aus dem Ofen nehmen und für einige Zeit in der Form abkühlen lassen, dann mit dem Backpapier aus der Form heben und auf einem Kuchengitter komplett auskühlen lassen.
Hinweis: Mit dem Fenstertest kann man recht einfach sehen, ob ein Teig genügend geknetet wurde. Dazu einfach ein Stück Teig mit den Fingern auseinanderziehen. Wenn man den Teig so stark auseinanderziehen kann, bis man durchschauen kann, dann hat sich ausreichend Gluten gebildet. Reißt der Teig vorher, sollte noch einmal weitergeknetet werden.
Craving more? Keep in touch on Facebook, Instagram and Pinterest for new post updates and more. You can also contact me with any questions or inquiries!
Here is a version of the recipe you can print easily.
Print
Fluffy Brioche Nanterre
- Prep Time: 00:40
- Cook Time: 00:40
- Total Time: 14:00
- Yield: 1 1x
- Category: Yeast Bakes
- Method: -
- Cuisine: France
- Diet: Vegetarian
Description
Brioche Nanterre is a classic French bake we love to make for a brunch with the family. Also great for French Toast and other breakfast treats!
Ingredients
For the dough:
0.5 oz. (15g) fresh baker’s yeast
3 fl. oz. (90ml) cold water
12.3 oz. (350g) all-purpose flour*, plus a little more if needed
2.3 oz. (65g) sugar (fine)*
1/2 tsp. salt
2 large eggs
2 tsp. vanilla extract*
2 tsp. orange blossom water* (optional)
3.5 oz. (100g) cold butter, cut into small pieces
Additionally:
1 large egg yolk
about 0.7 oz. (20g) cold butter, cut into strips
Instructions
1. Dissolve the fresh baker’s yeast in the cold water and set aside.
2. Combine the flour, sugar, and salt in the bowl of a stand mixer fitted with a dough hook. Add the yeast water, eggs, vanilla extract, and orange blossom water (optional) and knead for about 5 minutes at medium speed. The dough will still be quite rough and sticky.
3. Reduce the speed slightly and gradually add the butter in small pieces, kneading until incorporated well. Knead the dough for another 5-6 minutes until no more pieces of butter are visible. Once the butter is well incorporated, increase the mixer speed again and knead for another 5-7 minutes. After this time, the dough should pull away from the sides of the bowl and pass the windowpane test (see note). If the dough passes the windowpane test after this time but doesn’t yet easily come away from the bowl, simply dust it with a little more flour (1/4 to 1/2 teaspoon should be sufficient) and briefly work it in. This will definitely help to get the dough out of the bowl more easily.
4. Shape the dough into a ball – if the dough is still very sticky, simply fold it over itself several times to create some tension – and place it in a large, lightly oiled bowl. The bowl should be relatively large, as the dough will rise considerably. Cover the bowl and let the dough rise at room temperature for about 30 minutes. Afterward, place the dough in the fridge for at least 8 hours (maximum 48 hours). To prevent the dough from drying out, the bowl should be very well covered.
5. Remove the risen dough from the fridge and divide it into three equal portions on a (minimally) floured surface and shape them into balls. The surface of the balls should have some tension. Cover the dough balls and let them rise for about 20 minutes.
6. Lightly grease a 23x12cm loaf tin* (or slightly larger) and line it with a piece of baking parchment. Roll out the dough balls into elongated ovals using a rolling pin, then roll them up tightly. The result should look like thick, short sausages. Place these rolled-up dough sausages, seam-side down and spaced apart, in the prepared loaf tin (see photos). Lightly whisk an egg yolk and brush the dough with it (store any leftovers in the fridge). Cover the loaf tin and let the dough rise again for about 2 1/2 hours – it will increase significantly in size during this time.
7. Preheat the oven to 170°C (340°F) fan-forced. When the dough has risen enough, the individual dough pieces should have fused into a compact loaf. Brush the dough once more with the remaining egg yolk, then make a lengthwise cut down the middle of the loaf with a sharp knife (the cut can be quite deep) and place thin strips of cold butter into the resulting slits (see photos). Place the loaf tin in the preheated oven and pour a little water onto the oven floor to create steam. Immediately close the oven door and bake the brioche for about 40 minutes. Remove the baked brioche from the oven and let it cool in the loaf tin for a while, then lift it out using the baking parchment and let it cool down completely on a wire rack.
Note: The windowpane test is a simple way to check if dough has been kneaded sufficiently. Simply stretch a piece of dough between your fingers. If you can stretch the dough so much that you can see through it, then enough gluten has formed. If the dough tears before you can see through it, it should be kneaded a little longer.
Notes
Let’s get baking!
Links marked with an asterisk (*) are affiliate links (advertising/Werbung) to Amazon Germany. If you click on one of those links and buy something via this link, I will get a commission for that sale. The price of whatever you buy is not affected in any way by this.