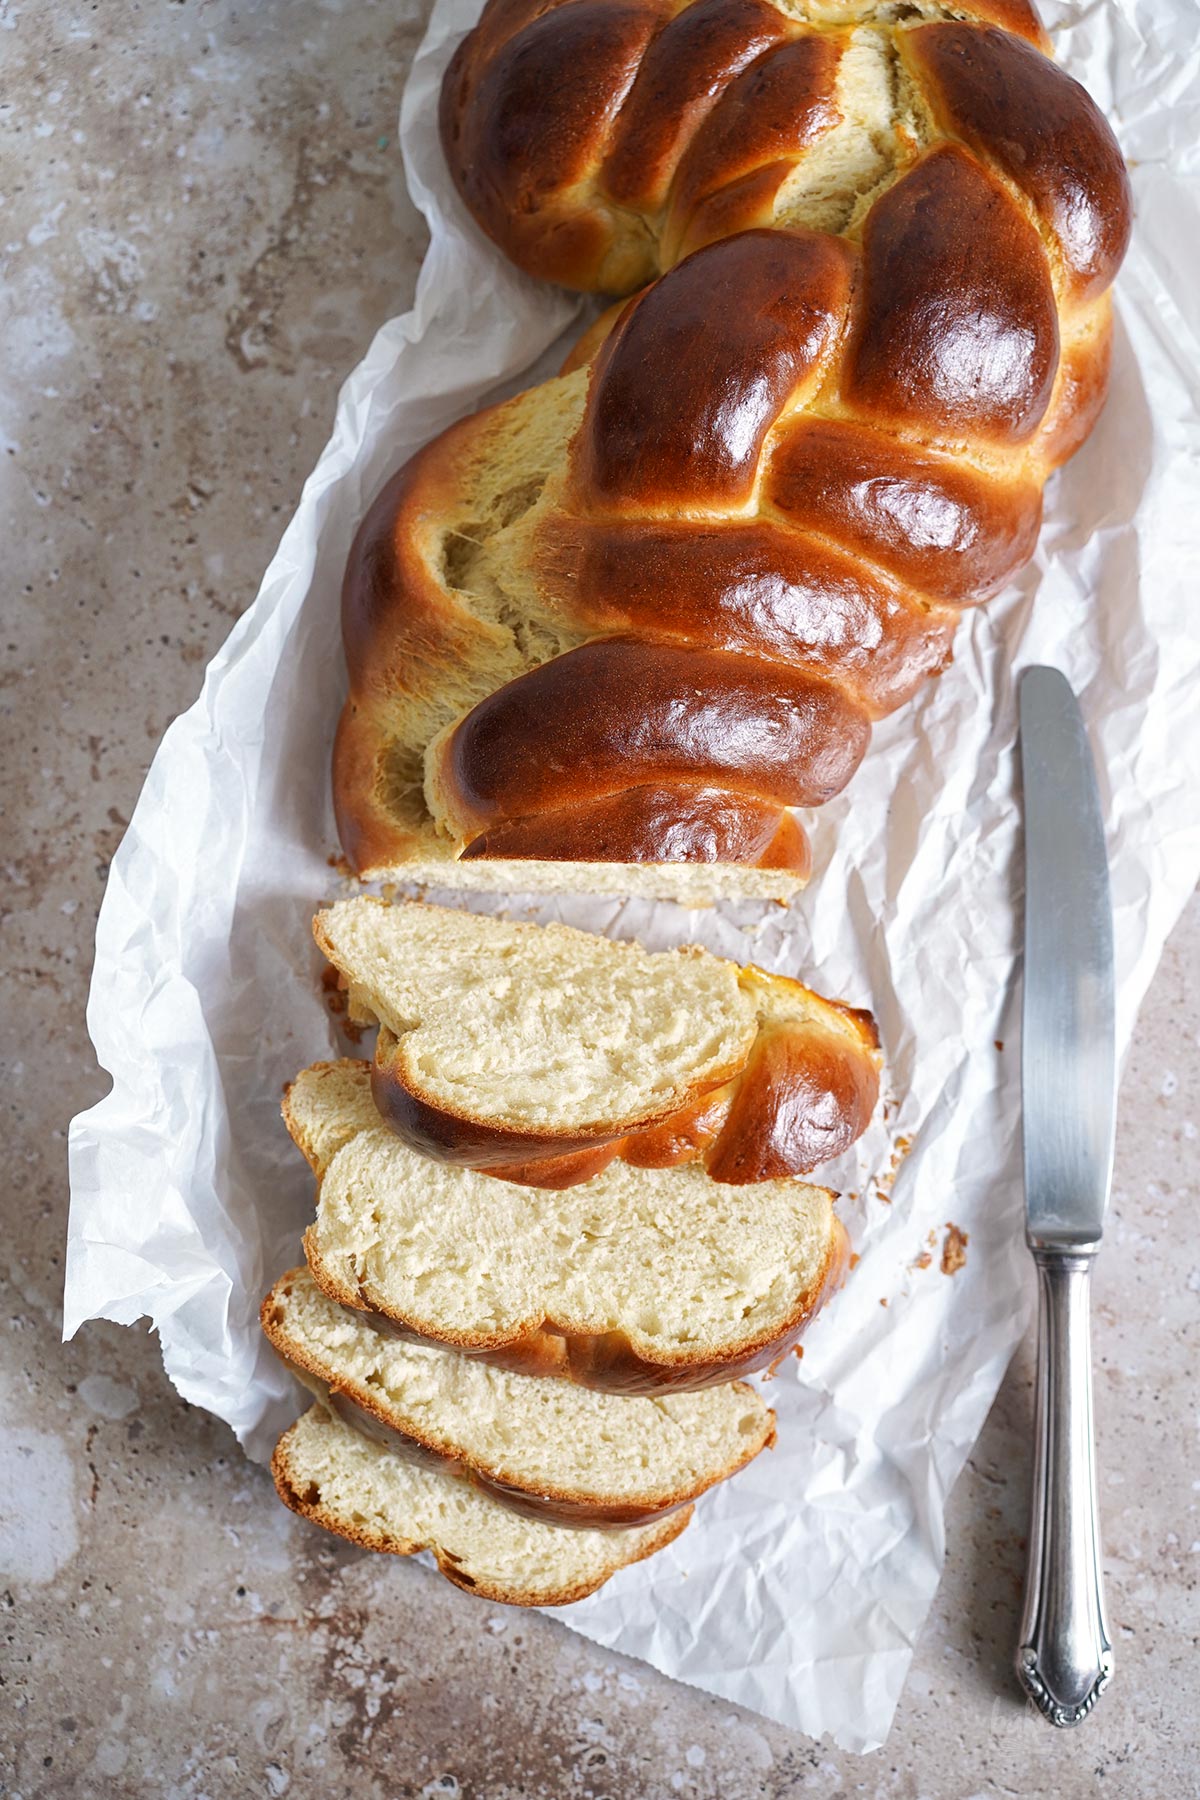
Yeast bakes are always welcome in our family when it comes to breakfast. For as long as I can remember, we’ve had delicious sweet braided loaves for breakfast (not only) at Easter. My mom rarely made them herself though – she preferred getting them from the bakery close by. My brother, on the other hand, liked to get into the kitchen and bake them from time to time. At some point, as a teenager, I also started to work with yeast… and I still like to do it today. I think there is nothing better than a freshly baked Spelt Sweet Braided Loaf with a little butter on top. Simply terrific!
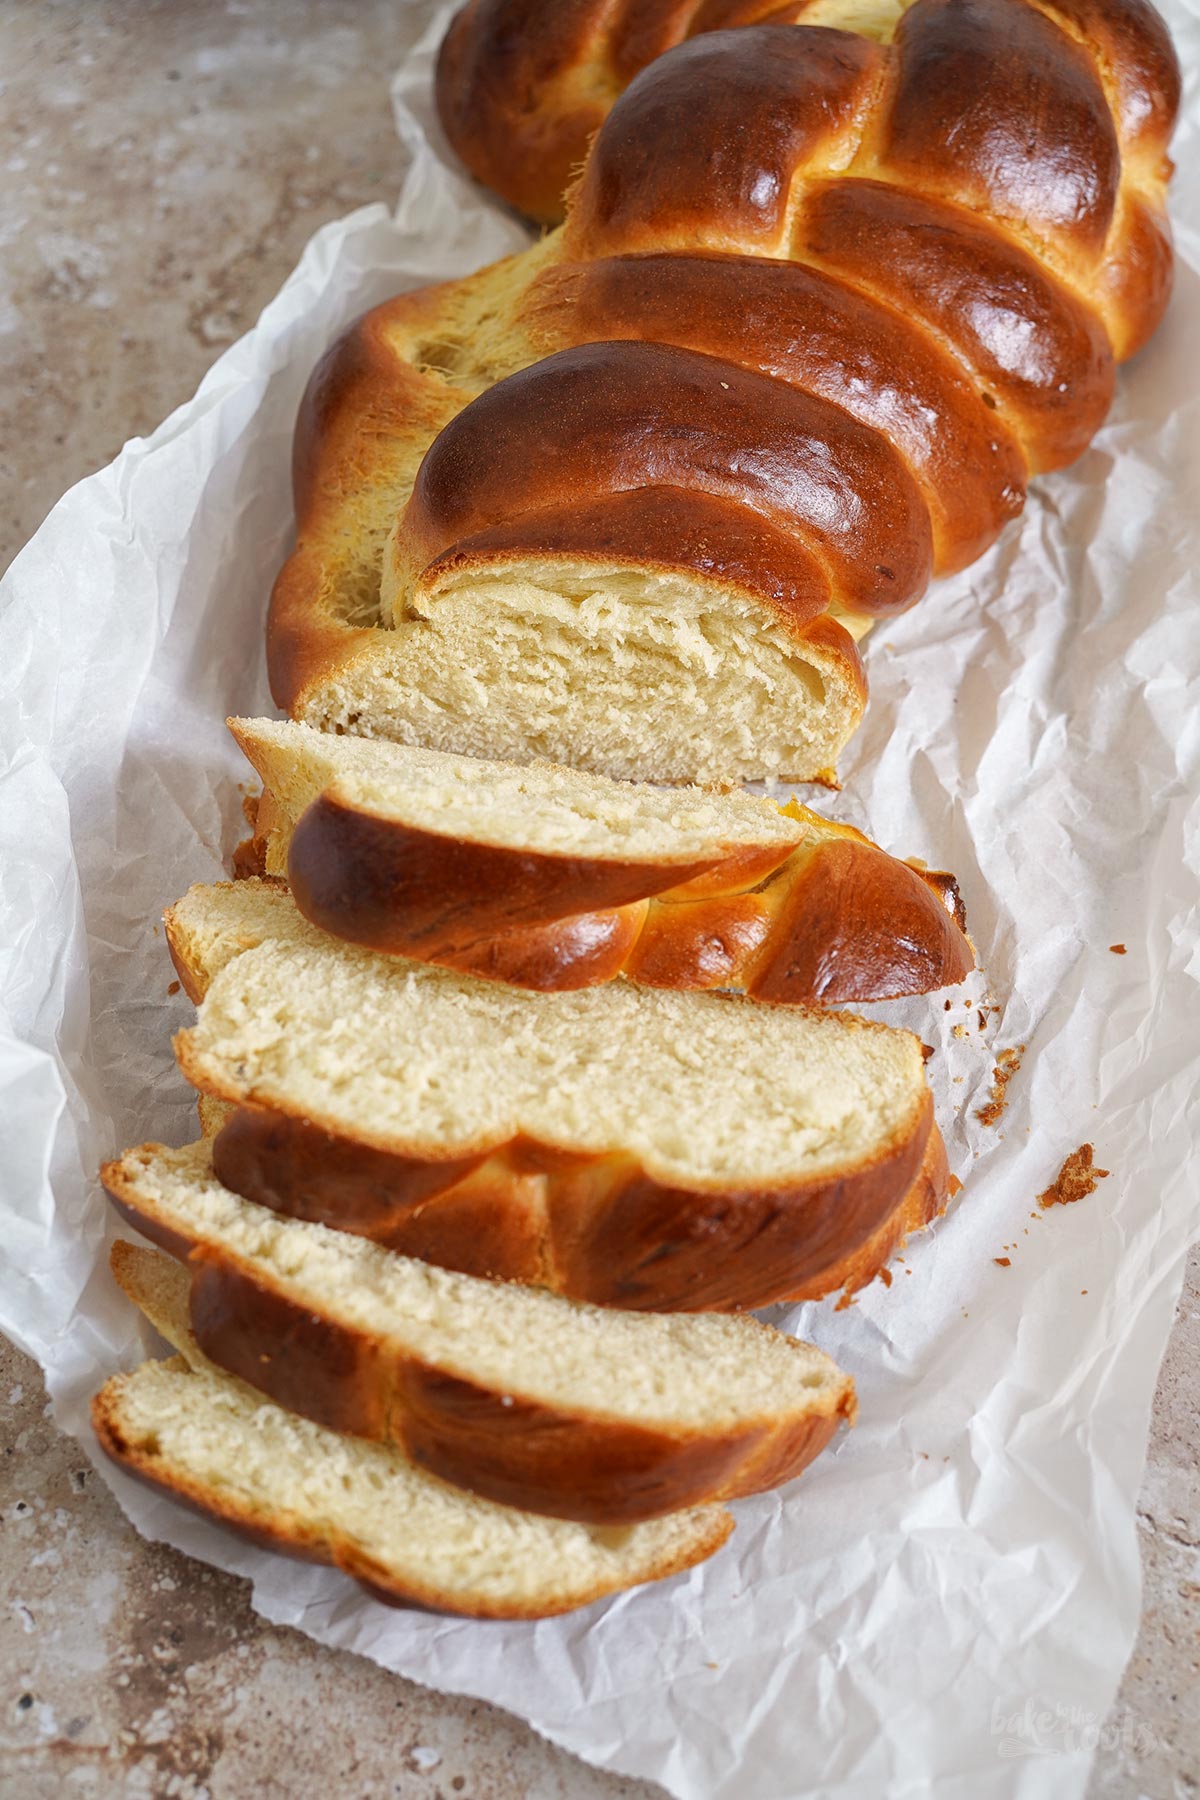
You have to agree – a fluffy sweet braided loaf like this one is perfect for breakfast. Or a slice of it during the day as a quick snack. I could actually eat sweet braided loaf slices with some butter on top all day long. Nothing else is needed. But I shouldn’t do it. My blood sugar level does not like that type of food… but I totally could, in theory.
Well… sweet braided loaves and brioche have a lot of fans, but I doubt a lot of people make them on a regular basis. Even though these bakes are in general quite simple – it takes time. A lot of time. If you want to serve something like that freshly baked in the morning you have to get up a bit earlier. Not because there’s a lot to do… Most of the time is kinda »wasted« because you have to wait a lot for the dough to rise. Unfortunately, there is no way around. So you better set the alarm to 6 or 7 am and start mixing that dough if you want something nice and fresh for breakfast…
Don’t get me wrong. I do not want to keep you from baking this sweet braided loaf or discourage you… It’s just something you should know if you are baking it for the first time. If you’ve worked with yeast before you already know all of that and I just wasted your time (I guess) by telling you all of that. Sorry.
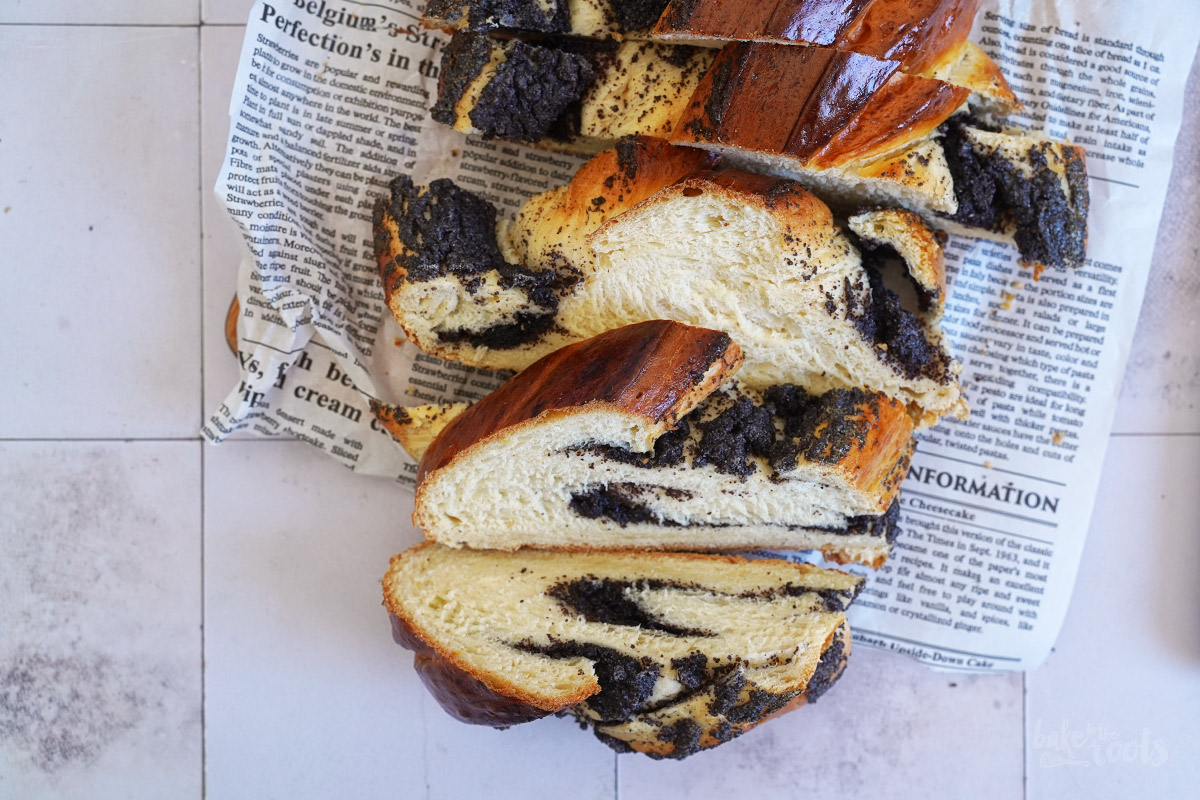
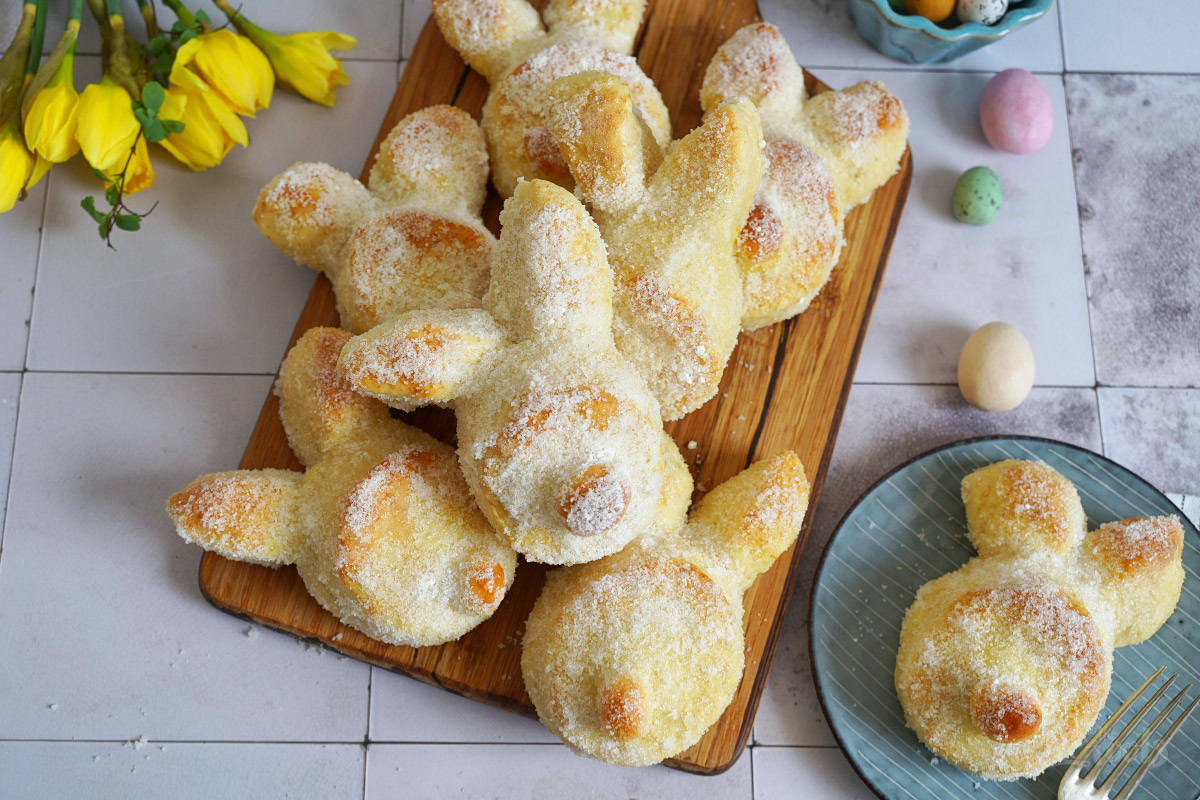
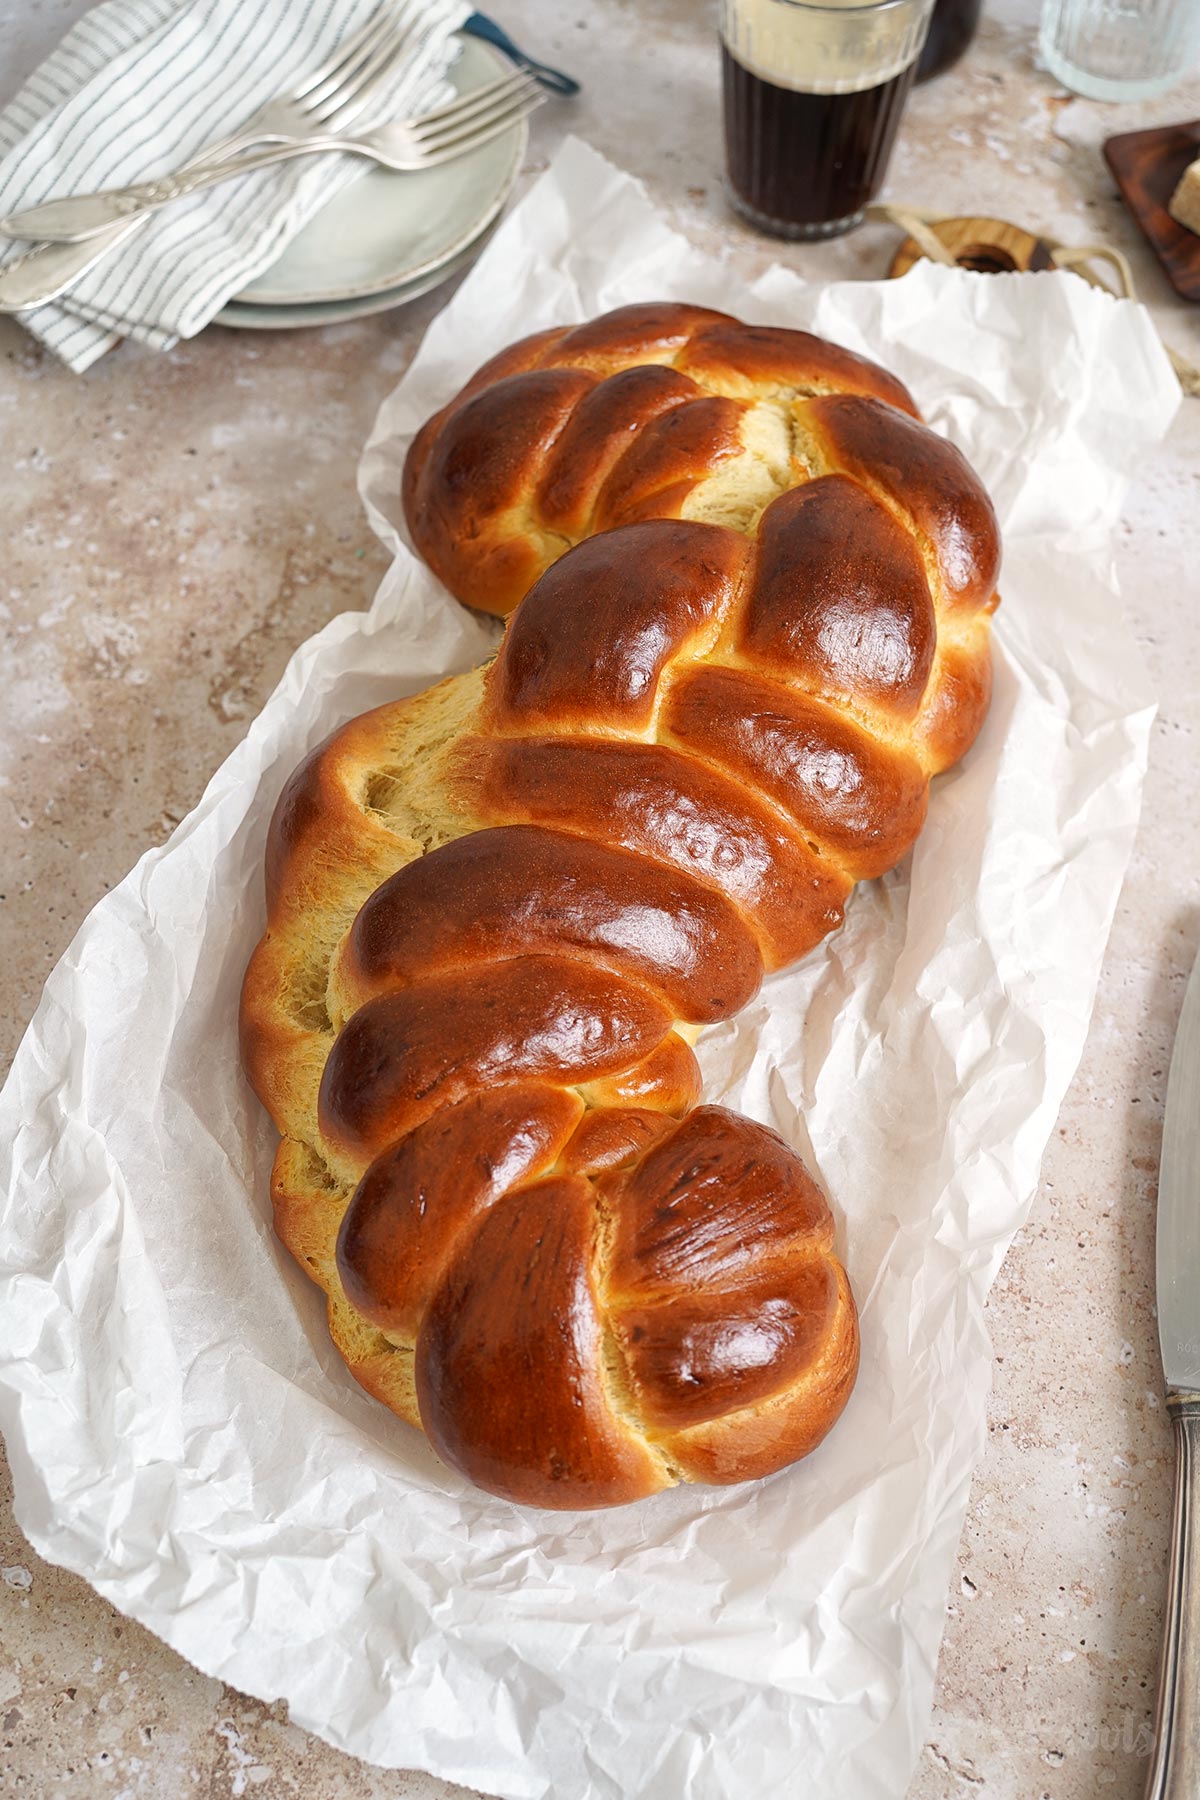
Anyway. Sweet braided loaves come in many different shapes and versions – some of them are completely »naked« like this one here, some have fillings, and some are decorated (more or less) extensively. Whatever rocks your boat. I usually add raisins to my dough but for this one I wanted everything to look delightful and clean. If you add something to the dough the result will never look clean. Things stick out, get darker during baking, etc. There is no way to control the results… but I actually really like raisins in a braided loaf. Well… next time again.

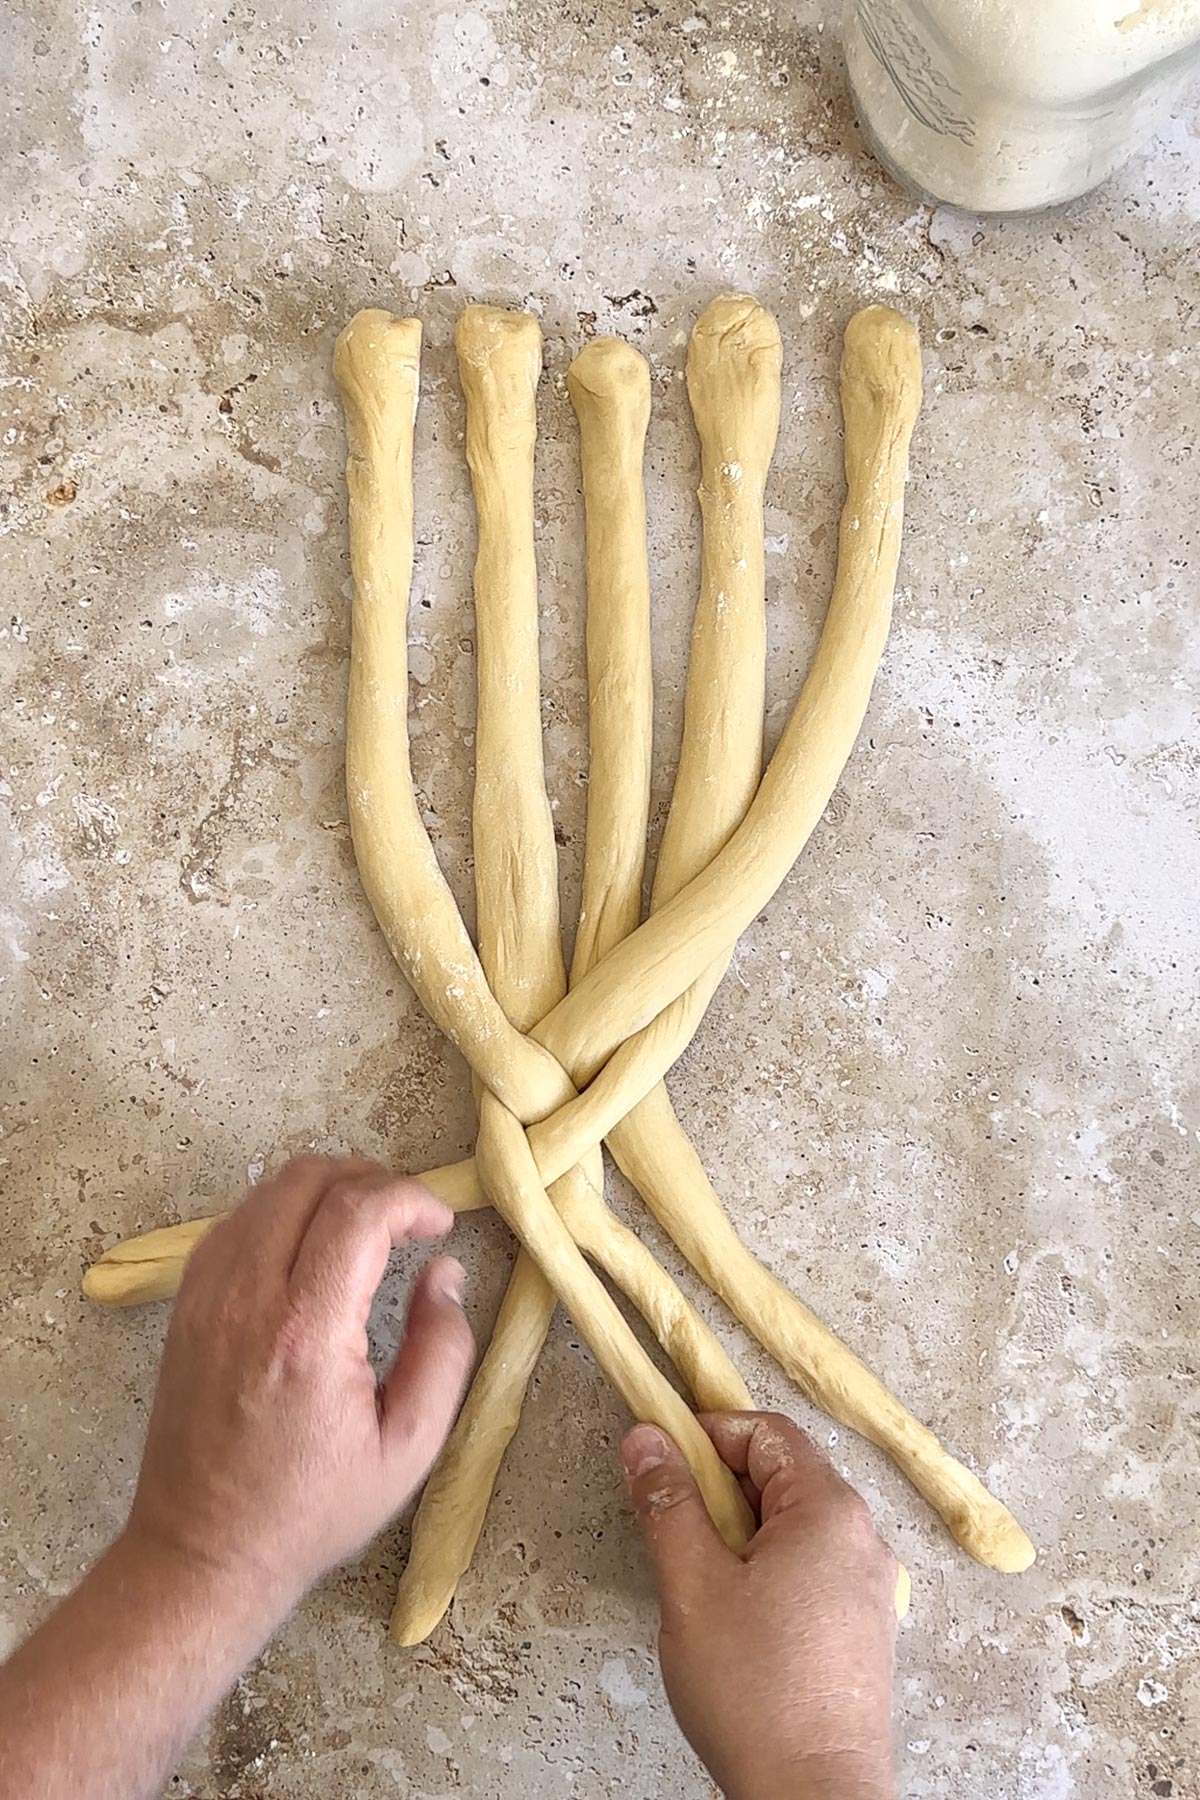
In the video below I tried to show how I braided the dough. You can do it like that, but you can also do it any way you want. Three strands are much easier than five and the results will look just as good.
If you are into yeast bakes you might want to check out an article I posted some time ago – it’s a small list of my favorite yeast bakes. All very nice bakes, all delicious.
INGREDIENTS / ZUTATEN
0.7 oz (21g) fresh yeast
4.4 fl. oz. (130ml) lukewarm milk
1/4 cup (50g) sugar
2 medium eggs
1/8 tsp. ground cardamom
1 pinch of salt
3 1/8 cup (400g) spelt flour
1/3 cup (80g) butter, at room temperature
1 medium egg yolk
some milk
1/2 Würfel (21g) frische Hefe
130ml lauwarme Milch
50g Zucker
2 Eier (M)
400g Dinkelmehl (Type 630), plus etwas mehr
1/8 TL Kardamom
1 Prise Salz
80g weiche Butter
1 Eigelb (M)
etwas Milch
DIRECTIONS / ZUBEREITUNG
1. In the bowl of a food processor mix the milk, one teaspoon of the sugar, and the yeast – make sure the yeast has dissolved completely. Let bubble up for about 10 minutes. Mix the spelt flour with cardamom, salt, and the remaining sugar – add to the bowl, together with the eggs and soft butter and knead everything for about 9-10 minutes to get a soft and smooth dough. Cover the bowl and let the dough rise in a warm place for 75-90 minutes or until pretty much doubled in size.
2. Knead the dough once again briefly on a lightly floured surface and then divide into five portions. Shape each portion of dough into a log that is about 40cm long. Place the logs next to each other on your work space and braid them (see video). Place the braided loaf on a baking sheet lined with baking parchment, tuck in the ends and shape the braided loaf a bit more if desired, then cover (with a slightly damp kitchen towel) and let rise in a warm place for another 25-30 minutes.
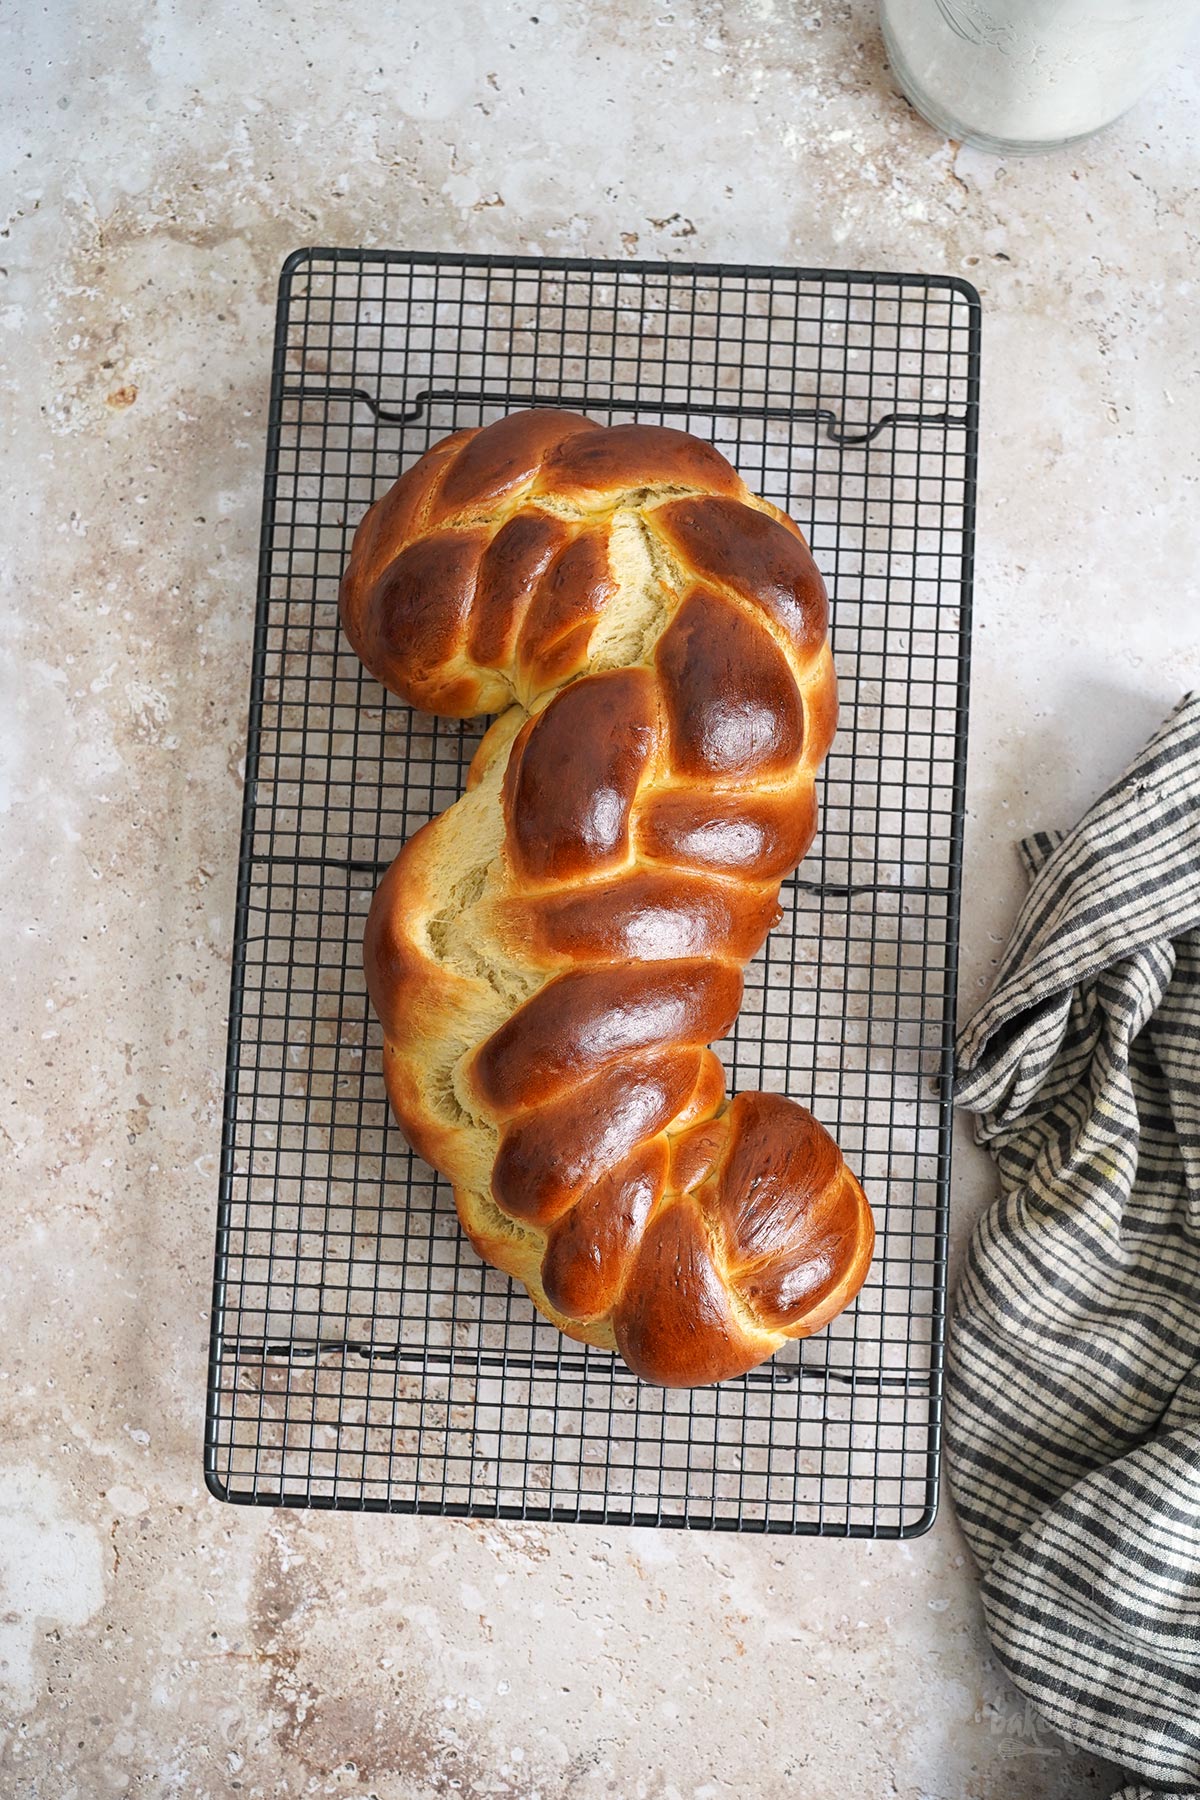
3. Preheat the oven to 200°C (390°F). Mix the egg yolk with the milk and carefully brush the braided loaf with it. If you like, you can sprinkle some sliced almonds and hail sugar on top (optional) and then bake for about 25 minutes. Remove from the oven and let cool completely on a wire rack.
1. Hefe, Milch und etwa 1 TL vom Zucker in der Schüssel einer Küchenmaschine vermischen, bis sich die Hefe komplett aufgelöst hat, und dann für etwa 10 Minuten gehen lassen. Dinkelmehl mit Kardamom, Salz und dem restlichen Zucker vermengen – zusammen mit den Eiern und der weichen Butter zur Schüssel dazugeben und alles etwa 9-10 Minuten zu einem glatten Teig verkneten. Den Teig zu einer Kugel formen und in der abgedeckten Schüssel für etwa 75-90 Minuten an einem warmen Ort gehen lassen – das Volumen sollte sich in etwa verdoppelt haben.
2. Den Teig auf einer leicht bemehlten Fläche noch einmal kurz durchkneten und dann in fünf Portionen aufteilen. Jede Teigportion zu einem etwa 40cm langen Strang formen. Die fünf Stränge nebeneinander auf die Arbeitsplatte legen und dann miteinander verflechten (s. Video). Den Hefezopf auf ein mit Backpapier ausgelegtes Backblech setzen, die Enden einschlagen und den Zopf nach Belieben noch etwas in Form bringen und dann abgedeckt (mit einem leicht feuchten Küchentuch) noch einmal 25-30 Minuten an einem warmen Ort gehen lassen.
3. Den Ofen auf 200°C (390°F) Ober-/Unterhitze vorheizen. Das Eigelb mit der Milch vermischen und den gegangenen Zopf vorsichtig damit bestreichen. Wer mag, kann noch gehobelte Mandeln und etwas Hagelzucker darüberstreuen (optional) und dann für etwa 25 Minuten backen. Aus dem Ofen holen und auf einem Kuchengitter komplett abkühlen lassen.

Working with yeast is not complicated at all, but knowing some basics might help…
Using yeast in a bake is not as difficult as some people may think. Yeast dough needs a little more attention compared to a regular pound cake batter but that’s all doable if you follow some simple rules.
Yeast likes it warm and cozy.
The fresh yeast we all use for baking is a fungus, or rather many single-celled fungi that reproduce by sprouting or dividing. For this process, yeast needs a certain temperature – just as we need a certain body temperature to function properly. At low temperatures, we also prefer to snuggle up in a blanket and are less productive. The ideal temperature for yeast is somewhere between 30°–40°C (86°–104°F). In this range yeast works, multiplies well, and releases gases that let the dough rise. If the temperatures are lower, yeast continues to work, but everything takes much longer. Above 45°C (113°F), the yeast says goodbye and goes to (yeast) heaven – you should be careful here and keep that in mind.
Bring all (!) ingredients to the right temperature.
As already mentioned, yeast needs a certain temperature to work properly. If the recipe says »lukewarm« milk, it should be lukewarm only. Stick your finger into the milk and test it – it should not be much warmer than your own body temperature. Butter, eggs and other ingredients you add to the dough should also be at room temperature, if possible. That gives everyone the chance to get to know each other better.
Yeast dough gives »Schmackes« – meaning you will get strong arms!
Yeast dough should be kneaded thoroughly – this can take up to 10 minutes or more until all ingredients are well combined and the yeast has the nutrients close by it needs to multiply properly. You can do the kneading by hand and show everyone how strong you are – or you let your kitchen robot do the work. Works both ways. Many bakers say they prefer to knead by hand because it allows them to »feel« the dough better, but honestly…. I prefer to do something else in those 10 minutes.
Letting yeast rise is a walk in the park!
A yeast dough needs a little rest after kneading. You don’t have to turn off the music or leave the room for the yeast dough to rise properly, but covering the bowl and placing the bowl in a warm place is actually a good idea. This could be inside the oven, on the kitchen floor if you have floor heating, near a stove or heater (not on top!), or classically in the bedroom under the covers. Yes, many do that. The point is that you give the dough time and a cozy place to rest – without any drafts of cold air. If your yeast dough does not rise as quickly as expected, just give it a little more time. That will do the trick in most cases.
Off to a second round!
Many recipes for a bake with a yeast dough call for a second resting time. After the first round, you knock out the air bubbles that have developed inside the dough, you knead a bit more if necessary, and then you shape the bread, bread rolls, braid the loaf, or whatever. After that you let the dough rise again. The second rising time makes the crumb of the pastry finer and the baked good usually has fewer large air bubbles in it. If your yeast dough gets a bit bitchy after the second round of kneading and resists when you try to roll it out – just cover it again and give it another five minutes or so. The dough just needs to relax again briefly and is much easier to handle after that.
Fresh yeast or dry yeast – that’s the question here!
There are many opinions about the usage of fresh or dried yeast. Some swear by fresh yeast, others think dry yeast is great and ideal to work with. Theoretically, you can use both. Fresh yeast usually has to be mixed with a lukewarm liquid and some sugar – this gets the yeast going. Dry yeast can be mixed with the flour and the other ingredients and that’s it basically. Many insist on testing dry yeast to check if it is still active by dissolving it in lukewarm milk before using it, but that is not really necessary. If the expiration date on the package is still far away, everything should be fine. No matter if you use fresh or dried yeast – if you give the yeast time and treat it well, both versions will give you a nice result.
Craving more? Keep in touch on Facebook, Instagram and Pinterest for new post updates and more. You can also contact me with any questions or inquiries!
Here is a version of the recipe you can print easily.
Print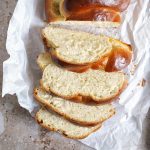
Simple & Easy Sweet Braided Loaf
- Prep Time: 00:15
- Cook Time: 00:25
- Total Time: 03:00
- Yield: 1 1x
- Category: Bread
- Method: -
- Cuisine: Germany
- Diet: Vegetarian
Description
The perfect bake for Easter (or any other day of the year): a Sweet Braided Loaf. Fluffy, delicious and really easy to prepare. A family favorite!
Ingredients
0.7 oz (21g) fresh yeast
4.4 fl. oz. (130ml) lukewarm milk
1/4 cup (50g) sugar
2 medium eggs
1/8 tsp. ground cardamom
1 pinch of salt
3 1/8 cup (400g) spelt flour
1/3 cup (80g) butter, at room temperature
1 medium egg yolk
some milk
Instructions
1. In the bowl of a food processor mix the milk, one teaspoon of the sugar, and the yeast – make sure the yeast has dissolved completely. Let bubble up for about 10 minutes. Mix the spelt flour with cardamom, salt, and the remaining sugar – add to the bowl, together with the eggs and soft butter and knead everything for about 9-10 minutes to get a soft and smooth dough. Cover the bowl and let the dough rise in a warm place for 75-90 minutes or until pretty much doubled in size.
2. Knead the dough once again briefly on a lightly floured surface and then divide into five portions. Shape each portion of dough into a log that is about 40cm long. Place the logs next to each other on your work space and braid them (see video). Place the braided loaf on a baking sheet lined with baking parchment, tuck in the ends and shape the braided loaf a bit more if desired, then cover (with a slightly damp kitchen towel) and let rise in a warm place for another 25-30 minutes.
3. Preheat the oven to 200°C (390°F). Mix the egg yolk with the milk and carefully brush the braided loaf with it. If you like, you can sprinkle some sliced almonds and hail sugar on top (optional) and then bake for about 25 minutes. Remove from the oven and let cool completely on a wire rack.
Notes
Get your bake on!
Links marked with an asterisk (*) are affiliate links (advertising/Werbung) to Amazon Germany. If you click on one of those links and buy something via this link, I will get a commission for that sale. The price of whatever you buy is not affected in any way by this.