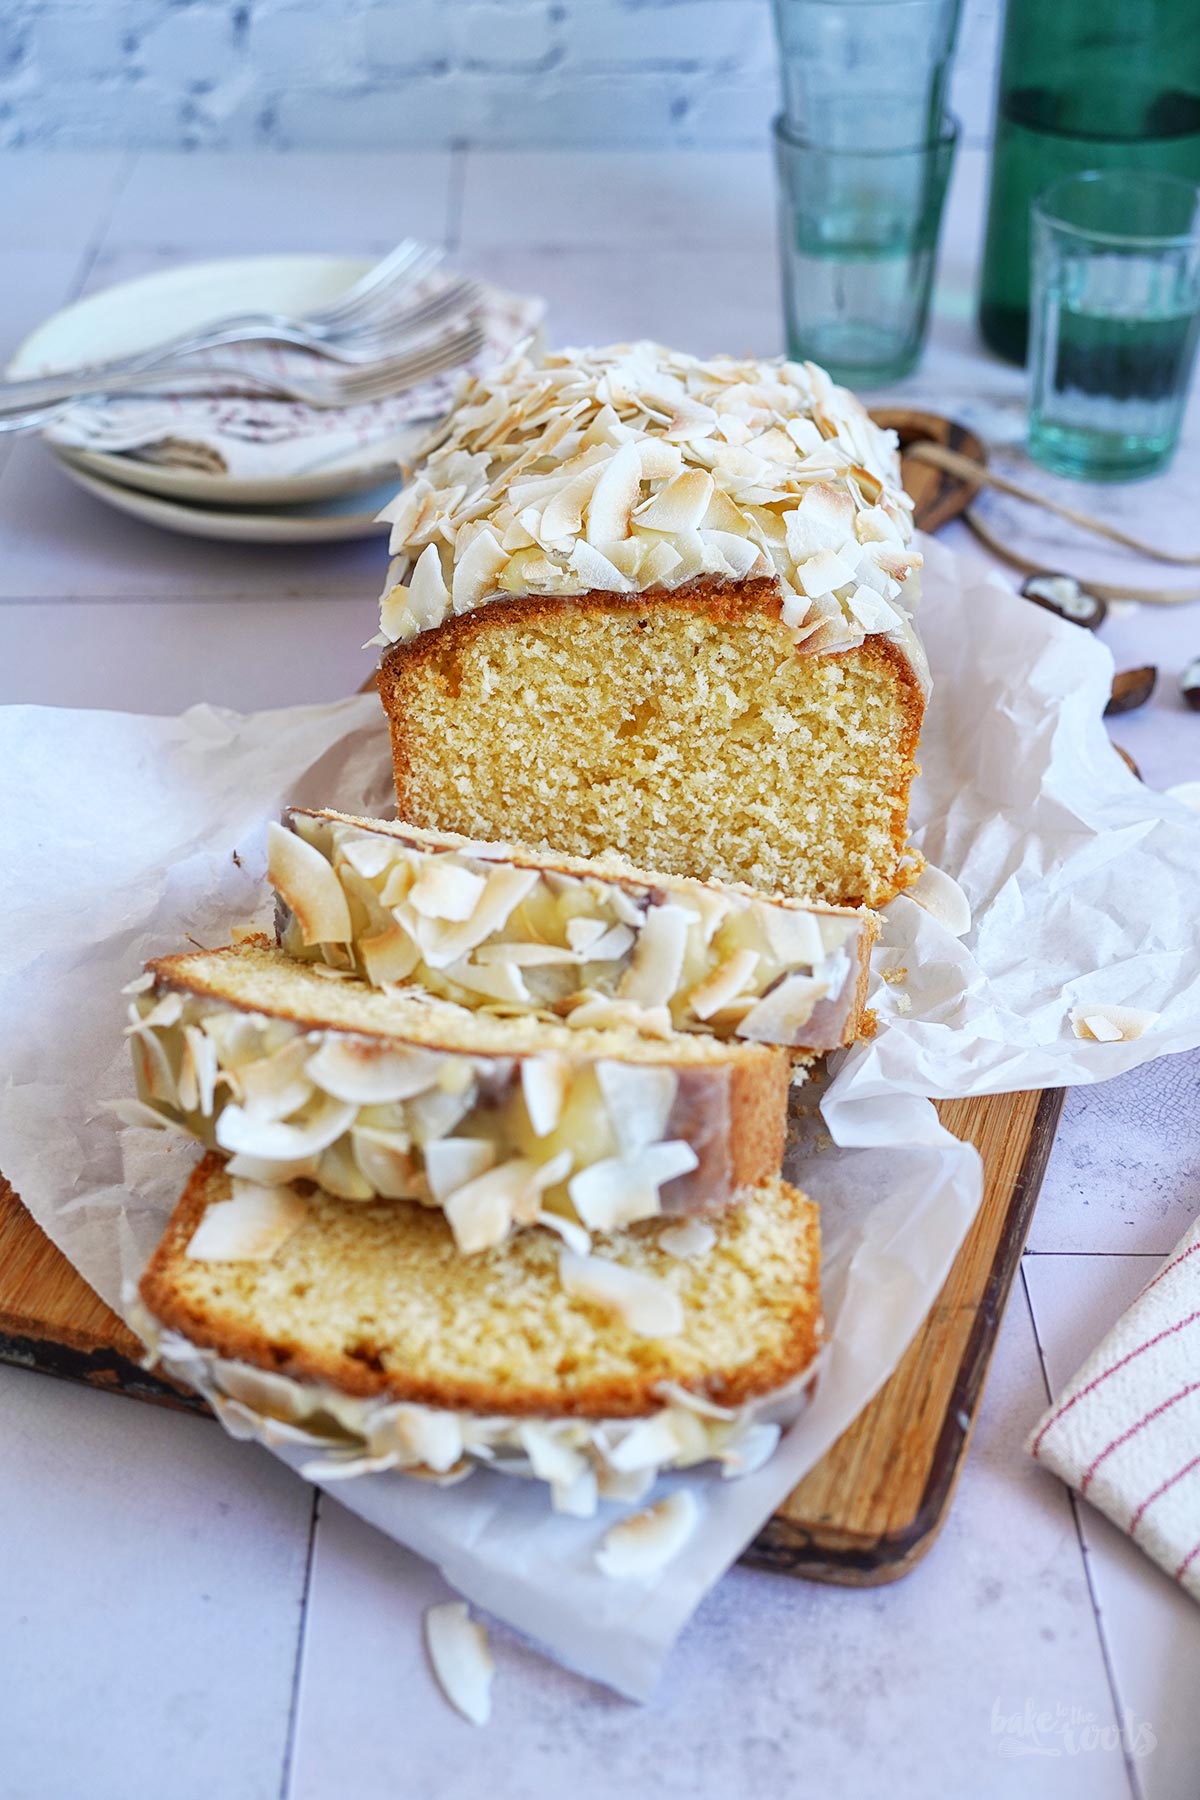
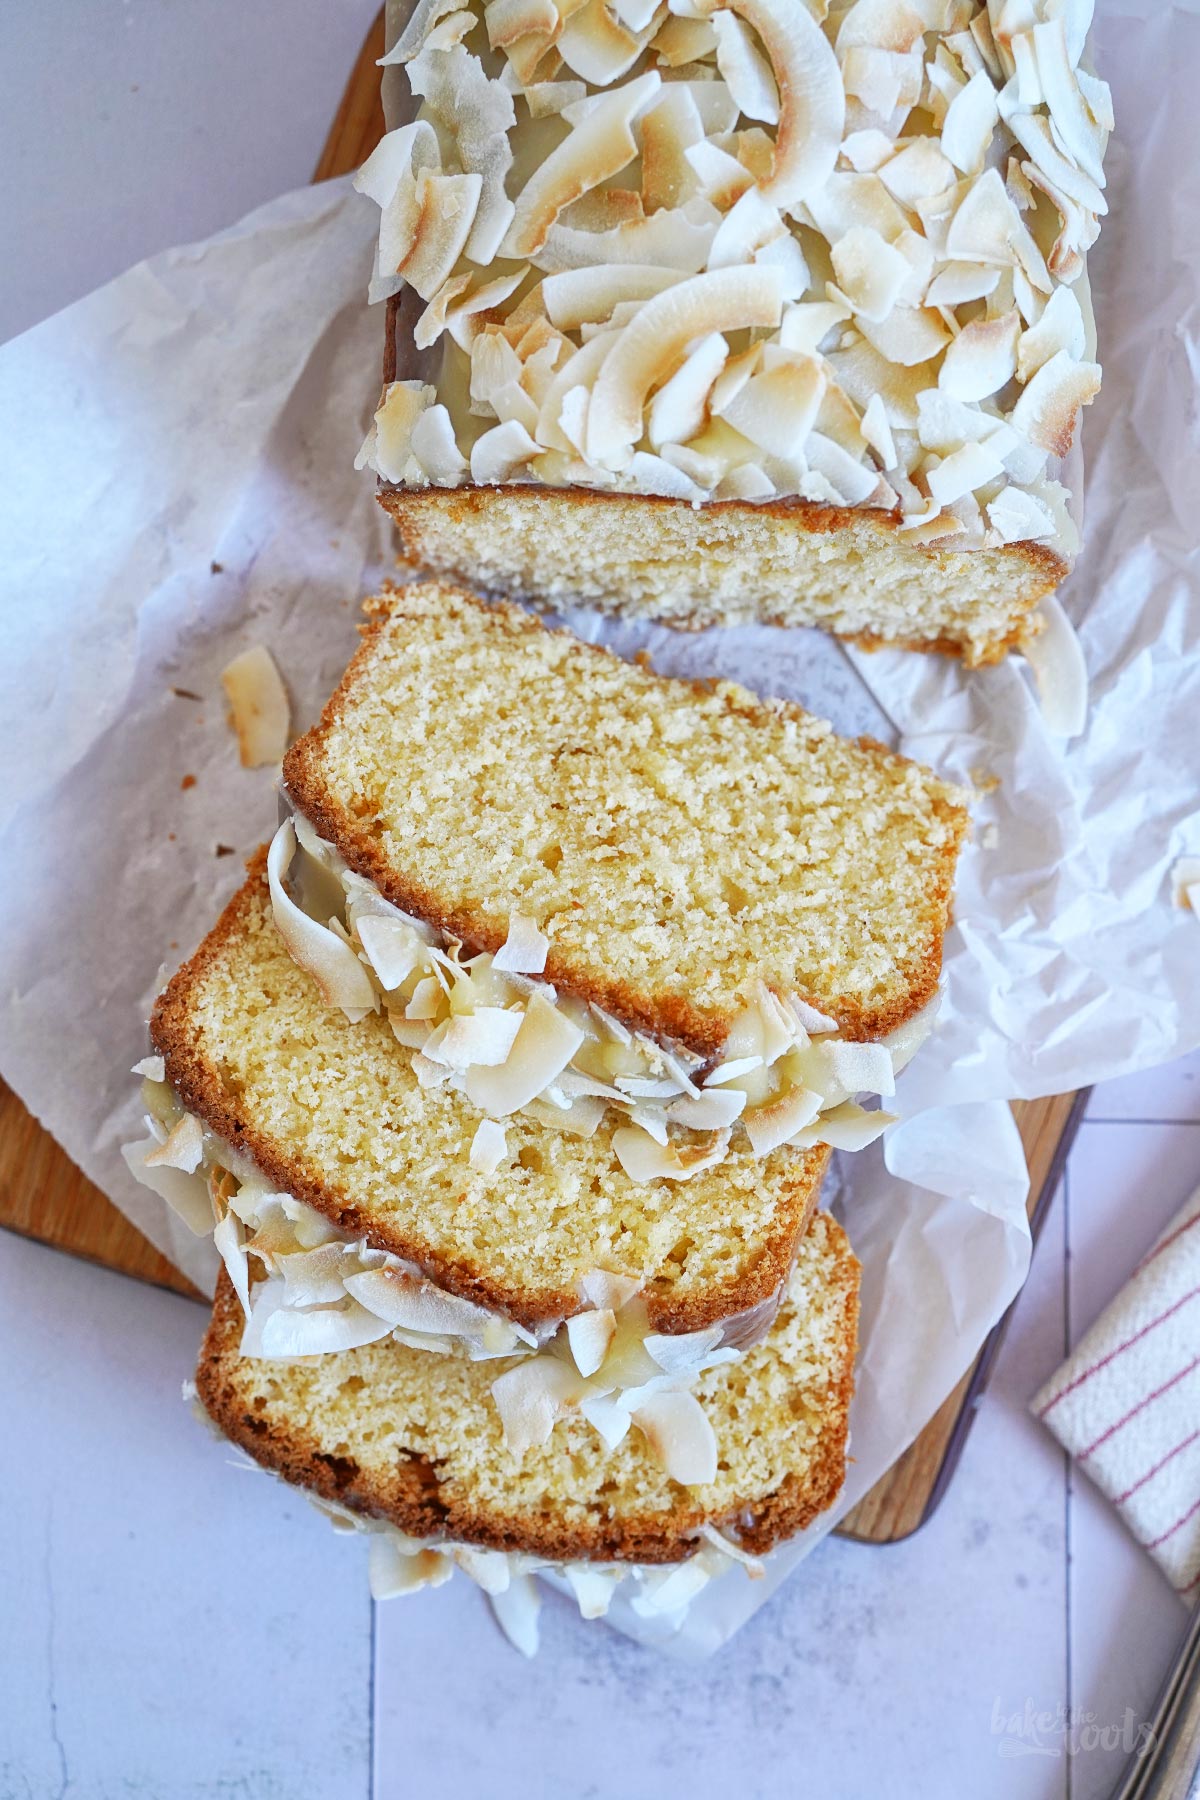
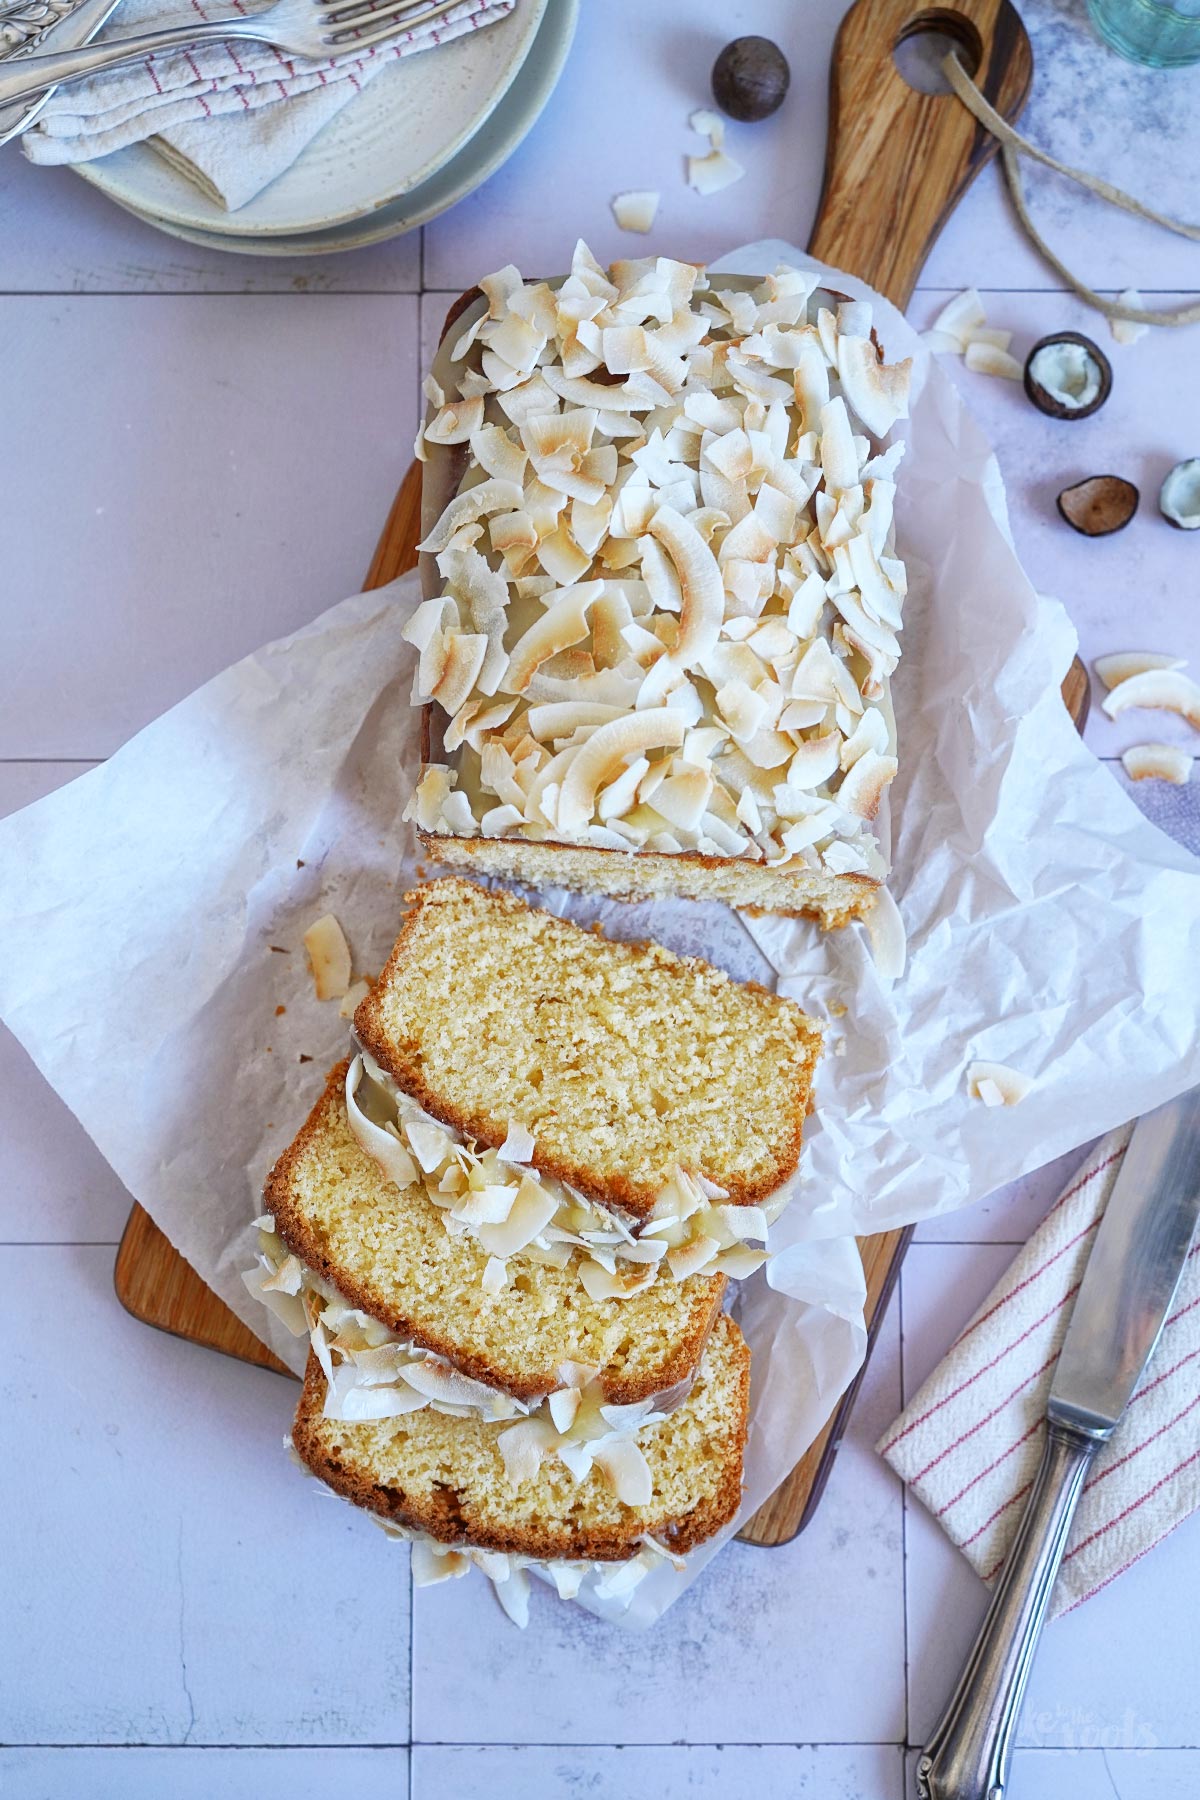
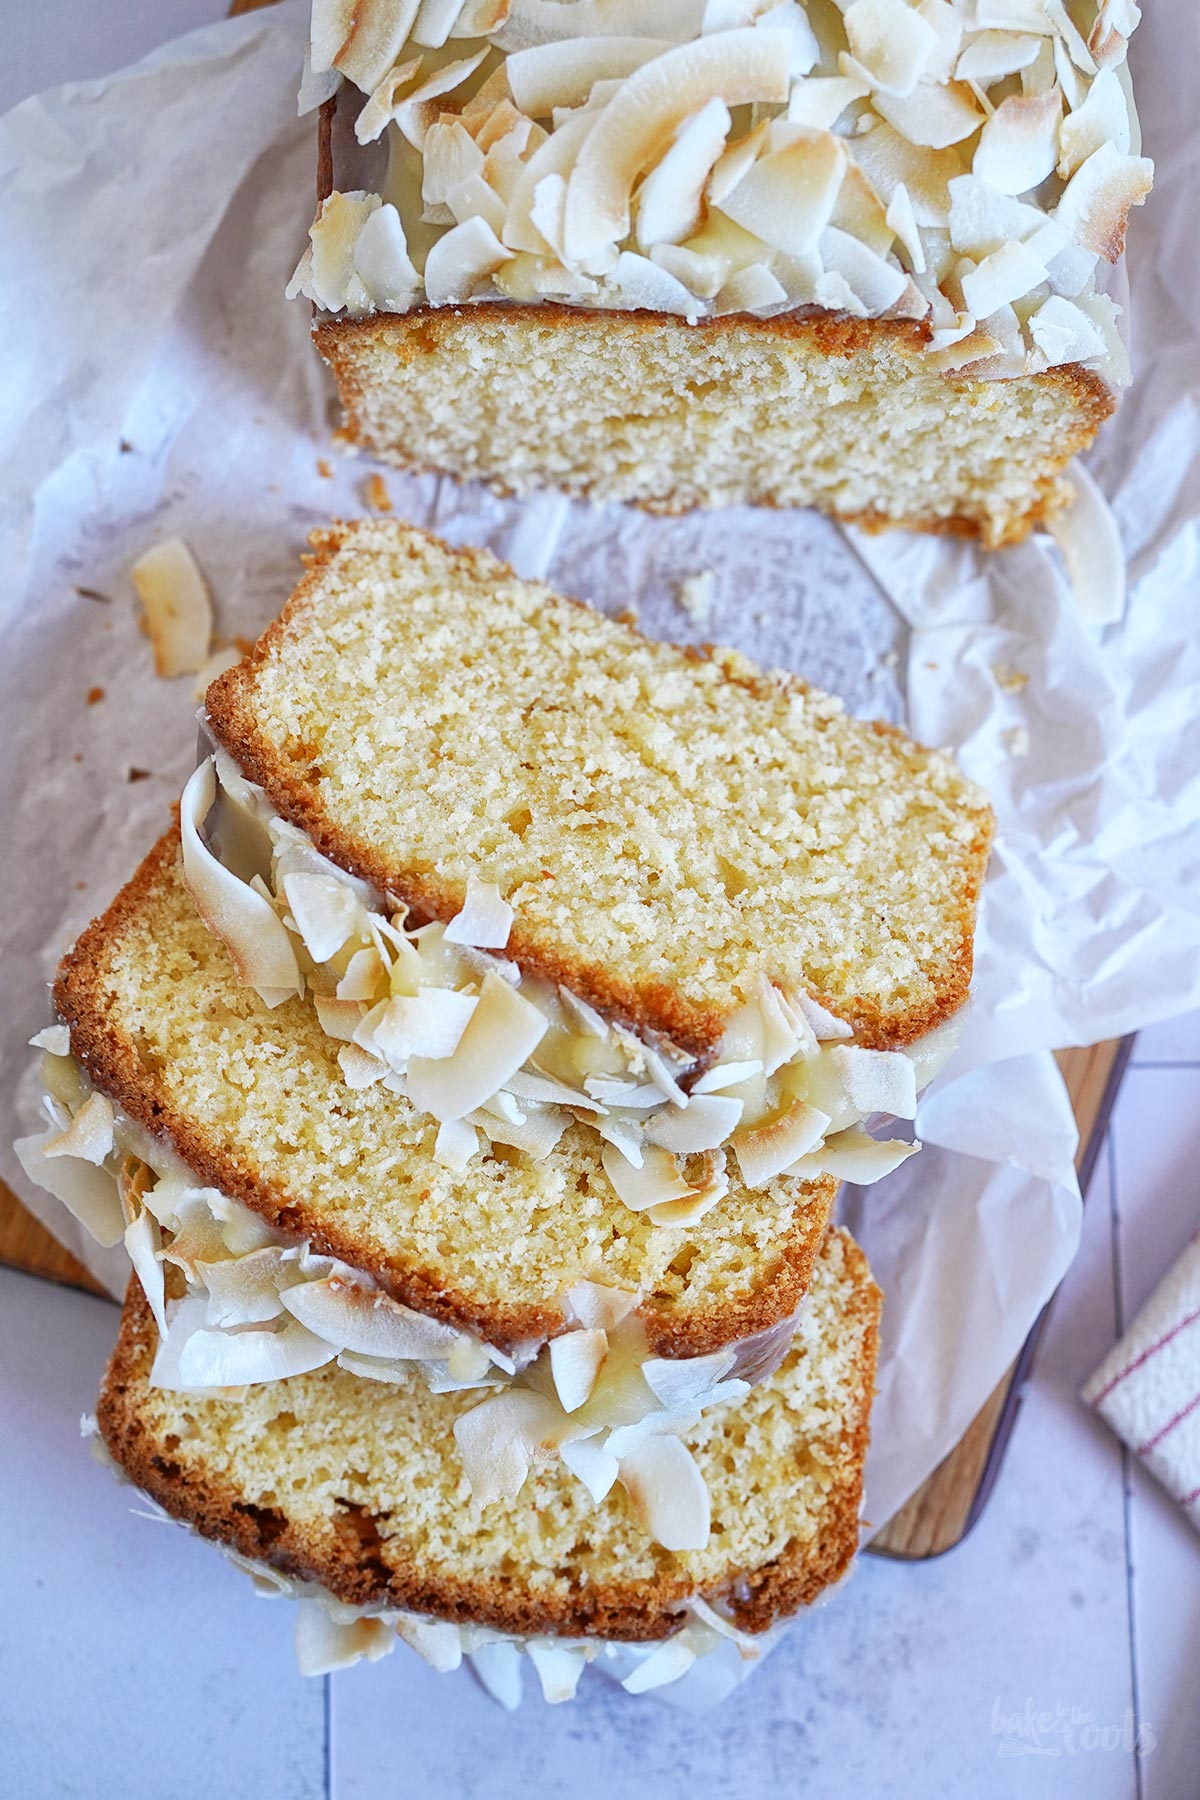
There are cakes that require a lot of work and time to prepare. But there are also plenty of cakes that can be done quickly. Easy-peasy cakes. Something like this simple Coconut Pound Cake. The cake might take an hour in the oven, but the whole process is actually super easy and can be done very quickly. We love cakes like that!
You could say that loaf cakes are a little easier to prepare. They might not end up quicker on the table, but they are definitely easier to do. You mix a few ingredients together, throw everything into the loaf tin, and then bake the cake. When done, you might add a glaze and some decorations, and you’re done. No buttercream to prepare, no fillings or fancy decorations needed. Simple and plain is the name of the game!
That’s one of the many reasons we like loaf cakes. A cake with several layers, fillings, and buttercream might be nice to eat, but making it yourself at home is often simply exhausting. Don’t even get me started on the fondant decorations. That’s far too time-consuming, and nobody wants to eat that stuff anyway. It always ends up on the side of the plate, because nobody likes to eat pure sugar. Loaf cakes are so much better. Simple and delicious.
Even though loaf cakes are normally easy to prepare, there are a few things that can go wrong. You want your cake to be delicious and moist (yes, I said moist). The texture is always important for this type of cake. You don’t want the cake to be dry and boring. For that, you could go to the supermarket and get one of their loaf cakes.
To get the perfect cake texture, you should always check the doneness of the cake with a wooden skewer or toothpick. In case, you don’t know what I mean… you simply stick a wooden skewer into the center of a cake and check what comes out with the skewer when you pull it out. If you can see liquid batter sticking to the skewer, the cake needs a little longer in the oven. If you see only a few moist crumbs, the cake is ready to come out. Of the oven. This can be at the time specified in the recipe, but it can also be earlier or later, tbh. Not every oven heats equally well, and baking times always vary a little…
Technology enthusiasts could also use a thermometer to check the core temperature of the cake. Similar to what some cooks do with meat. If the cake has a core temperature of around 90°-93°C, the cake should be done and ready for relocation onto a cooling rack. However, it should be noted that these core temperatures are different for pretty much every type of cake. You would have to remember all of them for this technique. We are not clever enough for that – that’s why we rely on the wooden skewer.
Apart from that, there’s not really much more to say about the cake here. We love the texture and flavors. The coconut flavor is not too strong, though. If you want to add more, you could use some coconut flavoring. You can find something like that in larger supermarkets in the baking ingredients section or in the corner with all the healthy stuff and protein powders. Those coconut flavor drops can improve an otherwise boring protein shake immensely. Well… and if you can’t find it there, you will get them online, for sure. Like most special items these days, right?!
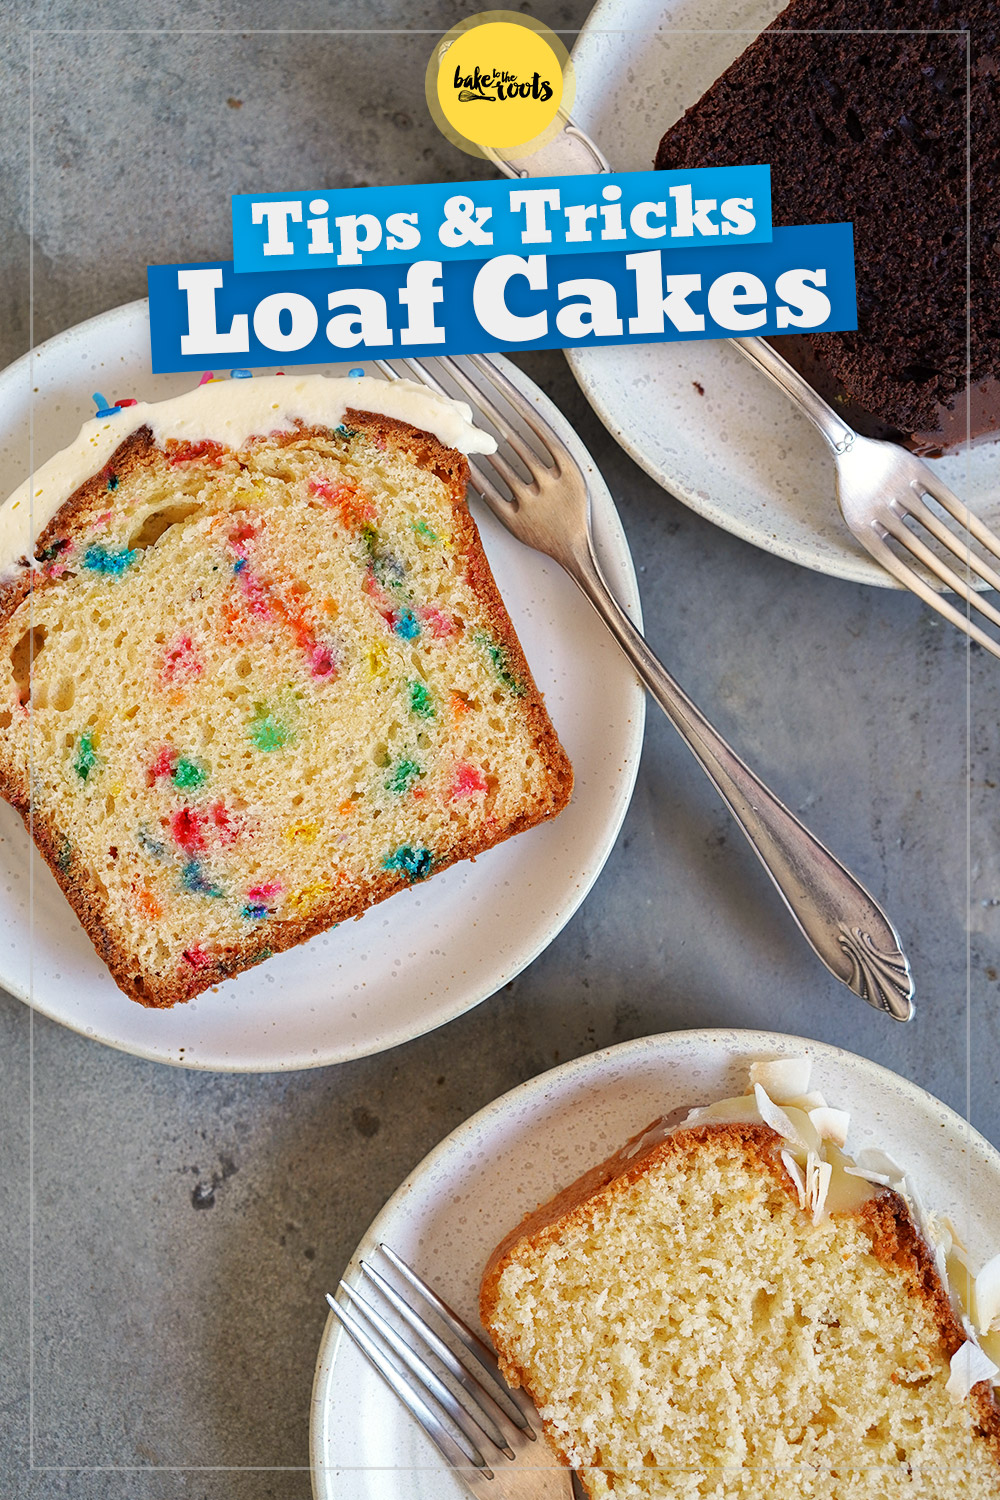
If you want/need more tips for loaf cakes, you can take a look at our article about loaf cakes. There we explain in more detail how to achieve a perfect result and where you might need to be careful.
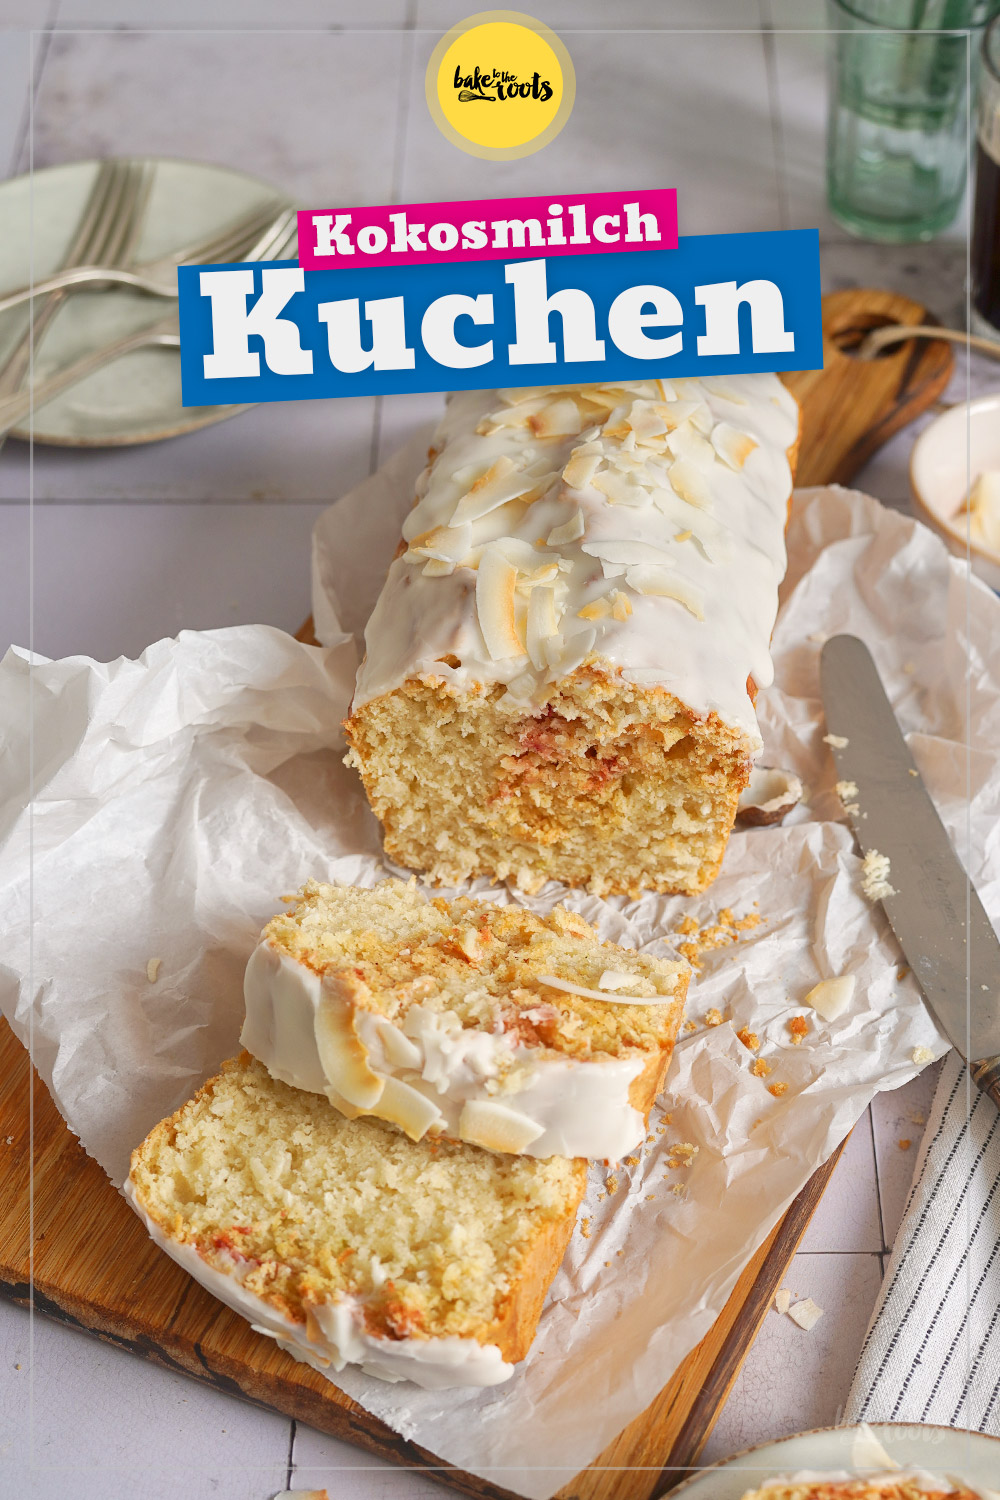
The article with essential tips and tricks for perfect loaf cakes also links to a few other loaf cake recipes, but we show you another great loaf cake right here: our delicious Coconut Milk Loaf Cake. If you like this cake here, you will most definitely like that one as well. Great flavors and texture!
INGREDIENTS / ZUTATEN
For the cake batter:
1 cup (200g) sugar
3/4 cup (180ml) sunflower oil*
3 large eggs
1 tbsp. lemon juice
1 organic lemon, zest
2 tsp. vanilla extract*
2 1/2 cups (260g) all-purpose flour
3.2 oz. (90g) desiccated coconut*
3 tsp. baking powder
1/8 tsp. salt
1/2 cup (120ml) coconut milk*
For the decorations:
2 tbsp. butter, melted
1/2 cup (65g) confectioners’ sugar
1/4 tsp. vanilla extract*
1 tbsp. coconut milk*
some toasted coconut flakes*
Für den Kuchenteig:
200g Zucker
180ml Sonnenblumenöl*
3 Eier (L)
1 EL Zitronensaft
1 Bio-Zitrone, Abrieb
2 TL Vanille Extrakt*
260g Mehl (Type 405)
90g Kokosraspel*
3 TL Backpulver
1/8 TL Salz
120ml Kokosmilch (vollfett)*
Für die Dekoration:
2 EL Butter, geschmolzen
65g Puderzucker
1/4 TL Vanille Extrakt*
1 EL Kokosmilch (vollfett)*
einige geröstete Kokoschips*

DIRECTIONS / ZUBEREITUNG
1. Preheat the oven to 180°C (350°F). Line am approx 23x13cm loaf tin* with baking parchment and grease lightly. Set aside. If your desiccated coconut has larger pieces, add it to a mixer and mix until very fine.
2. Add sugar and sunflower oil to a large bowl and mix on high for several minutes until light and fluffy. Add the eggs separately and mix well after each addition. Next, add the lemon juice, lemon zest, and vanilla extract and mix in. Combine flour, desiccated coconut, baking powder, and salt. Add together with the coconut milk to the large bowl and mix until just combined.
3. Transfer the batter to the prepared loaf tin, spread evenly and bake the cake for about 60-65 minutes or until a wooden skewer inserted into the cake comes out clean. Take the cake out of the oven, let it cool down inside the tin for some time, then lift it out with the help of the baking parchment and let cool down completely on a wire rack.
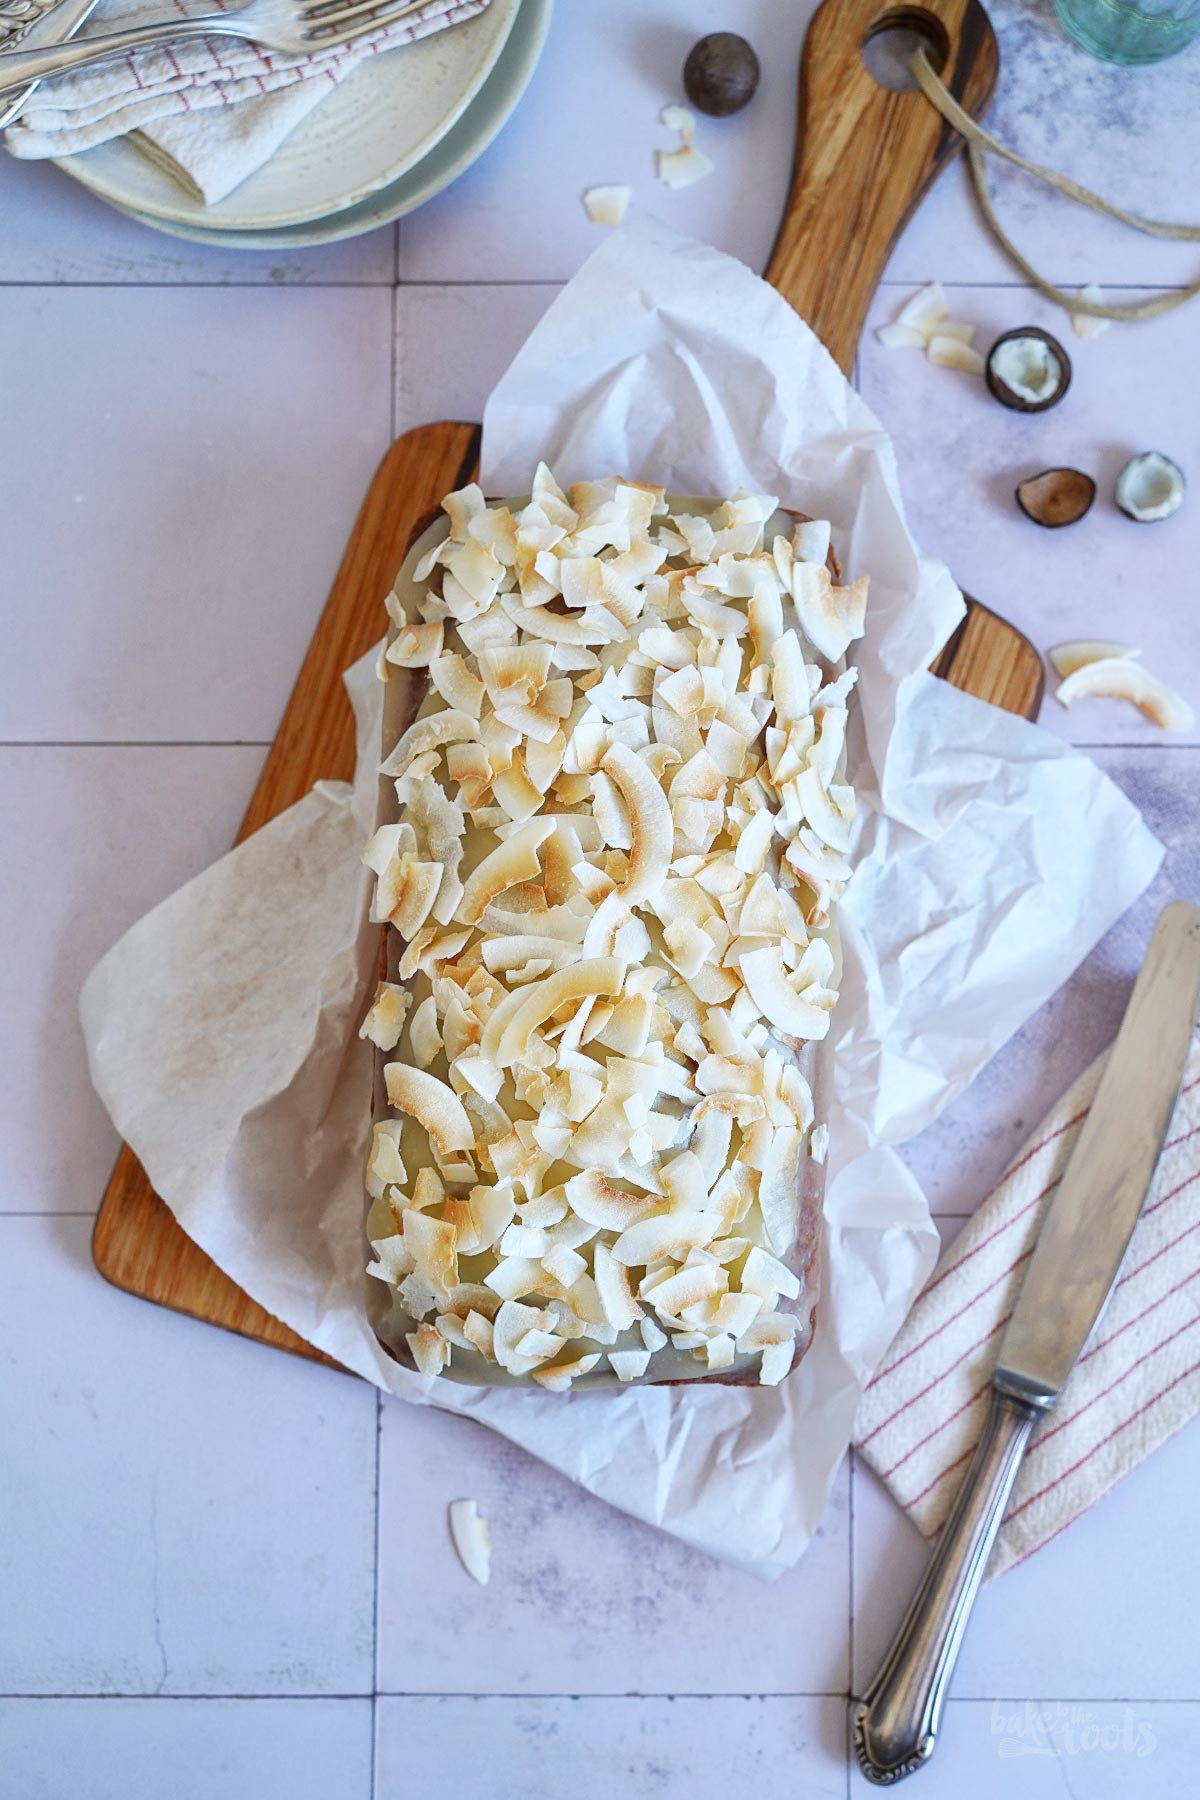
4. For the decoration, melt the butter and mix with confectioners’ sugar, vanilla extract, and coconut milk until well combined. Let the glaze sit for some time until it starts to thicken, then spread it evenly on the cooled cake and sprinkle with the toasted coconut flakes. Allow the glaze to set completely before cutting the cake.
Notes:
+ If you got problems blitzing the coconut into very fine pieces, you can add a bit of the sugar to the desiccated coconut – that normally helps the mixer to get a finer result.
+ Make sure you stir the coconut milk before using it – canned coconut milk normally has a thick layer on top you need to mix with the watery coconut milk underneath first to get the proper consistency.
1. Den Ofen auf 180°C (350°F) Ober-/Unterhitze vorheizen. Eine 23x13cm große Kastenform* mit Backpapier auslegen und leicht einfetten. Zur Seite stellen. Falls die zu verwendenden Kokosraspel größere Stücke haben, kann man sie in einem Mixer etwas feiner zerhacken.
2. Zucker und Sonnenblumenöl in einer großen Schüssel einige Minuten hell und luftig aufschlagen. Die Eier einzeln dazugeben und jeweils gut verrühren. Anschließend Zitronensaft, Zitronenschale und Vanille Extrakt dazugeben und gut unterrühren. Mehl, feine Kokosraspel, Backpulver und Salz vermischen. Zusammen mit der Kokosmilch in die große Schüssel dazugeben und alles nur kurz verrühren.
3. Den Teig in die vorbereitete Kastenform füllen, gleichmäßig verteilen und den Kuchen dann für etwa 60-65 Minuten backen. Mit einem Holzspieß testen, ob noch Teig kleben bleibt, und den Kuchen erst herausholen, wenn dieser sauber herauskommt. Den Kuchen aus dem Ofen nehmen, einige Zeit in der Form abkühlen lassen, dann mithilfe des Backpapiers herausheben und auf einem Kuchengitter vollständig auskühlen lassen.
4. Für die Dekoration die Butter schmelzen und mit Puderzucker, Vanille Extrakt und der Kokosmilch glatt rühren. Die Glasur kurz stehen lassen, damit sie etwas andicken kann, dann gleichmäßig auf dem abgekühlten Kuchen verstreichen und alles mit gerösteten Kokoschips bestreuen. Die Glasur vollständig fest werden lassen, bevor man den Kuchen anschneidet.
Hinweise:
+ Sollte der Mixer die Kokosraspel nicht richtig zerkleinern wollen, kann man ein wenig vom Zucker dazugeben – das sollte helfen, ein etwas feineres Ergebnis zu bekommen.
+ Die Kokosmilch sollte vor der Verwendung gut durchgerührt werden – Kokosmilch aus der Dose neigt dazu, oben eine dicke Schicht fettiger Kokosmilch anzusammeln, die erst einmal mit der dünneren Kokosmilch darunter verrührt werden muss.
Craving more? Keep in touch on Facebook, Instagram and Pinterest for new post updates and more. You can also contact me with any questions or inquiries!
Here is a version of the recipe you can print easily.
Print
Easy Coconut Pound Cake
- Prep Time: 00:20
- Cook Time: 01:00
- Total Time: 03:00
- Yield: 1 1x
- Category: Cakes
- Method: -
- Cuisine: International
- Diet: Vegetarian
Description
If you like coconut, you will love this Easy Coconut Pound Cake. Great texture, great flavors and super easy to prepare! So good!
Ingredients
For the cake batter:
1 cup (200g) sugar
3/4 cup (180ml) sunflower oil*
3 large eggs
1 tbsp. lemon juice
1 organic lemon, zest
2 tsp. vanilla extract*
2 1/2 cups (260g) all-purpose flour
3.2 oz. (90g) desiccated coconut*
3 tsp. baking powder
1/8 tsp. salt
1/2 cup (120ml) coconut milk*
For the decorations:
2 tbsp. butter, melted
1/2 cup (65g) confectioners’ sugar
1/4 tsp. vanilla extract*
1 tbsp. coconut milk*
some toasted coconut flakes*
Instructions
1. Preheat the oven to 180°C (350°F). Line am approx 23x13cm loaf tin* with baking parchment and grease lightly. Set aside. If your desiccated coconut has larger pieces, add it to a mixer and mix until very fine.
2. Add sugar and sunflower oil to a large bowl and mix on high for several minutes until light and fluffy. Add the eggs separately and mix well after each addition. Next, add the lemon juice, lemon zest, and vanilla extract and mix in. Combine flour, desiccated coconut, baking powder, and salt. Add together with the coconut milk to the large bowl and mix until just combined.
3. Transfer the batter to the prepared loaf tin, spread evenly and bake the cake for about 60-65 minutes or until a wooden skewer inserted into the cake comes out clean. Take the cake out of the oven, let it cool down inside the tin for some time, then lift it out with the help of the baking parchment and let cool down completely on a wire rack.
4. For the decoration, melt the butter and mix with confectioners’ sugar, vanilla extract, and coconut milk until well combined. Let the glaze sit for some time until it starts to thicken, then spread it evenly on the cooled cake and sprinkle with the toasted coconut flakes. Allow the glaze to set completely before cutting the cake.
Notes
+ If you got problems blitzing the coconut into very fine pieces, you can add a bit of the sugar to the desiccated coconut – that normally helps the mixer to get a finer result.
+ Make sure you stir the coconut milk before using it – canned coconut milk normally has a thick layer on top you need to mix with the watery coconut milk underneath first to get the proper consistency.
Links marked with an asterisk (*) are affiliate links (advertising/Werbung) to Amazon Germany. If you click on one of those links and buy something via this link, I will get a commission for that sale. The price of whatever you buy is not affected in any way by this.