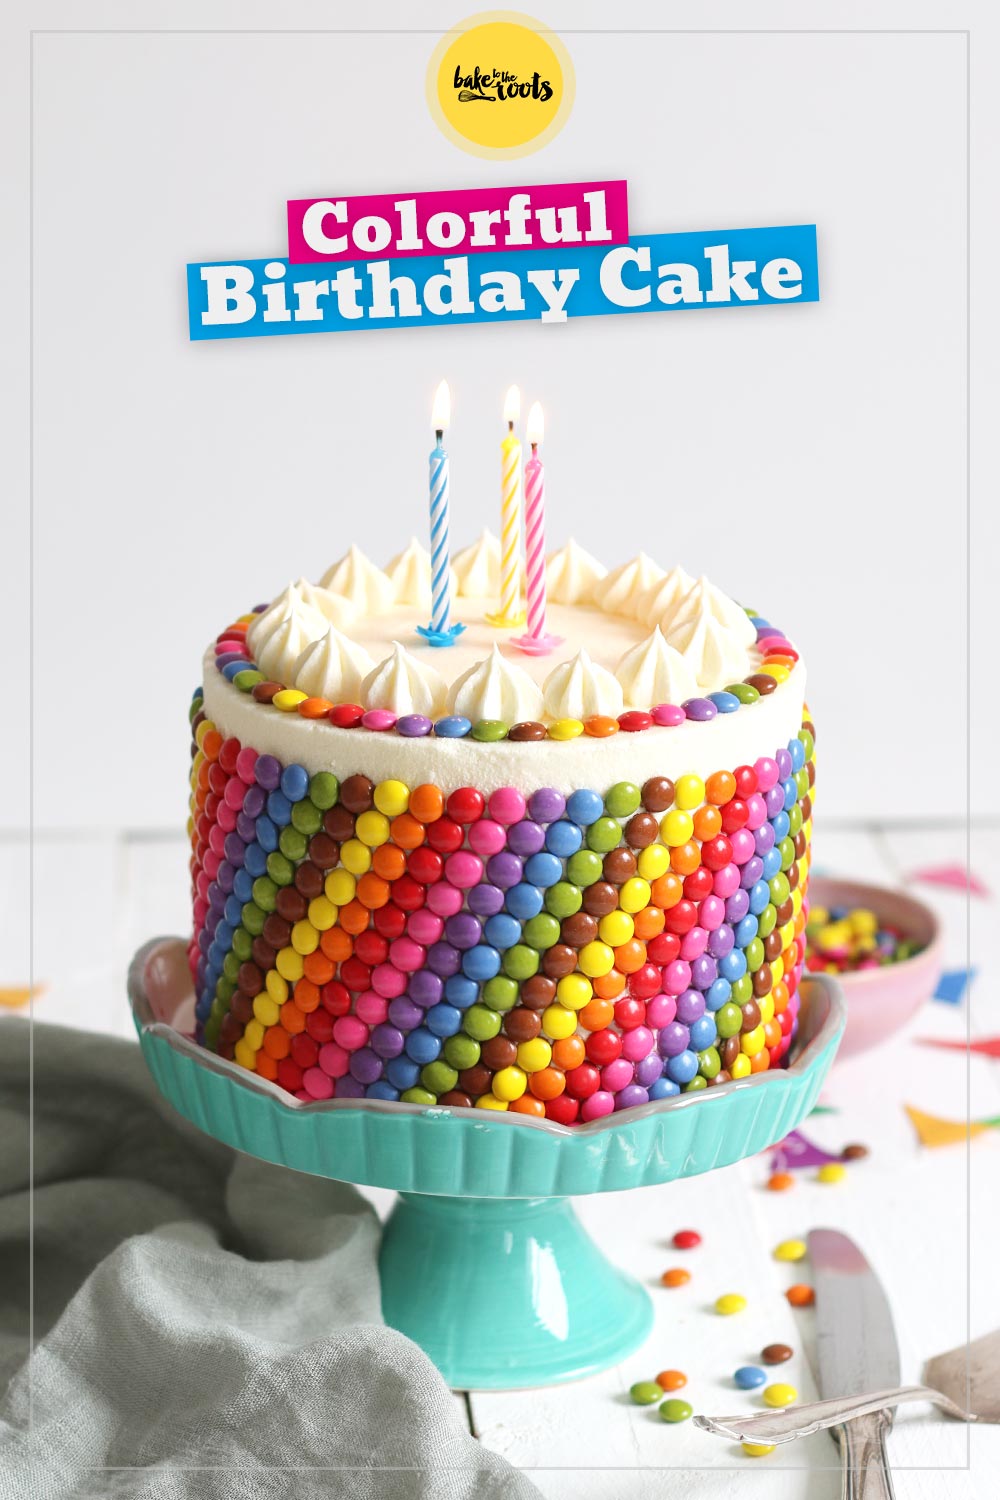
It is time to celebrate! Our little monthly blog event »Bake Together – The Baking Surprise« just turned three years old! Andrea from Zimtkeks & Apfeltarte and I are celebrating this little milestone with birthday/celebration cakes on our blogs – and you can celebrate with us! Well… not physically, but virtually.
It is really crazy. For three years already… that means more than 30 recipes. Each month a new one to surprise us and you. It all started with these two cheesecakes – my Strawberry Ombre Cheesecake with a base made with salted pretzels and Andreas’s Strawberry Cheesecake with an Oreo base. Andrea and I have been friends for a while already and noticed a while ago that we published similar recipes several times at the same time. With this happening, we thought »why not make something out of it?« – and we did. A monthly blog event where we agree on a topic and then bake without knowing what the other one is doing…. and then we surprise each other with the result.
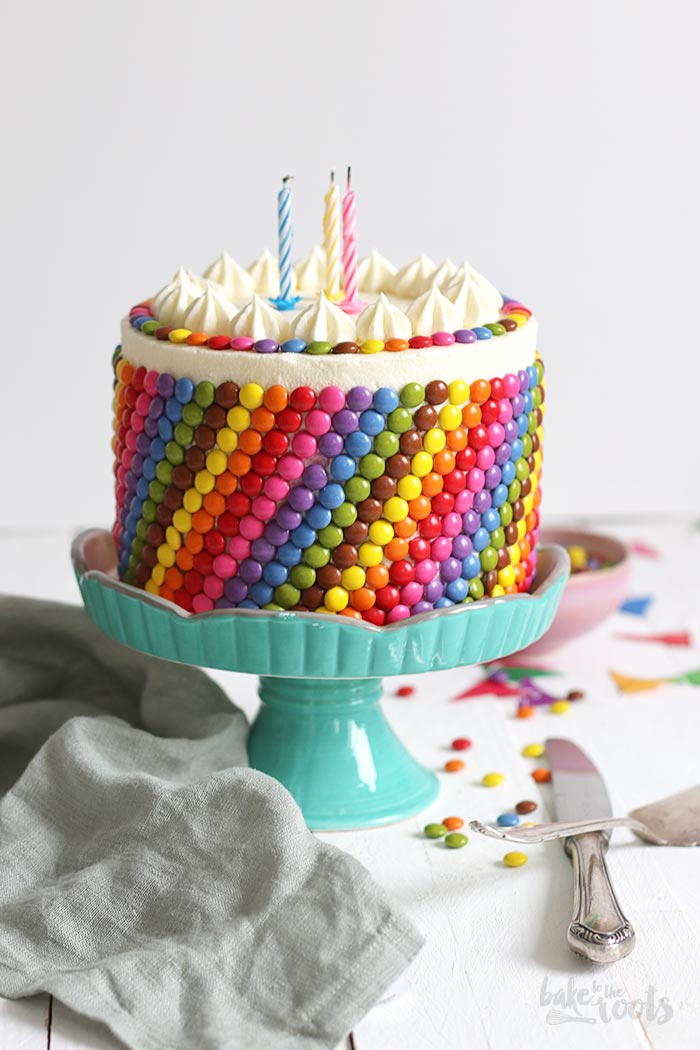
Well… to celebrate this special event we decided to make birthday/celebration cakes. We did not limit ourselves more this time – we were allowed to make any type of cake, it just needed some candles or a cake topper on top to make it festive. So the chances we come close this time are quite small, but that’s ok.
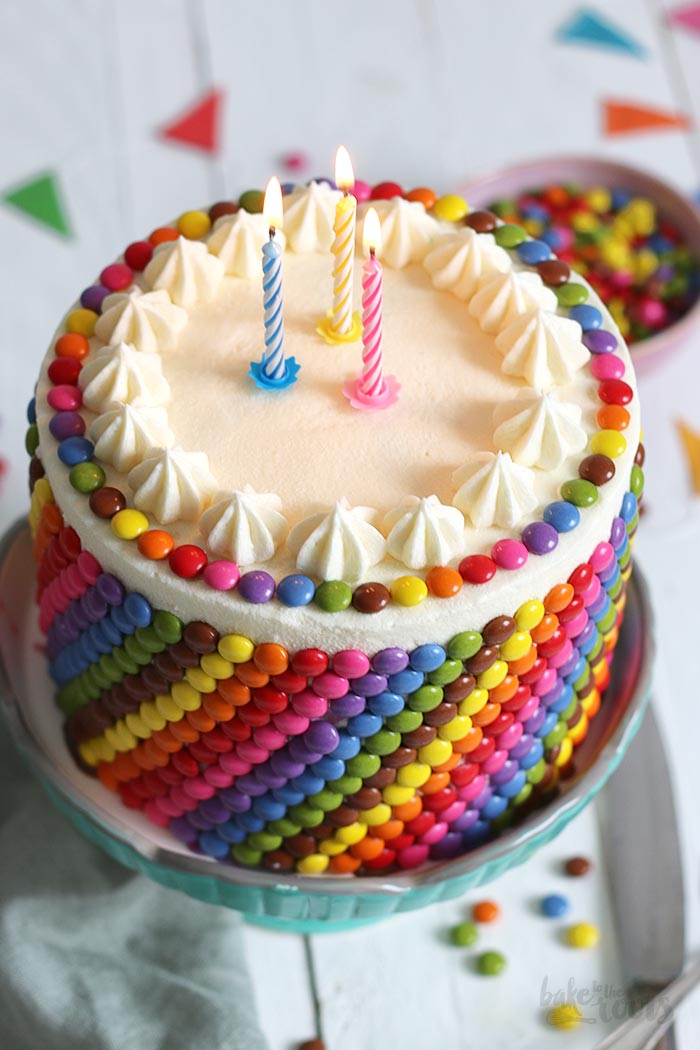
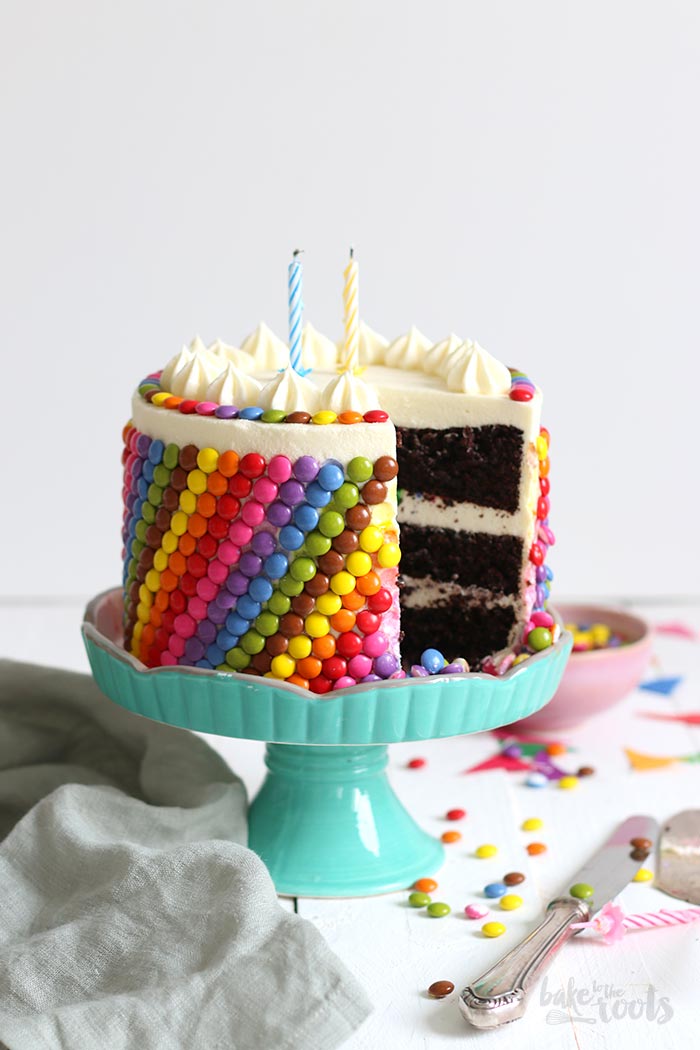
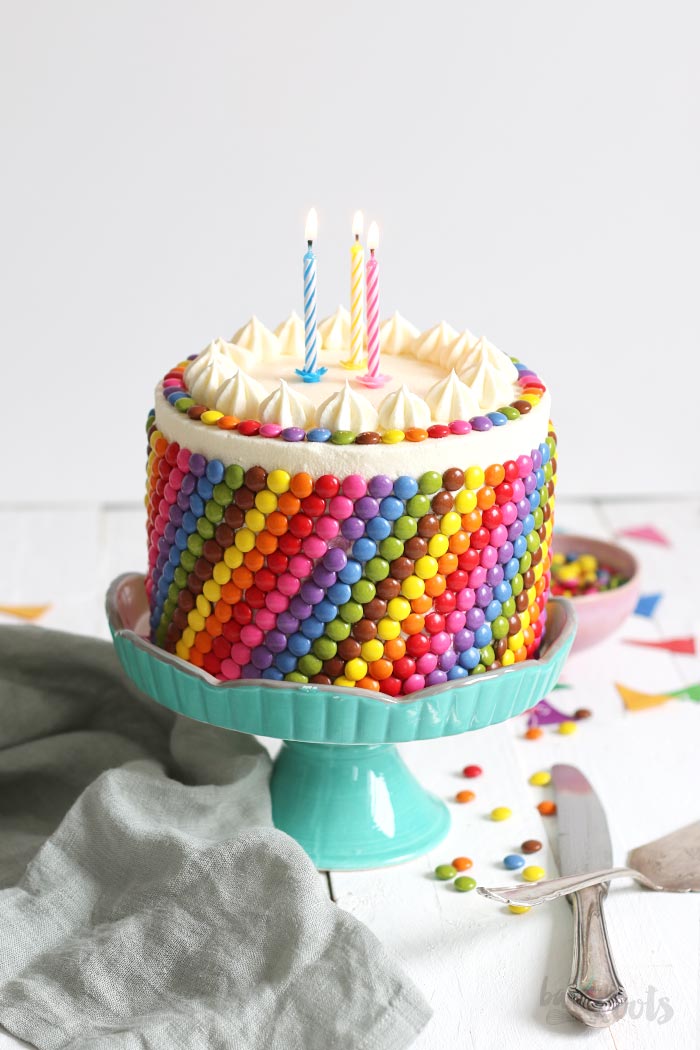
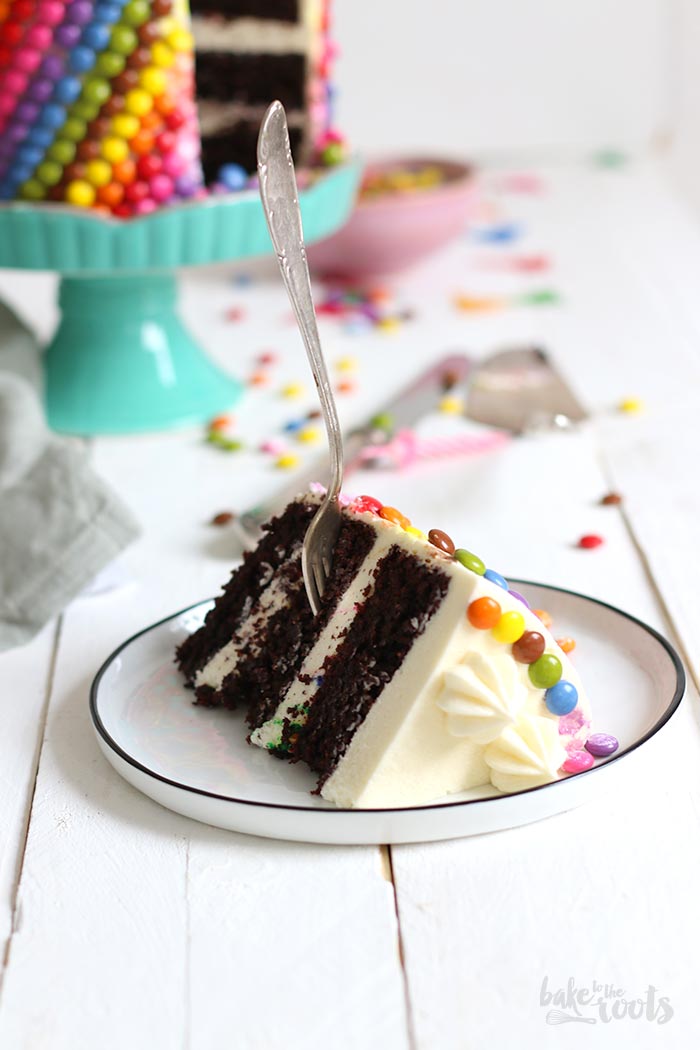
My cake is a layer cake made with gluten-free cake layers – no regular flour involved this time. Lots of almond flour though. Really nice texture and flavor. Not doing that often, but I really liked it! The buttercream is a German buttercream made with vanilla pudding and has much less sugar than a regular buttercream – so this combination is much better for me and my blood sugar levels. Yay!
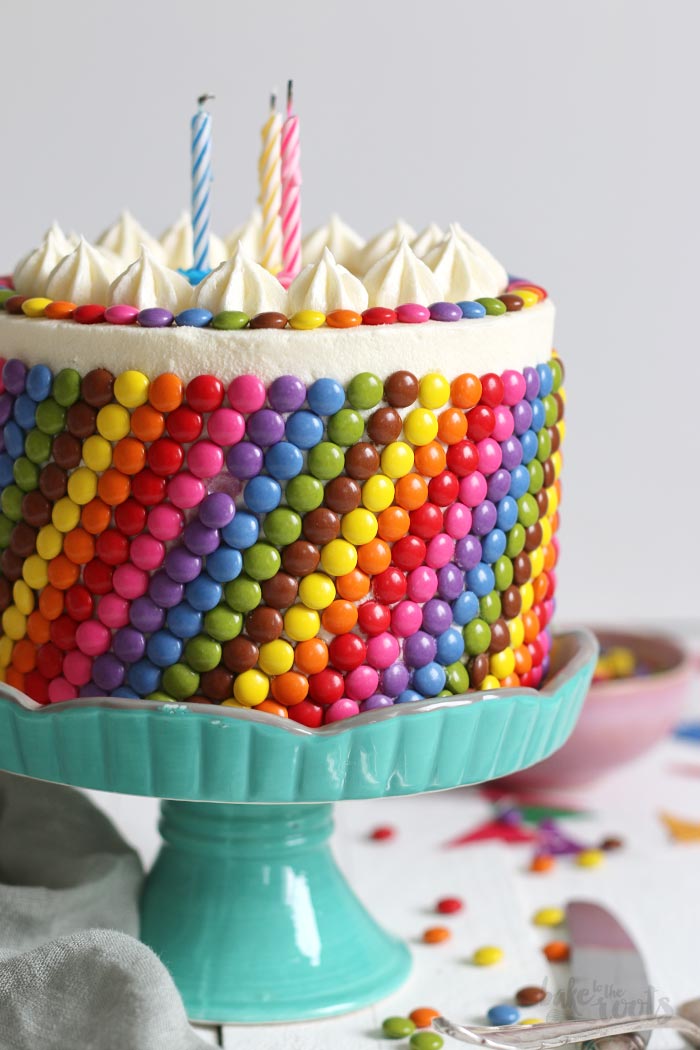
The only thing that is not really diabetes-friendly is the decoration. Loads of chocolate, calories, and sugar. And it actually took quite a while to get those colorful button-shaped chocolates onto the sides of that cake. So, for looks great, but for me scratching it off before eating is quite a waste of time. But hey – I did not make the cake for myself. Everybody else seemed happy about it. BTW – I know there are some of the chocolates coming down in the pictures – I noticed only after I was done taking pictures.
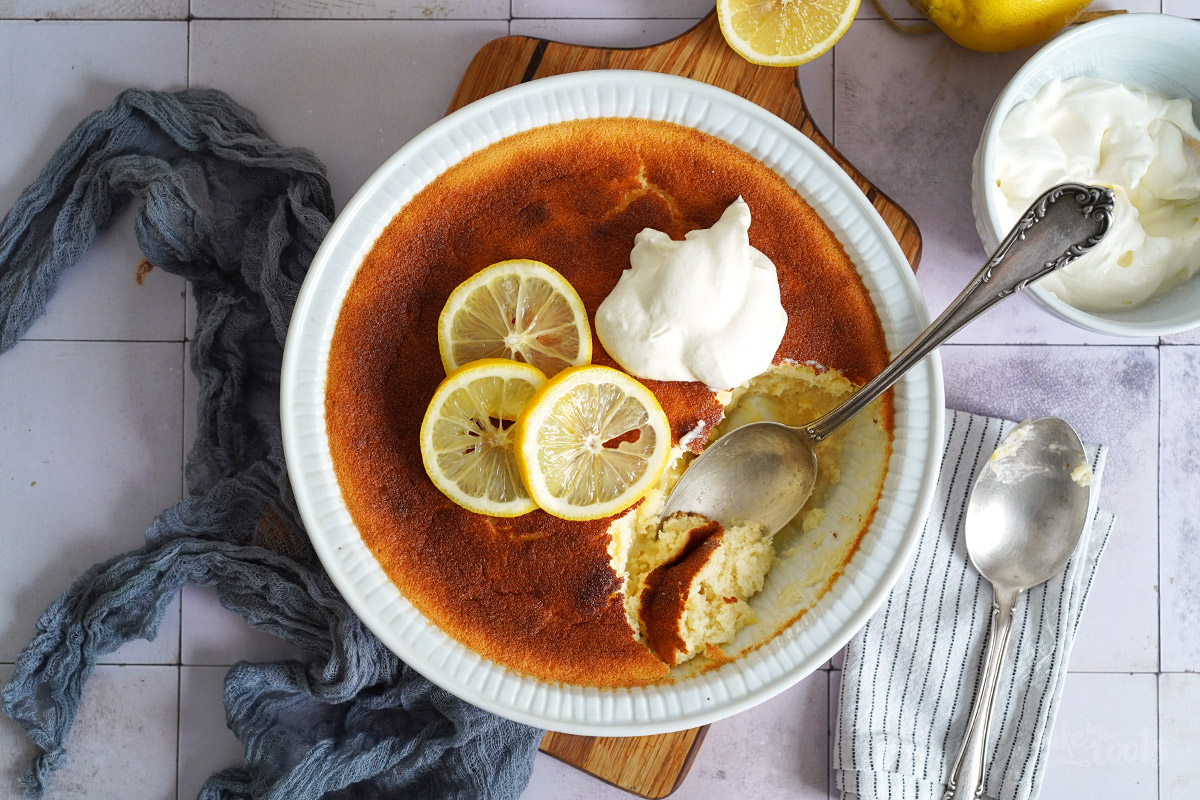
Well… let’s see what Andrea made, shall we?
INGREDIENTS / ZUTATEN
For the buttercream:
1/2 cup (65g) cornstarch*
3 tbsp. sugar (fine)*
25.4 fl. oz. (750ml) milk
1 tbsp. vanilla extract*
11.6 oz. (330g) butter
4 tbsp. confectioners‘ sugar
For the cake layers:
8.5 oz. (240g) almond flour*
1/2 cup (65g) cocoa powder*
1/4 cup (25g) coconut flour*
1 1/2 tsp. baking powder
1 tsp. baking soda
1/2 tsp. salt
4 medium eggs
1 1/4 cup (250g) brown sugar*
1/2 cup (120ml) milk
1/4 cup (60ml) espresso (cold)
1/4 cup (60ml) vegetable oil
1 tsp. vanilla extract*
For the decoration:
rainbow sprinkles
m&m’s or similar
Für die Buttercreme:
65g Speisestärke*
3 EL Zucker (fein)*
750ml Milch
1 EL Vanille Extrakt*
330g weiche Butter
4 EL Puderzucker
Für die Kuchenschichten:
240g Mandelmehl*
65g Kakaopulver*
25g Kokosmehl*
1 1/2 TL Backpulver
1 TL Natron
1/2 TL Salz
4 Eier (M)
250g brauner Zucker*
120ml Milch
60ml kalter Espresso
60ml Pflanzenöl
1 TL Vanille Extrakt*
Für die Dekoration:
Regenbogenzuckerperlen
Schokolinsen (M&M’s)
DIRECTIONS / ZUBEREITUNG
1. Start with the buttercream by making a pudding. Add the cornstarch and sugar to a small bowl and mix with some of the milk until the cornstarch has dissolved completely. Add the rest of the milk and vanilla extract to a small pot and bring to a boil (stir constantly). As soon as the milk starts to bubble, add the cornstarch mixture and mix in until the pudding starts to thicken. Take off the heat, cover with a piece of plastic wrap and let cool down completely. Make sure the plastic sits directly on the surface of the pudding so you don’t get a pudding skin.
2. Preheat the oven to 350°F (180°C). Line three baking tins (15cm)* with baking parchment and grease lightly. Set aside.
3. Add the eggs and brown sugar to a large bowl and mix until light and fluffy. Add the milk, cooled espresso, vegetable oil, and vanilla extract and mix until well combined. Mix the almond flour, cocoa powder, coconut flour, baking powder, baking soda, and salt in a separate bowl until combined. Add to the large bowl and mix until just combined. Divide the batter between the three baking tins and bake for about 25-28 minutes or until a toothpick inserted into the center of the cakes comes out clean. Take out of the oven and let cool down on a wire rack for about 10 minutes, then remove from the tins and let cool down completely.
4. As soon as the pudding has cooled enough and the cakes are cooled, you can finish the buttercream. Add the softened butter and confectioners‘ sugar to a large bowl and mix on high speed until light and fluffy. Add the cooled pudding gradually with a spoon while mixing constantly until you get a nice and smooth buttercream.
5. To assemble the cake, place the first cake layer on a serving plate, add some buttercream on top and spread evenly. Sprinkle with some rainbow sprinkles and place the second cake layer on top. Repeat with buttercream, sprinkles and then top with the third cake layer. Coat the cake with a thin layer of buttercream (crumb coat) and place it in the fridge for about 20 minutes. Coat the cake with more buttercream – keep some for the decoration. Try to get a nice and smooth surface and edge.
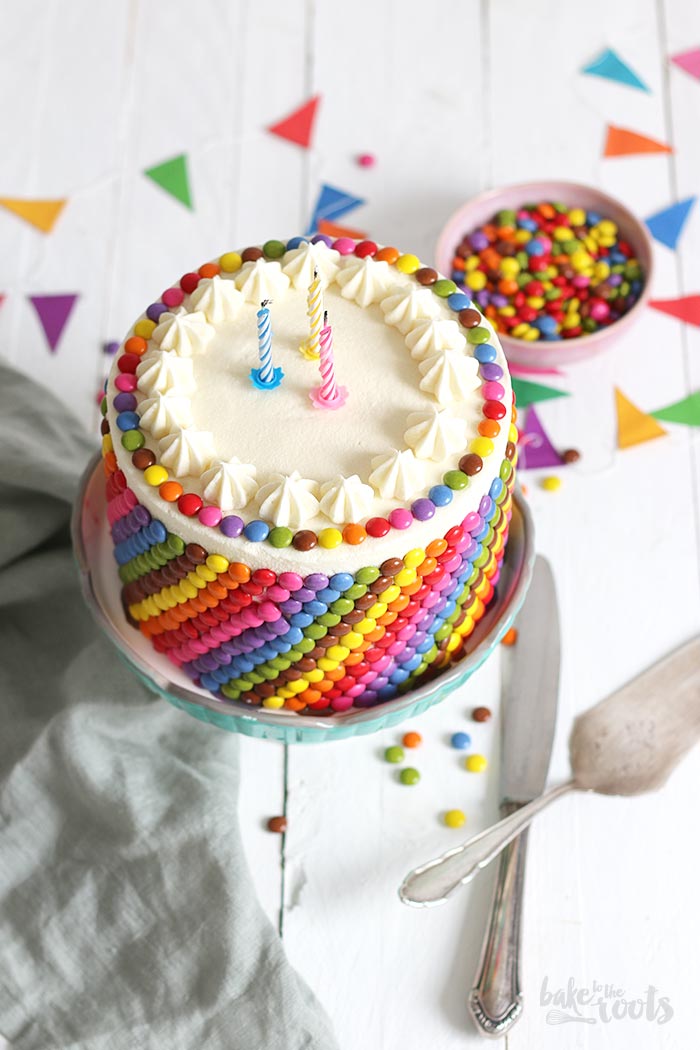
6. Start with the m&m’s on the bottom of the cake and make one full round along the base of the cake. The next line should start a bit shifted to the right to get a diagonal line with each color. Go as high with the m&m’s as you like – it does not have to go all the way to the top. You can make a different pattern – just do what you think looks best. Decorate the top of the cake with the remaining buttercream – sprinkle with more m&m’s or sprinkles (optional). Keep it in the fridge – the decoration tends to fall off if the cake is too warm.
1. Für die Buttercreme als Erstes einen Pudding zubereiten. Dafür die Speisestärke mit dem Zucker in einer kleinen Schüssel vermischen. Von der Milch etwas in die Schüssel geben und so lange verrühren, bis sich die Stärke komplett aufgelöst hat. Die restliche Milch mit dem Vanille Extrakt in einen kleinen Topf geben und unter ständigem Rühren zum Kochen bringen. Die Stärkemischung einrühren und weiter rühren, bis die Mischung andickt. Vom Herd nehmen und mit einem Stück Klarsichtfolie abdecken – die Folie sollte dabei direkt auf dem Pudding aufliegen, damit sich keine Haut bildet. Komplett abkühlen lassen.
2. Den Backofen auf 180°C (350°F) Ober-/Unterhitze vorheizen. Drei Backformen (15cm)* mit Backpapier auslegen und leicht einfetten. Zur Seite stellen.
3. Die Eier und braunen Zucker in eine große Schüssel geben und hell und luftig aufschlagen. Die Milch, abgekühlten Espresso, Pflanzenöl und Vanille Extrakt dazugeben und unterrühren. Das Mandelmehl mit Kakao, Kokosmehl, Backpulver, Natron und Salz vermischen und dann zur Rührschüssel dazugeben und nur kurz unterrühren. Den Teig auf die vorbereiteten Backformen verteilen und dann für etwa 25-28 Minuten backen. Mit einem Zahnstocher testen, ob noch Teig kleben bleibt, und die Kuchen erst herausholen, wenn er sauber herauskommt. Die fertigen Kuchen für etwa 10 Minuten abkühlen lassen, dann aus den Formen lösen und auf einem Kuchengitter komplett abkühlen lassen.
4. Sobald der Pudding und die Kuchen abgekühlt sind, kann man mit der Buttercreme weitermachen. Dazu die weiche Butter und den Puderzucker in eine große Schüssel geben und auf höchster Stufe hell und luftig aufschlagen. Den abgekühlten Pudding löffelweise zur Schüssel dazugeben und jeweils gut unterrühren, bis eine cremige Buttercreme entsteht.
5. Zum Zusammenbau der Torte die erste Kuchenschicht auf eine Tortenplatte setzen und eine gute Portion Buttercreme darauf verteilen. Mit Zuckerperlen bestreuen und dann die zweite Kuchenschicht auflegen. Das ganze mit der zweiten Kuchenschicht, Buttercreme und Streuseln wiederholen und dann mit der letzten Kuchenschicht abschließen. Die Torte dünn mit Buttercreme einstreichen (Crumb Coat) und dann für etwa 20 Minuten in den Kühlschrank stellen. Die Torte dann komplett mit Buttercreme einstreichen (etwas für die Deko zurückhalten) – die Seiten und Kante oben sollten möglichst sauber und glatt sein.
6. Für die Deko mit einer ersten Schicht Schokolinsen am unteren Ende der Torte anfangen – einmal komplett rum in der Farbkombi, die ihr wollt. Die nächste Runde Schokolinsen dann in derselben Farbkombi etwas versetzt immer zwischen die zwei darunterliegenden Schokolinsen setzen – so bekommt ihr einen Farbstreifen, der diagonal nach oben wandert. Das könnt ihr so hoch machen wie ihr wollt, muss aber nicht bis zur Kante gehen. Die Oberseite der Torte könnt ihr noch mit Buttercremetupfen dekorieren und mit mehr Schokolinsen oder Streuseln bedecken. Die Torte sollte dann schnell in die Kühlung. Wenn die Torte zu warm wird, kann es sein, dass sich die Schokolinsen auflösen und dann abfallen.
Craving more? Keep in touch on Facebook, Instagram and Pinterest for new post updates and more. You can also contact me with any questions or inquiries!
Here is a version of the recipe you can print easily.
Print
Colorful Birthday Cake (gluten-free)
- Prep Time: 01:30
- Cook Time: 00:25
- Total Time: 03:00
- Yield: 1 1x
- Category: Layer Cakes
- Method: -
- Cuisine: United States
- Diet: Gluten Free
Description
Delicious and colorful birthday cake. If you want to surprise a loved one – this is the cake to make! Gluten-free happiness…
Ingredients
For the buttercream:
1/2 cup (65g) cornstarch*
3 tbsp. sugar (fine)*
25.4 fl. oz. (750ml) milk
1 tbsp. vanilla extract*
11.6 oz. (330g) butter
4 tbsp. confectioners‘ sugar
For the cake layers:
8.5 oz. (240g) almond flour*
1/2 cup (65g) cocoa powder*
1/4 cup (25g) coconut flour*
1 1/2 tsp. baking powder
1 tsp. baking soda
1/2 tsp. salt
4 medium eggs
1 1/4 cup (250g) brown sugar*
1/2 cup (120ml) milk
1/4 cup (60ml) espresso (cold)
1/4 cup (60ml) vegetable oil
1 tsp. vanilla extract*
For the decoration:
rainbow sprinkles
m&m’s or similar
Instructions
1. Start with the buttercream by making a pudding. Add the cornstarch and sugar to a small bowl and mix with some of the milk until the cornstarch has dissolved completely. Add the rest of the milk and vanilla extract to a small pot and bring to a boil (stir constantly). As soon as the milk starts to bubble, add the cornstarch mixture and mix in until the pudding starts to thicken. Take off the heat, cover with a piece of plastic wrap and let cool down completely. Make sure the plastic sits directly on the surface of the pudding so you don’t get a pudding skin.
2. Preheat the oven to 350°F (180°C). Line three baking tins (15cm)* with baking parchment and grease lightly. Set aside.
3. Add the eggs and brown sugar to a large bowl and mix until light and fluffy. Add the milk, cooled espresso, vegetable oil, and vanilla extract and mix until well combined. Mix the almond flour, cocoa powder, coconut flour, baking powder, baking soda, and salt in a separate bowl until combined. Add to the large bowl and mix until just combined. Divide the batter between the three baking tins and bake for about 25-28 minutes or until a toothpick inserted into the center of the cakes comes out clean. Take out of the oven and let cool down on a wire rack for about 10 minutes, then remove from the tins and let cool down completely.
4. As soon as the pudding has cooled enough and the cakes are cooled, you can finish the buttercream. Add the softened butter and confectioners‘ sugar to a large bowl and mix on high speed until light and fluffy. Add the cooled pudding gradually with a spoon while mixing constantly until you get a nice and smooth buttercream.
5. To assemble the cake, place the first cake layer on a serving plate, add some buttercream on top and spread evenly. Sprinkle with some rainbow sprinkles and place the second cake layer on top. Repeat with buttercream, sprinkles and then top with the third cake layer. Coat the cake with a thin layer of buttercream (crumb coat) and place it in the fridge for about 20 minutes. Coat the cake with more buttercream – keep some for the decoration. Try to get a nice and smooth surface and edge.
6. Start with the m&m’s on the bottom of the cake and make one full round along the base of the cake. The next line should start a bit shifted to the right to get a diagonal line with each color. Go as high with the m&m’s as you like – it does not have to go all the way to the top. You can make a different pattern – just do what you think looks best. Decorate the top of the cake with the remaining buttercream – sprinkle with more m&m’s or sprinkles (optional). Keep it in the fridge – the decoration tends to fall off if the cake is too warm.
Notes
Enjoy baking!
Links marked with an asterisk (*) are affiliate links (advertising/Werbung) to Amazon Germany. If you click on one of those links and buy something via this link, I will get a commission for that sale. The price of whatever you buy is not affected in any way by this.