Are you ready for some chocolate? I bet you are! I hardly know anybody that does not like chocolate. It’s the best! I mean you should not eat toooo much at once, but if you eat a little here and there it’s absolutely fine! This Cherry Chocolate Mousse Cake is made with loads of cherries so it’s actually a healthy fruit cake, right? :P
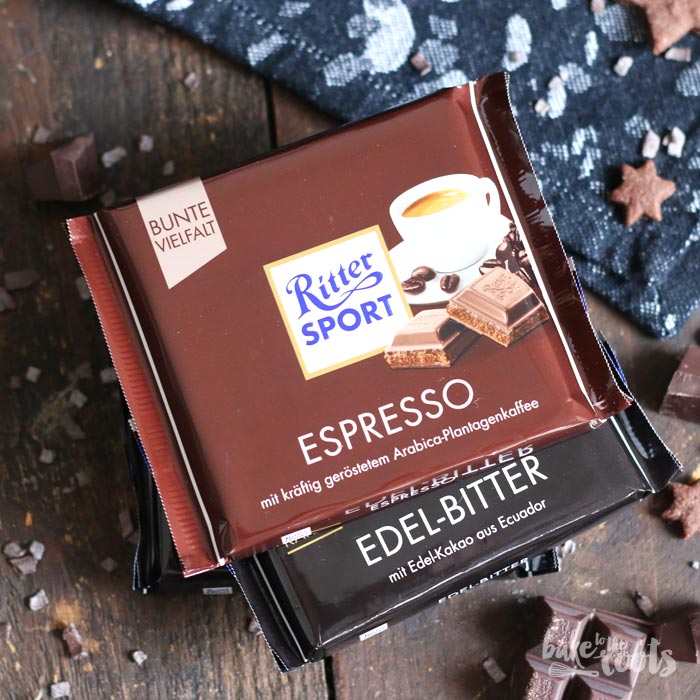
Couple weeks ago I asked my readers to participate in a little recipe contest – organized by me and Andrea from Zimtkeks & Apfeltarte in collaboration with Ritter Sport* Chocolate. The task was to create a recipe that was made with one some chocolate of the variety Ritter Sport offers. Within the two weeks time everybody had to create a recipe, we received many nice entries. Lots of chocolate was involved. Exactly how we wanted it to be :P It was really hard for me and Andrea to decide which recipes should win… but we made our decision, so bring back my gurrrls… oh no, that was another show :P
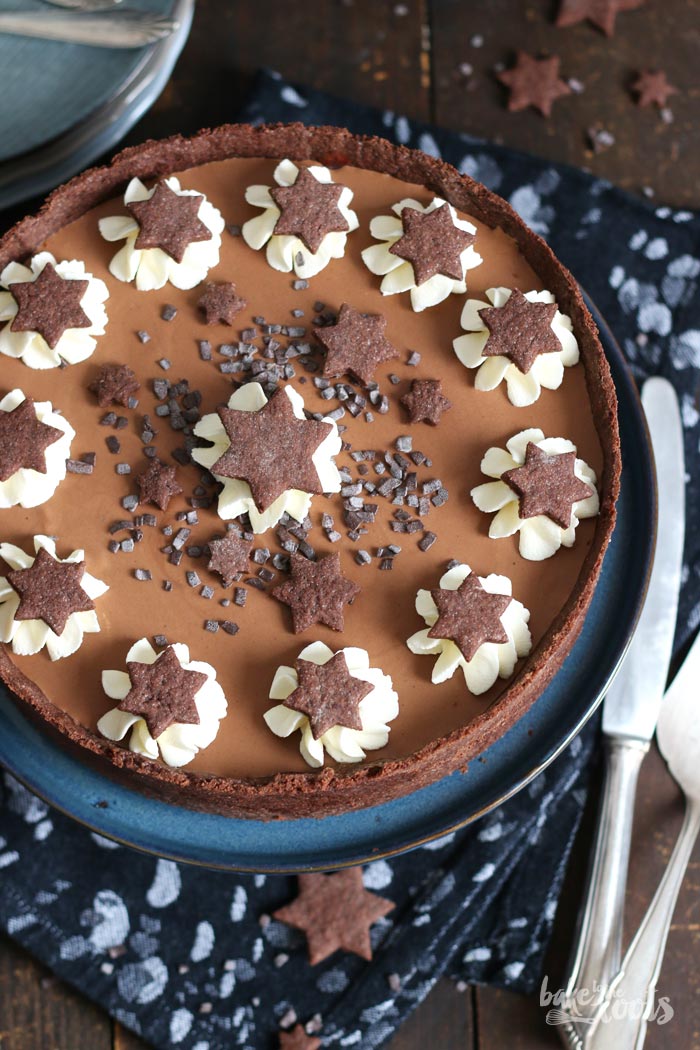
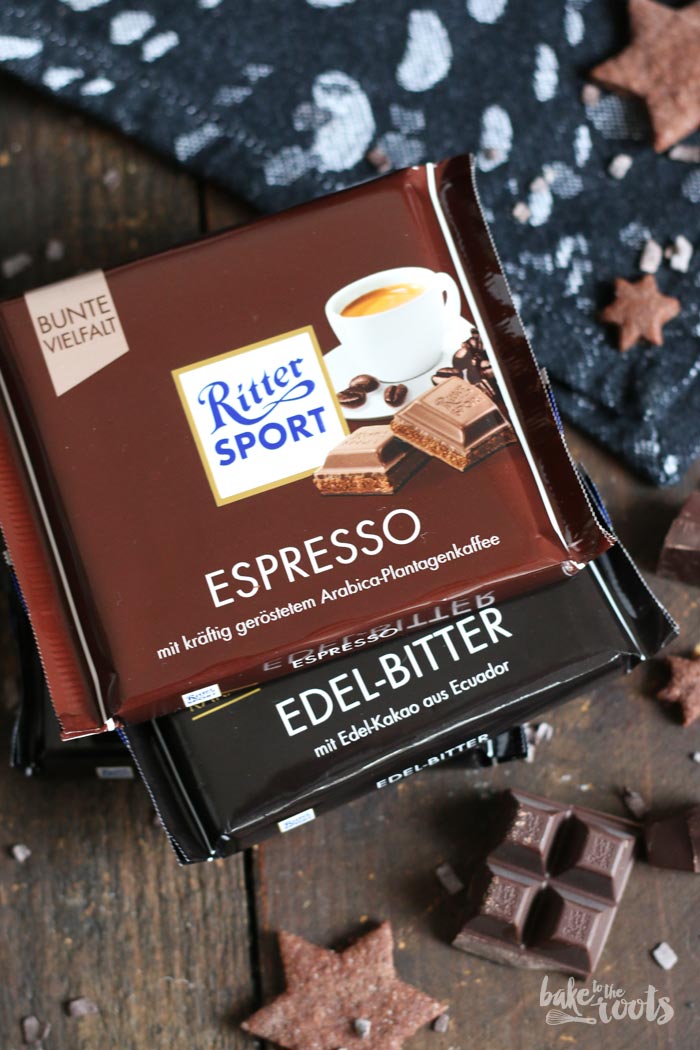
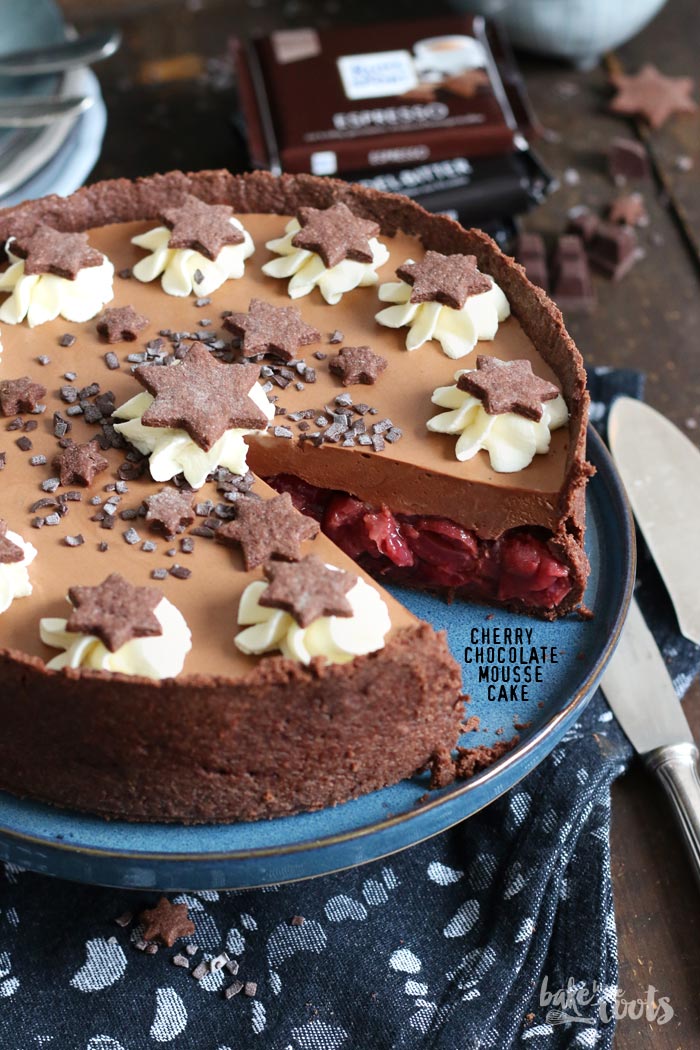
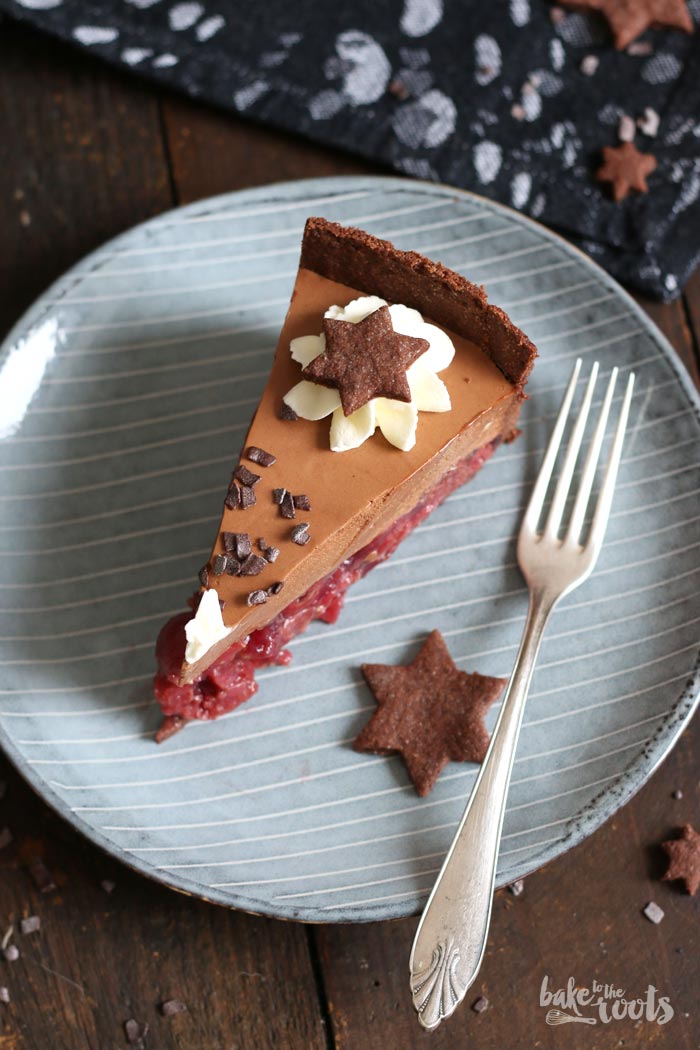
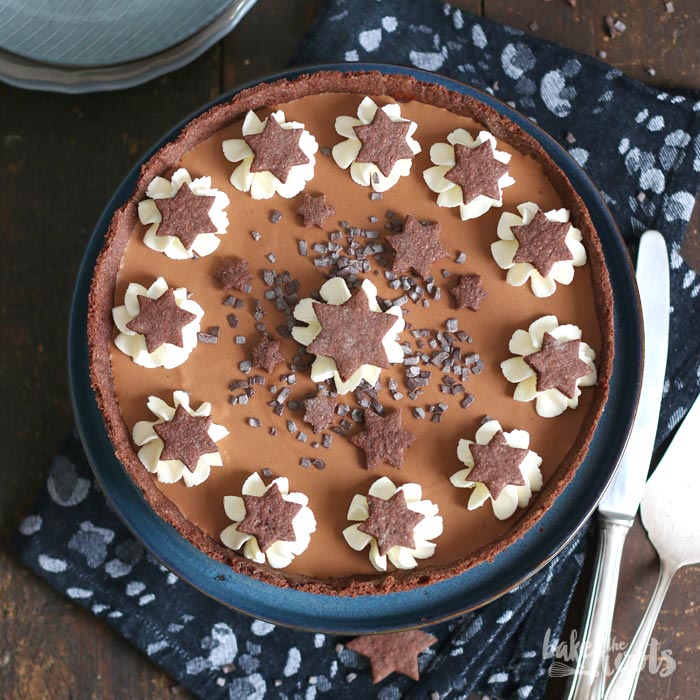
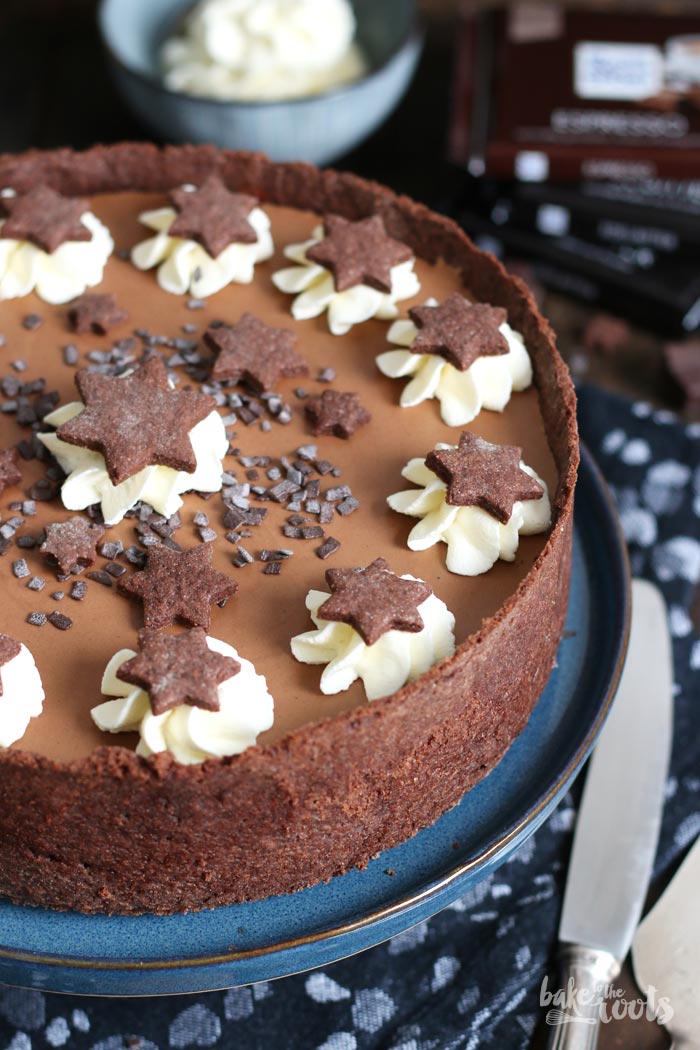
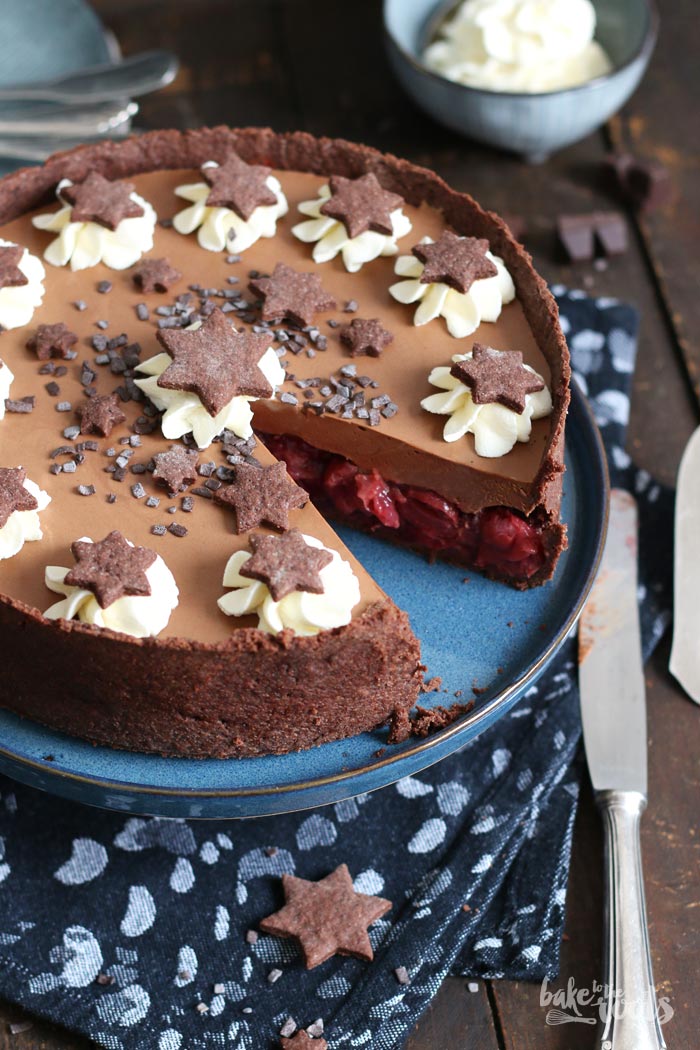
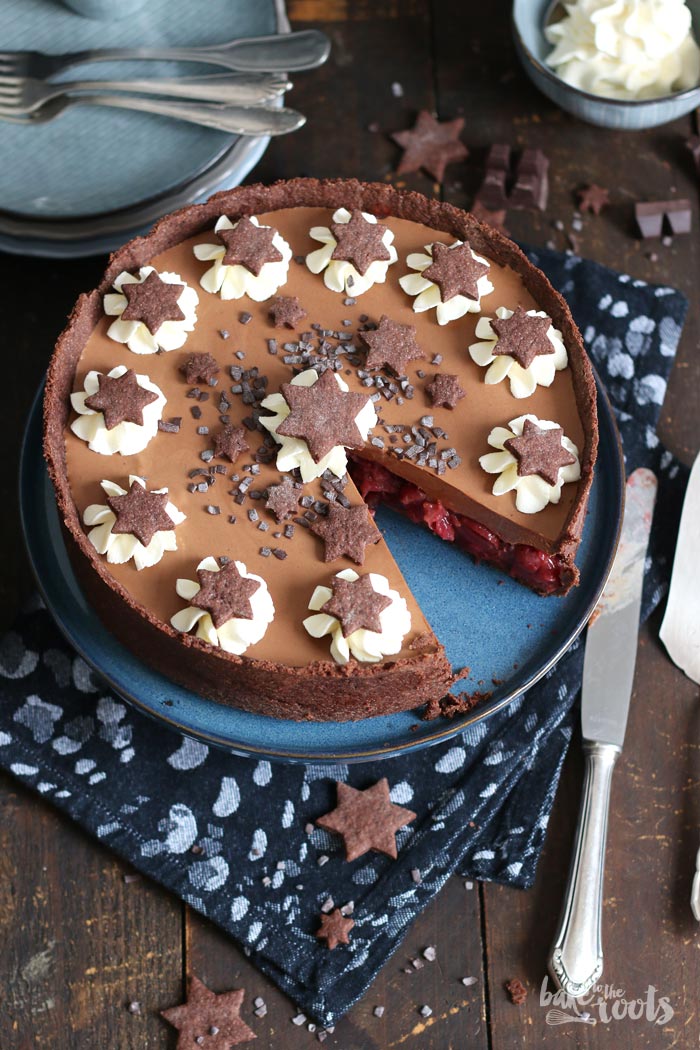
Well – one of the winning recipes you can see here now. A super delicious Cherry Chocolate Mousse Cake! Created by Jenny from jennyisbaking.com , baked and photographed by me. Only because Jenny was not here to do it :P The cake is really delicious, all of my colleagues that were able to snatch a piece instantly loved it! The two Ritter Sport Chocolate types that have been used here were the semi-sweet chocolate and one with espresso filling. Soo good in combination with the cherries!
The recipe for the cake might look a big longer than the recipes you can find here usually, but it is really not too complicated. It’s easy to prepare, even for people that do not bake too often. You will see ;)
INGREDIENTS / ZUTATEN
2 cups (260g) all-purpose flour
1/4 cup (30g) cocoa powder
1/2 cup (100g) sugar
2/3 cup (150g) butter
1 medium egg
For the cherry filling:
2 glasses/cans pitted sour cherries (about 25 oz. net weight)
1 1/4 cups (300ml) cherry juice (or the water from the glasses/cans)
3 tbsp. cornstarch
2 tbsp. sugar
juice of 1/2 organic lemon
For the chocolate mousse topping:
3.5 oz. (100g) Ritter Sport semi-sweet chocolate
1.7 oz. (50g) Ritter Sport espresso chocolate
1/3 cup (80ml) milk
3 gelatin leaves
1 medium egg, divided
1/4 cup (50g) sugar (plus 1 tbsp.)
7 oz. (200g) heavy cream
For the decoration:
whipped cream, confectioners’ sugar or chocolate sprinkles
260g Mehl (Type 405)
30g Kakao
100g Zucker
150g Butter
1 Ei (M)
Für die Kirschfüllung:
2 Gläser Sauerkirschen (ca. 700g Abtropfgewicht)
300ml Kirschsaft (oder das Zuckerwasser aus den Gläsern)
3 EL Speisestärke
2 EL Zucker
Saft einer 1/2 Bio-Zitrone
Für das Schokomousse-Topping:
100g Rittersport Edel-Bitter
50g Rittersport Espresso
75ml Milch
3 Blätter Gelatine
1 Ei (M), getrennt
50g Zucker (plus 1 EL)
200ml Sahne
Für die Dekoration:
Schlagsahne, Puderzucker oder Schokostreusel
DIRECTIONS / ZUBEREITUNG
2. While the dough is resting, prepare the cherry filling. Drain the cherries (keep the liquid if you want to use it for the cake). Add 1 1/4 cups of cherry juice (or the liquid from the glasses/cans) together with the lemon juice to a large pot. Take about 2-3 tablespoons of that juice/liquid and mix in a small bowl with the cornstarch and sugar until smooth. Bring the cherry juice in the pot to a boil and then mix in the cornstarch mixture until you get a nice thick pudding. Add the drained cherries and mix. Set aside to cool down completely.
3. Preheat the oven to 350°F (180°C). Line a 9 inches (23cm) springform tin, grease lightly and set aside. Take the dough out of the fridge, cut off about 1/4 and keep for later. Roll out the rest of the dough on a floured surface larger than the springform. Transfer to the tin and press to the bottom and sides. The dough should slightly overlap the edge, so it won’t shrink too much when baked. Prick the bottom with a fork, place a piece of baking parchment in the tin and fill with baking beans. Blind bake for 18 minutes, remove the paper and baking beans and bake another 3 minutes. Take out of the oven and carefully cut off the overlapping dough with a sharp knife. Let cool down completely. Roll out the dough you kept and make some decorations, e.g. leaves or stars depending on the season. Place on a baking sheet with baking parchment and bake for 6-8 minutes depending on the thickness of the dough. Take out of the oven and let cool down.
4. Chop the chocolate coarsely and melt together with the milk in a bowl over a pot with simmering water (or microwave), mix until well combined. Set aside and let cool down a bit.
5. Let the gelatin leaves soak in cold water for about 5-8 minutes. Divide the egg and whisk the egg yolk with 1/4 cup of the sugar in a bowl over a pot with simmering water until light and fluffy. Add the melted chocolate and mix well. Drain the gelatine leaves and mix with the still warm chocolate mixture until dissolved completely. Set aside to let cool down a bit.
6. Whisk the egg white until foamy, gradually add the tablespoon of sugar and whisk until stiff peaks form. Whisk the heavy cream as well until stiff peaks form. Fold both into the cooled chocolate mixture, try to keep as much volume as possible.
7. Spread the cherry filling on top of the cooled cake base to get one even layer. Add the chocolate mousse on top and smooth out if needed. Place in the fridge and let cool for at least 4 hours (or overnight). Decorate with some whipped cream or confectioners’ sugar and the baked decorations before serving.
2. Während der Teig ruht, die Kirschfüllung zubereiten und dazu die Kirschen in ein Sieb schütten und abtropfen lassen – wer das Zuckerwasser verwenden möchte – auffangen und 300ml abmessen. Kirschsaft (oder das Kirsch-Zuckerwasser) und Zitronensaft in einen großen Topf geben. Etwa 2-3 EL davon mit der Stärke und dem Zucker in einer kleinen Schüssel verrühren und den Rest zum Kochen bringen. Die glattgerührte Stärkemischung zugeben und unterühren, bis die Masse andickt, dann die abgetropften Kirschen dazugeben und unterühren. Vom Herd nehmen und komplett abkühlen lassen.
3. Den Ofen auf 180°C (350°F) vorheizen. Eine 23cm (9 inches) Springform mit Backpapier auslegen und leicht einfetten. Zur Seite stellen. Vom Teig etwa 1/4 abschneiden und zur Seite legen. Den Rest auf einer bemehlten Fläche einiges größer als die Form ausrollen. Sollte der Teig einreißen, einfach wieder zusammendrücken. Den Teig in die Form legen und am Boden und den Seiten festdrücken und mehrmals mit einer Gabel einstechen – der Teig sollte die Form etwas überlappen, damit er sich beim Blindbacken nicht zu sehr zusammenzieht. Ein Stück Backpapier auf den Teig legen, mit Backbohnen oder Reis auffüllen und für ca. 18 Minuten blindbacken. Die Backbohnen und das Papier entfernen und weitere 3 Minuten backen. Den Kuchen aus dem Ofen nehmen und mit einem scharfen Messer vorsichtig den überstehenden Teig abschneiden. Komplett abkühlen lassen. Den Restlichen Teig ausrollen und nach Belieben Deko-Elemente formen oder ausstechen, z.B. Sterne oder Blätter je nach Jahreszeit. Auf ein mit Backpapier ausgelegtes Blech legen und direkt nach dem Kuchenboden für 6-8 Minuten (hängt von der Teigdicke ab) backen. Die Deko-Elemente aus dem Ofen nehmen und auf einem Kuchengitter auskühlen lassen und dann bis zur weiteren Verwendung in eine luftdichten Behälter lagern.
4. Die Schokolade grob hacken und zusammen mit der Milch in einer Schüssel über einem Topf mich köchelndem Wasser oder in der Mikrowelle langsam schmelzen und dann glattrühren. Zur Seite stellen und leicht abkühlen lassen.
5. Die Gelatine in kaltem Wasser für 5-8 Minuten einweichen lassen. Das Ei trennen und das Eigelb mit 50g Zucker in einer Schüssel über einem Topf mit köchelndem Wasser schaumig aufschlagen. Die geschmolzene Schokolade dazugeben und verrühren. Die Gelatine ausdrücken und unter die warme Masse ziehen. Zur Seite stellen und etwas abkühlen lassen.
6. Das Eiweiß aufschlagen, dann den Esslöffel Zucker einrieseln lassen und steif schlagen. Die Sahne ebenfalls steif schlagen. Beides nacheinander vorsichtig unter die abgekühlte Schokoladenmasse ziehen.
7. Die Kirschfüllung auf dem abgekühlten Kuchenboden verteilen und glattstreichen. Das Schokomousse daraufgeben und glattstreichen. Den Kuchen jetzt für mindestens 4 Stunden (oder über Nacht) in den Kühlschrank stellen. Vor dem Servieren mit etwas Schlagsahne oder Puderzucker und den gebackenen Dekoelementen verzieren.
Craving more? Keep in touch on Facebook, Twitter, Instagram and Pinterest for new post updates and more. You can also contact me with any questions or inquiries!
Here is a version of the recipe you can print easily.
Print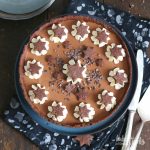
Cherry Chocolate Mousse Cake
- Prep Time: 45
- Cook Time: 30
- Total Time: 360
Description
Delicious mousse cake with a thick layer of cherries. Perfect combination and a showstopper on your next sweet table!
Ingredients
For the base
- 2 cups (260g) all-purpose flour
- 1/4 cup (30g) cocoa powder
- 1/2 cup (100g) sugar
- 2/3 cup (150g) butter
- 1 medium egg
For the cherry filling
- 2 glasses/cans pitted sour cherries (about 25 oz. net weight)
- 1 1/4 cups (300ml) cherry juice (or the water from the glasses/cans)
- 3 tbsp. cornstarch
- 2 tbsp. sugar
- juice of 1/2 organic lemon
For the chocolate mousse topping
- 3.5 oz. (100g) Ritter Sport semi-sweet chocolate
- 1.7 oz. (50g) Ritter Sport espresso chocolate
- 1/3 cup (80ml) milk
- 3 gelatin leaves
- 1 medium egg, divided
- 1/4 cup (50g) sugar (plus 1 tbsp.)
- 7 oz. (200g) heavy cream
For the decoration
- whipped cream, confectioners’ sugar or chocolate sprinkles
Instructions
- Mix the flour with cocoa, and sugar in a large bowl. Add the cold butter in small pieces and cut into pea-sized pieces with a pastry blender or knife. Add the egg and mix everything until the dough starts coming together. Form a ball, flatten a bit and wrap in plastic wrap. Place in the fridge for about 45 minutes.
- While the dough is resting, prepare the cherry filling. Drain the cherries (keep the liquid if you want to use it for the cake). Add 1 1/4 cups of cherry juice (or the liquid from the glasses/cans) together with the lemon juice to a large pot. Take about 2-3 tablespoons of that juice/liquid and mix in a small bowl with the cornstarch and sugar until smooth. Bring the cherry juice in the pot to a boil and then mix in the cornstarch mixture until you get a nice thick pudding. Add the drained cherries and mix. Set aside to cool down completely.
- Preheat the oven to 350°F (180°C). Line a 9 inches (23cm) springform tin, grease lightly and set aside. Take the dough out of the fridge, cut off about 1/4 and keep for later. Roll out the rest of the dough on a floured surface larger than the springform. Transfer to the tin and press to the bottom and sides. The dough should slightly overlap the edge, so it won’t shrink too much when baked. Prick the bottom with a fork, place a piece of baking parchment in the tin and fill with baking beans. Blind bake for 18 minutes, remove the paper and baking beans and bake another 3 minutes. Take out of the oven and carefully cut off the overlapping dough with a sharp knife. Let cool down completely. Roll out the dough you kept and make some decorations, e.g. leaves or stars depending on the season. Place on a baking sheet with baking parchment and bake for 6-8 minutes depending on the thickness of the dough. Take out of the oven and let cool down.
- Chop the chocolate coarsely and melt together with the milk in a bowl over a pot with simmering water (or microwave), mix until well combined. Set aside and let cool down a bit.
- Let the gelatin leaves soak in cold water for about 5-8 minutes. Divide the egg and whisk the egg yolk with 1/4 cup of the sugar in a bowl over a pot with simmering water until light and fluffy. Add the melted chocolate and mix well. Drain the gelatine leaves and mix with the still warm chocolate mixture until dissolved completely. Set aside to let cool down a bit.
- Whisk the egg white until foamy, gradually add the tablespoon of sugar and whisk until stiff peaks form. Whisk the heavy cream as well until stiff peaks form. Fold both into the cooled chocolate mixture, try to keep as much volume as possible.
- Spread the cherry filling on top of the cooled cake base to get one even layer. Add the chocolate mousse on top and smooth out if needed. Place in the fridge and let cool for at least 4 hours (or overnight). Decorate with some whipped cream or confectioners’ sugar and the baked decorations before serving.
Notes
- Enjoy baking!
Nutrition
- Serving Size: 12
*I have partnered with Ritter Sport to bring you this delicious cake. That is why I have to declare this here in Germany as Advertising. All I wrote in this article is still based on my own opinion and has not been affected by anybody :)
![]()