A famous Swiss TV ad makes it very clear – be very careful when claiming that you invented something. If it’s a Swiss invention, you might get into trouble when saying it was your idea. ;P So in all transparency and honesty – I did not invent these Swiss Nut Cookies aka. Schweizer Nusstaler. Nope. Wasn’t me. I just made them, because they are so delicious! I adapted the recipe slightly, but I did not invent them. I don’t want anyone from Switzerland jumping at me from behind screaming »Wer hat’s erfunden?!« ;P
Just kidding. If you have no clue what I was referring to – there were (or still are) TV ads from a Swiss company producing candy. Their famous line was always »Wer hat’s erfunden?!« meaning »who invented it?«. Reading this now, it’s probably only funny, if you have seen those ads… well, then let’s forget about that quickly. ;P
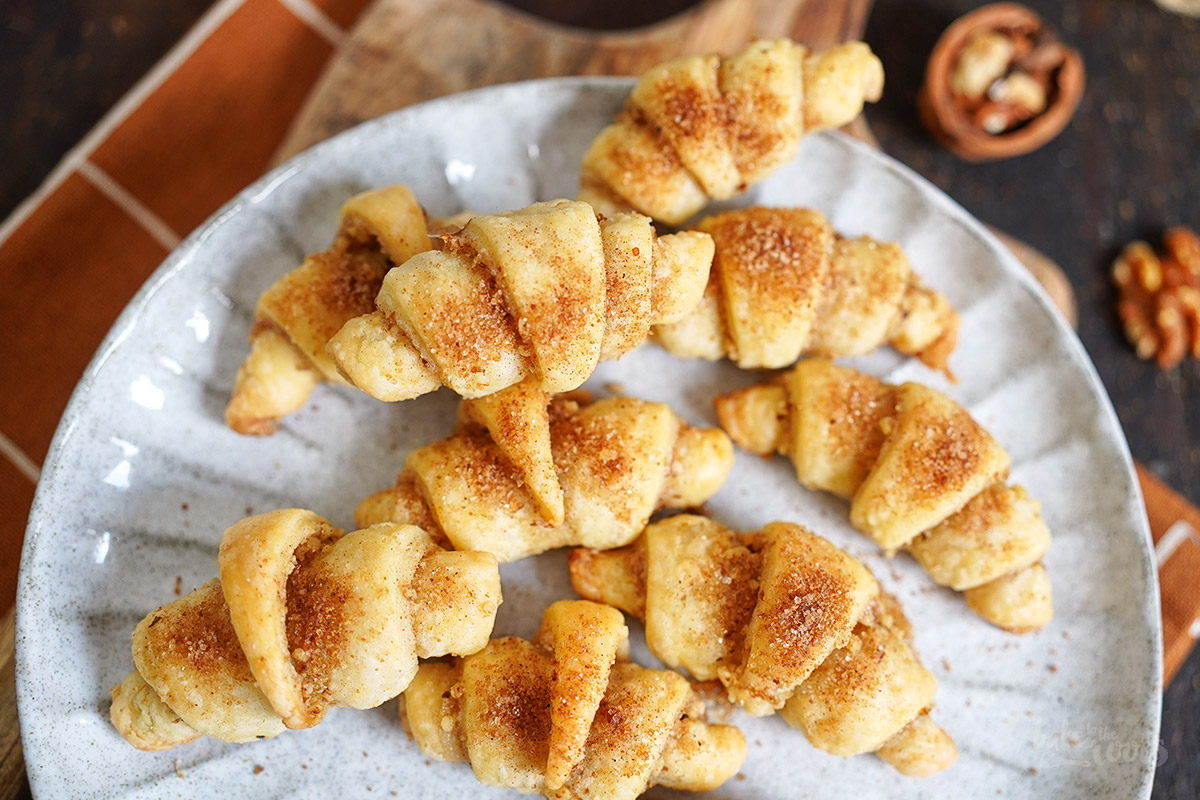
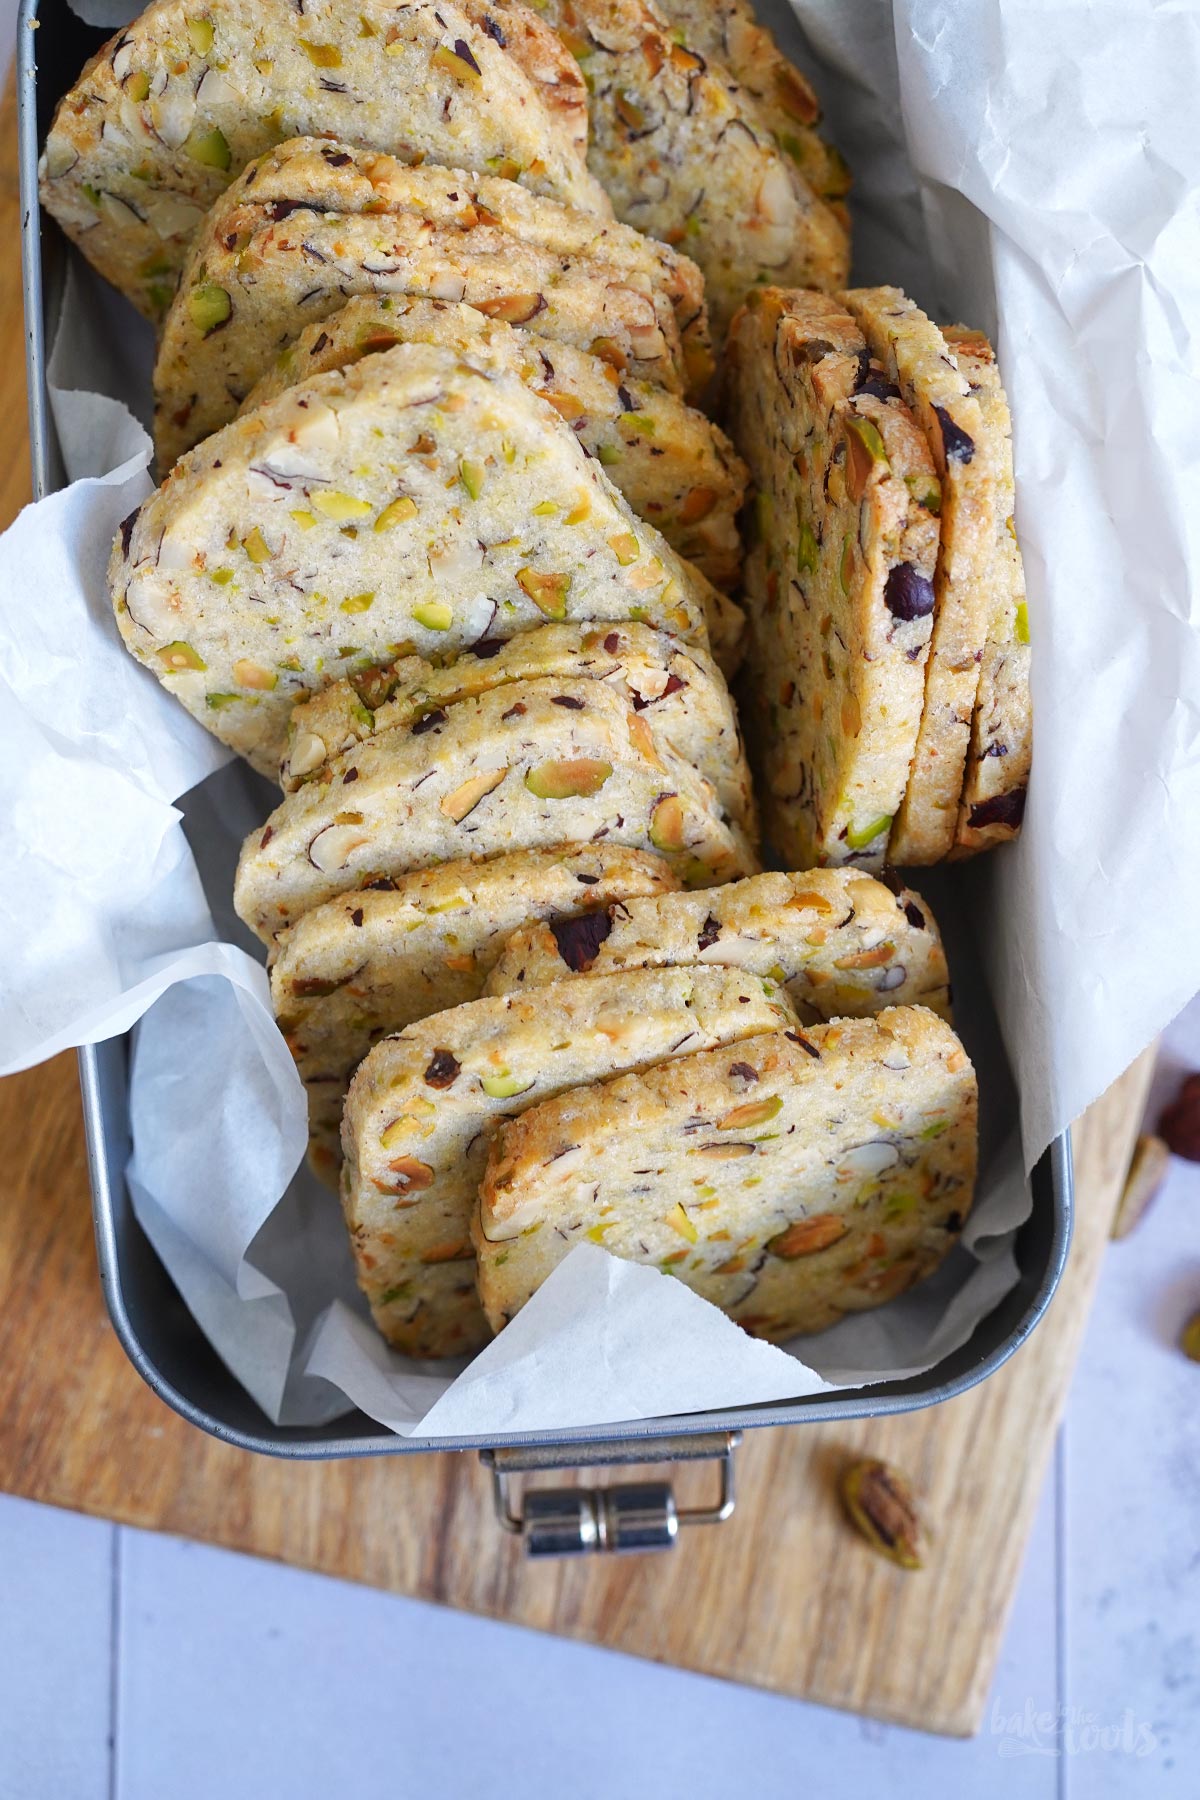
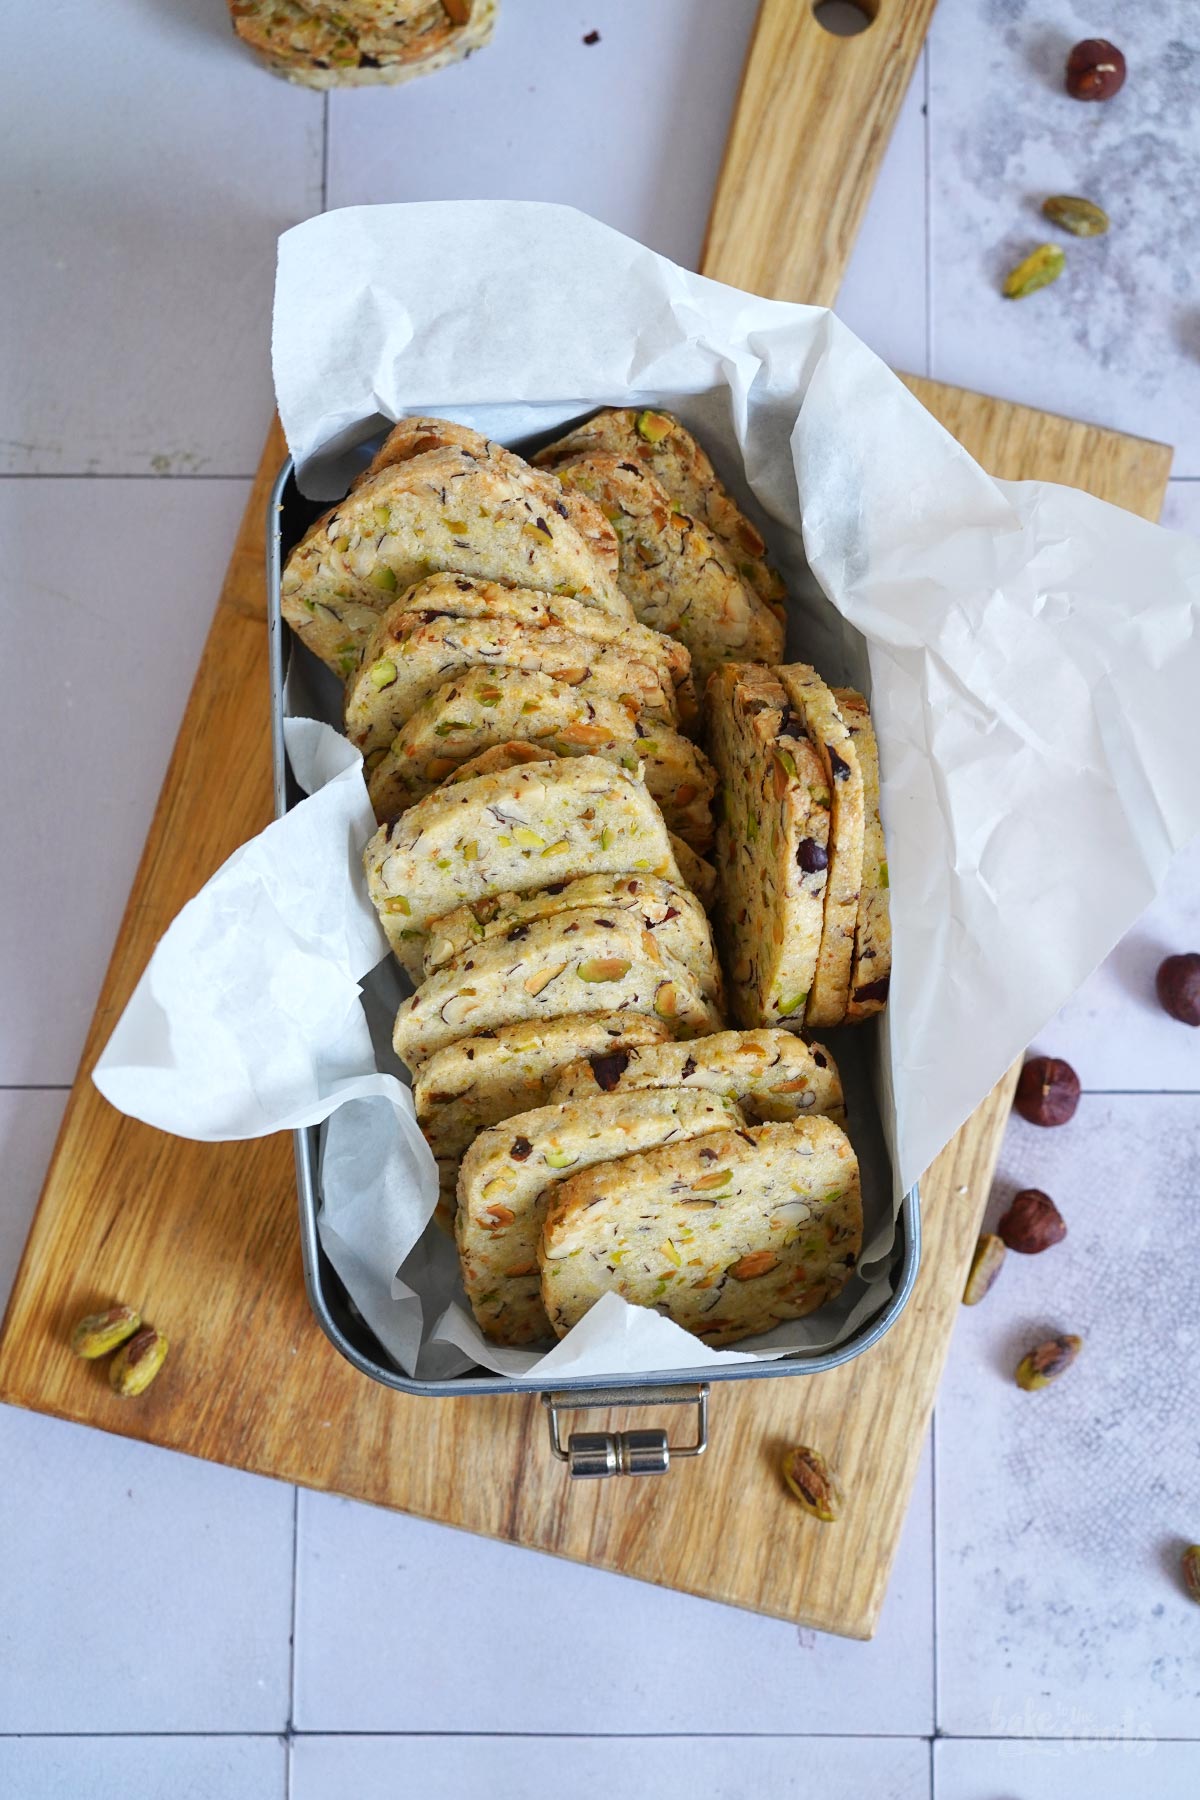
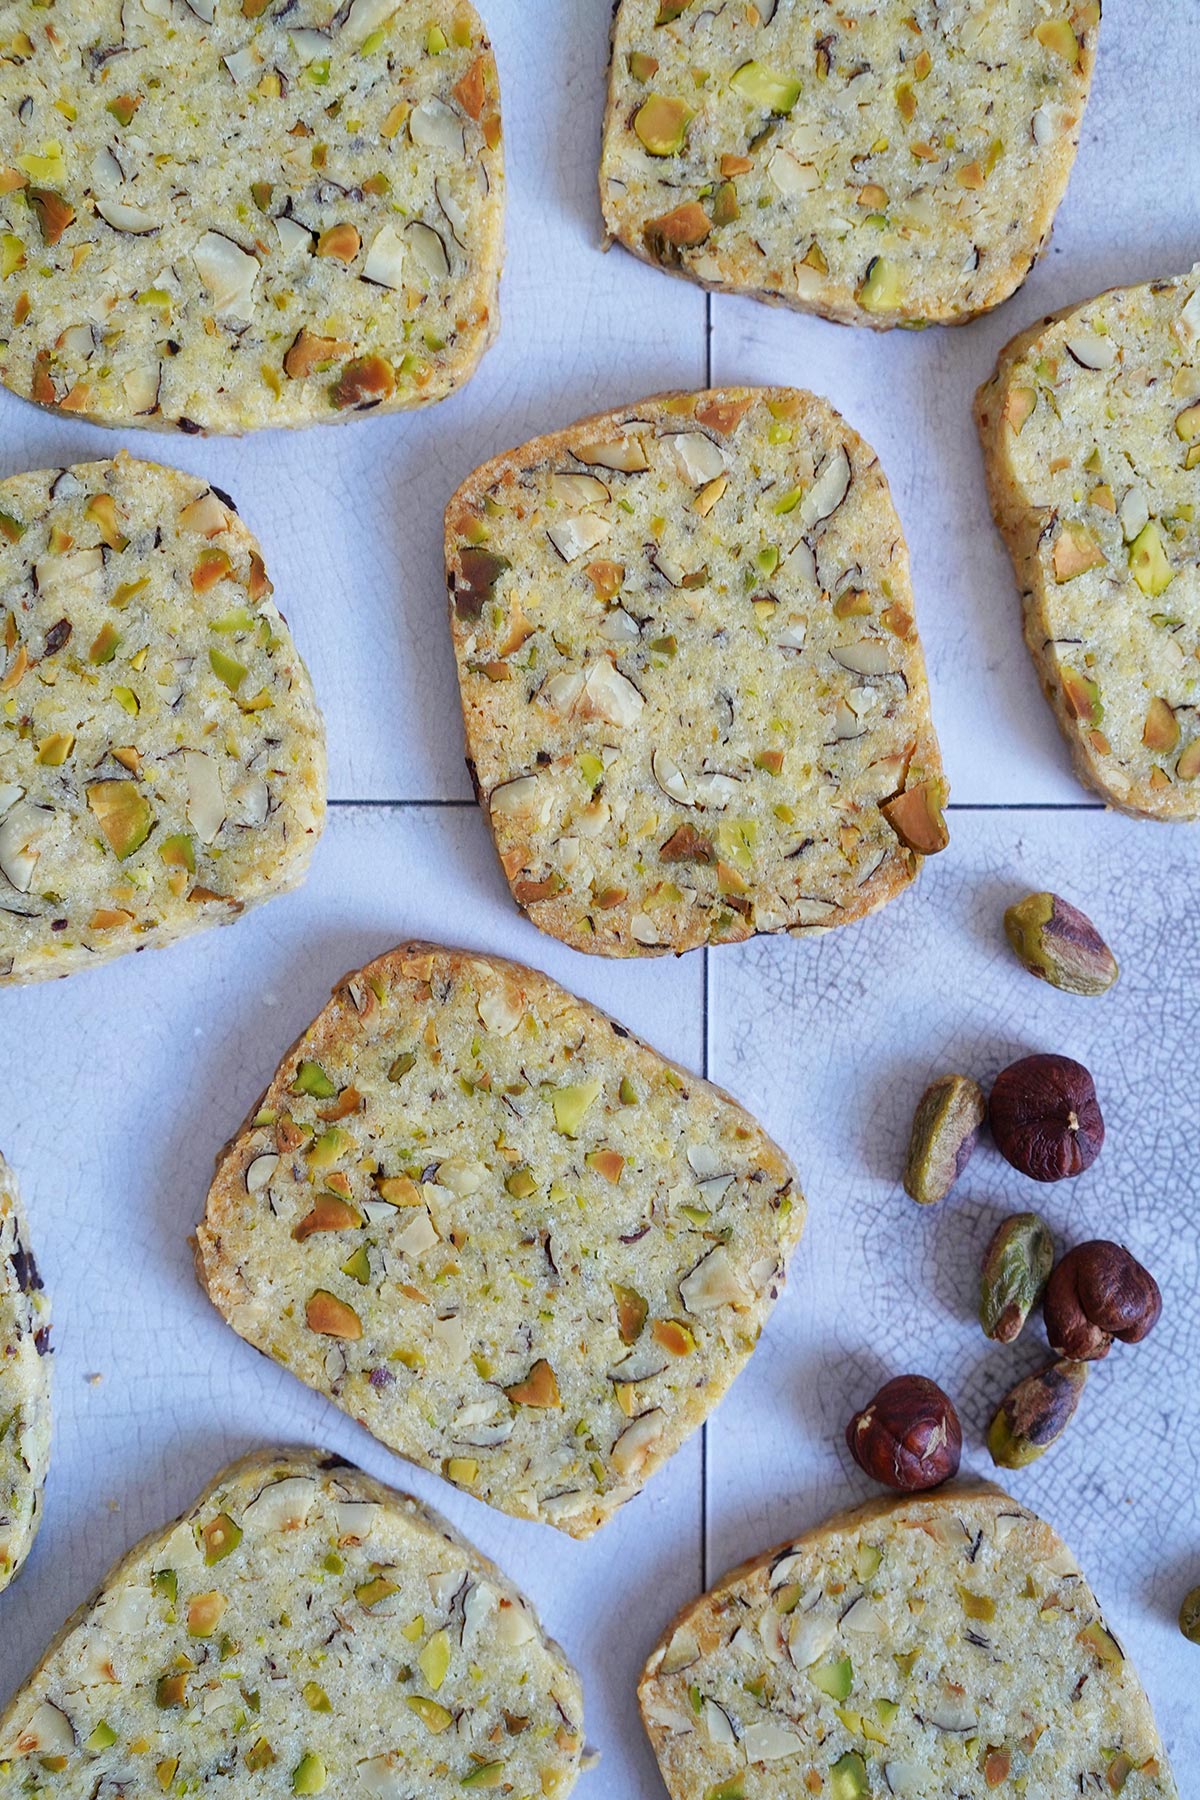
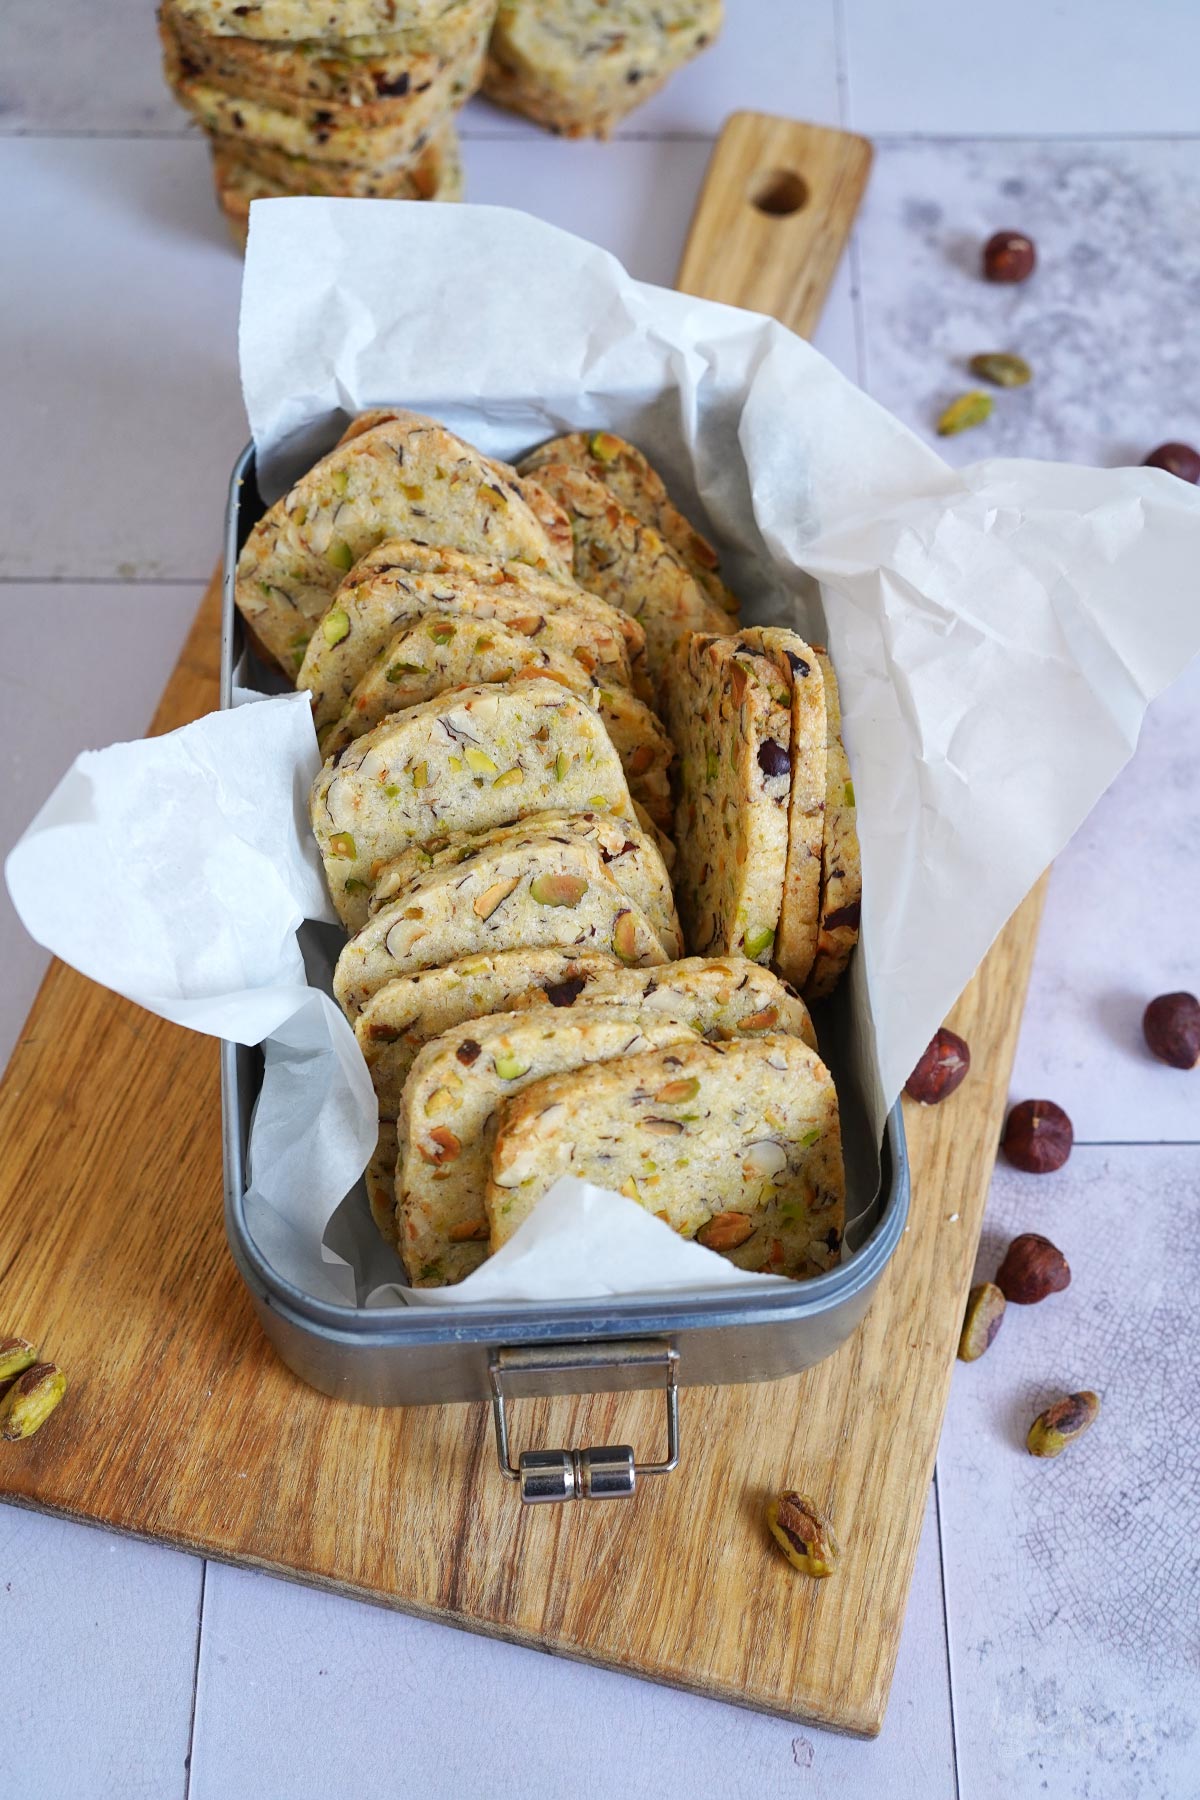
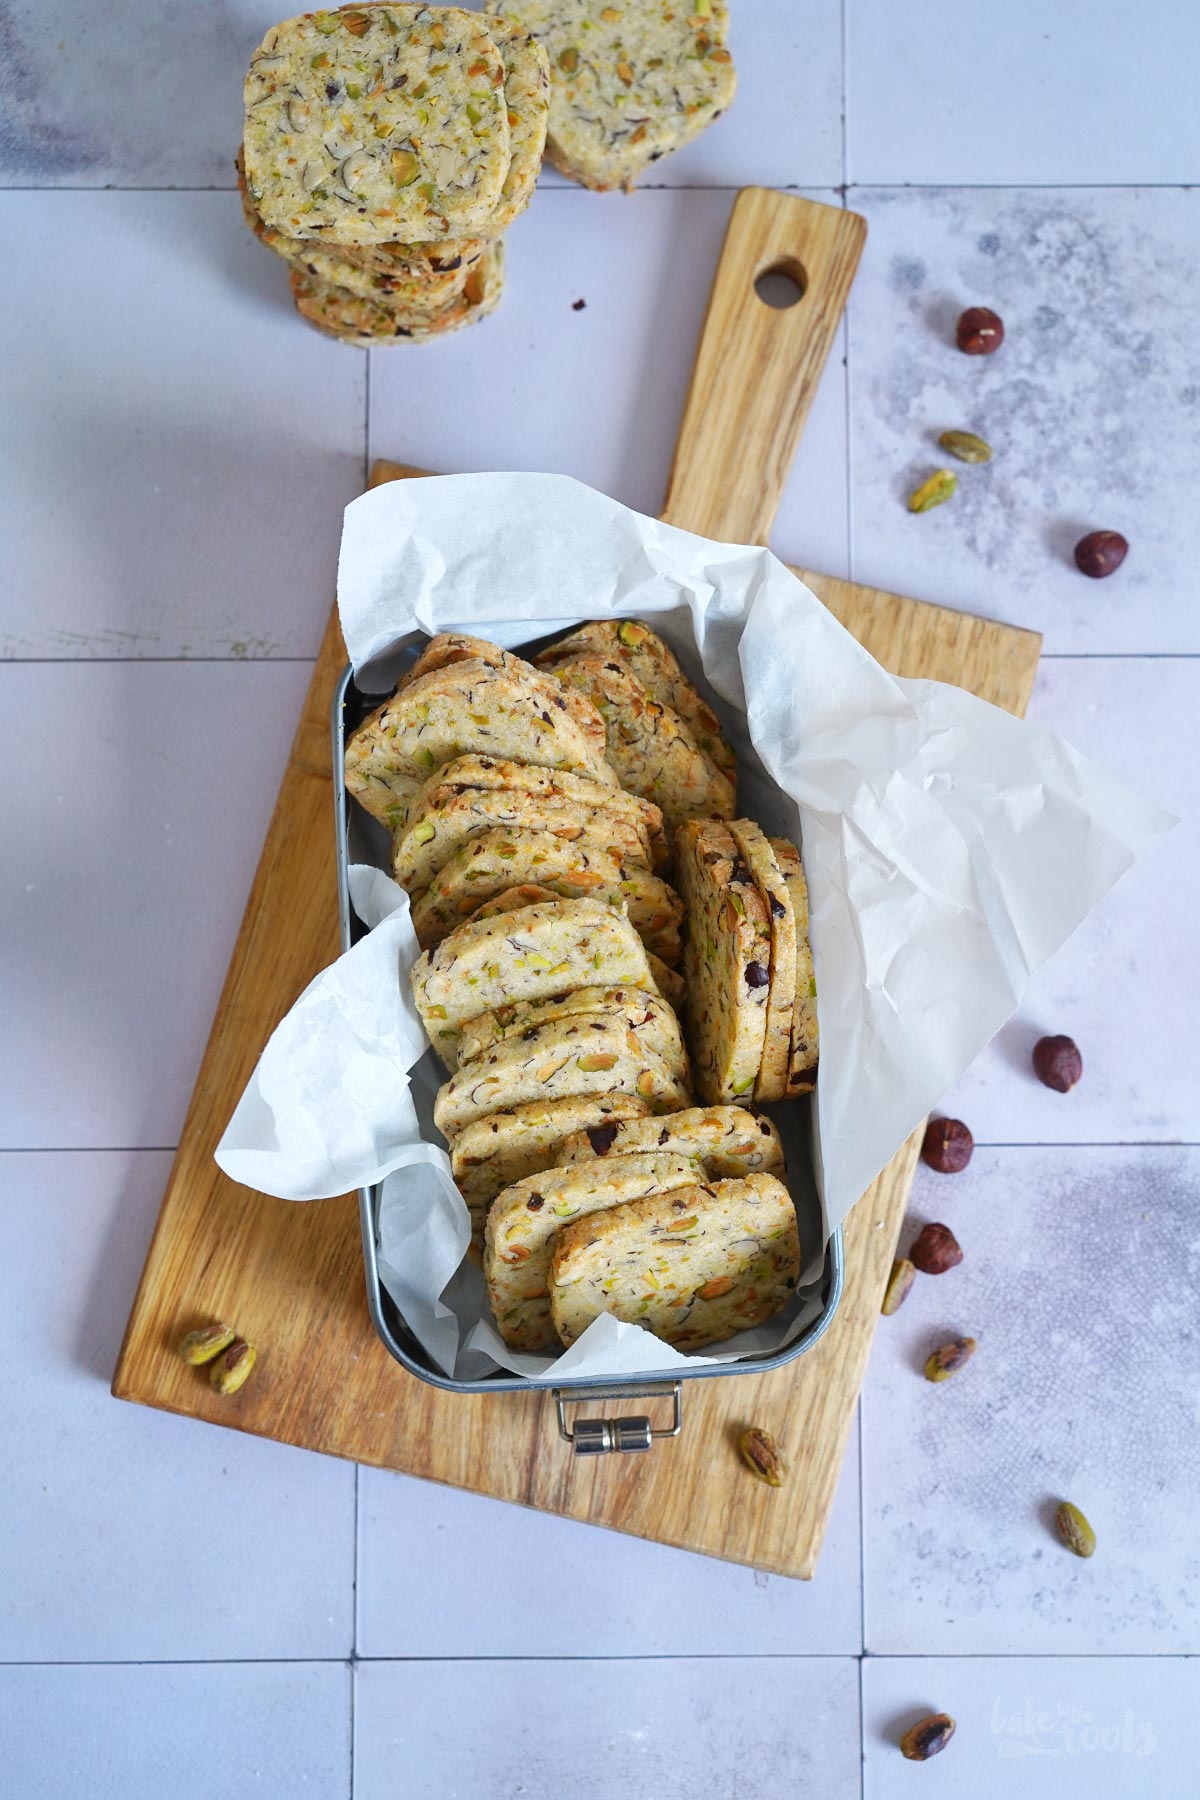
Anyway. These cookies here are an absolute treat! We like them a lot! Crispy and thin cookies with a lot of nuts. So good! The perfect sweet treat on the side when serving coffee or a cup of tea. I’m always amazed how crispy they turn out when you bake them. Not crumbly and dry – just crispy. ;P When taking them out of the oven, they are still soft, but cooling down turns them into little crunchy bites!

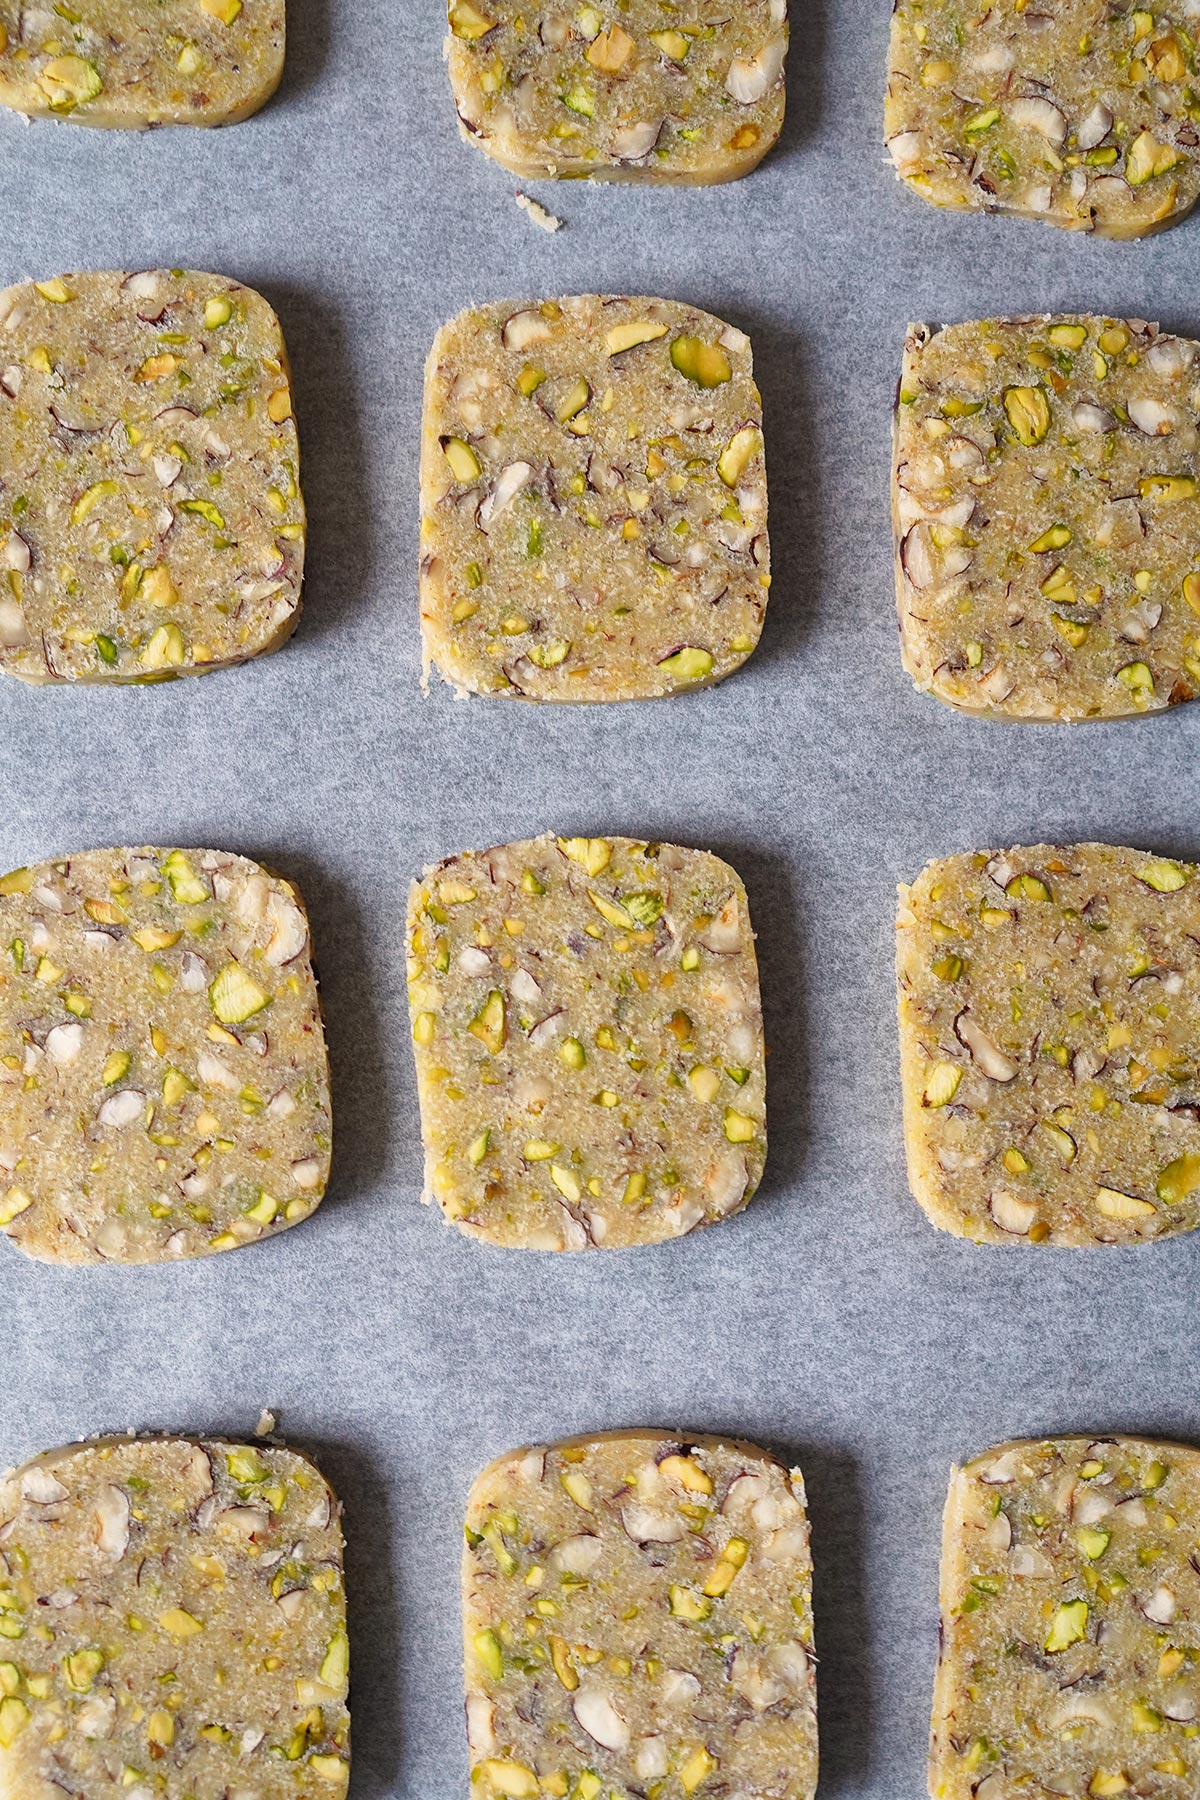
These cookies are typical »slice ‘n’ bake cookies«. You shape a cookie dough into a long log, you cool it, then you cut it into thin slices and bake it. Super easy. Much easier and less messy compared to cookies you have to cut out with a cookie cutter. No need to collect leftover dough, no need to roll out several times… you’re gonna love these cookies!
Saying that – because there are so many nuts involved, the slicing can be a bit tricky. You definitely need a very sharp knife to cut through the nuts that are inside the cookie dough. If you use a dull knife, you will end up with wonky slices. Bigger pieces of the nuts will most likely be pushed around instead of being cut when the knife is not sharp enough. That can cause »structural damage« to the cookies. ;P So use something sharp!
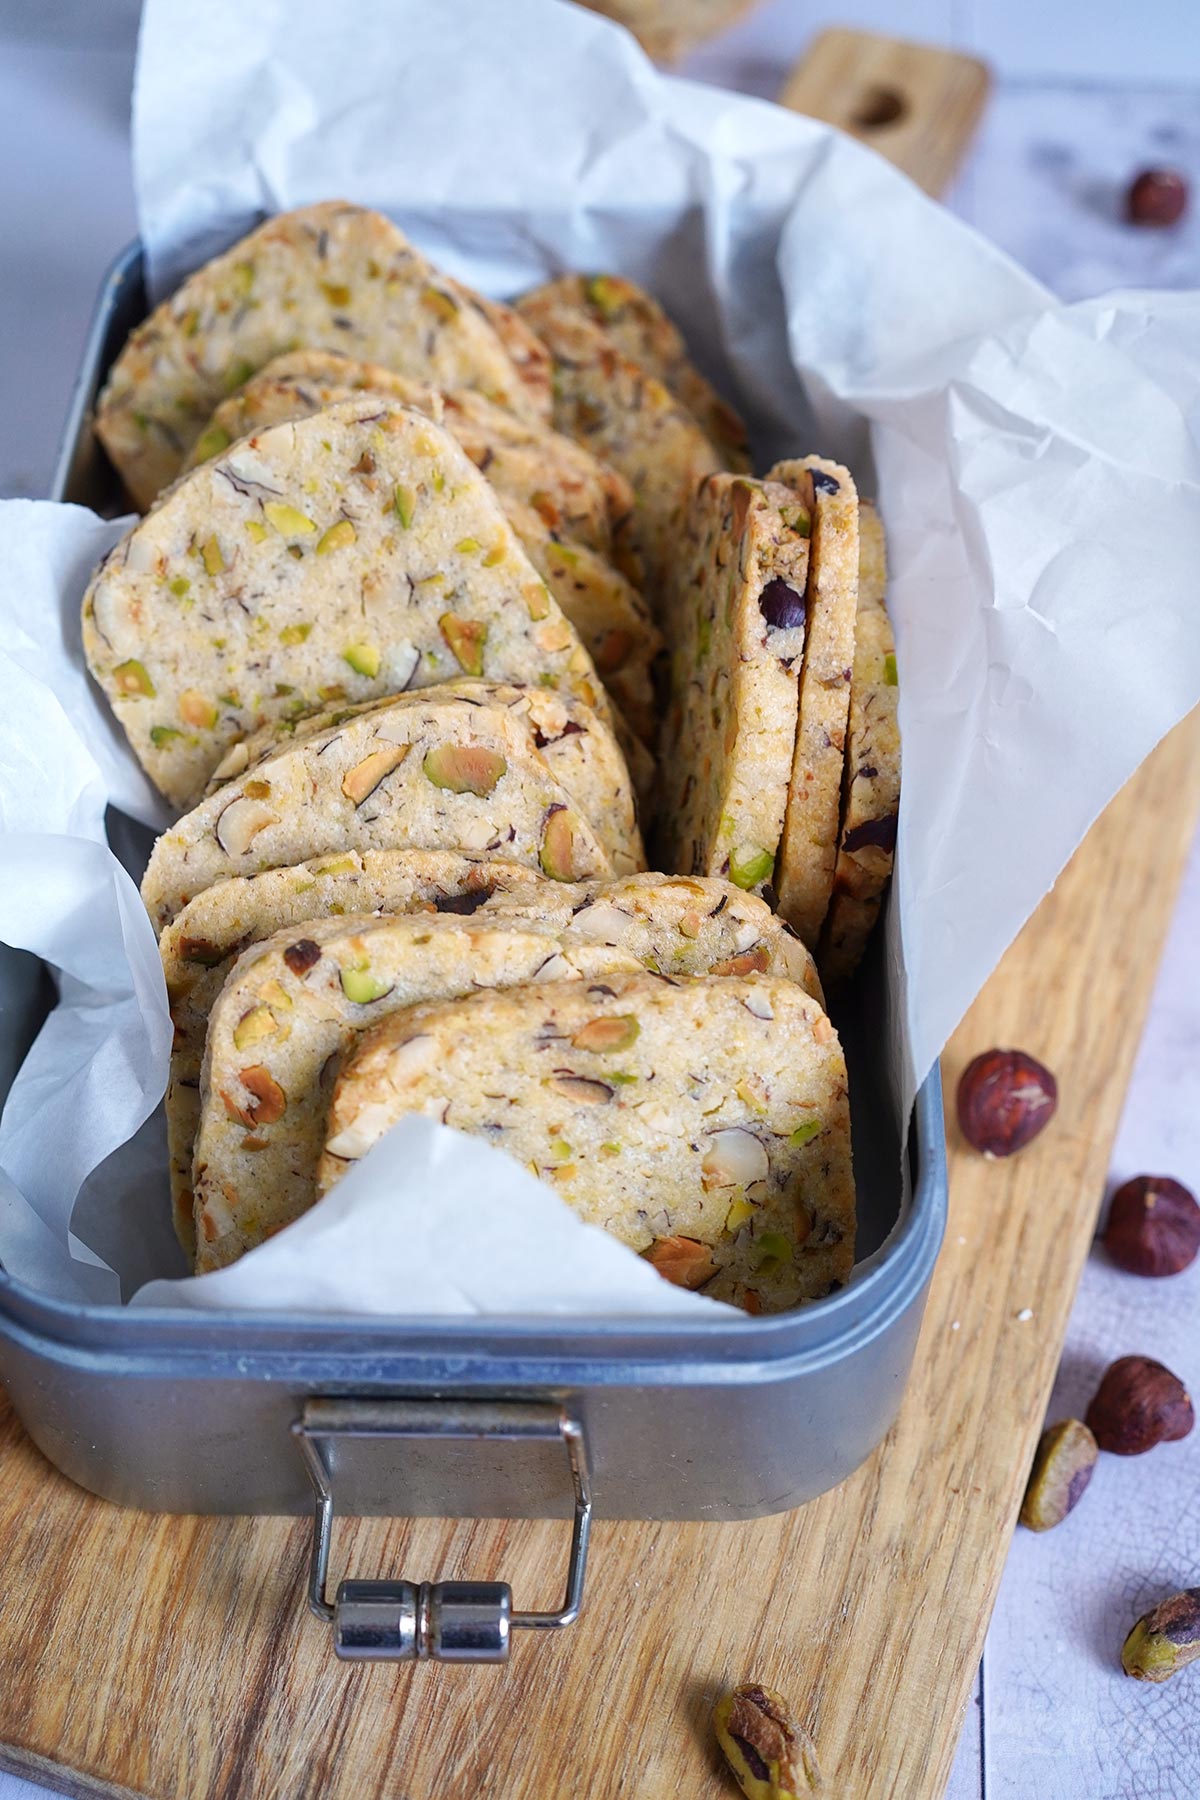
Another tip – make sure you use only high-quality nuts. Fresh nuts, that have not been lying around for weeks or months. The older those nuts get, the weirder they can taste and smell. Nobody wants that. It would ruin the cookies. Pistachios are normally not the problem here, but hazelnuts get old pretty quickly from my experience. Just so you know. But you probably already know. ;)
These cookies, because they are baked until very crispy, last much longer than most other cookies. Cookies like these usually stay nice and fresh for two weeks, or even longer, when stored properly. That means dry and cool in a cookie box, for example. If you can resist, not eating all of them within the first day, of course. :P
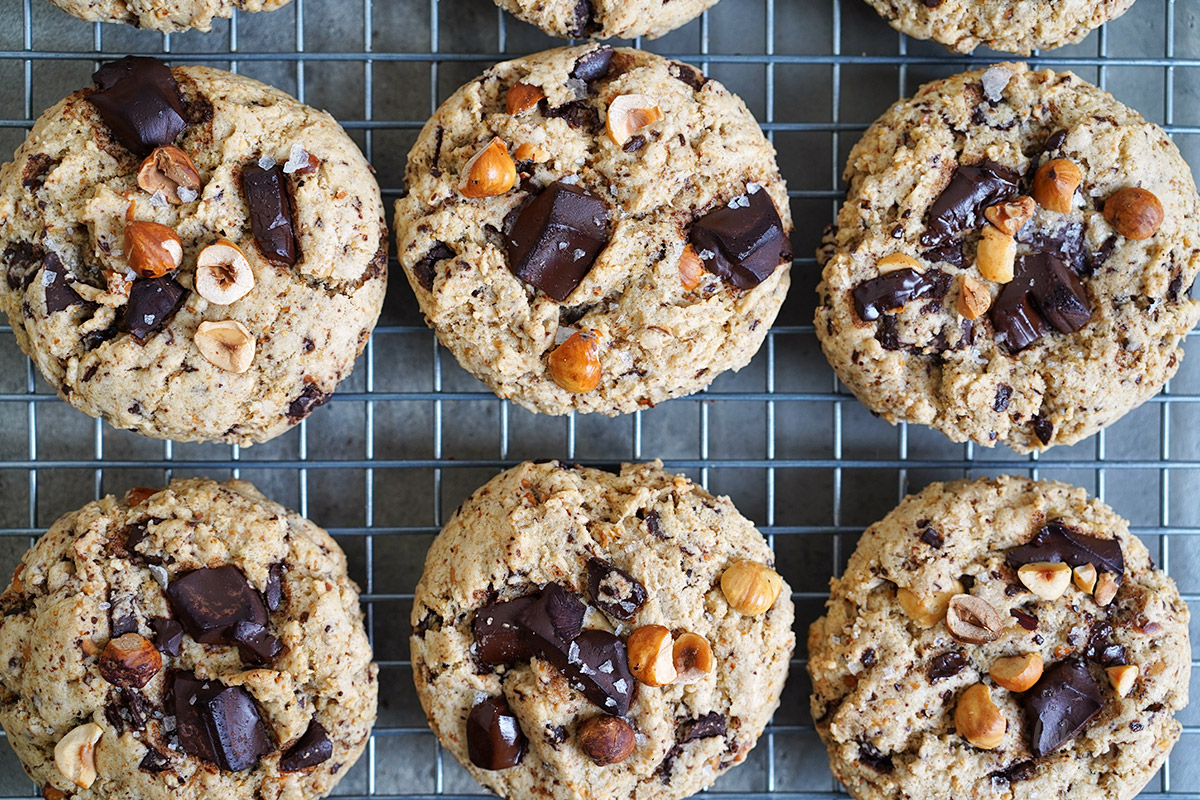
Well. In case you like to bake with nuts, you might want to take a look at these recipes here as well. Neither of them are from Switzerland, but both are really tasty. Our Chunky & Nutty Double Chocolate Cookies are simply delicious. There is nothing else to add. Equally good and tasty, yet a bit more on the »simple side of the cookie spectrum«, are these Easy Hazelnut Butter Cookies. No need to chop nuts for those cookies – you just need a good quality hazelnut butter. ;)
INGREDIENTS / ZUTATEN
(about 32 cookies)
2 cups (260g) all-purpose flour
3/4 cup (150g) sugar
1 pinch of salt
3.5 oz. (100g) cold butter, in small pieces
1 medium egg
1 medium egg yolk
1/2 tsp. vanilla extract
3.5 oz. (100g) hazelnuts, roughly chopped
3.5 oz. (100g) pistachios, roughly chopped
(etwa 32 Nusstaler)
260g Mehl (Type 405)
150g Zucker
1 Prise Salz
100g Butter (kalt), in kleinen Stücken
1 Ei (M)
1 Eigelb (M)
1/2 TL Vanille Extrakt
100g Haselnüsse, grob gehackt
100g Pistazien, grob gehackt
DIRECTIONS / ZUBEREITUNG
1. Roughly chop the hazelnuts and pistachios and set aside.
2. Mix flour, sugar, and salt in a large bowl. Add the butter in small pieces and cut it into pea-sized pieces using a pastry blender* or knife. Add the egg, egg yolk, and vanilla extract and mix it with the rest of the ingredients – you maybe want to do that with a fork first, then with your hands. As soon as the ingredients start sticking together and form streusels, you can add the chopped nuts and. Knead until you get a smooth dough.
3. Shape the dough into a log and wrap in plastic wrap. Shape the wrapped log into a bar with flat sides. You want a width/height of about 2 inches (5 cm) for the bar. Place in the fridge for at least 2 hours (or overnight).
4. Preheat the oven to 180°C (350°F). Line a baking sheet with baking parchment. Cut the dough bar into roughly 0.24-inch (0,6 cm) thick slices with a sharp knife. Place the cookies with some space in between on the baking sheet. Only half of the cookies will probably fit on the baking sheet – keep the rest of the dough in the fridge until needed again. Bake the cookies in the preheated oven for about 12-14 minutes. The cookies should be very lightly browned. The baking time varies depending on the thickness of the cookies. Take the baked cookies out of the oven and let them cool down for some time on the baking sheet, then transfer to a wire rack and let cool down completely.
1. Die Haselnüsse und Pistazien grob hacken und zur Seite stellen.
2. Mehl, Zucker und Salz in einer großen Schüssel vermischen. Die Butter in kleinen Stücke dazugeben und mit einem Teigmischer* zu etwa erbsengroßen Stücken zerteilen. Ei, Eigelb und Vanille Extrakt dazugeben und erst mit einer Gabel, dann mit den Händen vermengen. Wenn sich die Zutaten langsam verbinden und Streusel formen, die gehackten Nüsse dazugeben und dann alles zu einer homogenen Masse verkneten.
3. Den Teig zu einer Wurst formen und dann in Klarsichtfolie einschlagen. Die Teigwurst in der Folie zu einem Balken mit glatten Seiten formen. Die Breite/Höhe des Balkens sollte jeweils etwa 5 cm betragen. Für mindestens 2 Stunden (oder über Nacht) in den Kühlschrank legen.
4. Den Ofen auf 180°C (350°F) Ober-/Unterhitze vorheizen. Ein Backblech mit Backpapier auslegen. Den Teigbalken in etwa 0,6 cm dicke Scheiben schneiden. Mit etwas Abstand zueinander auf das Blech setzen. Alles, was nicht auf das Blech passt, später einfach in einer zweiten Runde backen und den Teig bis dahin zurück in den Kühlschrank legen. Die Nusstaler für etwa 12-14 Minuten im vorgeheizten Ofen backen – sie sollten nicht viel Farbe bekommen. Die Backzeit variiert, je nachdem, wie dick man den Teig schneidet. Aus dem Ofen holen und kurz auf dem Blech abkühlen lassen, dann auf einem Kuchengitter komplett auskühlen lassen.
Craving more? Keep in touch on Facebook, Twitter, Instagram and Pinterest for new post updates and more. You can also contact me with any questions or inquiries!
Here is a version of the recipe you can print easily.
Print
Schweizer Nusstaler aka. Swiss Nut Cookies
- Prep Time: 00:20
- Cook Time: 00:14
- Total Time: 02:40
- Yield: 30 1x
- Category: Cookies
- Cuisine: Switzerland
- Diet: Vegetarian
Description
A great snack if you are looking for something crunchy – Schweizer Nusstaler aka. Swiss Nut Cookies. We love these crunchy nutty cookies a lot!
Ingredients
2 cups (260g) all-purpose flour
3/4 cup (150g) sugar
1 pinch of salt
3.5 oz. (100g) cold butter, in small pieces
1 medium egg
1 medium egg yolk
1/2 tsp. vanilla extract
3.5 oz. (100g) hazelnuts, roughly chopped
3.5 oz. (100g) pistachios, roughly chopped
Instructions
1. Roughly chop the hazelnuts and pistachios and set aside.
2. Mix flour, sugar, and salt in a large bowl. Add the butter in small pieces and cut it into pea-sized pieces using a pastry blender* or knife. Add the egg, egg yolk, and vanilla extract and mix it with the rest of the ingredients – you maybe want to do that with a fork first, then with your hands. As soon as the ingredients start sticking together and form streusels, you can add the chopped nuts and. Knead until you get a smooth dough.
3. Shape the dough into a log and wrap in plastic wrap. Shape the wrapped log into a bar with flat sides. You want a width/height of about 2 inches (5 cm) for the bar. Place in the fridge for at least 2 hours (or overnight).
4. Preheat the oven to 180°C (350°F). Line a baking sheet with baking parchment. Cut the dough bar into roughly 0.24-inch (0,6 cm) thick slices with a sharp knife. Place the cookies with some space in between on the baking sheet. Only half of the cookies will probably fit on the baking sheet – keep the rest of the dough in the fridge until needed again. Bake the cookies in the preheated oven for about 12-14 minutes. The cookies should be very lightly browned. The baking time varies depending on the thickness of the cookies. Take the baked cookies out of the oven and let them cool down for some time on the baking sheet, then transfer to a wire rack and let cool down completely.
Notes
Get your bake on!
Links marked with an asterisk (*) are affiliate links (advertising/Werbung) to Amazon Germany. If you click on one of those links and buy something via this link, I will get a commission for that sale. The price of whatever you buy is not affected in any way by this.