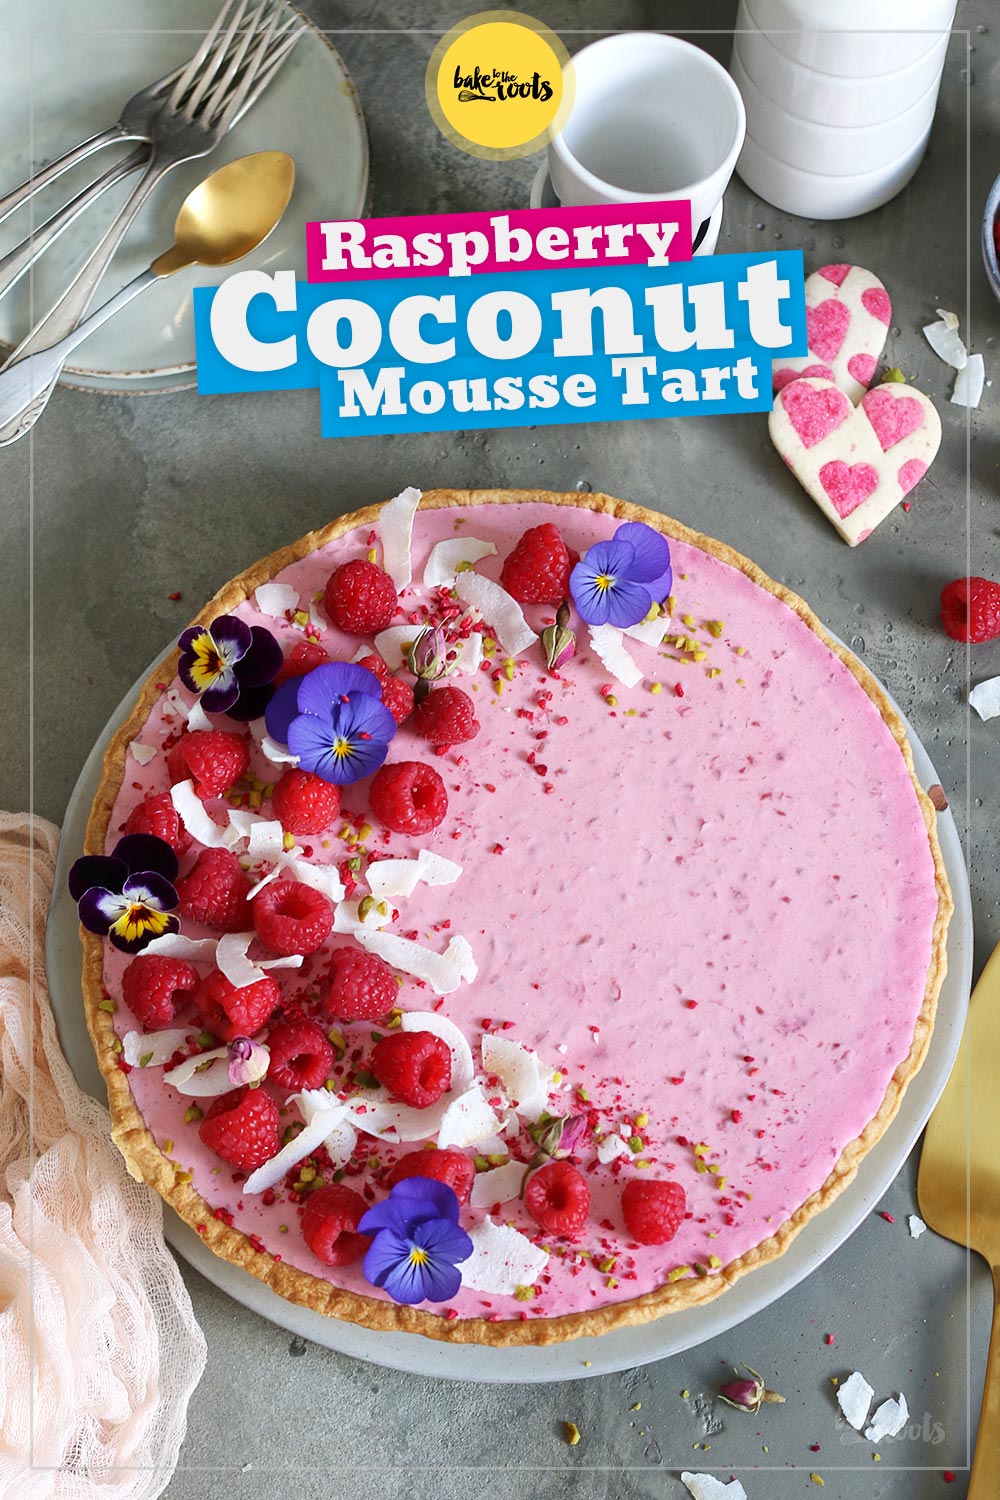
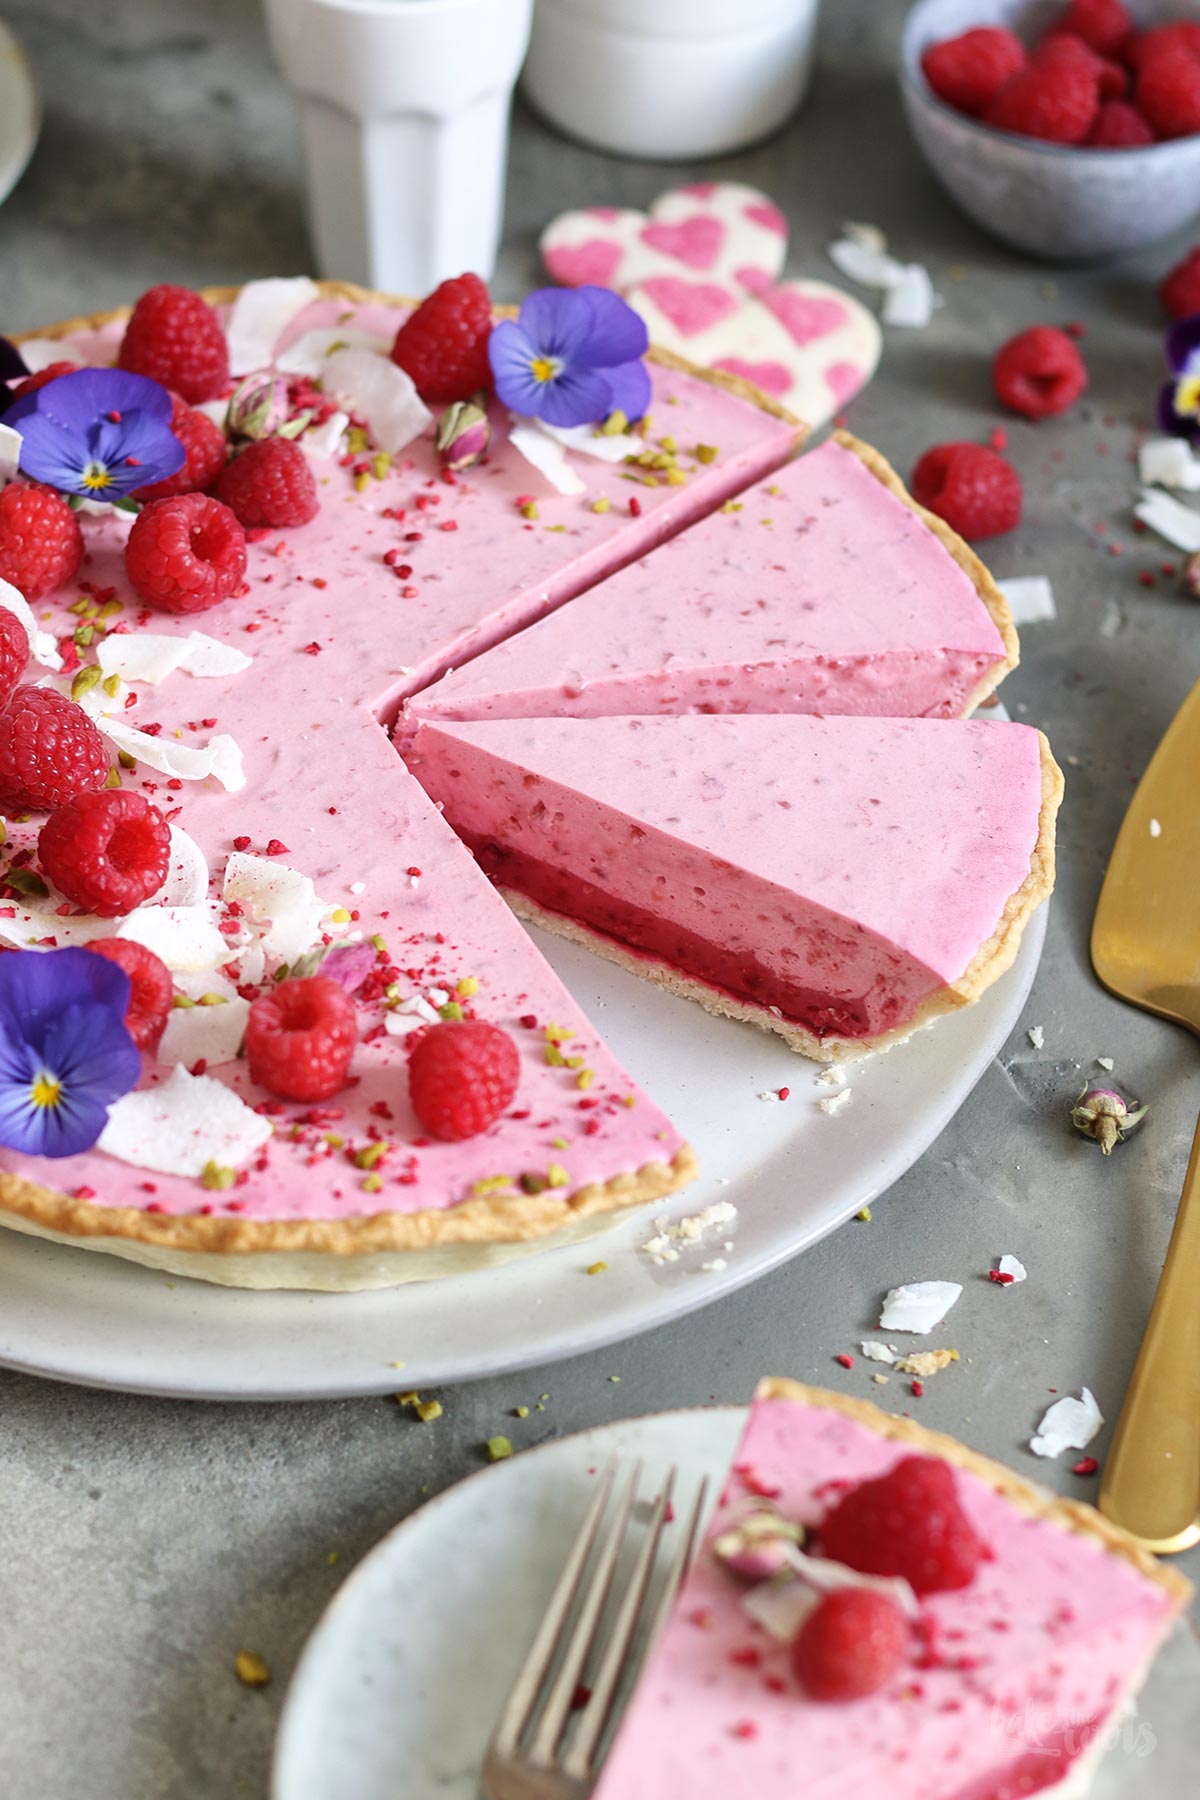
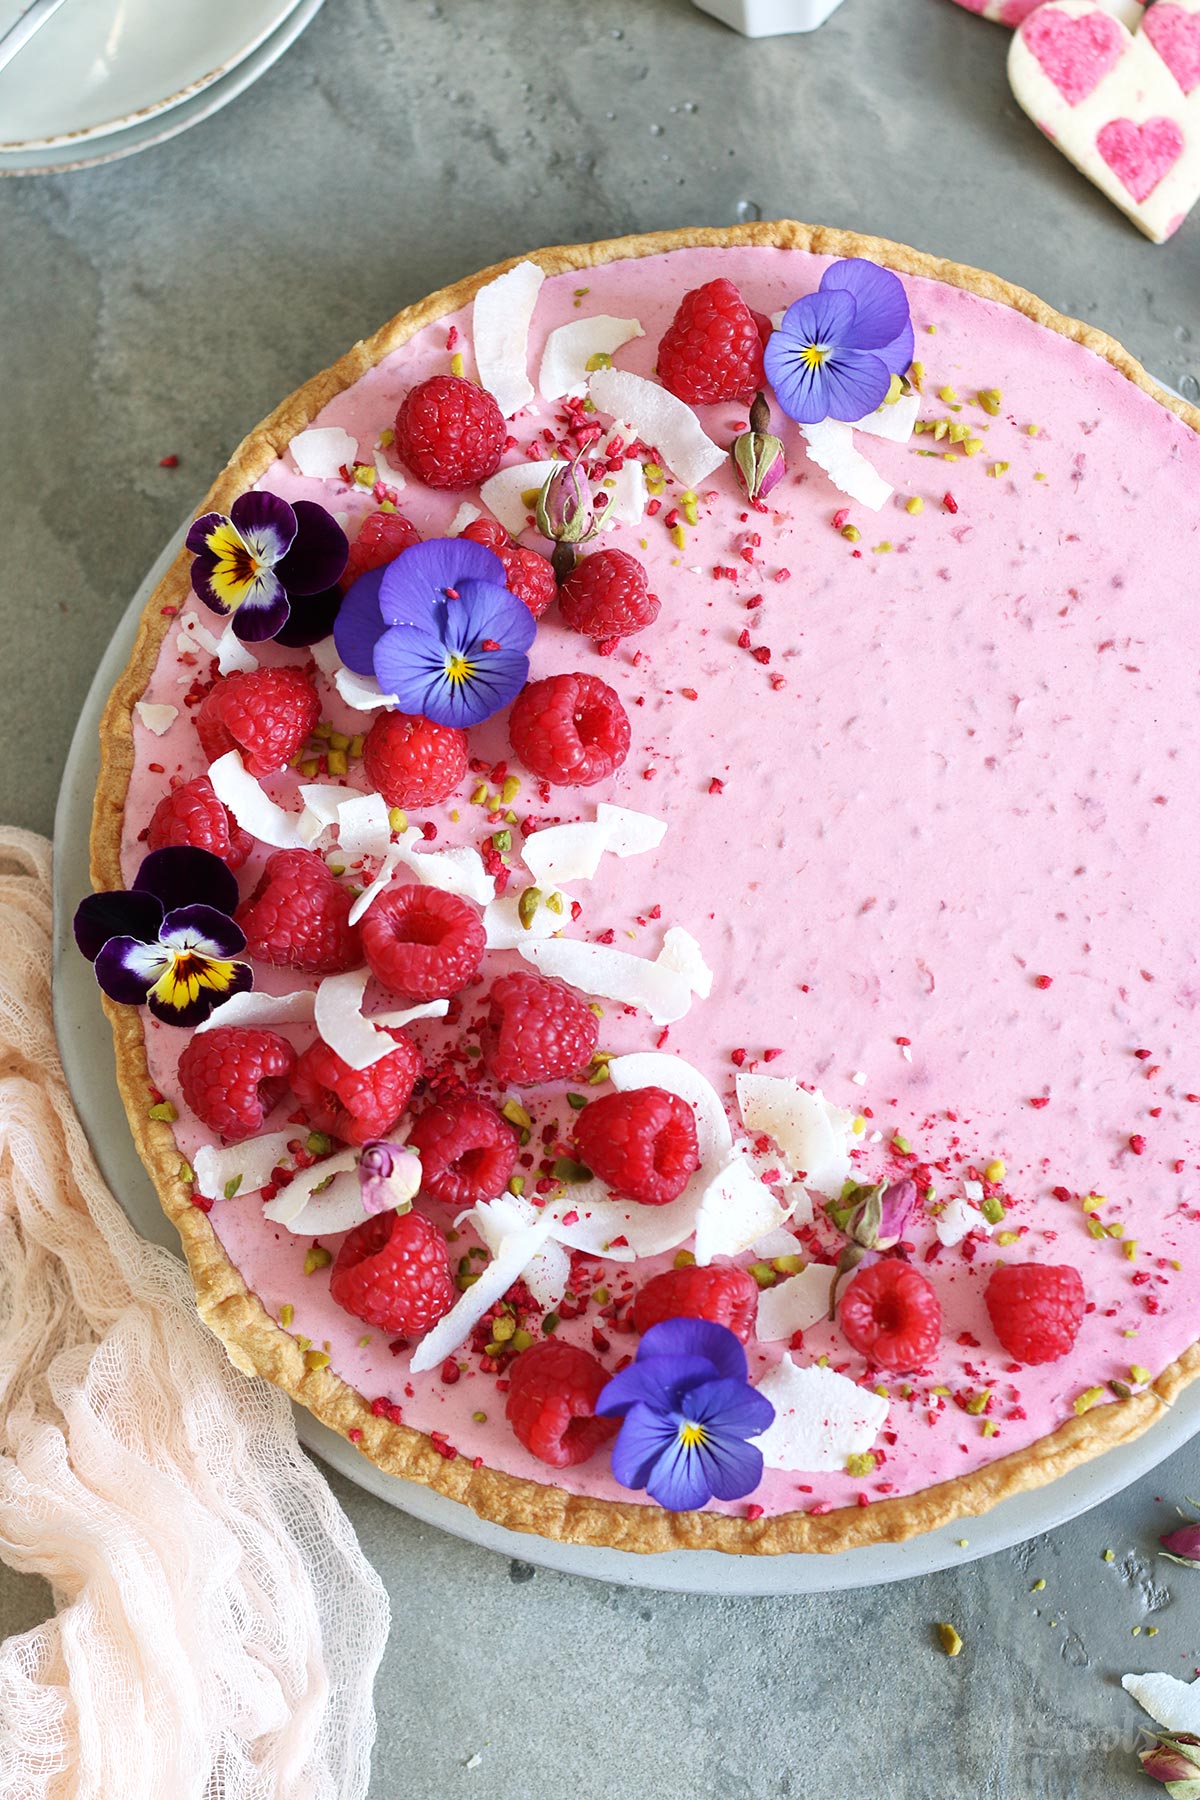
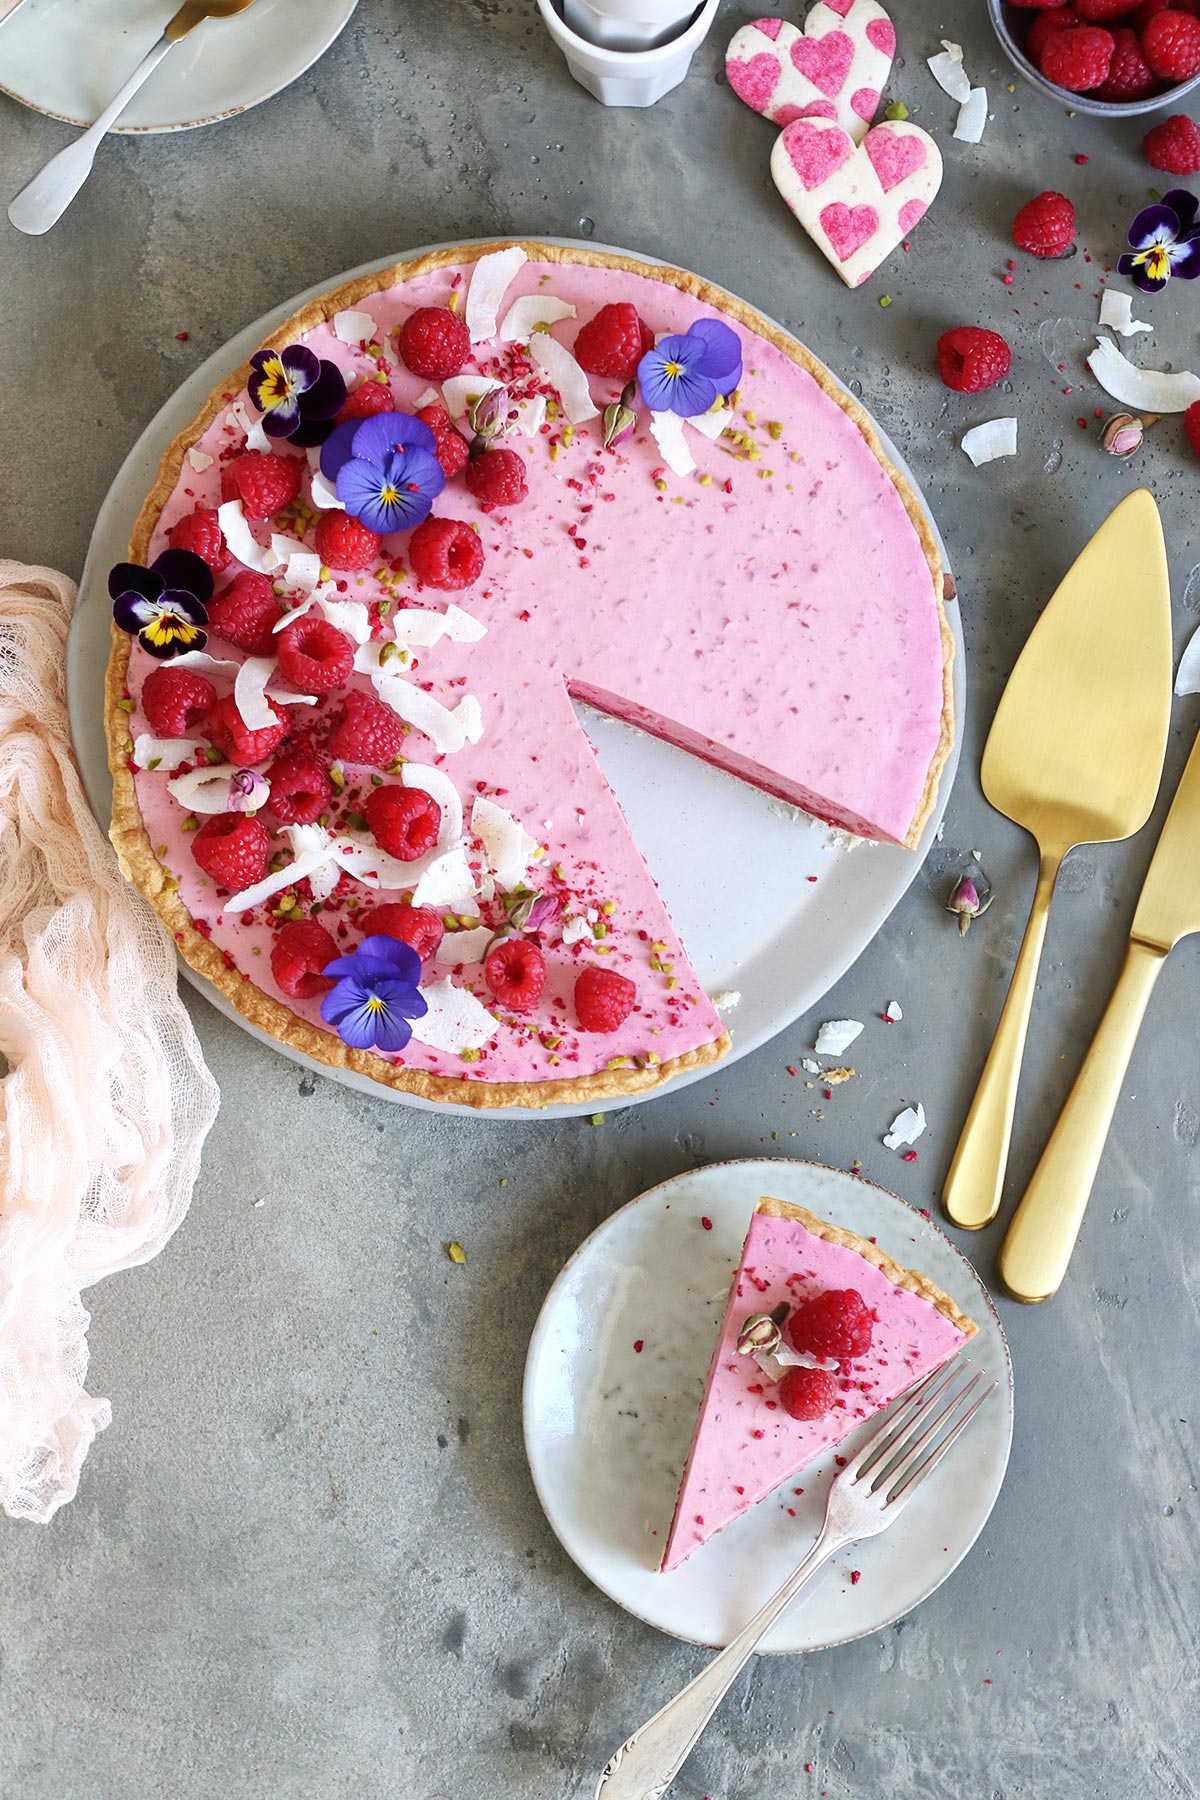
I am a big fan of raspberries. I could eat them all day long. The perfect sweet little snack. Wherever you throw them on top – on a bake, a smoothie bowl, or whatever – everything will be instantly more delicious. That’s a fact ;P This Raspberry Coconut Mousse Tart actually does not need raspberries on top because there are a lot of them already in the mousse… but it will not hurt if you add a lot of raspberries to decorate the tart. They are not only delicious, but they also look nice ;)
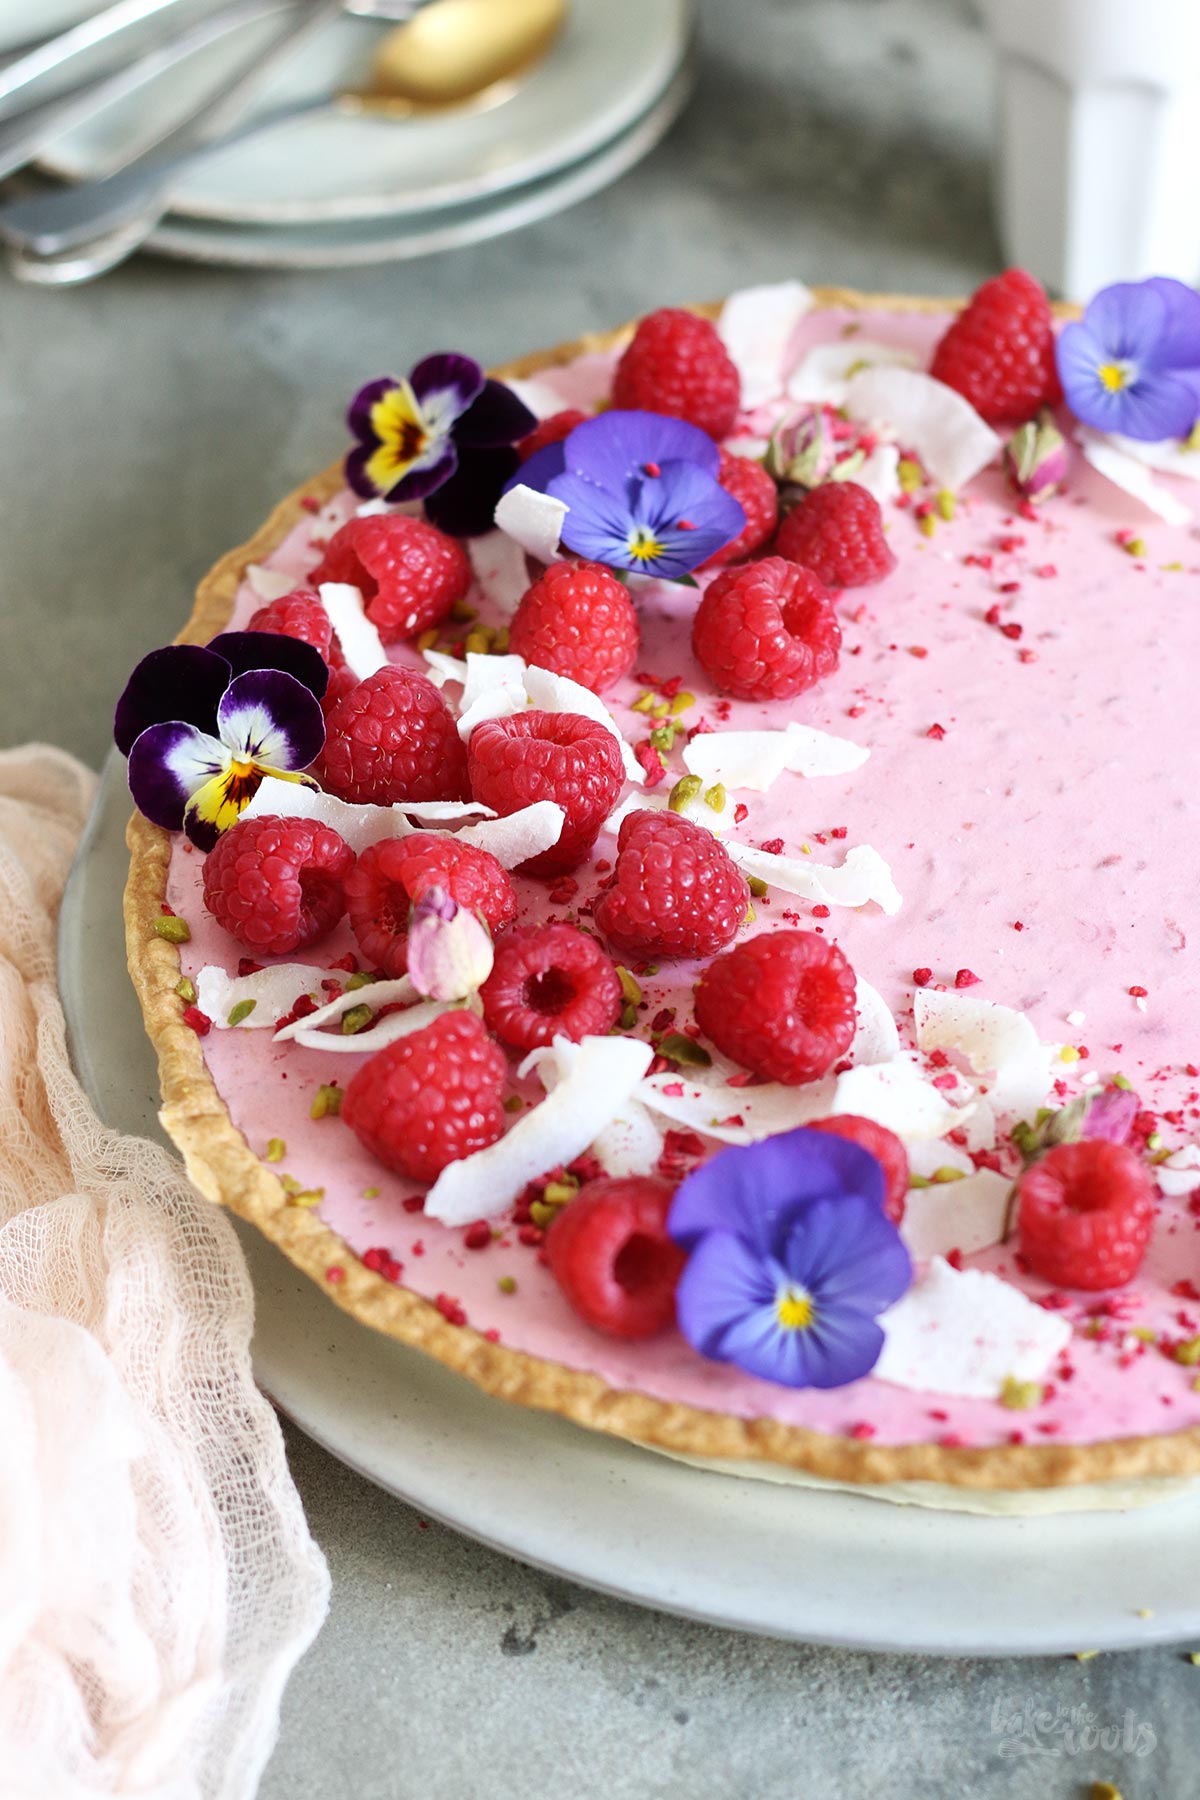
I am not the best at decorating cakes, to be honest. My motto is actually “less is more”. But what I like to do is throw berries on cakes and tarts. That always works for me ;P The flowers you can see on this tart here are pretty much an experiment. I have never used edible flowers to decorate a cake. Does not look too bad, right?!
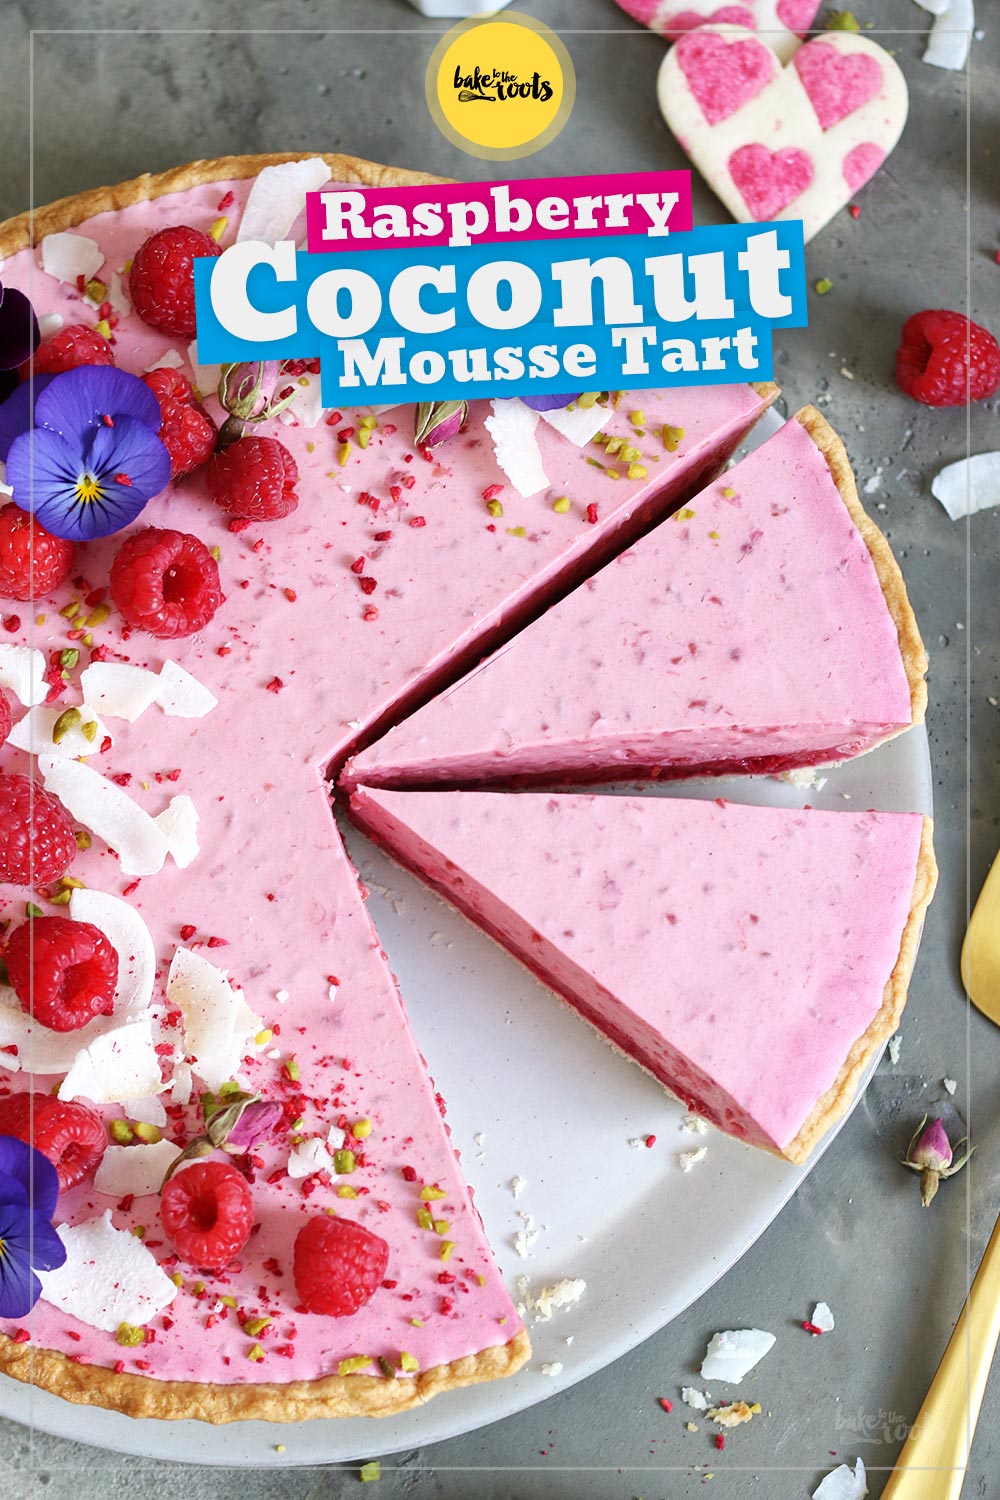
You could do the tart without any kind of decoration, to be honest. Or let’s say with a minimum of decoration… maybe some swirls of whipped cream. That would be nice as well and more than enough. No need for fancy-schmancy stuff like edible flowers… unless you got some in your garden and you want to use them. It’s up to you ;P

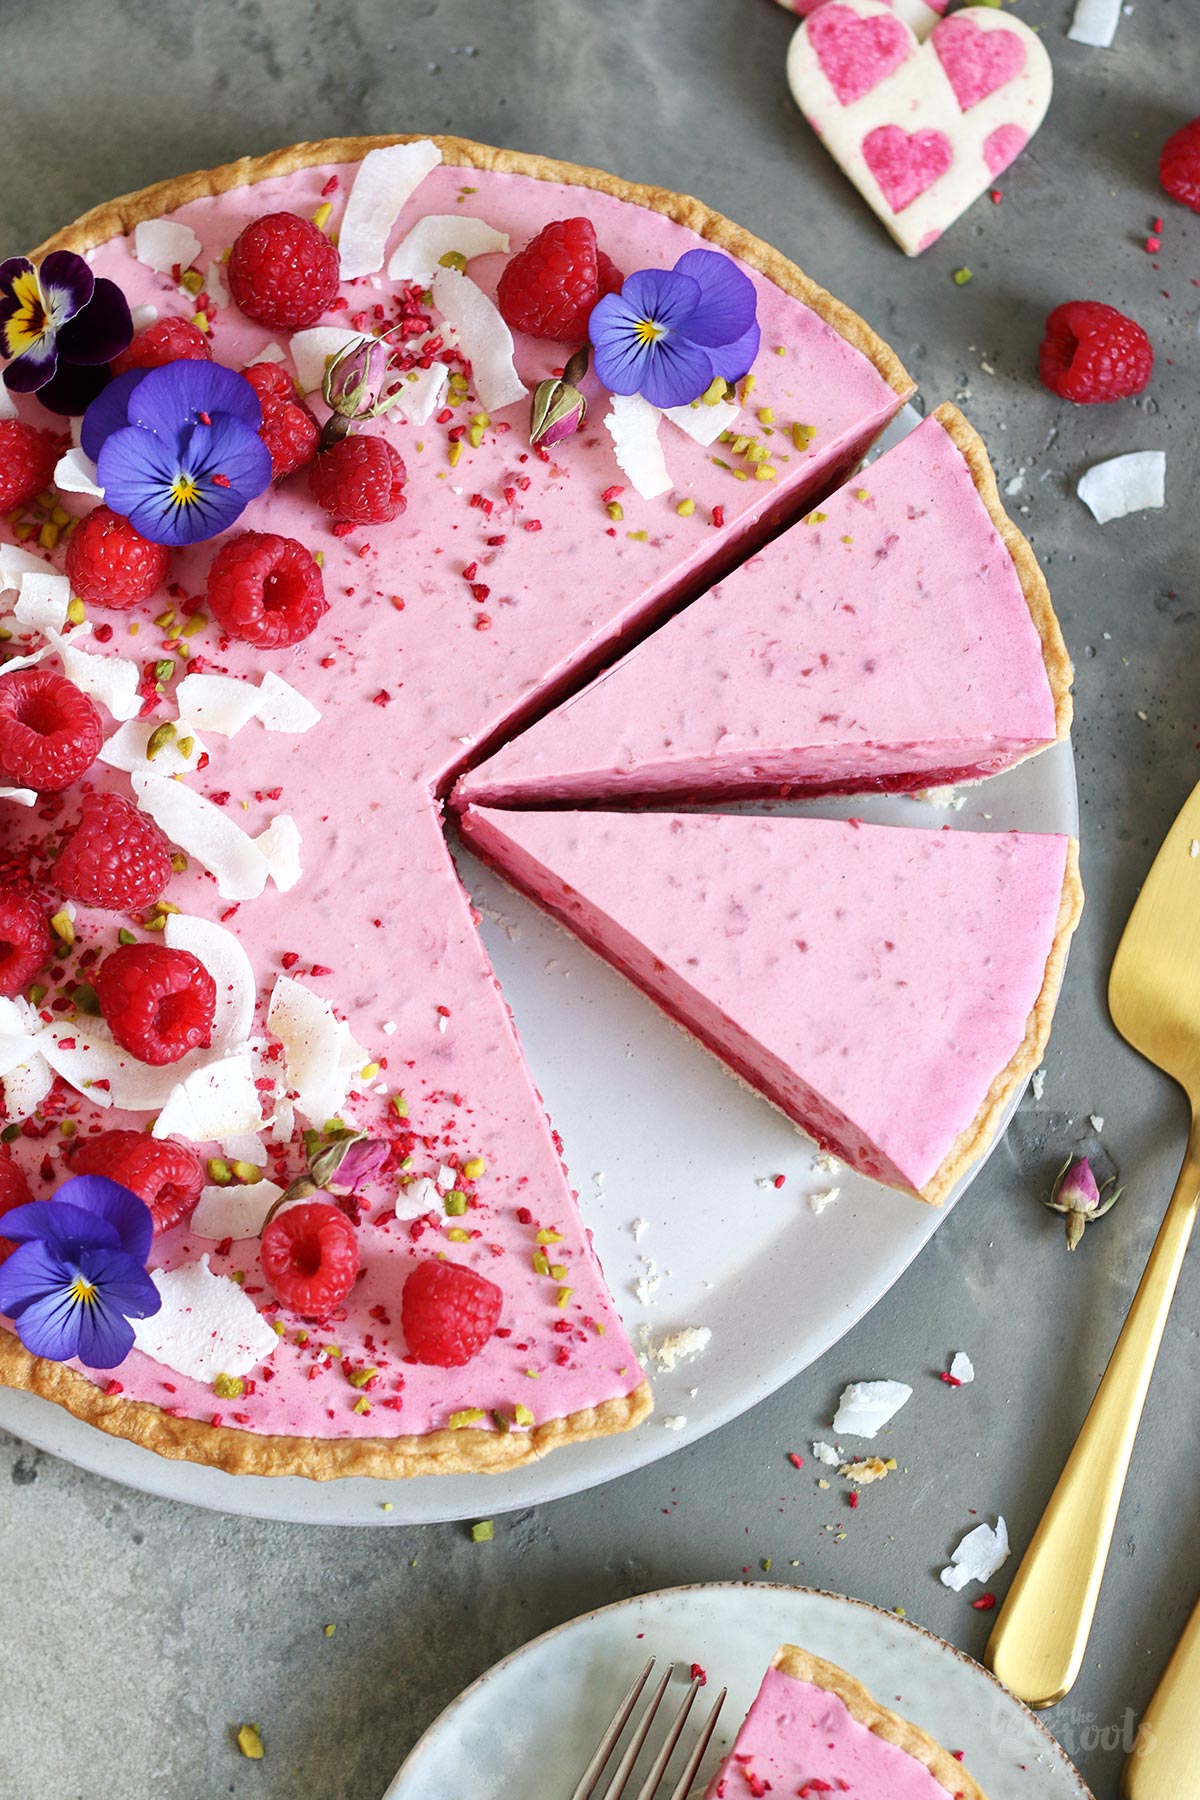
Anyway. With or without decoration – the tart is really delicious on its own. For all fans of raspberries definitely a nice treat!
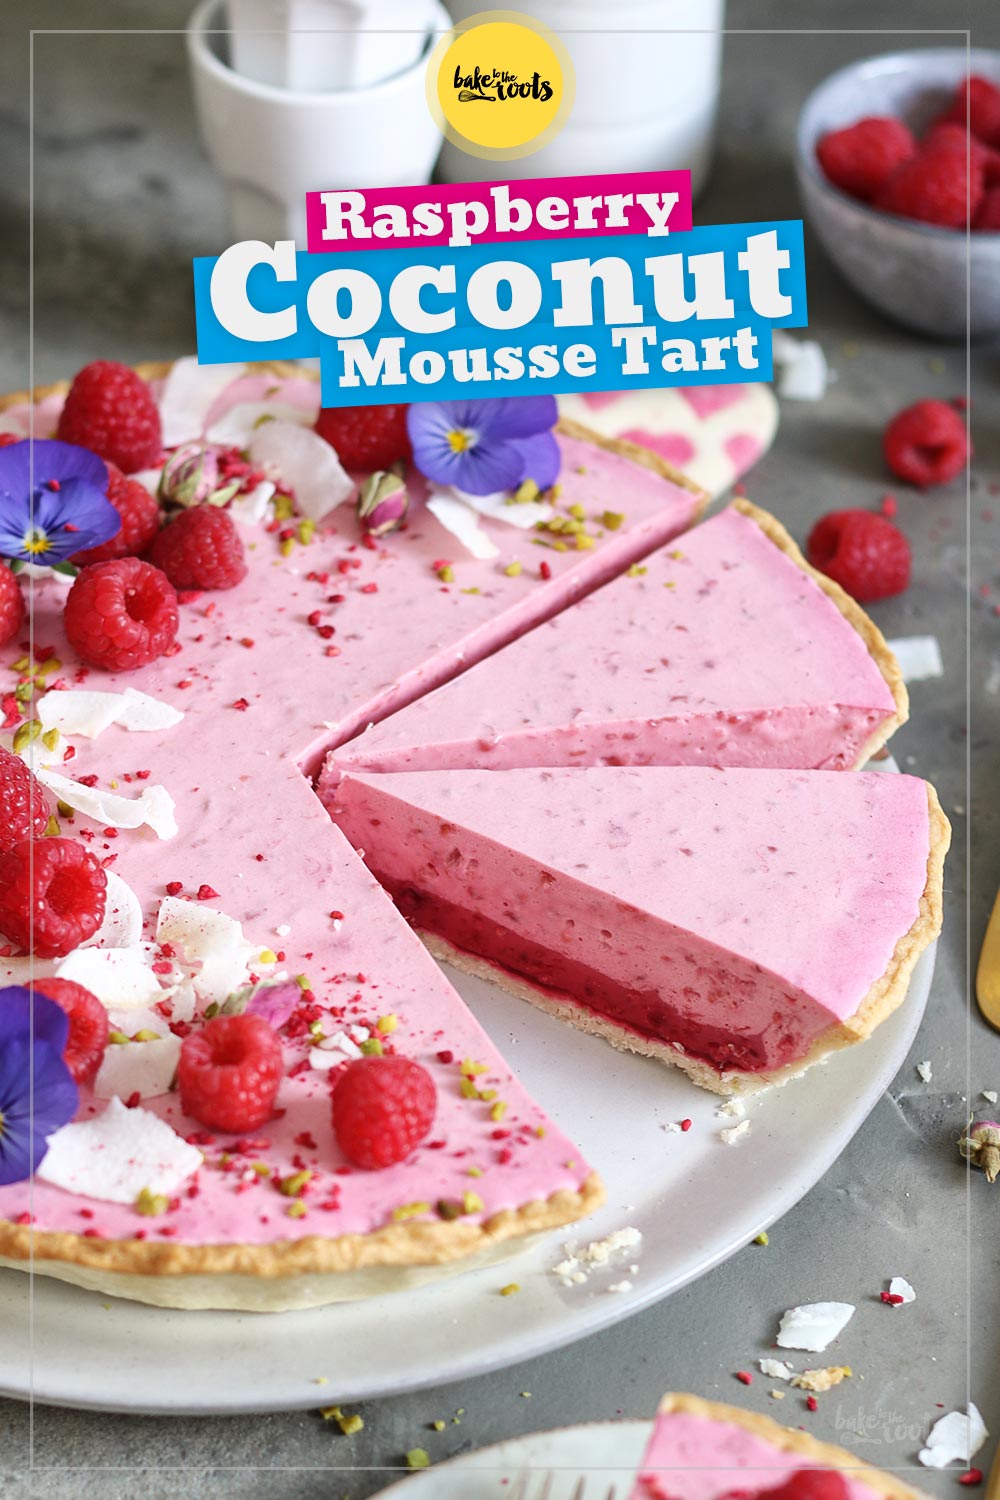
Note: Some might wonder why I left the seeds of the raspberries in the mousse. Well, that has two reasons: first of all, I do not care about them. They do not bother me in a dessert. Second, I am too lazy to press the raspberries through a sieve. That takes soooo long and I hate to do it ;P If you hate the seeds you should remove them, of course. Also – make sure you get a nice height (of the edges/sides) when preparing the crust. If the sides slide down during baking (which happens sometimes), you need a little less filling. In that case, you should add a little less yogurt or heavy cream to the filling.
Or make the amount stated in the recipe and use the leftover filling to create desserts in glass jars, for example. Works well ;)
INGREDIENTS / ZUTATEN
2 1/3 cups (300g) all-purpose flour
1/4 tsp. salt
5.3 oz. (150g) cold butter, in pieces
2 medium egg yolks
4-5 tbsp. ice water
For the filling:
10 gelatine sheets (for 34 fl. oz.)
12.3 oz. (350g) raspberries (fresh or frozen)
2 tbsp. sugar (or xylitol*)
1 tsp. vanilla extract
14 oz. (400g) coconut yogurt*
7 oz. (200g) heavy cream
For the decoration (optional):
some fresh raspberries
some coconut flakes*
some edible flowers
chopped pistachios
freeze-dried raspberries*
300g Mehl (Type 550)
1/4 TL Salz
150g kalte Butter, in Stücken
2 Eigelb (M)
4-5 EL Eiswasser
Für die Füllung:
10 Blatt Gelatine
350g Himbeeren (frisch oder TK-Beeren)
2 EL Zucker (oder Xylit*)
1 TL Vanille Extrakt
400g Kokos Joghurt*
200g Sahne
Für die Dekoration (optional):
einige frische Himbeeren
einige Kokosflocken*
einige essbare Blüten
gehackte Pistazien
gefriergetrocknete Himbeeren*
DIRECTIONS / ZUBEREITUNG
2. Roll out the dough on a lightly floured surface slightly larger than a 10 inches (26cm) tart tin or pie dish. Lightly grease the baking tin/dish, place the dough inside and press down on the bottom and sides. The edge should be at least 1.6 inches (4cm) high so the filling fits in later. Remove any overlapping dough and prick the bottom several times with a fork. Cover and refrigerate once more for about 30 minutes.
3. Preheat the oven to 390°F (200°C). Place a large piece of baking parchment on top of the dough and fill up with ceramic baking beans* or dry rice, for example. Blind bake the base for about 15 minutes, then remove the baking beans/rice along with the baking parchment and bake the base for another 10-15 minutes. The tart crust should have gotten some color all over. Remove from the oven and let cool completely.
4. For the filling let the gelatin leaves soak in cold water for about 5-7 minutes. Add the raspberries to a small saucepan together with the sugar (or xylitol) and vanilla extract. Heat up and stir constantly until the raspberries are soft and broken down. If you don’t like seeds in the mousse, you should press the raspberry mixture through a sieve – if you do, you should add some more raspberries, in the beginning, to compensate for the “loss”. Lightly squeeze the gelatin leaves and stir them into the still-hot raspberry mixture and let dissolve completely. Spread about 3-4 tablespoons of the raspberry mixture on the cooled tart base. Set the rest aside to cool down to room temperature.
5. While the raspberry mixture is cooling whisk the heavy cream until stiff peaks form and then place it in the fridge until needed.
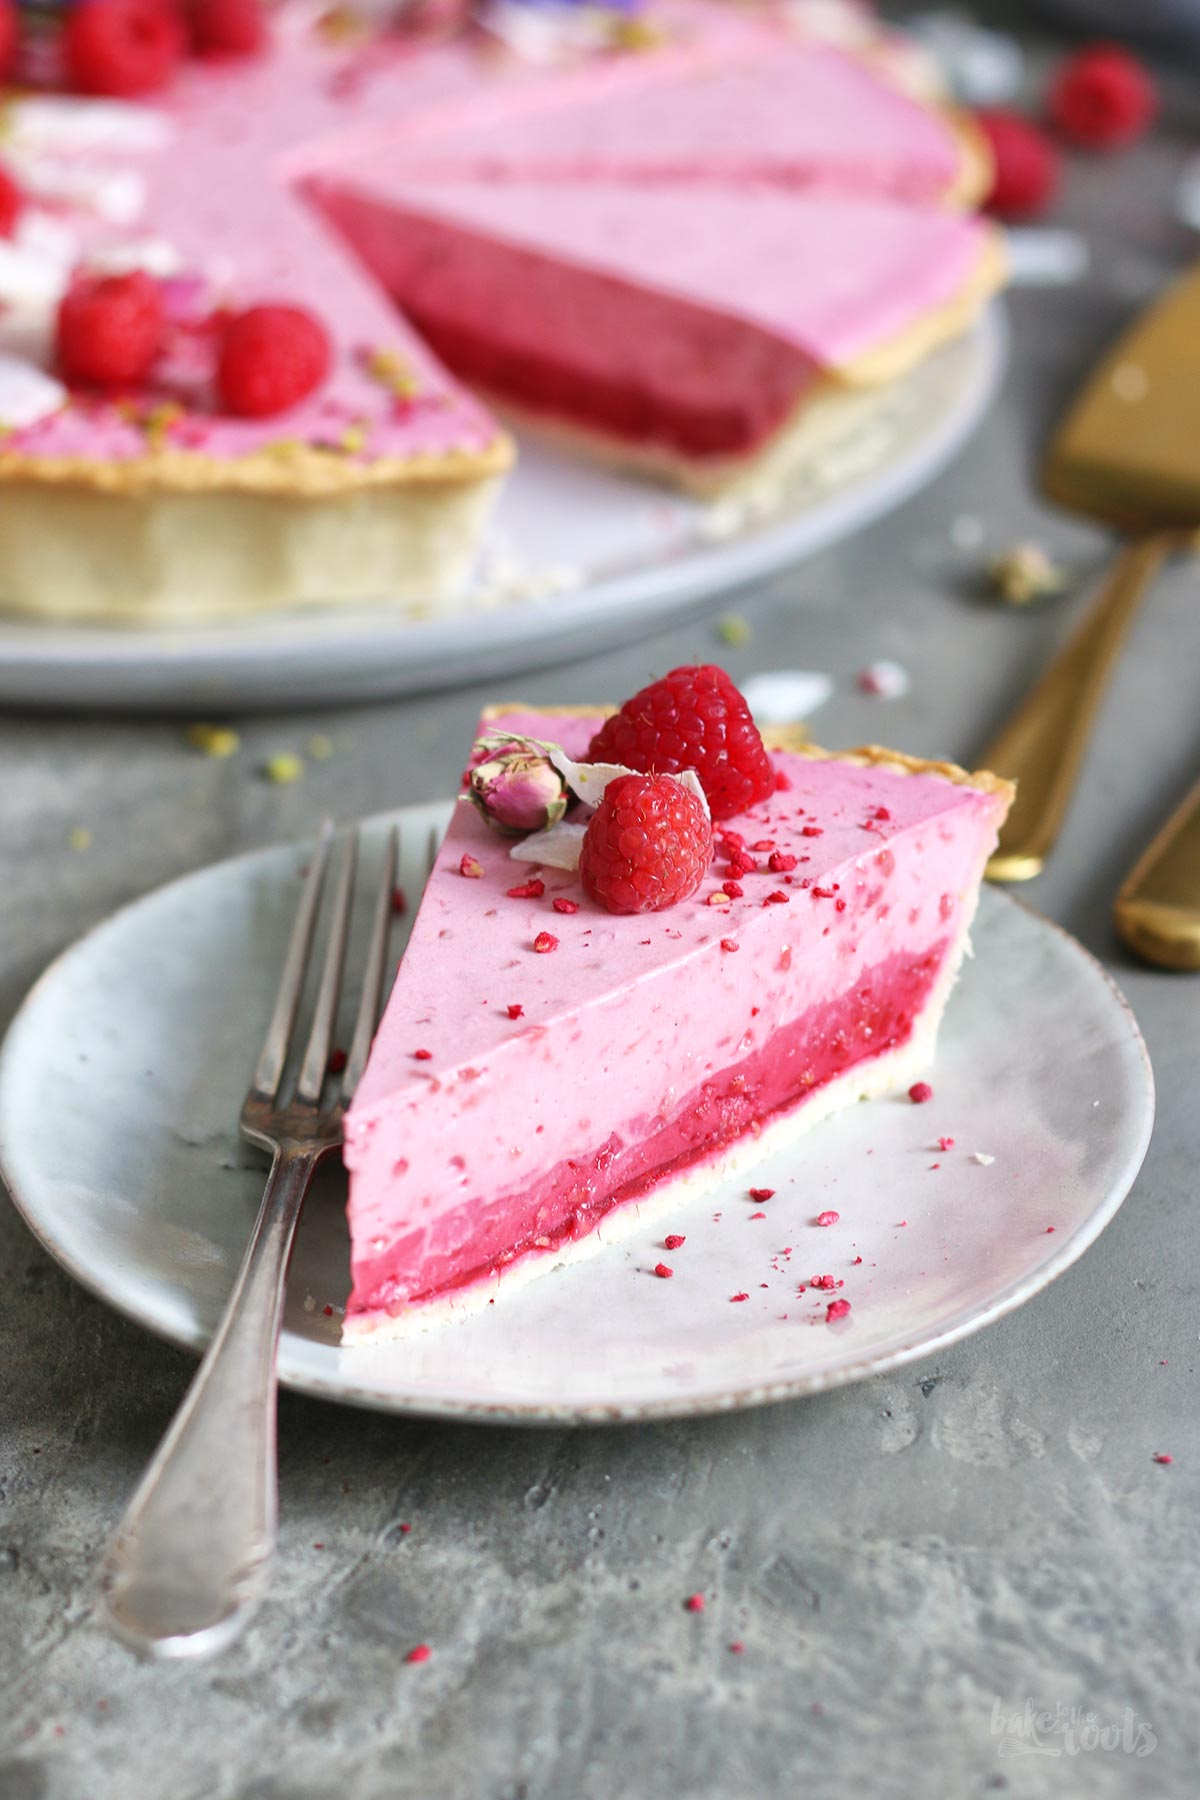
6. As soon as the raspberry mixture has reached room temperature, stir in the coconut yogurt. Pour about 1/3 of that mixture into the tart base and spread evenly. Place immediately in the fridge or (even better) in the freezer for several minutes. Fold the whipped cream into the rest of the raspberry mixture. When the layer in the tart pan has set a bit, carefully spread the raspberry mousse on the raspberry-coconut layer in the tart pan. It’s best to add only small amounts of the raspberry mouse starting on the outside and working your way to the center. You don’t want the two layers mixing. Smooth out the top and place the tart in the fridge for at least 4 hours (or overnight). Decorate with raspberries, etc., as desired before serving.
2. Den Teig auf einer leicht bemehlten Arbeitsfläche etwas größer als eine 26cm (10 inches) Tarteform oder Pieform ausrollen. Die Tarteform (Pieform) leicht einfetten, den Teig hineinlegen und am Boden und den Rändern festdrücken. Der Rand sollte mindestens 4cm (1.6 inches) hoch sein, damit später die Füllung komplett reinpasst. Überlappenden Teig am Rand entfernen und dann den Boden mehrmals mit einer Gabel einstechen. Abdecken und noch einmal etwa 30 Minuten in den Kühlschrank stellen.
3. Den Ofen auf 200°C (390°F) Ober-/Unterhitze vorheizen. Ein großes Stück Backpapier auf den Teig legen und dann die Form mit Backbohnen* oder trockenem Reis auffüllen. Den Boden dann für etwa 15 Minuten blindbacken, dann die Backbohnen/Reis mitsamt Backpapier entfernen und den Boden weitere 10-15 Minuten backen – der Boden sollte überall etwas Farbe bekommen haben. Aus dem Ofen holen und in der Form komplett abkühlen lassen.
4. Für die Füllung als Erstes die Gelatine vorbereiten und dafür etwa 5-7 Minuten in kaltem Wasser einweichen lassen. Die Himbeeren zusammen mit dem Zucker (oder Xylit) und Vanille Extrakt in einen kleinen Topf geben und erhitzen. Unter ständigem Rühren so lange köcheln lassen, bis die Himbeeren komplett zerfallen sind. Wer keine Kerne in der Mousse mag, sollte die Himbeermasse vor der weiteren Verwendung durch ein Sieb streichen (dann vielleicht auch ein paar Himbeeren mehr einkochen, um den “Verlust” auszugleichen). Die Gelatine leicht ausdrücken und dann in die noch heiße Himbeermasse einrühren – sie sollte sich komplett auflösen. Etwa 3-4 EL der Himbeermasse auf dem abgekühlten Tarteboden verstreichen. Den Rest zur Seite stellen und auf Zimmertemperatur abkühlen lassen.
5. Während die Himbeermasse abkühlt, kann man die Sahne schon einmal aufschlagen und im Kühlschrank zwischenparken.
6. Wenn die Himbeermasse in etwa Zimmertemperatur erreicht hat, den Kokosjoghurt unterrühren. Etwa 1/3 dieser Masse dann auf dem Boden der Tarteform verteilen und sofort in den Kühlschrank oder noch besser ins Eisfach stellen für einige Minuten. Unter den Rest der Masse vorsichtig die steif geschlagene Sahne unterheben. Wenn die Masse in der Tarteform etwas angezogen hat, die Himbeermousse vorsichtig auf der Himbeer-Kokos-Schicht in der Tarteform verteilen. Am besten löffelweise an den Rändern anfangen und dann zur Mitte vorarbeiten – arbeitet hier vorsichtig, damit sich die beiden Schichten nicht vermischen. Das Ganze mit einer Winkelpalette glatt streichen und dann für mindestens 4 Stunden (oder über Nacht) in den Kühlschrank stellen. Vor dem Servieren nach Belieben noch mit Himbeeren etc. dekorieren.
Craving more? Keep in touch on Facebook, Twitter, Instagram and Pinterest for new post updates and more. You can also contact me with any questions or inquiries!
Here is a version of the recipe you can print easily.
Print
Raspberry Coconut Mousse Tart
- Prep Time: 00:30
- Cook Time: 00:30
- Total Time: 08:00
- Yield: 12 1x
- Category: Tarts
- Cuisine: International
- Diet: Vegetarian
Description
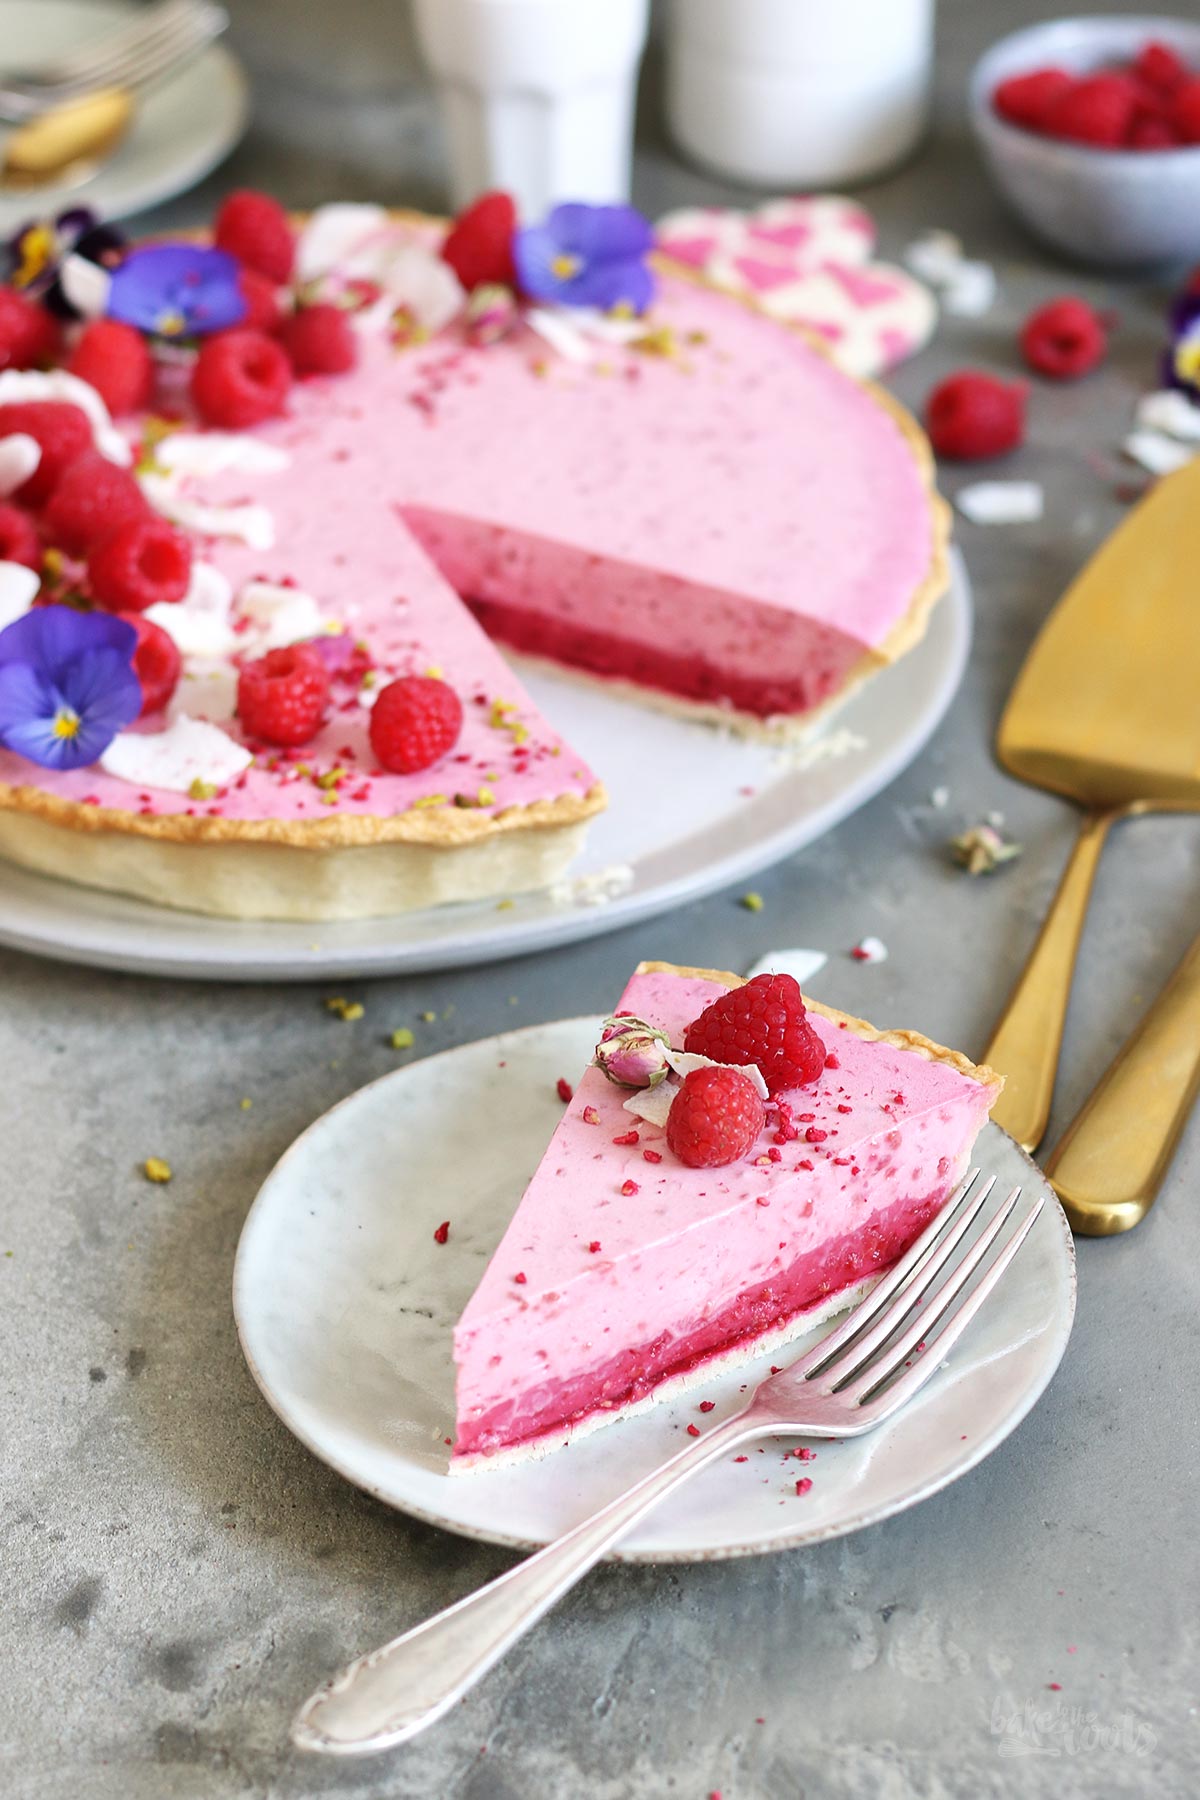
An absolute highlight on a hot summer day – this Raspberry Coconut Mousse Tart is super creamy, delicious, and very refreshing on a hot day. Also great in winter if you ask me ;P
Ingredients
For the dough:
2 1/3 cups (300g) all-purpose flour
1/4 tsp. salt
5.3 oz. (150g) cold butter, in pieces
2 medium egg yolks
4-5 tbsp. ice water
For the filling:
10 gelatine sheets (for 34 fl. oz.)
12.3 oz. (350g) raspberries (fresh or frozen)
2 tbsp. sugar (or xylitol*)
1 tsp. vanilla extract
14 oz. (400g) coconut yogurt*
7 oz. (200g) heavy cream
For the decoration (optional):
some fresh raspberries
some coconut flakes*
some edible flowers
chopped pistachios
freeze-dried raspberries*
Instructions
1. Mix the flour and salt in a bowl. Add the cold butter in small pieces and cut into even smaller pieces using a pastry blender*. Add the egg yolks and about 3-4 tablespoons of the ice water and mix with a fork, then knead with your hands to get a smooth dough. If the dough is very crumbly add a little more ice water. You should work quickly here to avoid the butter in the dough getting too warm. Wrap in plastic wrap and place in the fridge for about 30 minutes.
2. Roll out the dough on a lightly floured surface slightly larger than a 10 inches (26cm) tart tin or pie dish. Lightly grease the baking tin/dish, place the dough inside and press down on the bottom and sides. The edge should be at least 1.6 inches (4cm) high so the filling fits in later. Remove any overlapping dough and prick the bottom several times with a fork. Cover and refrigerate once more for about 30 minutes.
3. Preheat the oven to 390°F (200°C). Place a large piece of baking parchment on top of the dough and fill up with ceramic baking beans* or dry rice, for example. Blind bake the base for about 15 minutes, then remove the baking beans/rice along with the baking parchment and bake the base for another 10-15 minutes. The tart crust should have gotten some color all over. Remove from the oven and let cool completely.
4. For the filling let the gelatin leaves soak in cold water for about 5-7 minutes. Add the raspberries to a small saucepan together with the sugar (or xylitol) and vanilla extract. Heat up and stir constantly until the raspberries are soft and broken down. If you don’t like seeds in the mousse, you should press the raspberry mixture through a sieve – if you do, you should add some more raspberries, in the beginning, to compensate for the “loss”. Lightly squeeze the gelatin leaves and stir them into the still-hot raspberry mixture and let dissolve completely. Spread about 3-4 tablespoons of the raspberry mixture on the cooled tart base. Set the rest aside to cool down to room temperature.
5. While the raspberry mixture is cooling whisk the heavy cream until stiff peaks form and then place it in the fridge until needed.
6. As soon as the raspberry mixture has reached room temperature, stir in the coconut yogurt. Pour about 1/3 of that mixture into the tart base and spread evenly. Place immediately in the fridge or (even better) in the freezer for several minutes. Fold the whipped cream into the rest of the raspberry mixture. When the layer in the tart pan has set a bit, carefully spread the raspberry mousse on the raspberry-coconut layer in the tart pan. It’s best to add only small amounts of the raspberry mouse starting on the outside and working your way to the center. You don’t want the two layers mixing. Smooth out the top and place the tart in the fridge for at least 4 hours (or overnight). Decorate with raspberries, etc., as desired before serving.
Notes
Enjoy baking!
Links marked with an asterisk (*) are affiliate links (advertising/Werbung) to Amazon Germany. If you click on one of those links and buy something via this link, I will get a commission for that sale. The price of whatever you buy is not affected in any way by this.