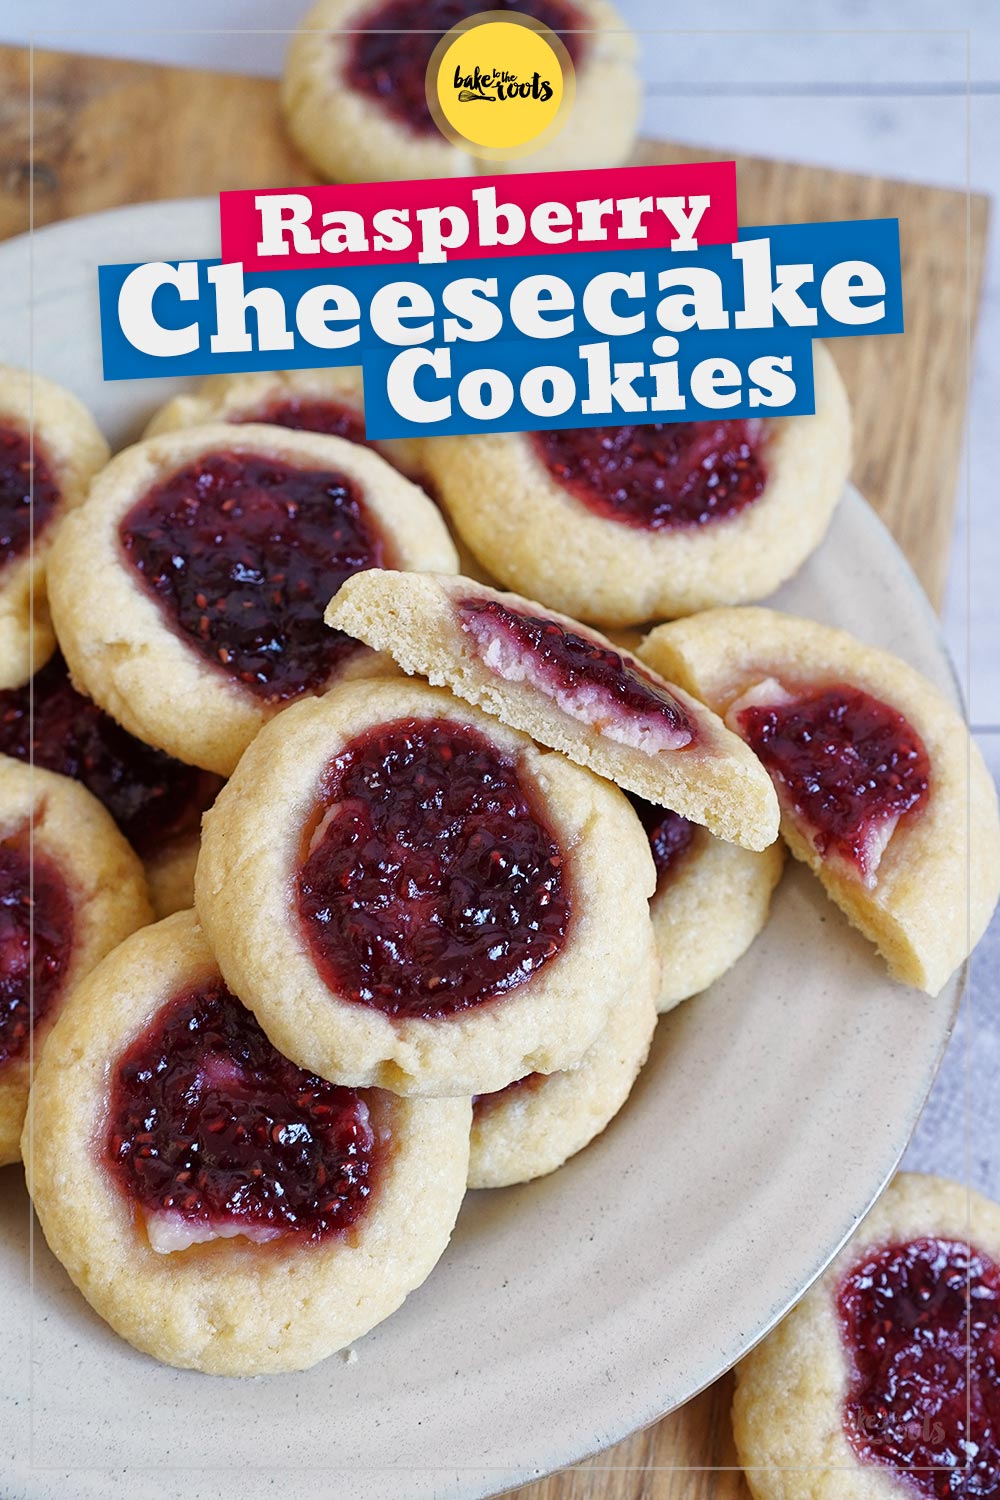
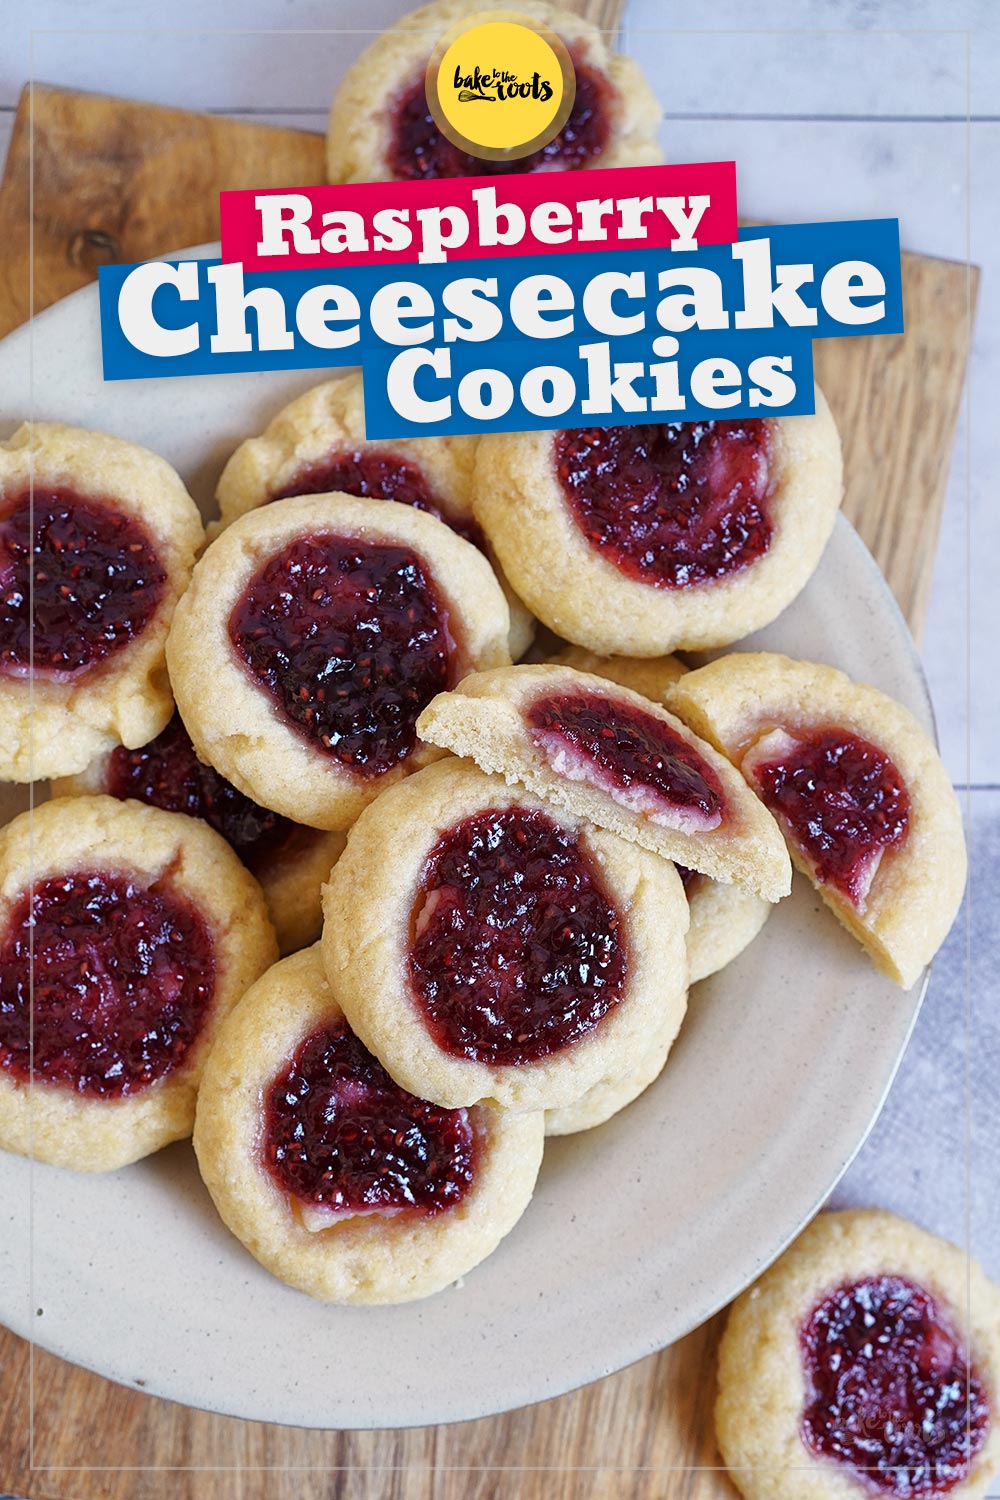
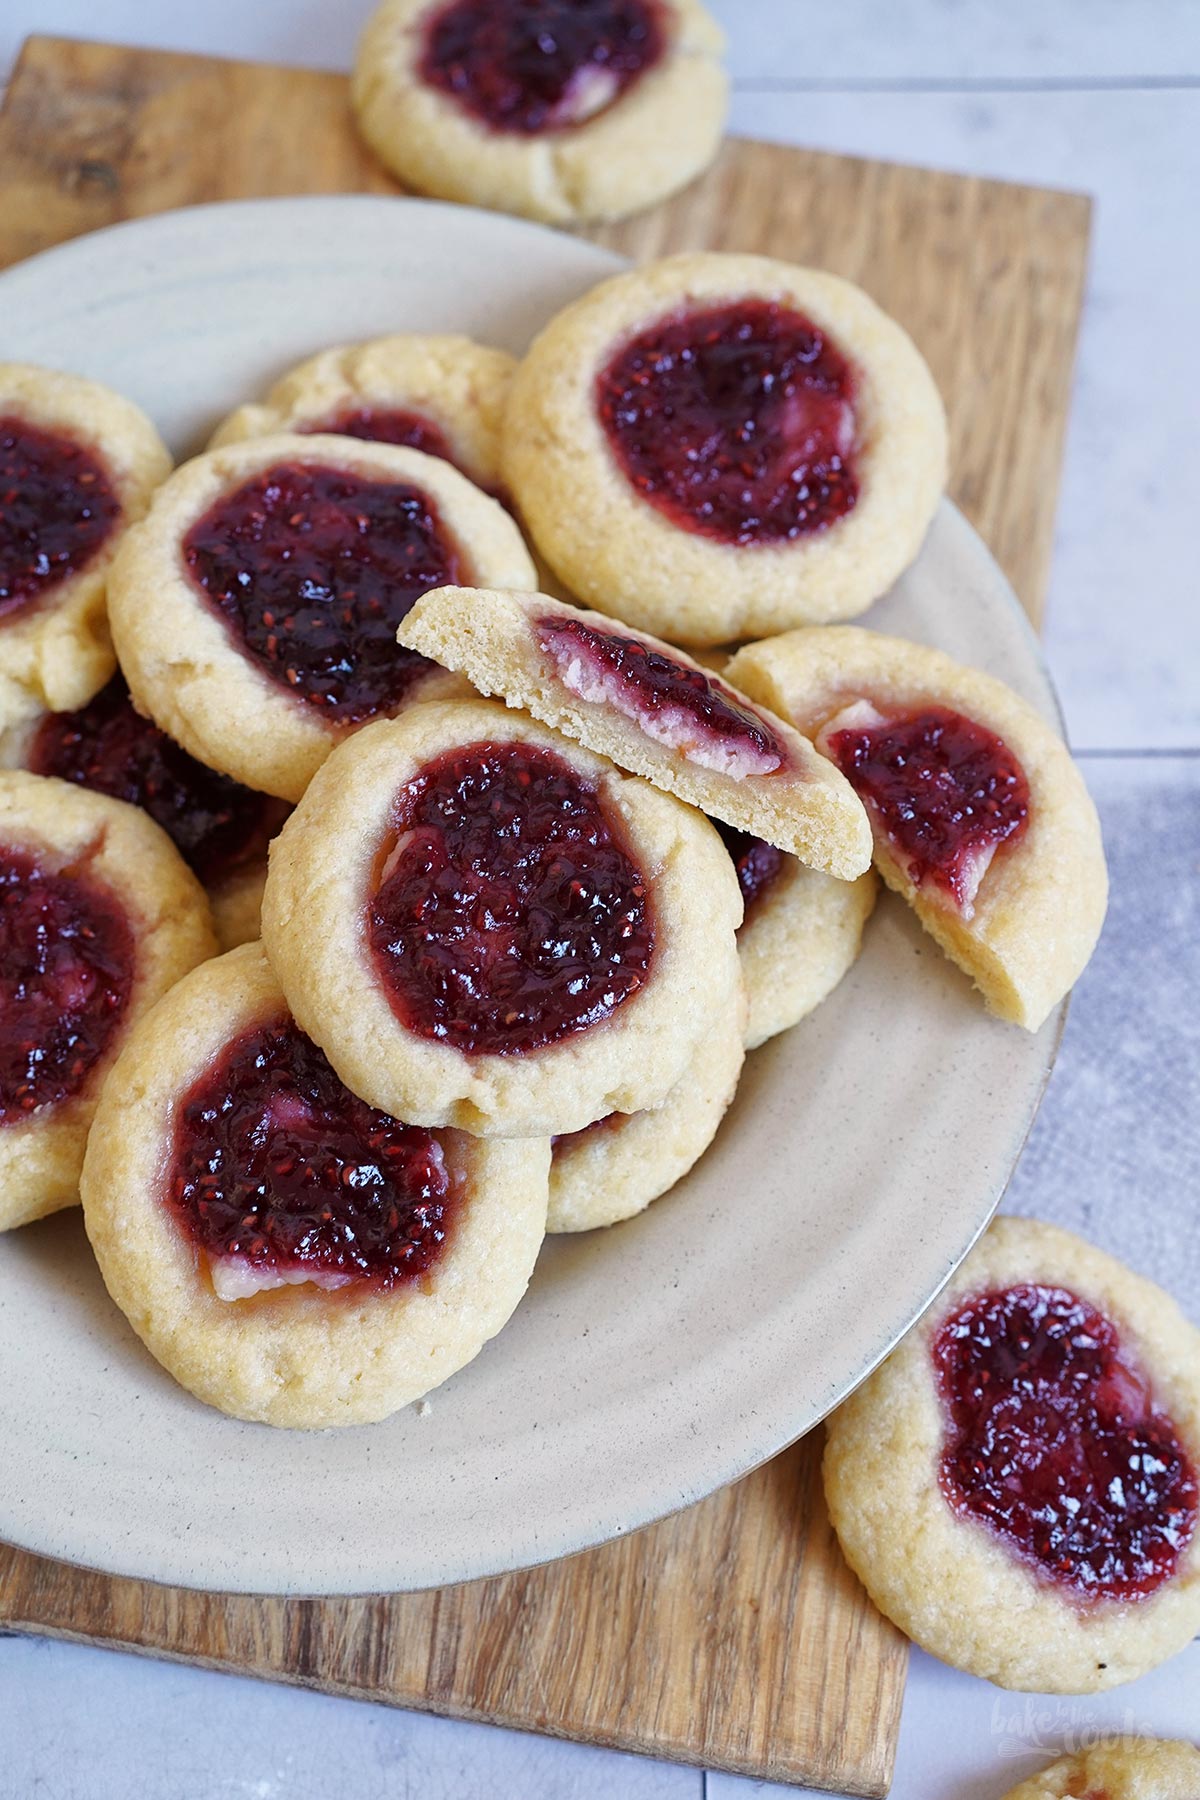
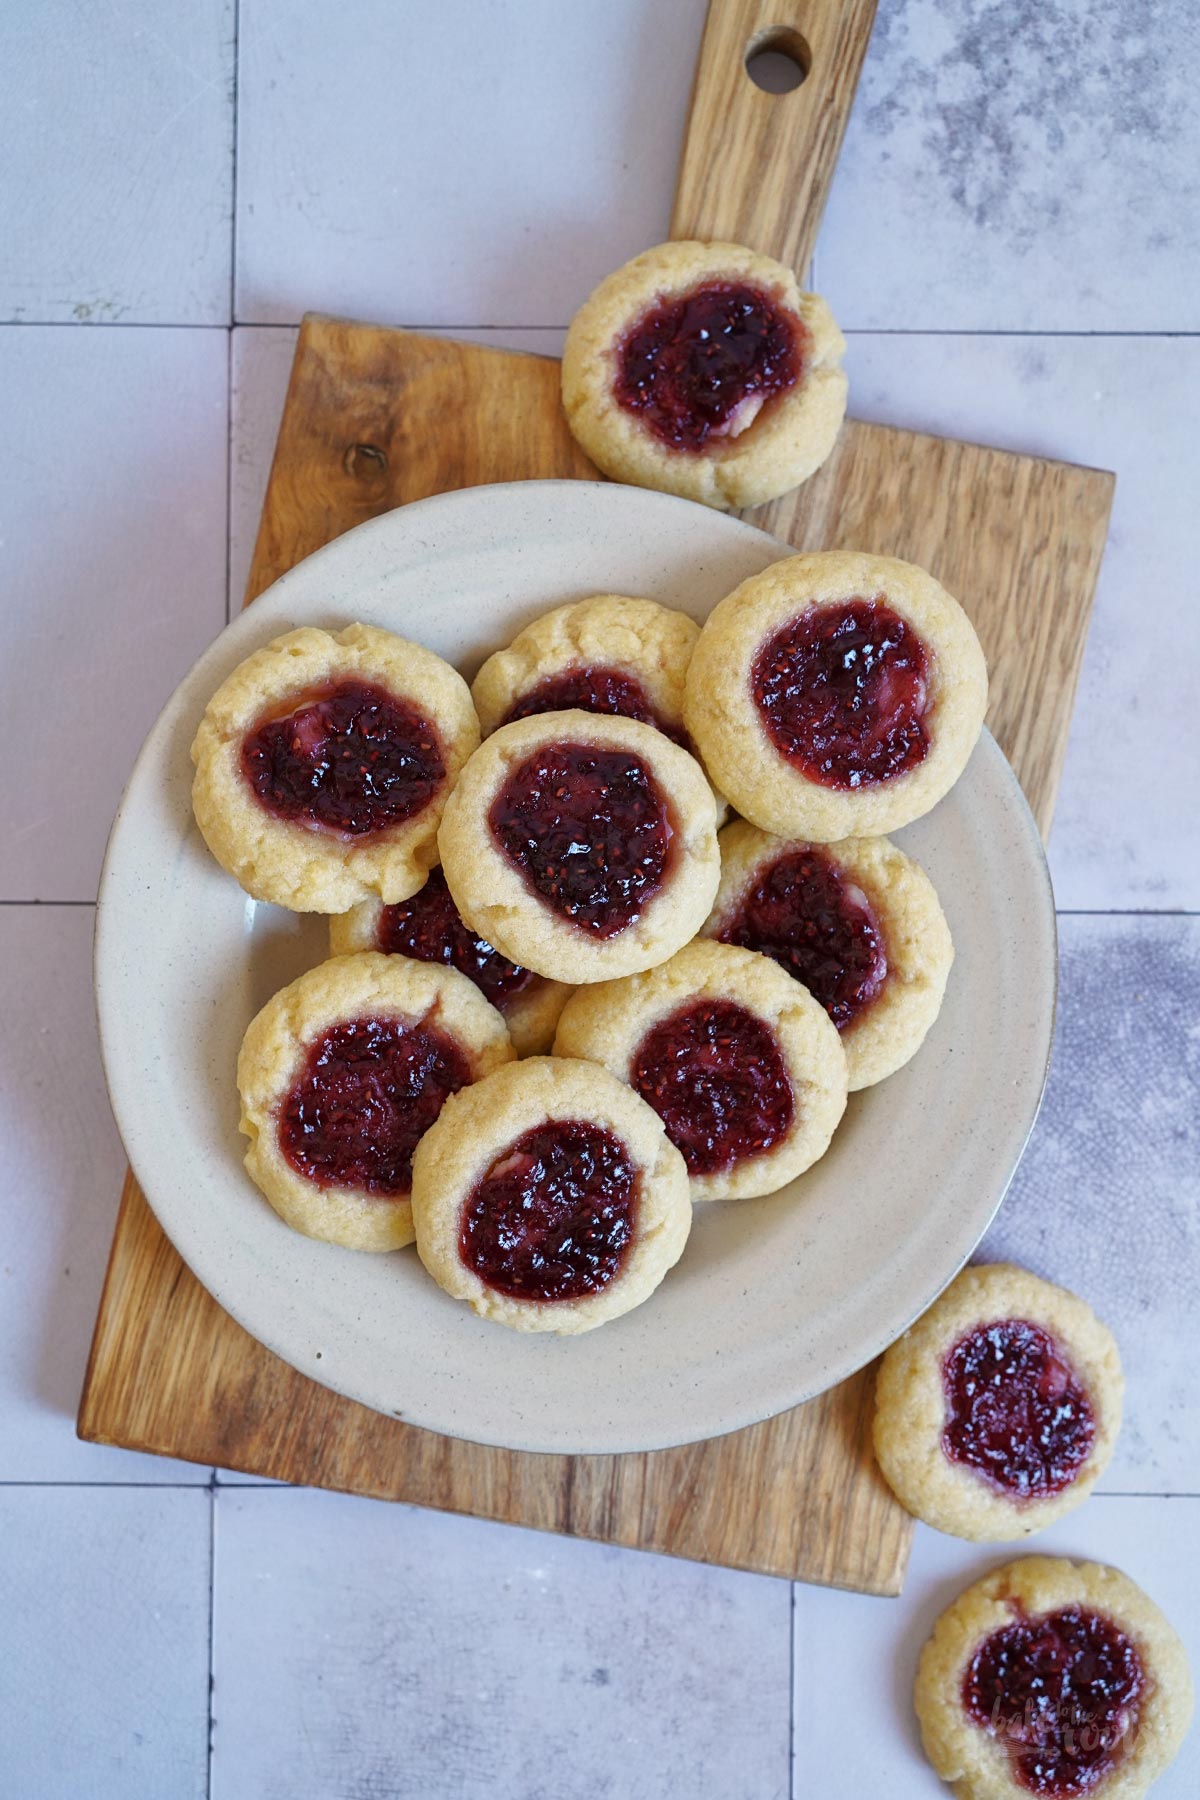
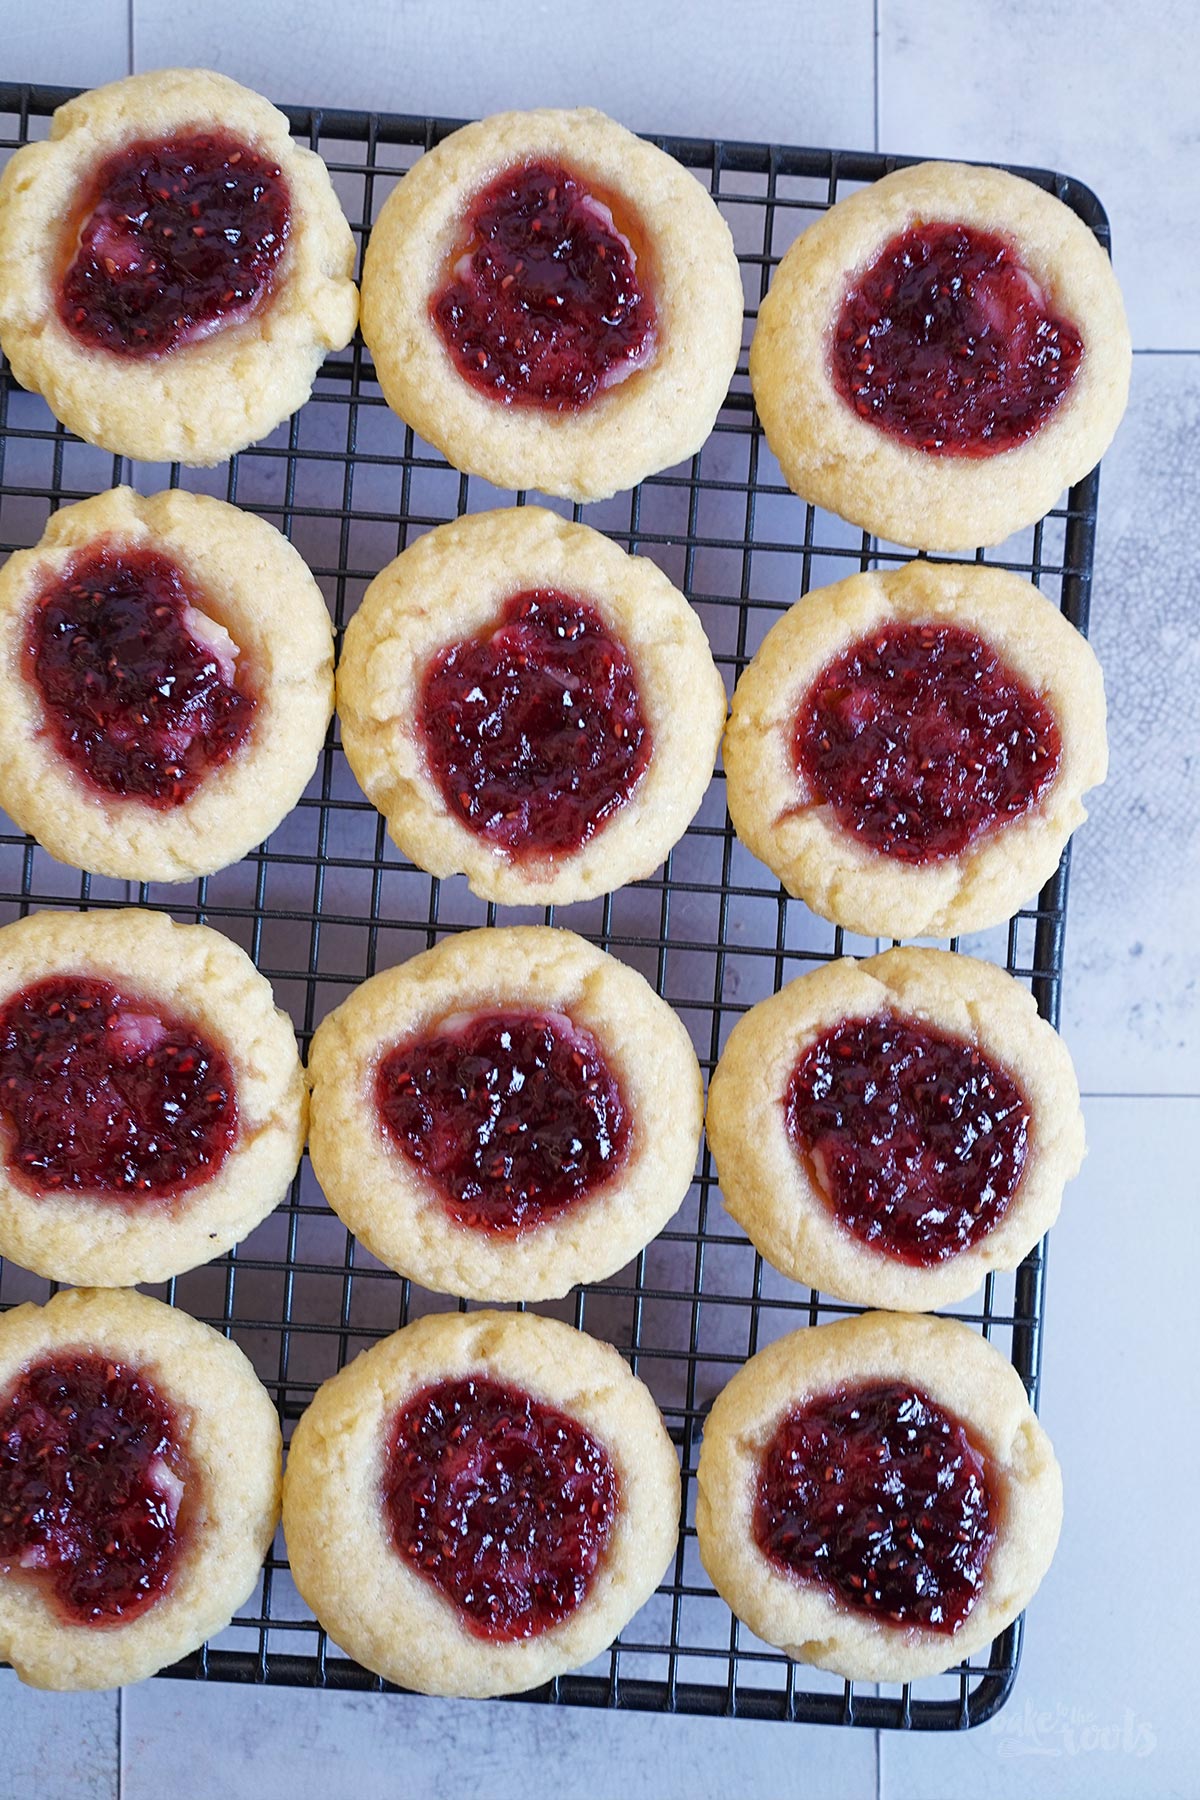
Is there anything better than freshly baked cookies? Perhaps one thing – cookies with a cream cheese and jam filling! These Raspberry Cheesecake Thumbprint Cookies are simply delicious! The buttery taste of the cookie dough is combined with a slightly tart, fruity filling – so good! You can serve them as part of a cozy coffee break or wrap them up as a gift and surprise someone. The best thing about these cookies, they are much easier to make than they might look.
Thumbprint cookies are quite versatile. You shape a simple cookie dough into balls, then you press your thumb into the dough to create a depression and fill it with something. Filling the depression can be done before or after baking. The possibilities for the filling are practical endless. Jam, chocolate, something with nuts, caramel, custard… so much you can do.
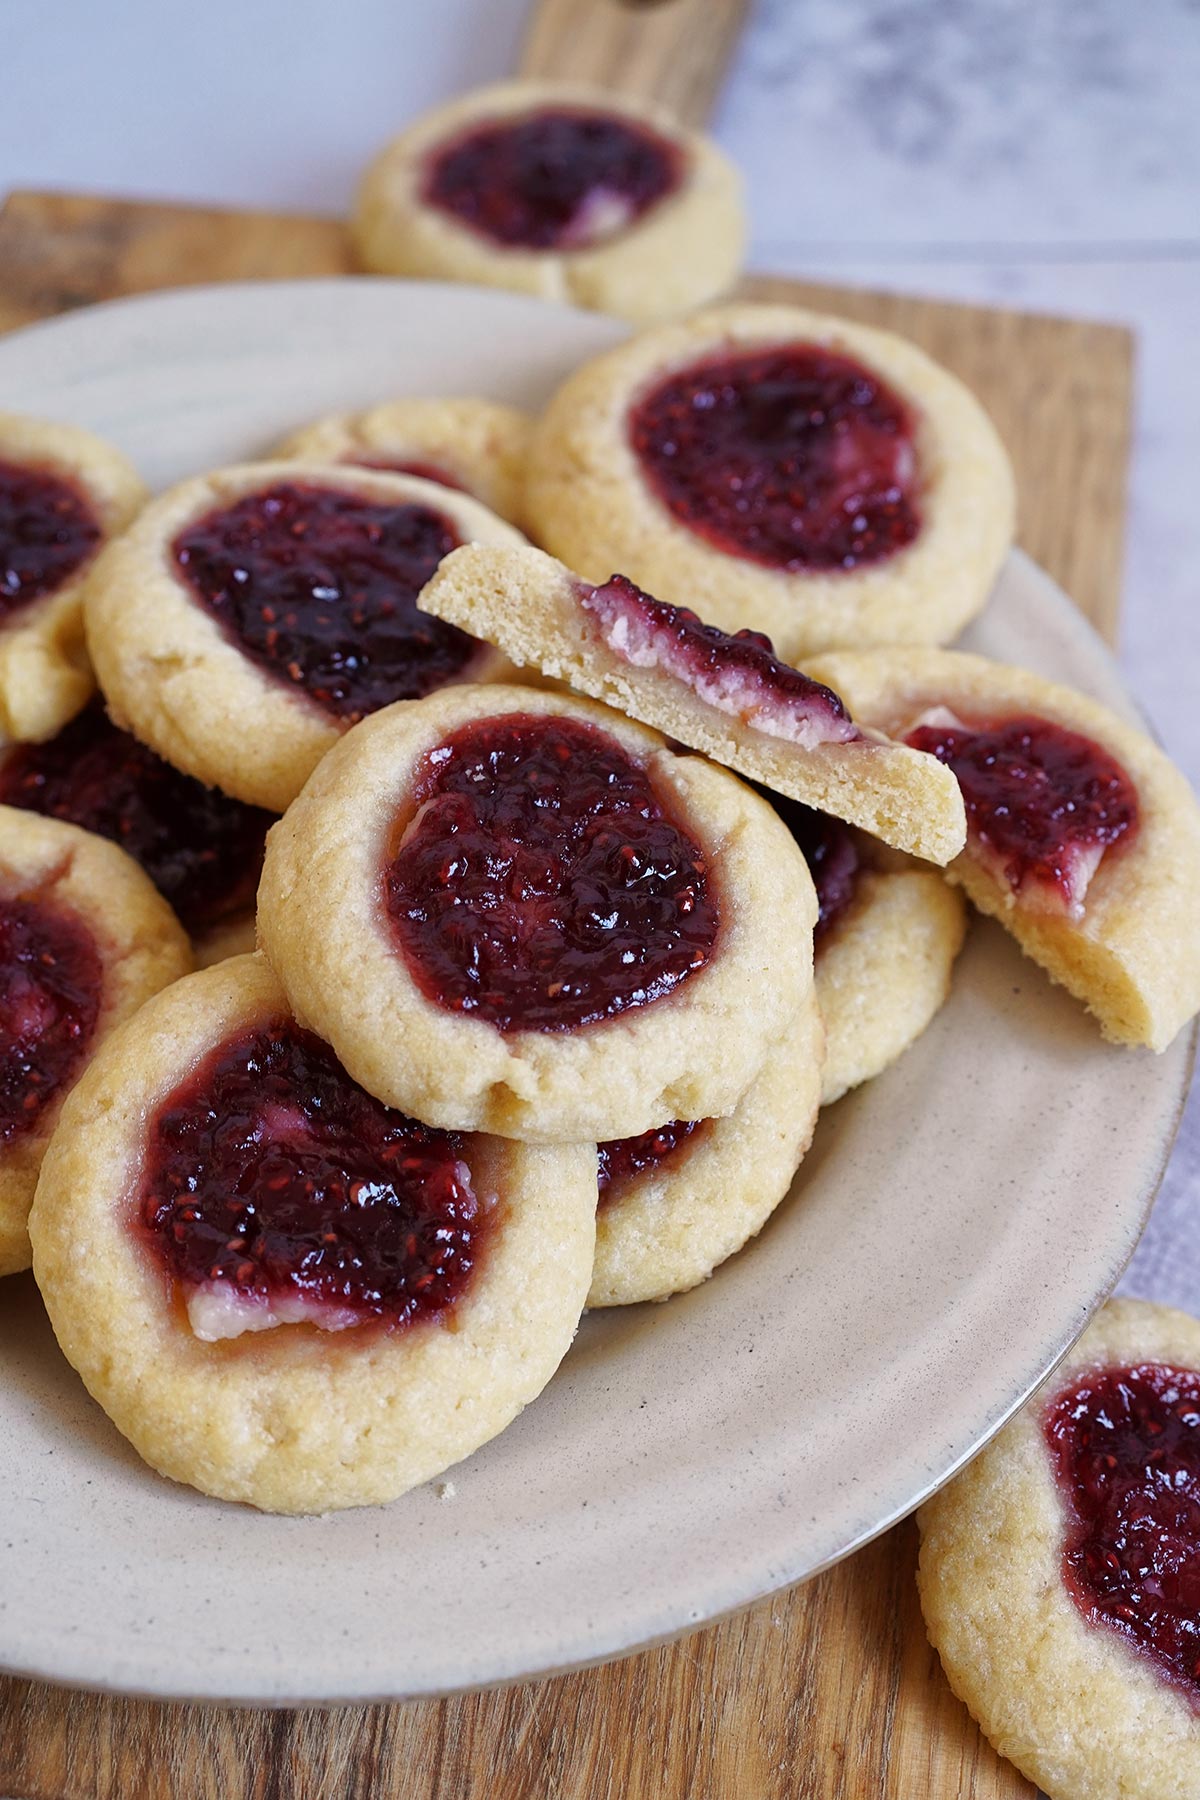
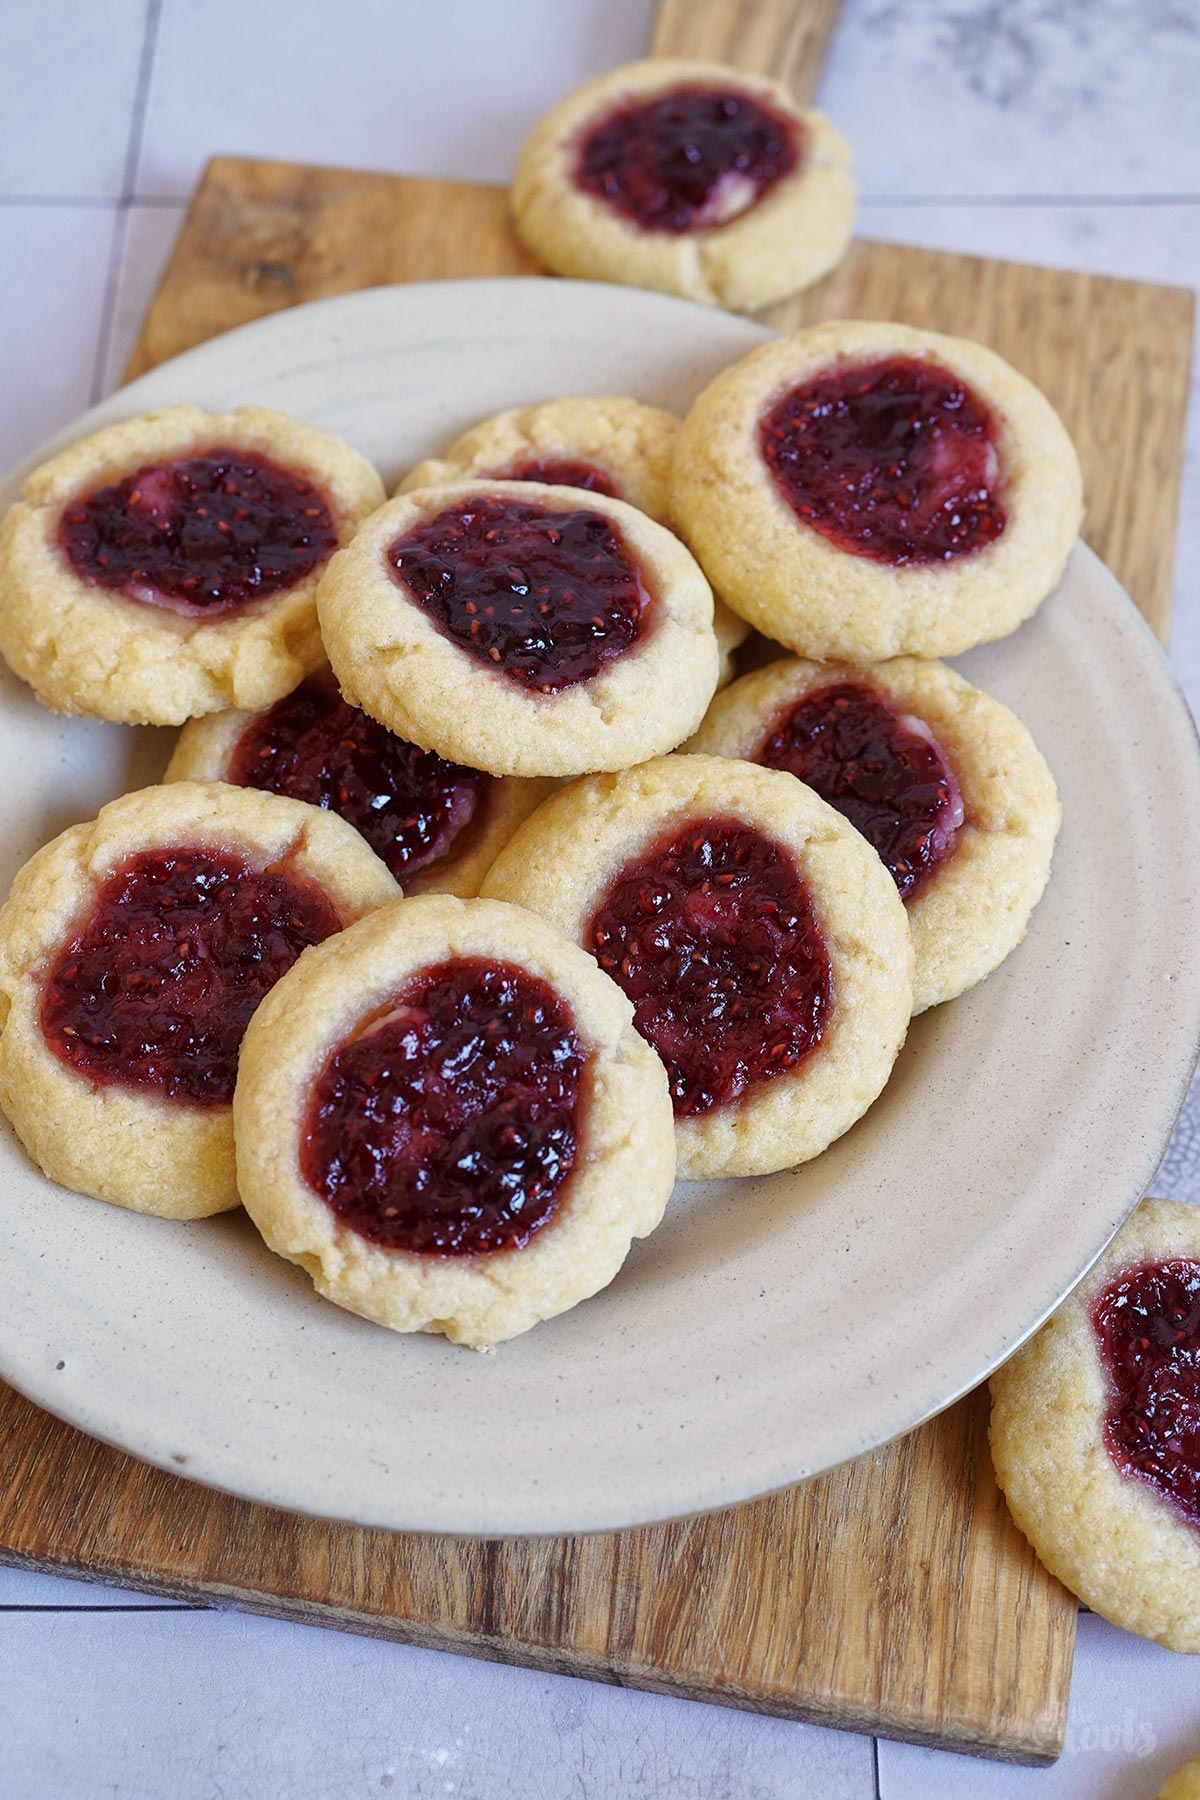
We have opted here for a combination of cream cheese and raspberry jam. You could say these cookies are actually tiny little cheesecakes. The big regular cheesecakes are not much more – a shortcrust base, a cream cheese filling and, ideally, some raspberry sauce or maybe even fresh berries on top. The combination is simply awesome!
If you read the recipe, you will notice that you can be relatively generous when adding the cream cheese and jam to the cookies. It looked like little red mountains on cookie dough. If you stay in the center of the cookies, that should be fine. The cookie dough spreads a little, so the depression in the center gets bigger and the filling has room to spread as well. Just stay away from the edges of the cookies, that’s all.
If you’re not sure how much filling you can fit into the depression, you might want to do a test bake with a cookie or two first. That can help you to determine how much a cookie can take. This approach is actually always a good idea if you have something with a filling that could possibly overflow. After all, you want the cookies to look nice and clean in the end.

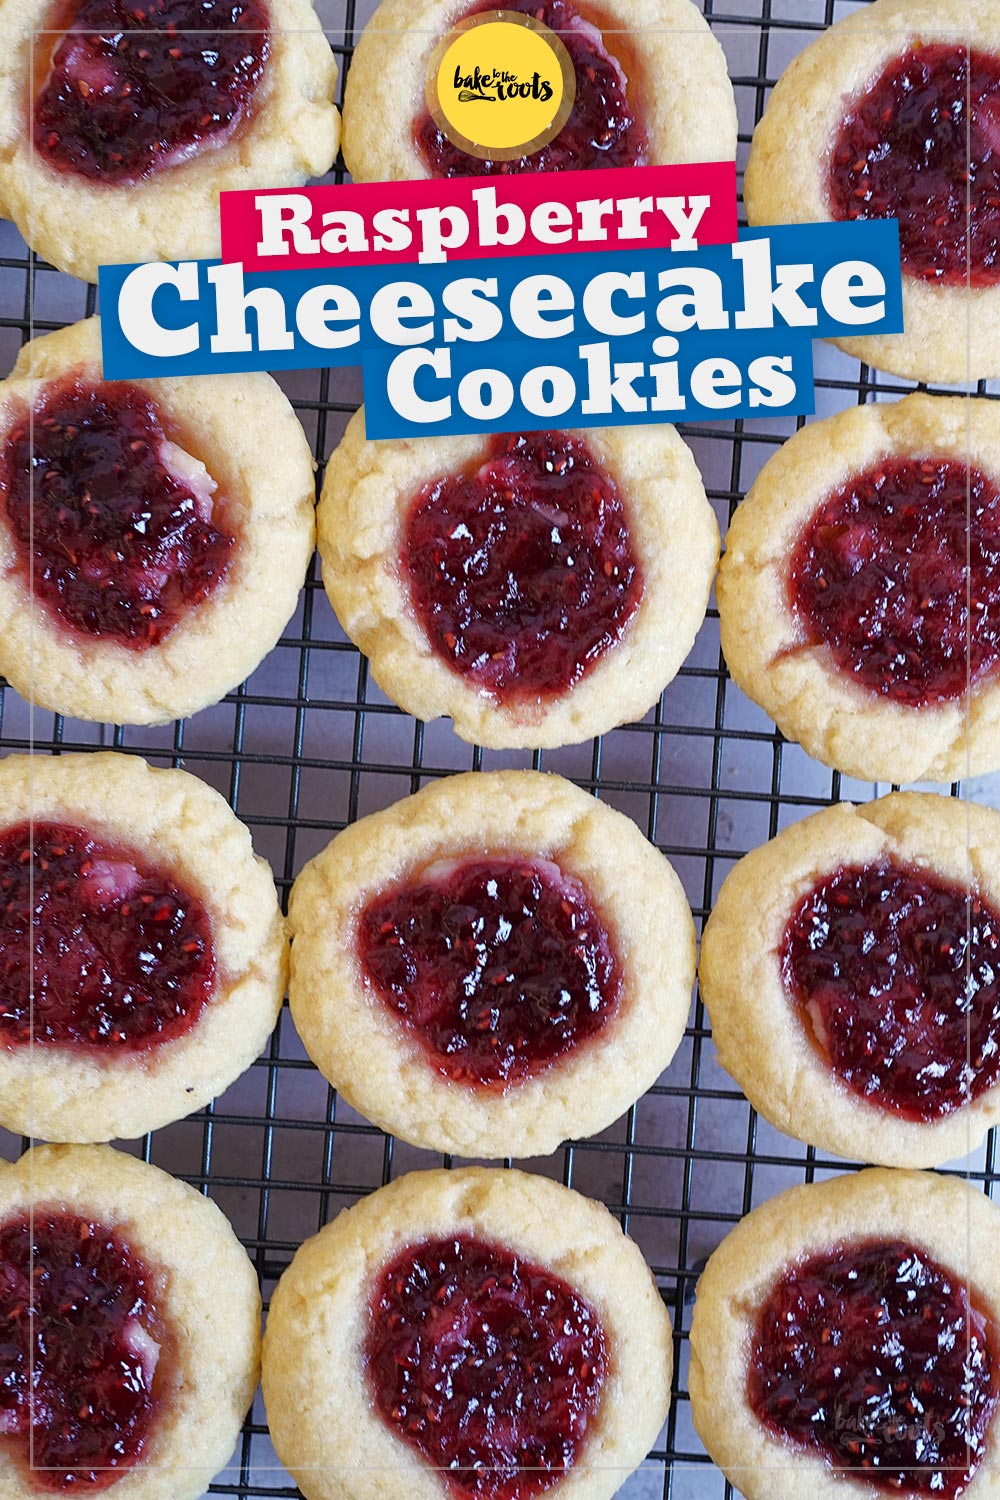
The cookies will be pretty soft when coming out of the oven – do not skip the cooling time on the baking sheet. Even when cooled, the cookies here are softer than other cookies, especially when they are stored a little longer. This is due to the filling and the moisture it is giving to the cookie dough, but it’s not a bad thing. Make sure to store them with layers of sandwich paper in between so the jam on top of the cookies is not sticking to other cookies. The jam will get firmer and less sticky after a while, but it won’t dry out completely.
Speaking of soft cookies – if you want to add some additional texture to the cookies, you could sprinkle them with a few chopped nuts before baking. Just a recommendation.
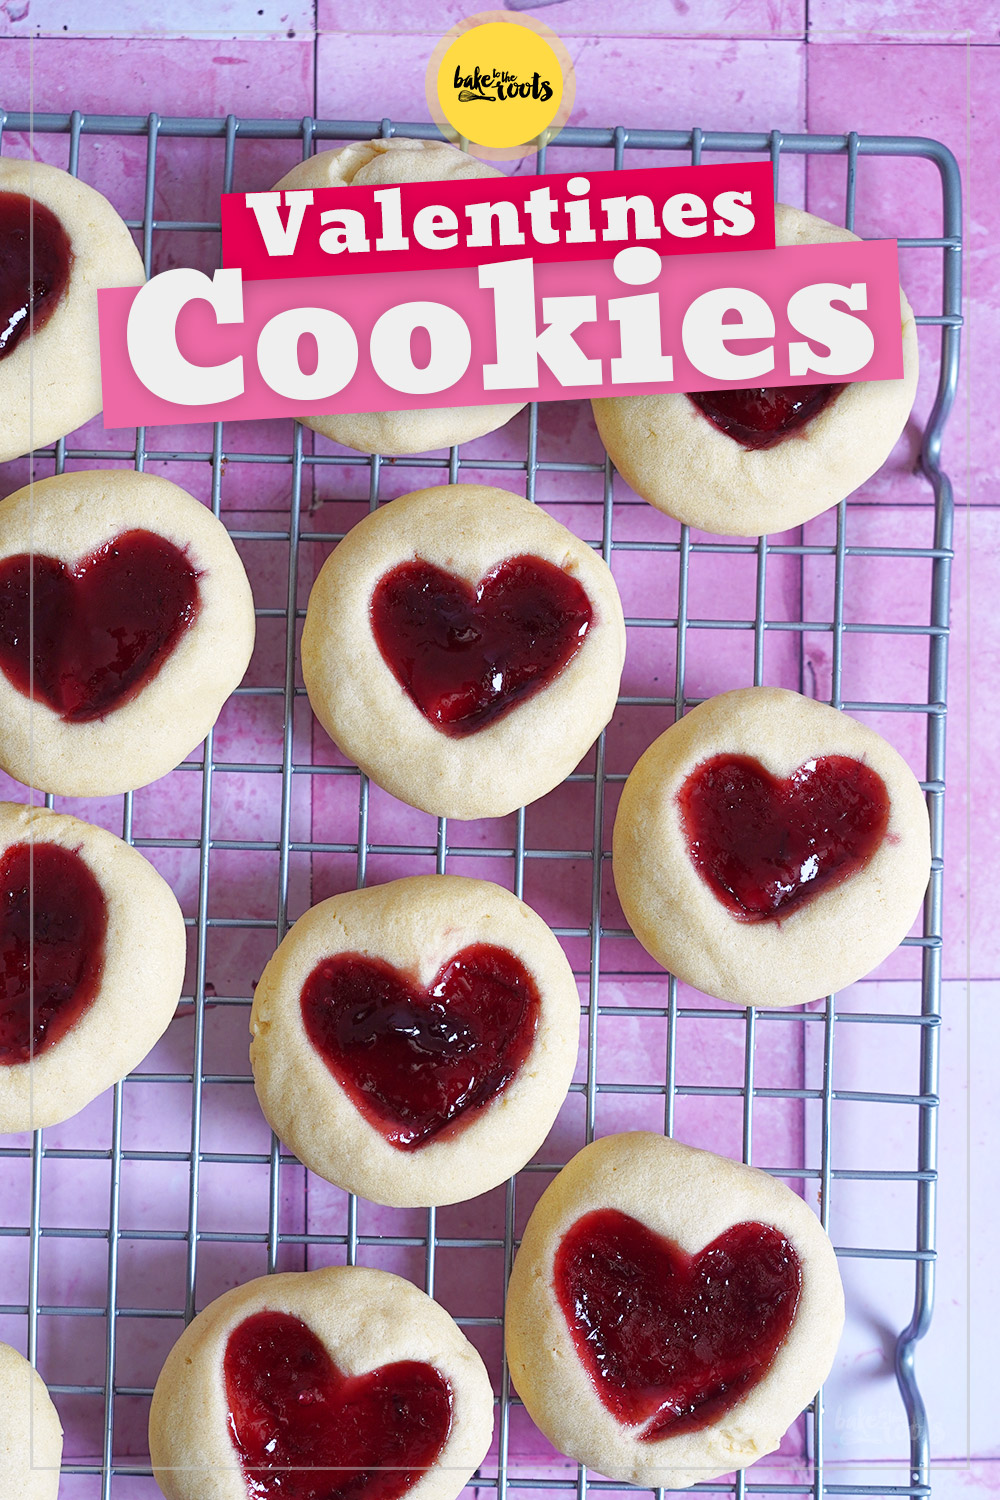
As already mentioned, you can add lots of different fillings to thumbprint cookies. We got a few examples on the blog. Our Heart Thumbprint Cookies are similar to these ones here, but different.
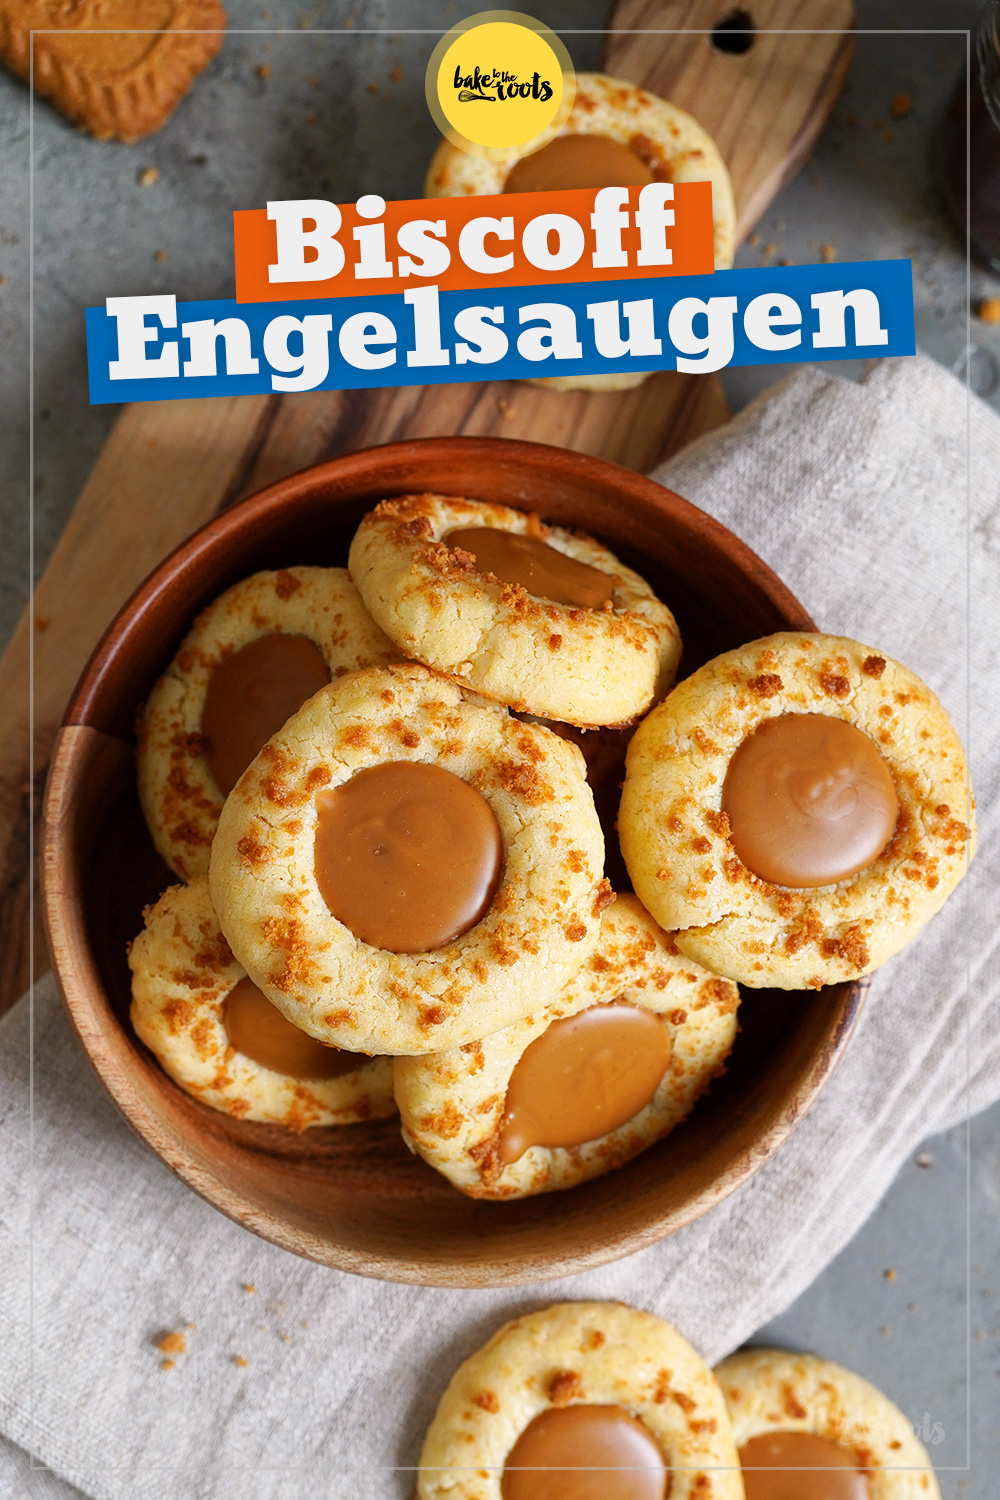
Thumbprint cookies that are filled after being baked are, for example, our Easy Biscoff Thumbprint Cookies. So good!
INGREDIENTS / ZUTATEN
(about 17 cookies)
For the cookie dough:
1/2 cup (120g) margarine
1/3 cup (70g) sugar
1/2 tsp. vanilla extract*
1 1/4 cups (160g) all-purpose flour*
1/8 tsp. salt
For the filling/topping:
2.1 oz. (60g) cream cheese, softened
1 tbsp. confectioners’ sugar*
1/8 tsp. vanilla extract*
2.1-2.8 oz. (60-80g) raspberry jam*
(etwa 17 Kekse)
Für den Teig:
120g Margarine
70g Zucker
1/2 TL Vanille Extrakt*
160g Mehl (Type 405)*
1/8 TL Salz
Für die Füllung/Belag:
60g Frischkäse
1 EL Puderzucker*
1/8 TL Vanille Extrakt*
60-80g Himbeermarmelade*
DIRECTIONS / ZUBEREITUNG
1. Preheat the oven to 180°C (350°F). Line a baking sheet with baking parchment and set aside.
2. In a large bowl, mix margarine, sugar, and vanilla extract until light and fluffy. Add the flour and salt and mix/knead until you get a nice and smooth dough. Divide the dough into 17 portions and shape each into a ball. Place the balls with some space in between on the baking sheet (the cookies spread a little) and press your thumb or something similar into the center of each ball to create an indention. You want the indention to have a good size so it can hold enough filling.
3. Mix the cream cheese with the confectioners’ sugar and vanilla extract. Add a small portion to each indention and top that with raspberry jam. You can pile up the filling quite a bit, just make sure it stays in the center so it does not spill over the edges. If you are not sure how much you can add, prepare a test cookie and bake that one alone. When everything is ready, bake the cookies for 13-14 minutes. The cookies should have spread a bit, with the filling sitting nicely in the center. Take them out of the oven and let them cool down a bit on the baking sheet, then transfer them to a wire rack and let cool down completely.
1. Den Ofen auf 180°C (350°F) Ober-/Unterhitze vorheizen. Ein Backblech mit Backpapier auslegen und zur Seite stellen.
2. Margarine, Zucker und Vanille Extrakt in einer großen Schüssel hell und luftig aufschlagen. Mehl und Salz dazugeben und mit den restlichen Zutaten vermengen bzw. verkneten, bis ein glatter Teig entsteht. Den Teig dann in 17 Portionen aufteilen und jeweils zu einer Kugel formen. Die Kugeln mit etwas Abstand zueinander auf das Backblech setzen (sie laufen ein wenig auseinander) und dann mit dem Daumen o.Ä. eine Vertiefung in die Kugeln drücken. Die Mulde darf hier ruhig etwas größer sein, damit auch gut was reinpasst.
3. Den Frischkäse mit Puderzucker und Vanille Extrakt verrühren. In jede Teigmulde etwas Frischkäse einfüllen und diesen dann mit Himbeermarmelade bedecken. Es ist ok, wenn Frischkäse und Marmelade hier etwas aufgetürmt werden, es sollte allerdings alles in der Mitte bleiben und nicht über den Rand der Mulde hinausgehen. Wer sich nicht sicher ist, kann erst einmal einen Testkeks alleine backen und schauen, ob alles passt. Die befüllten Cookies dann für etwa 13-14 Minuten im vorgeheizten Ofen backen. Die Kekse sollten etwas auseinander gelaufen sein, die Füllung sollte aber schön in der Mitte sitzen. Aus dem Ofen holen und kurze Zeit auf dem Blech abkühlen lassen, dann auf ein Kuchengitter setzen und komplett auskühlen lassen.

Craving more? Keep in touch on Facebook, Instagram and Pinterest for new post updates and more. You can also contact me with any questions or inquiries!
Here is a version of the recipe you can print easily.
Print
Raspberry Cheesecake Thumbprint Cookies
- Prep Time: 00:15
- Cook Time: 00:24
- Total Time: 00:30
- Yield: 17 1x
- Category: Cookies
- Method: -
- Cuisine: International
- Diet: Vegetarian
Description
These Raspberry Cheesecake Thumbprint Cookies are easy to prepare and really delicious – cookies to enjoy all year round!
Ingredients
For the cookie dough:
1/2 cup (120g) margarine
1/3 cup (70g) sugar
1/2 tsp. vanilla extract*
1 1/4 cups (160g) all-purpose flour*
1/8 tsp. salt
For the filling/topping:
2.1 oz. (60g) cream cheese, softened
1 tbsp. confectioners‘ sugar*
1/8 tsp. vanilla extract*
2.1-2.8 oz. (60-80g) raspberry jam*
Instructions
1. Preheat the oven to 180°C (350°F). Line a baking sheet with baking parchment and set aside.
2. In a large bowl, mix margarine, sugar, and vanilla extract until light and fluffy. Add the flour and salt and mix/knead until you get a nice and smooth dough. Divide the dough into 17 portions and shape each into a ball. Place the balls with some space in between on the baking sheet (the cookies spread a little) and press your thumb or something similar into the center of each ball to create an indention. You want the indention to have a good size so it can hold enough filling.
3. Mix the cream cheese with the confectioners‘ sugar and vanilla extract. Add a small portion to each indention and top that with raspberry jam. You can pile up the filling quite a bit, just make sure it stays in the center so it does not spill over the edges. If you are not sure how much you can add, prepare a test cookie and bake that one alone. When everything is ready, bake the cookies for 13-14 minutes. The cookies should have spread a bit, with the filling sitting nicely in the center. Take them out of the oven and let them cool down a bit on the baking sheet, then transfer them to a wire rack and let cool down completely.
Notes
Get your bake on!
Links marked with an asterisk (*) are affiliate links (advertising/Werbung) to Amazon Germany. If you click on one of those links and buy something via this link, I will get a commission for that sale. The price of whatever you buy is not affected in any way by this.