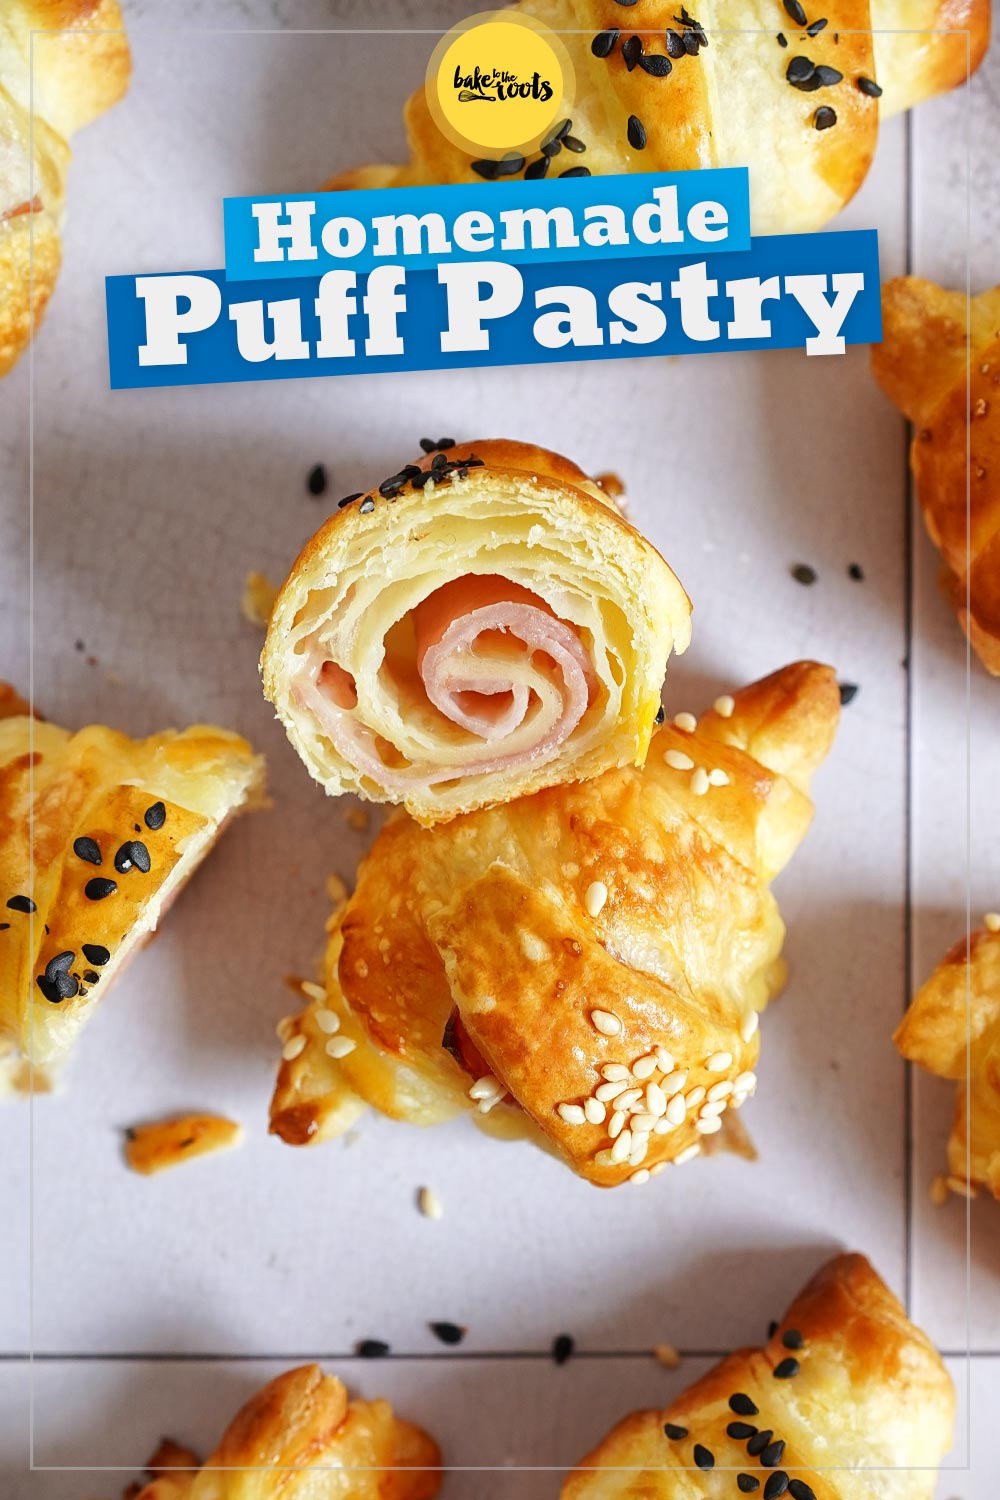
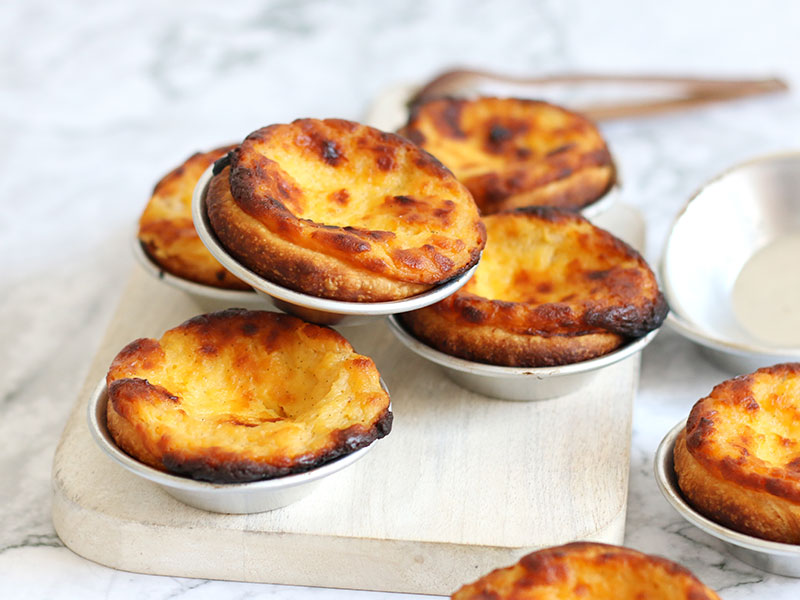
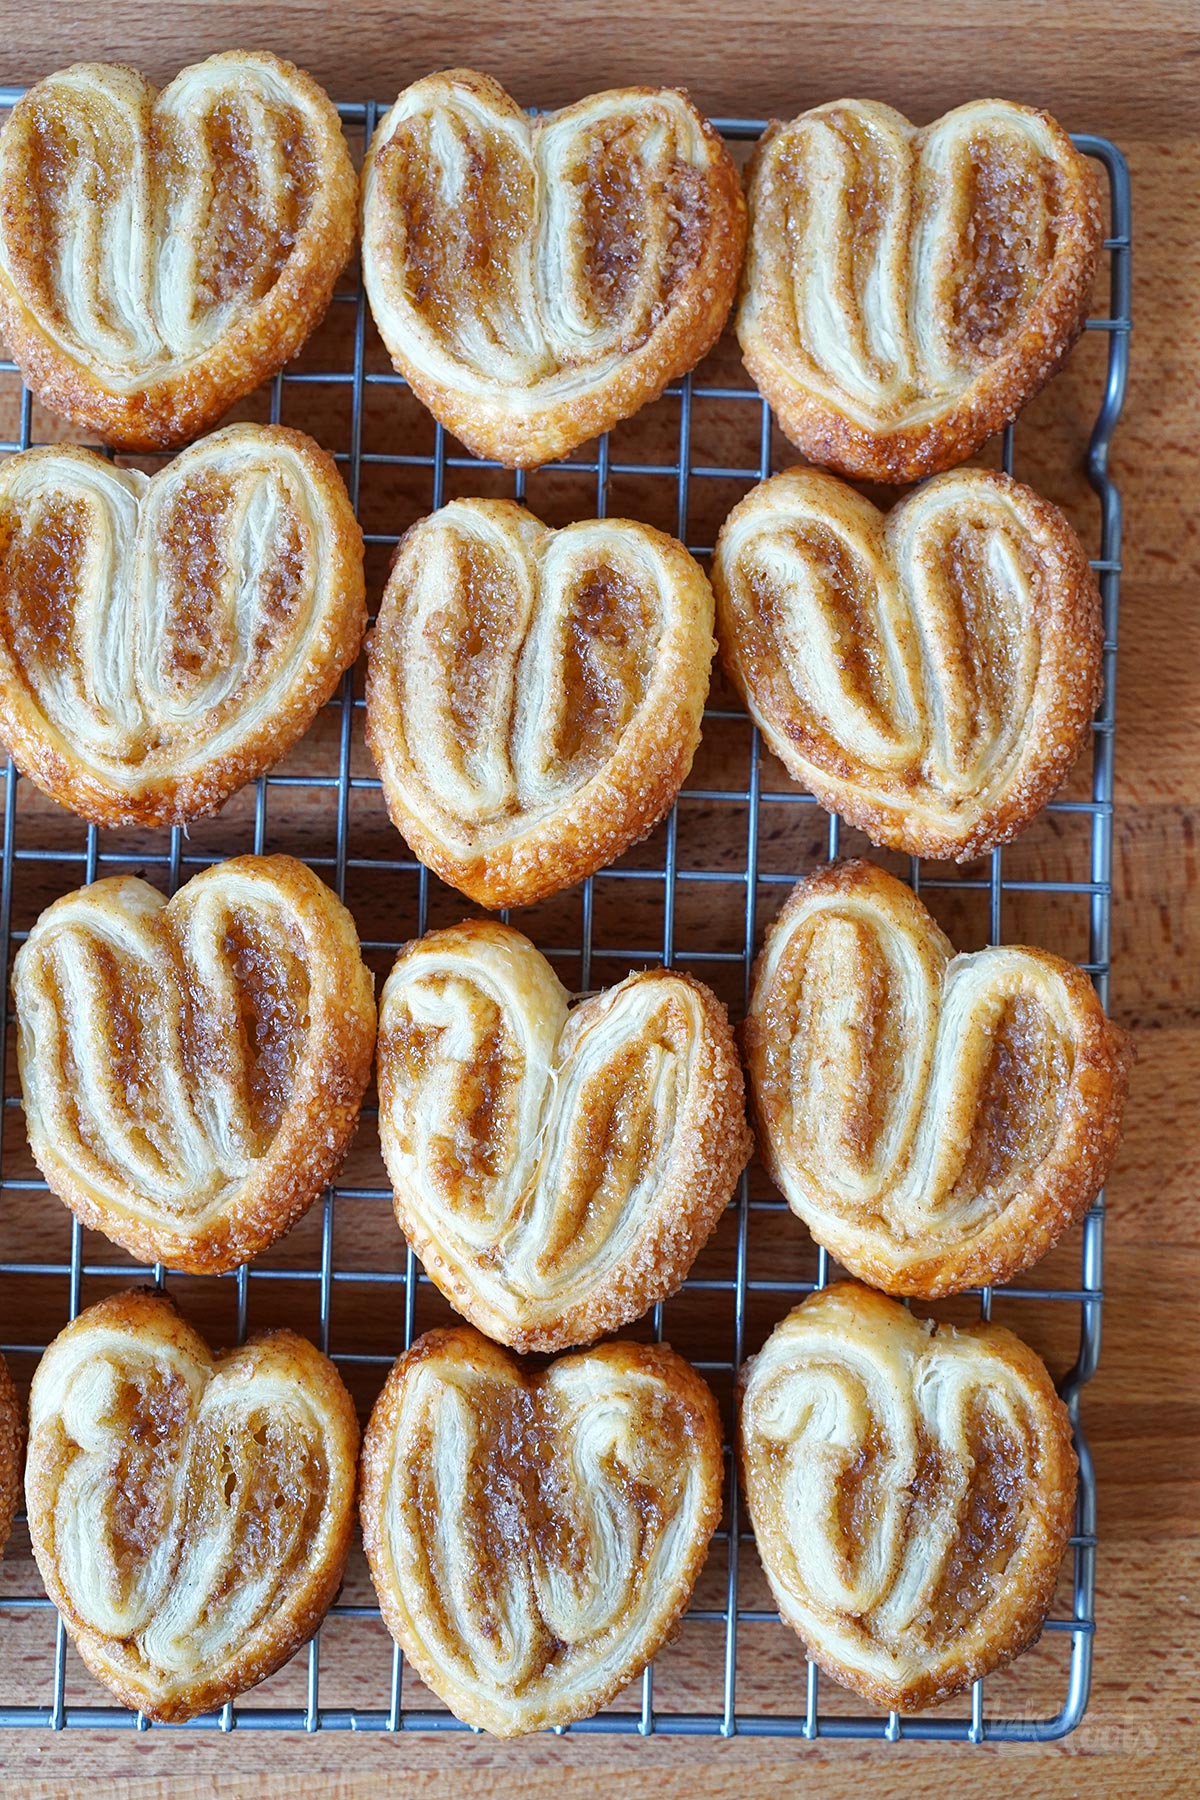
There is so much you can do with puff pastry dough aka. Pâte feuilletée – sweet or savory doesn’t matter. Small pastries with fruits or berries, something hearty with ham and cheese, tarts, and so much more. Saying that – only very few people will make puff pastry dough themselves on a regular basis. Preparing Homemade Puff Pastry at home is not very complicated, it’s just a bit time-consuming.

Anyone who says that puff pastry is too difficult to prepare has never made puff pastry, let’s be honest. Preparing this type of dough is no rocket science – you just need a little patience and (above all) some spare time. That’s all. The preparation itself is very simple in principle. If you follow the instructions.
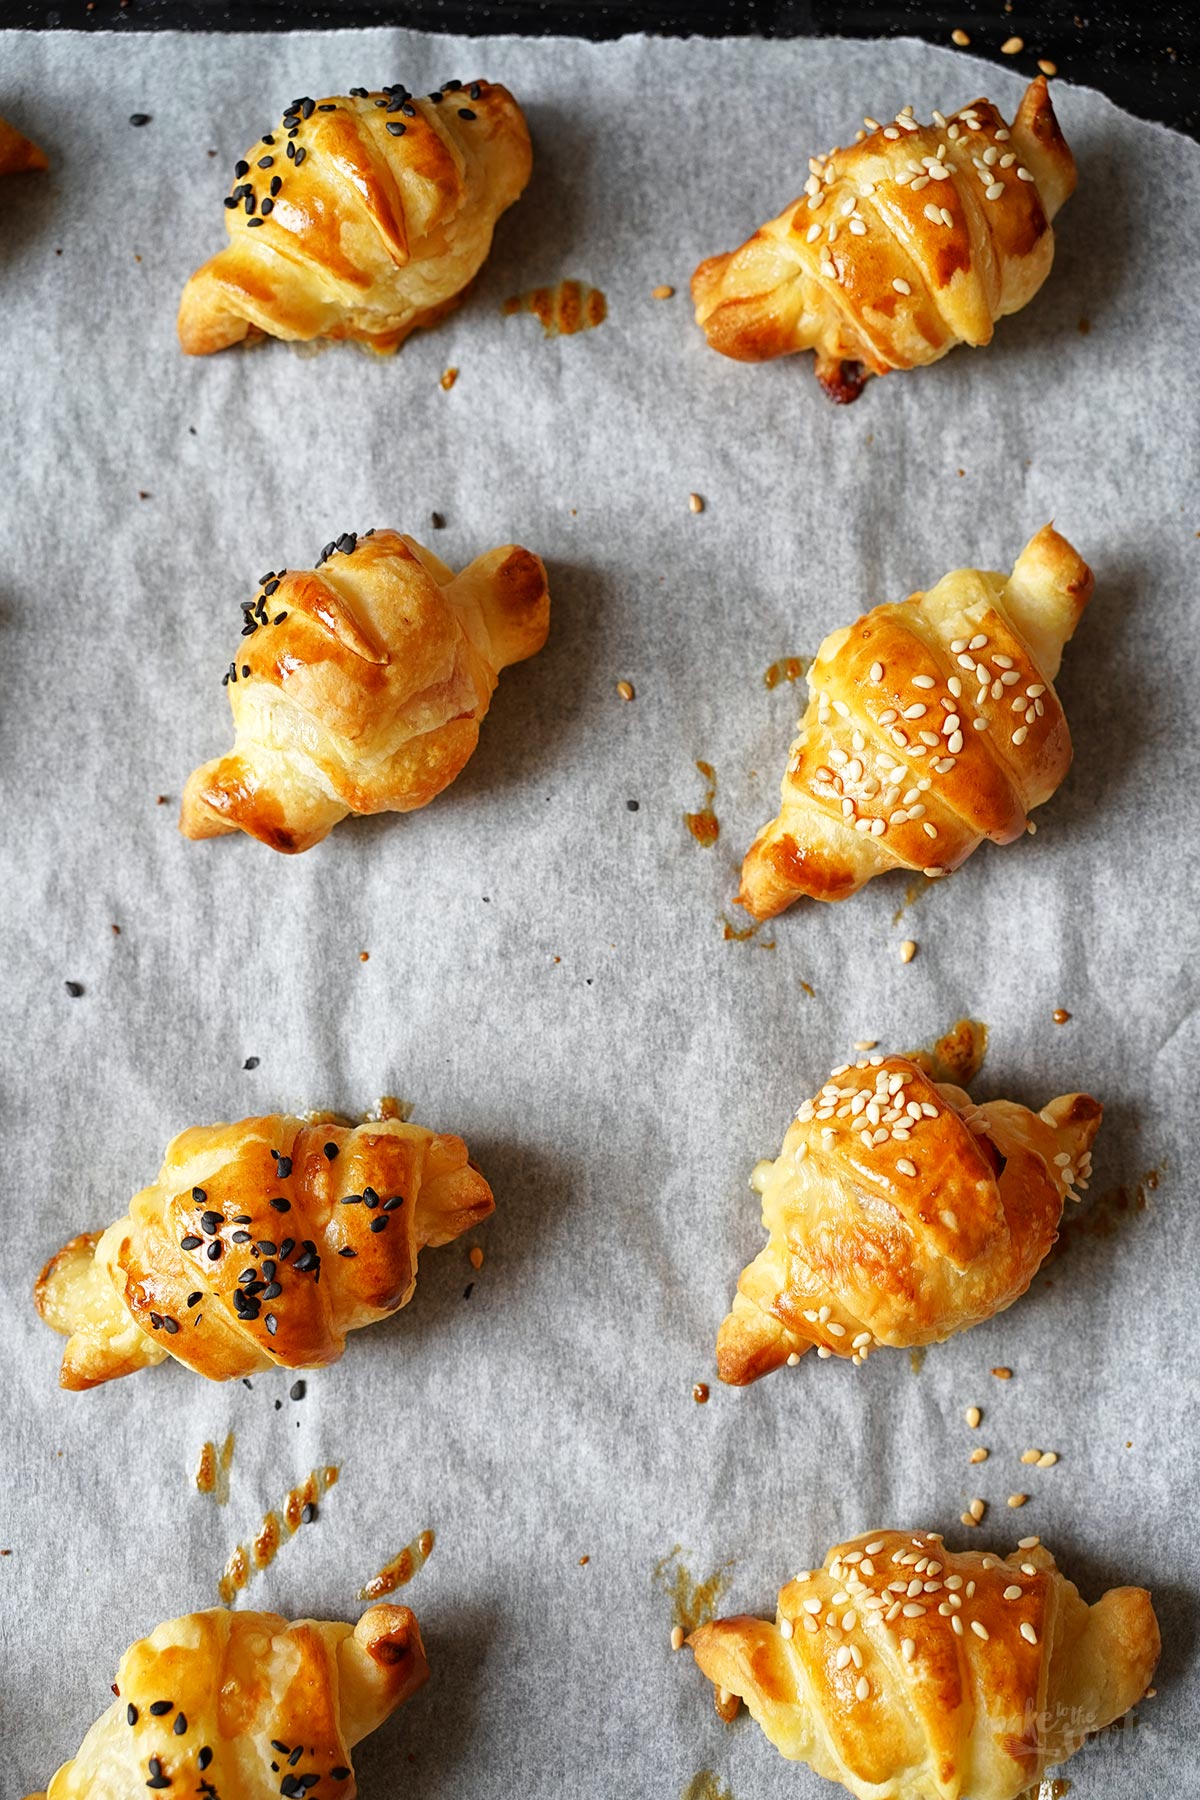
Puff pastry dough is prepared with just a few ingredients. Flour, sugar, salt, butter, and water. That’s all you need. No baking powder, yeast, or other leavening agents. If yeast were used, you would be dealing with Danish pastry dough, like the one you use for something like Chocolate Croissants. Puff pastry is rising because of all the thin layers of dough and butter distributed evenly throughout the dough. When puff pastry is baked, the butter melts and the water from the butter evaporates, leaving small hollows between the layers of dough. This is why puff pastry is rolled out and folded so often – butter and dough have to be turned into hundreds of layers to make the pastry nice and fluffy.

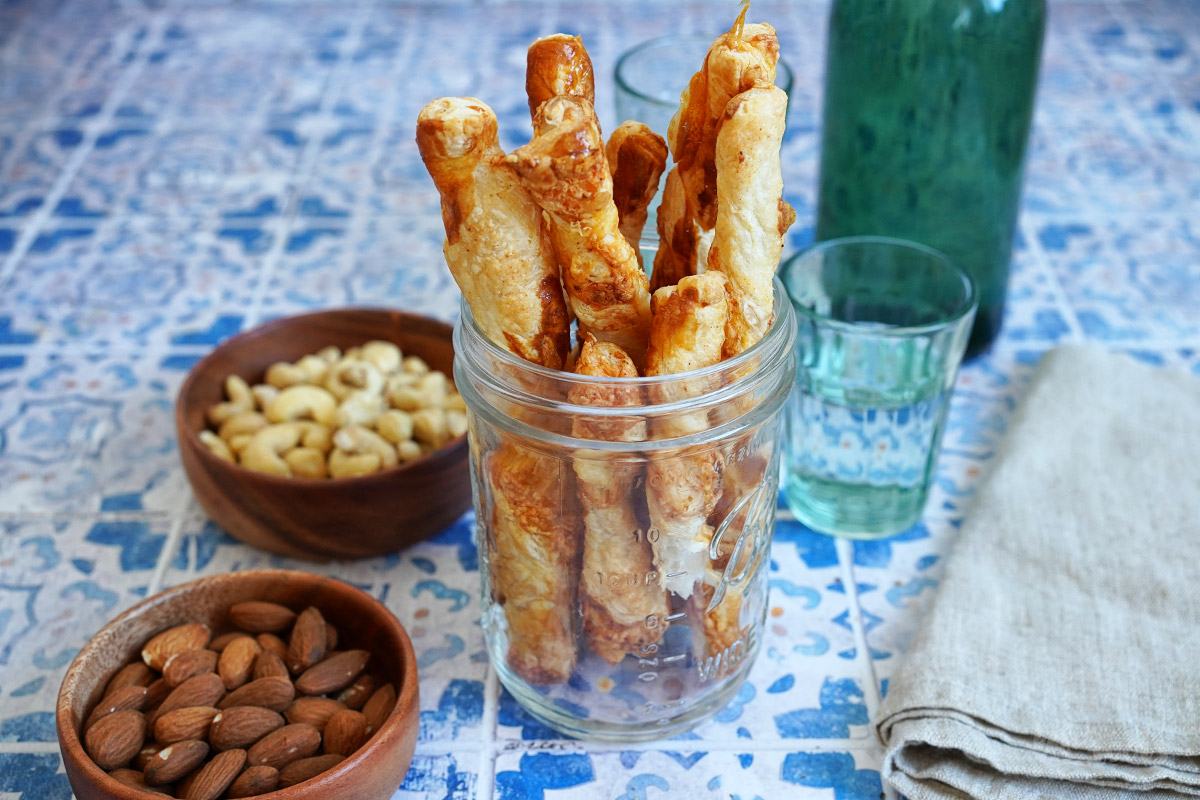
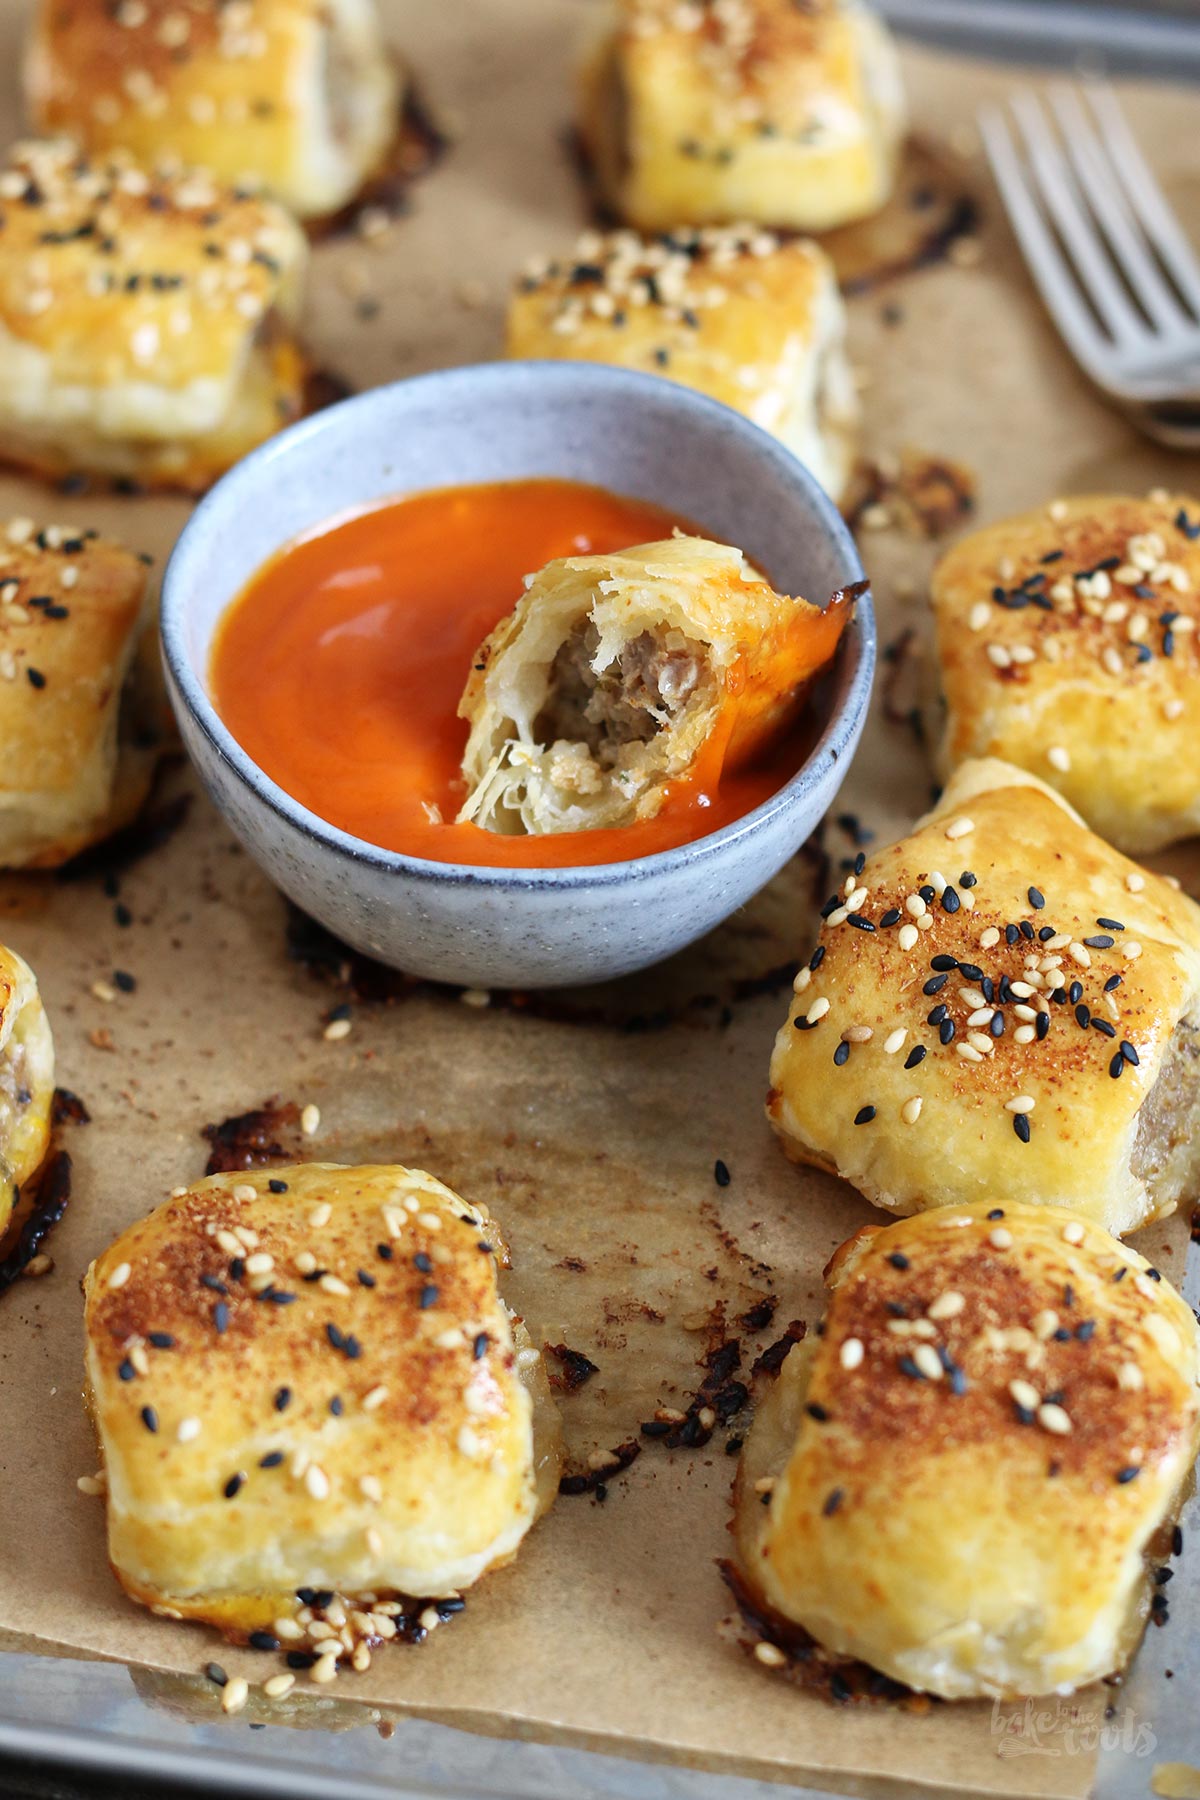
If you’re thinking, »there is no reason to work that much in the kitchen for just a few pieces of puff pastry treats«, you’re probably right. Whenever we want to bake some puff pastry cheese sticks for a movie night, we are most definitely not making puff pastry from scratch. That’s the time when you use pre-made dough from the supermarket. Nobody wants to spend hours and hours in the kitchen for something that’s being eaten while doing something else, like watching a movie. Way too much effort.
However, if you want to prepare something special or require more than just a handful of simple cheese sticks for snacking, homemade puff pastry can certainly be an option for you. The amount of dough you get with this recipe is enough for a whole lot of puff pastry pieces. Enough to prepare sacks for the entire family plus some extra friends (or neighbors)…
All jokes aside. Homemade puff pastry is something you can do when in the mood for some extra work. Luckily, it can be stored up to two days in the fridge when wrapped properly. This means you could prepare this puff pastry at the beginning of a weekend and use it several times for different bakes. Puff pastry can also be frozen and will then keep for up to 6 months. Just roll out the homemade puff pastry between two layers of baking paper and then roll it up (together with the paper). Put that in a freezer bag, place it in your freezer, and you will have homemade puff pastry for many recipes to come. To defrost the dough, simply place it in the fridge overnight.
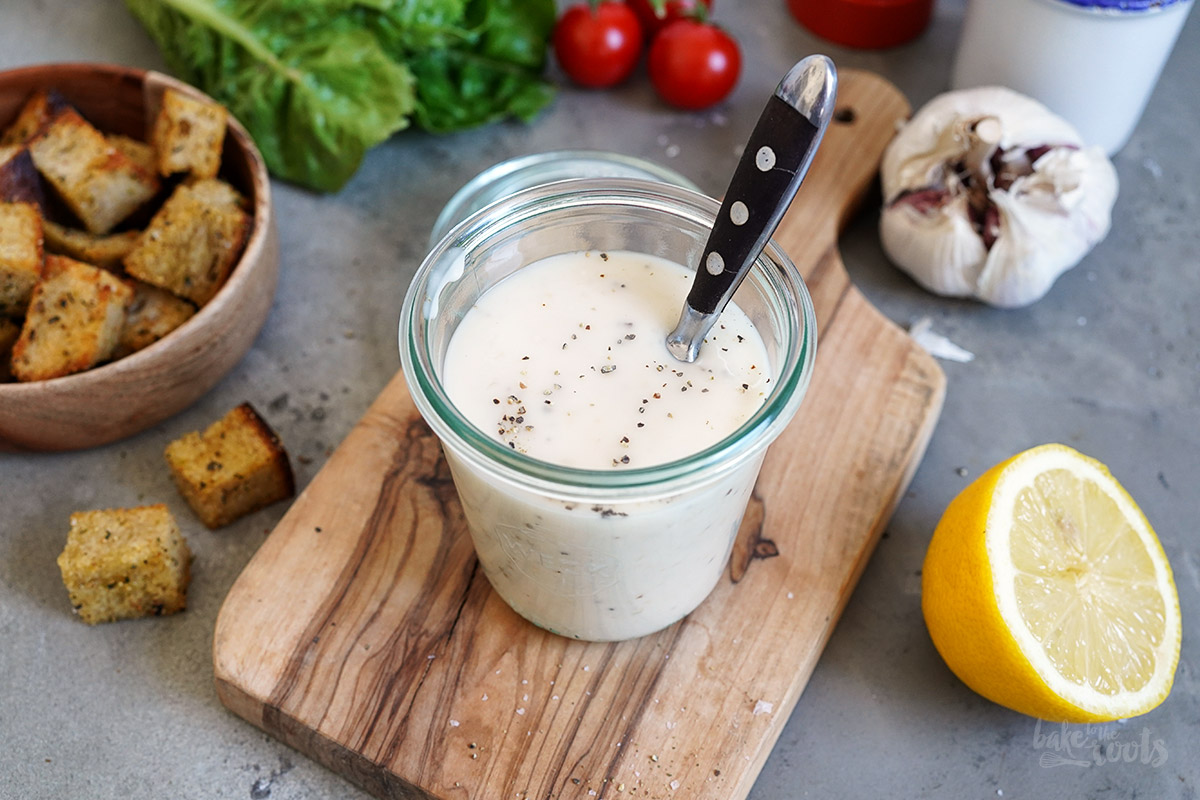
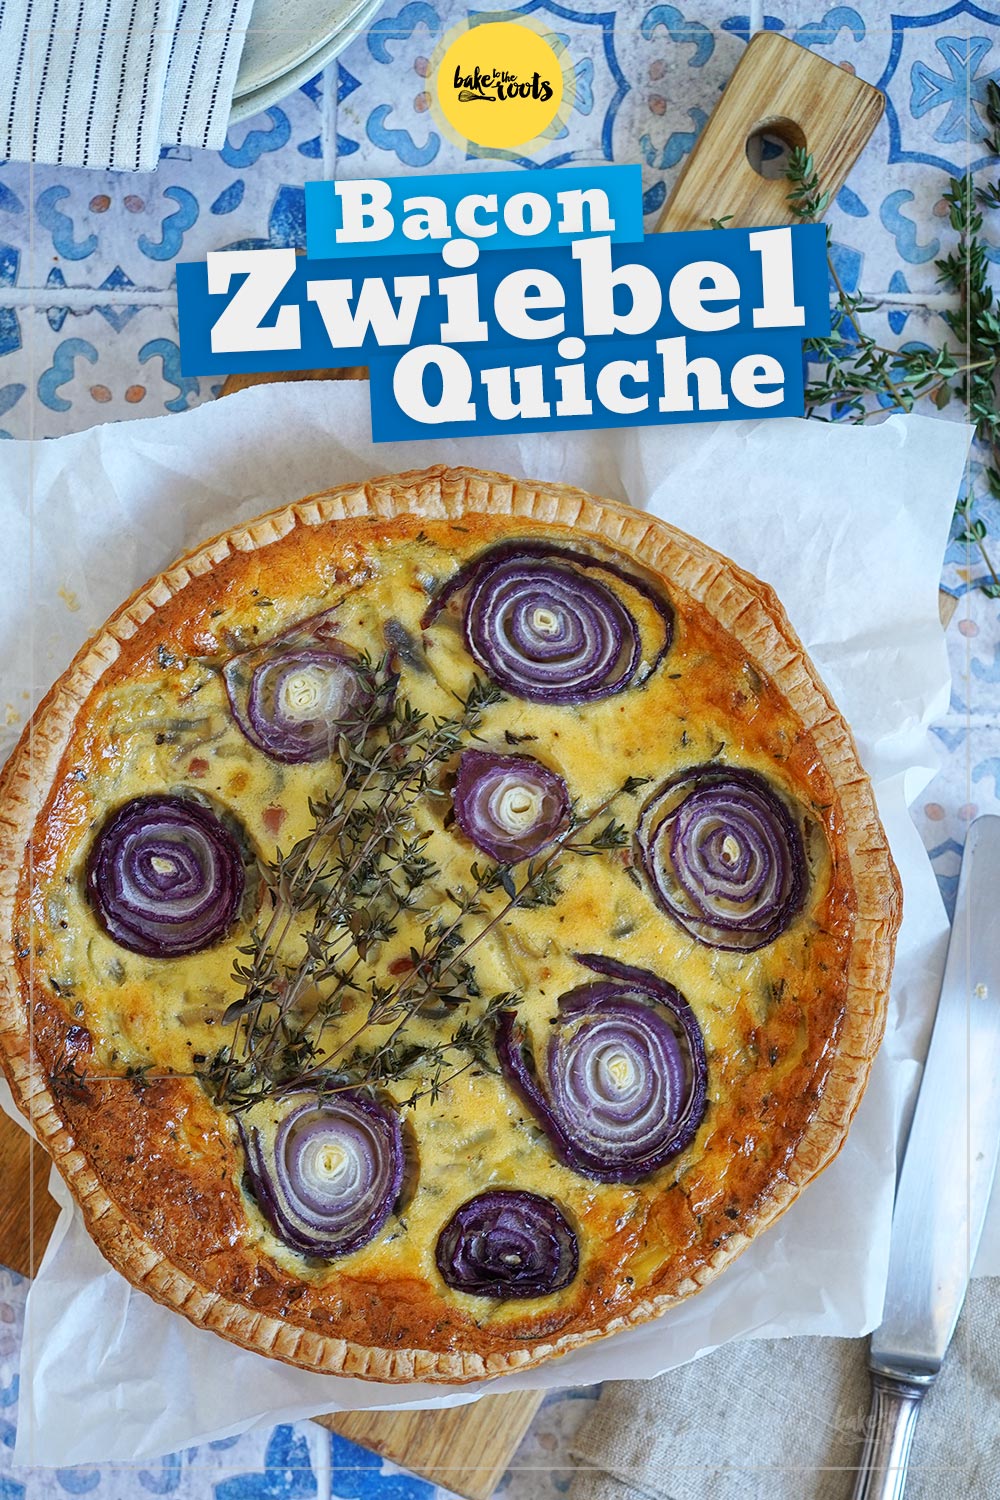
If you made your first batch of puff pastry and want to make something else besides cheese sticks, take a look at our Onion & Bacon Quiche, for example. Although that recipe is asking for pre-made dough from the supermarket, you can, of course, use this homemade puff pastry here as well. Nobody is forced to use ready-made products from the supermarket, right?!

Wanna try something else? Maybe something with a Danish pastry dough? The dough used when making croissants? What about Spandauer Danish Pastries with Marzipan, Custard & Raspberry Jam. Sounds good, right?! They are. So good! Definitely something you could try if you are willing to invest some time for baking!
INGREDIENTS / ZUTATEN
(e.g. for 15-20 puff pastry pieces)
20.5 oz. (580g) all-purpose flour, divided
0.35 oz. (10g) sugar
0.35 oz. (10g) salt
18.7 oz. (530g) butter, divided
1 1/4 cups (300ml) cold water
some flour for rolling out
(z.B. für 15-20 Blätterteigteilchen)
580g Mehl (Type 405), aufgeteilt
10g Zucker
10g Salz
530g Butter, aufgeteilt
300ml kaltes Wasser
etwas Mehl zum Ausrollen
DIRECTIONS / ZUBEREITUNG
1. Mix about 17.6 oz. (500g) of the flour with the sugar, salt, and 1 oz. (30g) of the butter in the bowl of a food processor (with a dough hook). Gradually add the cold water and knead everything until you get a smooth dough – this takes about 5-7 minutes. Wrap the dough in plastic wrap and place in the fridge for about 20 minutes.
2. Briefly knead the remaining butter with the remaining flour. The butter should not get too warm here. Form a square block with a size of about 7×7 inches (18×18 cm) and a thickness of about 0.4 inches (1 cm). Wrap the butter block in plastic wrap and place it in the fridge for about 20 minutes.
3. Roll out the dough on a well-floured work surface into a square with a side length of 13.8 inches (35 cm). Keep turning the dough and dusting it with flour to prevent it from sticking to the work surface. Remove the block of butter from the foil and place it in the center of the dough square.
4. Fold the corners of the dough over the butter block towards the center. It should end up looking something like an envelope, and the butter should be completely enclosed by the dough. Press the dough together along the seams, gently press the dough-butter package down with a rolling pin, then carefully roll it out in one direction. The result should be a rectangle with one long side (but the whole rectangle should not get too thin). Work carefully here, so the butter layer inside the dough does not break.
5. Fold the rectangle of dough you created in thirds towards the center – you now have a smaller, rectangular dough package with three layers on top of each other. To mark the first round (it’s called »tour«), you can make a slight indentation in the dough with a finger, then wrap the package loosely in cling film and place in the fridge for about 20 minutes.
6. Remove the chilled dough from the fridge and place it on a lightly floured work surface. The shorter side of the dough package should be facing you. You should be able to see the three separate layers lying on top of each other. Roll out the dough once again, this time away from the body, to create another rectangle with one long side. Do not roll out the dough too thinly. Fold the dough in thirds towards the center to create three layers again. This time, press two indentations into the dough (2nd tour), wrap the package loosely in plastic wrap again and place it in the fridge for another 20 minutes.
7. Repeat the process three more times, rolling out, folding in thirds to create the package and chilling in the fridge. In total, you should have done five tours with the dough. After the final round of chilling in the fridge, the dough is ready to be used in a recipe. Once the puff pastry has been shaped into whatever (small pastries, croissants, etc.) the pieces should be left to rest for another 20 minutes or so to allow the dough to relax. This is necessary so the puff pastry dough can rise properly and get airy and crunchy. Baking times vary depending on the recipe.
1. Etwa 500g vom Mehl mit Zucker, Salz und 30g der Butter in der Schüssel einer Küchenmaschine (mit Knethaken) mischen. Das kalte Wasser nach und nach dazugeben und alles zu einem glatten Teig verkneten – dauert etwa 5-7 Minuten. Den Teig in Klarsichtfolie wickeln und für etwa 20 Minuten in den Kühlschrank legen.
2. Die restliche Butter mit dem verbliebenen Mehl kurz verkneten. Die Butter sollte hier nicht zu warm werden. Einen quadratischen Block mit etwa 18×18 cm und einer Dicke von etwa 1 cm formen. In Klarsichtfolie wickeln und ebenfalls für etwa 20 Minuten in den Kühlschrank legen.
3. Den Teig auf einer gut bemehlten Arbeitsfläche zu einem Quadrat mit einer Seitenlänge von 35 cm ausrollen. Den Teig dabei immer wieder drehen und mit Mehl bestäuben, damit er nicht auf der Arbeitsfläche festklebt. Als Nächstes den Butterblock aus der Folie herausnehmen und in der Mitte des Teigquadrates platzieren.
4. Die Ecken des Teigs über den Butterblock zur Mitte einschlagen – es sollte am Ende in etwa wie ein Briefumschlag aussehen und die Butter vom Teig komplett umschlossen sein. Die Stellen, an denen sich der Teig berührt, ein wenig zusammendrücken, dann das Teig-Butter-Paket vorsichtig mit einem Nudelholz zuerst ein wenig zusammendrücken, dann vorsichtig in eine Richtung ausrollen. Es sollte ein Rechteck mit einer langen Seite entstehen (das Ganze sollte aber nicht zu dünn werden). Man sollte hier vorsichtig arbeiten, damit die Butterschicht im Teig nicht zerbricht.
5. Das entstandene Teigrechteck entlang der langen Seite zu je einem Drittel zur Mitte hin einschlagen – damit hat man jetzt ein kleineres, rechteckiges Teigpaket mit drei Schichten, die aufeinander liegen. Um die erste Runde (Tour) zu markieren, kann man mit einem Finger eine leichte Vertiefung in den Teig drücken, dann das Paket locker in Klarsichtfolie einschlagen und für etwa 20 Minuten in den Kühlschrank legen.
6. Den durchgekühlten Teig aus dem Kühlschrank nehmen und wieder auf die leicht bemehlte Arbeitsfläche legen. Die kürzere Seite des Teigpakets sollte zu einem selbst zeigen – man sollte die drei separaten Schichten übereinander sehen können. Den Teig erneut ausrollen – vom Körper weg – bis ein Rechteck mit einer langen Seite entstanden ist. Auch hier wieder nicht zu dünn ausrollen. Den Teig erneut entlang der langen Seite zu je einem Drittel einschlagen, um erneut drei Schichten zu bekommen. Diesmal zwei Vertiefungen in den Teig drücken (2. Tour) und erneut locker in Klarsichtfolie wickeln und noch einmal 20 Minuten in den Kühlschrank legen.
7. Den kompletten Prozess mit Ausrollen, zu je einem Drittel Einschlagen und im Kühlschrank Durchkühlen noch dreimal wiederholen. Insgesamt sollte man also 5 Touren mit dem Teig durchgespielt haben. Nach der letzten Runde im Kühlschrank ist der Teig fertig für die Verwendung in einem Rezept. Wenn der Blätterteig in einem Rezept verarbeitet wurde, sollte man die entstandenen Teilchen (oder was auch immer zubereitet wurde) noch einmal etwa 20 Minuten ruhen lassen, damit sich der Teig entspannen kann. Nur so geht er locker und luftig auf. Die Backzeiten variieren hier je nach Rezept.
Craving more? Keep in touch on Facebook, Instagram and Pinterest for new post updates and more. You can also contact me with any questions or inquiries!
Here is a version of the recipe you can print easily.
Print
Homemade Puff Pastry
- Prep Time: 00:35
- Cook Time: 00:00
- Total Time: 03:00
- Yield: 20 1x
- Category: Basics
- Method: -
- Cuisine: International
- Diet: Vegetarian
Description
Everybody says puff pastry dough is tricky and hard to make – that’s not true. Only people that never did it, say that, actually. :P
Ingredients
20.5 oz. (580g) all-purpose flour, divided
0.35 oz. (10g) sugar
0.35 oz. (10g) salt
18.7 oz. (530g) butter, divided
1 1/4 cups (300ml) cold water
some flour for rolling out
Instructions
1. Mix about 17.6 oz. (500g) of the flour with the sugar, salt, and 1 oz. (30g) of the butter in the bowl of a food processor (with a dough hook). Gradually add the cold water and knead everything until you get a smooth dough – this takes about 5-7 minutes. Wrap the dough in plastic wrap and place in the fridge for about 20 minutes.
2. Briefly knead the remaining butter with the remaining flour. The butter should not get too warm here. Form a square block with a size of about 7×7 inches (18×18 cm) and a thickness of about 0.4 inches (1 cm). Wrap the butter block in plastic wrap and place it in the fridge for about 20 minutes.
3. Roll out the dough on a well-floured work surface into a square with a side length of 13.8 inches (35 cm). Keep turning the dough and dusting it with flour to prevent it from sticking to the work surface. Remove the block of butter from the foil and place it in the center of the dough square.
4. Fold the corners of the dough over the butter block towards the center. It should end up looking something like an envelope, and the butter should be completely enclosed by the dough. Press the dough together along the seams, gently press the dough-butter package down with a rolling pin, then carefully roll it out in one direction. The result should be a rectangle with one long side (but the whole rectangle should not get too thin). Work carefully here, so the butter layer inside the dough does not break.
5. Fold the rectangle of dough you created in thirds towards the center – you now have a smaller, rectangular dough package with three layers on top of each other. To mark the first round (it’s called »tour«), you can make a slight indentation in the dough with a finger, then wrap the package loosely in cling film and place in the fridge for about 20 minutes.
6. Remove the chilled dough from the fridge and place it on a lightly floured work surface. The shorter side of the dough package should be facing you. You should be able to see the three separate layers lying on top of each other. Roll out the dough once again, this time away from the body, to create another rectangle with one long side. Do not roll out the dough too thinly. Fold the dough in thirds towards the center to create three layers again. This time, press two indentations into the dough (2nd tour), wrap the package loosely in plastic wrap again and place it in the fridge for another 20 minutes.
7. Repeat the process three more times, rolling out, folding in thirds to create the package and chilling in the fridge. In total, you should have done five tours with the dough. After the final round of chilling in the fridge, the dough is ready to be used in a recipe. Once the puff pastry has been shaped into whatever (small pastries, croissants, etc.) the pieces should be left to rest for another 20 minutes or so to allow the dough to relax. This is necessary so the puff pastry dough can rise properly and get airy and crunchy. Baking times vary depending on the recipe.
Notes
Enjoy baking!
Links marked with an asterisk (*) are affiliate links (advertising/Werbung) to Amazon Germany. If you click on one of those links and buy something via this link, I will get a commission for that sale. The price of whatever you buy is not affected in any way by this.