
Bake to the roots
  • Deutsch
  • Home
  • Baking Basics
    • Baking Form Converter
  • Baking Recipes
    • Cakes A-Z
    • Cheesecakes
    • Apple Cakes
    • Loaf Cakes
    • Layer Cakes
    • Cookies
    • Cupcakes
    • Muffins
    • Pies
    • Tarts
    • Quiches
    • Bread & More
    • Breakfast
    • Vegan Recipes
    • Sugar-free Recipes
    • Holidays
      • Valentine’s Day
      • Easter
      • Mother’s Day
      • Halloween
      • Thanksgiving
      • Christmas
      • Christmas Cookies
    • Bake Together Recipes
  • Cooking Recipes
    • Cooking Recipes A-Z
    • Weeknight Dinner
    • Pasta & More
    • Casserole Dishes
    • Burger & Sandwiches
    • Soup Recipes
    • Stew Recipes
    • Salad Recipes
    • Pizza & More
    • Air Fryer Recipes
    • Countries & Regions
      • German Recipes
      • Asian Recipes
      • American Recipes
      • Italian Recipes
      • Greek Recipes
      • Spanish
        • Tapas Recipes
  • Seasons
    • Spring
    • Summer
    • Fall
    • Winter
  • About Me
No Result
View All Result
Bake to the roots
  • Deutsch
  • Home
  • Baking Basics
    • Baking Form Converter
  • Baking Recipes
    • Cakes A-Z
    • Cheesecakes
    • Apple Cakes
    • Loaf Cakes
    • Layer Cakes
    • Cookies
    • Cupcakes
    • Muffins
    • Pies
    • Tarts
    • Quiches
    • Bread & More
    • Breakfast
    • Vegan Recipes
    • Sugar-free Recipes
    • Holidays
      • Valentine’s Day
      • Easter
      • Mother’s Day
      • Halloween
      • Thanksgiving
      • Christmas
      • Christmas Cookies
    • Bake Together Recipes
  • Cooking Recipes
    • Cooking Recipes A-Z
    • Weeknight Dinner
    • Pasta & More
    • Casserole Dishes
    • Burger & Sandwiches
    • Soup Recipes
    • Stew Recipes
    • Salad Recipes
    • Pizza & More
    • Air Fryer Recipes
    • Countries & Regions
      • German Recipes
      • Asian Recipes
      • American Recipes
      • Italian Recipes
      • Greek Recipes
      • Spanish
        • Tapas Recipes
  • Seasons
    • Spring
    • Summer
    • Fall
    • Winter
  • About Me
No Result
View All Result
Bake to the roots
No Result
View All Result
Home American Recipes

Homemade Cherry Pie Filling

by baketotheroots
August 22, 2016
in American Recipes, Homemade Stuff, Pie Recipes
A A
2
  • 9Shares
  • 0
  • 0
  • 6
  • 3

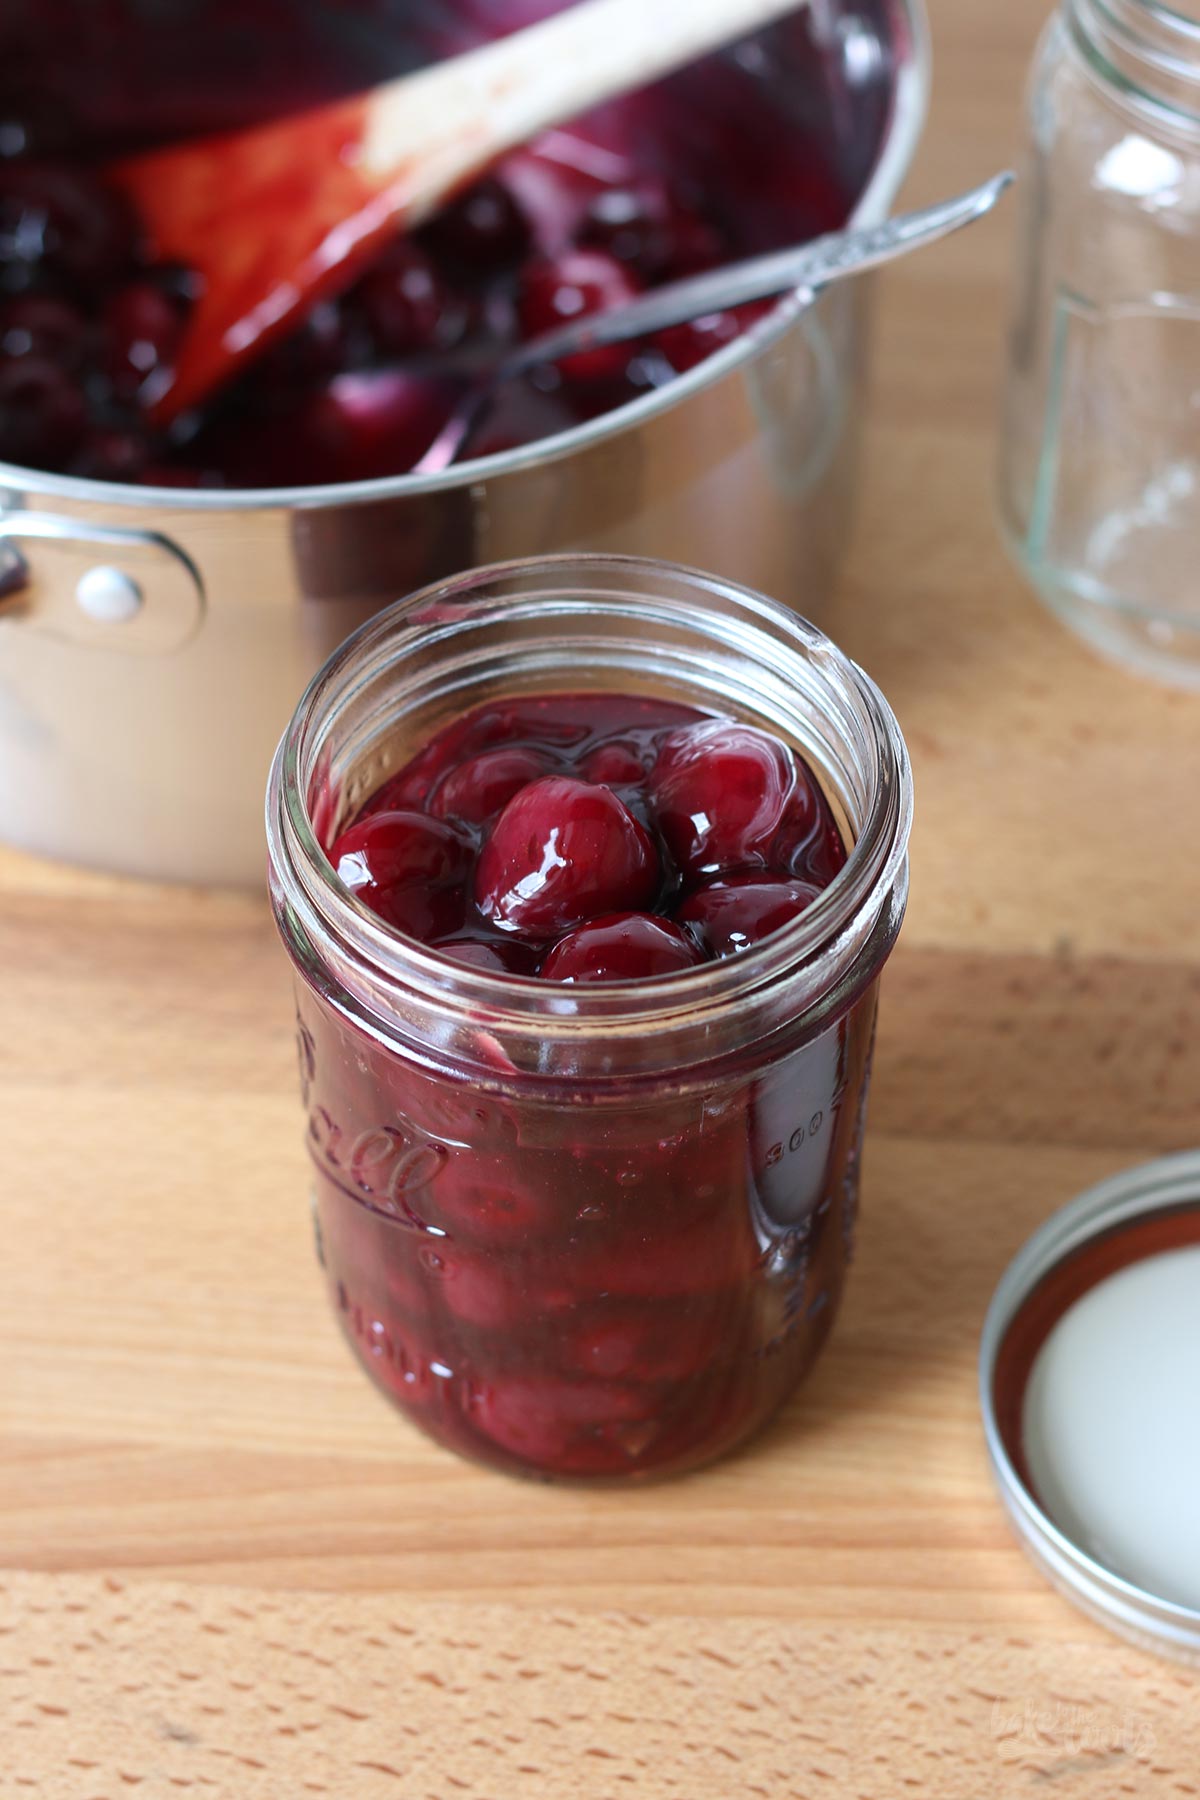
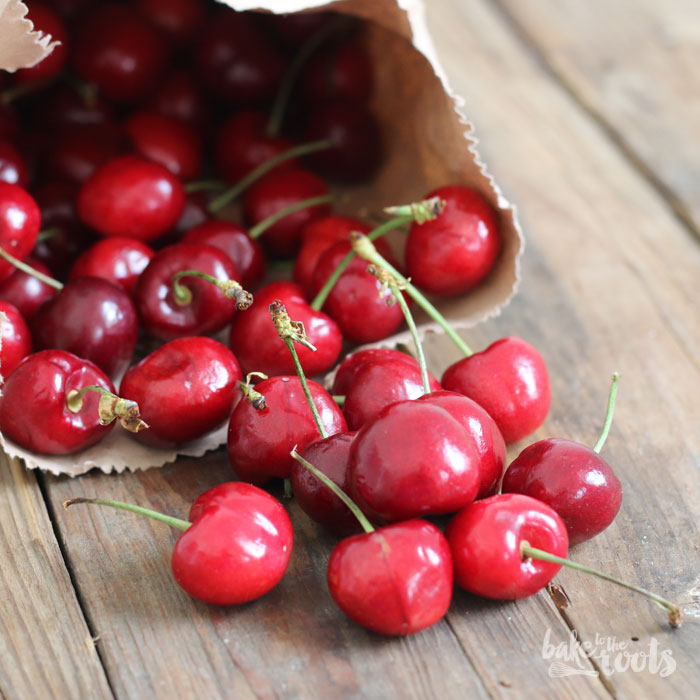
The last cherries will be gone soon from the farmer’s markets, in supermarkets, they are already difficult to find… If you don’t act fast now, they are gone! Not for good, but at least until next summer. So grab some, no matter if you eat them out of the paper bag or if you make a delicious cake or pie with it – the important thing is to get them and eat them in some way. The ones you get in glass jars stored in sugary water all year long in the supermarkets are just not the same. Make some Cherry Pie Filling at home to solve the problem.
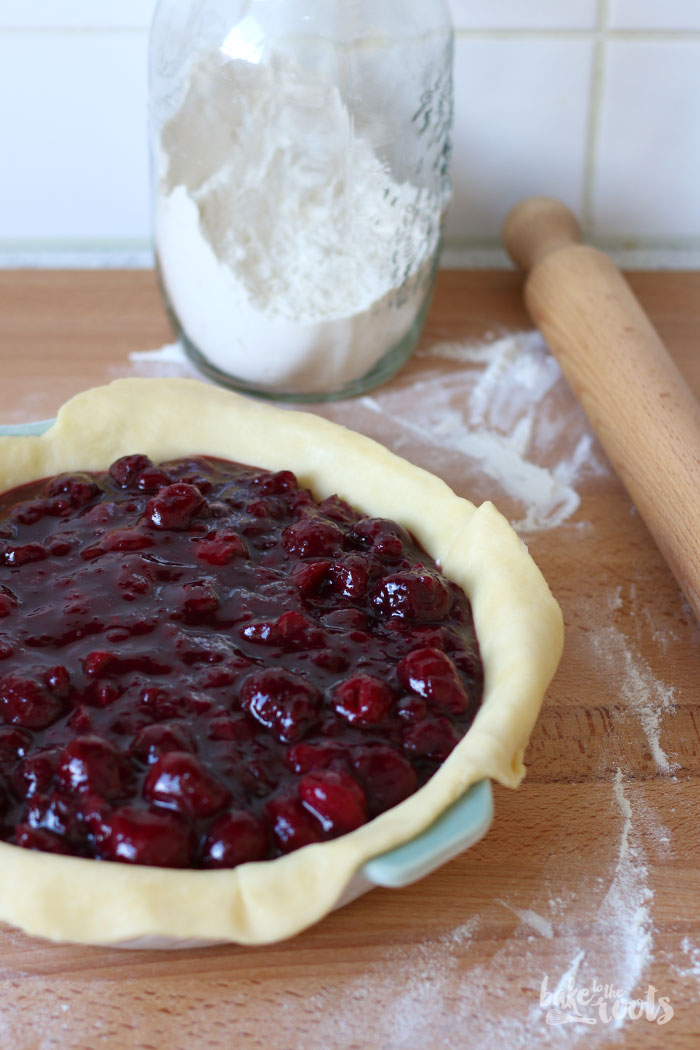
Homemade Cherry Pie Filling | Bake to the roots

There is nothing worse than not using fruits, berries, etc. when they are in season and available everywhere (and mostly cheap). Rhubarb is a good example, also strawberries. Strawberries are actually available almost all year round, but it is just not the same. Fresh from the farmer’s market is the best. Same for cherries. You get them only several weeks in summer and after that… gone.

I can understand that there is not always the time to make a cake or pie right away when the fruits are hitting the markets. For that, mankind invented »canning«. Cherries are perfect for that. You can prepare the most delicious cherry pie filling and store it for a long time, then use it whenever you need it. Pies also get done much faster if the filling is already cooked and ready.
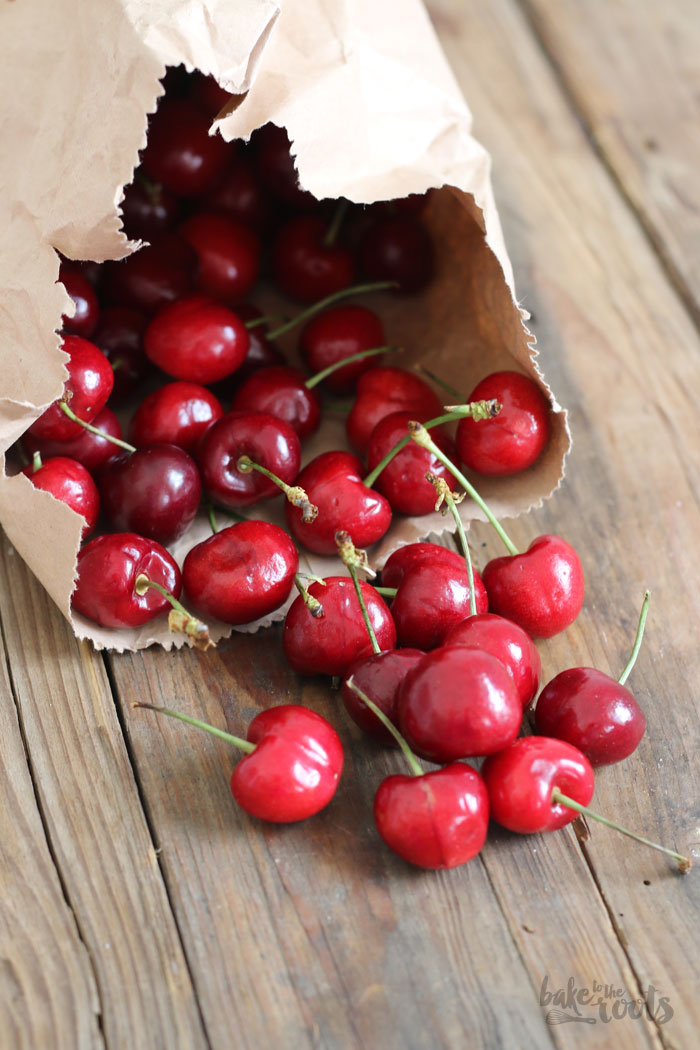
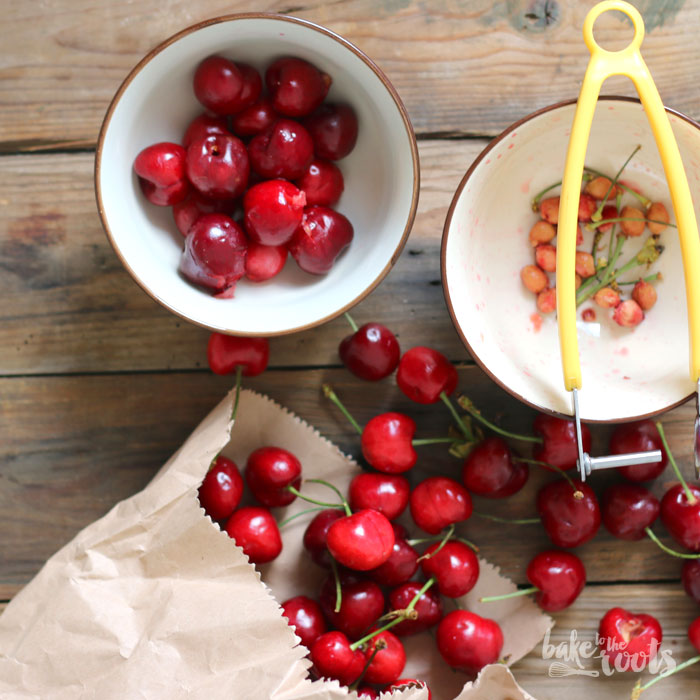
Homemade Cherry Pie Filling | Bake to the roots

In the U.S., cherry pie filling can be bought in almost all supermarkets – here in Germany not so much. Actually, I haven’t seen it anywhere so far. The only thing you can get is mushy cherries in sugar water. Nothing good comes out of that.

This cherry pie filling is different. It is a delicious filling you can use as it is for a pie – or eat with ice cream or whatever. Winter can come and you still can have a nice cherry pie. Sounds good, right?

Drop Donuts mit Kirschkompott

Creamy Cheesecake mit Kirschkompott

INGREDIENTS / ZUTATEN

  • English
  • Deutsch

(for 2 pies)

70 oz. (2kg) fresh cherries, washed & pitted
1 1/2 cups (300g) sugar (fine)*
1/3 cup (45g) cornstarch*
1/2 cup (120ml) water
1/4 cup (60ml) lemon juice
1/2 organic lemon, zest only
1 tsp. vanilla extract* (optional)

(für 2 Pies)

2kg frische Kirschen, gewaschen & entsteint
300g Zucker (fein)*
45g Speisestärke*
120ml Wasser
60ml Zitronensaft
1/2 Bio-Zitrone, nur Abrieb
1 TL Vanille Extrakt* (optional)
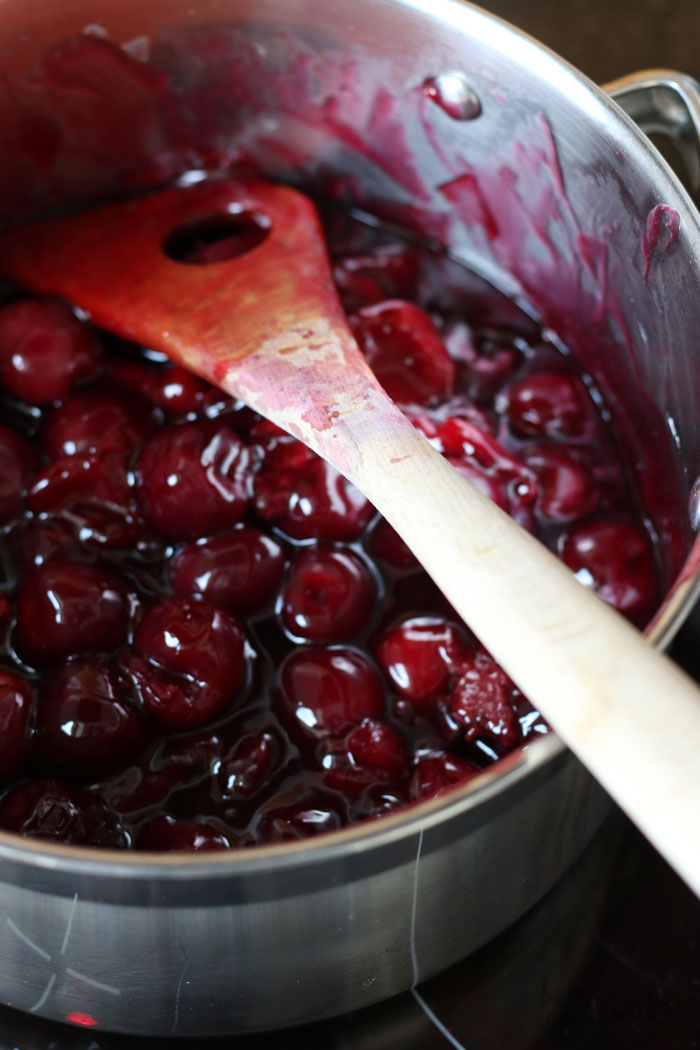
Homemade Cherry Pie Filling | Bake to the roots

DIRECTIONS / ZUBEREITUNG

  • English
  • Deutsch

1. Wash, dry, and pit the cherries. Try to save all the juices.

2. In a small bowl mix sugar and cornstarch. In a large pot mix water, lemon juice, zest and vanilla extract (optional), then add the cornstarch-sugar mixture and mix until there are no more lumps. Bring the mixture to a boil, then add the pitted cherries and let them simmer for about 8-10 minutes. The cherries should be soft but not mushy and the juice should have thickened.
If you want to use the filling right away, let it cool down a bit, then use it in your pie recipe as directed. You can store the filling for up to 2 days in the fridge in an airtight container.

3. If you would like to store the cherry filling for longer, you have to »cook« it once more. Fill the cooked filling into heatproof glass jars, leave about 2,5cm space to the top of the glass jar, close them and place them in a large pot with water. The water should be as high as the filling in the glasses. Bring the water to a boil and cook the glass jars for about 30 minutes. Remove the glass jars from the pot, check the lids and make sure they are closed. Be careful, they are very hot! Let the glass jars cool down completely on a kitchen towel. Store in a dark, cool place for up to 6 months.

1. Die Kirschen waschen, abtropfen lassen und dann entsteinen. Nach Möglichkeit allen Fruchtsaft auffangen.

2. Den Zucker mit der Stärke in einer kleinen Schüssel verrühren. In einem großen Kochtopf das Wasser mit dem Zitronensaft, Zitronenschale und dem Vanille Extrakt (optional) verrühren und dann die Zucker-Stärke-Mischung unterrühren, bis keine Klümpchen mehr zu sehen sind. Alles zum Kochen bringen und dann die Kirschen zugeben und für etwa 8-10 Minuten leicht köcheln lassen. Die Kirschen sollen weicher werden, aber nicht matschig – die Flüssigkeit im Topf sollte schön angedickt sein. Wer die Kirschfüllung gleich weiterverwenden möchte, soll sie einfach nach Rezept verwenden. Wer die Kirschfüllung erst später verwenden möchte, kann sie bis zu 2 Tage in einem luftdichten Behältnis im Kühlschrank aufbewahren.

3. Zum Haltbarmachen der Füllung muss alles noch einmal »gekocht« werden. Dazu die Kirschfüllung in hitzebeständige Einweckgläser füllen – zum Rand der Gläser oben sollte etwa 2,5cm Platz sein. Mit einem Deckel verschließen und dann in einen großen Topf mit Wasser stellen. Das Wasser sollte so hoch sein, wie die Gläser gefüllt sind. Alles zum Kochen bringen und für 30 Minuten kochen lassen. Die Gläser herausnehmen und sicherstellen, dass die Deckel richtig geschlossen sind (vorsicht sehr heiß!) – auf einem Küchentuch abkühlen lassen. An einem kühlen, dunklen Ort kann die Kirschfüllung jetzt bis zu einem halben Jahr gelagert werden.
Homemade Cherry Pie Filling | Bake to the roots

Craving more? Keep in touch on Facebook, Instagram and Pinterest for new post updates and more. You can also contact me with any questions or inquiries!

Here is a version of the recipe you can print easily.

Print

clock clock iconcutlery cutlery iconflag flag iconfolder folder iconinstagram instagram iconpinterest pinterest iconfacebook facebook iconprint print iconsquares squares iconheart heart iconheart solid heart solid icon
Homemade Cherry Pie Filling | Bake to the roots

Homemade Cherry Pie Filling

5 Stars 4 Stars 3 Stars 2 Stars 1 Star No reviews
  • Author: Bake to the roots
  • Prep Time: 00:20
  • Cook Time: 00:40
  • Total Time: 01:00
  • Yield: 2 1x
  • Category: Homemade Stuff
  • Method: -
  • Cuisine: United States
  • Diet: Vegan
Print Recipe
Pin Recipe

Description

Why getting canned pie filling from the store? Make it at home! It’s easy to make and the result is absolutely delicious. We love to have some always at hand.


Ingredients

Scale

70 oz. (2kg) fresh cherries, washed & pitted
1 1/2 cups (300g) sugar (fine)*
1/3 cup (45g) cornstarch*
1/2 cup (120ml) water
1/4 cup (60ml) lemon juice
1/2 organic lemon, zest only
1 tsp. vanilla extract* (optional)


Instructions

1. Wash, dry, and pit the cherries. Try to save all the juices.

2. In a small bowl mix sugar and cornstarch. In a large pot mix water, lemon juice, zest and vanilla extract (optional), then add the cornstarch-sugar mixture and mix until there are no more lumps. Bring the mixture to a boil, then add the pitted cherries and let them simmer for about 8-10 minutes. The cherries should be soft but not mushy and the juice should have thickened.
If you want to use the filling right away, let it cool down a bit, then use it in your pie recipe as directed. You can store the filling for up to 2 days in the fridge in an airtight container.

3. If you would like to store the cherry filling for longer, you have to »cook« it once more. Fill the cooked filling into heatproof glass jars, leave about 2,5cm space to the top of the glass jar, close them and place them in a large pot with water. The water should be as high as the filling in the glasses. Bring the water to a boil and cook the glass jars for about 30 minutes. Remove the glass jars from the pot, check the lids and make sure they are closed. Be careful, they are very hot! Let the glass jars cool down completely on a kitchen towel. Store in a dark, cool place for up to 6 months.


Notes

Enjoy cooking!

Did you make this recipe?

Share a photo and tag us — we can't wait to see what you've made!

Links marked with an asterisk (*) are affiliate links (advertising/Werbung) to Amazon Germany. If you click on one of those links and buy something via this link, I will get a commission for that sale. The price of whatever you buy is not affected in any way by this.
Homemade Cherry Pie Filling | Bake to the roots
Tags: CherriesHomemadePies

Related Posts

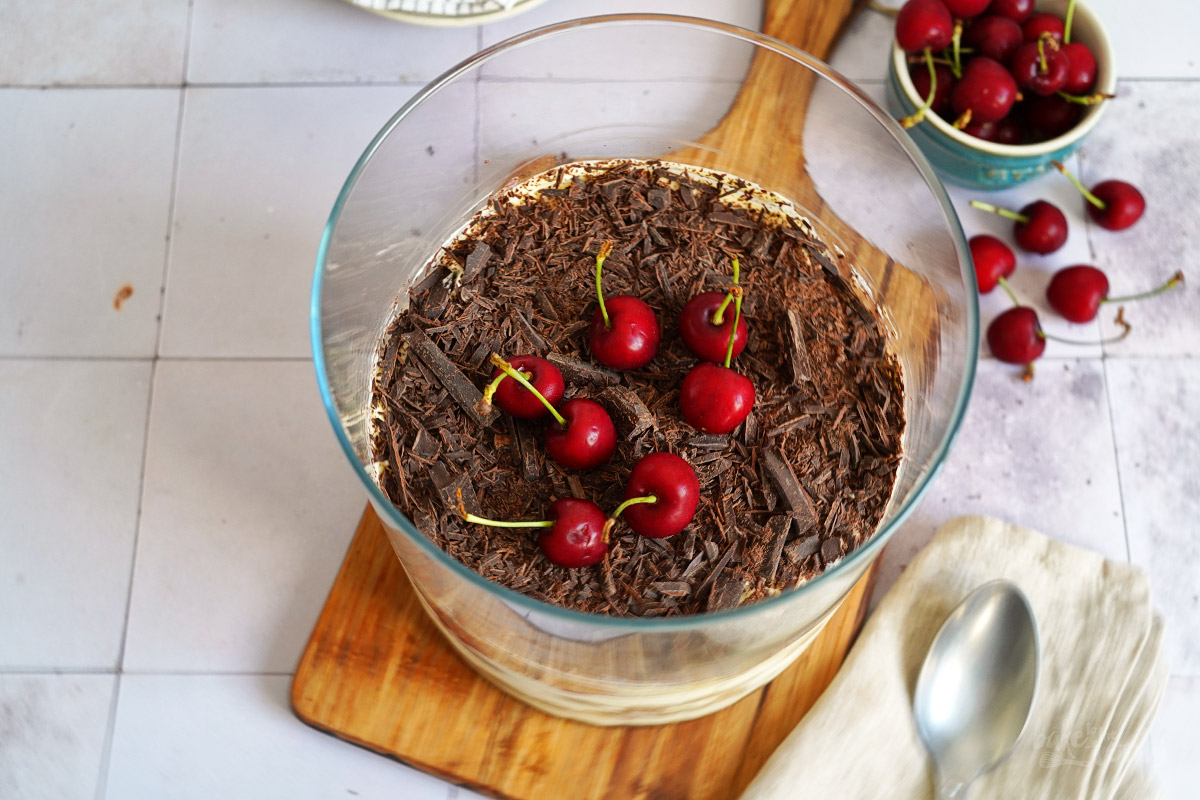
Schwarzwälder Kirsch Tiramisu | Bake to the roots

Black Forest Tiramisu

by baketotheroots
August 22, 2026
0

Any Italian proud of their country’s cuisine and is probably throwing up their hands in horror right about now. Oh well. You can’t please everyone,...

Fermentierte Hot Sauce | Bake to the roots

Homemade Fermented Hot Sauce

by baketotheroots
August 20, 2026
0

Preserving, pickling, and fermenting were once everyday practices for our grandparents. Nowadays, for many people, this stuff is more like a hobby rather than a...

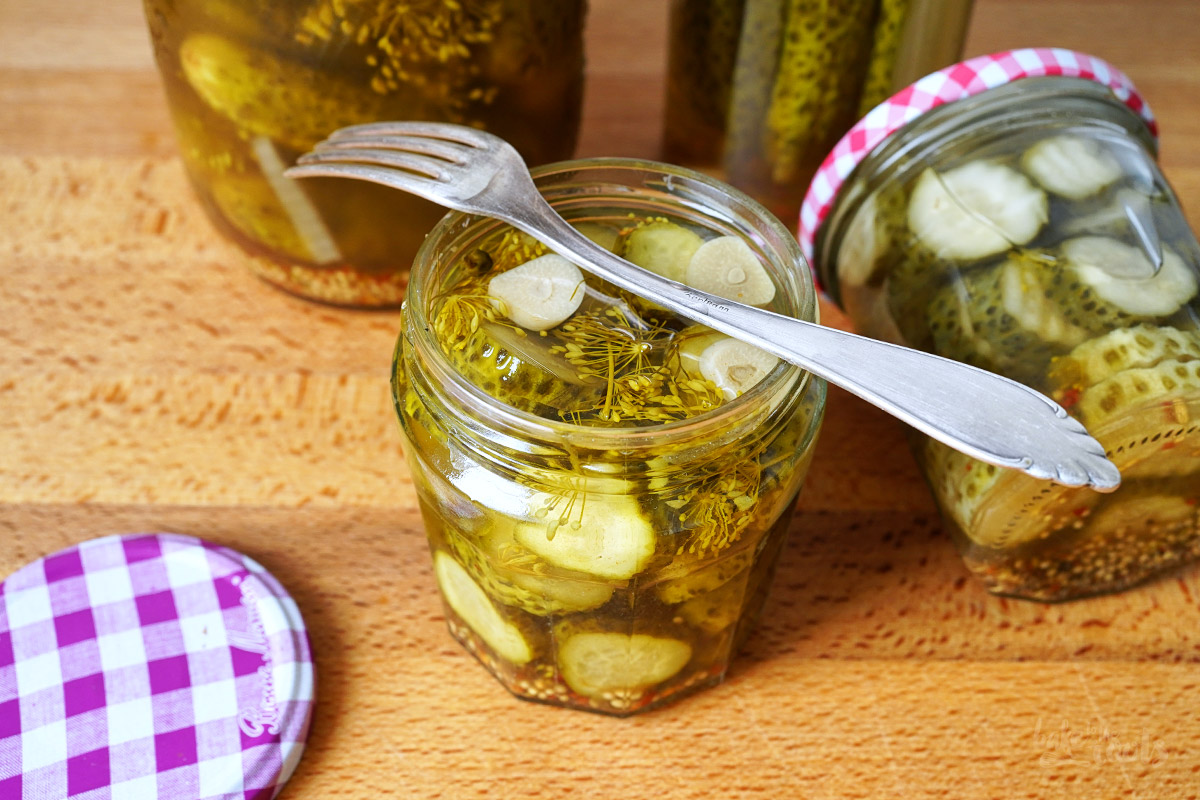
Eingelegte Gewürzgurken mit Dillkraut | Bake to the roots

Homemade Pickled Gherkins with Yellow Dill & Mustard Seeds

by baketotheroots
August 14, 2026
0

Anyone who has a garden and grows veggies there will surely want to make the most of whatever the garden gives you. If you don’t...

Next Post
Cherry Cheesecake Pie | Bake to the roots

Cherry Cheesecake Pie

Chocolate Chip Cookies | Bake to the roots

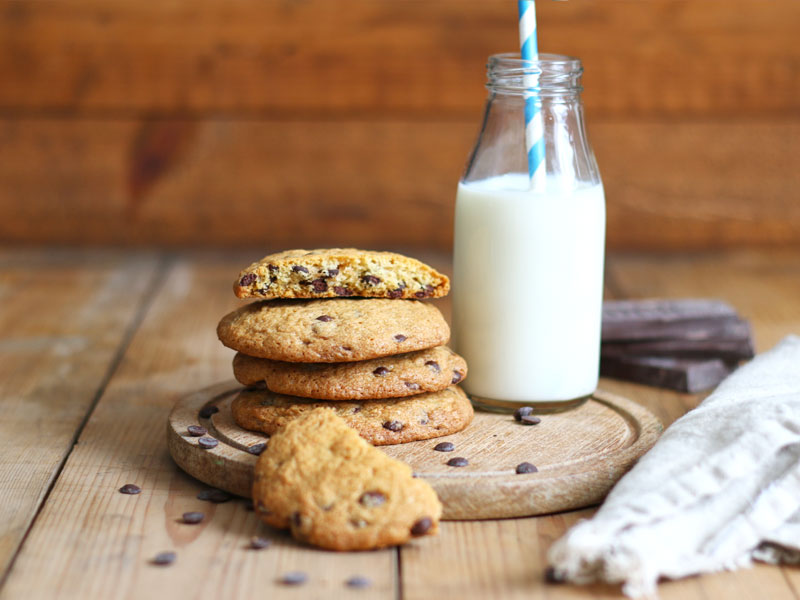
Chocolate Chip Cookies

Comments 2

  1. Marina says:
    6 years ago

    Hallo,
    Sind die 2 kg mit oder schon ohne Stein?
    Danke!

    Reply
    • baketotheroots says:
      6 years ago

      Einfach 2kg Kirschen abwiegen und dann waschen und entsteinen ;)

      LG Marc

      Reply

Leave a Reply Cancel reply

Your email address will not be published. Required fields are marked *

Recipe rating 5 Stars 4 Stars 3 Stars 2 Stars 1 Star

About me


Hi, my name is Marc. I’m a graphic designer.
I love my job, but in between I love to bake and try new things in the kitchen. A lot of my friends and colleagues encourage me to bake – for a very simple reason: they get the leftovers – and it seems they like it most of the time.

Read more…

Social Media

  • 105.4k Followers
  • 20.8k Fans
  • 36.9k Followers
  • 18.5k Followers
  • 1.1k Subscribers
  • 14.2k Subscribers

Food Blog Award 2016 - Bester Back Blog

AMA Foodblog Award 2016 - Top 6 Videobeitrag

German Food Blog Contest 2016 Top 10

German Food Blog Contest 2017 Auszeichnung

Recent Posts

  • Egg Salad with Gherkins & Herbs
  • Mirabelle Plum Custard Streusel Cake
  • Black Forest Tiramisu
  • Homemade Fermented Hot Sauce
  • Quick Stir-Fry with Napa Cabbage & Ground Meat

Categories

Tags

Almonds Apple Banana Blueberry Bread Breakfast Brownies Buttercream Cake Caramel Cheese Cheesecake Cherries Chocolate Christmas Cinnamon Coconut Cookies Cupcakes Desserts Dinner Easter Hazelnuts Homemade Lemon lunch Meat Nuts Oats Pasta Pies Potatoes Raspberries Salad Savory Snacks Stew Strawberries Streusels Summer Tarts Tomato Vanilla Vegan Yeast

Links marked with an asterisk (*) are affiliate links (advertising/Werbung) to Amazon Germany. If you click on one of those links and buy something via this link, I will get a commission for that sale. The price of whatever you buy is not affected in any way by this.
Cookie Mania @Marc Kromer

Cookie Mania: 100 Irresistible Cookie Recipes.

My new book is packed with my best cookie recipes.

Grab your copy (in German) and become a master of the cookie arts!
▪ Includes vegan, gluten-free, and sugar-free recipes
▪ A must-have for cookie-holics!

Category

Archive

Good to know…

▪ About me

▪ Contact

▪ Collaborations

▪ Impressum

▪ Datenschutzerklärung

© 2014-2026 Bake to the roots – Made with ♥ by Marc Kromer | Bake to the roots. All rights reserved.

No Result
View All Result
  • Deutsch
  • Home
  • Baking Basics
    • Baking Form Converter
  • Baking Recipes
    • Cakes A-Z
    • Cheesecakes
    • Apple Cakes
    • Loaf Cakes
    • Layer Cakes
    • Cookies
    • Cupcakes
    • Muffins
    • Pies
    • Tarts
    • Quiches
    • Bread & More
    • Breakfast
    • Vegan Recipes
    • Sugar-free Recipes
    • Holidays
      • Valentine’s Day
      • Easter
      • Mother’s Day
      • Halloween
      • Thanksgiving
      • Christmas
      • Christmas Cookies
    • Bake Together Recipes
  • Cooking Recipes
    • Cooking Recipes A-Z
    • Weeknight Dinner
    • Pasta & More
    • Casserole Dishes
    • Burger & Sandwiches
    • Soup Recipes
    • Stew Recipes
    • Salad Recipes
    • Pizza & More
    • Air Fryer Recipes
    • Countries & Regions
      • German Recipes
      • Asian Recipes
      • American Recipes
      • Italian Recipes
      • Greek Recipes
      • Spanish
  • Seasons
    • Spring
    • Summer
    • Fall
    • Winter
  • About Me
  • Contact

© 2014-2025 Bake to the roots
Made with ♥ by Marc Kromer | Bake to the roots. All rights reserved.

 
Send this to a friend