Fall is the perfect time for baked goods that are a bit richer. Rich in sugar, fat, and calories. After all, you have to prepare for the colder season, right?! This Fudgy Brownie Chocolate Pie has more than enough of everything you need to get you through fall and winter. It also tastes exceptionally good… but that was probably to be expected, right?!
We are big fans of all kinds of pies around here. We are also big fans of brownies and other chocolate-heavy baked goods. So what do you do? You combine the two and voilà, you’ve got yourself a delicious Brownie Chocolate Pie. Which, of course, is only absolutely perfect with a fudgy chocolate filling. Dense, chewy, and extremely chocolatey. Just thinking about it makes my mouth water…
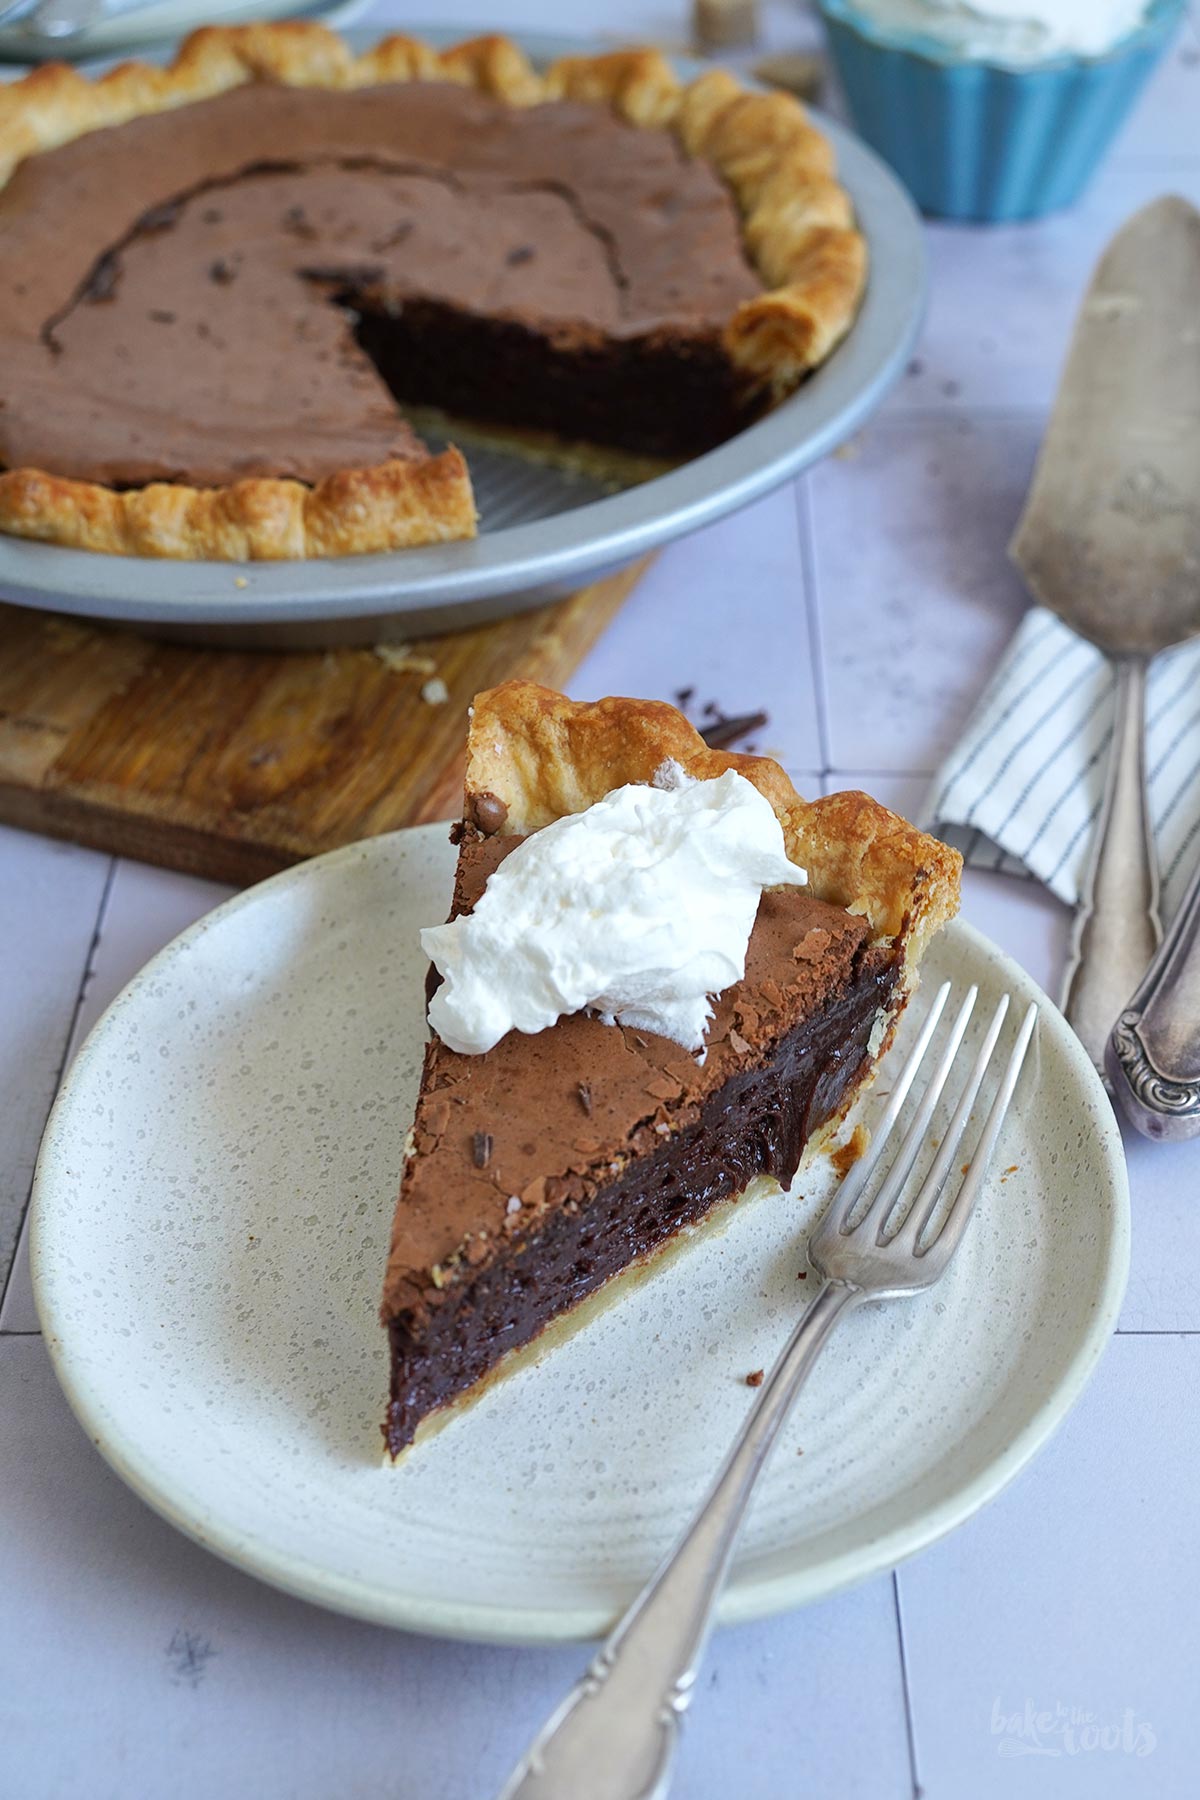
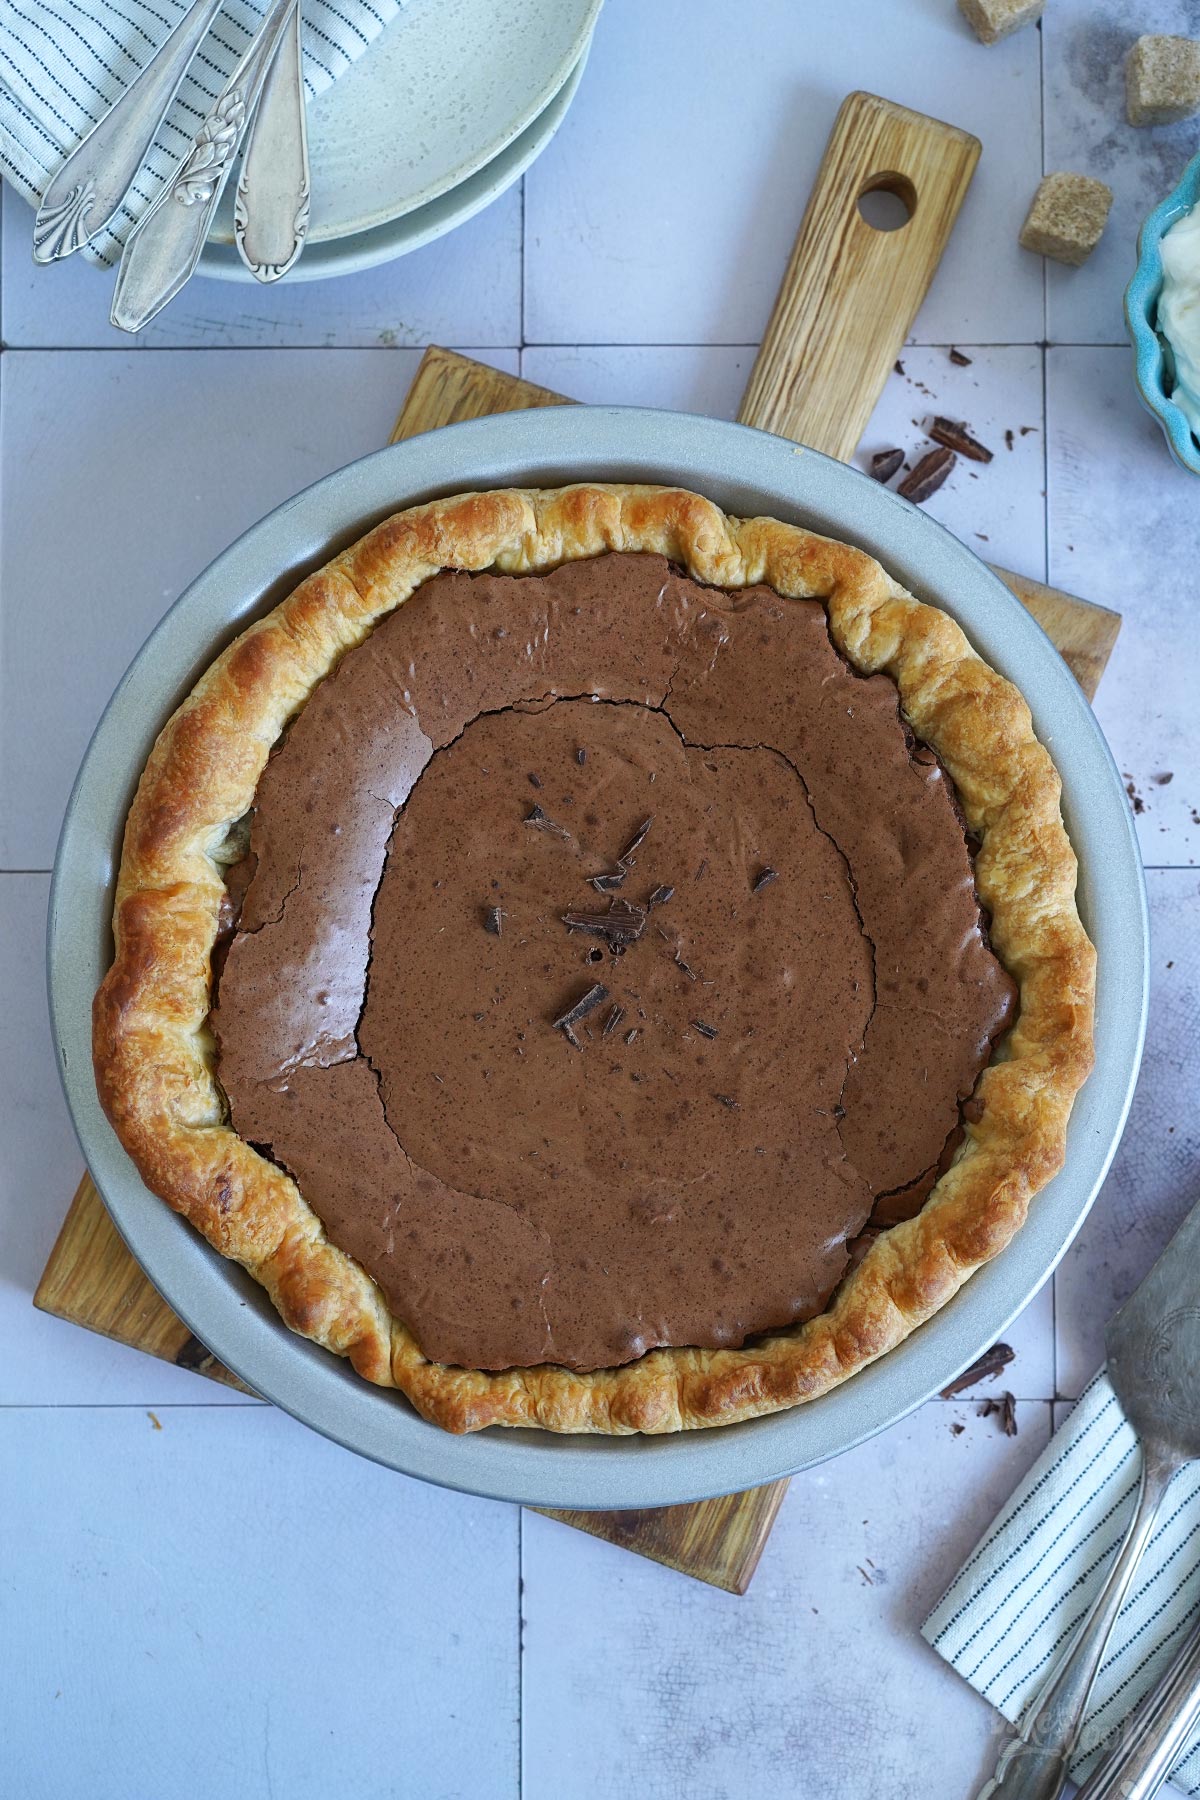
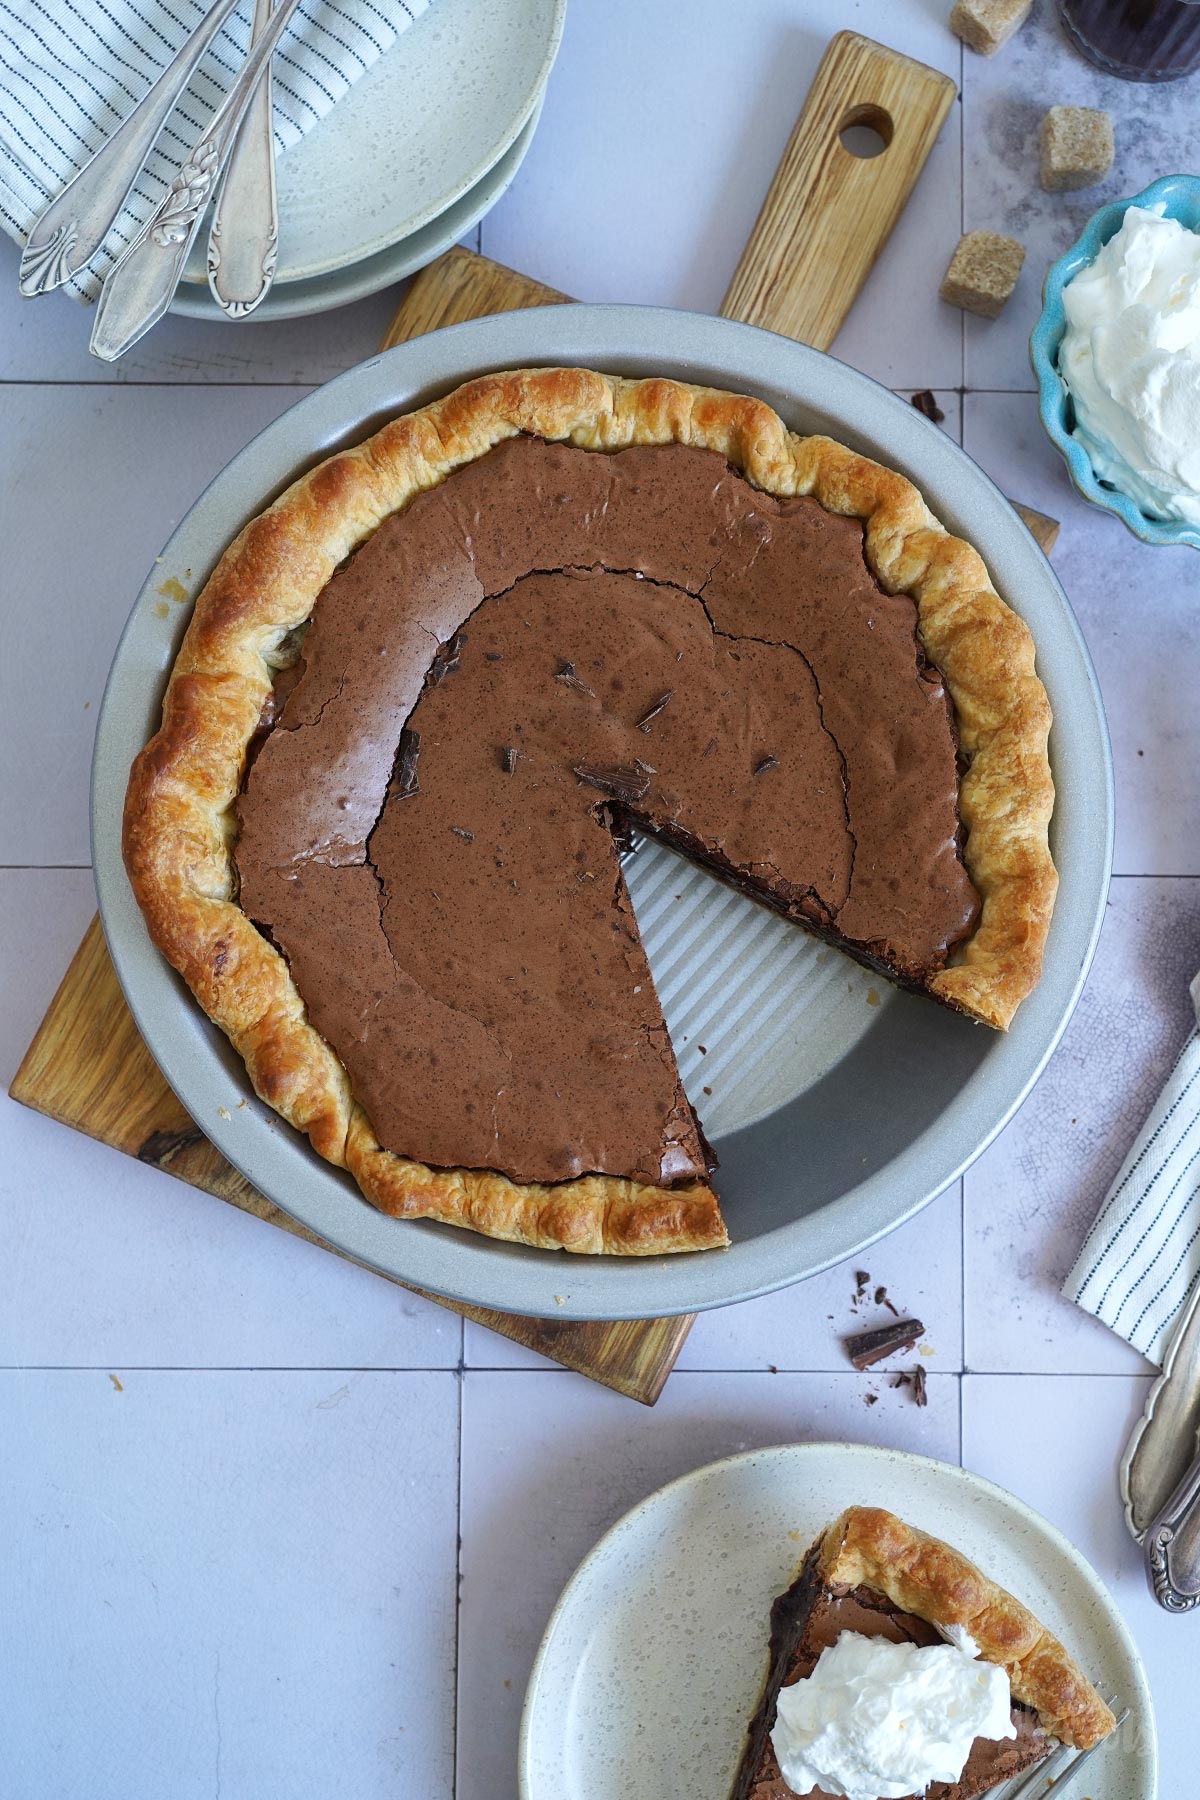
At first glance (before it’s cut), the pie may look unspectacular. A simple chocolate pie with a slightly cracked surface. Nothing really exciting, right? But if you take a closer look, you’ll see that the surface looks like the top of delicious chocolate brownies. As soon as you got a piece of the pie on your plate, it should be clear what kind of chocolate bomb you have in front of you.

To be completely honest, we recommend keeping the pieces quite small. Even chocoholics may find a large piece of this brownie pie a bit much. There isn’t actually that much actual chocolate in the filling, but in combination with the other ingredients, it can quickly become quite powerful. It’s better to start off a little more cautiously. You can always have a second slice… if there’s anything leftover.
The preparation of the pie is quite simple. The base of the pie has to be pre-baked. This is not something you have to do for every pie, but in order to get the right consistency of the filling and a nice shiny and crispy surface, this one here needs to be baked in two rounds. If baked in one swoosh, you would either get a dry filling or an underbaked (soggy) bottom. The base needs almost 30 minutes longer than the filling…

Other than that, there’s not much else to say about the pie. Cool the dough well before baking. That’s the only way it will keep its shape reasonably well during the first bake. Warm dough would collapse completely and slide down the sides of the pie dish. If you like the edges of your pie decorated, you can press a pattern into the edge. We did that too, but unfortunately not strongly enough. Otherwise it might have been more visible in the end.
As for the filling, use good-quality dark chocolate. It has to be a slightly bitter chocolate – even if you normally don’t like that type of chocolate. The flavors of the chocolate have to compete with the large amount of sugar in the filling. If you use an already sweet milk chocolate, the whole pie would turn out extremely sweet. Unfortunately, you can’t really reduce the sugar. Otherwise you won’t get the typical texture and surface we all know and love from good brownies. To be honest, we struggle with this every time and would like to use less sugar, but in this case, you unfortunately have to bite the bullet.
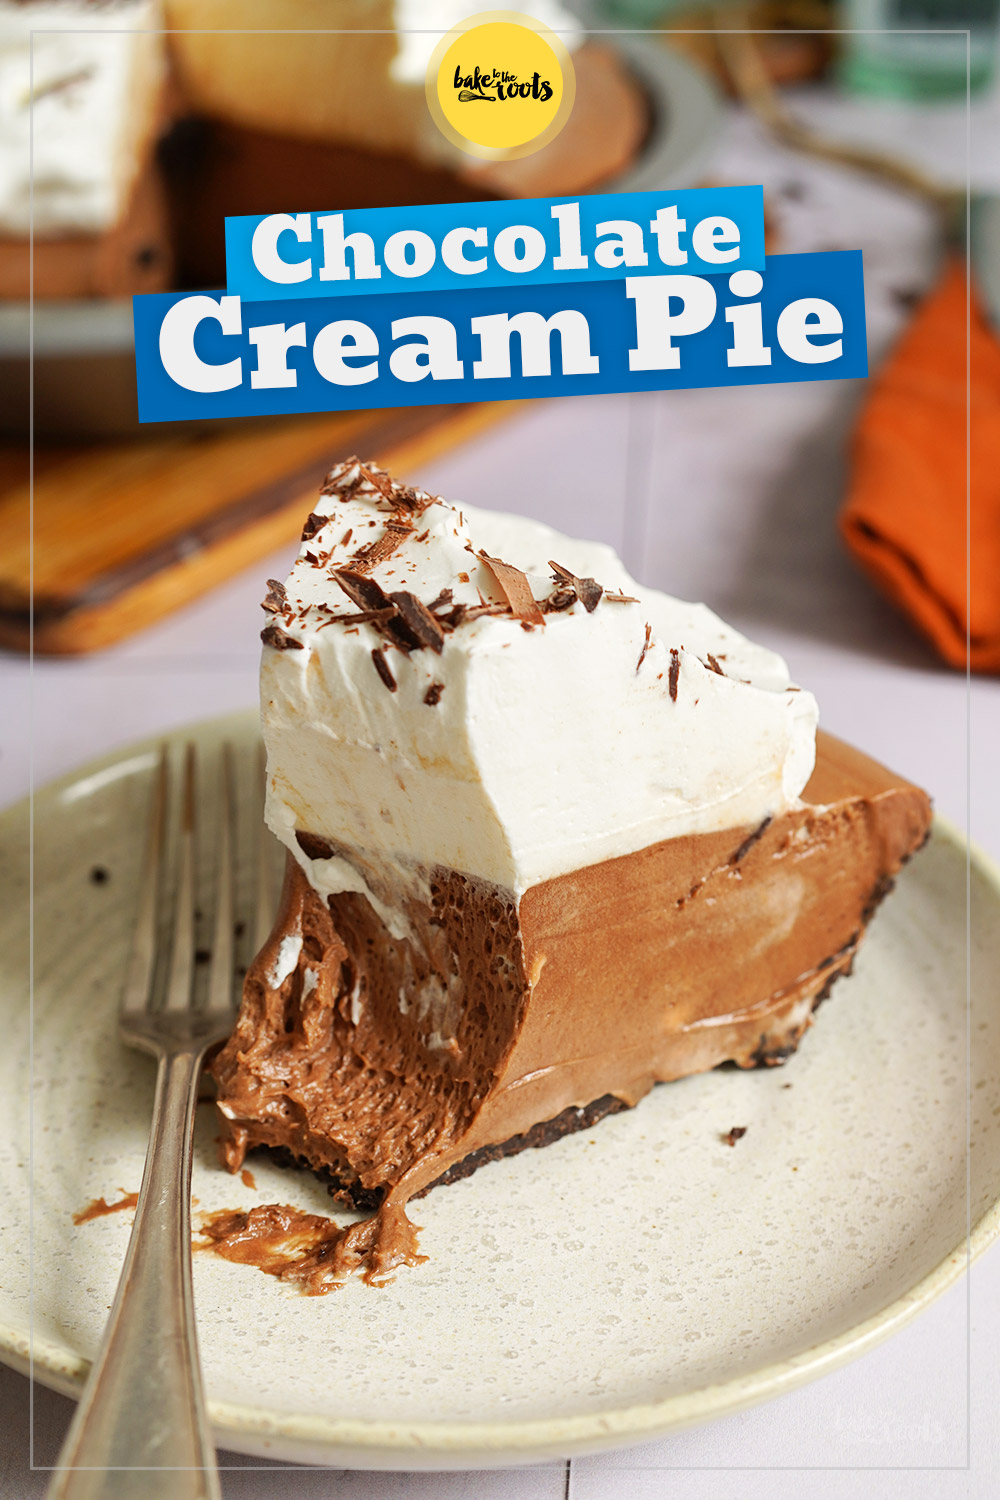
In case chocolate pies are your »thing«, you might want to check out our Oreo Chocolate Cream Pie as well. That one also has plenty of chocolate added, but in this case it’s a creamy (and lighter) filling. That pie needs to be »half-baked« only. The crust is baked, and the filling needs to be cooled only. Easy-peasy.
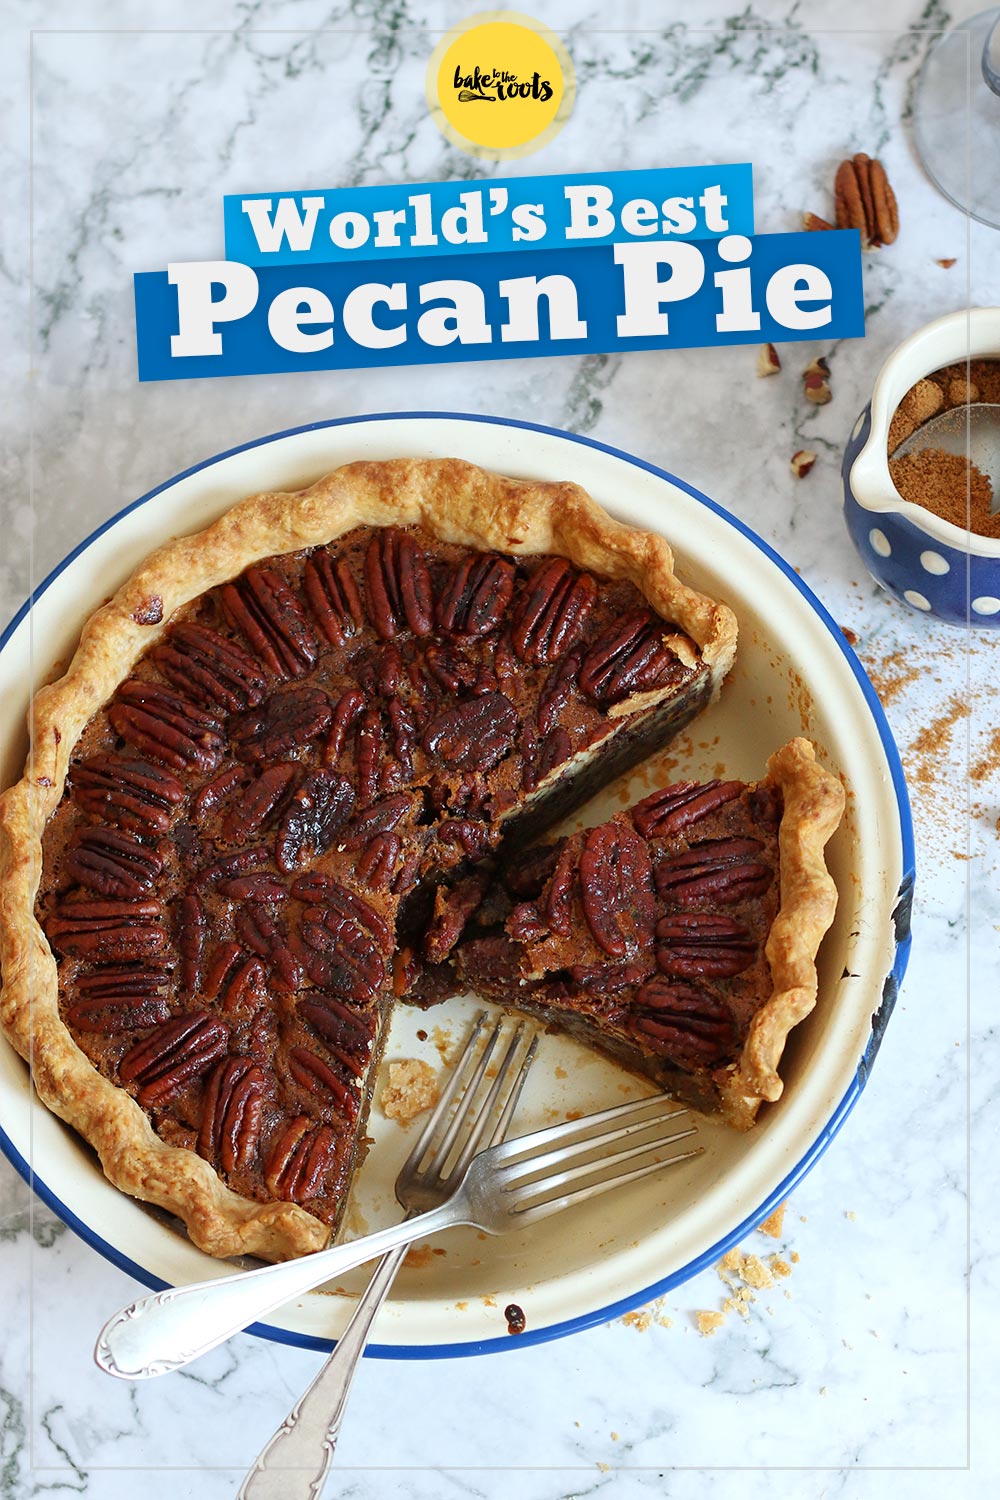
Wanna skip chocolate for once? Our pecan pie, for example, does not contain any chocolate. We call it The Best Pecan Pie in the World because it is so incredibly delicious and the best one there is. Is this debatable? Certainly, as not everyone likes pecans, but the pie has a lot of fans around here. They can’t all be wrong…
INGREDIENTS / ZUTATEN
For the pie crust:
7 oz. (200g) all-purpose flour
1 pinch of salt
1/2 cup (120g) cold butter, in small cubes
about 1/2 cup (120ml) cold water
2 tbsp. (30ml) apple cider vinegar*
For the brownie filling:
5.3 oz. 150g semi-sweet chocolate* (min. 50%), chopped
1 tbsp. (15g) cocoa powder*
4.2 oz. (120g) butter
120g sugar
50g brown sugar
2 large eggs
1/4 tsp. salt
1/2 tsp. vanilla extract*
2.1 oz. (60g) all-purpose flour
Für den Boden:
200g Mehl (Type 405)
1 Prise Salz
120g kalte Butter, in Würfeln
etwa 120ml kaltes Wasser
2 EL (30ml) Apfelessig*
Für die Brownie Füllung:
150g Zartbitterschokolade* (mind. 50 %), gehackt
1 EL (15g) Kakaopulver*
120g Butter
120g Zucker
50g brauner Zucker
2 Eier (L)
1/4 TL Salz
1/2 TL Vanille Extrakt*
60g Mehl (Type 405)
DIRECTIONS / ZUBEREITUNG
1. Add the flour and salt to a large bowl. Cut the butter into small cubes and toss it in the flour to coat it evenly. Use a pastry blender* or knife and cut the butter into pea-sized pieces. Combine the cold water and vinegar (you can cool it further down with some ice cubes). Add about half of the water-vinegar mixture to the bowl and mix in. Gradually add more while working the dough until it starts sticking together – you might not need all the liquid. The dough should not feel wet. Some dry spots in the dough are fine. Wrap the dough in plastic wrap and place it in the fridge for about one hour.
2. Roll out the dough into a rectangle on a lightly floured surface. Fold the long sides towards the center in thirds, one layer over the other, to create a three layer package. Repeat this process two more times – roll out to a rectangle and fold it towards the center. After the last round of folding, wrap the dough once more in plastic wrap and let it rest in the fridge for at least two hours or (even better) overnight. The dough can be stored in the fridge for up to 3 days.
3. Roll out the dough on a floured surface slightly larger than a 9-inch pie dish*. Place the dough inside the pie dish, press it down, tuck in overlapping dough around the edges and crimp to your liking. Prick the bottom several times with a fork. Place the pie dish in the fridge for about 20-30 minutes.
4. Preheat the oven to 220°C (425°F). Place a piece of baking parchment on the dough and fill up with baking beans*. Blind bake the pie crust for about 15-16 minutes, take out, remove the baking beans and baking parchment and bake another 6-8 minutes until the bottom slightly golden brown – it should not look wet anymore. Take out of the oven and let cool down completely.
5. For the filling, chop the chocolate coarsely and add it together with the cocoa powder, and butter to a microwave-safe bowl. Heat this mixture slowly in the microwave (in 30sec intervals) until the chocolate and butter have melted completely, and you got a nice and smooth chocolate sauce. Let cool down for a moment.
6. Preheat the oven to 180°C (350°F). Add both sugars and the eggs to a large bowl and mix on high until pale and doubled in volume – takes about 2-3 minutes. Add the cooled chocolate sauce, as well as the salt and vanilla extract, and stir until very well combined. Next, add the flour to the bowl and fold it in with a rubber spatula – do not over mix the batter. Pour into the cooled pie crust, smooth out the top and bake for 30-40 minutes or until a toothpick inserted into the center of the pie comes out (almost) clean. It’s better to under bake the pie slightly than over bake it (if you want a fudgy texture). Take out of the oven and let cool down completely on a wire rack. After that, leave it in the fridge for an hour before serving, so it can set completely. Store leftovers at room temperature up to 2 days – if your kitchen is warm, better store the pie in the fridge and let it come to room temperature again before serving.
1. Mehl und Salz in einer großen Schüssel vermengen. Die Butter in kleinen Stücken dazugeben und kurz im Mehl schwenken. Die Butter dann mit einem Teigmischer* oder einem Messer in erbsengroße Stücke zerteilen. Kaltes Wasser und Essig verrühren (mit einem Eiswürfel kann man die Mischung noch weiter runterkühlen). Etwa die Hälfte der Wasser-Essig-Mischung in die Schüssel dazugeben und untermengen. Nach und nach mehr Flüssigkeit dazugeben und in den Teig einarbeiten, bis die Mischung anfängt zusammenzuhalten – man braucht hier eventuell nicht die komplette Flüssigkeitsmenge. Der Teig sollte sich auf keinen Fall nass anfühlen. Einige trockene Stellen hier und da sind in Ordnung. Den Teig in Klarsichtfolie einschlagen und für etwa eine Stunde in den Kühlschrank legen.
2. Den Teig auf einer leicht bemehlten Fläche zu einem Rechteck ausrollen. Die langen Seiten des Rechtecks zu je einem Drittel zur Mitte einschlagen – es entsteht ein kleines Paket mit 3 Teigschichten. Den Vorgang zweimal wiederholen mit Ausrollen und zur Mitte einschlagen. Nach dem letzten Falten den Teig wieder in Klarsichtfolie einschlagen und dann für mindestens 2 Stunden oder (besser) über Nacht in den Kühlschrank legen. Der Teig kann hier bis zu 3 Tage im Kühlschrank aufbewahrt werden.
3. Den Teig auf einer bemehlten Fläche etwas größer als eine 23cm Pieform* ausrollen. Den Teig in die Form legen, am Boden festdrücken und überlappenden Teig an den Rändern einschlagen. Wer mag, kann den Rand nach Belieben noch bearbeiten/verschönern. Den Boden mehrmals mit einer Gabel einstechen und dann für etwa 20-30 Minuten in den Kühlschrank stellen.
4. Den Ofen auf 220°C (425°F) Ober-/Unterhitze vorheizen. Ein Stück Backpapier auf den Teig legen und mit Backbohnen* auffüllen. Den Boden des Pies für etwa 15-16 Minuten blindbacken, dann Backpapier und Backbohnen entfernen und noch einmal 6-8 Minuten backen, bis der Boden leicht goldbraun ist. Der Boden sollte nicht mehr feucht aussehen. Aus dem Ofen nehmen und vollständig auskühlen lassen.
5. Die Schokolade für die Füllung grob hacken und zusammen mit dem Kakao und der Butter in eine mikrowellengeeignete Schüssel geben. Die Mischung in der Mikrowelle langsam erwärmen (in 30-Sekunden-Intervallen), bis die Schokolade und die Butter vollständig geschmolzen sind und eine schöne Schokoladensauce entstanden ist. Etwas abkühlen lassen.
6. Den Ofen auf 180°C (350°F) Ober-/Unterhitze vorheizen. Beide Zuckersorten und die Eier in eine große Schüssel geben und auf höchster Stufe aufschlagen, bis die Masse schön hell aussieht und das Volumen verdoppelt hat – dauert etwa 2-3 Minuten. Die abgekühlte Schokoladensauce, Salz und Vanille Extrakt dazugeben und alles gut verrühren. Als Nächstes das Mehl in die Schüssel geben und unterheben (z.B. mit einem Gummispatel). Hier sollte nicht mehr zu viel gerührt werden. Den Teig auf dem vorgebackenen Boden verteilen und dann für etwa 30-40 Minuten backen bzw. bis ein Zahnstocher in der Mitte des Kuchens (fast) sauber herauskommt. Es ist besser, den Kuchen etwas zu kurz zu backen als zu lange (wenn man die knietschige Textur von Brownies mag). Aus dem Ofen holen und auf einem Kuchengitter komplett auskühlen lassen. Den Pie vor dem Servieren noch einmal eine Stunde in den Kühlschrank stellen, damit sich die Füllung komplett setzen kann. Reste bei Zimmertemperatur bis zu 2 Tage aufbewahren. Wenn es in der Küche etwas wärmer ist, den Pie besser im Kühlschrank lagern und vor dem Servieren wieder auf Zimmertemperatur kommen lassen.

Craving more? Keep in touch on Facebook, Instagram and Pinterest for new post updates and more. You can also contact me with any questions or inquiries!
Here is a version of the recipe you can print easily.
Print
Fudgy Brownie Chocolate Pie
- Prep Time: 00:50
- Cook Time: 01:00
- Total Time: 08:00
- Yield: 1 1x
- Category: Pies
- Method: -
- Cuisine: International
- Diet: Vegetarian
Description
This is the pie for all chocoholics out there – a Fudgy Brownie Chocolate Pie is a dream come true and a delicious dessert at the same time! ;)
Ingredients
For the pie crust:
7 oz. (200g) all-purpose flour
1 pinch of salt
1/2 cup (120g) cold butter, in small cubes
about 1/2 cup (120ml) cold water
2 tbsp. (30ml) apple cider vinegar*
For the brownie filling:
5.3 oz. 150g semi-sweet chocolate* (min. 50%), chopped
1 tbsp. (15g) cocoa powder*
4.2 oz. (120g) butter
120g sugar
50g brown sugar
2 large eggs
1/4 tsp. salt
1/2 tsp. vanilla extract*
2.1 oz. (60g) all-purpose flour
Instructions
1. Add the flour and salt to a large bowl. Cut the butter into small cubes and toss it in the flour to coat it evenly. Use a pastry blender* or knife and cut the butter into pea-sized pieces. Combine the cold water and vinegar (you can cool it further down with some ice cubes). Add about half of the water-vinegar mixture to the bowl and mix in. Gradually add more while working the dough until it starts sticking together – you might not need all the liquid. The dough should not feel wet. Some dry spots in the dough are fine. Wrap the dough in plastic wrap and place it in the fridge for about one hour.
2. Roll out the dough into a rectangle on a lightly floured surface. Fold the long sides towards the center in thirds, one layer over the other, to create a three layer package. Repeat this process two more times – roll out to a rectangle and fold it towards the center. After the last round of folding, wrap the dough once more in plastic wrap and let it rest in the fridge for at least two hours or (even better) overnight. The dough can be stored in the fridge for up to 3 days.
3. Roll out the dough on a floured surface slightly larger than a 9-inch pie dish*. Place the dough inside the pie dish, press it down, tuck in overlapping dough around the edges and crimp to your liking. Prick the bottom several times with a fork. Place the pie dish in the fridge for about 20-30 minutes.
4. Preheat the oven to 220°C (425°F). Place a piece of baking parchment on the dough and fill up with baking beans*. Blind bake the pie crust for about 15-16 minutes, take out, remove the baking beans and baking parchment and bake another 6-8 minutes until the bottom slightly golden brown – it should not look wet anymore. Take out of the oven and let cool down completely.
5. For the filling, chop the chocolate coarsely and add it together with the cocoa powder, and butter to a microwave-safe bowl. Heat this mixture slowly in the microwave (in 30sec intervals) until the chocolate and butter have melted completely, and you got a nice and smooth chocolate sauce. Let cool down for a moment.
6. Preheat the oven to 180°C (350°F). Add both sugars and the eggs to a large bowl and mix on high until pale and doubled in volume – takes about 2-3 minutes. Add the cooled chocolate sauce, as well as the salt and vanilla extract, and stir until very well combined. Next, add the flour to the bowl and fold it in with a rubber spatula – do not over mix the batter. Pour into the cooled pie crust, smooth out the top and bake for 30-40 minutes or until a toothpick inserted into the center of the pie comes out (almost) clean. It’s better to under bake the pie slightly than over bake it (if you want a fudgy texture). Take out of the oven and let cool down completely on a wire rack. After that, leave it in the fridge for an hour before serving, so it can set completely. Store leftovers at room temperature up to 2 days – if your kitchen is warm, better store the pie in the fridge and let it come to room temperature again before serving.
Notes
Let’s get baking!
Links marked with an asterisk (*) are affiliate links (advertising/Werbung) to Amazon Germany. If you click on one of those links and buy something via this link, I will get a commission for that sale. The price of whatever you buy is not affected in any way by this.