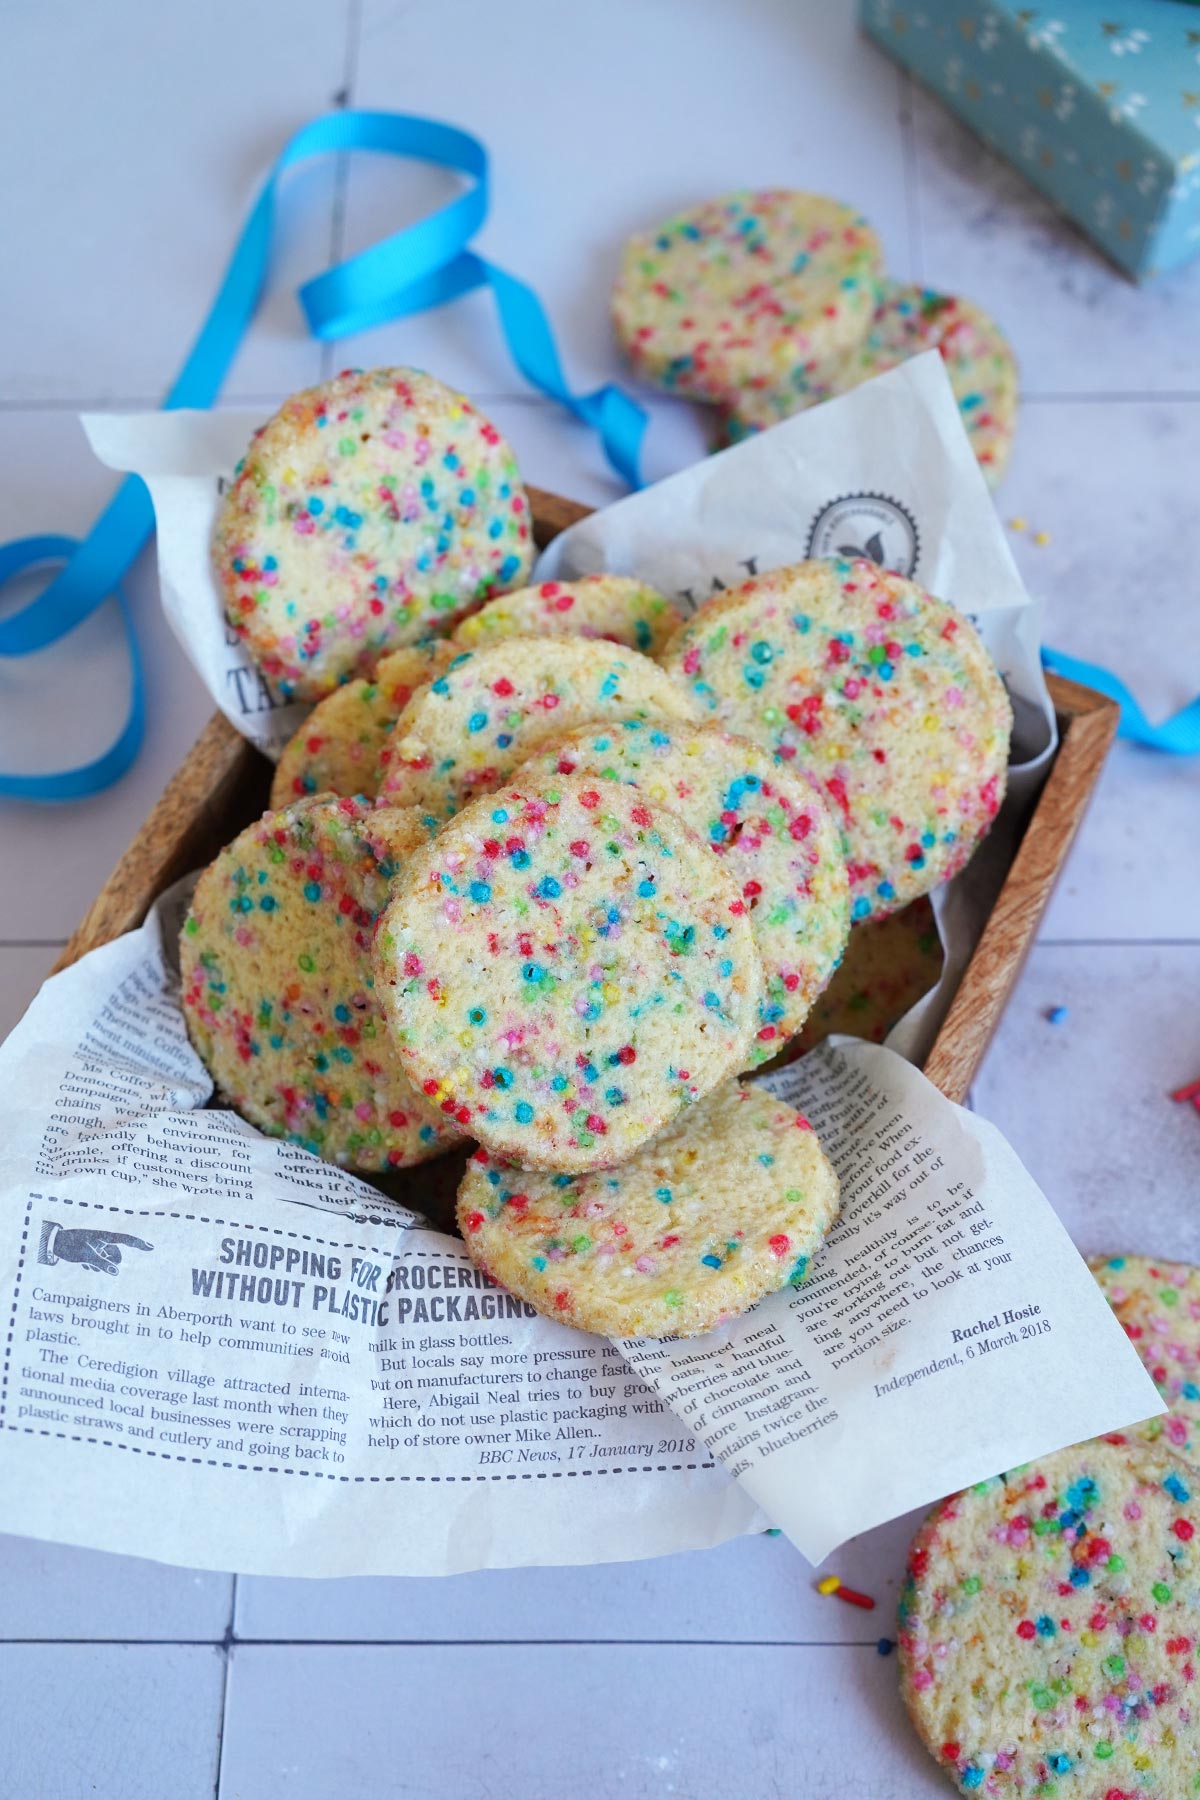
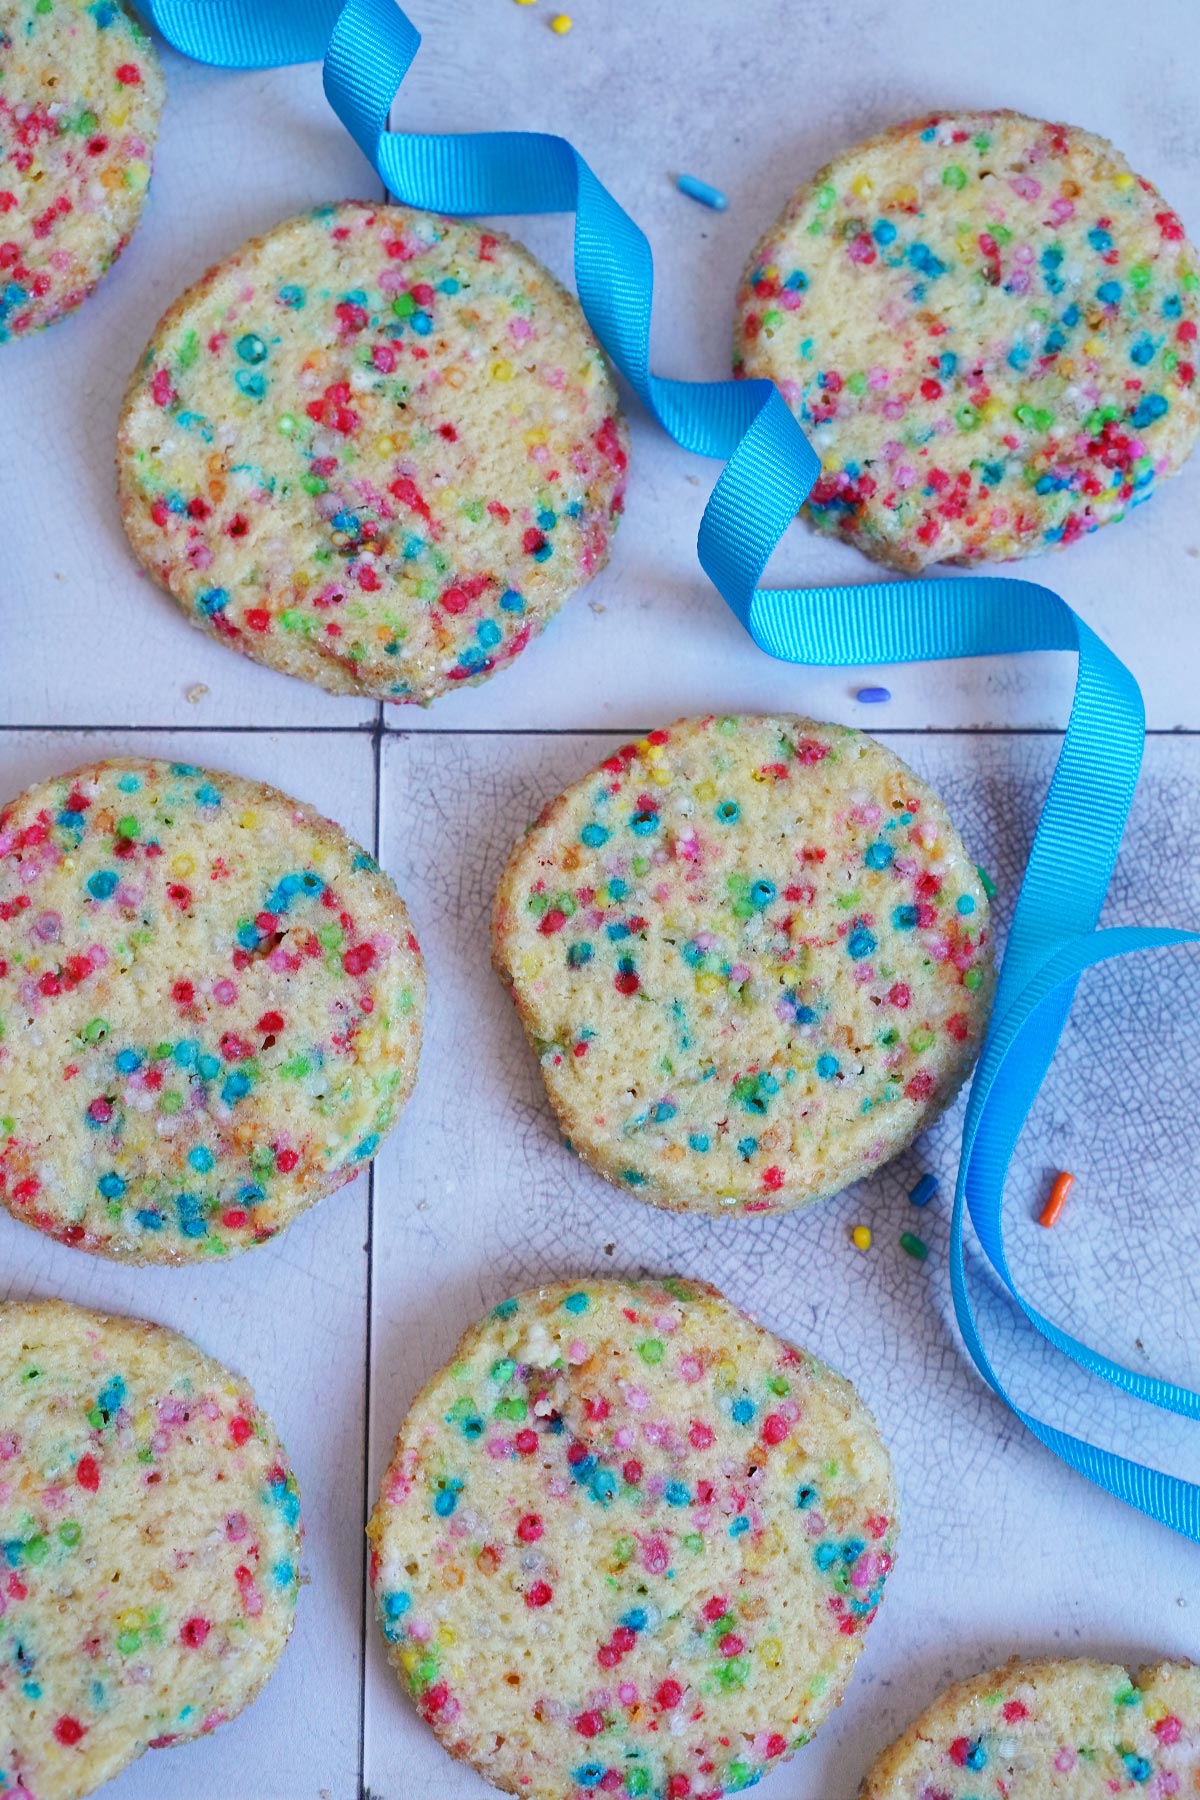
For a birthday or other celebrations, it’s never a bad idea to have something to nibble on, right? We always have something to munch on when guests are in the house – whether we’re sitting together all evening long or just for a quick coffee. A few delicious cookies are perfect for any kind of gathering. You can serve these Funfetti Ice Box Cookies for any occasion, but they are much better for celebrations like birthdays or carnival, of course.
If the decorations at a party are colorful, the food can also look colorful and fun, right? Whether it’s the birthday party for a kid, a carnival party or New Year’s Eve – there are plenty of occasions where you can serve colorful food. I mean, you don’t have to add the whole rainbow onto cakes, but some color here and there is always nice.
Admittedly, we’re a little biased when it comes to cookies. We always have cookies lying around somewhere. Why? Well, we love them and bake them a lot. There is a reason we celebrate Cookie Friday almost every week. In case you are looking for more cookies to bake, you’re definitely come to the right place. We haven’t checked, but we are pretty sure we have the largest cookie recipe collection on the internet. If it’s not the biggest, then at least it’s one of the biggest.

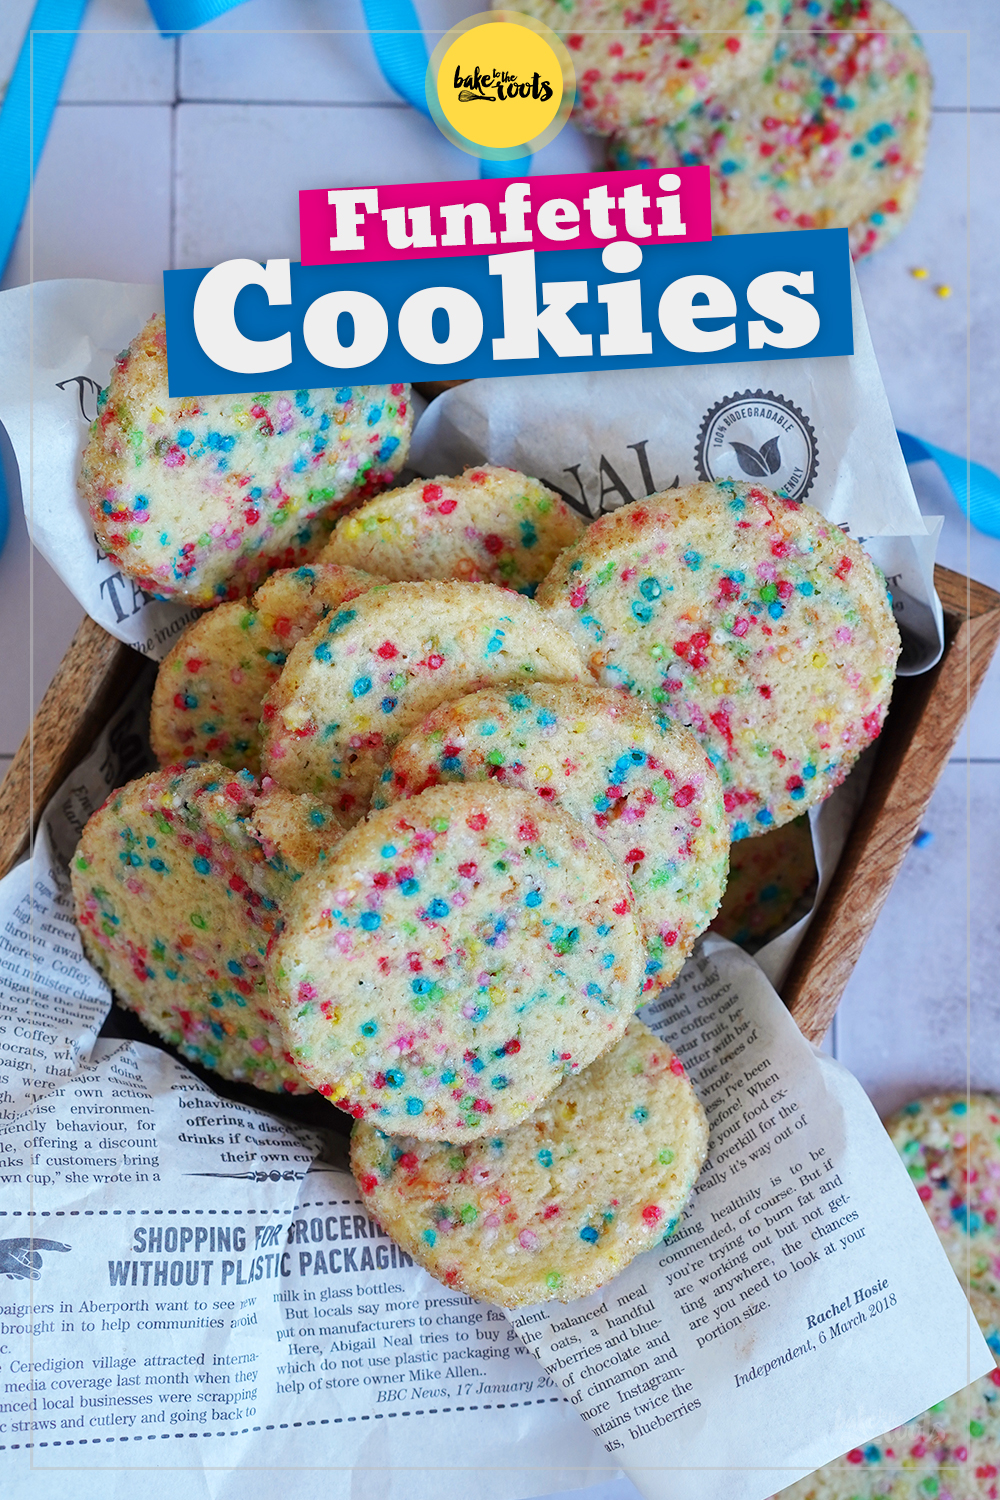
Anyway. These Funfetti cookies here are classic ice box cookies. What is that, you may ask? Well, »ice box« is an alternative name for the good old fridge. These cookies need to go into the fridge before baking – so someone came up with the name. Not my idea.
Cooling the cookie dough before baking is necessary – firstly, to be able to cut the dough into thin slices and without cooling time, the cookies would not keep their shape when baked. This is actually something you have to do with a lot of cookies to prevent them from spreading too much during baking. But not every cooled cookie is an ice box cookie. Again – not my idea.
Well. Ice box cookies work best with regular butter, because butter is firming up nicely in the fridge. This means the cookie dough will be firmer as well. For this recipe, we used margarine instead. We do not recommend using a type of margarine that’s very soft when cooled. Some products are manufactured to be spreadable and soft no matter how you store it.
There are firmer margarine versions, like Alsan Bio* that are a bit closer to real butter when it comes to texture and firmness. This type of margarine is definitely better if you can’t or don’t want to use regular butter.


These delicious cookies are also from the same (ice box cookies) category: Our Schweizer Nusstaler aka. Swiss Nut Cookies are packed with nuts and really delicious. So are our Cinnamon Roll Cookies. Everybody loves them so much…
INGREDIENTS / ZUTATEN
(about 30 cookies)
3/4 cup (170g) margarine
1/2 cup (100g) sugar
1 medium egg
1 tsp. vanilla extract
2 1/4 cups (290g) all-purpose flour
1/4 tsp. salt
1/2 cup (100g) rainbow sprinkles
about 1/4 cup (50g) coarse sugar, for rolling
7 oz. (200g) white chocolate, melted (optional)
some additional rainbow sprinkles (optional)
(etwa 30 Cookies)
170g Margarine
100g Zucker
1 Ei (M)
1 TL Vanille Extrakt
290g Mehl (Type 405)
1/4 TL Salz
etwa 100g bunte Regenbogenstreusel
etwa 50g grober Zucker, zum Wälzen
200g weiße Schokolade, geschmolzen (optional)
einige zusätzliche Regenbogenstreusel (optional)

DIRECTIONS / ZUBEREITUNG
1. Add the margarine and sugar to a large bowl and mix until very light and fluffy. Add the egg and vanilla extract and mix until well combined. Next, add the flour and salt and mix in – the dough will be very soft and sticky. Add the rainbow sprinkles and work them quickly into the dough so they have no chance of bleeding out. Divide the dough and shape each piece into a log and wrap it into plastic wrap. Place in the fridge overnight.
2. Preheat the oven to 180°C (350°F). Line a baking sheet with baking parchment and set aside.
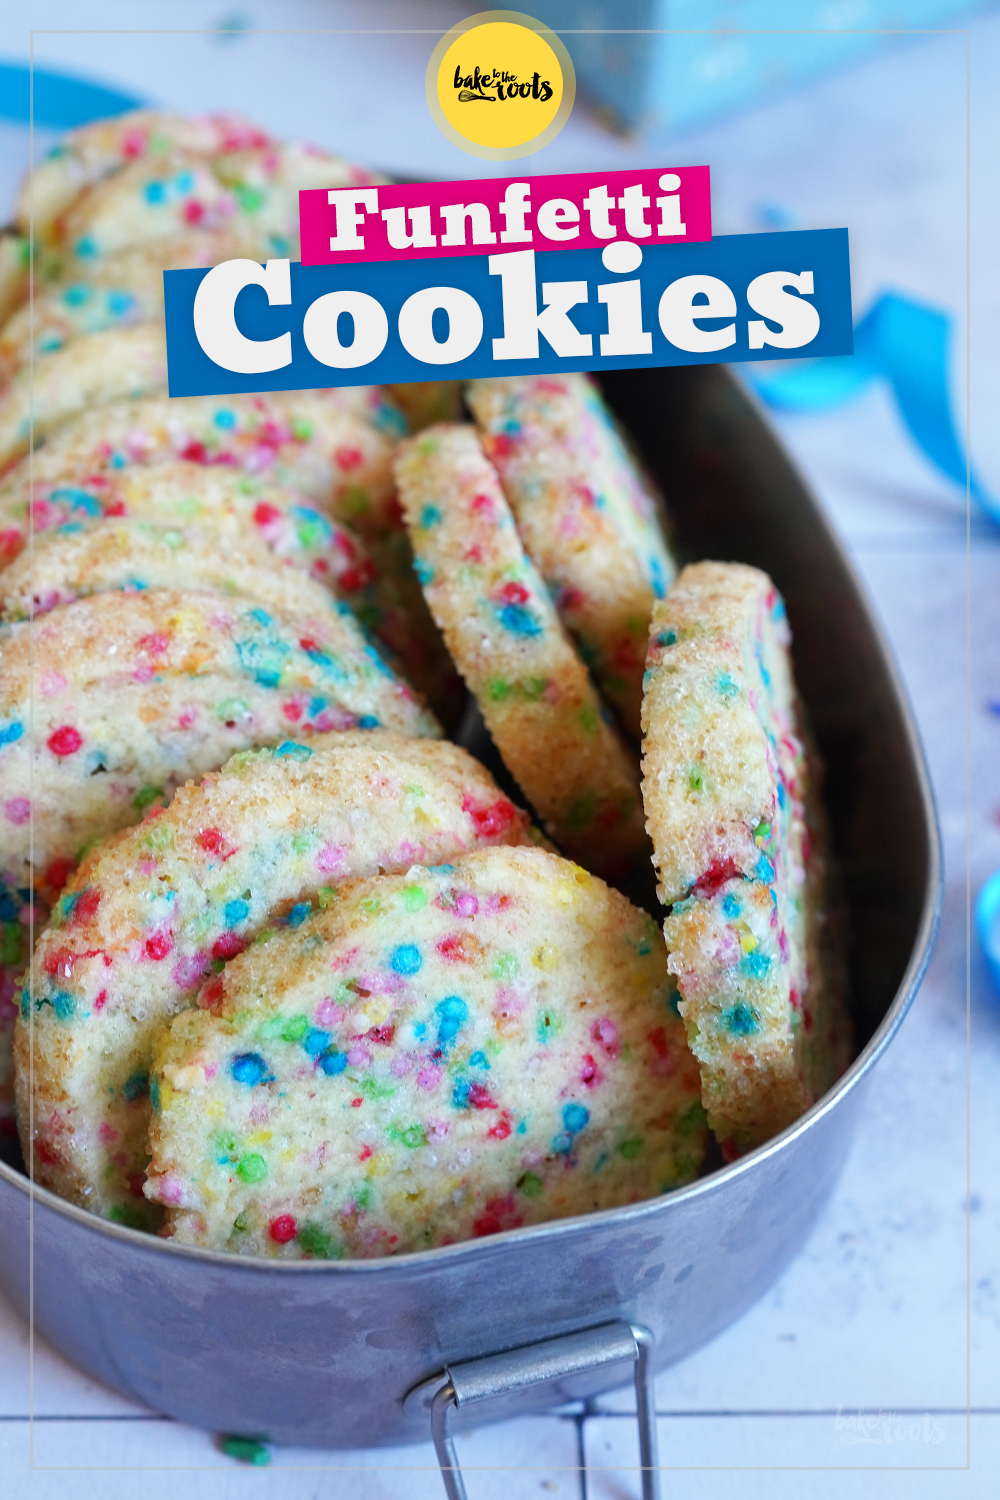
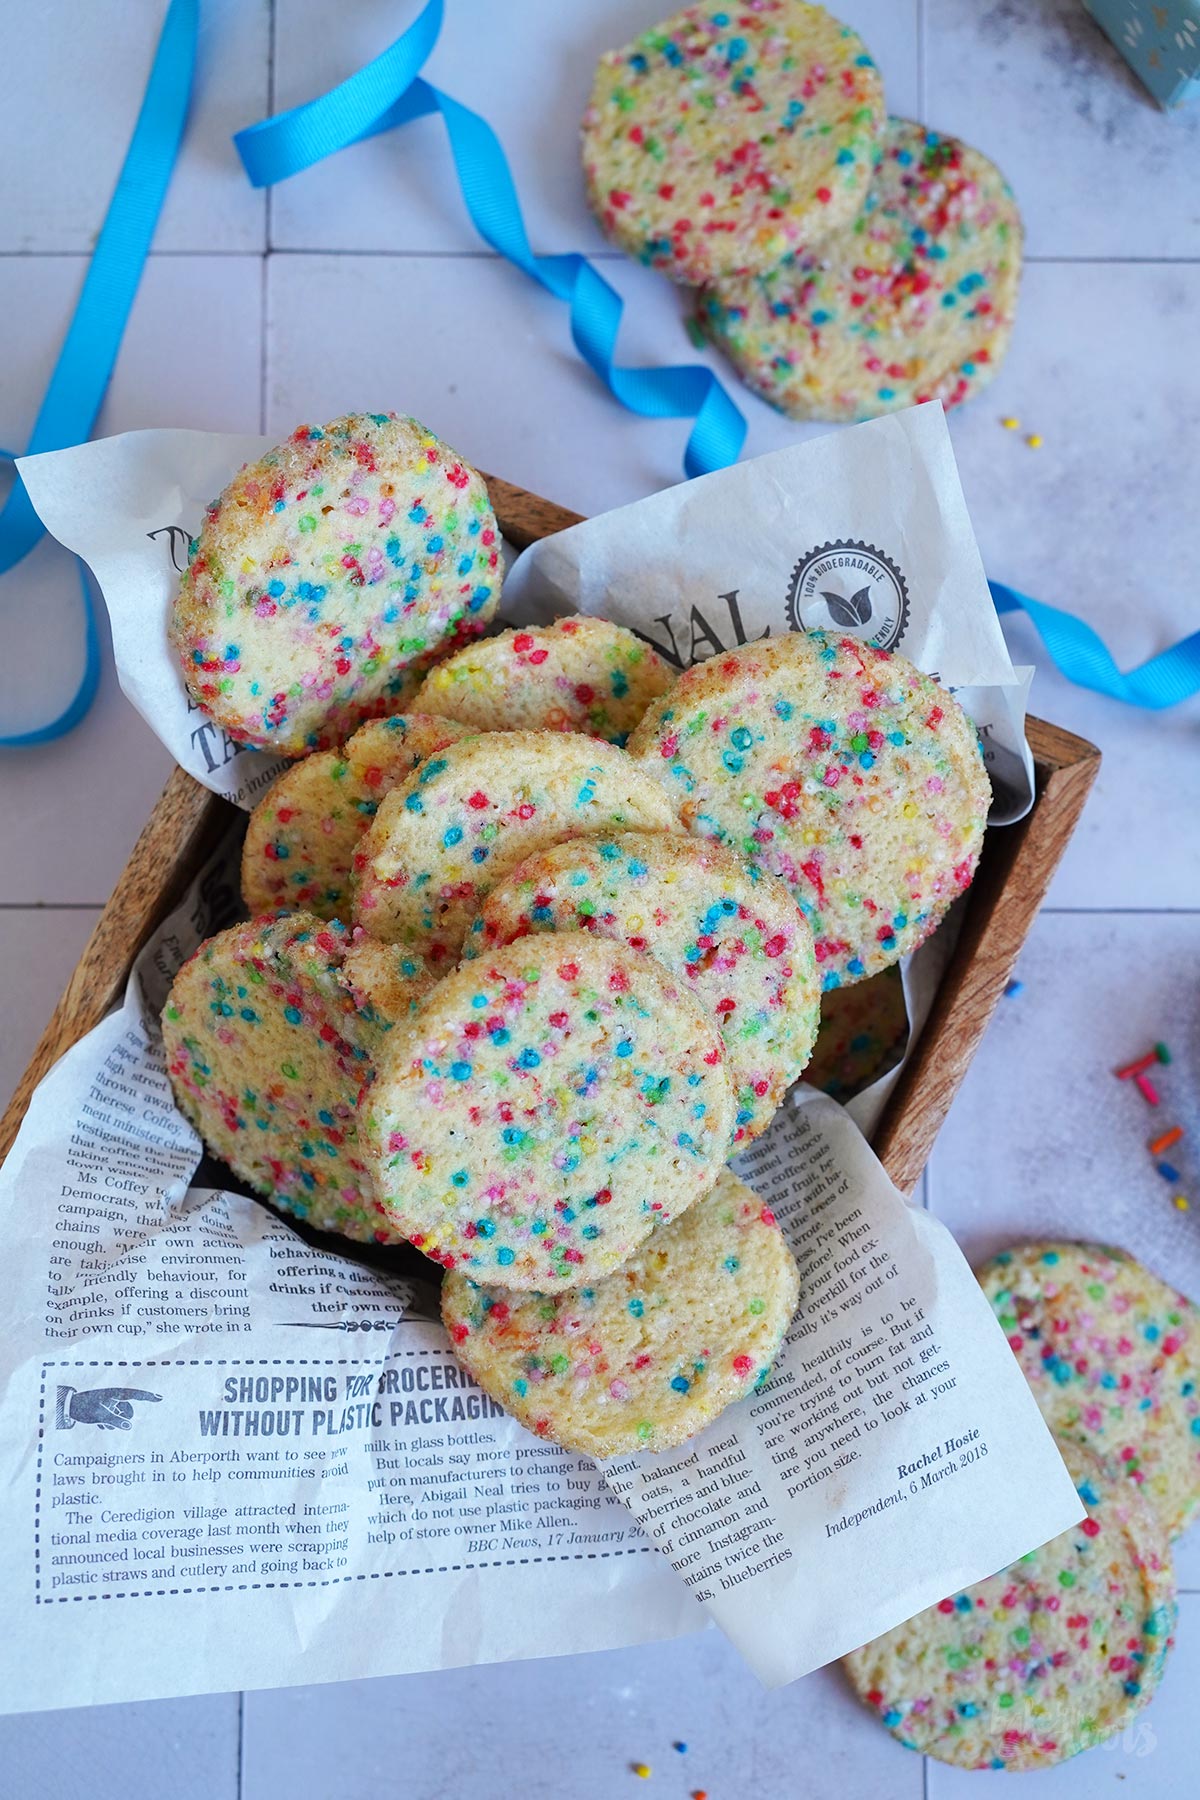
3. Add the coarse sugar to a plate that is at least as big as one of the dough logs, and roll the first log in the sugar to cover it completely. Cut the log into (not too thin) slices and place those slices with enough space in between on the prepared baking sheet – the cookies spread a bit. Bake the cookies for about 12-14 minutes or until lightly browned around the edges. Take the cookies out of the oven and let them cool down on the baking sheet for some time, then transfer them to a wire rack and let them cool down completely. Repeat with the remaining dough.
4. If you want to decorate the cookies, melt the chocolate and dip the cookies on one side into the chocolate, sprinkle them with some more rainbow sprinkles and let them dry completely. Decorating the cookies is optional. The cookies are great with anything added on top.
1. Die Margarine und den Zucker in eine große Schüssel geben und hell und luftig aufschlagen. Das Ei und den Vanille Extrakt dazugeben und unterrühren. Mehl und Salz dazugeben und unterrühren – der Teig wird recht weich und klebrig sein. Die Regenbogenstreusel dazugeben und zügig in den Teig einarbeiten, damit die Farbe der Streusel den Teig nicht zu stark färbt. Den Teig teilen und beide Teigstücke jeweils zu einer Rolle formen und in Klarsichtfolie einschlagen. Über Nacht in den Kühlschrank legen.
2. Den Ofen auf 180°C (350°F) Ober-/Unterhitze vorheizen. Ein Backblech mit Backpapier auslegen und zur Seite stellen.
3. Den groben Zucker auf einen Teller geben, der mindestens so groß ist, wie eine der Teigrollen und dann die erste Rolle im Zucker wälzen, bis sie komplett mit Zucker bedeckt ist. Die Rolle dann in (nicht zu dünne) Scheiben schneiden und mit etwas Abstand zueinander auf das vorbereitete Blech setzen – die Cookies laufen etwas auseinander. Die Cookies für etwa 12-14 Minuten backen bzw. bis sie an den Rändern ein wenig Farbe bekommen haben. Aus dem Ofen holen und kurz auf dem Backblech abkühlen lassen, dann auf ein Kuchengitter setzen und komplett auskühlen lassen. Den kompletten Vorgang mit dem restlichen Teig wiederholen.
4. Wer die Kekse noch dekorieren möchte, kann einfach weiße Schokolade schmelzen und die Cookies dann zur Hälfte in die Schokolade tauchen und mit ein paar zusätzlichen Zuckerstreuseln bestreuen und trocknen lassen. Wer sich die Arbeit sparen möchte – absolut ok – die Cookies schmecken auch ohne Schnickschnack.

Craving more? Keep in touch on Facebook, Instagram and Pinterest for new post updates and more. You can also contact me with any questions or inquiries!
Here is a version of the recipe you can print easily.
Print
Easy Funfetti Ice Box Cookies
- Prep Time: 00:20
- Cook Time: 00:14
- Total Time: 09:00
- Yield: 30 1x
- Category: Cookies
- Method: -
- Cuisine: International
- Diet: Vegetarian
Description
Looking for something easy and colorful? These Funfetti Ice Box Cookies are simply perfect if you need something for a birthday or a party.
Ingredients
3/4 cup (170g) margarine
1/2 cup (100g) sugar
1 medium egg
1 tsp. vanilla extract
2 1/4 cups (290g) all-purpose flour
1/4 tsp. salt
1/2 cup (100g) rainbow sprinkles
about 1/4 cup (50g) coarse sugar, for rolling
7 oz. (200g) white chocolate, melted (optional)
some additional rainbow sprinkles (optional)
Instructions
1. Add the margarine and sugar to a large bowl and mix until very light and fluffy. Add the egg and vanilla extract and mix until well combined. Next, add the flour and salt and mix in – the dough will be very soft and sticky. Add the rainbow sprinkles and work them quickly into the dough so they have no chance of bleeding out. Divide the dough and shape each piece into a log and wrap it into plastic wrap. Place in the fridge overnight.
2. Preheat the oven to 180°C (350°F). Line a baking sheet with baking parchment and set aside.
3. Add the coarse sugar to a plate that is at least as big as one of the dough logs, and roll the first log in the sugar to cover it completely. Cut the log into (not too thin) slices and place those slices with enough space in between on the prepared baking sheet – the cookies spread a bit. Bake the cookies for about 12-14 minutes or until lightly browned around the edges. Take the cookies out of the oven and let them cool down on the baking sheet for some time, then transfer them to a wire rack and let them cool down completely. Repeat with the remaining dough.
4. If you want to decorate the cookies, melt the chocolate and dip the cookies on one side into the chocolate, sprinkle them with some more rainbow sprinkles and let them dry completely. Decorating the cookies is optional. The cookies are great with anything added on top.
Notes
Let the baking begin!
Links marked with an asterisk (*) are affiliate links (advertising/Werbung) to Amazon Germany. If you click on one of those links and buy something via this link, I will get a commission for that sale. The price of whatever you buy is not affected in any way by this.