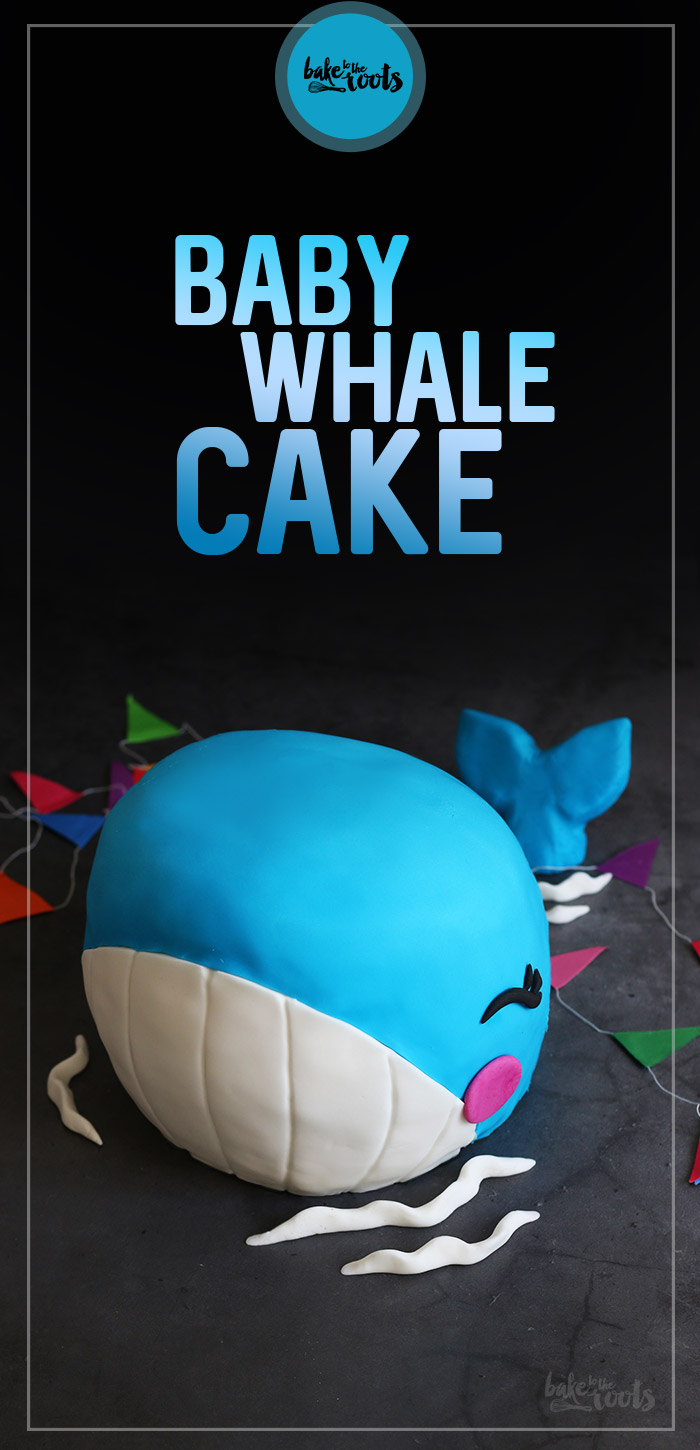
Whalecome Theo! A new little person has arrived on this planet and this has to be celebrated. With a little cake. Or some would say a big cake. A big little Baby Whale Cake. Compared to a real whale it’s actually tiny, right?! Anyway – Hello Theo! ;)
A dear blogger colleague gave birth to a little baby boy several days ago. To celebrate this special occasion a baby shower party had to be organized. A virtual one, of course. There is no way to do it differently right now, so virtual is the way to do it. Several bloggers got together and celebrate the arrival of little Theo. And of course, the parents who produced the little guy ;)
It took me quite a while to decide what I should bake/make for this virtual baby party. I am not really into all of that “baby stuff” ;) Don’t get me wrong – I like babies and kids, but somehow I find it easier to come up with an idea for a Halloween party than a baby shower. Mostly because I am the “dark and moody” type of person who can’t relate to colorful and funny things. I did not say that about myself, but it is probably true ;P
Well… go get inspired I took a deep dive into Pinterest a few days ago – mainly cakes with a certain theme: “Welcome Baby” and “It’s a boy!” cakes. You can find tons of really nice and creative cakes on Pinterest with little storks as decorations, little babies, toys… etc. – unfortunately, all a bit fiddly and finicky, loads of little details I would never be able to create with fondant/sugar paste. I’m not a huge fan of fondant. I can tell you that ;)
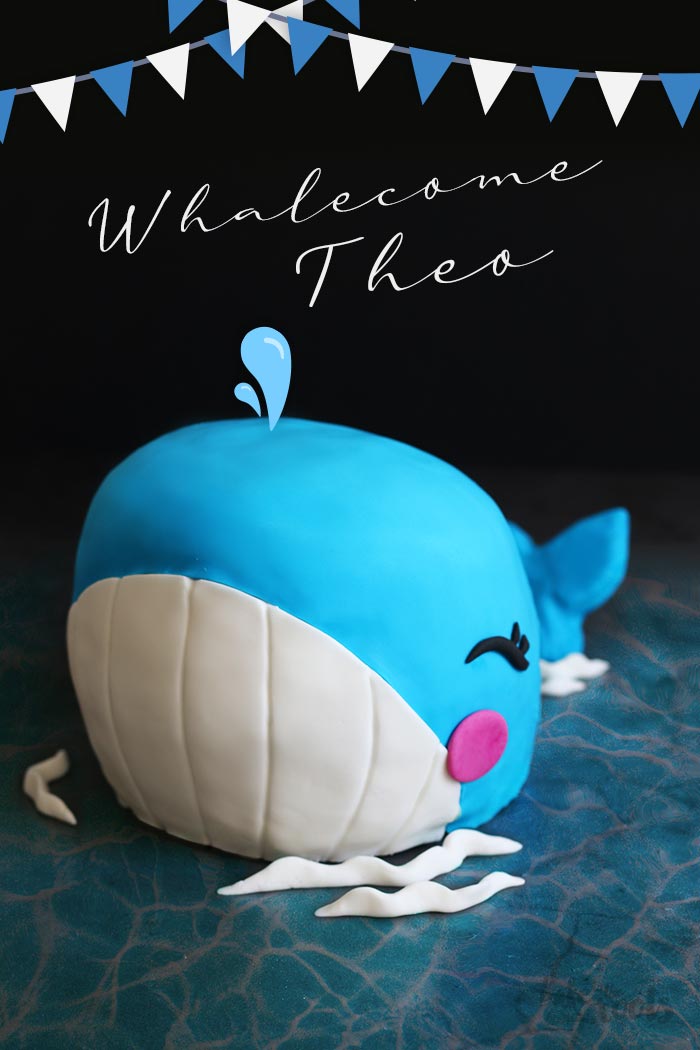
While looking for something I could do I ended up with baby animal cakes – stuff like little penguins, lions, etc. and then, of course, the little baby whale ;) Somehow these cakes seemed to be a bit easier (haha) and so I decided to go for the little blue comic baby whale. The whale also reminded me of a doormat we once had saying “Whalecome Home” and the picture of a… guess what? A whale :P
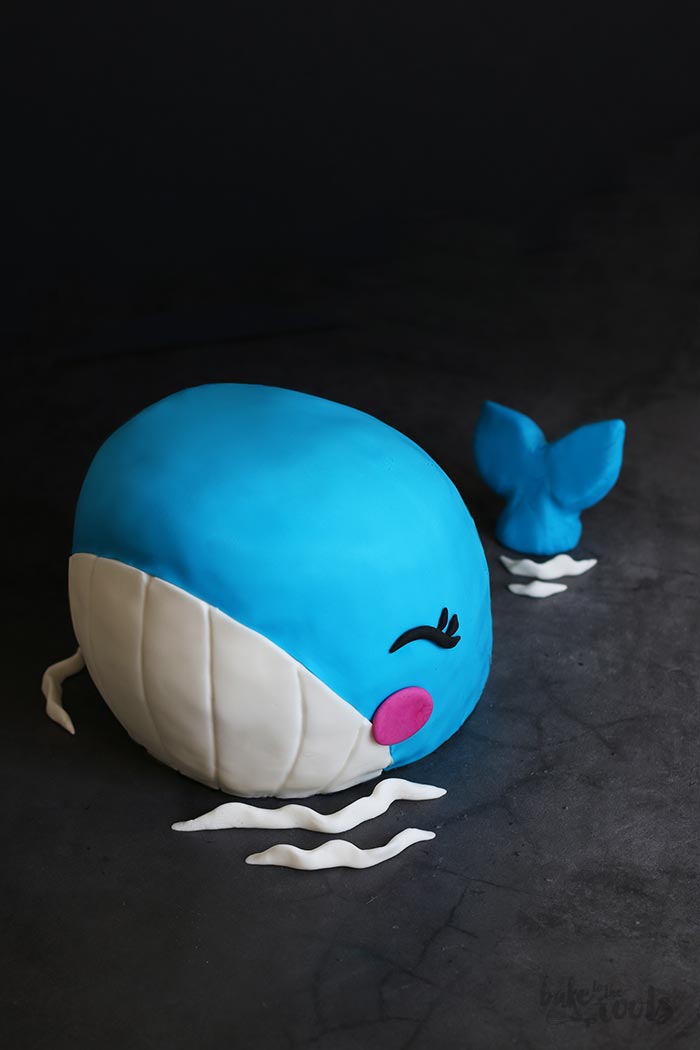
Anyway. Fortunately, I also found a YouTube video with instructions from Zoe’s Fancy Cakes* on how to create that little baby whale as a guide for the fondant work and decoration. From a picture alone I would have probably failed completely (I already mentioned that I am not a fan of fondant, right?). Although the video is really good, I had my difficulties… but that’s because of my inability to work with fondant. So what you can see on the pictures here is actually a masterpiece for me… for experienced fondant masters probably only a “meh” looking attempt ;) On the backside the little whale looked more like an “accident”, because I tore the fondant there in some spots and had to repair it somehow. That’s why you only see the front and one side of the whale on the pictures. Luckily the cake did not make it to a real cake buffet, so everything was fine :P
Alright. Let’s celebrate the new citizen of the planet earth properly! With cake, muffins, and many other things. I wish Jana, René and little Theo only the best for the future! As you probably guessed already – I’m not the only one who is contributing something to the party here. Have a look at the other blogs that are taking part in the virtual baby shower:
moey’s kitchen: Knusprige Waffelkekse aus dem Waffeleisen
Whatinaloves: Zuckersüße Regenbogenkekse
Möhreneck: Vegane Zitronenschnitten
Zimtkeks & Apfeltarte: Schokoladen Letter Cake mit Beeren für Theo
KüchenDeern: Baby Body Blechkuchen
Der Kuchenbäcker: Baby Body Marzipan Doppelkekse
Maras Wunderland: Vegan Lemon Cookies
Jankes*Soulfood: Kleine Küchlein im Waffelbecher
was eigenes: Blaubeer Cupcakes
Mrs Greenhouse: Blaubeer Mini Pies
Zimtblume: Pinata Muffins
feiertaeglich Zitronen Buttermilch Cupcakes und DIY Sternchen Cake Toppers
Emma´s Lieblingsstücke: Babyparty Funfetti Zitronen Torte
S-Küche: Ruck Zuck Steinfrucht Törtchen
Holladiekochfee: Fettarmer Vanille Cheesecake mit nur 5 Zutaten
INGREDIENTS / ZUTATEN
2 2/3 cups (350g) all-purpose flour
7 oz. (200g) almond flour
1 cup (200g) sugar
1/2 cup (100g) brown sugar
3.5 oz. (100g) cocoa
2 tsp. baking powder
1/2 tsp. baking soda
1/2 tsp. salt
3 large eggs
1 1/2 cups (360ml) buttermilk
3/4 cup (175g) butter, melted
3 tsp. vanilla extract
1 1/4 cups (300ml) hot coffee
For the buttercream:
8.8 oz. (250g) butter, at room temperature
1 tsp. vanilla extract
1/4 tsp. salt
1 can (400g) sweetened condensed milk
For the ganache:
6.3 oz. (180g) white chocolate
2.1 oz. (60g) heavy cream
For the decoration:
approx. 18 oz. (500g) baby blue fondant
approx. 6 oz. (170g) white fondant
some black fondant
some pink fondant
350g Mehl (Type 550)
200g Mandelmehl
200g Zucker
100g brauner Zucker
100g Kakao
2 TL Backpulver
1/2 TL Natron
1/2 TL Salz
3 Eier (L)
360ml Buttermilch
175g Butter, geschmolzen
3 TL Vanille Extrakt
300ml heißer Kaffee
Für die Buttercreme:
250g Butter, Zimmertemperatur
1 TL Vanille Extrakt
1/4 TL Salz
1 Dose (400g) gezuckerte Kondensmilch
Für die Ganache:
180g weiße Schokolade
60g Schlagsahne
Für die Dekoration:
etwa 500g blaues Fondant
etwa 170g weißes Fondant
etwas schwarzes Fondant
etwas rosa fondant
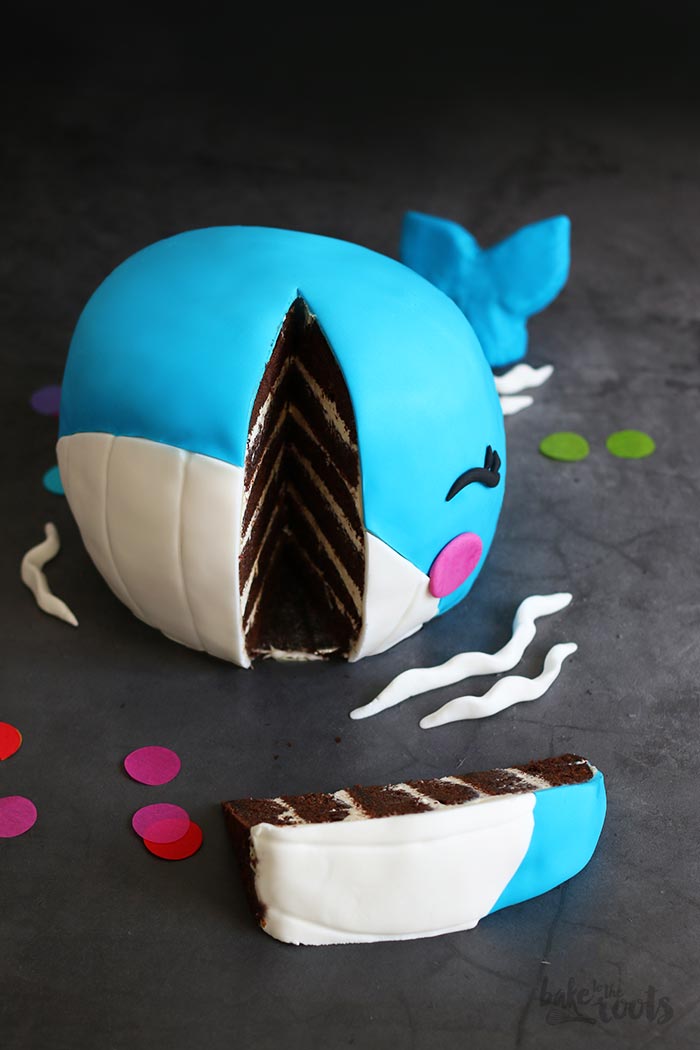
Dear Jana, should you ever want to show this baby whale to little Theo, I recommend stopping here. Further down is a picture of the cut cake and that could cause some trauma I think ;)
DIRECTIONS / ZUBEREITUNG
2. Mix the flour with the almond flour, the two sugars, cocoa, baking powder, baking soda, and salt in a large bowl. In a second, smaller bowl, mix the eggs with the buttermilk and then add them to the large bowl together with the melted (and cooled) butter and the vanilla extract and mix well. Add the hot coffee and stir in – the dough will be quite thin, but that is ok.
3. Divide batter between the springform tins and bake in the middle of the oven for about 35 minutes or until a toothpick inserted in the center comes out clean. Take out of the oven and place on a wire rack. Let cool in the tin for about 10-15 minutes and then remove from the tins and let cool completely on the wire rack.
4. For the buttercream add the room temperature(!) butter to a large bowl and mix on high speed for about 5 minutes until very light and fluffy. Add the vanilla extract and salt and mix in. Gradually add the sweetened condensed milk very slowly to the bowl and mix in, then mix on high speed until light and fluffy. If the buttercream is too soft, place in the fridge for some time to cool, then whisk again.
5. For the chocolate ganache chop the white chocolate coarsely and add together with the heavy cream to a bowl – warm up in the microwave until the chocolate has melted. Mix to combine and let cool down again until the mix becomes thick. Set aside.
6. Cut all cakes horizontally into two layers. Place a first layer of the larger cakes on a cake board (8 inches or slightly smaller), continue with the other three cake layers alternating with a layer of buttercream. Add the two smaller cake layers and buttercream on top – do not place them in the center but slightly offset to the edge (this will be the front of the whale). Fill the gaps between the cake layers with buttercream and smooth them down. Place in the refrigerator for about 30 minutes.
7. As soon as the buttercream is firm, shape the cake. You need a back that goes down and upfront a little bit like a belly – in the video* you can see quite well where and how to cut. Cover the whole cake with the white chocolate ganache and smooth out. Place in the fridge for another 10-15 minutes.
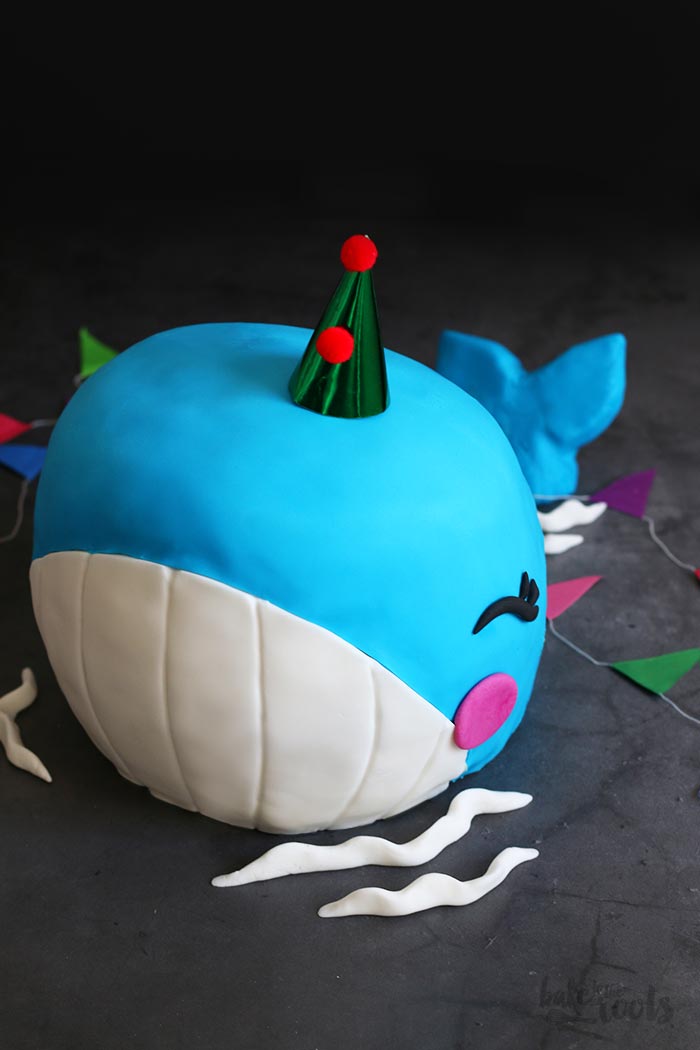
8. Roll out the white fondant a little thicker for the mouth of the whale. Cut a curve into the fondant on one side and place it on the front of the cake with the curve facing up. Remove overlapping fondant on the bottom and press lines to mimic the lines in the mouth of a whale. Roll out the blue fondant slightly larger than the cake and once again cut a curve into the fondant on one side. Place that side flush with the white fondant and then carefully pull it over the back of the cake and smooth it down. Cut off excess fondant on the bottom. Shape a fin with the rest of the blue fondant. Make the eyes with the black fondant and the rosy cheeks with the pink fondant – stick both to the whale ;) Place the whale and fin on a larger plate and place in a cool place until serving.
2. Das Mehl mit dem Mandelmehl, den beiden Zuckersorten, Kakao, Backpulver, Natron und Salz in einer großen Schüssel vermischen. Die Eier in einer zweiten, kleineren Schüssel mit der Buttermilch verrühren und dann zusammen mit der geschmolzenen (und abgekühlten) Butter und dem Vanille Extrakt zur großen Schüssel zugeben und alles gut verrühren. Den heißen Kaffee zugeben und auf niedrigster Stufe unterrühren – der Teig wird recht dünnflüssig sein.
3. Den Teig gleichmäßig auf die drei Formen verteilen und für etwa 34-36 Minuten backen – mit einem Holzspieß testen, ob noch Teig kleben bleibt und die Kuchen erst herausnehmen, wenn der Zahnstocher sauber herauskommt. Aus dem Ofen nehmen und in der Form auf einem Kuchengitter für 10-15 Minuten abkühlen lassen, dann aus der Form lösen und auf dem Kuchengitter komplett auskühlen lassen.
4. Für die Buttercreme die zimmerwarme (!) Butter in eine große Schüssel geben und auf höchster Stufe für etwa 5 Minuten aufschlagen, bis die Butter sehr hell und fluffig ist. Vanille Extrakt und Salz dazugeben und unterrühren. Die gezuckerte Kondensmilch nach und nach, sehr langsam zur Schüssel dazugeben und dabei unterrühren – auf höchster Stufe aufschlagen, bis eine fluffige Creme entsteht. Sollte die Creme sehr weich sein, für einige Zeit in den Kühlschrank stellen und abkühlen lassen, dann noch einmal aufschlagen.
5. Für die Schokoladenganache die weiße Schokolade grob hacken und dann zusammen mit der Sahne in der Mikrowelle erwärmen und schmelzen lassen. Gut verrühren und wieder abkühlen lassen, bis die Masse wieder dick und zähflüssig wird.
6. Alle Kuchenschichten einmal in der Mitte horizontal durchschneiden. Eine erste Kuchenschicht der größeren Kuchen auf eine Tortenpappe(20cm oder etwas kleiner) setzen, dann die drei weiteren Kuchenschichten der größeren Kuchen mit etwas Buttercreme dazwischen aufschichten. Mit den beiden kleineren Kuchenschichten und Buttercreme fortfahren – die kleineren Schichten nicht zentriert aufsetzen, sondern etwas versetzt an den Rand (das wird die Vorderseite des Wals). Lücken zwischen den Kuchenschichten mit Buttercreme füllen und glatt streichen. Für etwa 30 Minuten in den Kühlschrank stellen.
7. Wenn die Buttercreme fest ist, den Kuchen in Form bringen – dafür auf der Rückseite eine Schräge in den Wal schneiden für den Rücken, auf der Vorderseite im unteren Bereich etwas vom “Bauch” wegnehmen – im Video* sieht man ganz gut, wie geschnitten werden sollte. Den zugeschnittenen Kuchen mit der Schokoladenganache überziehen und glatt streichen als Grundlage für das Fondant. Noch einmal für 10-15 Minuten in den Kühlschrank stellen.
8. Zuerst das weiße Fondant etwas dicker ausrollen für das Maul des Wals. Auf einer Seite eine Rundung hineinschneiden und dann auf der Vorderseite des Kuchens auf etwa halber Höhe aufsetzen – Rundung nach oben. Am unteren Rand zurechtschneiden und dann Rillen hineindrücken/ziehen. Das blaue Fondant etwas größer als den Kuchen ausrollen und auf einer Seite rund zuschneiden – diese Seite dann bündig an den weißen Fondant ansetzen und dann vorsichtig über den hinteren Teil des Kuchens ziehen und glattstreichen. Überschüssiges Fondant abschneiden. Mit Resten des blauen Fondants eine Flosse formen. Mit dem schwarzen Fondant die Augen formen und mit dem Rosa Fondant die rosigen Wangen – beides am Wal ankleben ;) Wal und Flosse auf eine größere Platte setzen und bis zum Servieren an einen kühlen Ort stellen.
Craving more? Keep in touch on Facebook, Twitter, Instagram and Pinterest for new post updates and more. You can also contact me with any questions or inquiries!
Here is a version of the recipe you can print easily.

Baby Whale Cake
- Prep Time: 01:00
- Cook Time: 00:36
- Total Time: 04:00
- Yield: 1 1x
- Category: Cakes
- Cuisine: International
Description
Not a baby shark, but a baby whale. My first cake that looks like an animal ;)
Ingredients
Instructions
Notes
Cake Design based on a cake from zoesfancycakes*.
Links marked with an asterisk (*) are links to YouTube and a blog/website. The links lead to sites with more information/sources for this article. I am not advertising these sites.