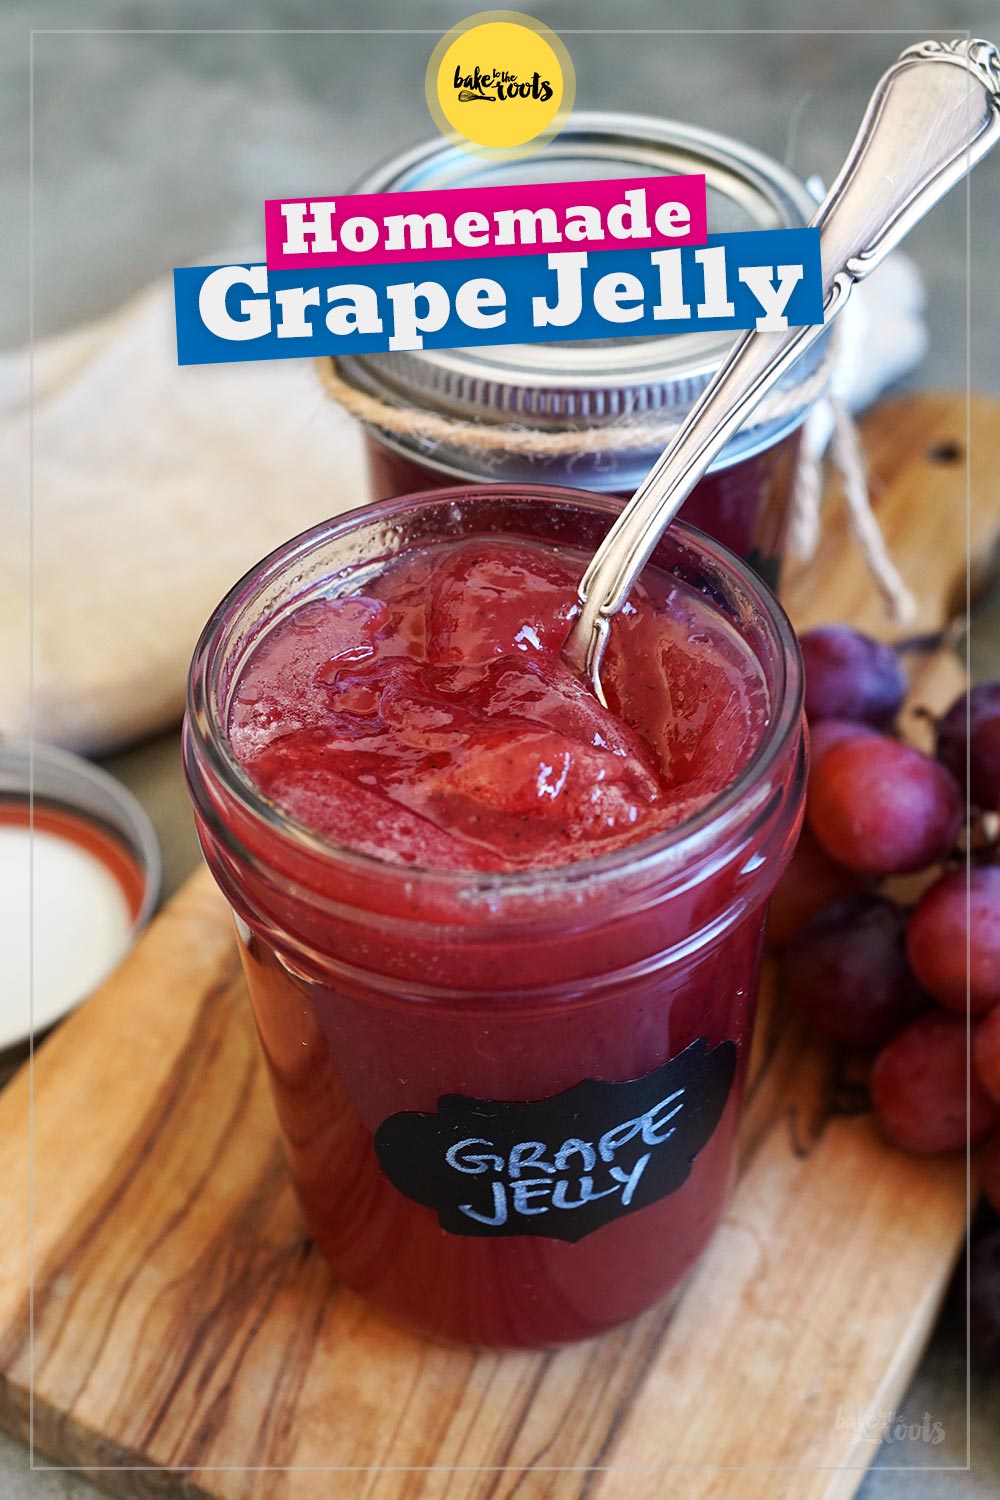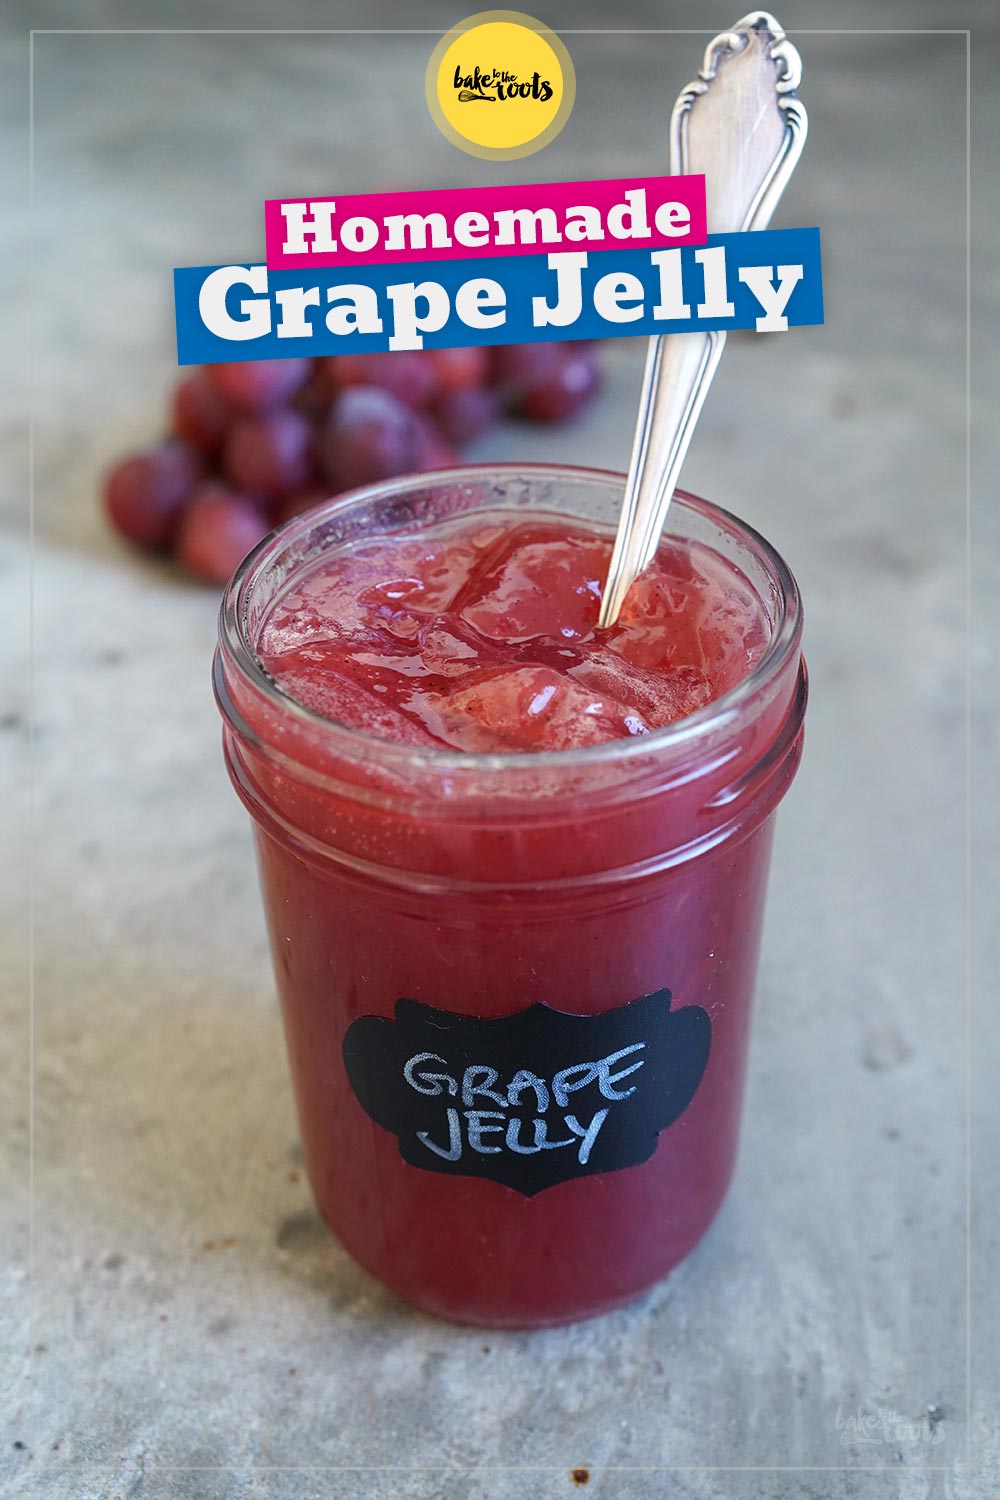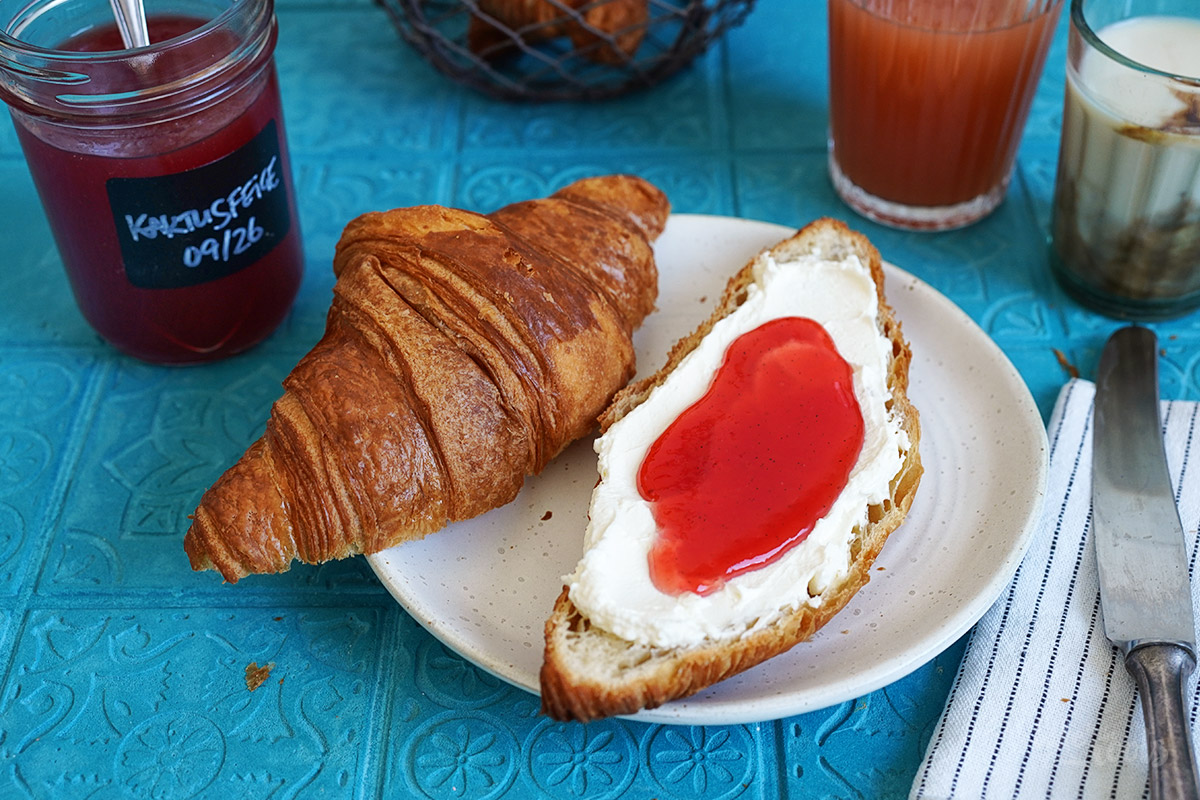


In Germany, it’s still somewhat difficult to find a simple Grape Jelly in supermarkets. I’ve never seen grape jelly from any of the major jam manufacturers who otherwise offer just about everything. Though I have occasionally come across it from smaller companies that specialize in niche spreads, jams, and jellies. Usually, these tend to be the more pricey options. Well…
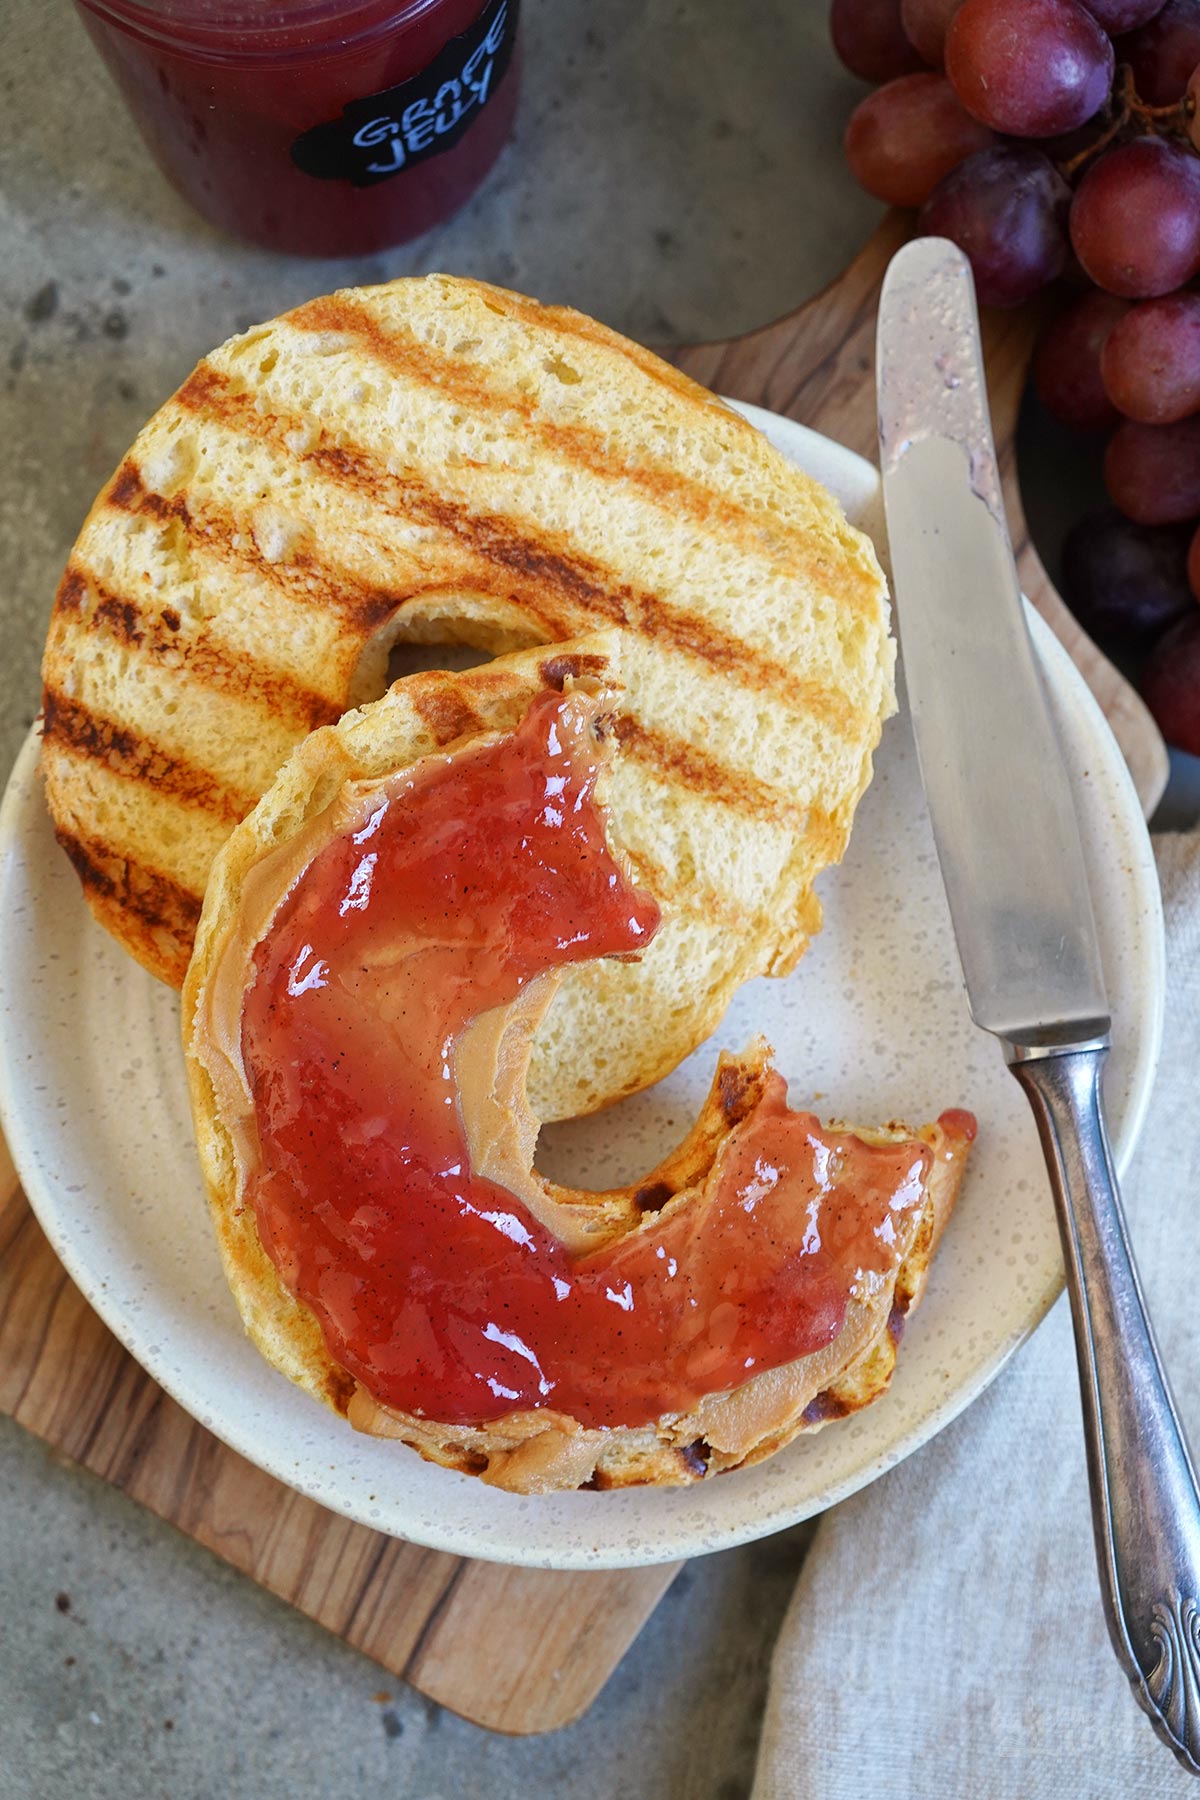
In the U.S., you can find grape jelly in pretty much every supermarket as far as I remember. It’s a very popular staple there with a long-standing tradition. Perhaps the most well-known reason why grape jelly is so popular: the good old »PB&J« aka. peanut butter and jelly sandwich, which is commonly made with grape jelly. I’m not sure if we have anything quite as popular here in Germany. The kind of snack almost all kids take to school, or that you’d whip up when there’s nothing else in the house. Hm…
Maybe a Nutella sandwich comes close to a PB&J – at least in terms of popularity. In terms of flavor, however, the two snacks are quite different. A PB&J is sweet and salty (thanks to the peanut butter), whereas a Nutella sandwich is just intensely, cloyingly sweet. Still, let’s be honest: nougat and chocolate in combination are delicious.

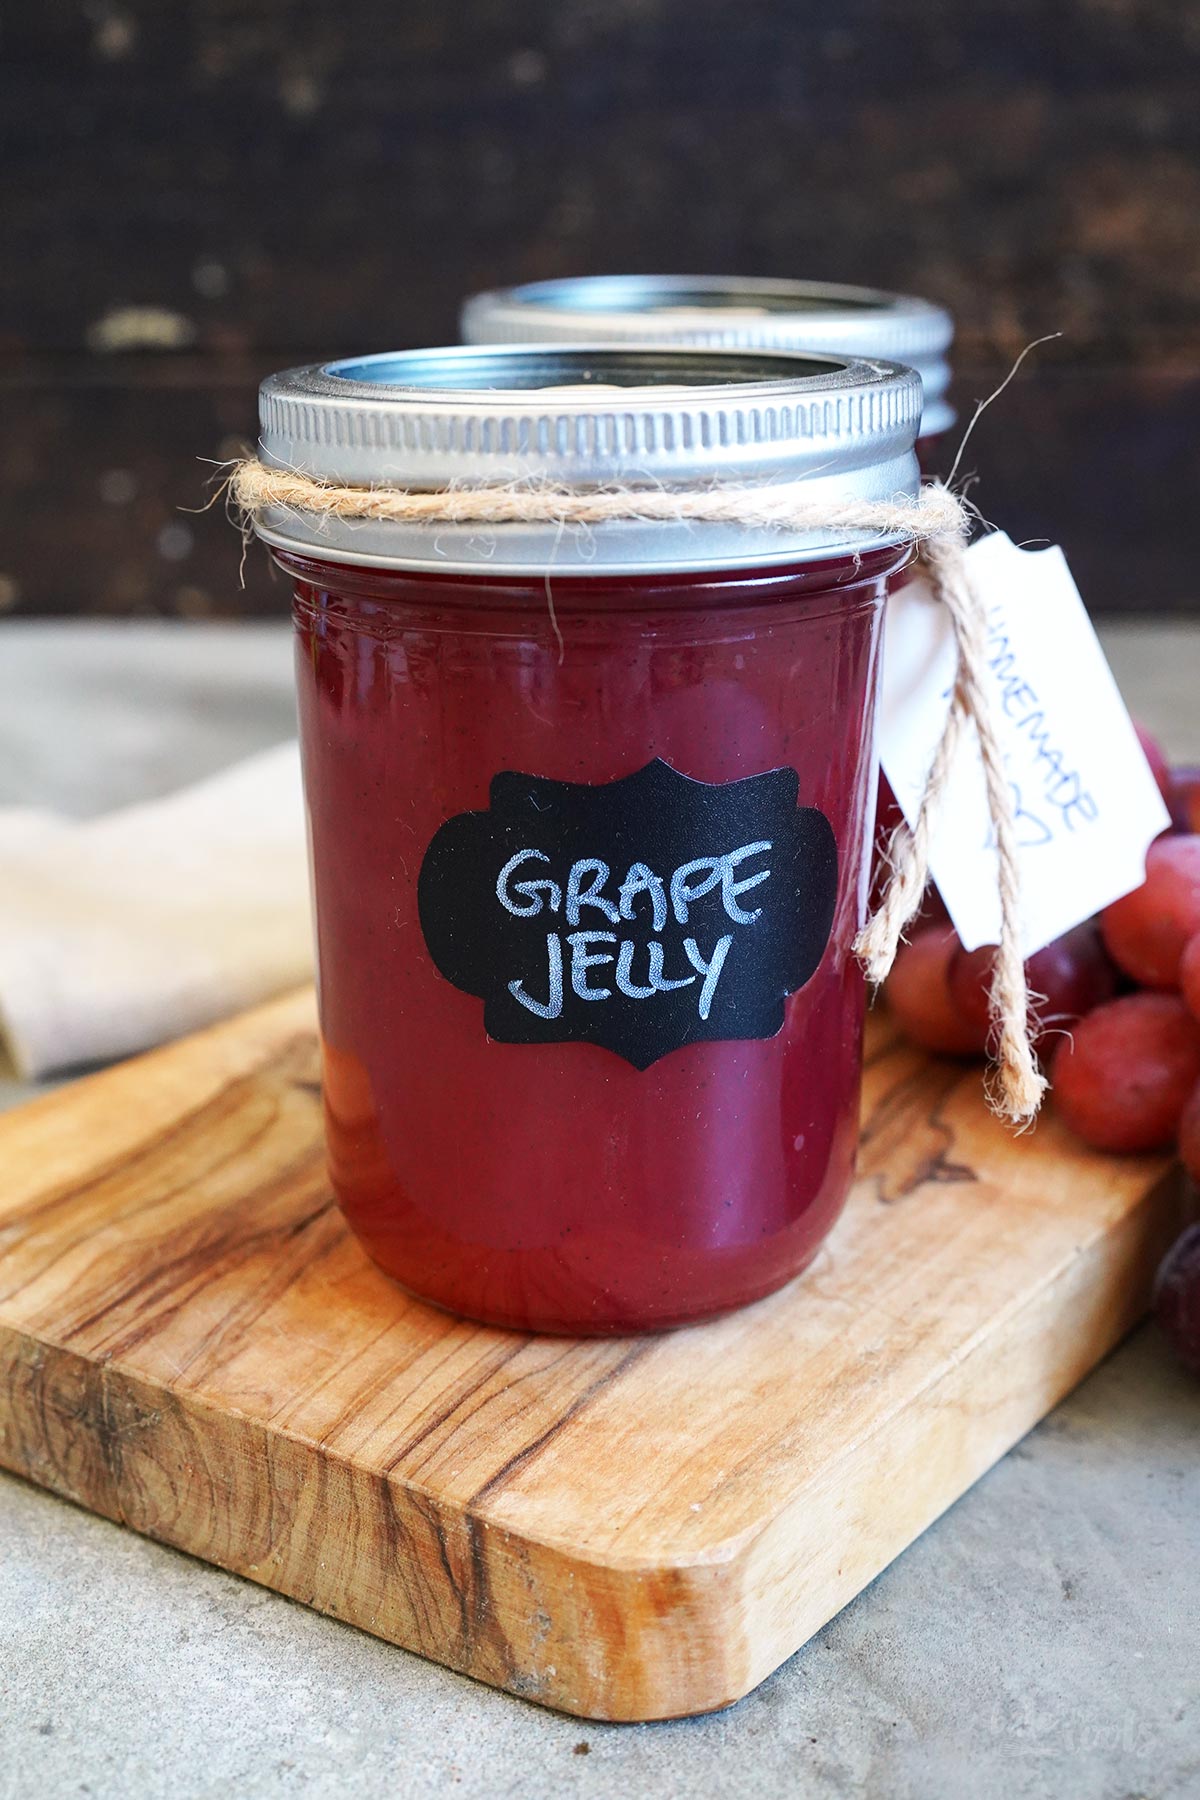
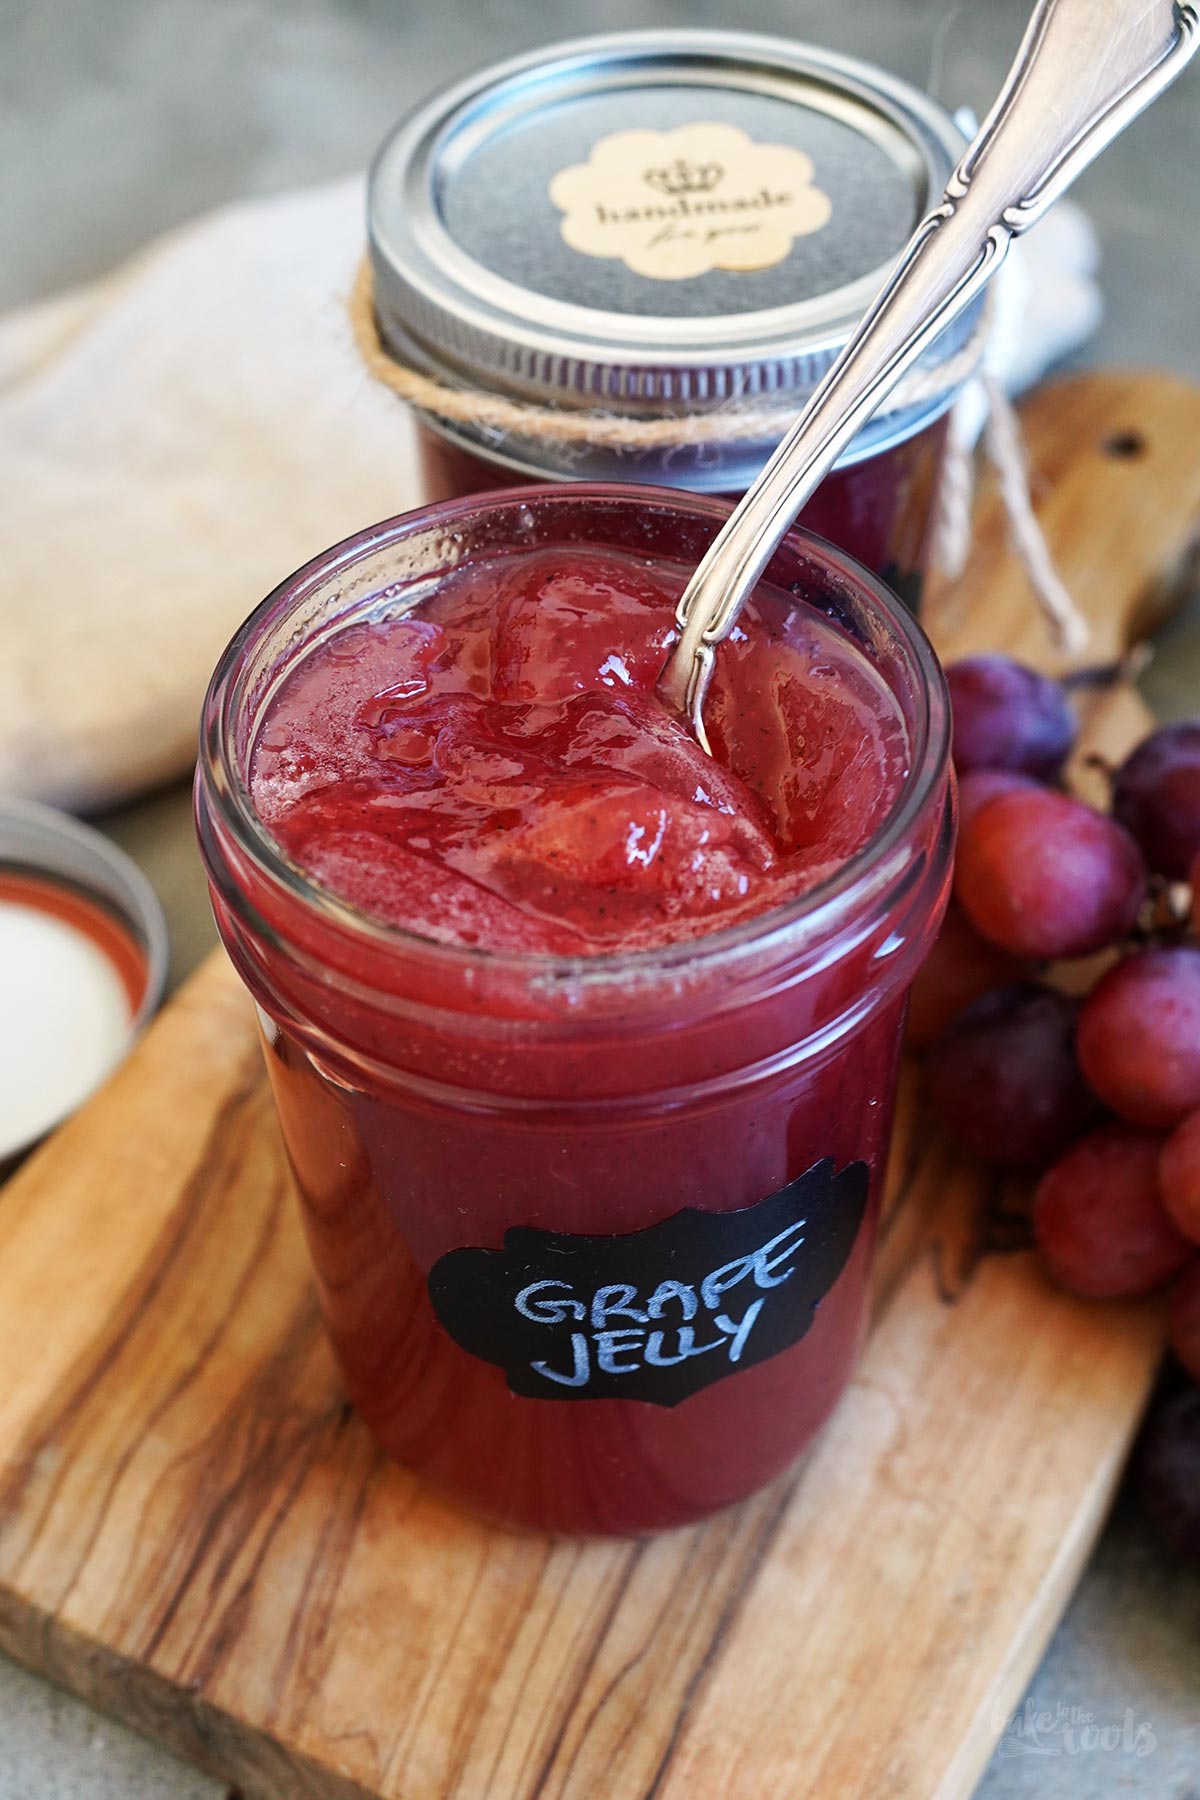
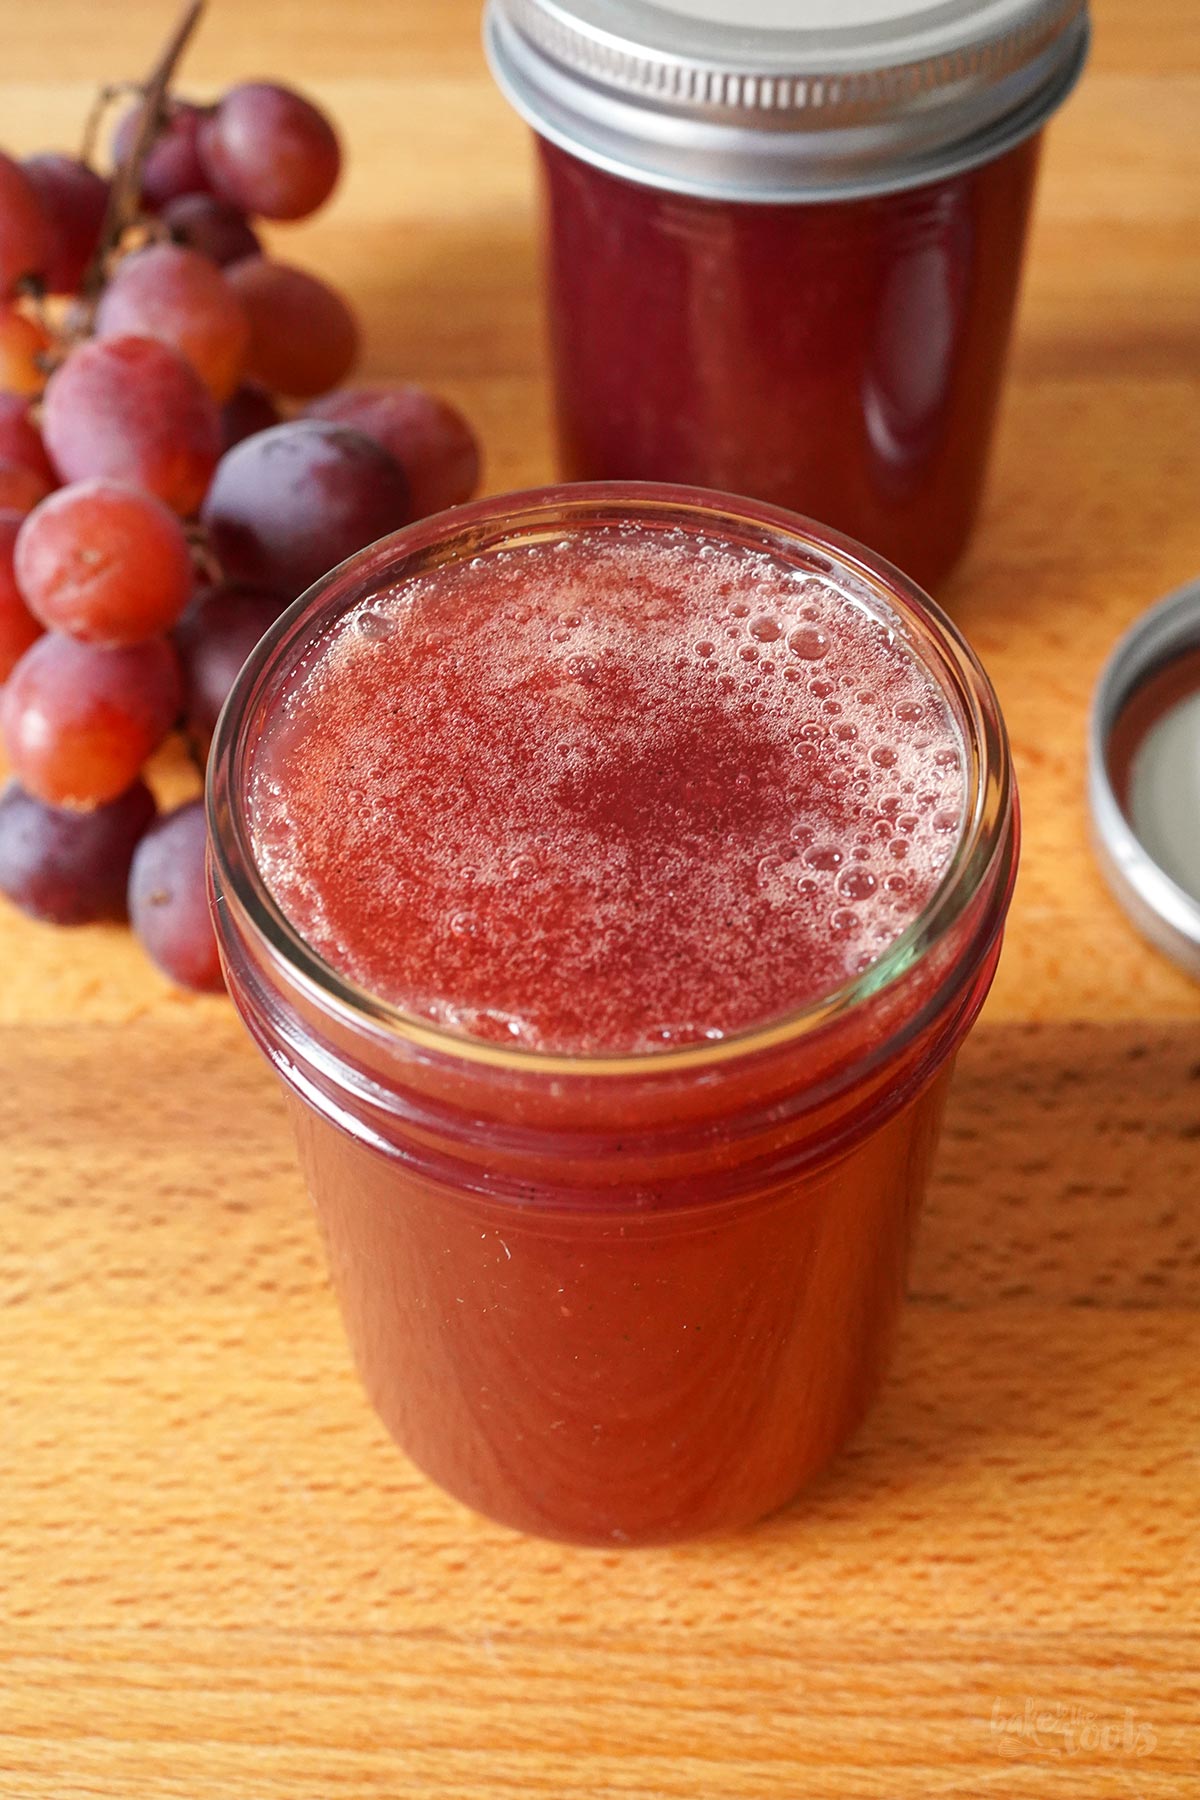
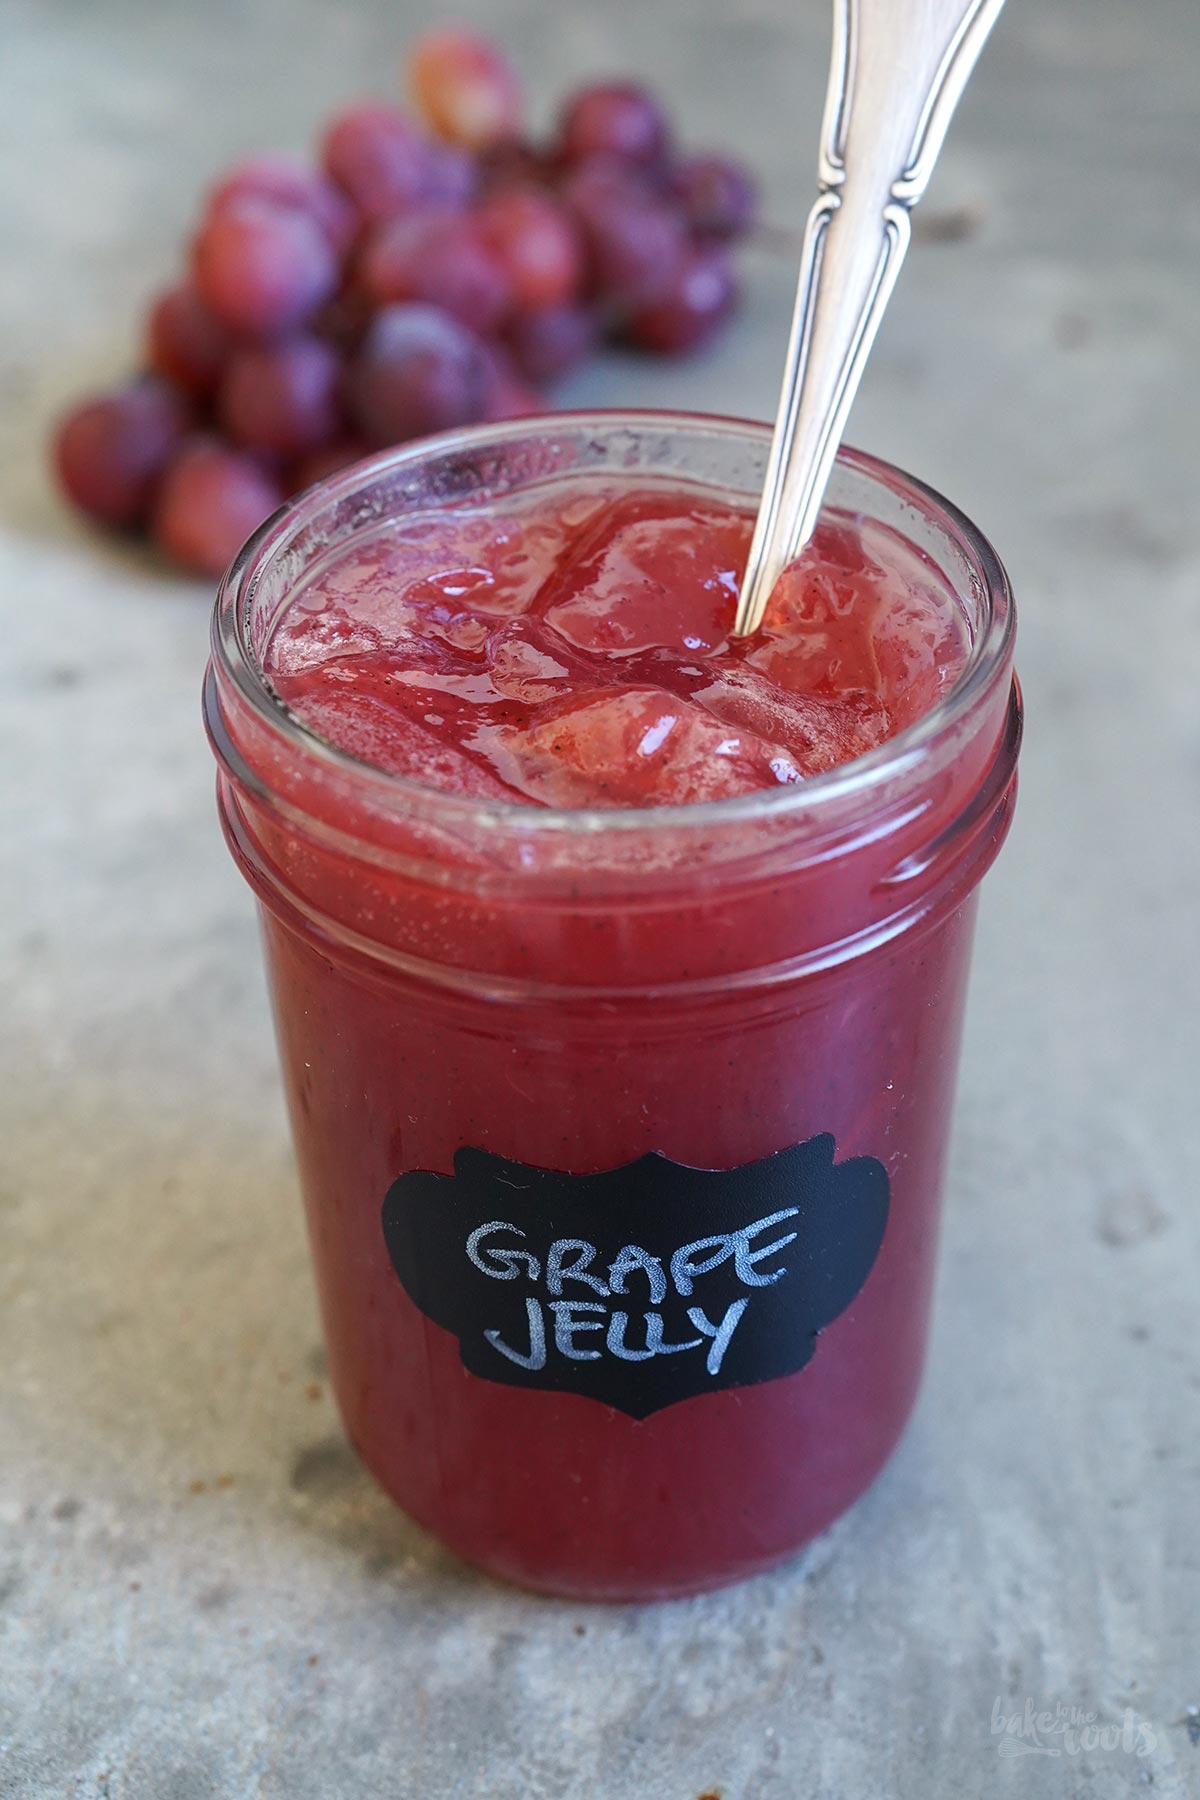
Anyway. Since we’ve been making our own jam at home for a few years now, it was only a matter of time before we tried making grape jelly. Something you can’t easily buy but can effortlessly prepare at home. And guess what – it turned out delicious!
Preparing grape jelly is a bit more work than, let’s say, making a simple Strawberry Jam. You have to do some prep work with the grapes first, whereas strawberries, by contrast, are practically ready to be used right away. That doesn’t mean that making grape jam is complicated. It just takes a little longer than other types of jam.
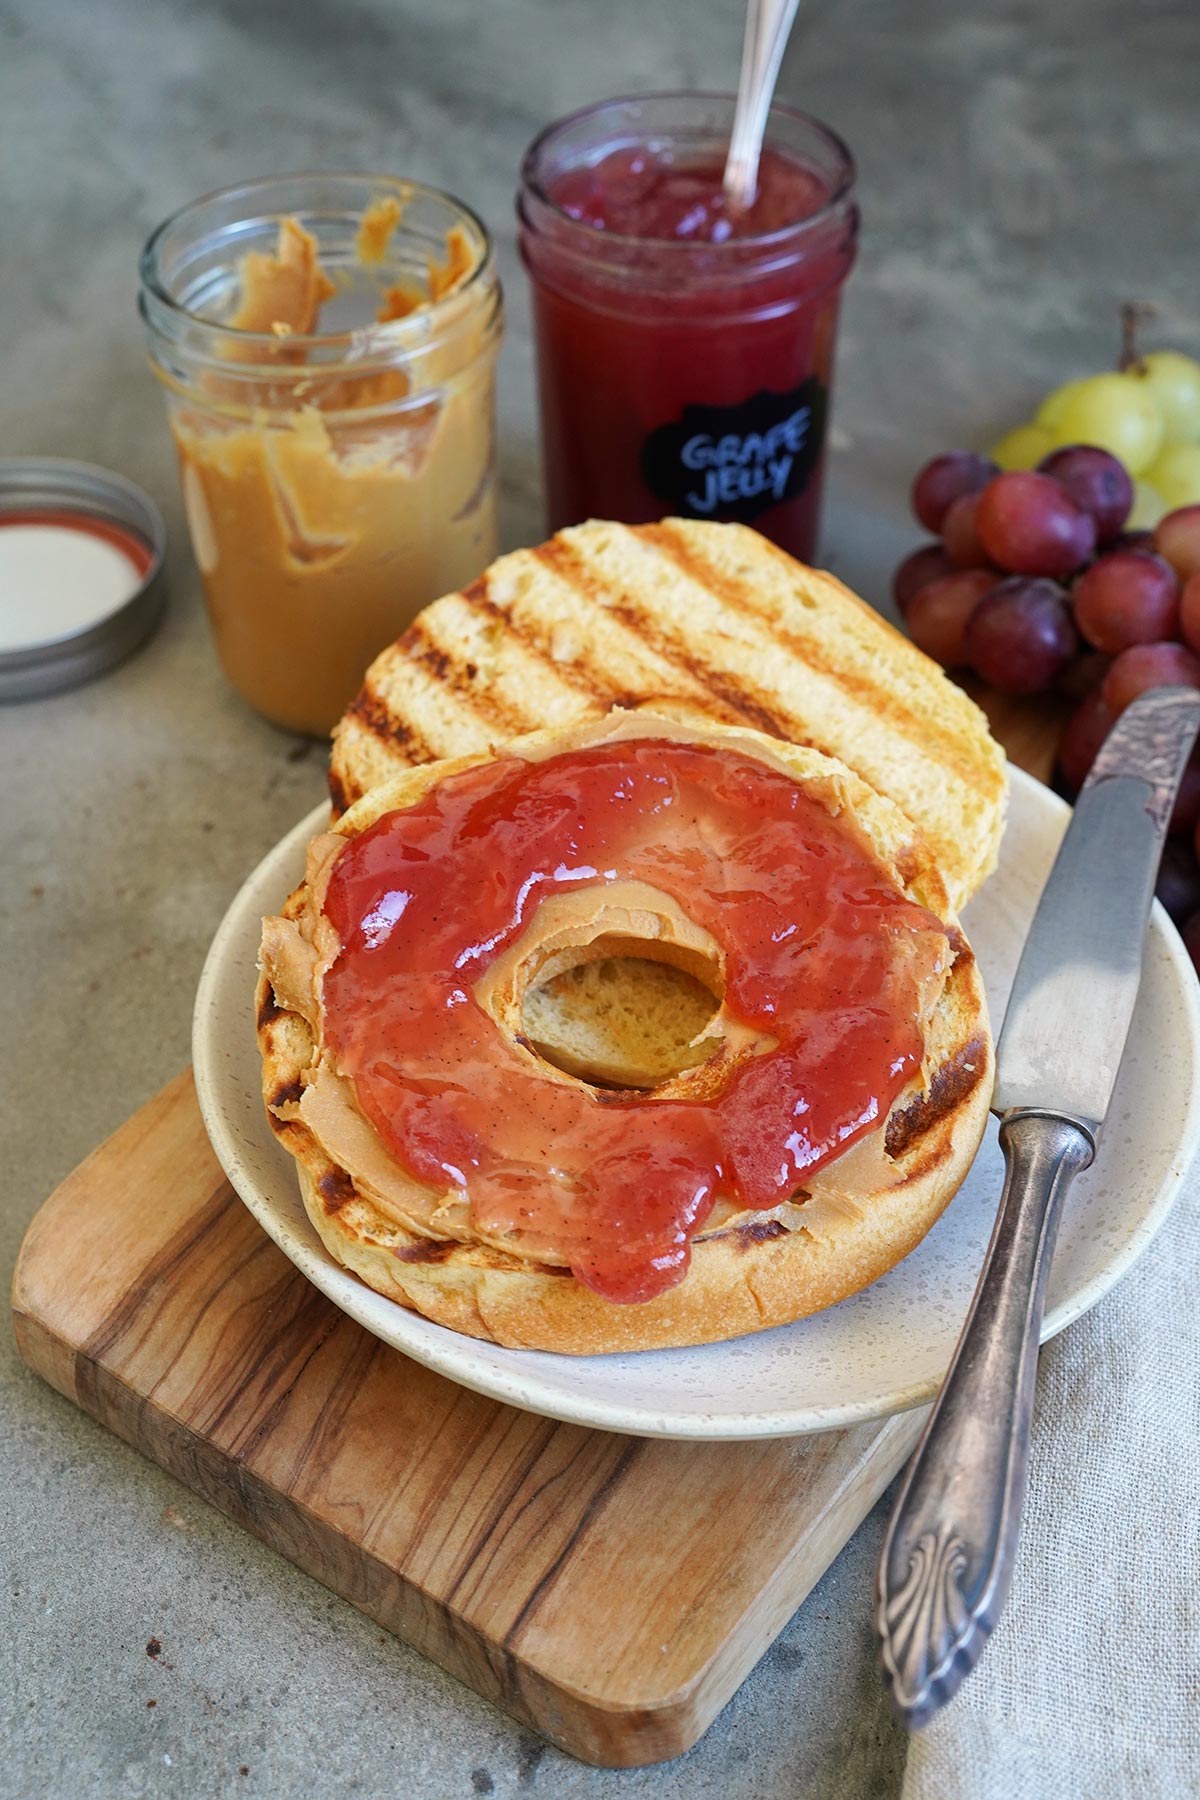
When making grape jam or jelly, you generally don’t want any skins or pulp in the final product. For this reason, you first have to extract the juice from the grapes. You do this by cooking them gently until they’re soft and then mashing them (not so gently anymore) so they release their juices. This is the step that sets the preparation of this particular jam apart from others. With fruits like strawberries or raspberries, you typically use the whole fruit – perhaps removing a few small seeds, but that’s about it.
If you’re thinking – »Well, why can’t I just use store-bought grape juice?« – you’re actually not entirely wrong! In theory, you could certainly use grape juice from the supermarket to make grape jam… But honestly, where’s the fun in that?! Making it yourself – taking the raw fruit all the way to a finished product you can spread on your morning roll – is an entirely different experience. At least, that’s what I think!
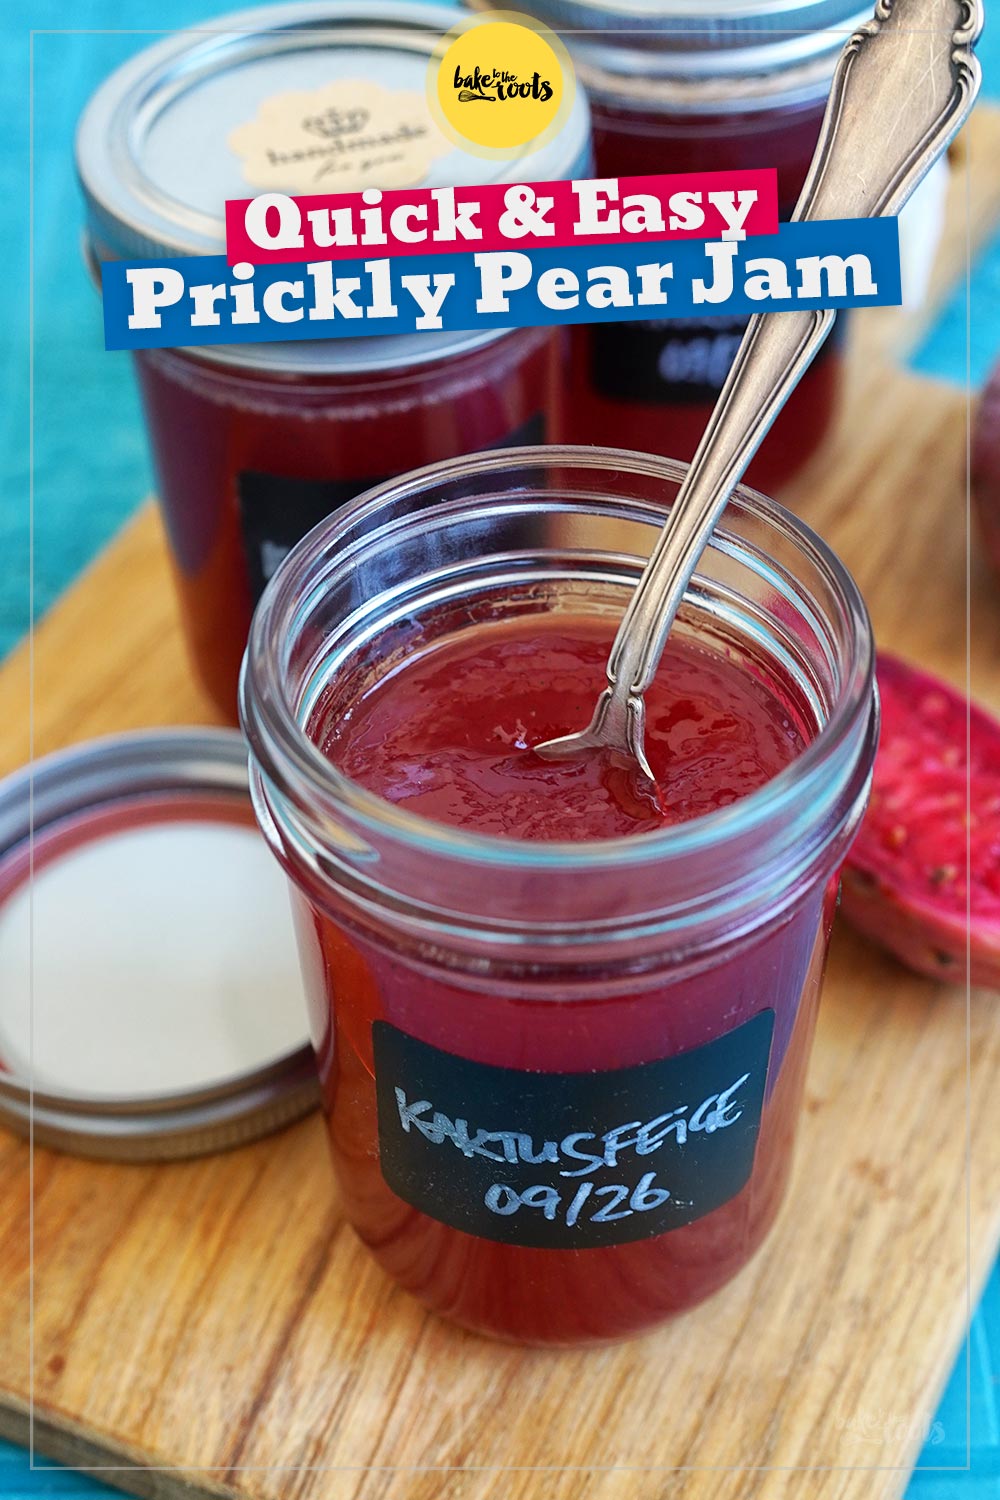
Anyway, the exact process is explained further down in the recipe. It’s really not complicated, and the result is absolutely delicious! If you’re interested in trying out more jam recipes, you might want to take a look at this one: Prickly Pear Jam – something you’ll rarely, if ever, find in a supermarket, but it tastes truly, wonderfully delicious! If you ever come across these little prickly guys, you might want to consider making some jam with it…
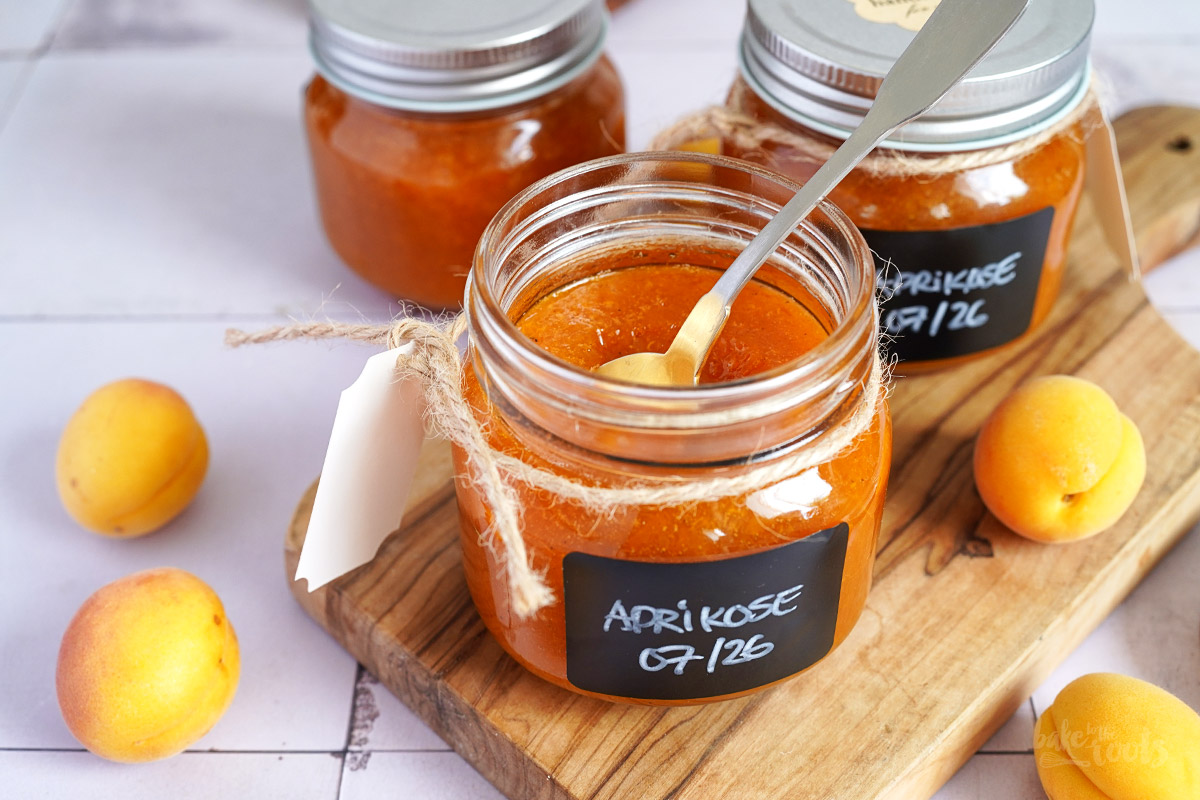
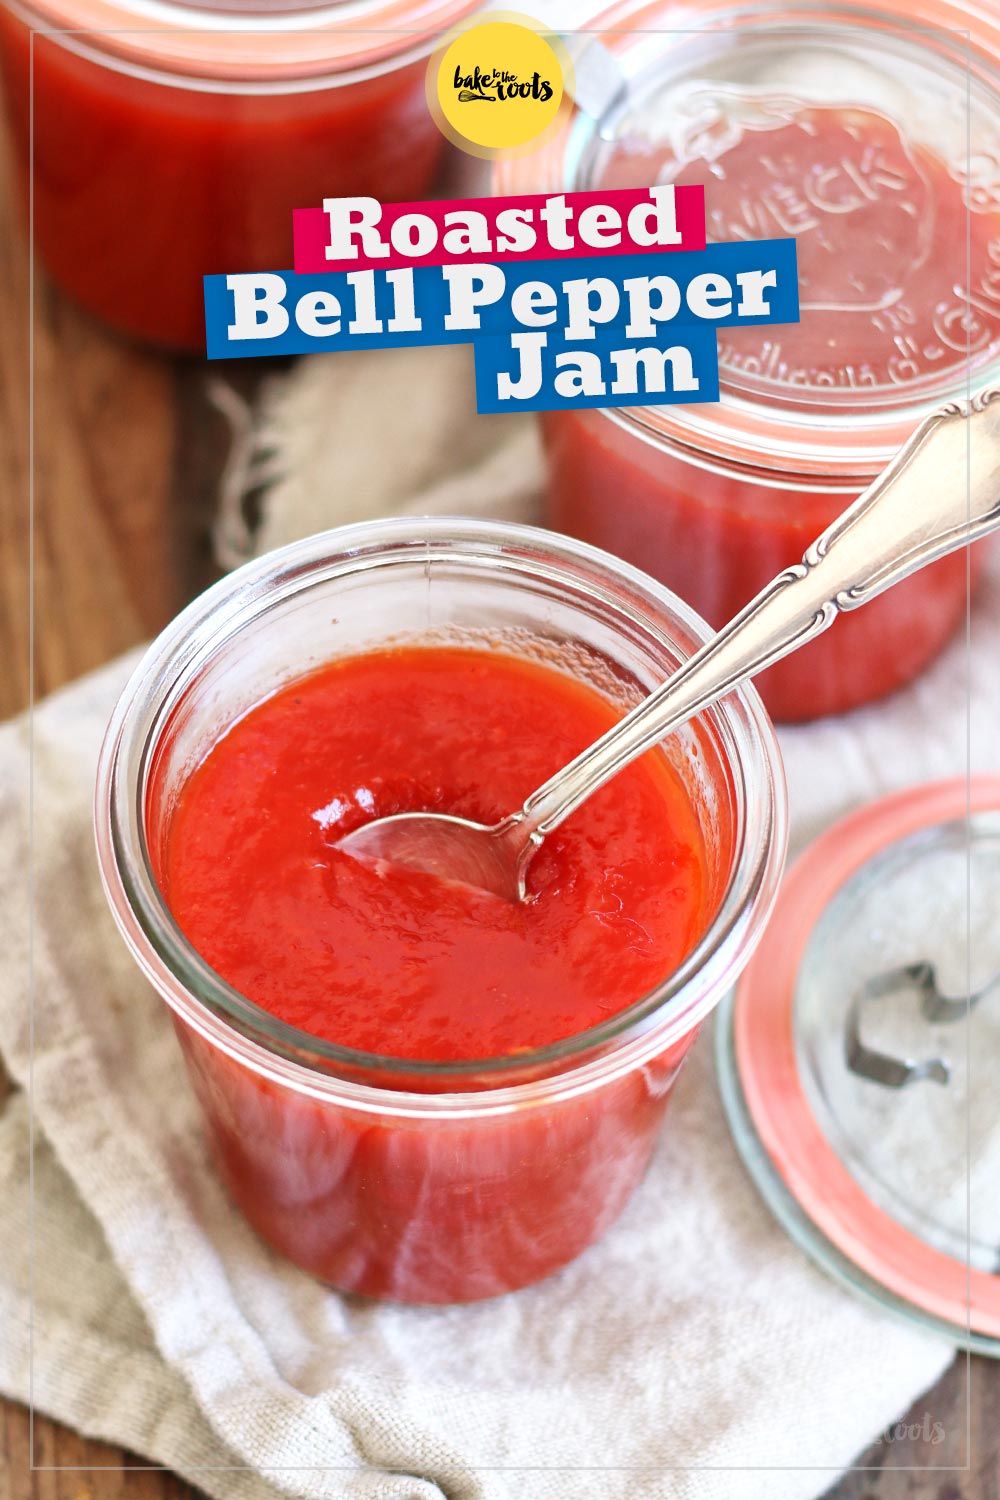
Alternatively, I can highly recommend a homemade Roasted Pepper Jam. Never seen that before either? Well, it’s not exactly a standard item in German stores either. You’ll find this type of jam quite often in Spain and Portugal, though. It’s also absolutely delicious!
You can easily find everything else we offer – from jams and preserves to pickles and more – in our »Homemade Stuff« category. Knowing how to extend the shelf life of food is always a useful skill… just ask Grandma or Grandpa! They probably did it all the time.
INGREDIENTS / ZUTATEN
(2 glass jars, 240ml each)
2 preserving glass jars (each 240ml)*
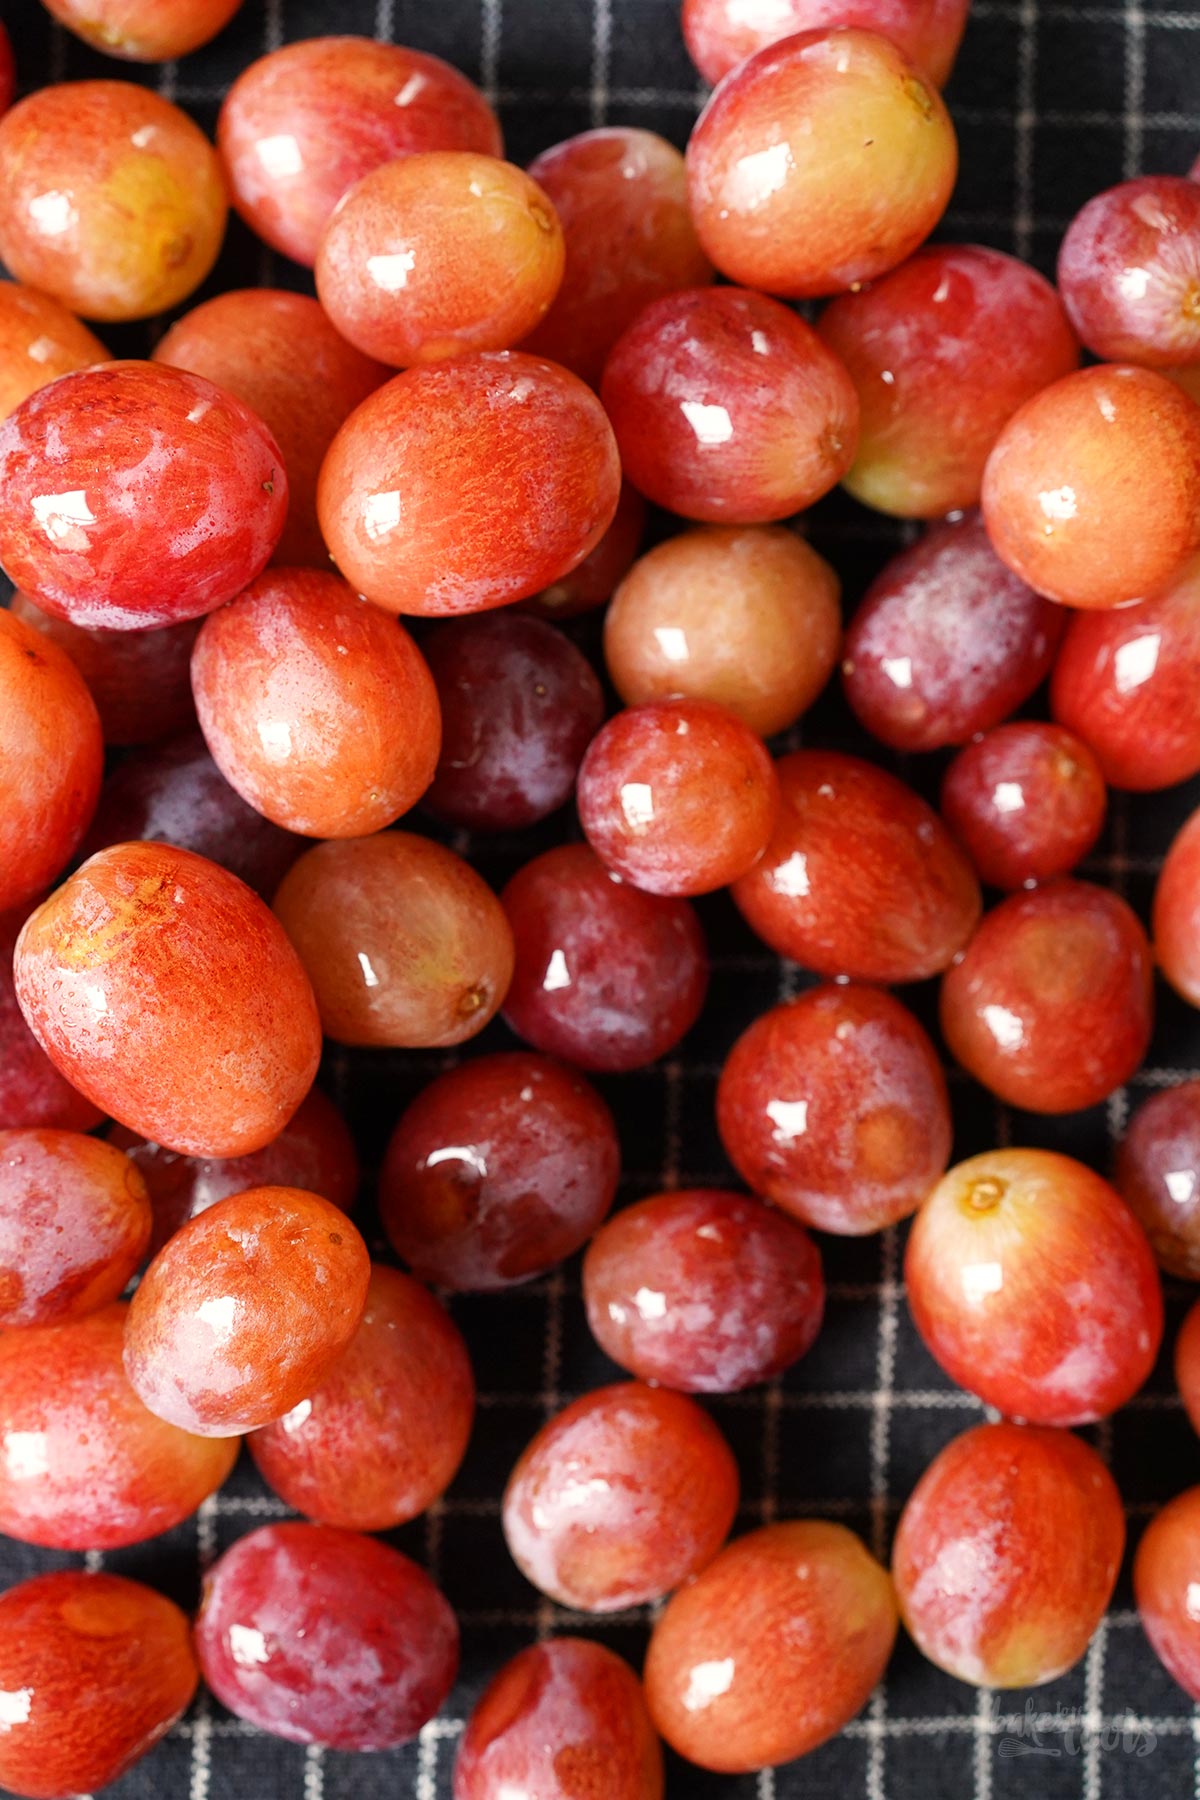
28 oz. (800g) red grapes (with seeds is fine here)
9 oz. (250g) gelling sugar (2:1)*
3 tbsp. lemon juice
1/2 tsp. vanilla powder* (optional)
(2 Gläser á 240ml)
2 Einmachgläser (240ml)*
800g rote Trauben (mit Kernen ist ok)
250g Gelierzucker 2:1*
3 EL Zitronensaft
1/2 TL Vanillepulver*
DIRECTIONS / ZUBEREITUNG
1. First sterilize the glass jars* and lids – either by boiling them in plenty of water or heating them in the oven. Be careful with the lids, they might not withstand the same heat as the glass jars. Set aside and let dry.
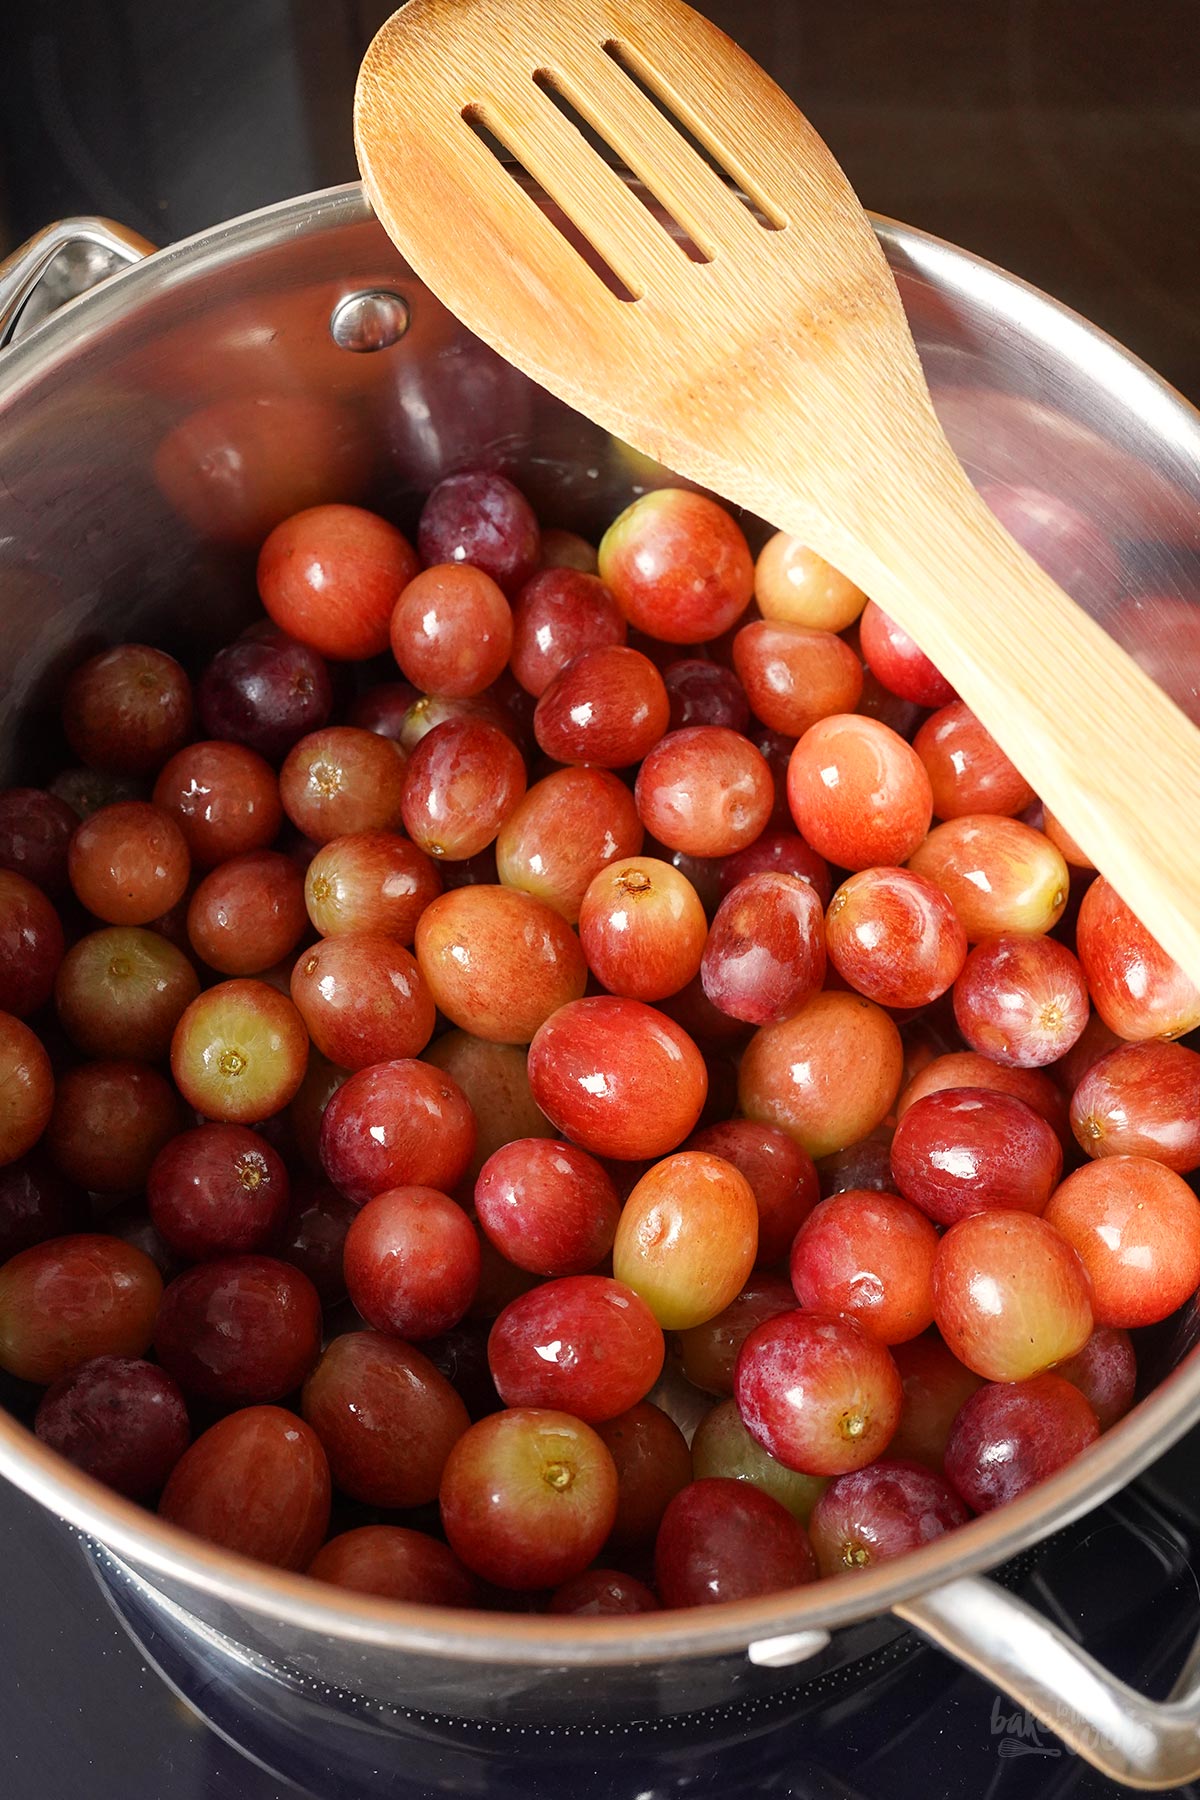
2. Wash and dry the grapes, remove any stems. Add the grapes to a large saucepan (with a lid) and let them cook over medium heat for about 5 minutes, so they can soften a bit. Stir occasionally.
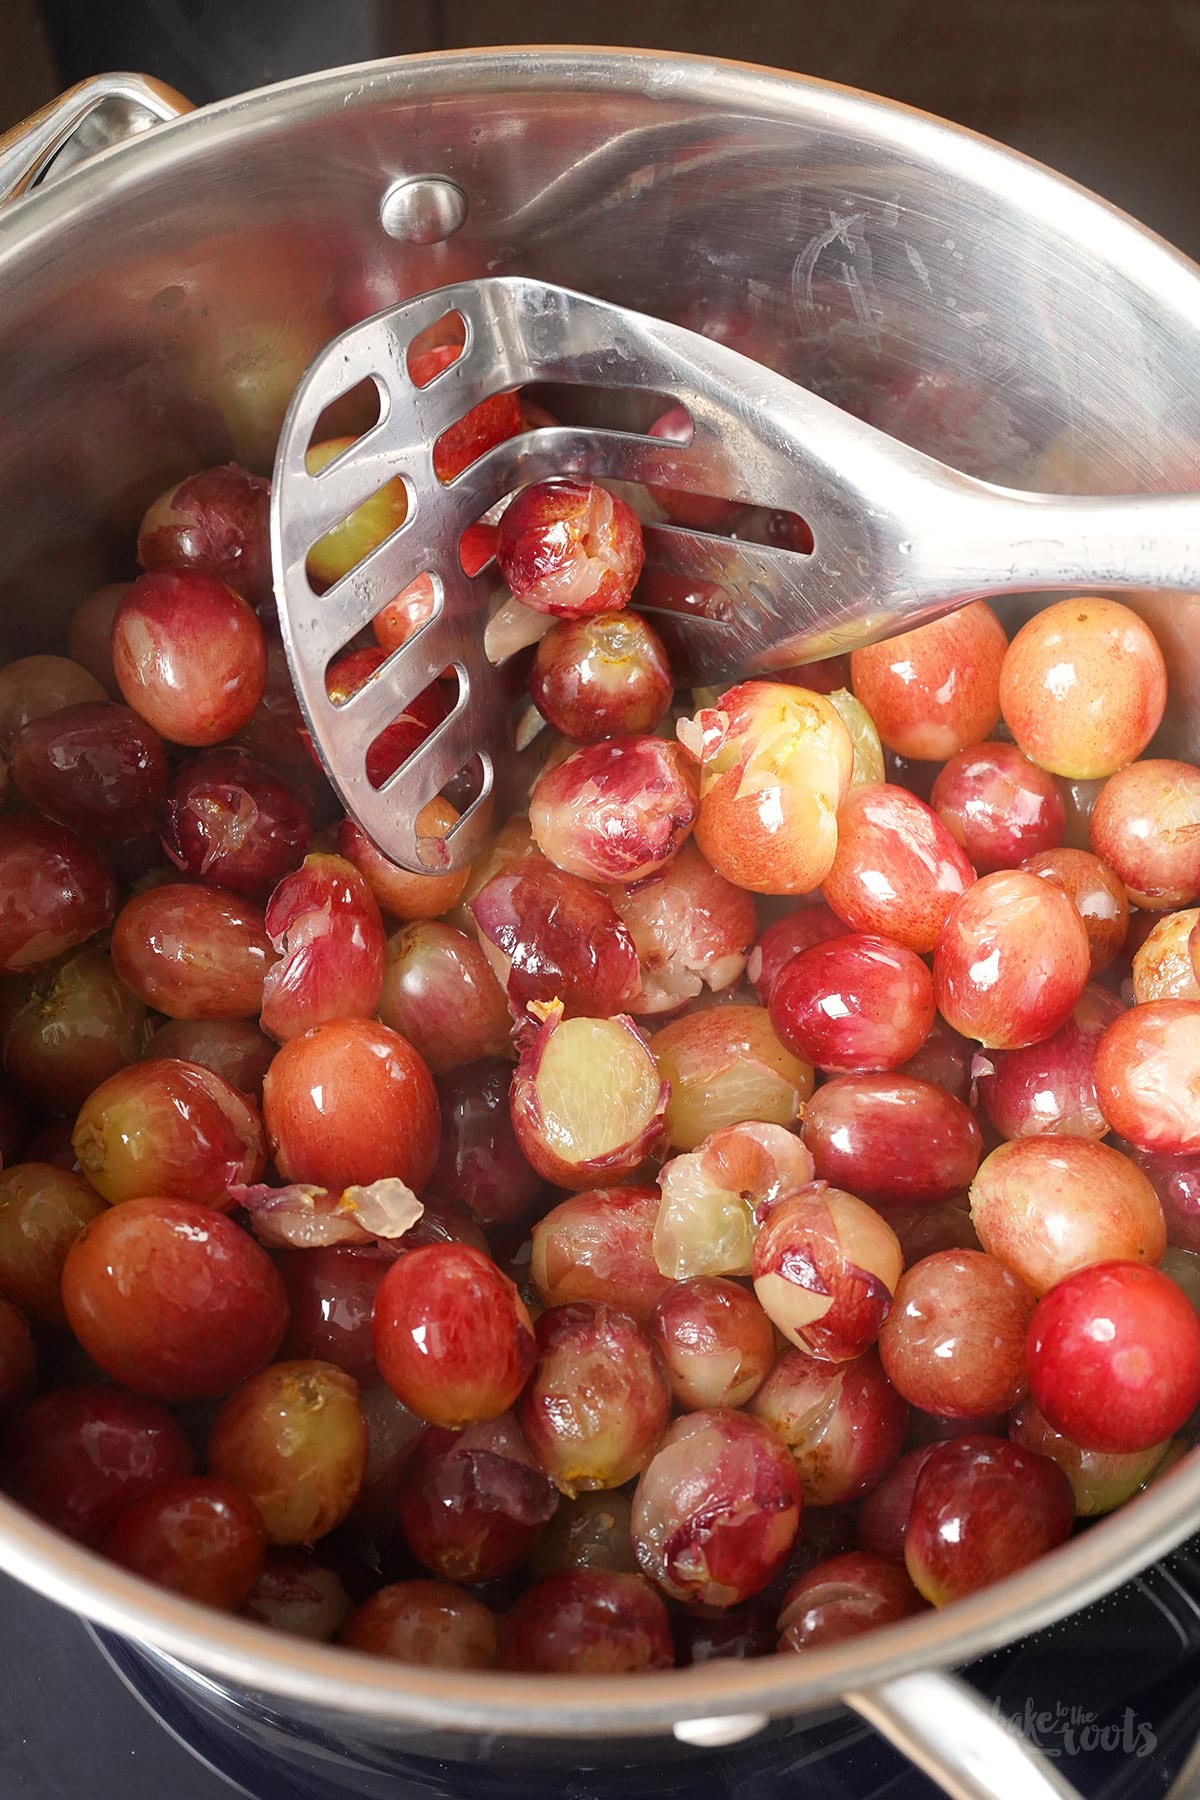
3. Use a potato masher* and crush the grapes a little so they can release some liquid. Cover the saucepan with the lid and let the grapes cook over medium-low heat for about 10 minutes. Crush the grapes several times more with the potato masher so they fall apart and release even more liquid.
4. Remove the saucepan from the heat and let the grapes cool down a bit. At this point I use an immersion blender* to crush the grapes even a bit further. But don’t overdo it – you don’t want grape purée, just no large pieces anymore and as much liquid as possible.
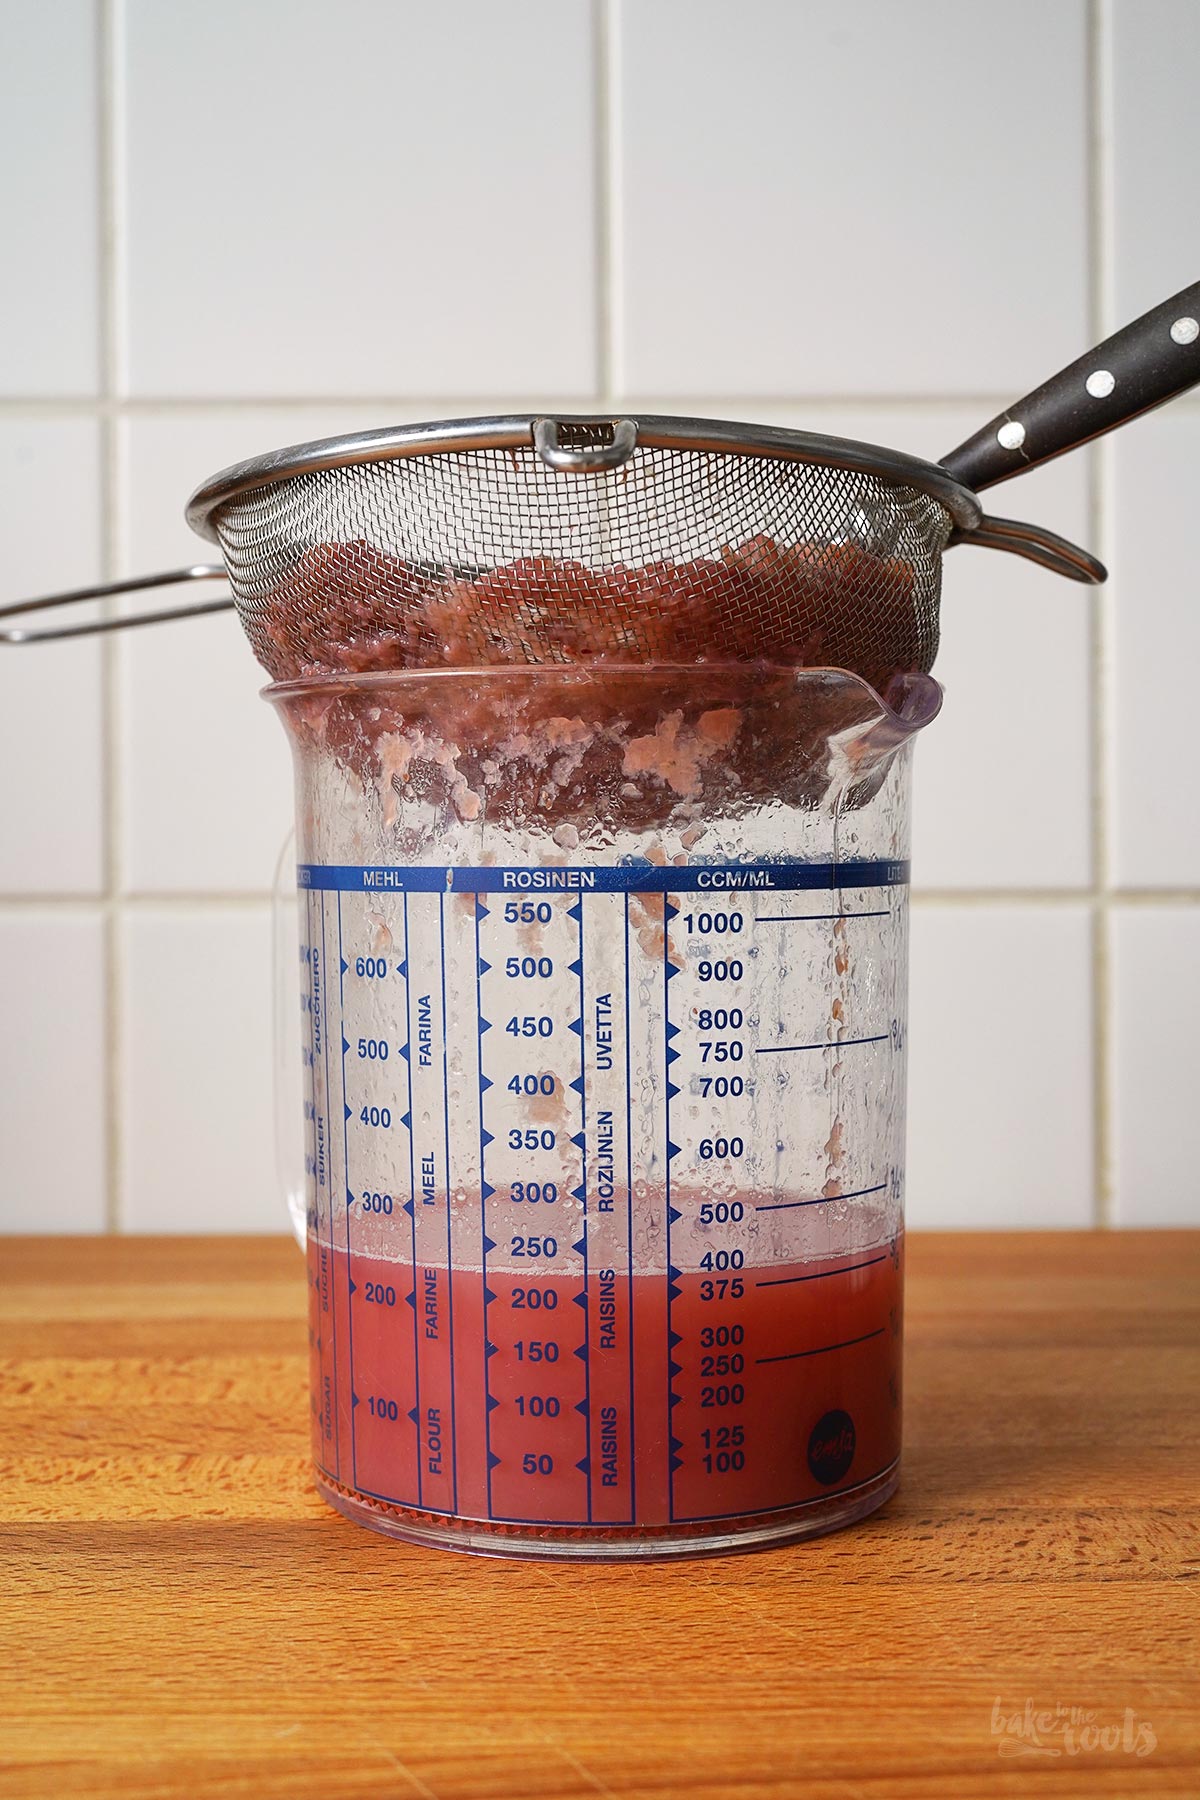
5. Place a fine-mesh sieve over a container and pour the crushed grapes into the sieve. Press the crushed grapes down to squeeze out as much liquid as possible and then let everything sit for an hour or so – this should get you even more liquid.
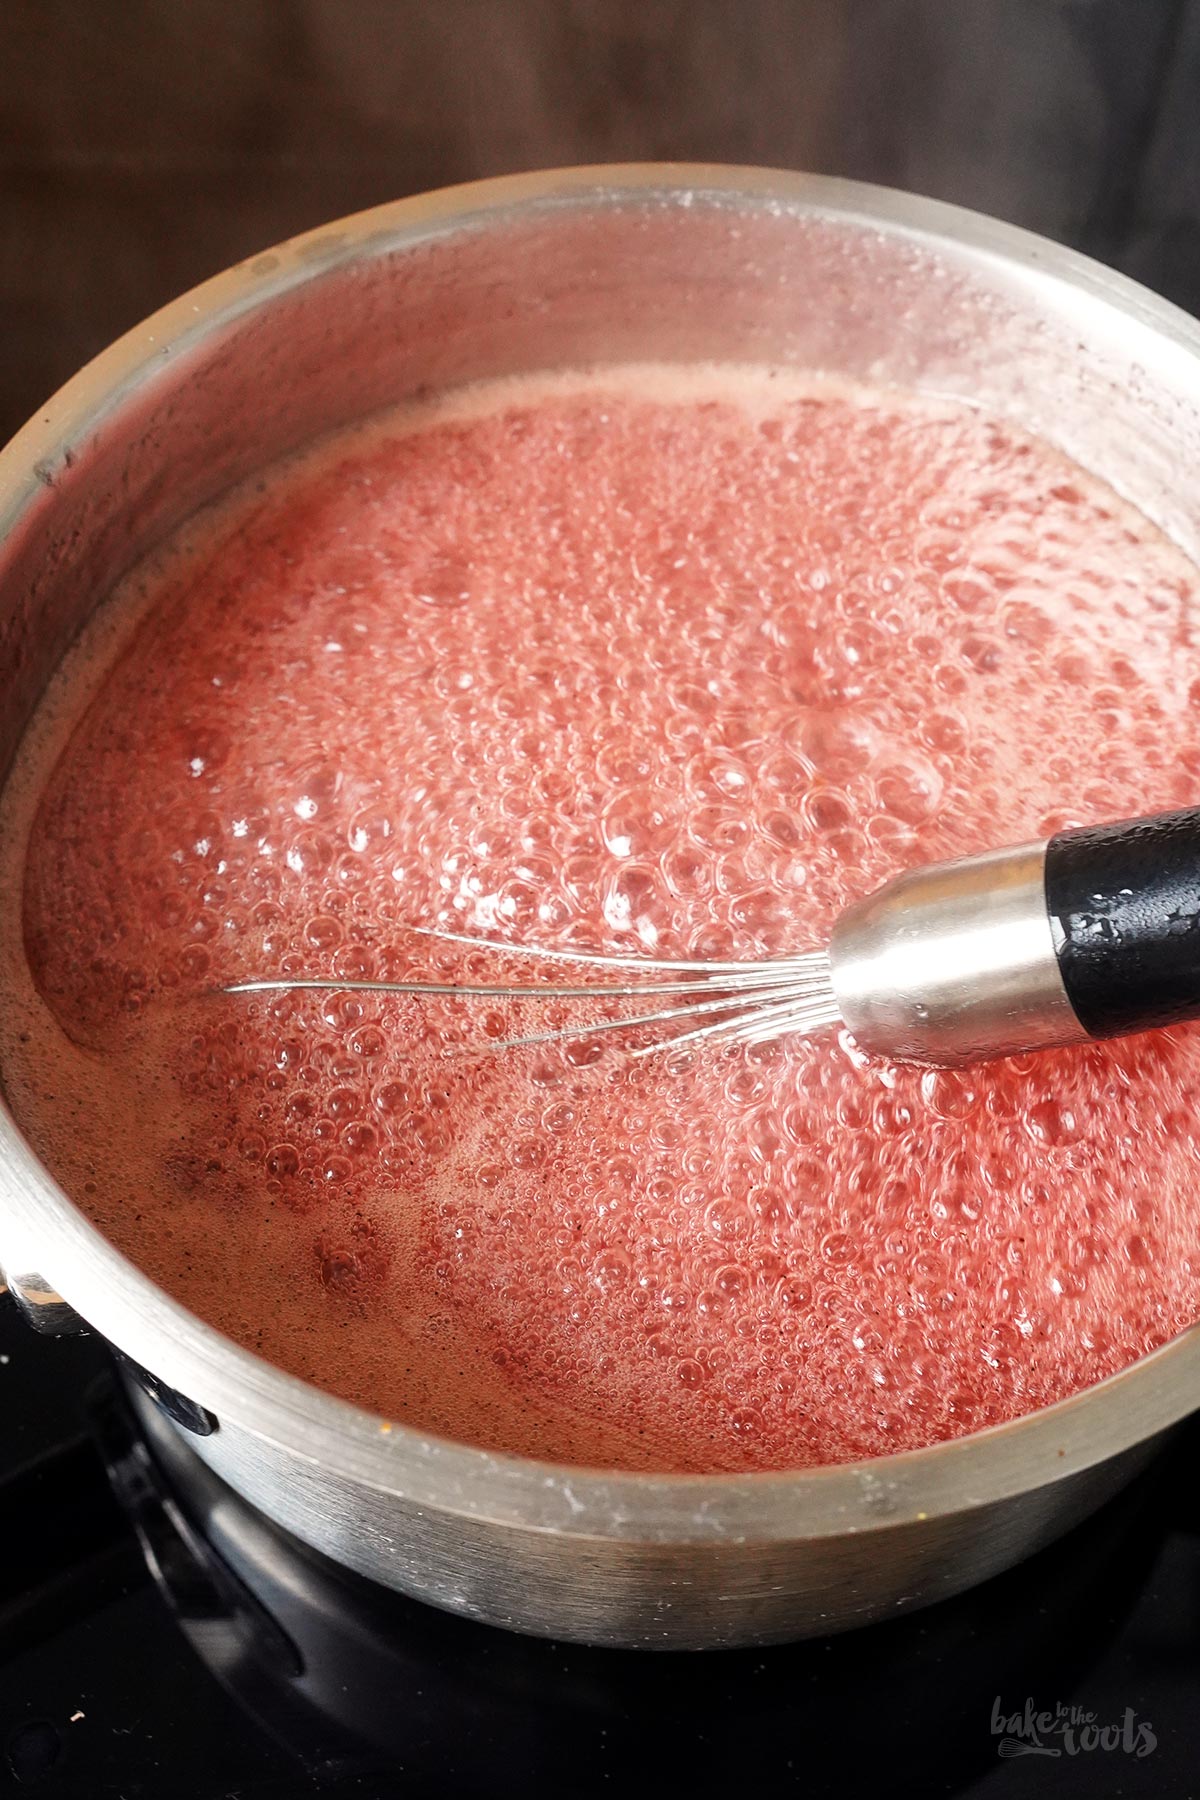
6. You need 12.7 fl. oz. (375ml) of grape juice for the jelly – if you got more, use the rest for something else – if you have less, fill up with water/juice to get the right amount (see notes). Add the juice, jam sugar, lemon juice, and vanilla powder (optional) to a saucepan and mix to combine. Bring the mixture to a boil, then let it boil vigorously for about 4-5 minutes while stirring constantly. Do a gelling test (see notes) – if the jam sets quickly, it is ready to be canned. If not, simply cook it a little longer.
7. Pour the grape jelly into the prepared glass jars and seal them tightly immediately. There is no need to turn the jars upside down. Let them cool completely. Store the jars in a cool, dark place (e.g. basement). If you worked with clean equipment, the unopened jam should keep for at least 6 months. Once opened, store in the fridge and consume within a few weeks.
Notes:
+ The amount of fresh grapes should give you enough grape juice to make the jelly, but you never know… If you got less than 12.7 fl. oz. (375ml) of grape juice out of the grapes, fill up with water or orange juice, for example.
+ For the gelling test place a small plate/saucer in the freezer right before you start cooking the jelly. For the gelling test simply add a bit of the jelly mixture onto the plate – if it sets within a minute, the jelly is ready to be canned.
1. Die Einmachgläser* und Deckel sterilisieren – entweder in genügend Wasser auskochen oder im Backofen erhitzen. Vorsicht bei den Deckeln – die halten nicht automatisch so viel Hitze aus, wie die Gläser. Zur Seite stellen und trocknen lassen.
2. Die Trauben waschen, abtrocknen und von den Stielen befreien. Die Früchte dann in einen großen Topf (mit Deckel) geben und bei mittlerer Hitzezufuhr für etwa 5 Minuten kochen, bis sie etwas weicher werden – immer wieder umrühren, damit nichts anbrennt.
3. Als Nächstes die Trauben mit einem Kartoffelstampfer* etwas zerdrücken, damit sie Flüssigkeit abgeben. Den Deckel auf den Topf setzen und die Trauben bei mittlerer/niedriger Hitzezufuhr für etwa 10 Minuten köcheln lassen. Die Trauben zwischendurch immer wieder mal weiter mit dem Kartoffelstampfer zerdrücken, damit sie noch mehr zerfallen und Flüssigkeit abgeben.
4. Den Topf vom Herd ziehen und die Trauben etwas abkühlen lassen. An dieser Stelle verwende ich gerne mal einen Pürierstab*, um die Trauben noch zusätzlich zu zerkleinern. Aber Vorsicht, es soll kein Püree entstehen – das Ziel ist lediglich, dass keine großen Stücke mehr vorhanden sind und möglichst viel Saft aus den Trauben austritt.
5. Ein feines Sieb über ein Gefäß setzen und die zerdrückten Trauben hineinschütten. Die Masse gut ausdrücken, um so viel Saft wie möglich zu gewinnen. Anschließend alles etwa eine Stunde stehen lassen – in dieser Zeit sollte noch mehr Flüssigkeit abtropfen können.
6. Für das Gelee werden etwa 375ml Traubensaft benötigt. Falls mehr Saft aus den Trauben kam, kann man den Überschuss anderweitig verwenden. Haben die Trauben weniger Saft abgegeben, sollte man mit Wasser oder Saft auffüllen (s. Hinweise). Die Flüssigkeit zusammen mit Gelierzucker, Zitronensaft und Vanillepulver (optional) in einen Topf geben und verrühren. Die Mischung aufkochen lassen, dann unter ständigem Rühren etwa 4-5 Minuten sprudelnd kochen lassen. Den Geliertest machen (s. Hinweise) – wird die Marmelade zügig fest, kann abgefüllt werden. Wenn nicht, einfach noch etwas länger kochen lassen.
7. Das Traubengelee in die vorbereiteten Gläser füllen und sofort gut verschließen. Auf den Kopf stellen ist nicht notwendig. Komplett abkühlen lassen. Die Marmeladengläser an einem dunklen, kühlen Ort (z.B. Keller) lagern. Wenn sauber gearbeitet wurde, sollte die Marmelade ungeöffnet mindestens 6 Monate durchhalten. Nach dem Öffnen im Kühlschrank lagern und innerhalb von wenigen Wochen aufbrauchen.
Hinweise:
+ Die Menge an frischen Trauben sollte ausreichen, um genügend Traubensaft für das Gelee zu gewinnen – aber sicher ist sicher: Sollte man weniger als 375ml Traubensaft erhalten, einfach mit Wasser oder z.B. Orangensaft auffüllen.
+ Für die Gelierprobe kann man einen kleinen Teller oder Untersetzer direkt vor dem Einkochen des Gelees ins Gefrierfach legen. Wenn man dann für den Geliertest eine kleine Menge der eingekochten Traubenmischung auf den Teller/Untersetzer gibt und diese innerhalb einer Minute ordentlich andickt, ist das Gelee fertig und kann abgefüllt werden.
Craving more? Keep in touch on Facebook, Instagram and Pinterest for new post updates and more. You can also contact me with any questions or inquiries!
Here is a version of the recipe you can print easily.
Print
Homemade Grape Jelly
- Prep Time: 00:35
- Cook Time: 00:20
- Total Time: 03:00
- Yield: 2 1x
- Category: Homemade Stuff
- Method: -
- Cuisine: United States
- Diet: Vegetarian
Description
Grape Jelly is a bit harder to find here in Germany – the perfect reason to make it from scratch at home. It’s also much better than anything you can buy…
Ingredients
2 preserving glass jars (each 240ml)*
28 oz. (800g) red grapes (with seeds is fine here)
9 oz. (250g) gelling sugar (2:1)*
3 tbsp. lemon juice
1/2 tsp. vanilla powder* (optional)
Instructions
1. First sterilize the glass jars* and lids – either by boiling them in plenty of water or heating them in the oven. Be careful with the lids, they might not withstand the same heat as the glass jars. Set aside and let dry.
2. Wash and dry the grapes, remove any stems. Add the grapes to a large saucepan (with a lid) and let them cook over medium heat for about 5 minutes, so they can soften a bit. Stir occasionally.
3. Use a potato masher* and crush the grapes a little so they can release some liquid. Cover the saucepan with the lid and let the grapes cook over medium-low heat for about 10 minutes. Crush the grapes several times more with the potato masher so they fall apart and release even more liquid.
4. Remove the saucepan from the heat and let the grapes cool down a bit. At this point I use an immersion blender* to crush the grapes even a bit further. But don’t overdo it – you don’t want grape purée, just no large pieces anymore and as much liquid as possible.
5. Place a fine-mesh sieve over a container and pour the crushed grapes into the sieve. Press the crushed grapes down to squeeze out as much liquid as possible and then let everything sit for an hour or so – this should get you even more liquid.
6. You need 12.7 fl. oz. (375ml) of grape juice for the jelly – if you got more, use the rest for something else – if you have less, fill up with water/juice to get the right amount (see notes). Add the juice, jam sugar, lemon juice, and vanilla powder (optional) to a saucepan and mix to combine. Bring the mixture to a boil, then let it boil vigorously for about 4-5 minutes while stirring constantly. Do a gelling test (see notes) – if the jam sets quickly, it is ready to be canned. If not, simply cook it a little longer.
7. Pour the grape jelly into the prepared glass jars and seal them tightly immediately. There is no need to turn the jars upside down. Let them cool completely. Store the jars in a cool, dark place (e.g. basement). If you worked with clean equipment, the unopened jam should keep for at least 6 months. Once opened, store in the fridge and consume within a few weeks.
Notes
+ The amount of fresh grapes should give you enough grape juice to make the jelly, but you never know… If you got less than 12.7 fl. oz. (375ml) of grape juice out of the grapes, fill up with water or orange juice, for example.
+ For the gelling test place a small plate/saucer in the freezer right before you start cooking the jelly. For the gelling test simply add a bit of the jelly mixture onto the plate – if it sets within a minute, the jelly is ready to be canned.
Links marked with an asterisk (*) are affiliate links (advertising/Werbung) to Amazon Germany. If you click on one of those links and buy something via this link, I will get a commission for that sale. The price of whatever you buy is not affected in any way by this.