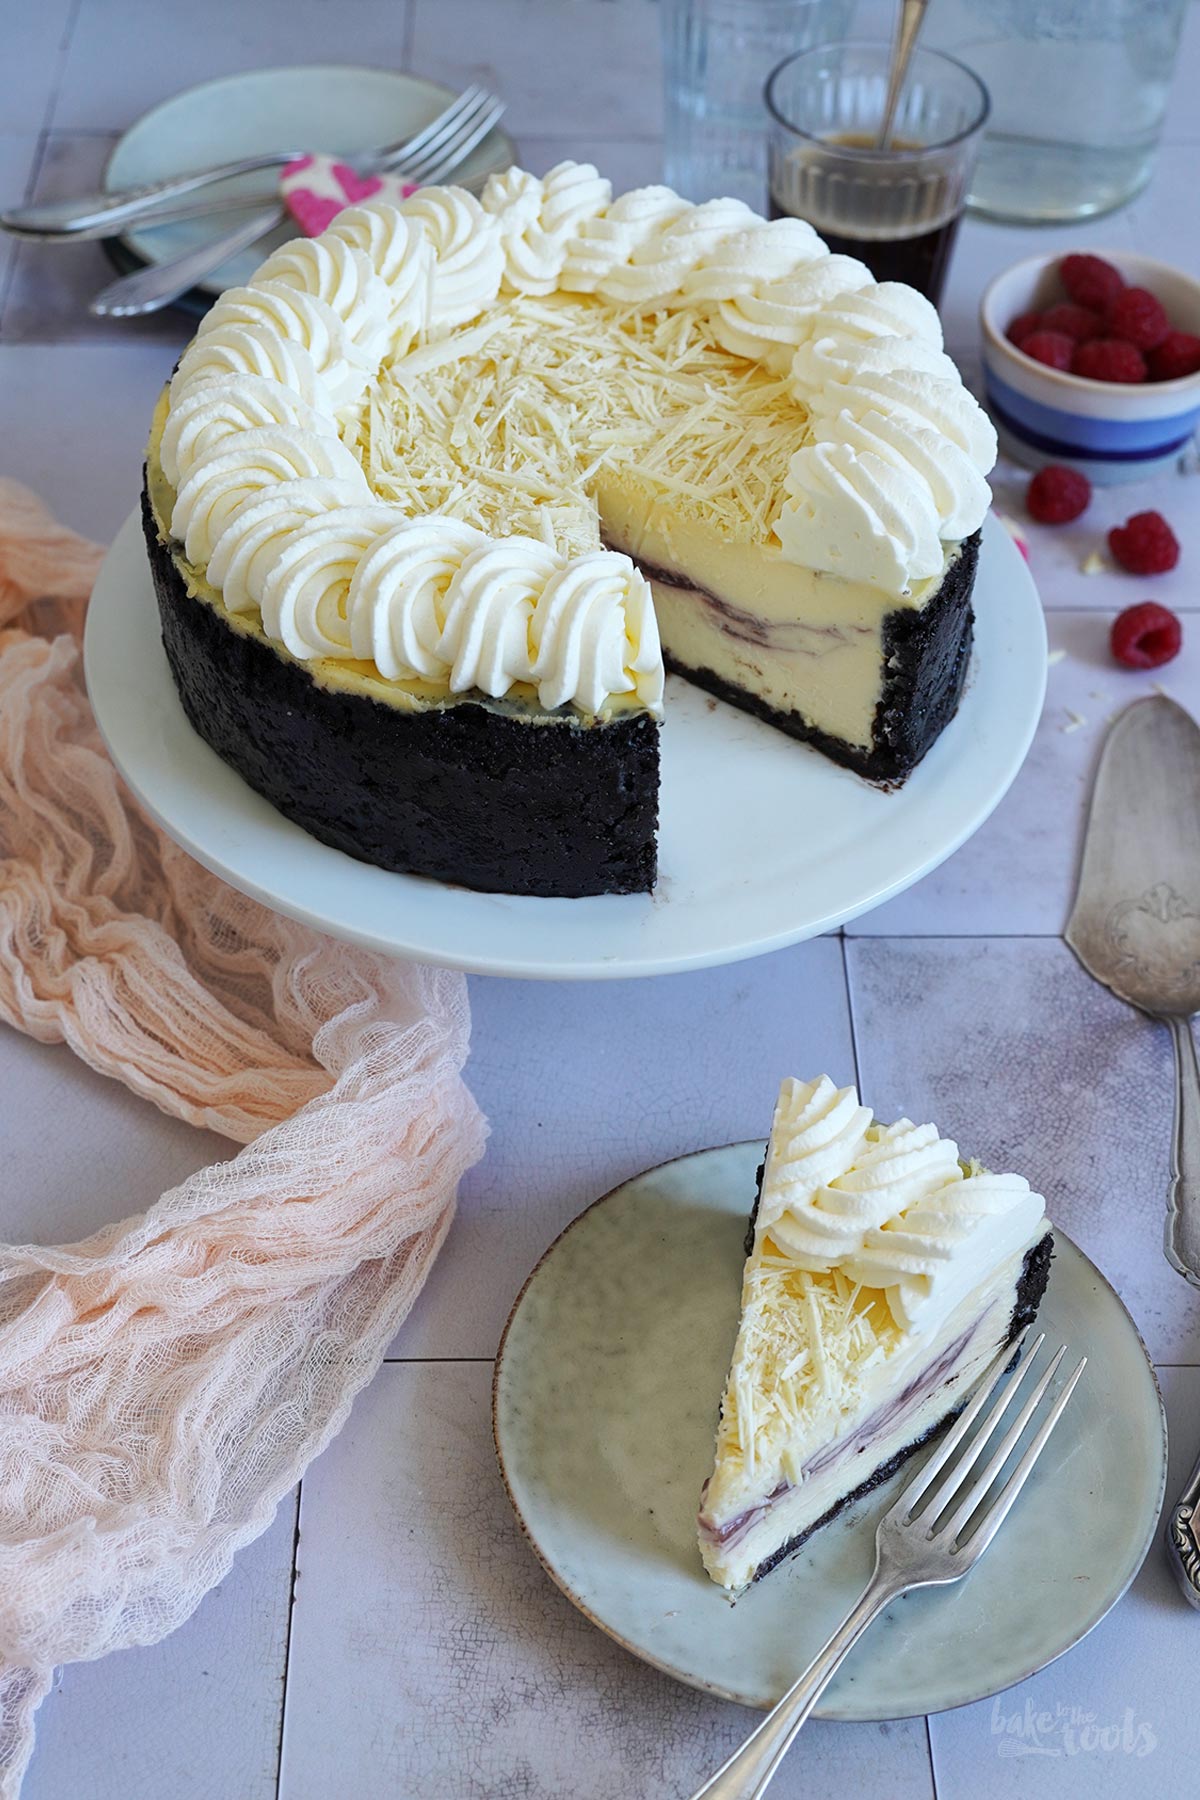
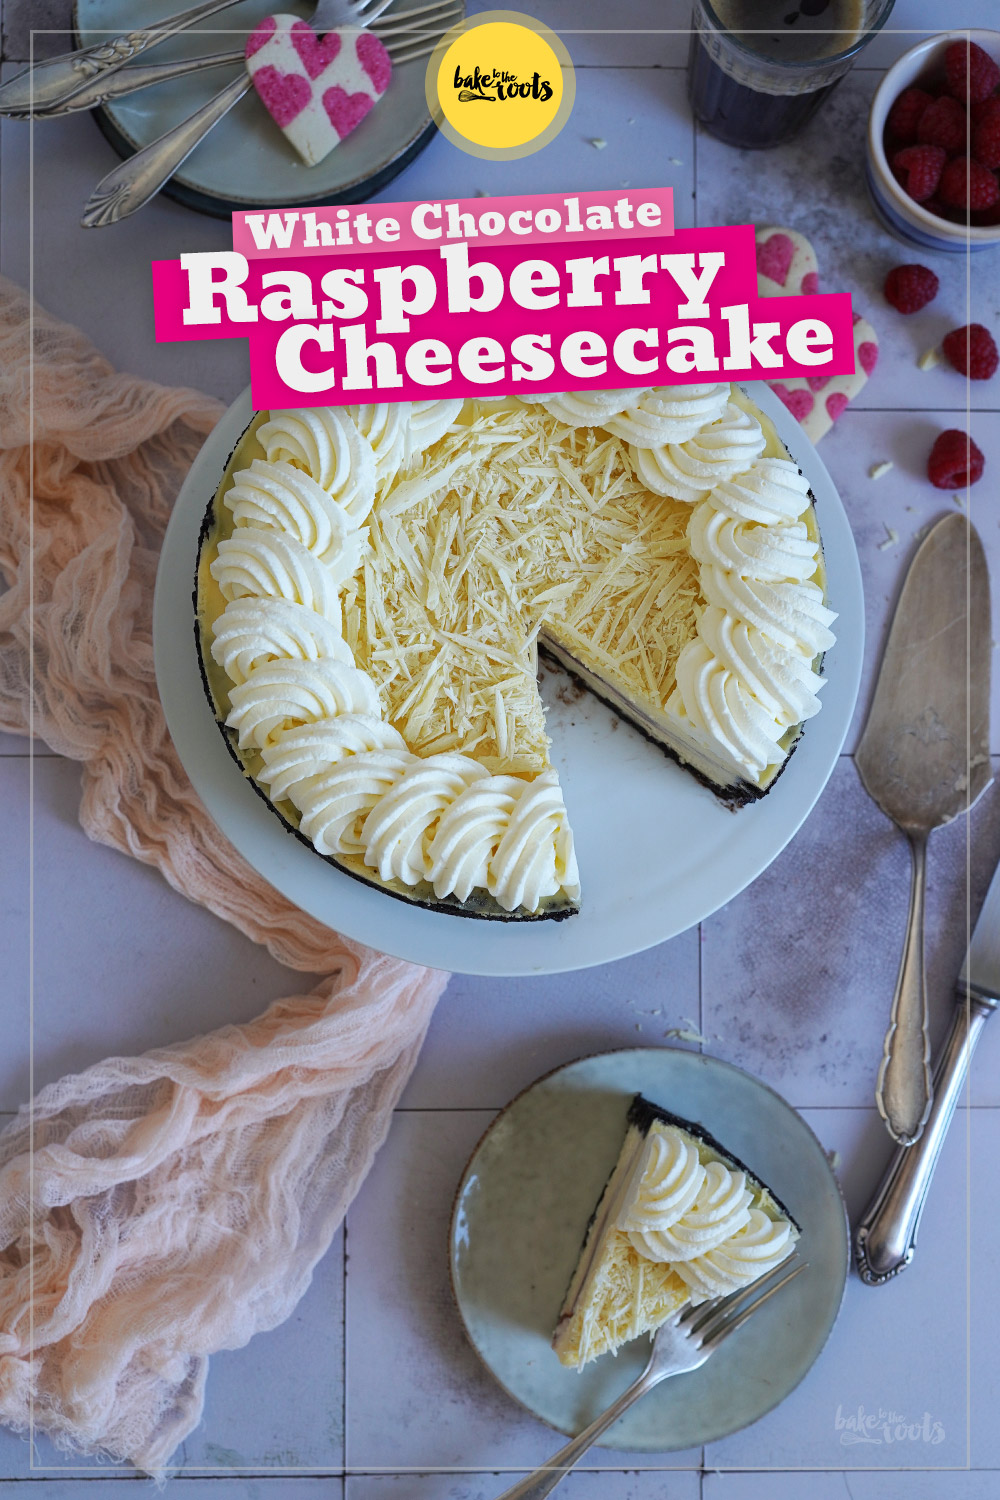
Are there people out there that want to try an awful cheesecake? I mean awfully delicious cheesecake ;P (Not sure if that joke works in English as well as it does in German). Well. Anyway. This White Chocolate Raspberry Cheesecake is a real treat. You could almost say “unfortunately, a real treat” because your hips will not be happy if you eat too much of this. Great flavors, great creamy texture but also loads of calories! Normally, I can control myself with cakes… but this one here is really difficult because you basically want to inhale it after the first little bite ;P
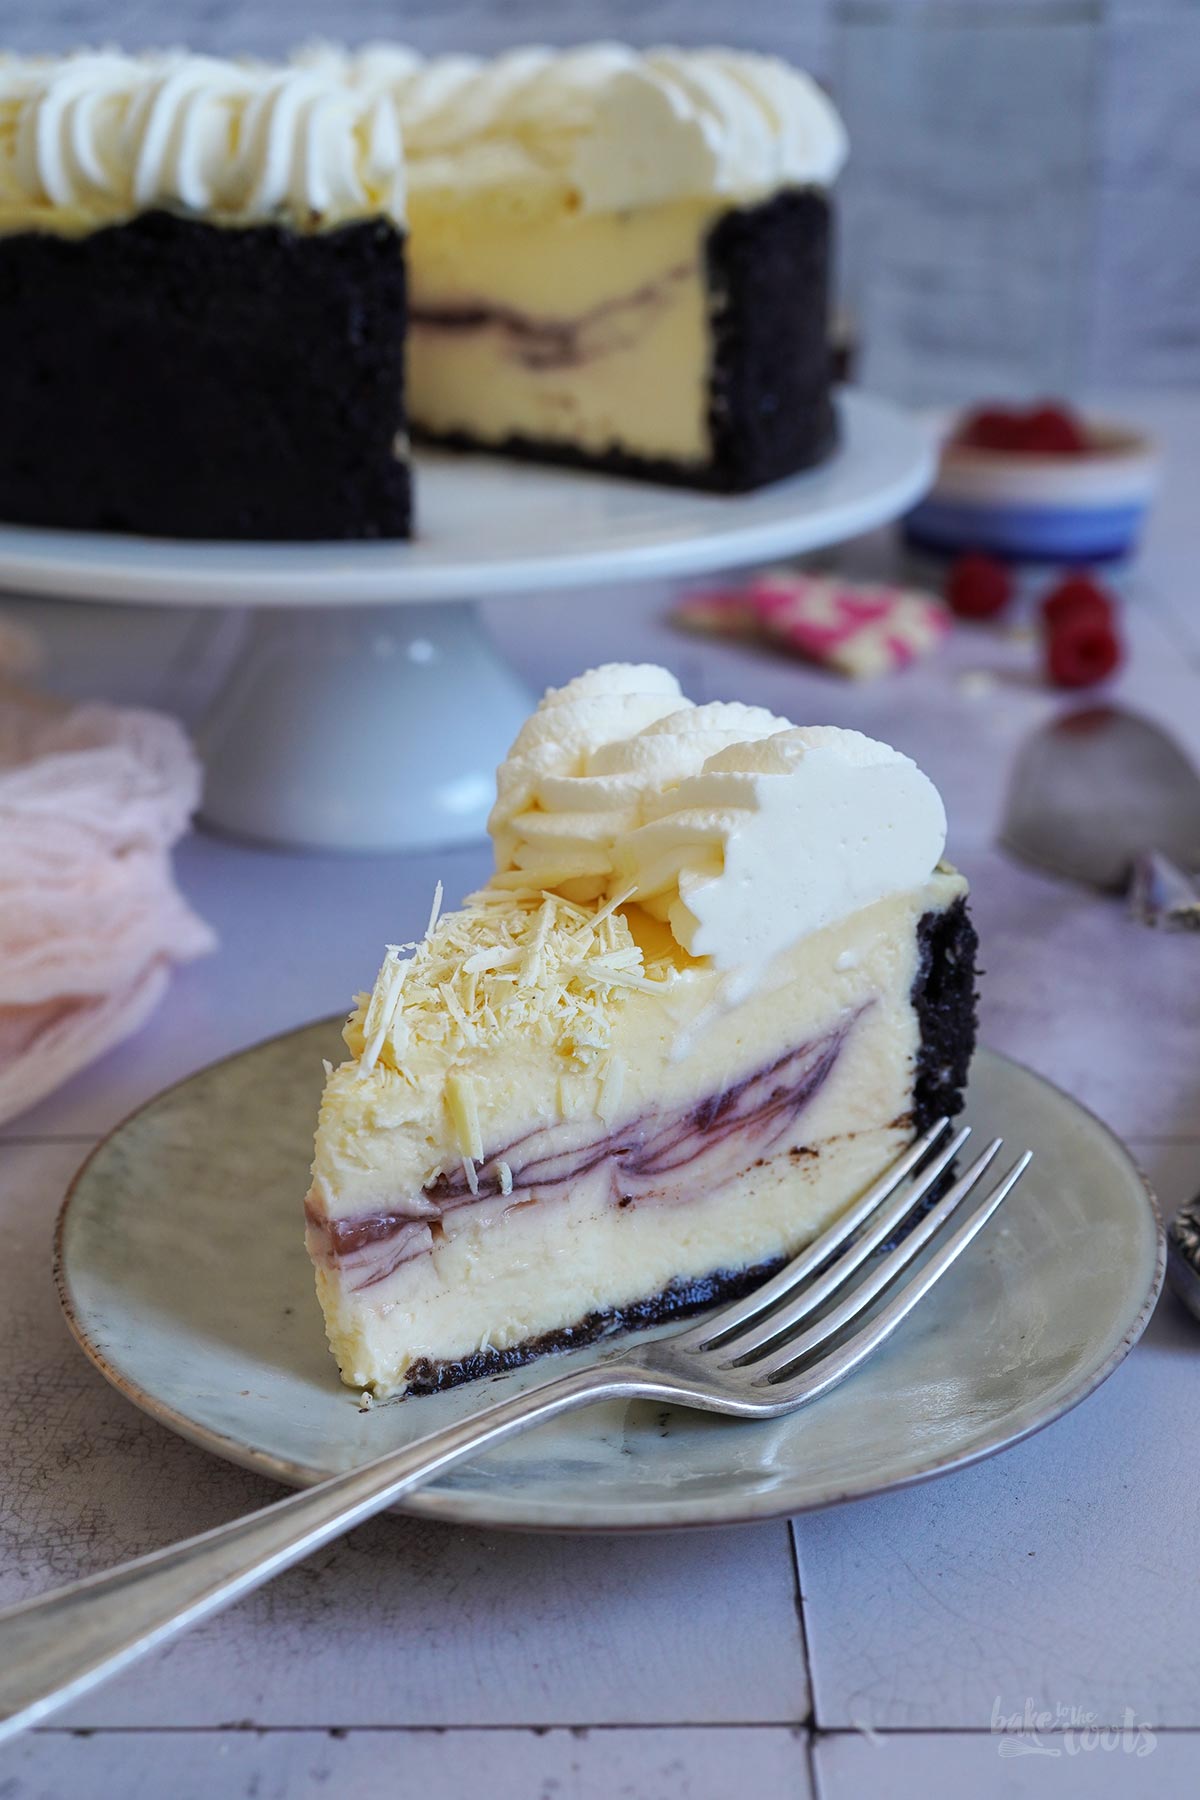
Some of you out there probably know this cheesecake already. The title gives it away I guess ;P This delicious feast for your eyes and great danger for your hips is a copycat of a popular cheesecake you can get at the Cheesecake Factory. Something Americans can enjoy all over the US but we here in Germany… not so much. Bummer.
The infamous White Chocolate Raspberry Cheesecake and I met in Florida. I don’t remember if it was in the late 90s or early 2000s – sometime during that time period. I was hooked from the beginning because raspberries and white chocolate are just a damn delicious combination… but somehow we “grew apart” over the years (isn’t that what they say?). Maybe it was due to the fact that the Cheesecake Factory sold their cheesecakes only in the USA and I stayed mainly in Europe. A whole continent with no Cheesecake Factory restaurants ;P
Anyway. Last year I came across this lovely cheesecake once again and thought – why not create my version at home? Based on the recipes that are flying around on the internet. Not sure if any of those is the original one. Well… as you can see it turned out pretty damn good-looking and also extremely delicious. As far as I can remember this one here comes pretty close to the original one. And now you can do that one at home too if you can’t get hold of the real deal ;)
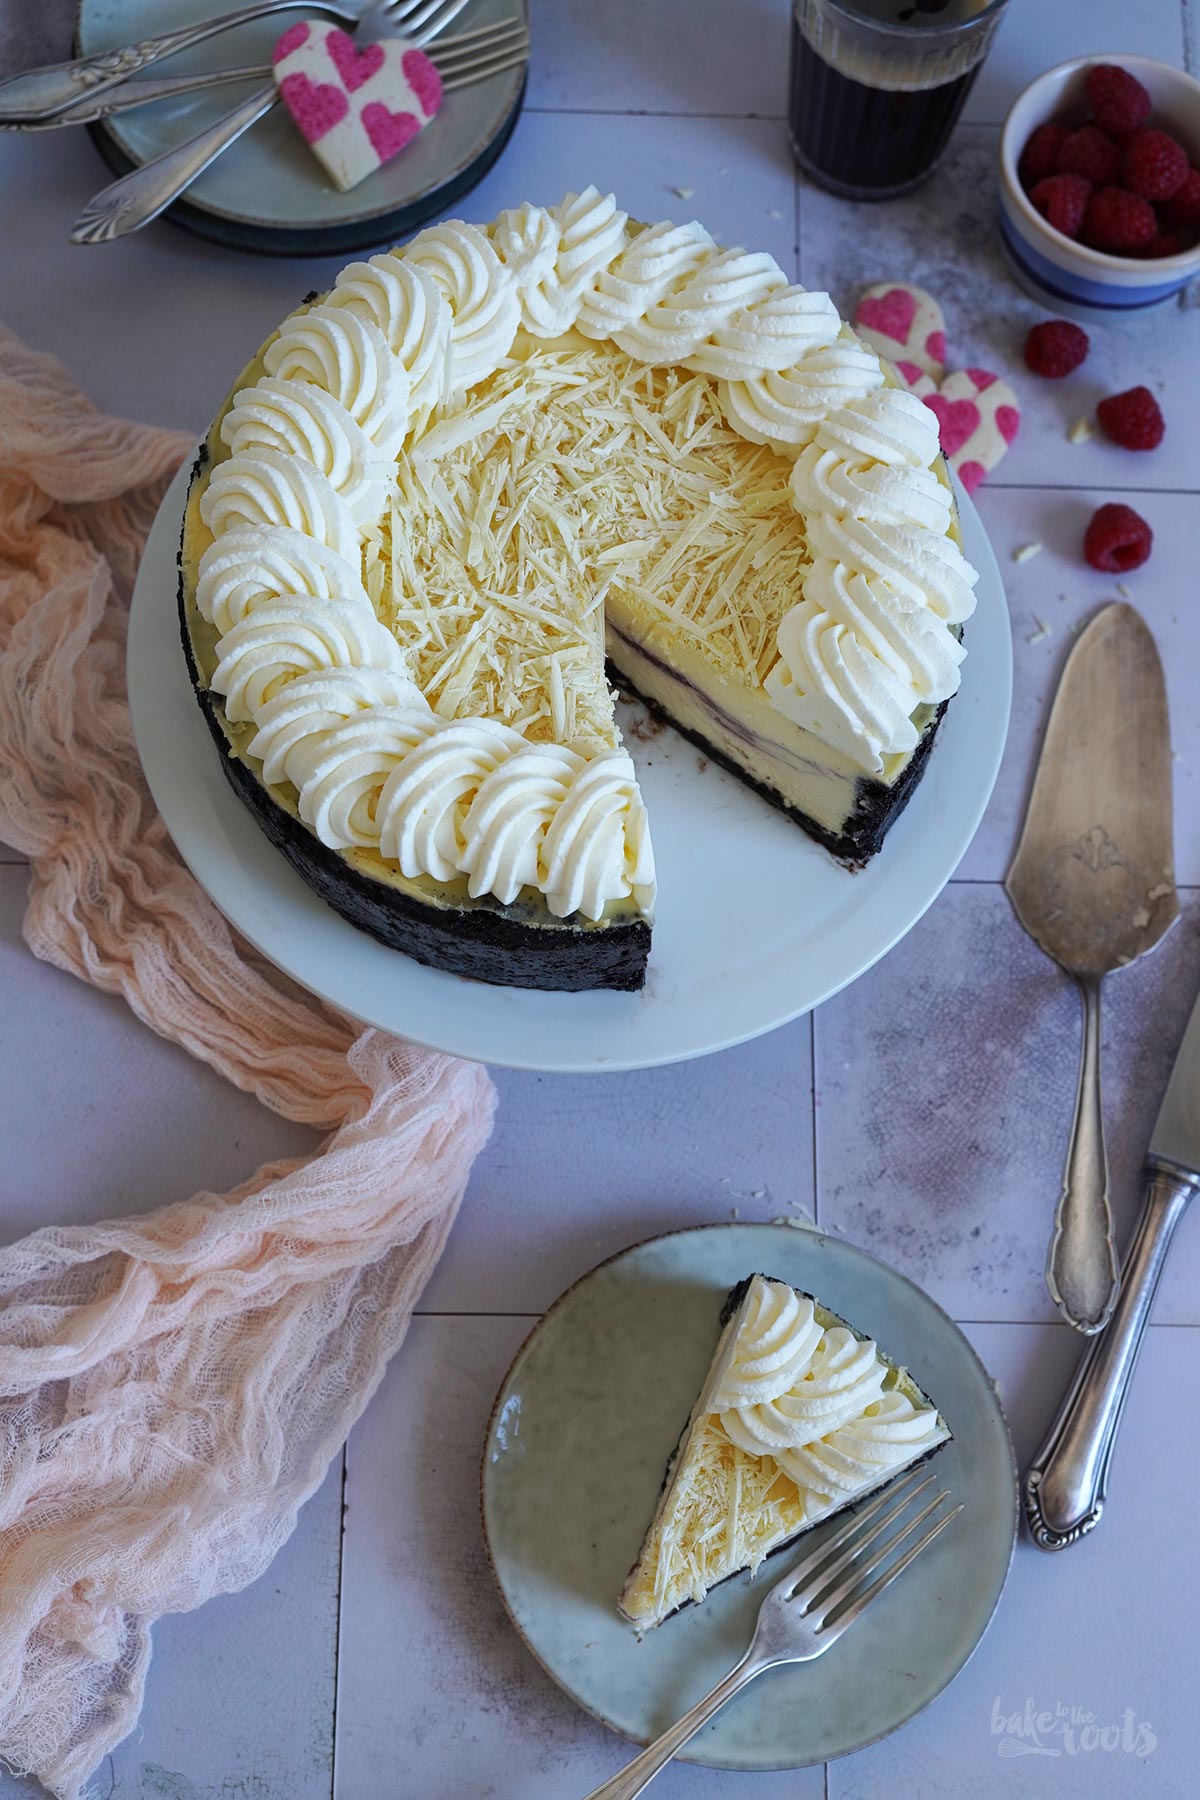
The original White Chocolate Raspberry Cheesecake is much bigger – that I remember for sure. I decided to make a smaller version and tried to use less sugar. It is still a lot of sugar and sweetness – do not try to convince yourself otherwise. The chocolate, the cookies, all the fat from the cream cheese and heavy cream… this is definitely a delicious taste (and calories) bomb ;P
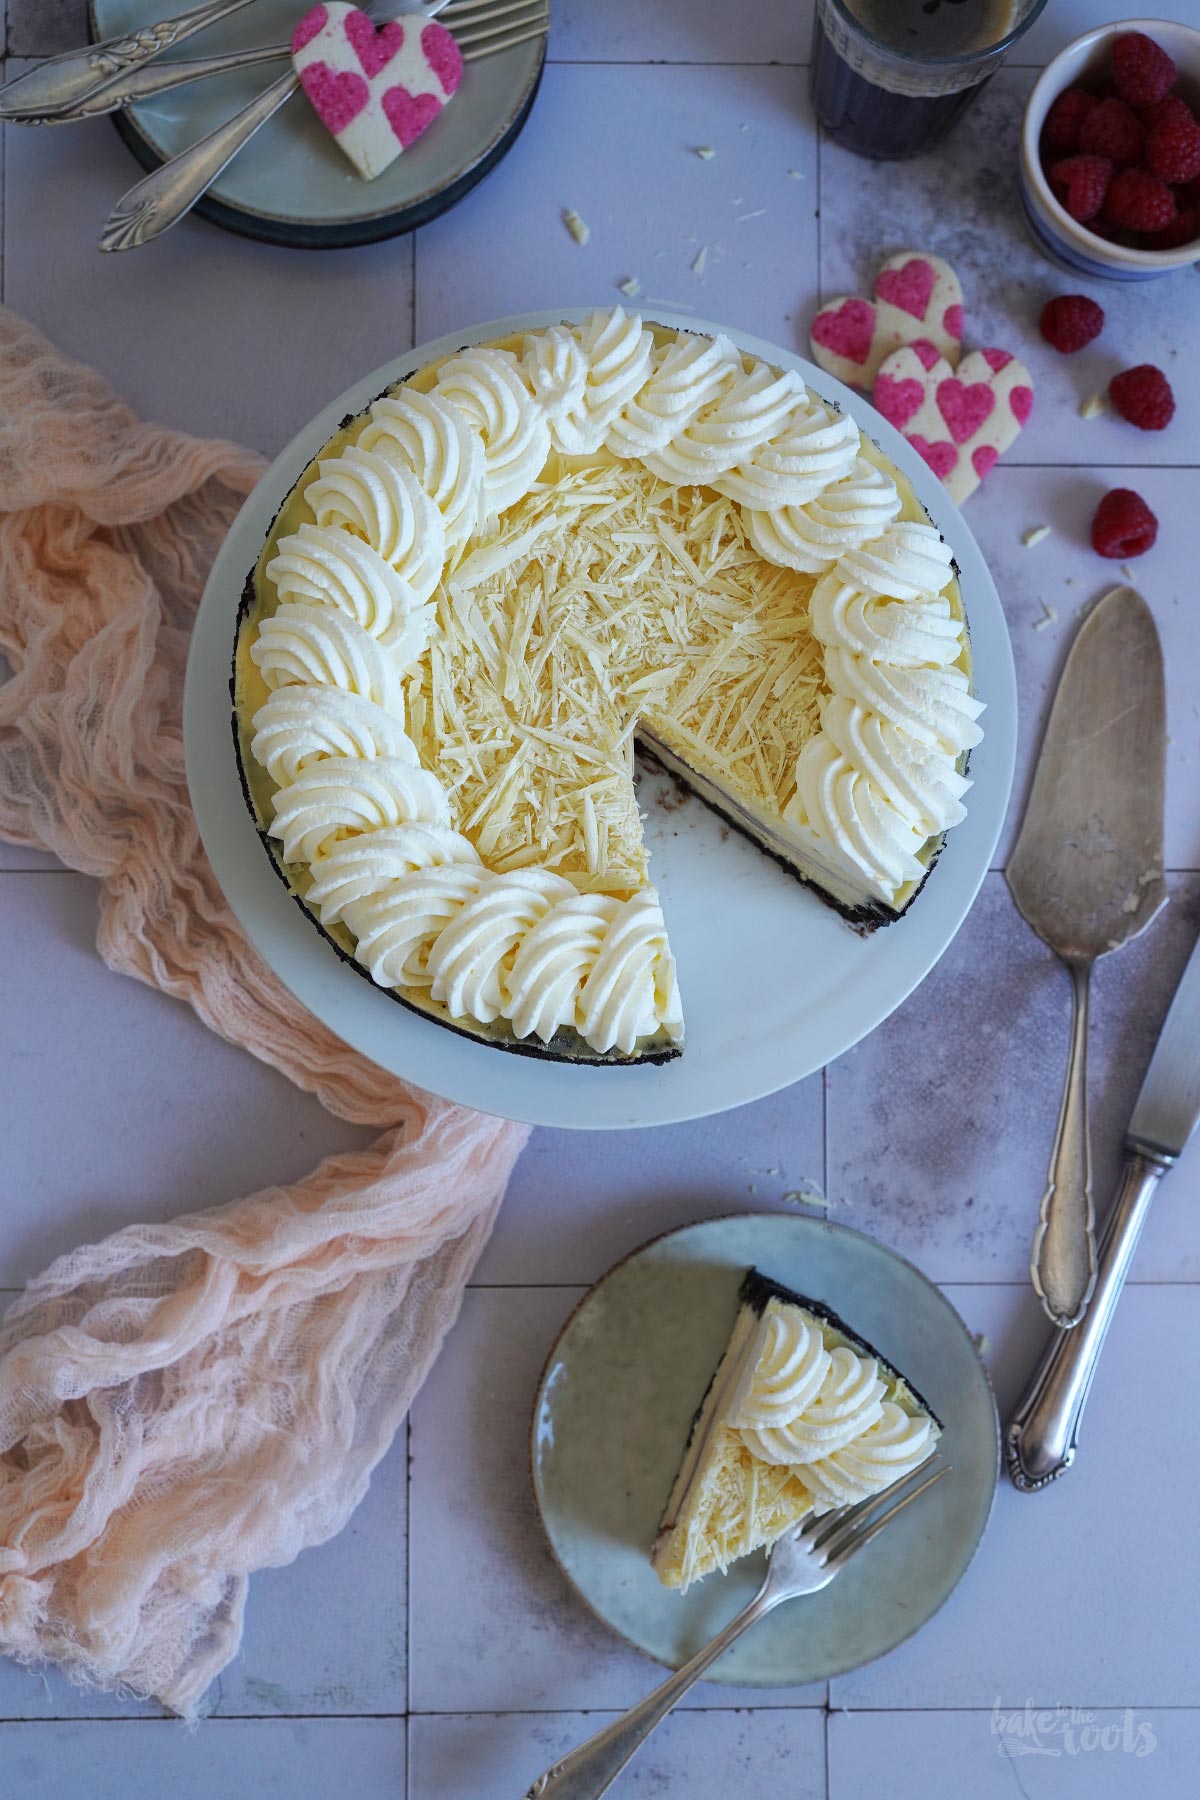
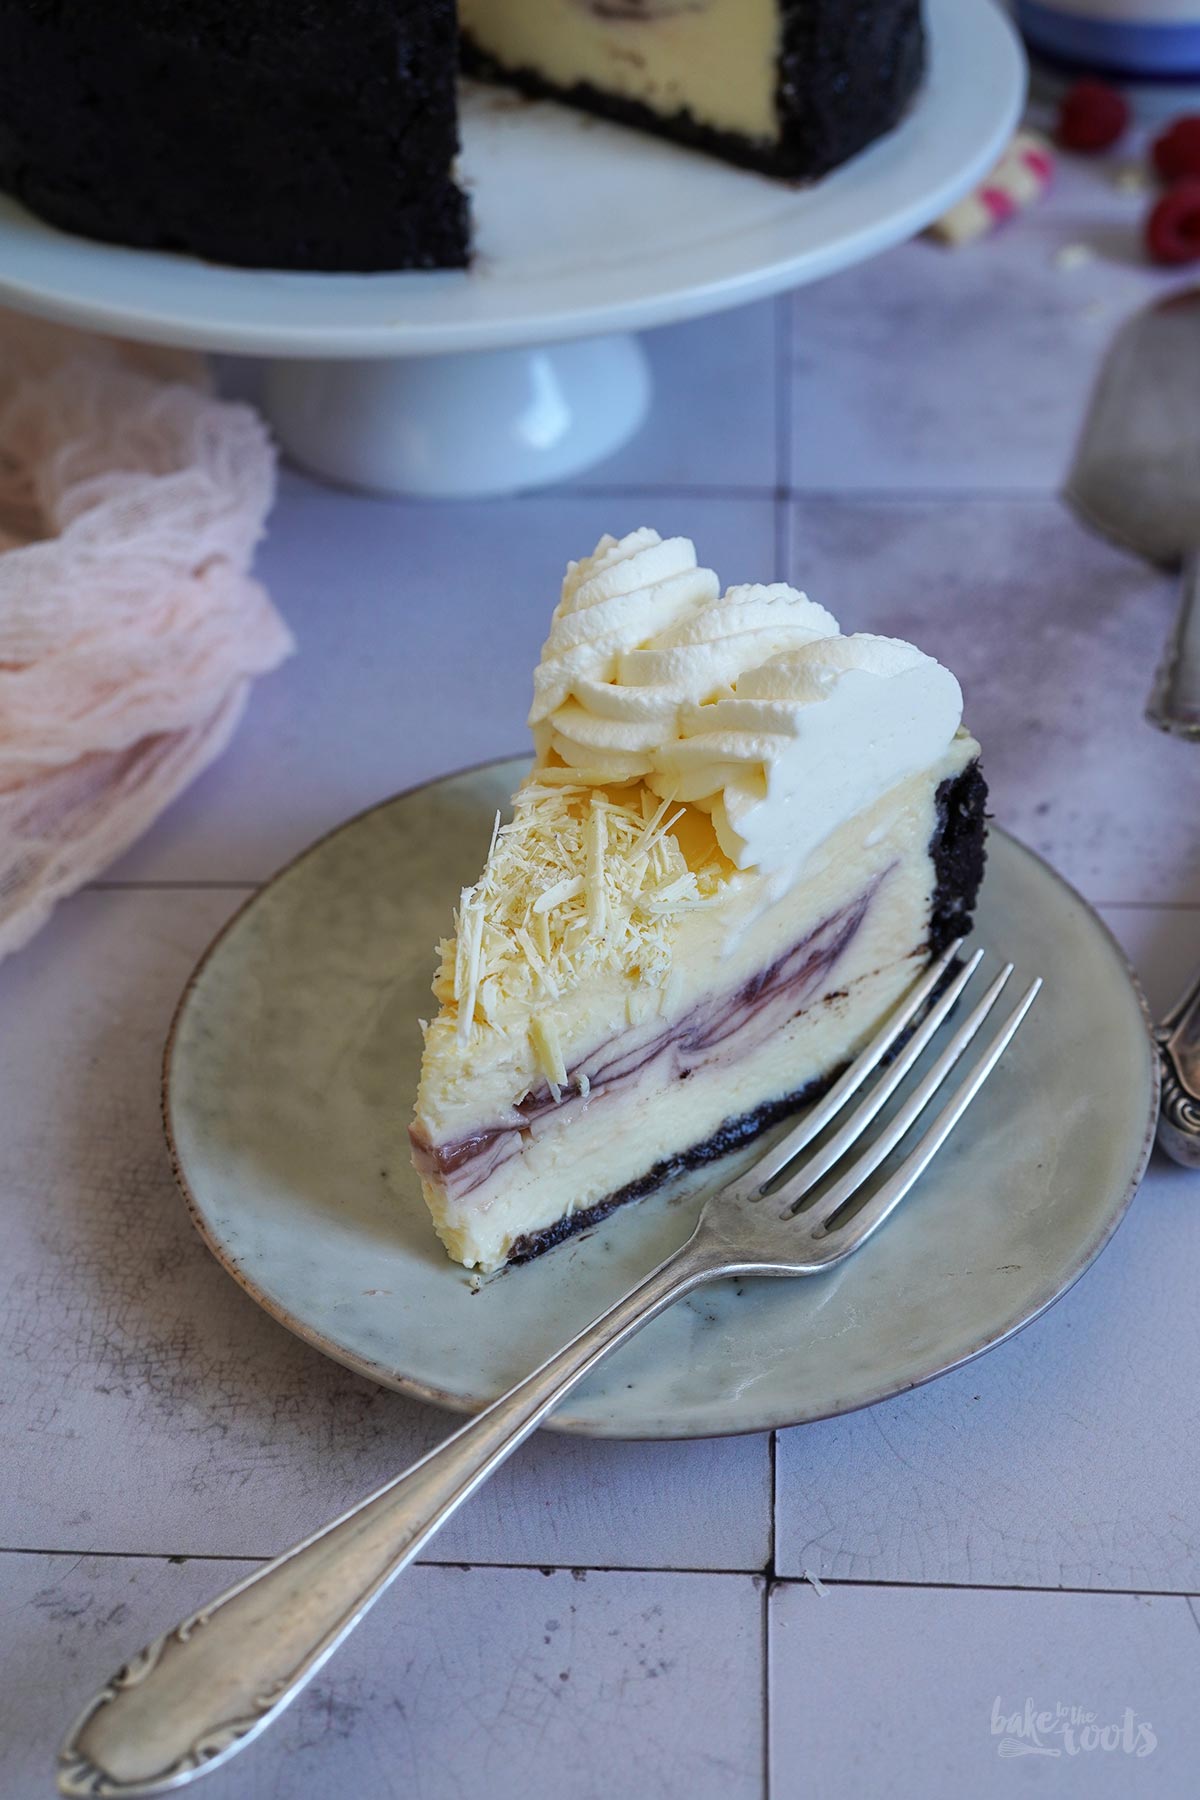
Well. If you have no clue at all about what I was talking about until now – just make the damn cheesecake ;) Loads of white chocolate, super creamy texture, and, of course, that raspberry swirl inside the cake… so good! I am pretty sure you and whoever is enjoying this with you will love it! I haven’t found a single person yet, that doesn’t like this cheesecake!
For all cheesecake fans out there – if you are not afraid of sugar, fat, and deliciousness – try these cakes here as well. All of them are really good!
INGREDIENTS / ZUTATEN
For the crust:
10.5 oz. (300g) Oreo cookies (or similar chocolate cookies), finely crushed
1.4 oz. (40g) butter, melted
For the filling:
32 oz. (900g) cream cheese, at room temperature
2 oz. (60g) sour cream, at room temperature
1/2 cup (100g) sugar
1 tbsp. cornstarch
2 tsp. vanilla extract
3 medium eggs, at room temperature
4 oz. (120g) white chocolate, chopped
3.5 oz. (100g) heavy cream
4 oz. (120g) raspberry jam (no seeds)
For the decoration:
7 oz. (200g) heavy cream
2 tsp. confectioners’ sugar
1/4 tsp. vanilla extract
white chocolate shavings (optional)
Für den Boden:
300g Oreo Kekse (o. ä. Schokoladenkekse), fein zerkleinert
40g Butter, geschmolzen
Für die Füllung:
900g Frischkäse, Zimmertemperatur
60g Schmand, Zimmertemperatur
100g Zucker
1 EL Speisestärke
2 TL Vanille Extrakt
3 Eier (M), Zimmertemperatur
120g weiße Schokolade, gehackt
100g Schlagsahne
120g Himbeerkonfitüre (ohne Kerne)
Für die Dekoration:
200g Schlagsahne
2 TL Puderzucker
1/4 TL Vanille Extrakt
geraspelte weiße Schokolade (optional)
DIRECTIONS / ZUBEREITUNG
1. Preheat the oven to 325°F (160°C). Line an 8 inches springform tin with baking parchment, grease lightly, and set aside. Make sure your ingredients are all at room temperature before starting.
2. Remove the filling from the Oreos (sorry!) and add them to a freezer bag. Crush them with a rolling pin until you get very fine crumbs. Alternatively, you can let a food processor do the job. Melt the butter and add to the crumbs – mix until well combined. Transfer the crumbs to the prepared springform tin and press to the bottom and sides. Make sure the crumbs are well compressed. Bake in the oven for about 8-10 minutes. Take out and let cool down. If the sides collapsed in places you can press them back in place with the back of a spoon. Do not turn off the oven.
3. Chop the white chocolate and add it together with the heavy cream to a microwave-safe bowl. Warm in the microwave until the chocolate has melted and you got a smooth chocolate sauce. Let cool down a bit.
4. For the filling mix cream cheese, sour cream, sugar, cornstarch, and vanilla extract until well combined. Working with a rubber spatula or whisk is fine – no electric appliances needed. Add the eggs one after another and mix well after each addition. Add the (only slightly warm) chocolate sauce and mix in. Pour about 2/3 of the filling into the prepared springform tin with the pre-baked crust and smooth out the top. Stir the raspberry jam so it gets softer then spoon it all over the filling. Use a spoon to slightly mix it with the filling to create swirls. Do not go bonkers with the mixing, also stay away from the sides of the cake. Distribute the remaining cheesecake filling evenly on top and cover the swirls. Smooth out the top. Wrap the springform tin with aluminum foil so the bottom and sides are covered, then place it in a casserole dish (or similar) and fill that up with hot water so the springform tin with the cakes sits in the hot water. The water should go about halfway up the sides of the baking tin. Bake for about 60-70 minutes in the preheated oven. The filling of the cheesecake should have set around the edges but the center should still wobble when moving the springform tin. Turn off the oven, open the oven door slightly and leave the cheesecake inside for another 40-45 minutes. The springform thin should be safe to touch by then. Take out of the oven and out of the water, remove the foil and let the cake cool down completely on a wire rack. When cooled completely place in the fridge for at least 8 hours or overnight to set completely.
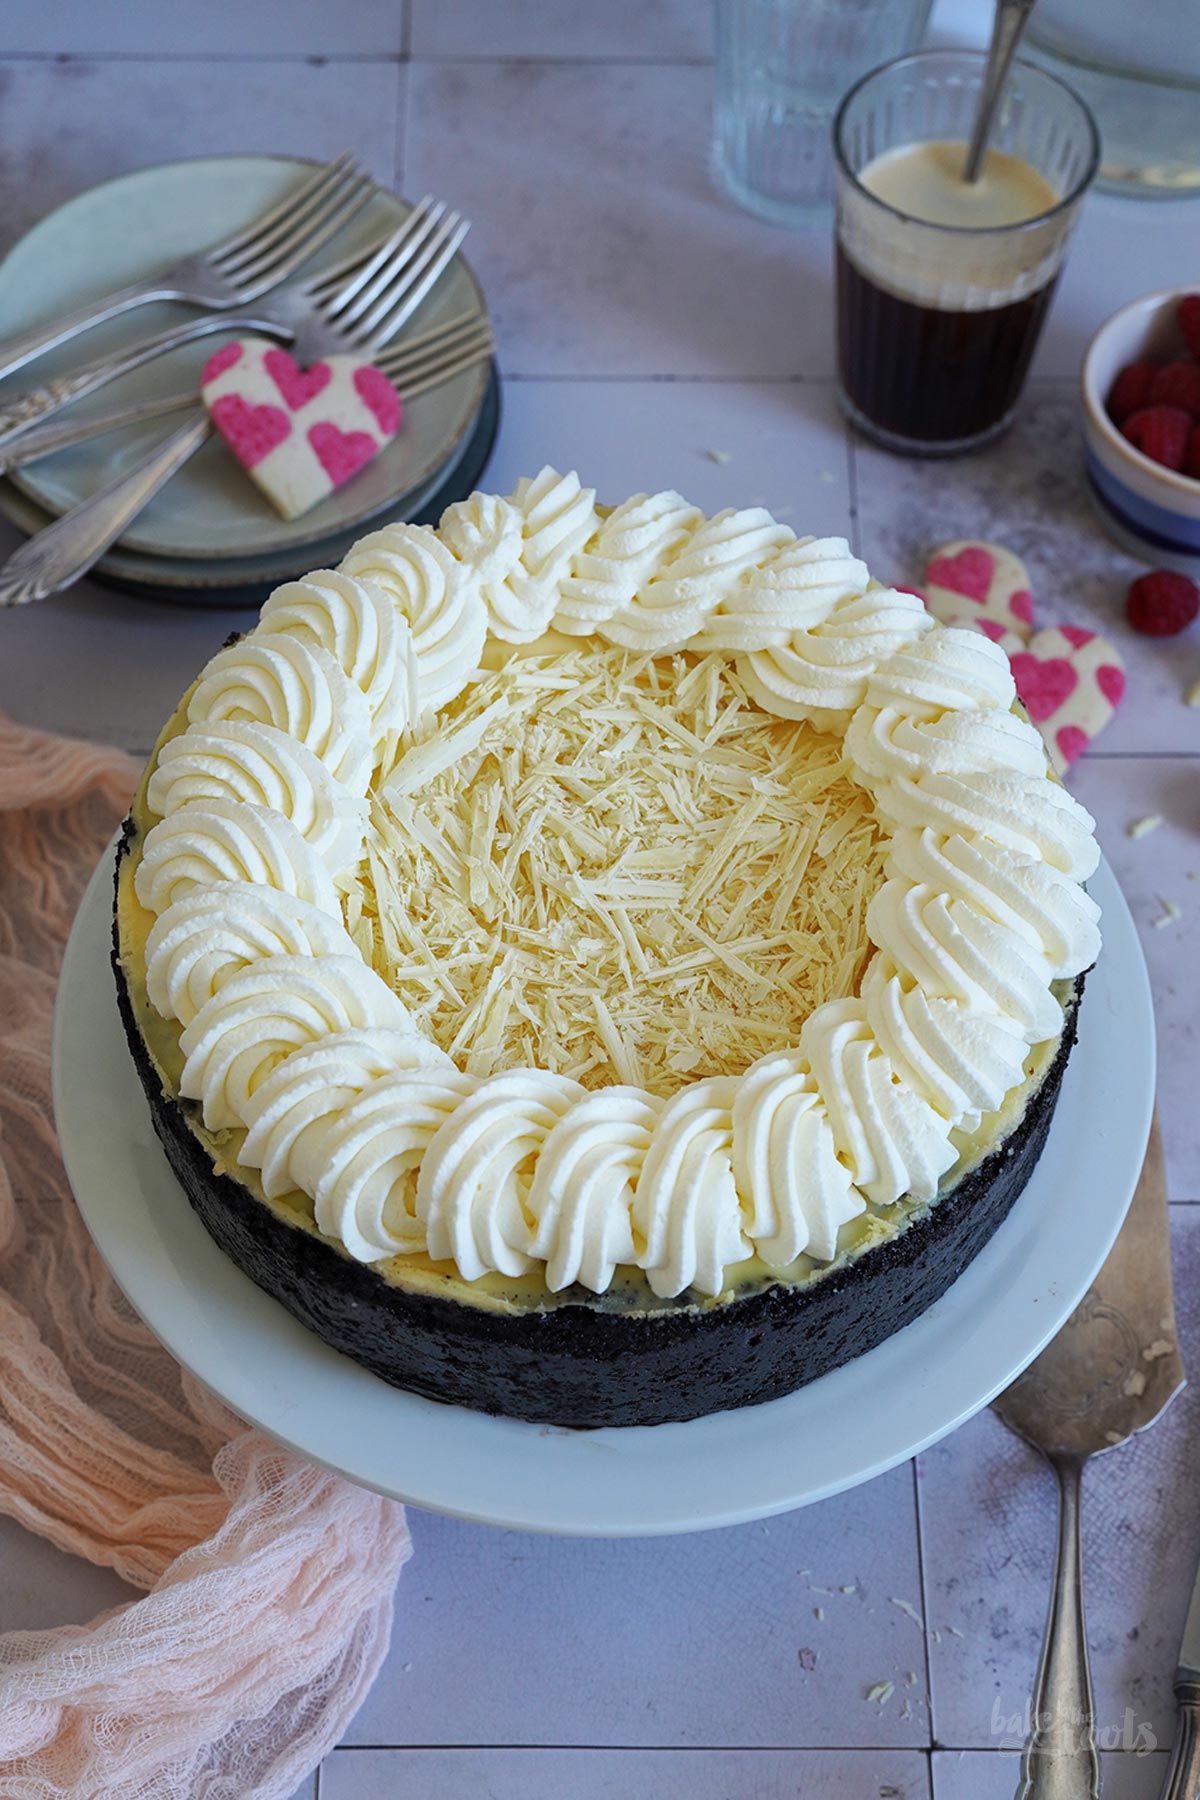
5. For the decoration add the heavy cream, confectioners’ sugar, and vanilla extract to a tall vessel and whisk until stiff peaks form. Fill the cream into a piping bag with a star tip and decorate the cheesecake to your liking. Sprinkle with some white chocolate shavings to decorate it further (optional)
1. Den Ofen auf 160°C (325°F) Ober-/Unterhitze vorheizen. Eine 20cm Springform mit Backpapier auslegen, leicht einfetten und dann zur Seite stellen. Alle Zutaten sollten vor der Verarbeitung Zimmertemperatur haben.
2. Die Oreo Kekse von der weißen Füllung befreien (sorry!) und dann in einen Gefrierbeutel füllen und mit einem Nudelholz o.ä. zu feinen Bröseln verarbeiten. Alternativ kann man hier auch einen Mixer verwenden. Butter schmelzen und mit den Bröseln gut vermischen. In die vorbereitete Form füllen und am Boden und den Seiten gut festdrücken. Im vorgeheizten Ofen etwa 8-10 Minuten backen. Aus dem Ofen holen und abkühlen lassen. Sollte der Rand an einer Stelle eingebrochen sein, einfach mit der Rückseite eines Löffels wieder in Form bringen und festdrücken. Den Ofen nicht ausschalten.
3. Die weiße Schokolade grob hacken und zusammen mit der Sahne in eine mikrowellengeeignete Schüssel geben. In der Mikrowelle erwärmen, bis die Schokolade geschmolzen ist und eine glatte Schokoladensauce entsteht. Leicht abkühlen lassen.
4. Für die Füllung den Frischkäse, Schmand, Zucker, Stärke und Vanille Extrakt gut verrühren. Hier kann man mit einem Teigmischer oder Schneebesen arbeiten – elektrische Geräte sind nicht notwendig. Die Eier einzeln dazugeben und jeweils gut unterrühren. Die nur noch handwarme Schokoladensauce dazugeben und unterrühren. Etwa 2/3 der Füllung in die Backform mit dem vorgebackenen Boden füllen und glatt streichen. Die Himbeerkonfitüre kurz durchrühren, damit sie weicher wird und dann auf der Füllung verteilen. Mit einem Löffel leicht unter die Käsekuchenmasse mischen. Mit dem Mischen nicht übertreiben und von den Rändern fern bleiben. Die restliche Käsekuchenmasse dann gleichmäßig auf der Schicht mit der Marmelade verteilen und glatt streichen. Die Backform mit Aluminiumfolie einschlagen – Boden und Seiten sollten gut eingepackt sein. Die Form dann in eine größere Backform/Auflaufform setzen und diese mit heißem Wasser auffüllen, bis die Backform etwa zur Hälfte im Wasser steht. Im vorgeheizten Ofen für etwa 60-70 Minuten backen. Die Füllung des Käsekuchens sollte an den Rändern fest geworden sein, in der Mitte darf die Masse aber noch wackeln, wenn man die Form bewegt. Den Ofen ausschalten, die Tür einen Spalt öffnen und den Kuchen weitere 40-45 Minuten im ausgeschalteten Ofen stehen lassen. Den Käsekuchen dann aus dem Wasserbad holen, Folie entfernen und auf einem Kuchengitter komplett abkühlen lassen. Den Kuchen danach dann noch einmal mindestens 8 Stunden (oder über Nacht) in den Kühlschrank stellen, damit er vollständig fest wird.
5. Für die Dekoration die Sahne mit Puderzucker und Vanille Extrakt steif schlagen. In einen Spritzbeutel mit Sterntülle füllen und den Käsekuchen nach Belieben dekorieren. Wer mag, kann in die Mitte auch noch etwas geraspelte weiße Schokolade geben (optional).
Craving more? Keep in touch on Facebook, Twitter, Instagram and Pinterest for new post updates and more. You can also contact me with any questions or inquiries!
Here is a version of the recipe you can print easily.
Print
White Chocolate Raspberry Cheesecake
- Prep Time: 00:20
- Cook Time: 01:10
- Total Time: 12:00
- Yield: 1 1x
- Category: Cheesecake
- Cuisine: United States
- Diet: Vegetarian
Description
An almost perfect copy of the popular Cheesecake Factory White Chocolate Raspberry Cheesecake – just better because you made it yourself ;P
Ingredients
For the crust:
10.5 oz. (300g) Oreo cookies (or similar chocolate cookies), finely crushed
1.4 oz. (40g) butter, melted
For the filling:
32 oz. (900g) cream cheese, at room temperature
2 oz. (60g) sour cream, at room temperature
1/2 cup (100g) sugar
1 tbsp. cornstarch
2 tsp. vanilla extract
3 medium eggs, at room temperature
4 oz. (120g) white chocolate, chopped
3.5 oz. (100g) heavy cream
4 oz. (120g) raspberry jam (no seeds)
For the decoration:
7 oz. (200g) heavy cream
2 tsp. confectioners’ sugar
1/4 tsp. vanilla extract
white chocolate shavings (optional)
Instructions
1. Preheat the oven to 325°F (160°C). Line an 8 inches springform tin with baking parchment, grease lightly, and set aside. Make sure your ingredients are all at room temperature before starting.
2. Remove the filling from the Oreos (sorry!) and add them to a freezer bag. Crush them with a rolling pin until you get very fine crumbs. Alternatively, you can let a food processor do the job. Melt the butter and add to the crumbs – mix until well combined. Transfer the crumbs to the prepared springform tin and press to the bottom and sides. Make sure the crumbs are well compressed. Bake in the oven for about 8-10 minutes. Take out and let cool down. If the sides collapsed in places you can press them back in place with the back of a spoon. Do not turn off the oven.
3. Chop the white chocolate and add it together with the heavy cream to a microwave-safe bowl. Warm in the microwave until the chocolate has melted and you got a smooth chocolate sauce. Let cool down a bit.
4. For the filling mix cream cheese, sour cream, sugar, cornstarch, and vanilla extract until well combined. Working with a rubber spatula or whisk is fine – no electric appliances needed. Add the eggs one after another and mix well after each addition. Add the (only slightly warm) chocolate sauce and mix in. Pour about 2/3 of the filling into the prepared springform tin with the pre-baked crust and smooth out the top. Stir the raspberry jam so it gets softer then spoon it all over the filling. Use a spoon to slightly mix it with the filling to create swirls. Do not go bonkers with the mixing, also stay away from the sides of the cake. Distribute the remaining cheesecake filling evenly on top and cover the swirls. Smooth out the top. Wrap the springform tin with aluminum foil so the bottom and sides are covered, then place it in a casserole dish (or similar) and fill that up with hot water so the springform tin with the cakes sits in the hot water. The water should go about halfway up the sides of the baking tin. Bake for about 60-70 minutes in the preheated oven. The filling of the cheesecake should have set around the edges but the center should still wobble when moving the springform tin. Turn off the oven, open the oven door slightly and leave the cheesecake inside for another 40-45 minutes. The springform thin should be safe to touch by then. Take out of the oven and out of the water, remove the foil and let the cake cool down completely on a wire rack. When cooled completely place in the fridge for at least 8 hours or overnight to set completely.
5. For the decoration add the heavy cream, confectioners’ sugar, and vanilla extract to a tall vessel and whisk until stiff peaks form. Fill the cream into a piping bag with a star tip and decorate the cheesecake to your liking. Sprinkle with some white chocolate shavings to decorate it further (optional)
Notes
Enjoy baking!
Links marked with an asterisk (*) are affiliate links (advertising/Werbung) to Amazon Germany. If you click on one of those links and buy something via this link, I will get a commission for that sale. The price of whatever you buy is not affected in any way by this.

 I love my job, but in between I love to bake and try new things in the kitchen. A lot of my friends and colleagues encourage me to bake - for a very simple reason: they get the leftovers - and it seems they like it most of the time ;)