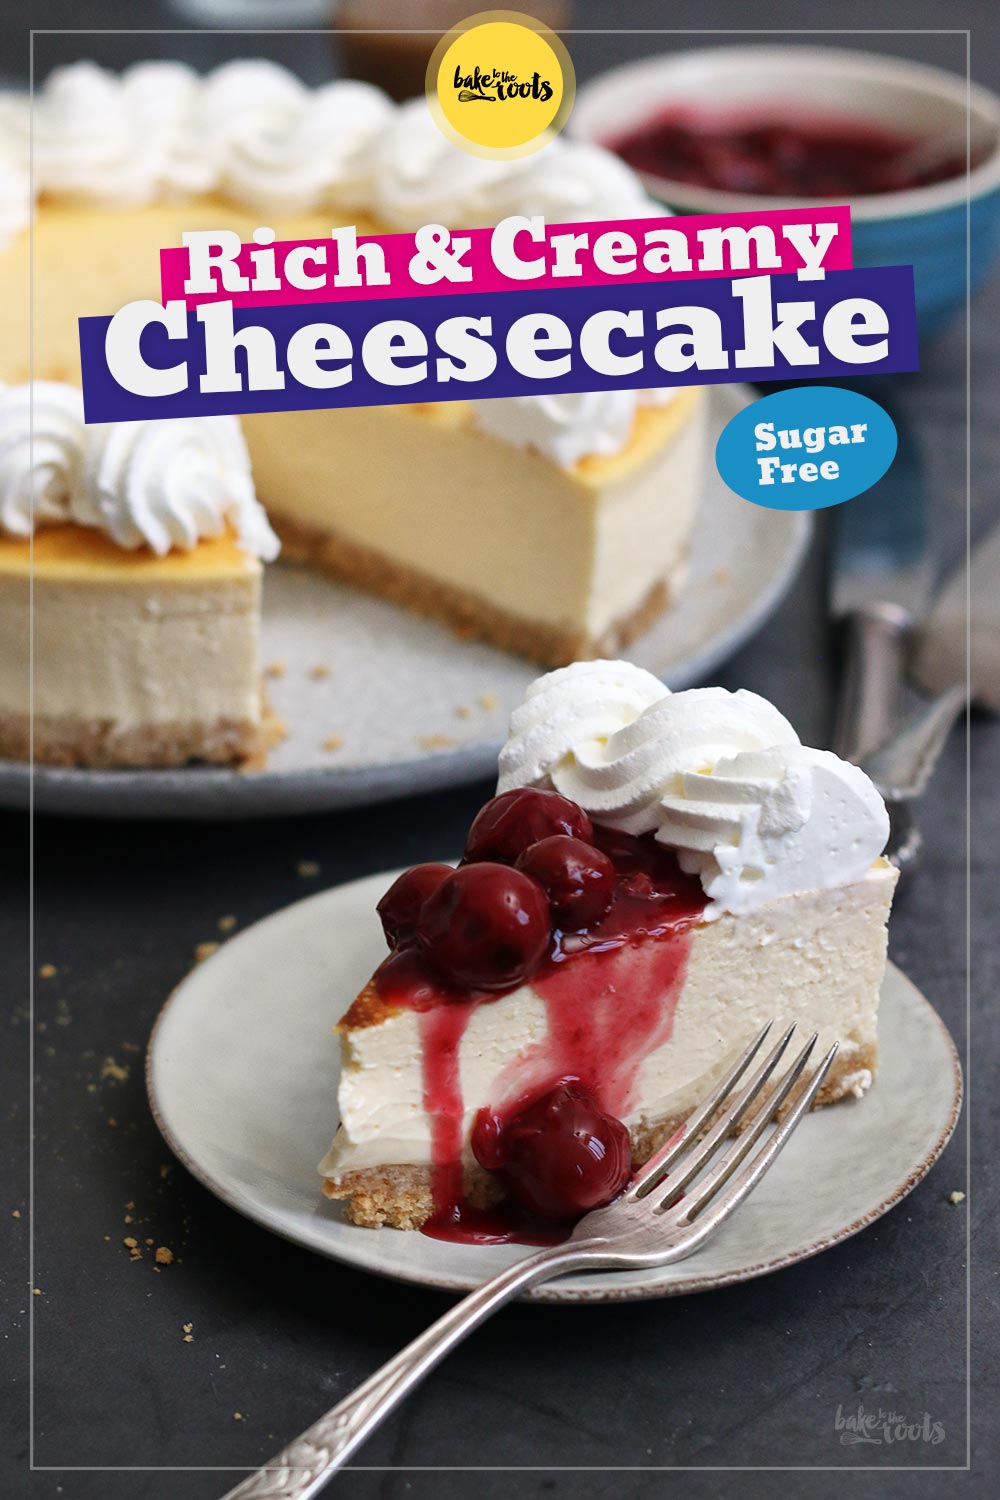
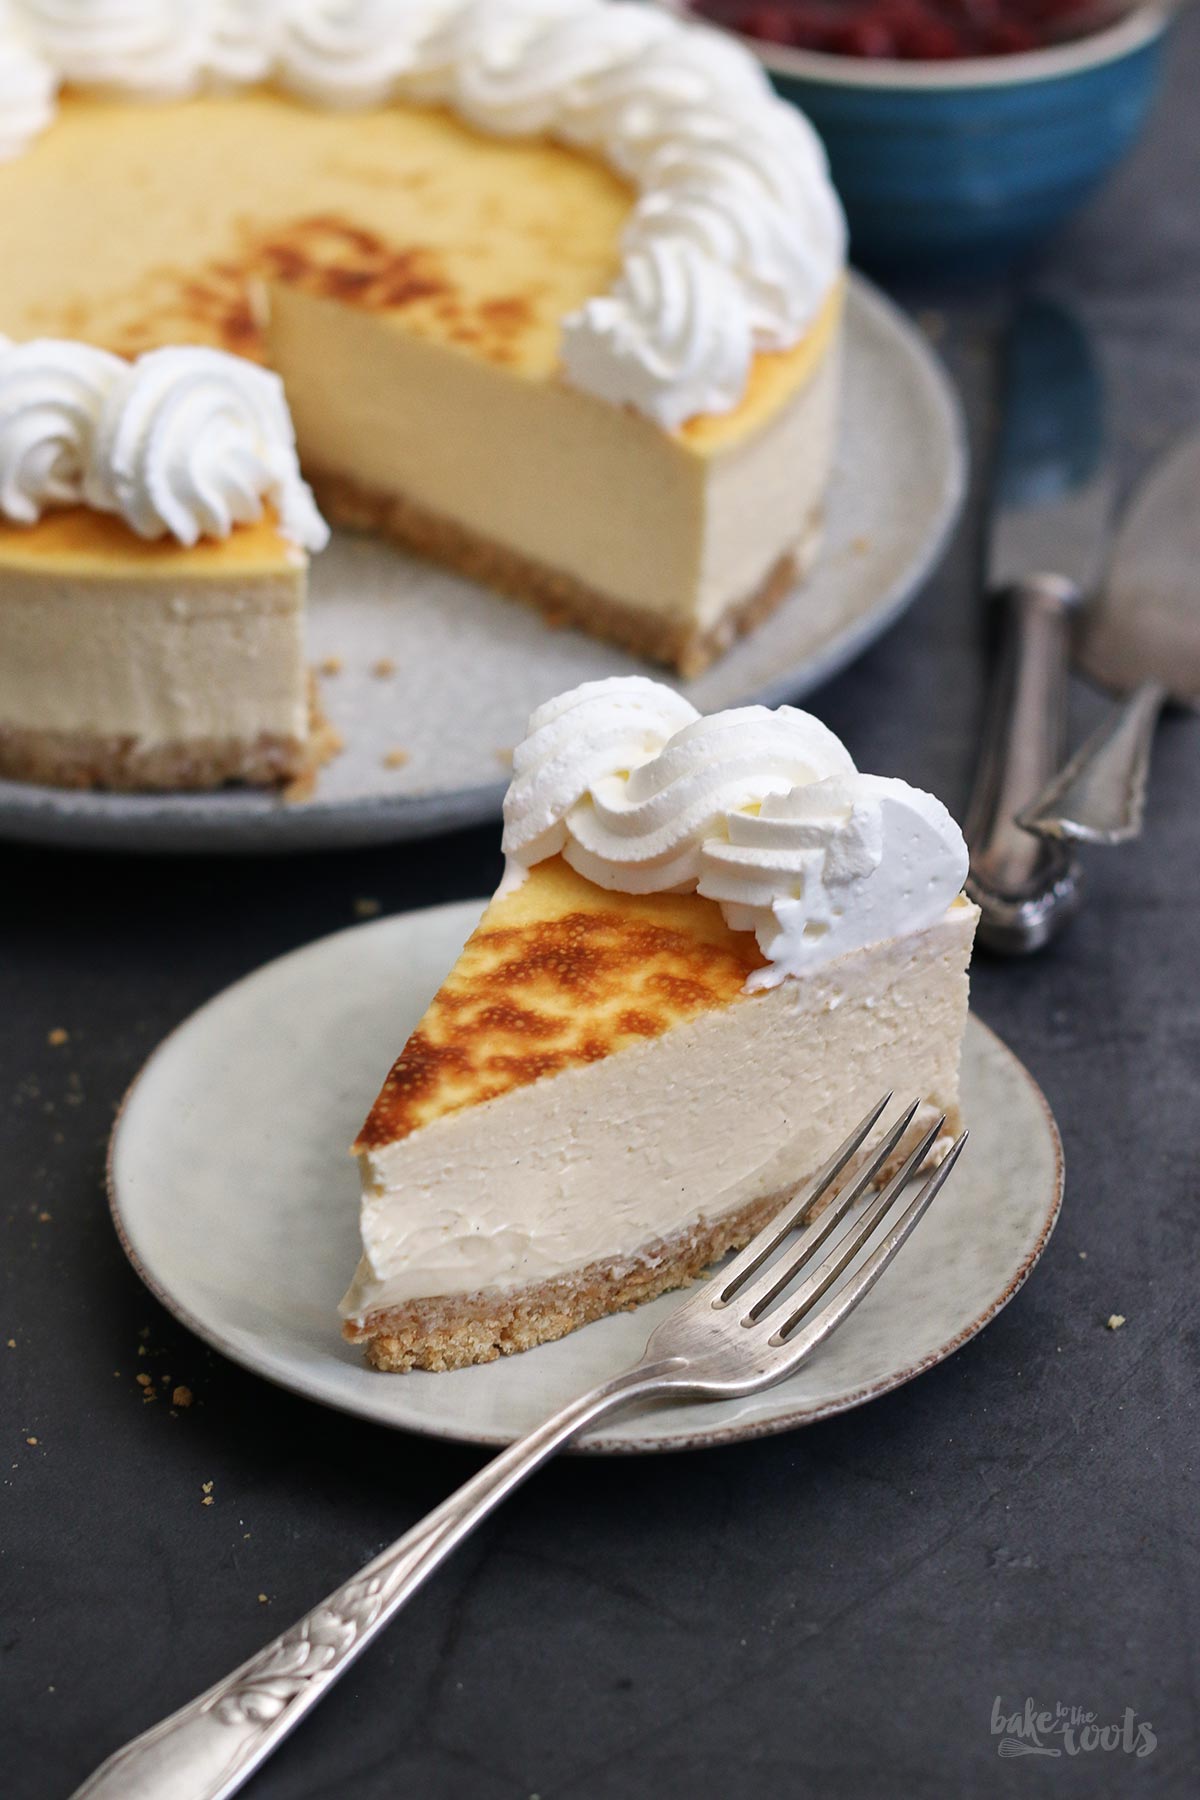
Cheesecakes are very popular bakes I’d say. At least here in our kitchen and among friends and family. As soon as a cheesecake, like this one here, is on the table the room turns silent and everyone is handing you their plate to get a slice of it. I am not complaining about that. If everyone is happy and silent… why would I complain?! Another great thing about this Extra Rich Cheesecake – it is sugar-free! Means I can have at least one slice!

I don’t remember when I had my first cheesecake. Must have been at an early age. I always liked them but unlike today they were not my »favorite cakes« back then. German cheesecakes tend to be a bit dry sometimes due to the ingredients used to make them. Those cakes are still nice but not my favorites. It took a while until American cheesecakes made their way to Germany and those cakes… mmmmm!
Curd cheese aka. quark – the main ingredient in a typical German Käsekuchen (cheesecake) gets dry quite quickly when baked for too long. You really have to be careful when you use that ingredient for a cheesecake. Cream cheese, on the other hand, is much more forgiving it seems. That’s why I prefer making my cheesecakes with cream cheese these days.
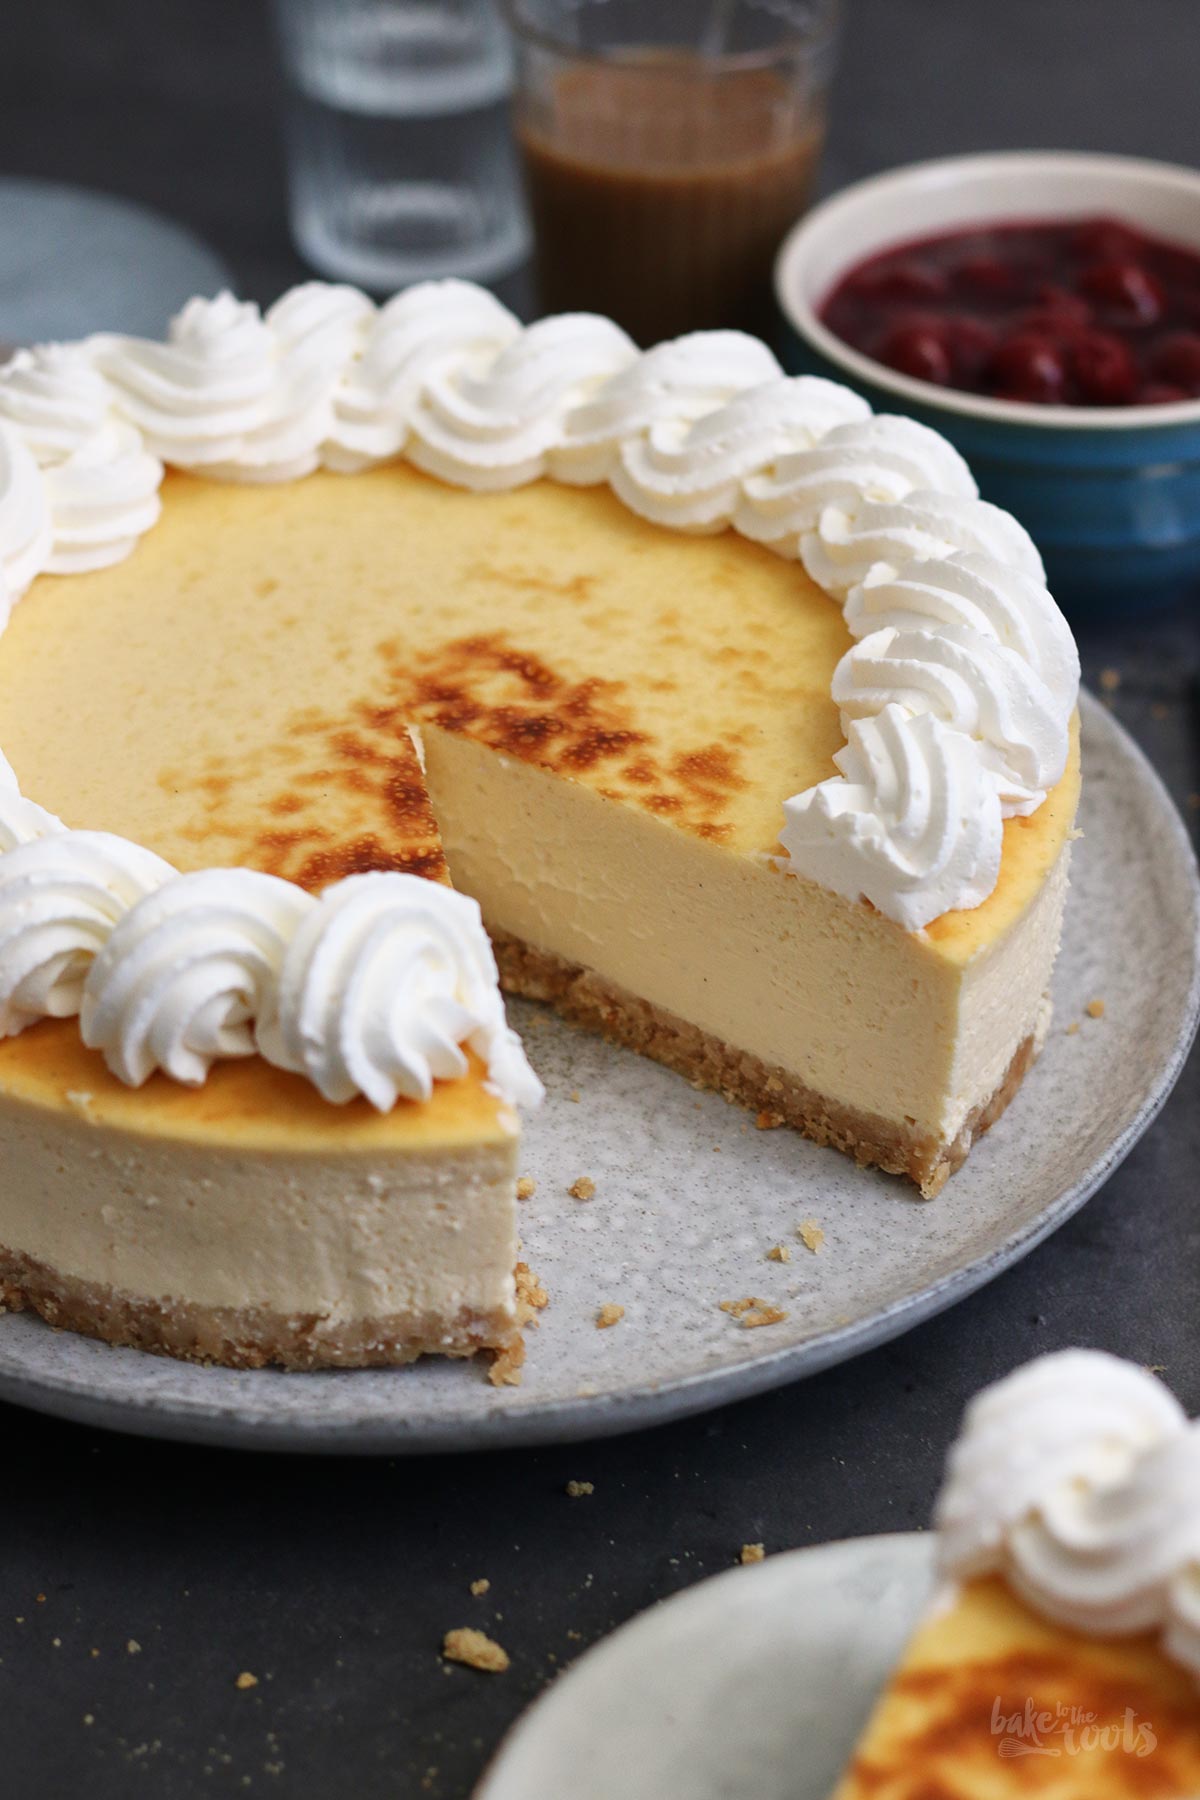
I think you can tell from the pictures only what type of cheesecake this is – even with an untrained »cheesecake specialist« eye. This is definitely not a typical German cheesecake. Well…
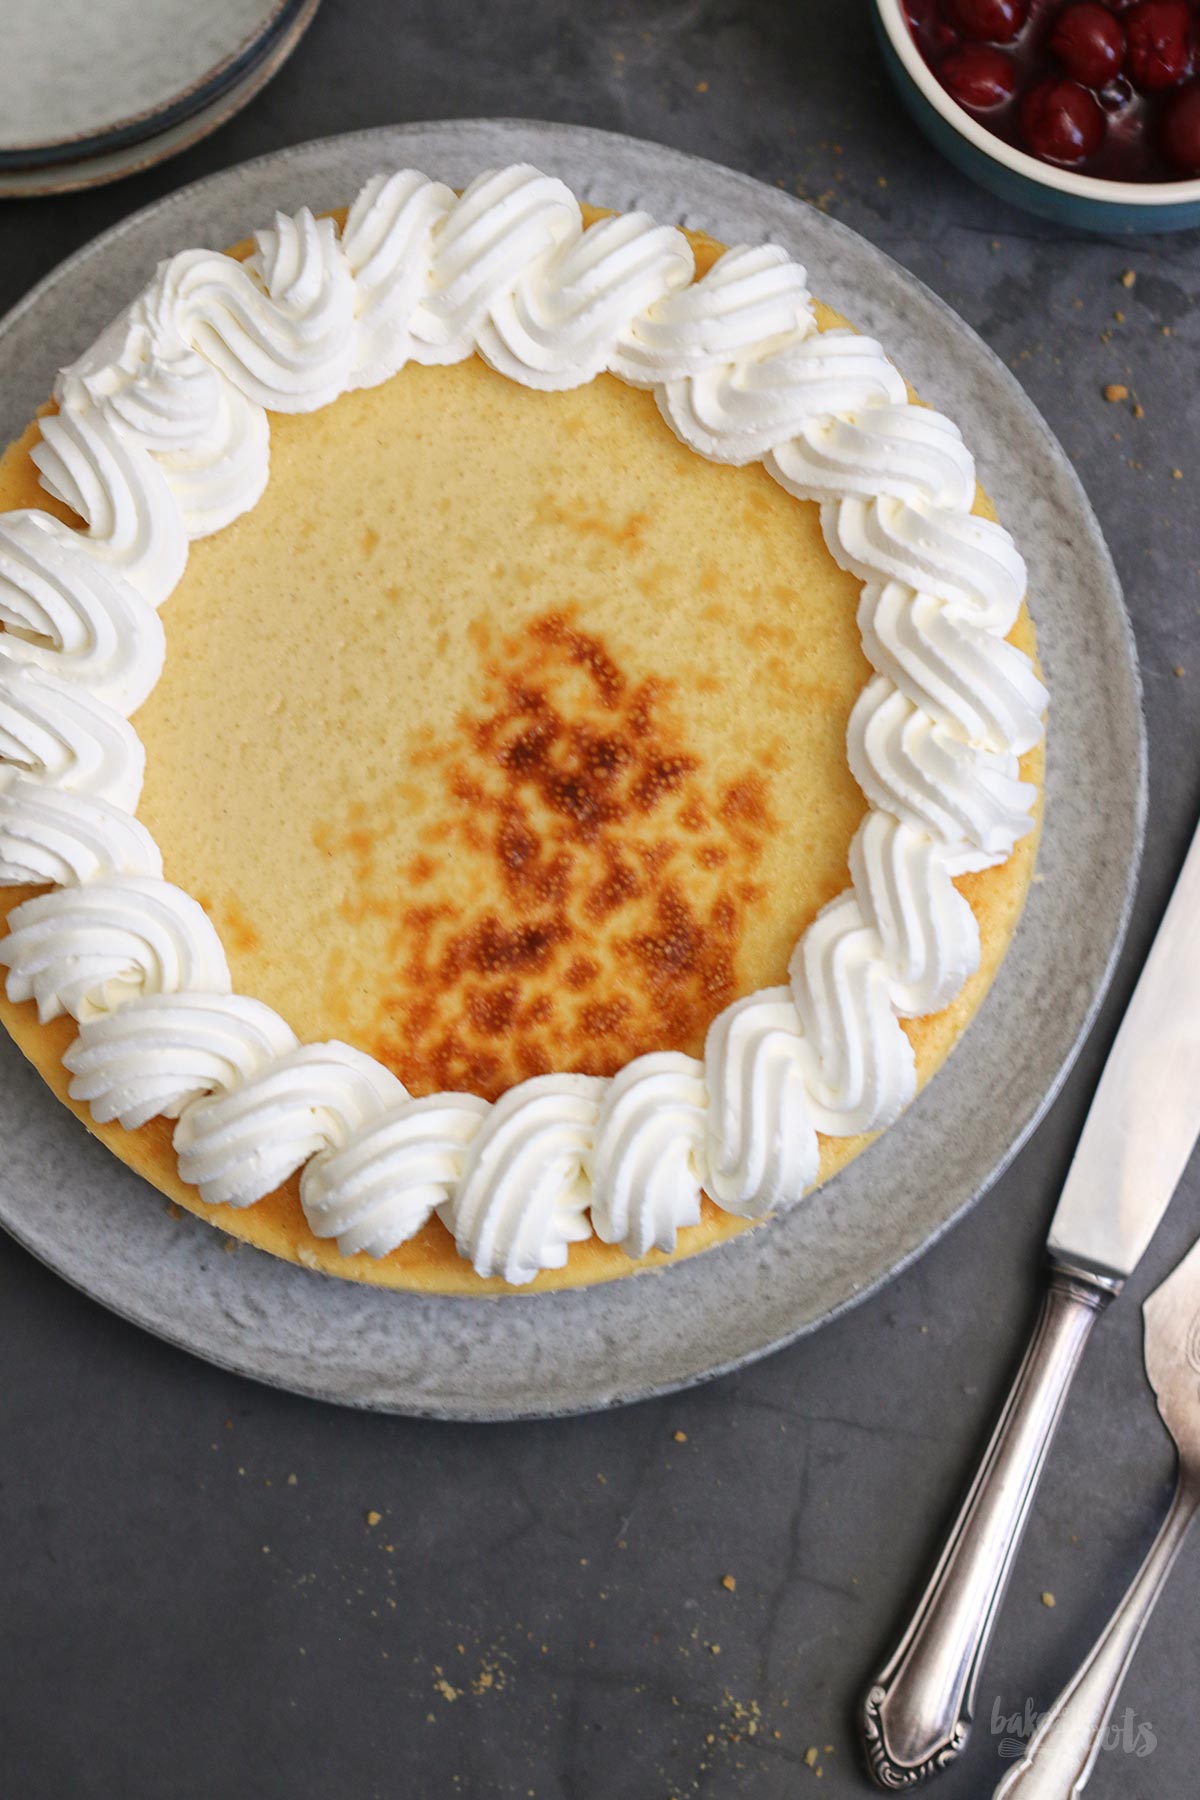
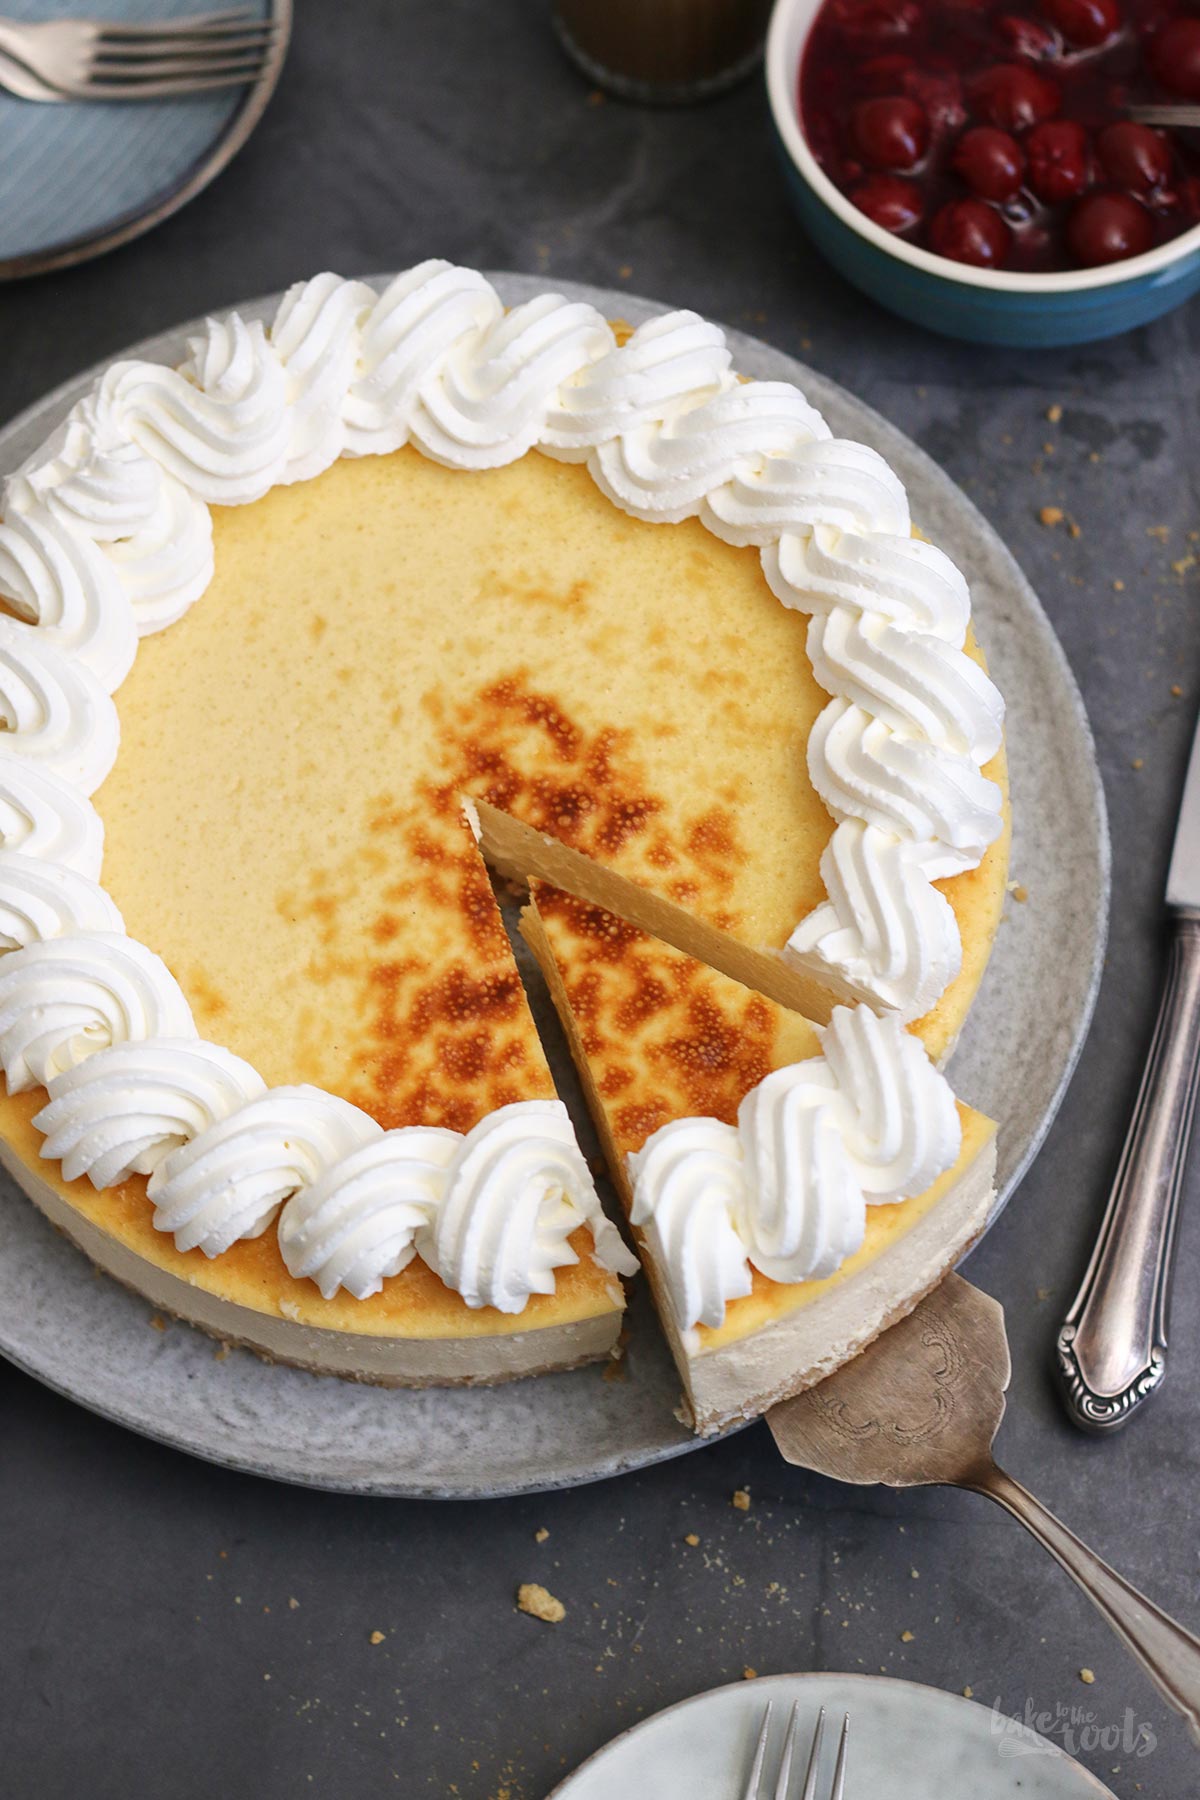
All that creaminess comes with a price, of course! Loaaaads of fat and calories. The more fat you use the creamier the cake gets. Sometimes I have the feeling the devil himself invented these delicious cakes. Just to torture us ;P To get the perfect result you still have to follow some rules, of course. Do not overbake the cheesecake and bake it, if possible, in a water bath. That not only prevents cracks in the surface but also contributes to a very smooth and creamy texture.
Well… no matter what – there are a lot of people that love cheesecakes. If you ever make this one here, let me know in the comments or on social media. I would love to know what you think about it and if it turned out well for you. By the way – I also got a »sugary« version of this cheesecake here on the blog. Just in case you do not care about the sugar that comes on top of all the fat. Just kidding! Both are great! Make the one you think fits best for you and your guests.
INGREDIENTS / ZUTATEN
For the base:
7 oz. (200g) sugar-free shortbread cookies*
3 oz. (85g) butter, melted
2 tbsp. xylitol*
For the filling:
39 oz. (1,1kg) cream cheese, at room temperature
7 oz. (200g) xylitol*
5 large eggs, at room temperature
3 large egg yolks, at room temperature
4.2 oz. (120g) heavy cream
1 tsp. vanilla bean paste (sugar-free)
For the decoration:
5.3 oz. (150g) heavy cream
1/4 tsp. vanilla bean paste (sugar-free)
Für den Boden:
200g Butterkekse (zuckerfrei)*
85g Butter, geschmolzen
2 EL Xylit*
Für die Füllung:
1,1 kg Frischkäse, Zimmertemperatur
200g Xylit*
5 Eier (L), Zimmertemperatur
3 Eigelb (L), Zimmertemperatur
120g Schlagsahne
1 TL Vanillepaste (zuckerfrei)
Für die Dekoration:
150g Schlagsahne
1/4 TL Vanillepaste (zuckerfrei)
DIRECTIONS / ZUBEREITUNG
1. Preheat the oven to 180°C (350°F). Line a springform tin (23cm) with baking parchment and wrap it in several layers of aluminum foil. The tin has to go into a water bath later on and this will prevent the water from getting into the tin. Set aside.
2. Add the shortbread cookies to a freezer bag and crush them with a rolling pin until you get very fine crumbs. Add the melted butter and sugar and mix until everything is evenly moist. Transfer the crumbs to the springform tin and press down to get one even layer. Bake for about 8 minutes. Take it out and let it cool down. Reduce the heat of the oven to 165°C (330°F).
3. For the filling add the cream cheese and xylitol to a large bowl and mix to combine. Add the eggs one after another and mix well each time. Do the same with the egg yolks. Add the heavy cream and vanilla bean paste and mix in. Pour the filling into the springform tin. Place the tin (still wrapped in aluminum foil) in a larger casserole dish and fill it up with hot water – the water should go halfway up the sides of the baking tin. Bake the cheesecake for about 70 minutes, then turn off the oven and let the cake sit in the closed oven for about 40-45 minutes. Take it out of the oven and run a knife around the edge of the cake. Let cool down completely on a wire rack, then place in the fridge for at least 8 hours.
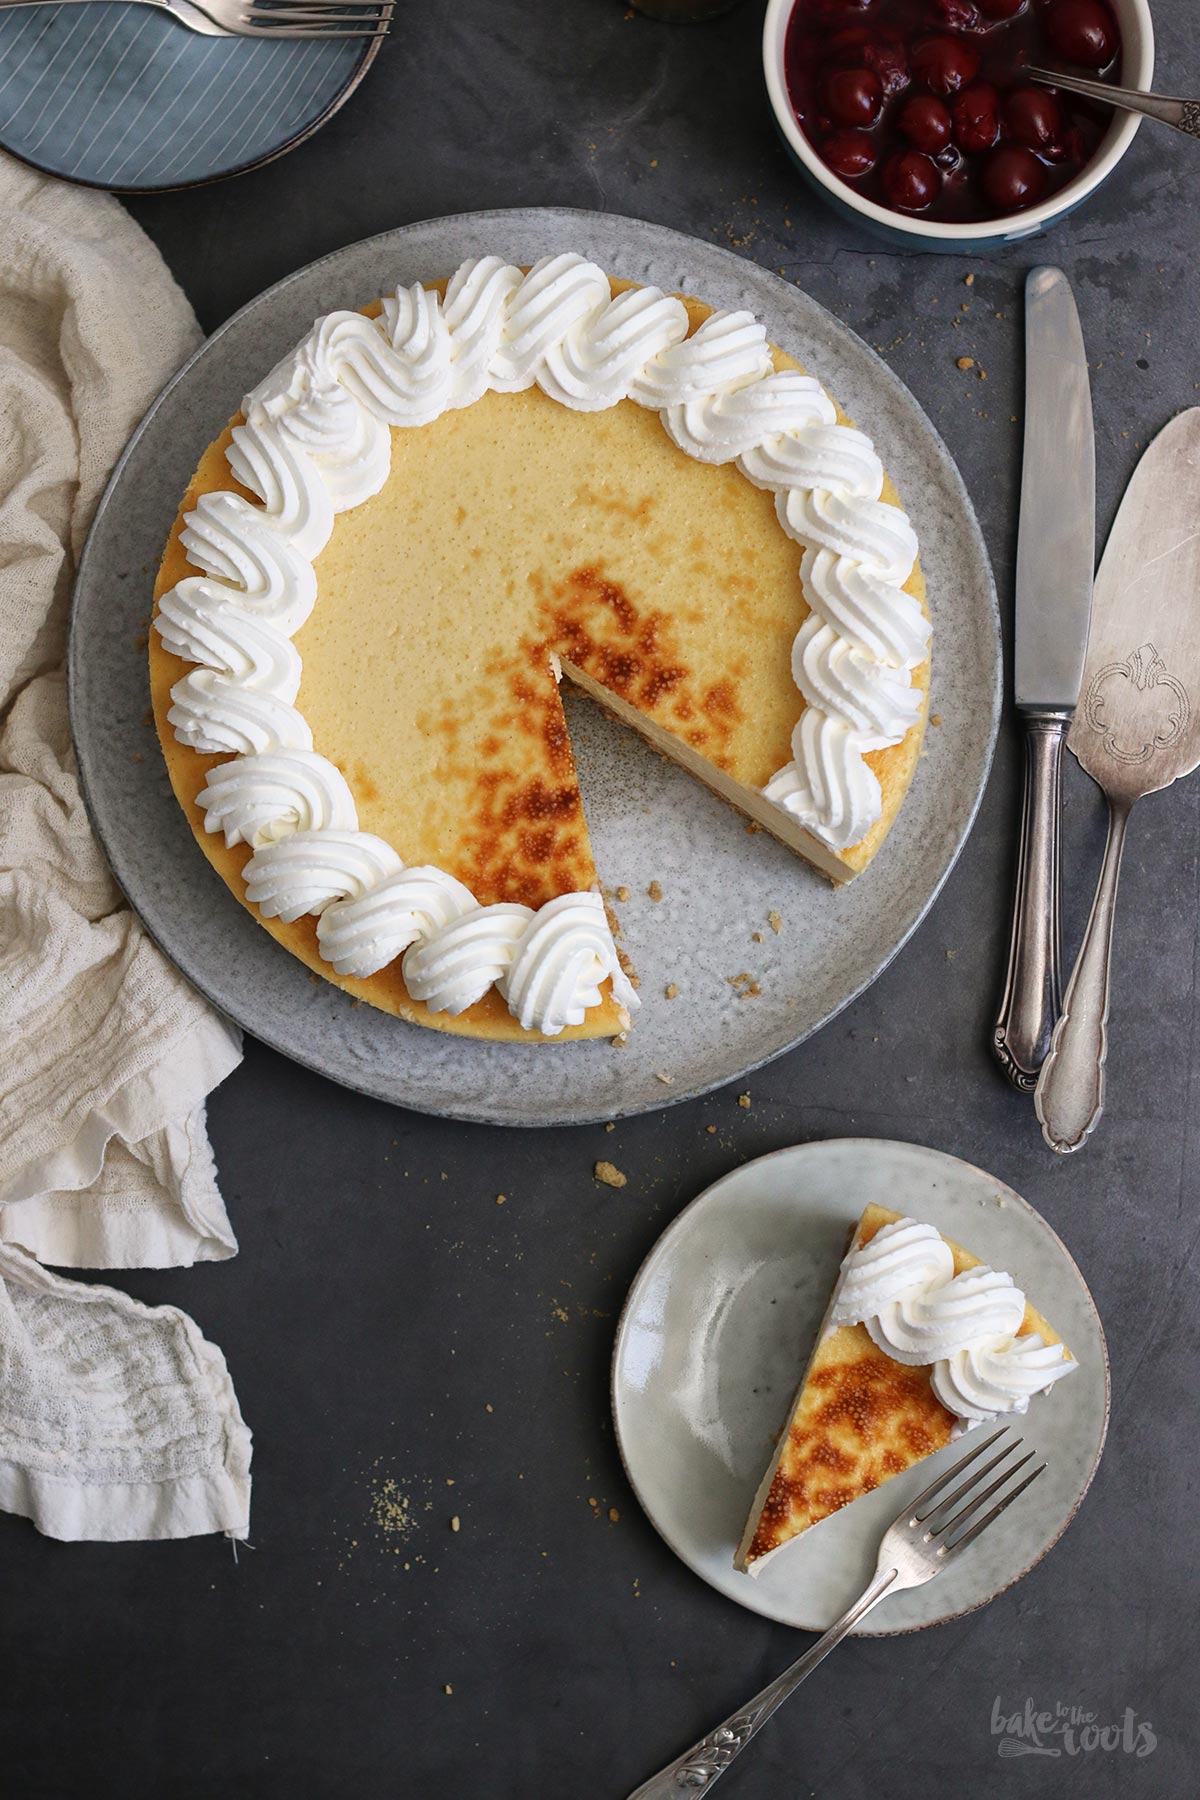
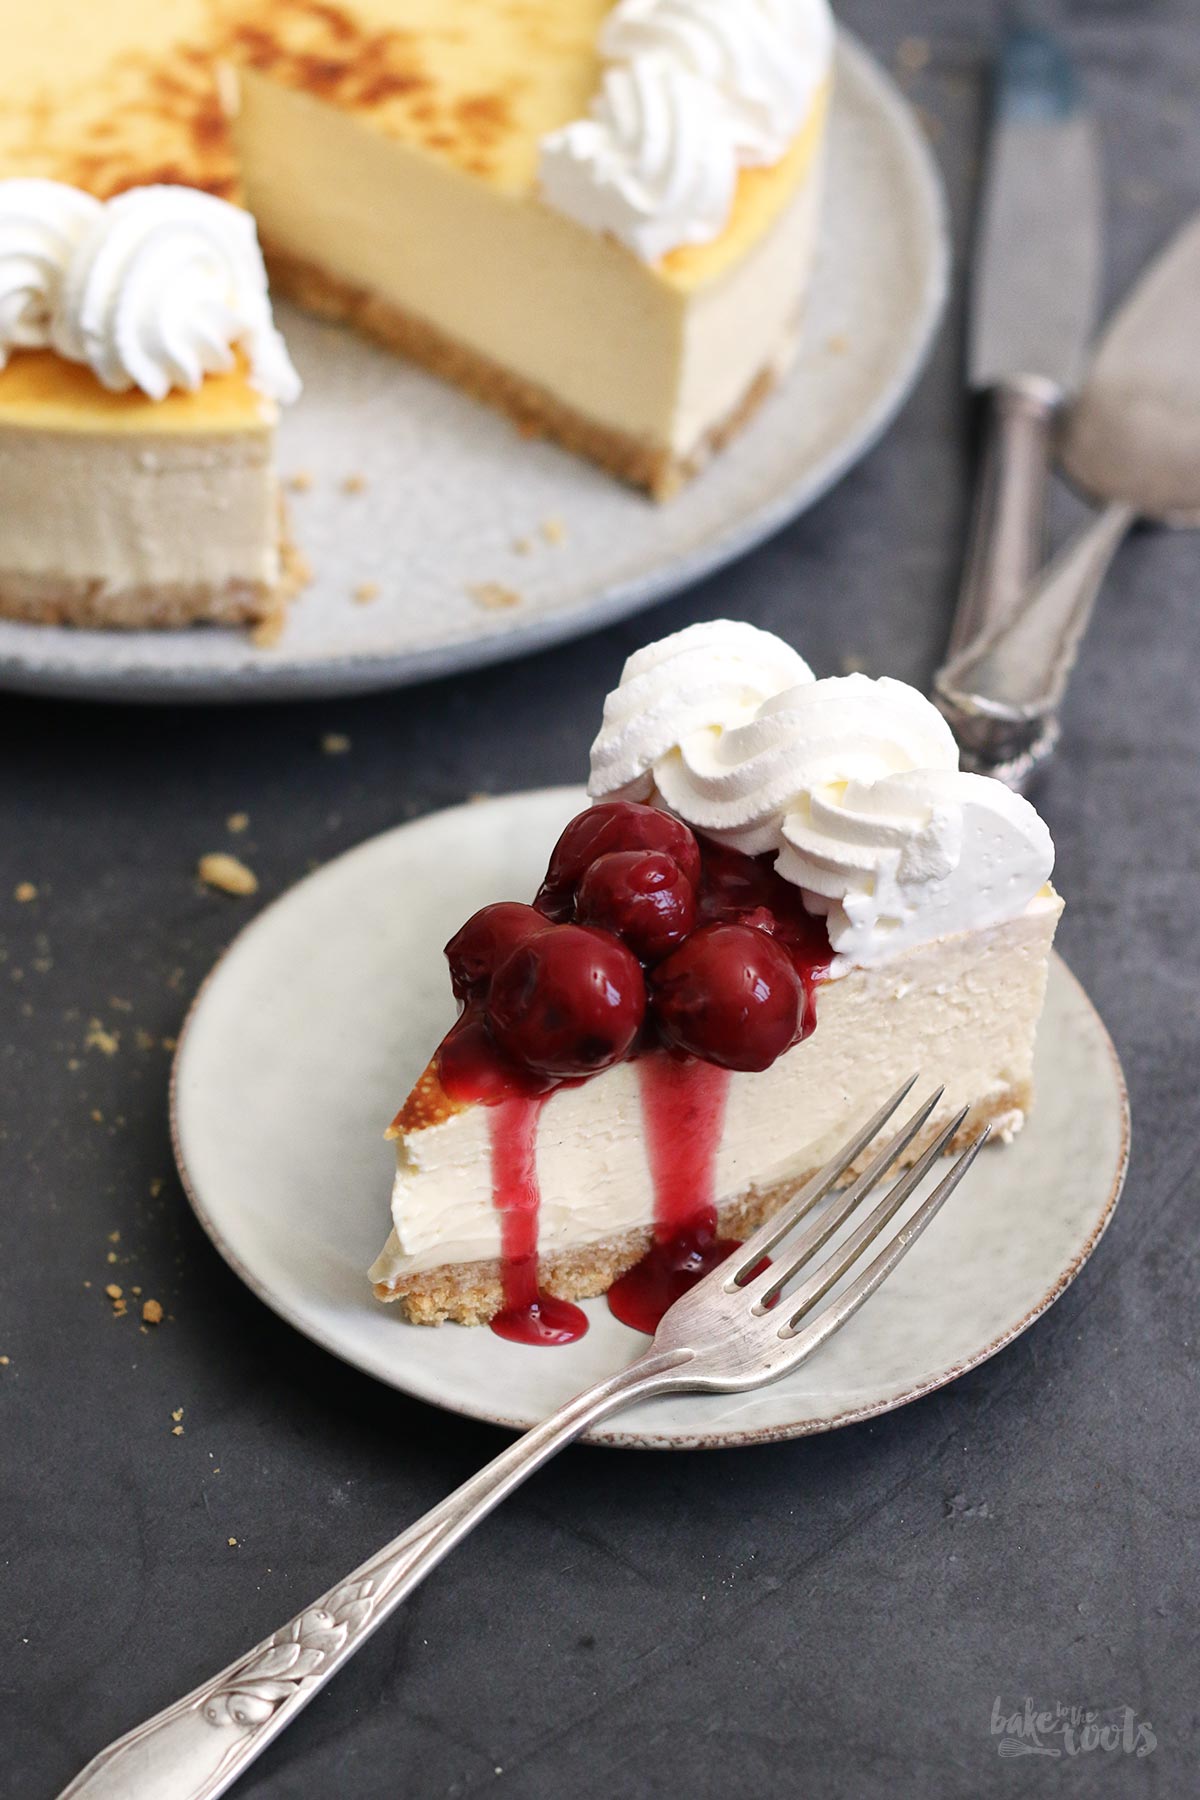
4. To decorate the cake, whisk the heavy cream with vanilla bean paste until stiff peaks form. Fill into a piping bag with a star tip and decorate the cheesecake. Let the cheesecake get to room temperature before serving. Great with some cherry compote or strawberry sauce.
1. Den Ofen auf 180°C (350°F) Ober-/Unterhitze vorheizen. Eine Springform (23cm)* mit Backpapier auslegen und dann zusätzlich in mehrere Lagen Alufolie einwickeln – die Backform muss »wasserdicht« werden, weil der Käsekuchen später im Wasserbad gebacken wird. Zur Seite stellen.
2. Die Butterkekse in einen Gefrierbeutel füllen und mit einem Nudelholz (o.ä.) zerdrücken, bis sehr feine Krümel entstehen. Die geschmolzene Butter und den Zucker in den Beutel dazugeben und alles gut vermischen. Die Krümel in die Springform schütten und zu einer glatten Schicht zusammendrücken, dann für etwa 8 Minuten backen. Aus dem Ofen holen und etwas abkühlen lassen. Die Temperatur des Ofens auf 165°C (330°F) reduzieren.
3. Für die Füllung den Frischkäse und das Xylit in eine große Schüssel geben und verrühren. Die Eier einzeln zugeben und jedes Mal gut unterrühren. Selbes Spiel mit den Eigelben. Die Schlagsahne und die Vanillepaste dazugeben und unterrühren. Die Masse in die Springform einfüllen und dann die Form in eine größere Auflaufform o.Ä. stellen und diese mit heißem Wasser auffüllen. Das Wasser sollte ringsum so hoch sein, dass die Springform bis auf etwa halber Höhe der Ränder im Wasser steht. Aufpassen, dass kein Wasser in die Springform schwappt! Den Käsekuchen etwa 70 Minuten backen, dann den Ofen ausschalten und den Kuchen im geschlossenen Ofen weitere 40-45 Minuten stehen lassen. Den Käsekuchen aus dem Ofen holen und sofort mit einem Messer vom Rand der Form lösen – das verhindert Risse. Auf einem Kuchengitter vollständig abkühlen lassen, dann für mindestens 8 Stunden in den Kühlschrank stellen.
4. Für die Dekoration die Sahne mit der Vanillepaste steifschlagen, in einen Spritzbeutel mit Sterntülle füllen und dann den Käsekuchen damit dekorieren. Der Kuchen sollte vor dem Servieren auf Zimmertemperatur kommen. Schmeckt prima mit Erdbeersoße oder Kirschkompott.
Craving more? Keep in touch on Facebook, Instagram and Pinterest for new post updates and more. You can also contact me with any questions or inquiries!
Here is a version of the recipe you can print easily.
Print
Extra Rich Cheesecake (sugar-free)
- Prep Time: 00:20
- Cook Time: 01:10
- Total Time: 11:00
- Yield: 1 1x
- Category: Cheesecake
- Method: -
- Cuisine: United States
- Diet: Diabetic
Description
The creamiest cheesecakes I ever made… and luckily very easy to prepare sugar-free if you need that! The best Rich & Creamy Cheesecake with Cherry Compote.
Ingredients
For the base:
7 oz. (200g) sugar-free shortbread cookies*
3 oz. (85g) butter, melted
2 tbsp. xylitol*
For the filling:
39 oz. (1,1kg) cream cheese, at room temperature
7 oz. (200g) xylitol*
5 large eggs, at room temperature
3 large egg yolks, at room temperature
4.2 oz. (120g) heavy cream
1 tsp. vanilla bean paste
For the decoration:
5.3 oz. (150g) heavy cream
1/4 tsp. vanilla bean paste
Instructions
1. Preheat the oven to 180°C (350°F). Line a springform tin (23cm) with baking parchment and wrap it in several layers of aluminum foil. The tin has to go into a water bath later on and this will prevent the water from getting into the tin. Set aside.
2. Add the shortbread cookies to a freezer bag and crush them with a rolling pin until you get very fine crumbs. Add the melted butter and sugar and mix until everything is evenly moist. Transfer the crumbs to the springform tin and press down to get one even layer. Bake for about 8 minutes. Take it out and let it cool down. Reduce the heat of the oven to 165°C (330°F).
3. For the filling add the cream cheese and xylitol to a large bowl and mix to combine. Add the eggs one after another and mix well each time. Do the same with the egg yolks. Add the heavy cream and vanilla bean paste and mix in. Pour the filling into the springform tin. Place the tin (still wrapped in aluminum foil) in a larger casserole dish and fill it up with hot water – the water should go halfway up the sides of the baking tin. Bake the cheesecake for about 70 minutes, then turn off the oven and let the cake sit in the closed oven for about 40-45 minutes. Take it out of the oven and run a knife around the edge of the cake. Let cool down completely on a wire rack, then place in the fridge for at least 8 hours.
4. To decorate the cake, whisk the heavy cream with vanilla bean paste until stiff peaks form. Fill into a piping bag with a star tip and decorate the cheesecake. Let the cheesecake get to room temperature before serving. Great with some cherry compote or strawberry sauce.
Notes
Vanilla bean paste is rarely sugar-free, but you can easily make your own by using vanilla bean pods, xylitol, alcohol, and a good blender. Or use some sugar-free vanilla extract plus some vanilla powder (for the optics).
Links marked with an asterisk (*) are affiliate links (advertising/Werbung) to Amazon Germany. If you click on one of those links and buy something via this link, I will get a commission for that sale. The price of whatever you buy is not affected in any way by this.