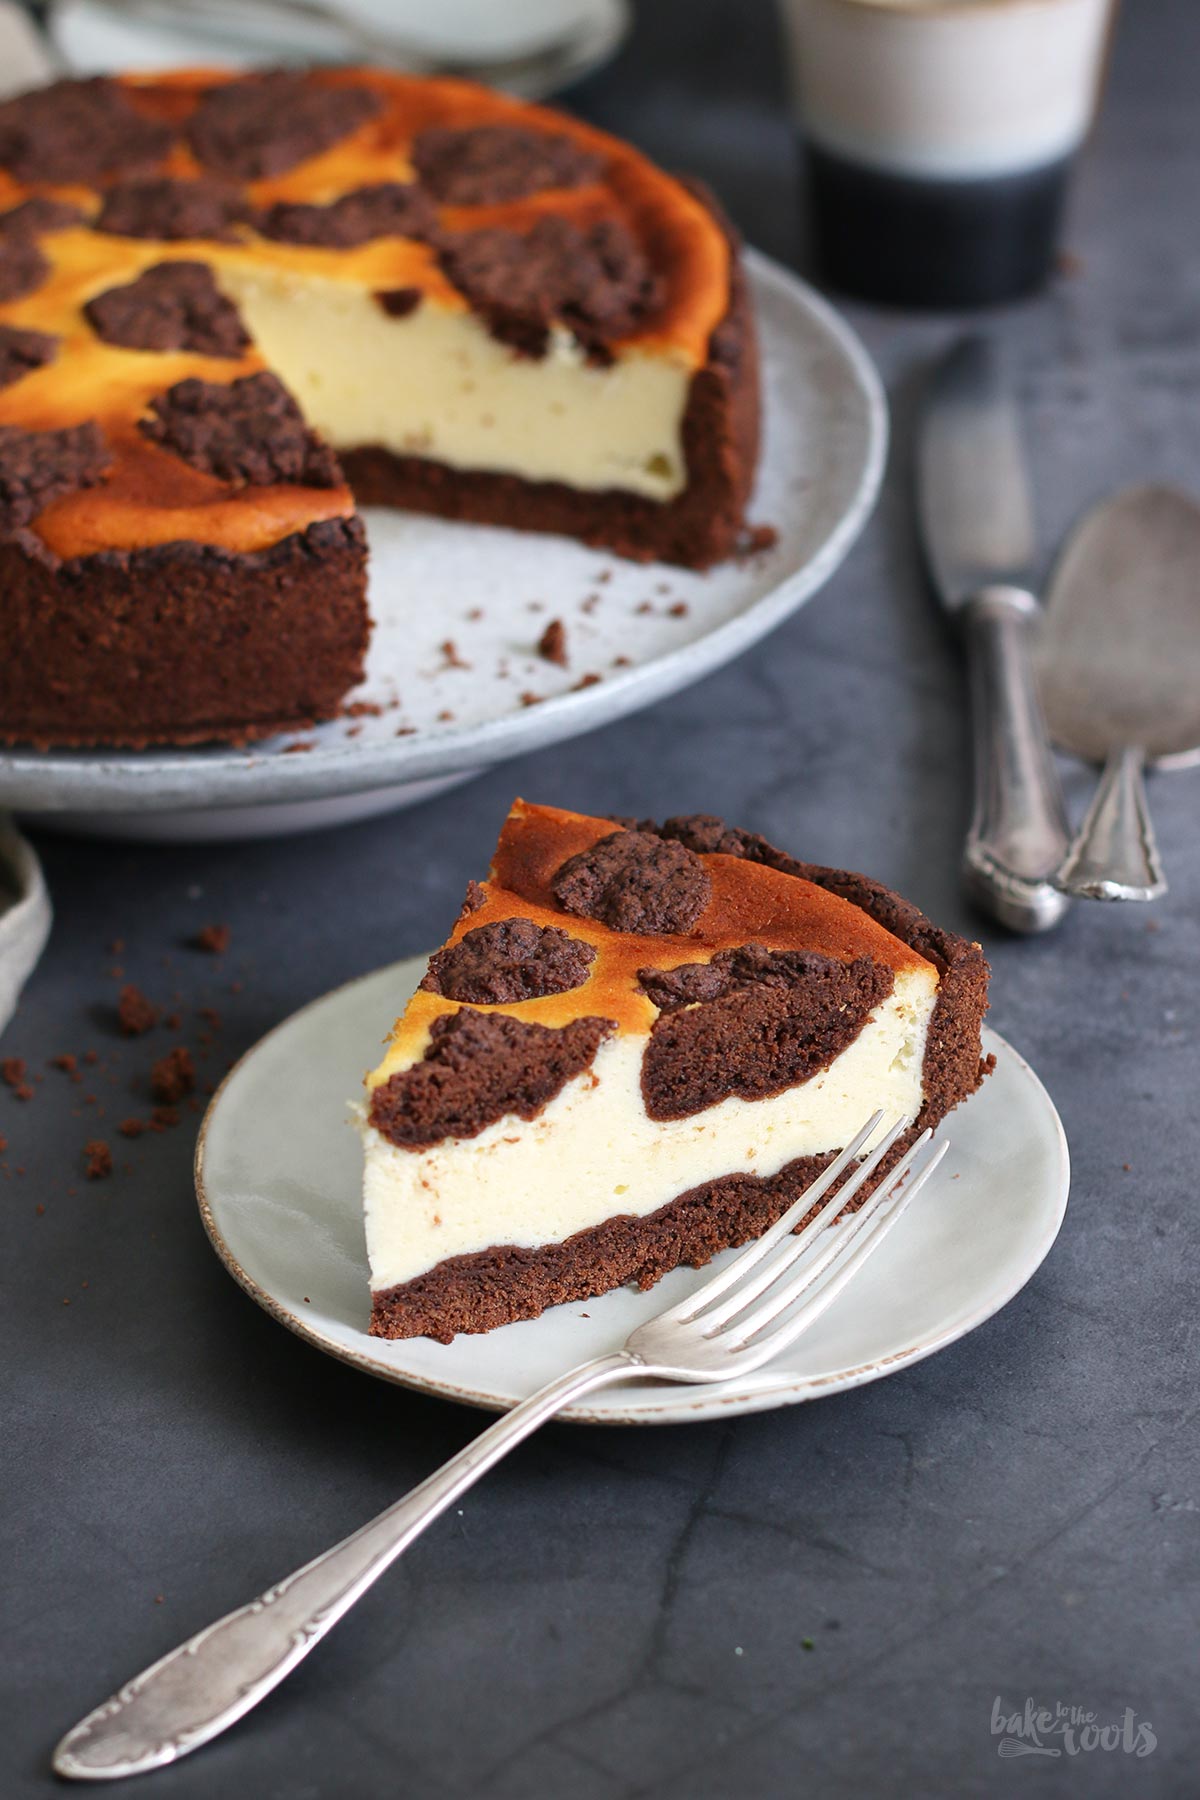
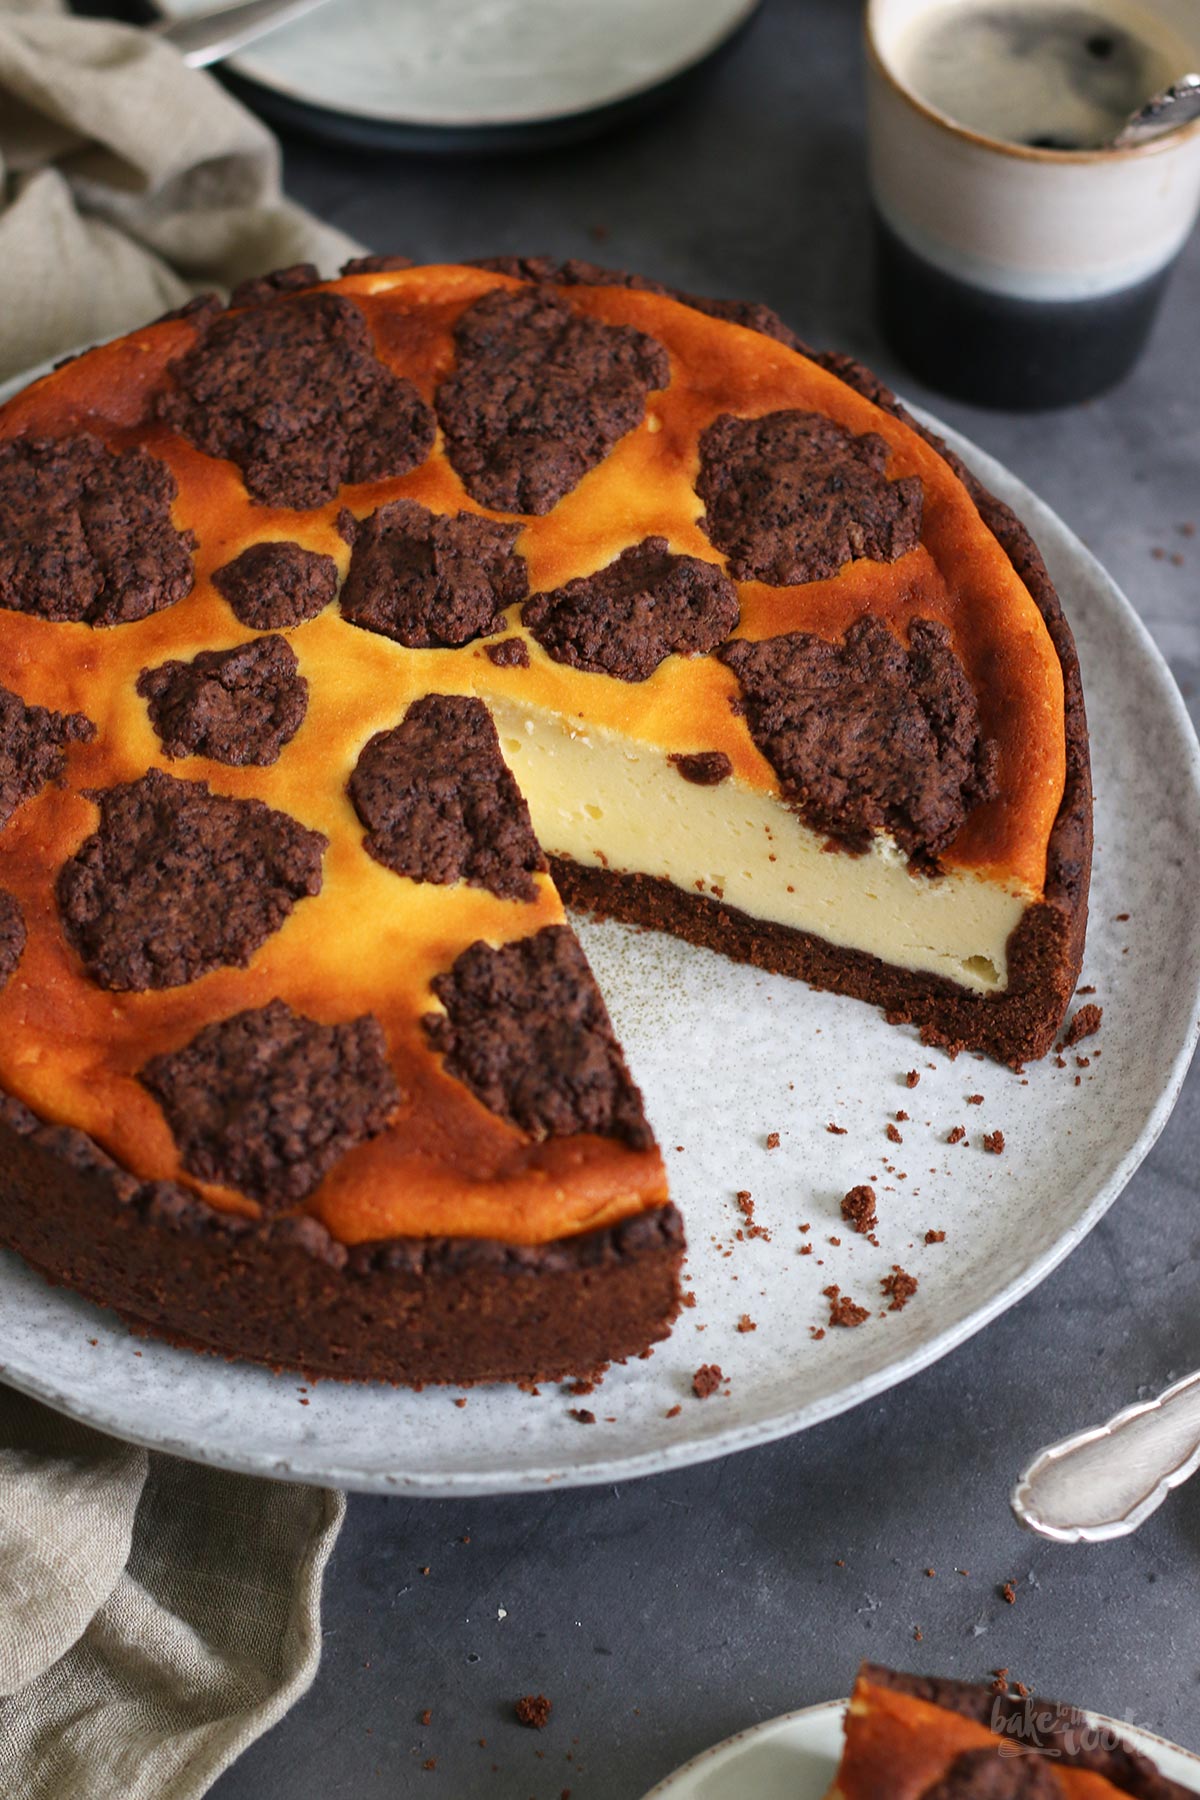
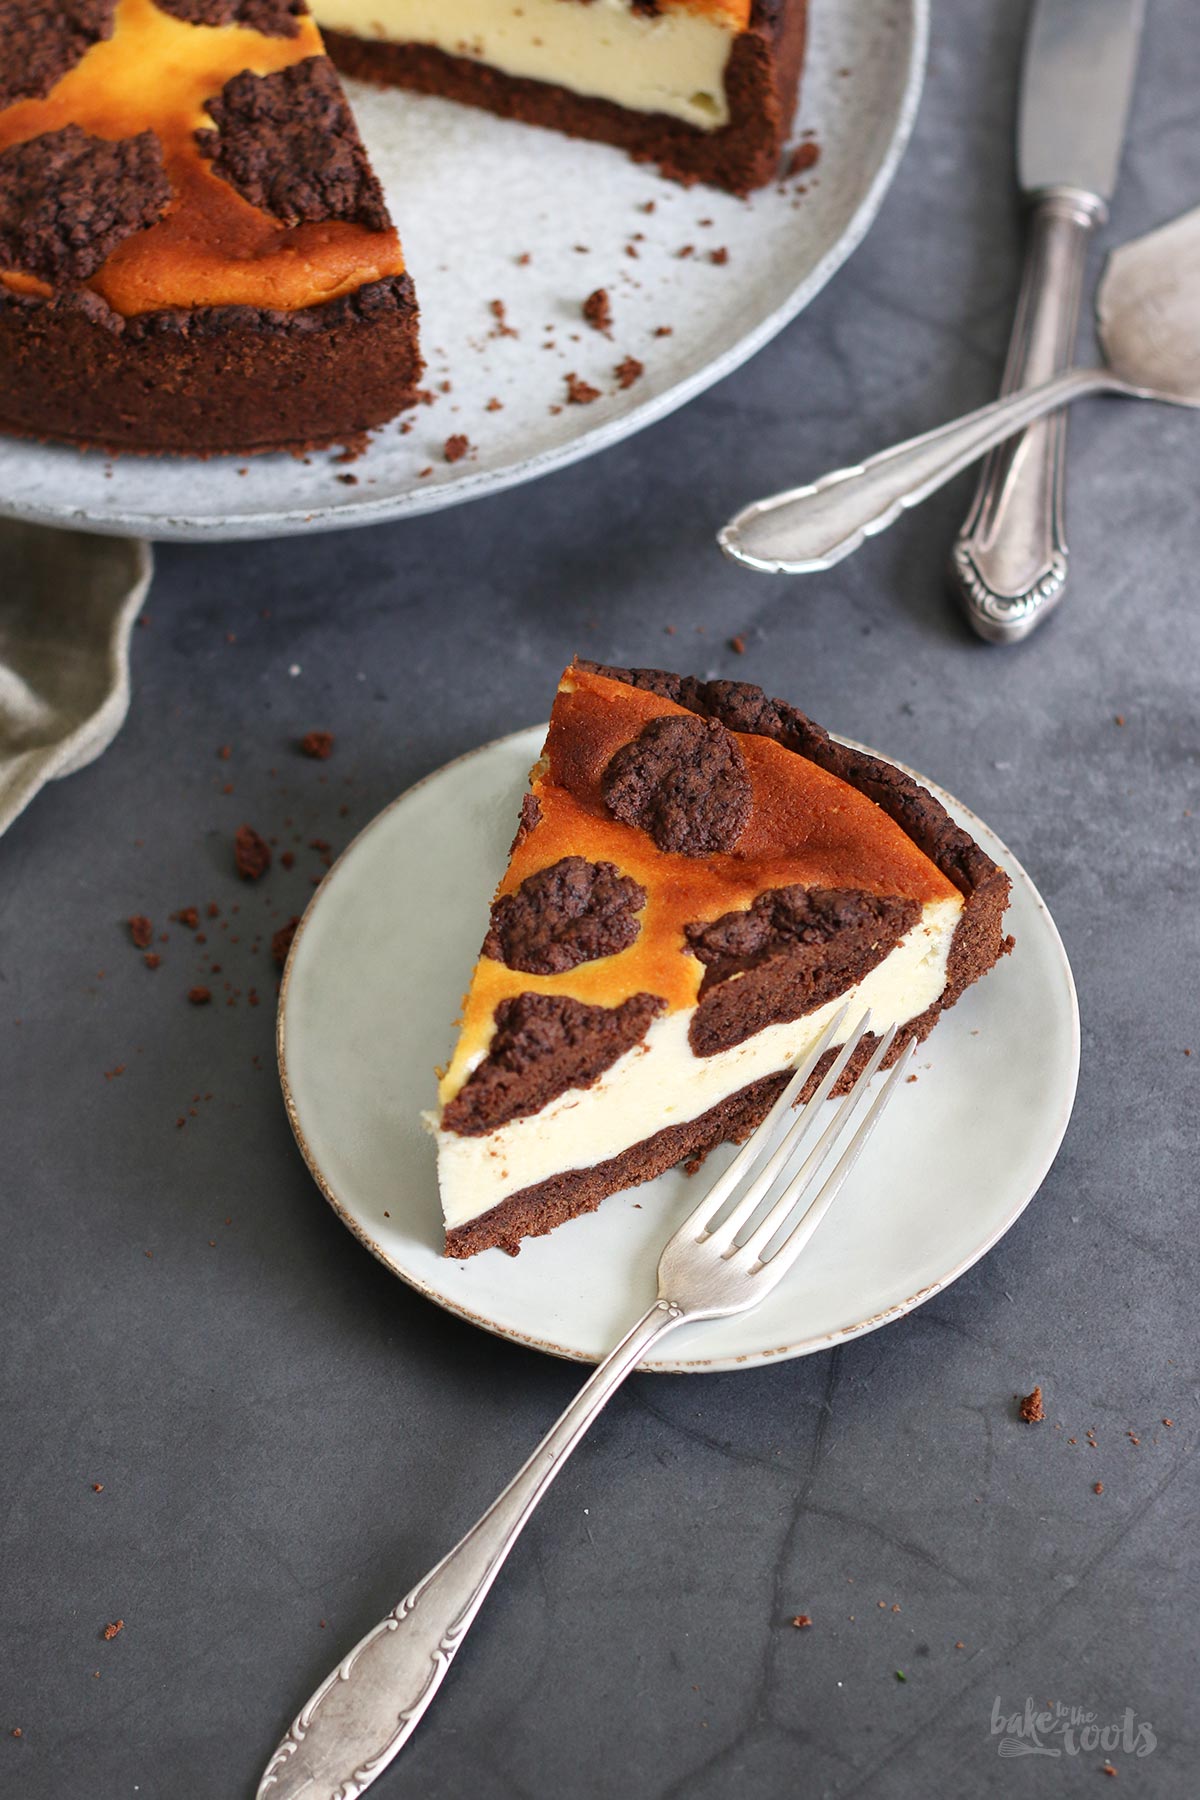
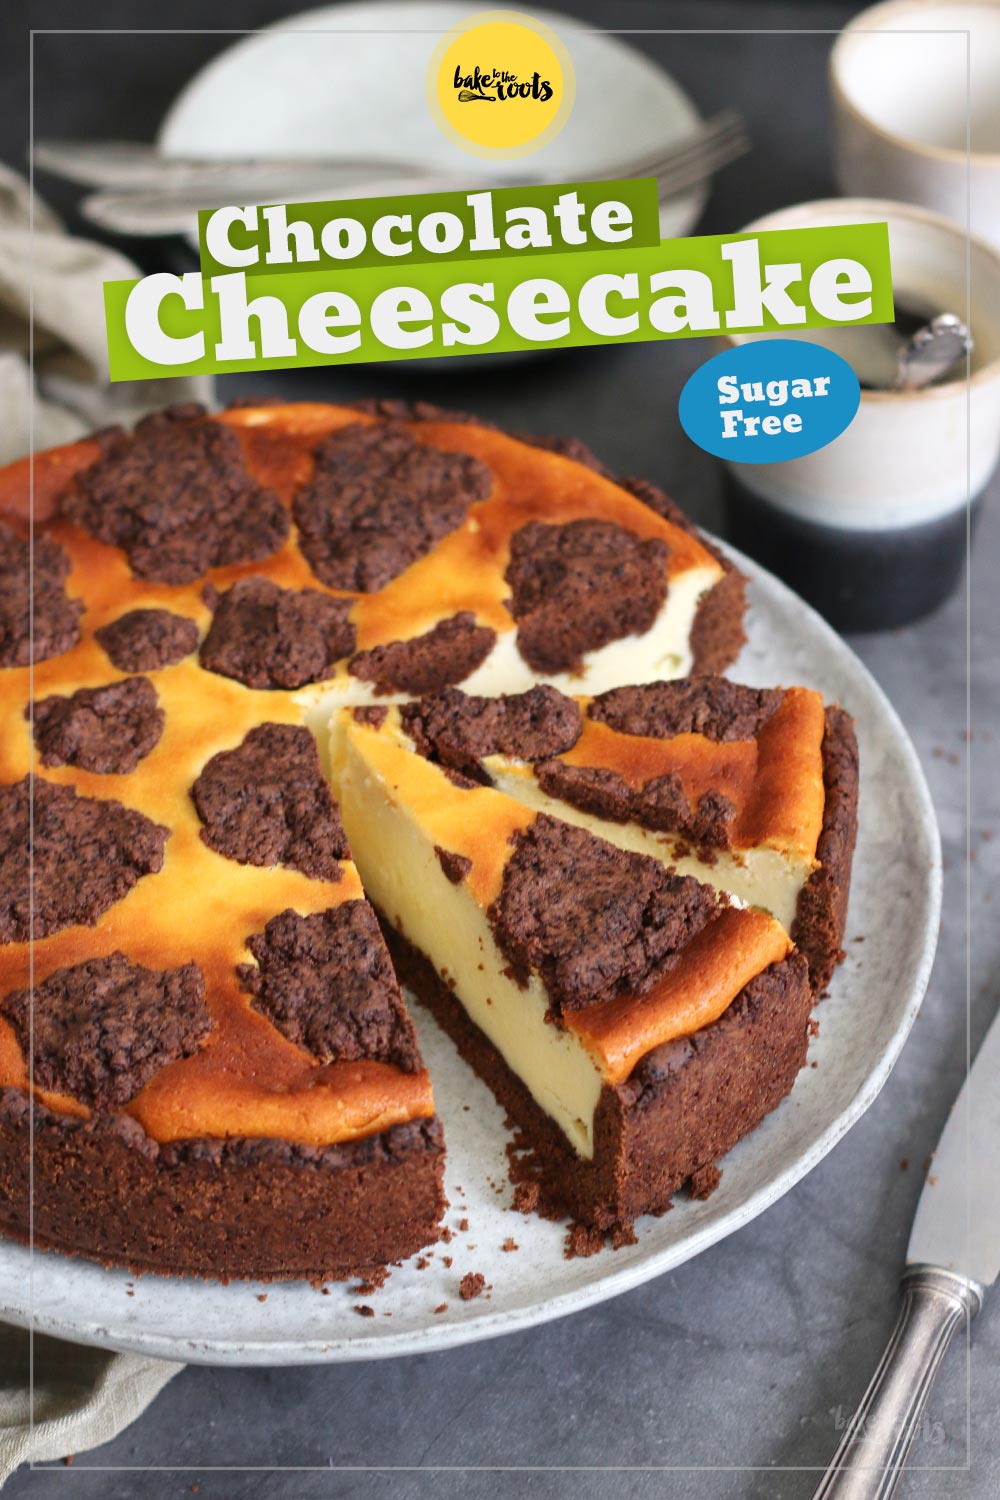
Back in the day, this kind of cheesecake was something you could always find at a children’s birthday party. Chocolate Cheesecake aka. Russischer Zupfkuchen is still very popular here in Germany. Everyone loves this cake, I dare to say. If only I wished we had this sugar-free version back then! Maybe I could have avoided getting Diabetes. Just kidding… I would have gotten it anyway. The amount of chocolate and gummy bears I ate over the years was enough to give two people diabetes I guess. Not the occasional piece of cheesecake ;P
Well… if you’ve been here before you might have read somewhere that I was diagnosed with diabetes type 2 a few years ago. I talked about it, for example, in the article for this Sugar-Free Apple Cake. Because of that “incidence”, I started baking more stuff with less sugar or completely sugar-free and more suitable for diabetics… after all, I want to be able to eat some of the stuff I bake for you here ;)
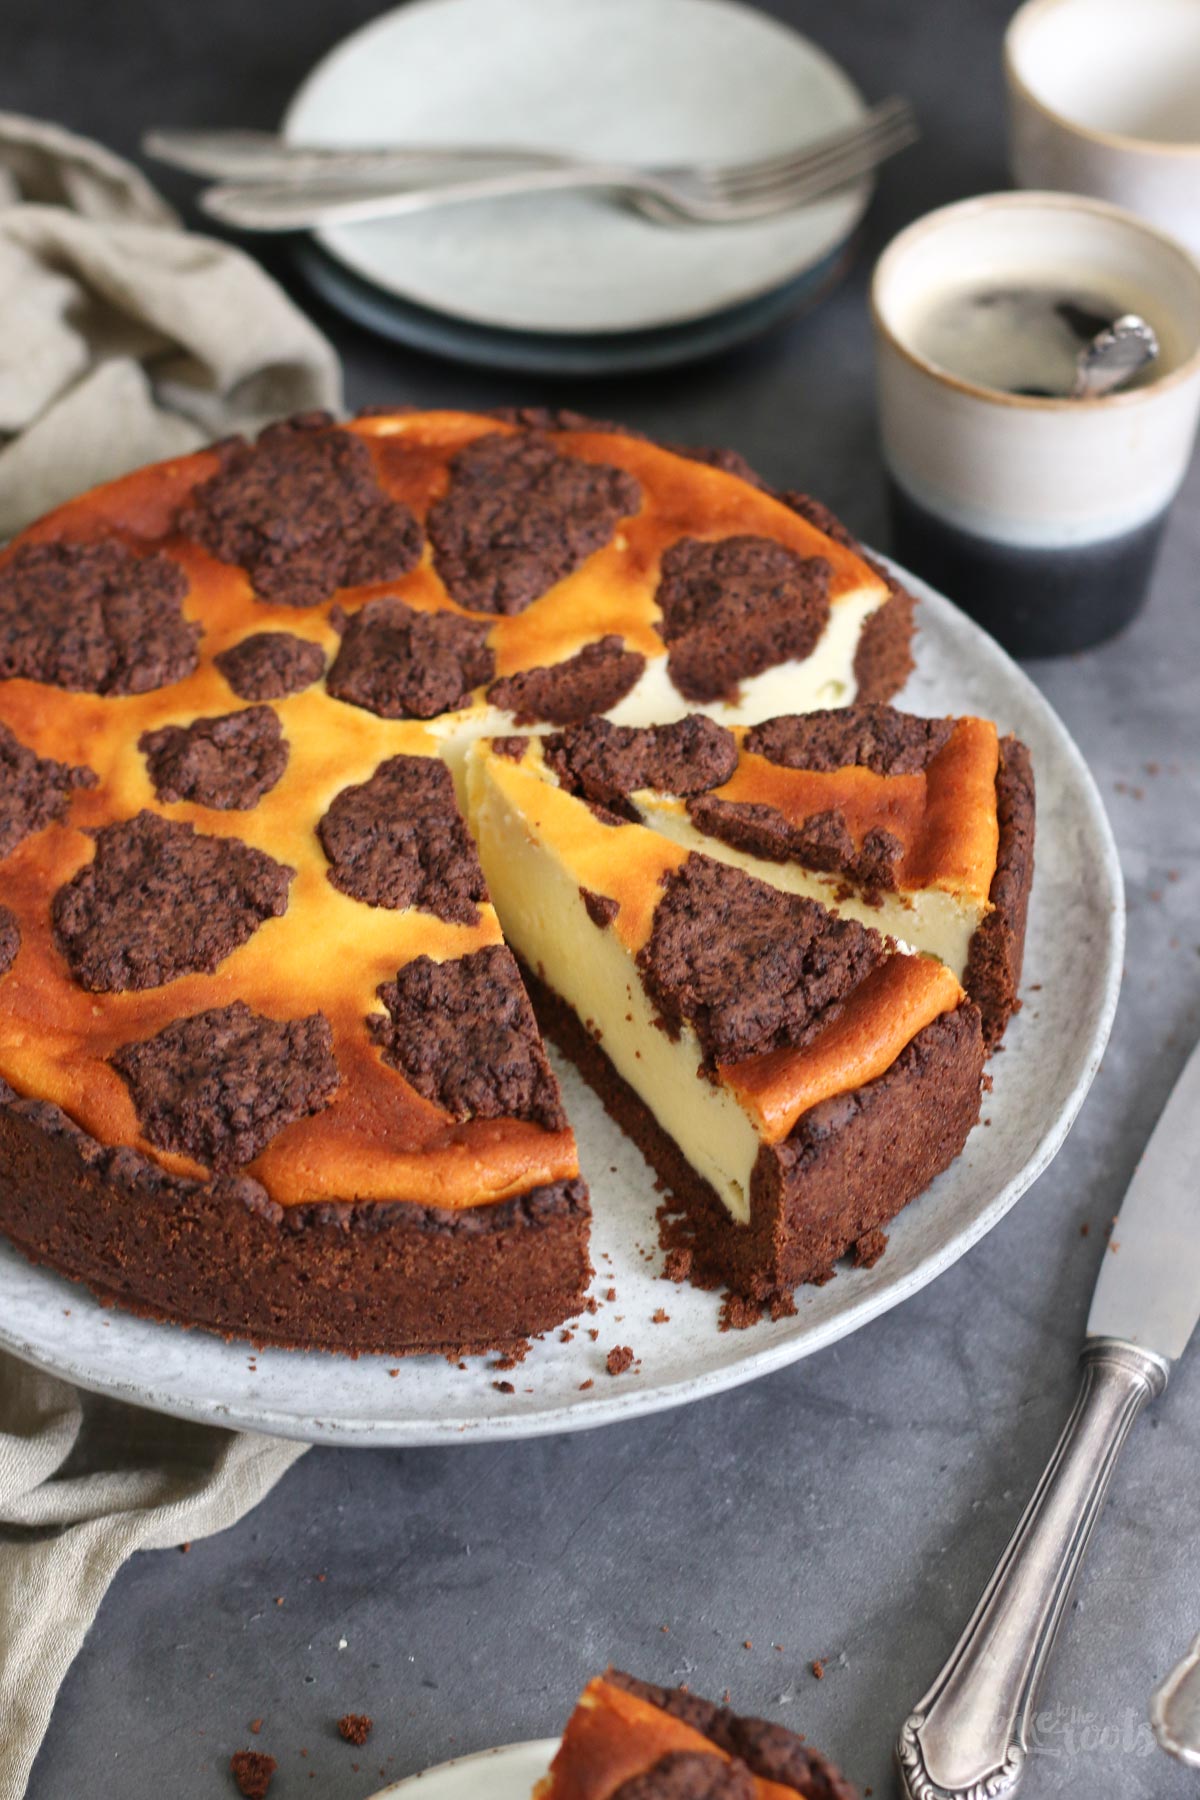
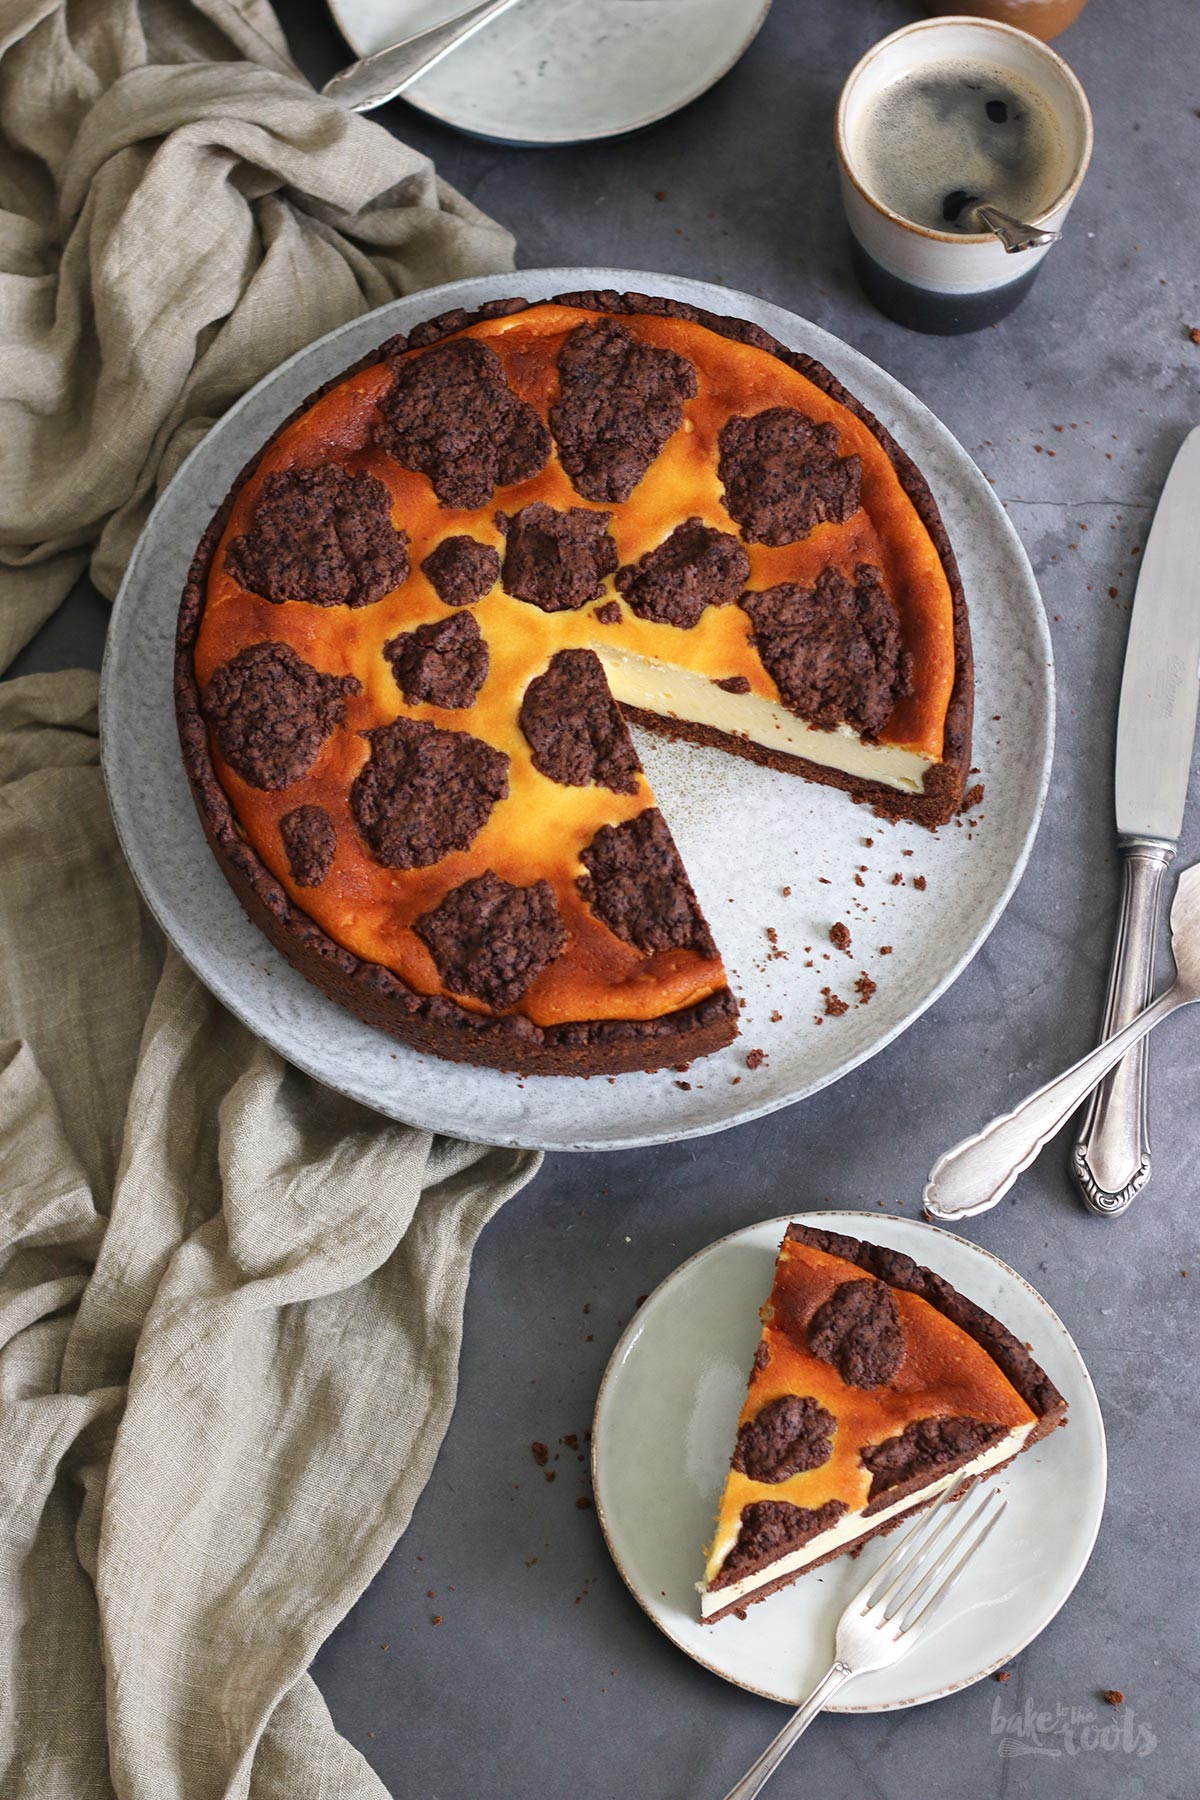
Today’s “victim” to be turned into a sugar-free version is this Chocolate Cheesecake. I already got the classic and sugar-heavy version on the blog for many years. That one is quite popular, so creating a sugar-free version seemed to be a good idea ;) As of now sugar-shy people also have the option of baking this classic without any added sugar… still a lot of calories though ;P
Whenever I use sugar substitutes, it’s xylitol* most of the time. So far I’ve had the best experience with that sugar replacement. You have to be a bit careful, though. Newbies to the “world of sugar substitutes” need to be careful. You can replace sugar in your recipes easily with xylitol (same amount) but if the original recipe asks for a big amount of sugar you should not replace everything with xylitol. Large amounts of xylitol have a laxative effect – especially if you are not used to it. So if a cake recipe says you have to add 2 cups of sugar you should definitely not use 2 cups of xylitol. The amount of xylitol would most likely exceed the tolerable amount if you break it down to a single slice of cake.
The original recipe actually asks for that much sugar, so for this sugar-free version, I had to reduce everything a bit. It never hurts to go a bit less sweet I guess ;)
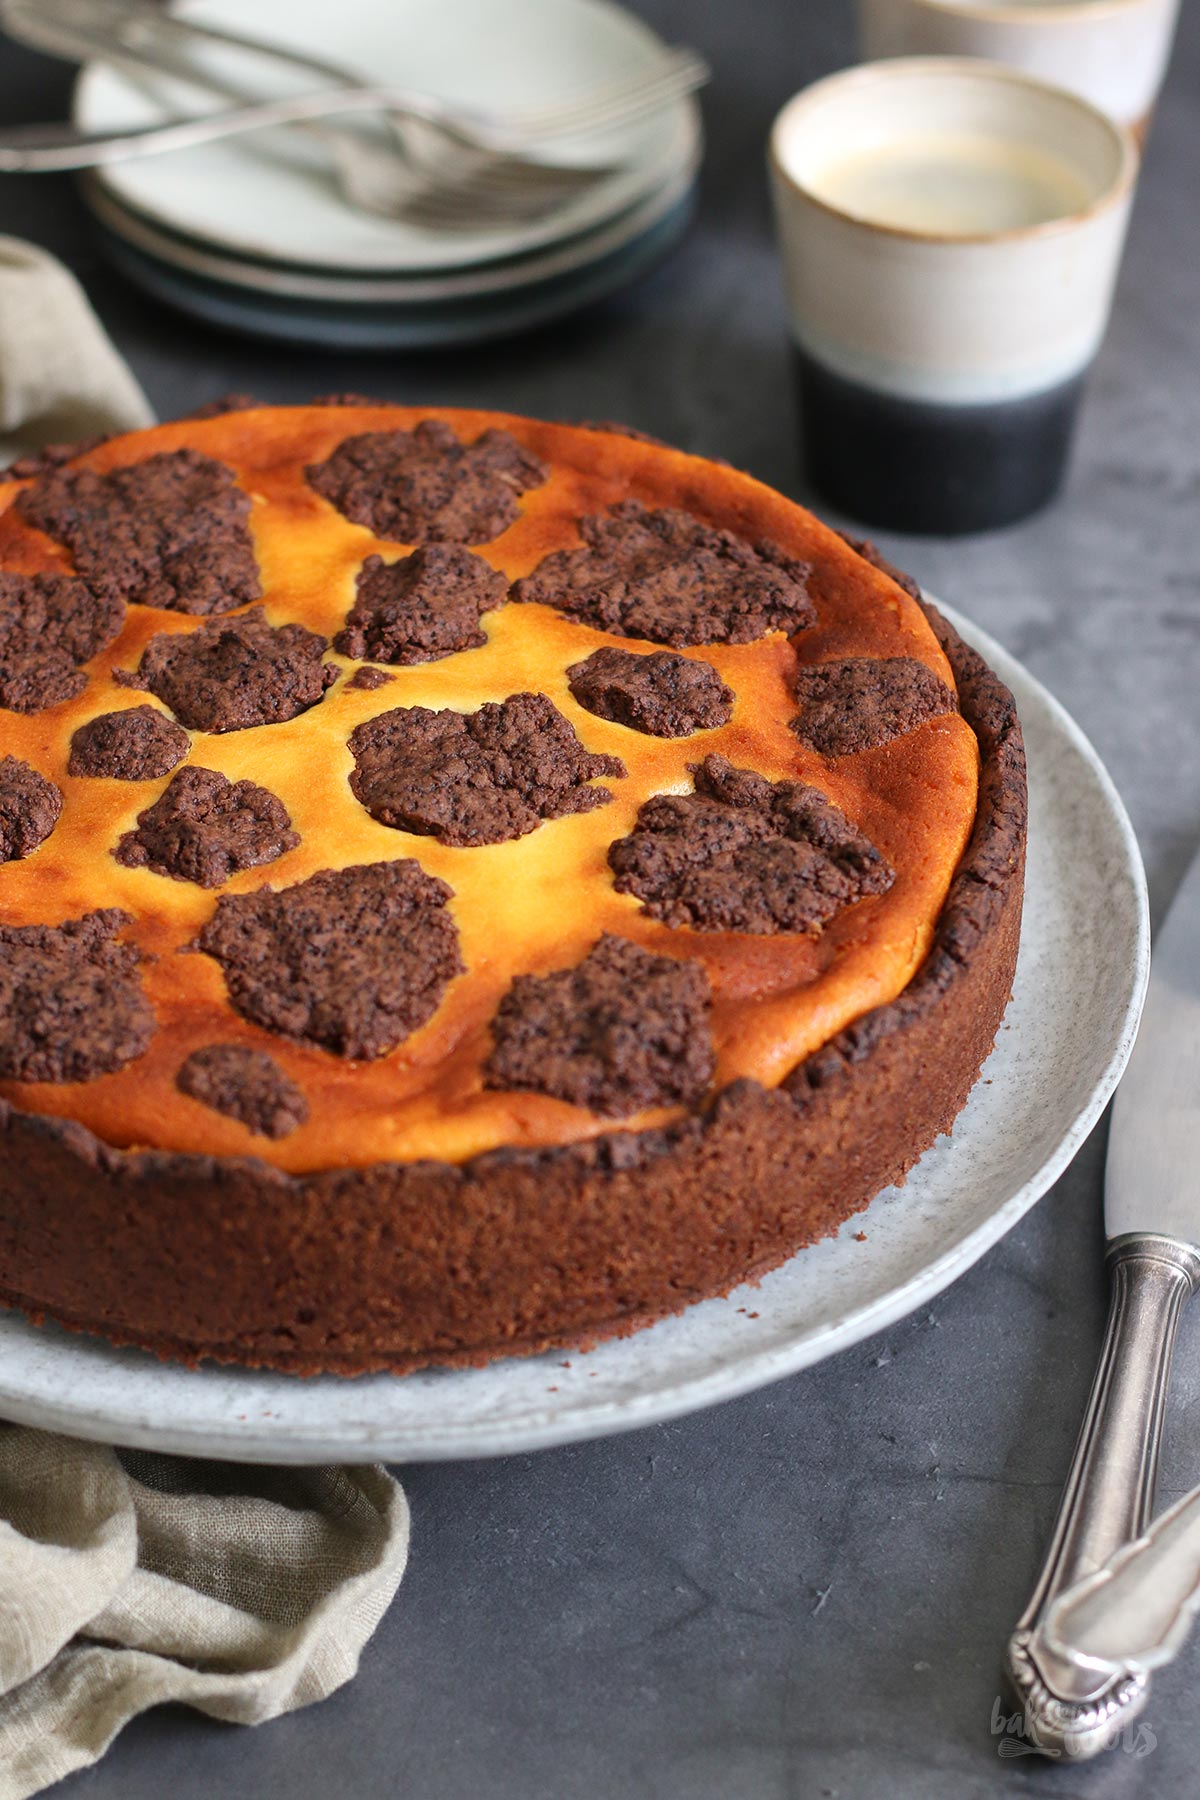
Preparing the cake is quite simple. The dough for the base is also used to create the dark spots on top. Some prefer the cheesecake a bit lighter in color – if you are one of those people I recommend covering the cheesecake as soon as you see some golden color developing on top. A piece of baking parchment works wonders here.
One last thing I want to mention: this cake might be sugar-free, but it still has quite a good amount of calories. One thing to keep in mind. It is definitely better for your blood sugar to replace the sugar with a substitute, but there is still plenty of carbs and fat in the cake. Cakes are there for you to enjoy once in a while. They are not the basis for a healthy diet – a bonus here and there ;P
INGREDIENTS / ZUTATEN
2 3/4 cups (350g) spelt flour
2 1/2 tsp. baking powder
1/3 cup (40g) cocoa powder
1/2 cup (100g) xylitol
1 tsp. vanilla extract
1 large egg
3/4 cup (170g) butter, softened
For the filling:
1 cup (220g) butter, melted
17.6 oz. (500g) low-fat curd (quark)
3/4 cup (150g) xylitol
1/3 cup (40g) cornstarch
2 tsp. vanilla extract
3 large eggs
350g Dinkelmehl (Type 630)
2 1/2 TL Backpulver
40g Kakao
100g Xylit
1 TL Vanille Extrakt
1 Ei (L)
170g weiche Butter
Für die Füllung:
220g Butter, geschmolzen
500g Magerquark
150g Xylit
40g Speisestärke
2 TL Vanille Extrakt
3 Eier (L)
DIRECTIONS / ZUBEREITUNG
2. Line a 9.5 inches (24cm) springform tin with baking parchment. Transfer about half of the streusels to the tin and press to the bottom to create an even layer. Take about half of the remaining streusels and press together to create a long log – place inside the tin and press to the sides of the tin to create the sides of the crust. Make sure the bottom and sides are well connected. Place in the fridge for another 10 minutes.
3. Preheat the oven to 350°F (180°C). Melt the butter for the filling (e.g. in the microwave) and let it cool down again. Then mix the melted butter with the curd (quark), xylitol, cornstarch, vanilla extract, and the eggs in a large bowl until well combined. Pour into the prepared crust. Press the remaining streusels together, then tear pieces off and place them all over the filling. Bake for 50-60 minutes. The top should be golden in color, the edges should have set but the center can still move a bit when you wiggle the tin. Take out of the oven and let cool down completely.
2. Eine 24cm (9.5 inches) Springform mit Backpapier auslegen. Die Hälfte der Streusel in die Form schütten und dann zu einer Schicht zusammendrücken. Die Hälfte der verbliebenen Streusel zu einer langen Wurst zusammendrücken und dann damit einen Rand in der Springform formen. Noch einmal für 10 Minuten in den Kühlschrank stellen.
3. Den Ofen auf 180°C (350°F) Ober-/Unterhitze vorheizen. Die Butter für die Füllung schmelzen (z.B. in der Mikrowelle) und wieder etwas abkühlen lassen. Die geschmolzene Butter mit Magerquark, Xylit, Stärke, Vanille Extrakt und Eier in einer großen Schüssel verrühren, dann in die vorbereitete Form füllen. Die verbliebenen Streusel zusammendrücken und dann größere Fetzen davon auf der Füllung verteilen und für 50-60 Minuten backen. Der Kuchen sollte etwas Farbe bekommen haben, die Ränder sollten fest sein und in der Mitte darf die Füllung noch etwas wackeln, wenn man an der Form rüttelt. Aus dem Ofen holen und komplett auskühlen lassen.
Craving more? Keep in touch on Facebook, Twitter, Instagram and Pinterest for new post updates and more. You can also contact me with any questions or inquiries!
Here is a version of the recipe you can print easily.
Print
Russischer Zupfkuchen aka. Chocolate Cheesecake (sugar-free)
- Prep Time: 00:20
- Cook Time: 01:00
- Total Time: 02:00
- Yield: 1 1x
- Category: Cheesecakes
- Cuisine: Germany
- Diet: Diabetic
Description
This Chocolate Cheesecake aka. Russischer Zupfkuchen is a classic German cheesecake everybody loves – and this one here is even sugar-free!
Ingredients
For the dough:
2 3/4 cups (350g) spelt flour
2 1/2 tsp. baking powder
1/3 cup (40g) cocoa powder
1/2 cup (100g) xylitol
1 tsp. vanilla extract
1 large egg
3/4 cup (170g) butter, softened
For the filling:
1 cup (220g) butter, melted
17.6 oz. (500g) low-fat curd (quark)
3/4 cup (150g) xylitol
1/3 cup (40g) cornstarch
2 tsp. vanilla extract
3 large eggs
Instructions
1. Add the spelt flour, baking powder, cocoa powder, and xylitol to a large bowl and mix to combine. Add the vanilla extract, egg, and softened butter and mix with a fork, then work with your fingers to create crumbles. Cover bowl and place in the fridge for about 20 minutes.
2. Line a 9.5 inches (24cm) springform tin with baking parchment. Transfer about half of the streusels to the tin and press to the bottom to create an even layer. Take about half of the remaining streusels and press together to create a long log – place inside the tin and press to the sides of the tin to create the sides of the crust. Make sure the bottom and sides are well connected. Place in the fridge for another 10 minutes.
3. Preheat the oven to 350°F (180°C). Melt the butter for the filling (e.g. in the microwave) and let it cool down again. Then mix the melted butter with the curd (quark), xylitol, cornstarch, vanilla extract, and the eggs in a large bowl until well combined. Pour into the prepared crust. Press the remaining streusels together, then tear pieces off and place them all over the filling. Bake for 50-60 minutes. The top should be golden in color, the edges should have set but the center can still move a bit when you wiggle the tin. Take out of the oven and let cool down completely.
Notes
Enjoy baking!
Links marked with an asterisk (*) are affiliate links (advertising/Werbung) to Amazon Germany. If you click on one of those links and buy something via this link, I will get a commission for that sale. The price of whatever you buy is not affected in any way by this.

 I love my job, but in between I love to bake and try new things in the kitchen. A lot of my friends and colleagues encourage me to bake - for a very simple reason: they get the leftovers - and it seems they like it most of the time ;)




Es wäre wirklich super wenn die Druckversion auch auf deutsch zur Verfügung stehen würde.
Ich drucke einige Rezepte gern aus, aber mit den englischen Einheiten bringt mir das nichts…
Lg!!
Schau doch einfach mal auf der deutschen Version des Beitrags vorbei, dann findest Du auch die Druckversion in Deutsch ;)
VG Marc