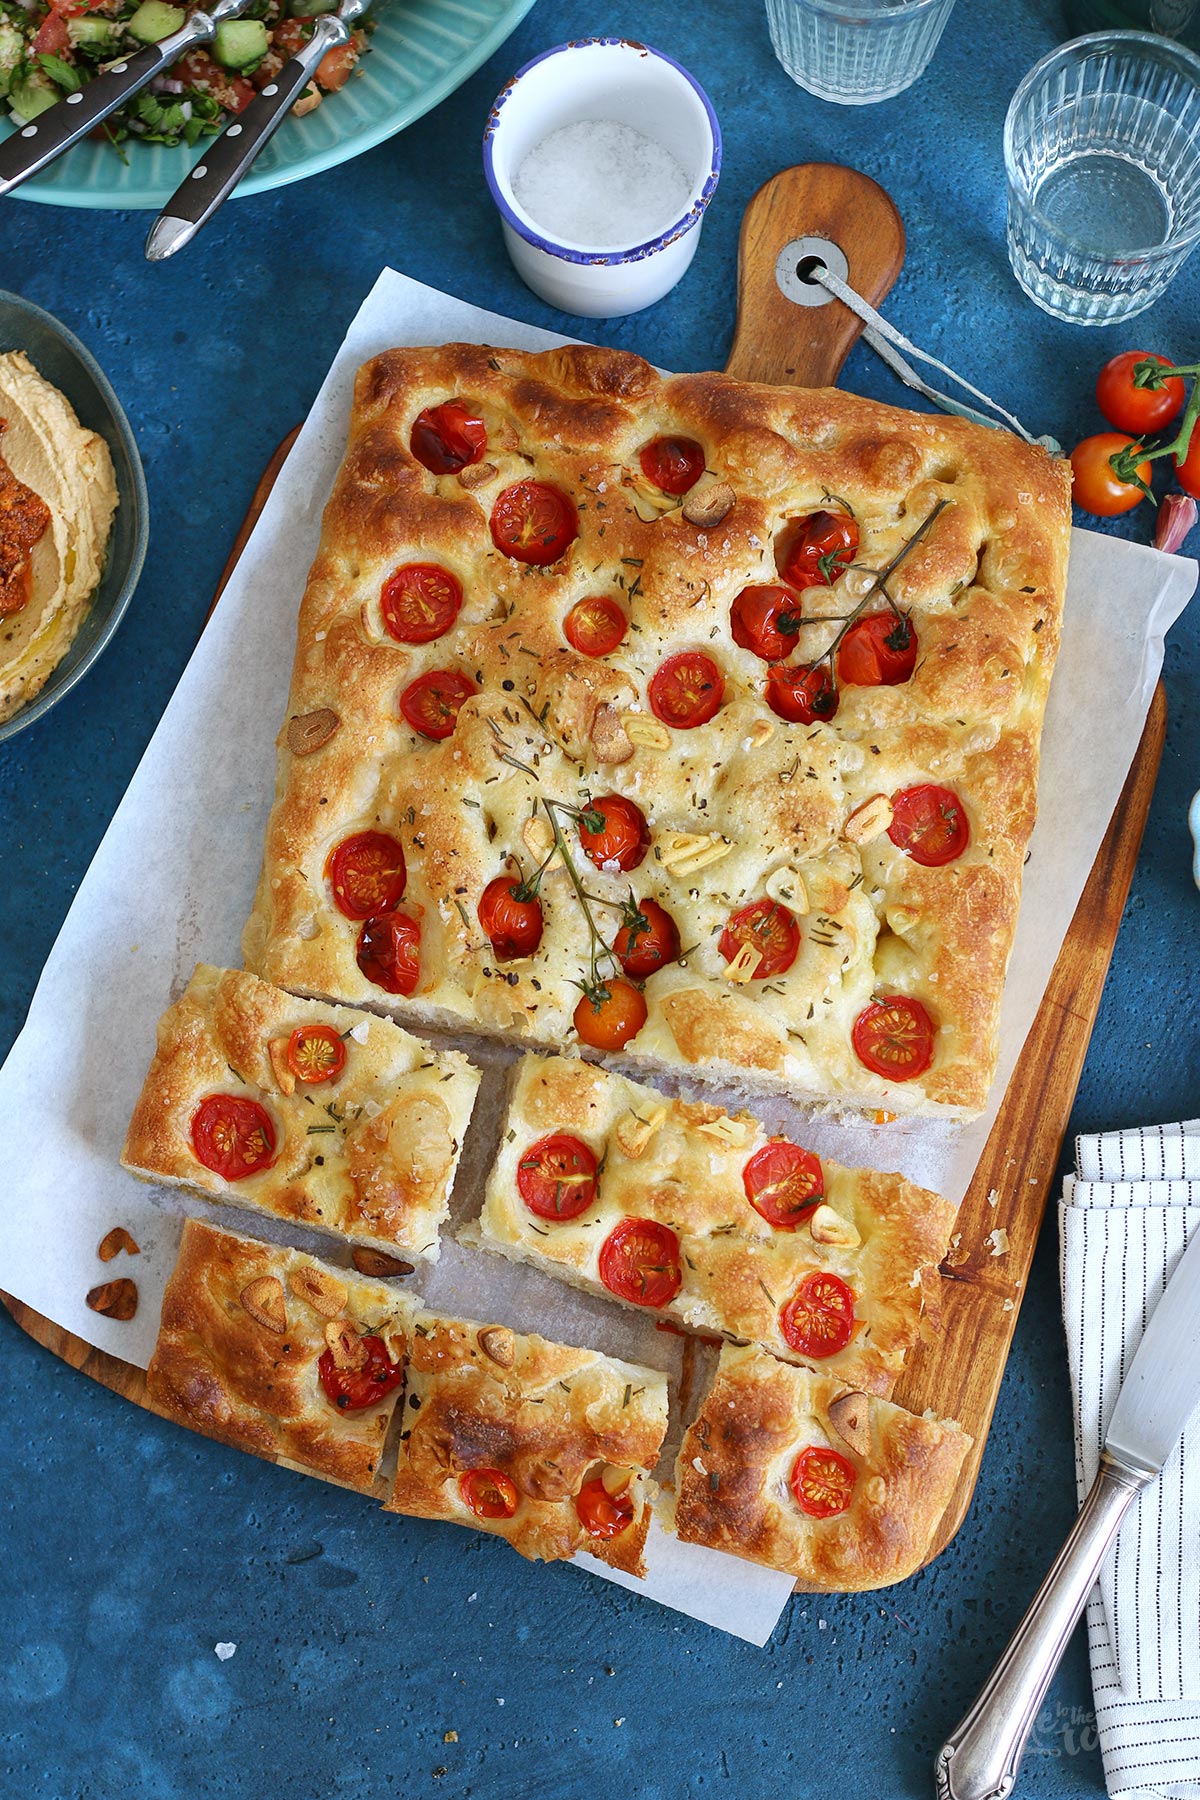
The month of June is coming to an end… time for another “Bake Together” with Andrea from Zimtkeks & Apfeltarte. We already had several nice summer days here in Germany so it’s time to heat up the grill and get the next bbq party going on. Not without a delicious Focaccia with Tomatoes, Garlic, and Thyme. The perfect companion for everything grilled. No summer party is perfect without it… at least in my opinion ;)
Andrea and I are doing our “Bake Together” for several years already. At the end of each month, we agree on a common theme and then we start baking or cooking – without telling the other person what the result will be. On the day of publishing the recipe (like today), we surprise each other with the results. If you want to know more about our “Bake Together” you can read about it here.
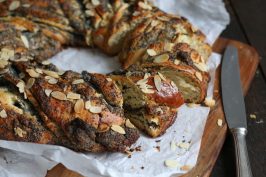
So today we decided to make focaccia the star of our little baking event. Each of us is doing her/his favorite recipe and then we take a look at the results. Sometimes we do very similar things, more often the results are very different. When it comes to focaccia you can go the “easy route” and make some classic focaccia, plain and only sprinkled with some flaky sea salt… ooor you could go way over the top and make a “focaccia garden” – if you never heard of that you should google it ;)
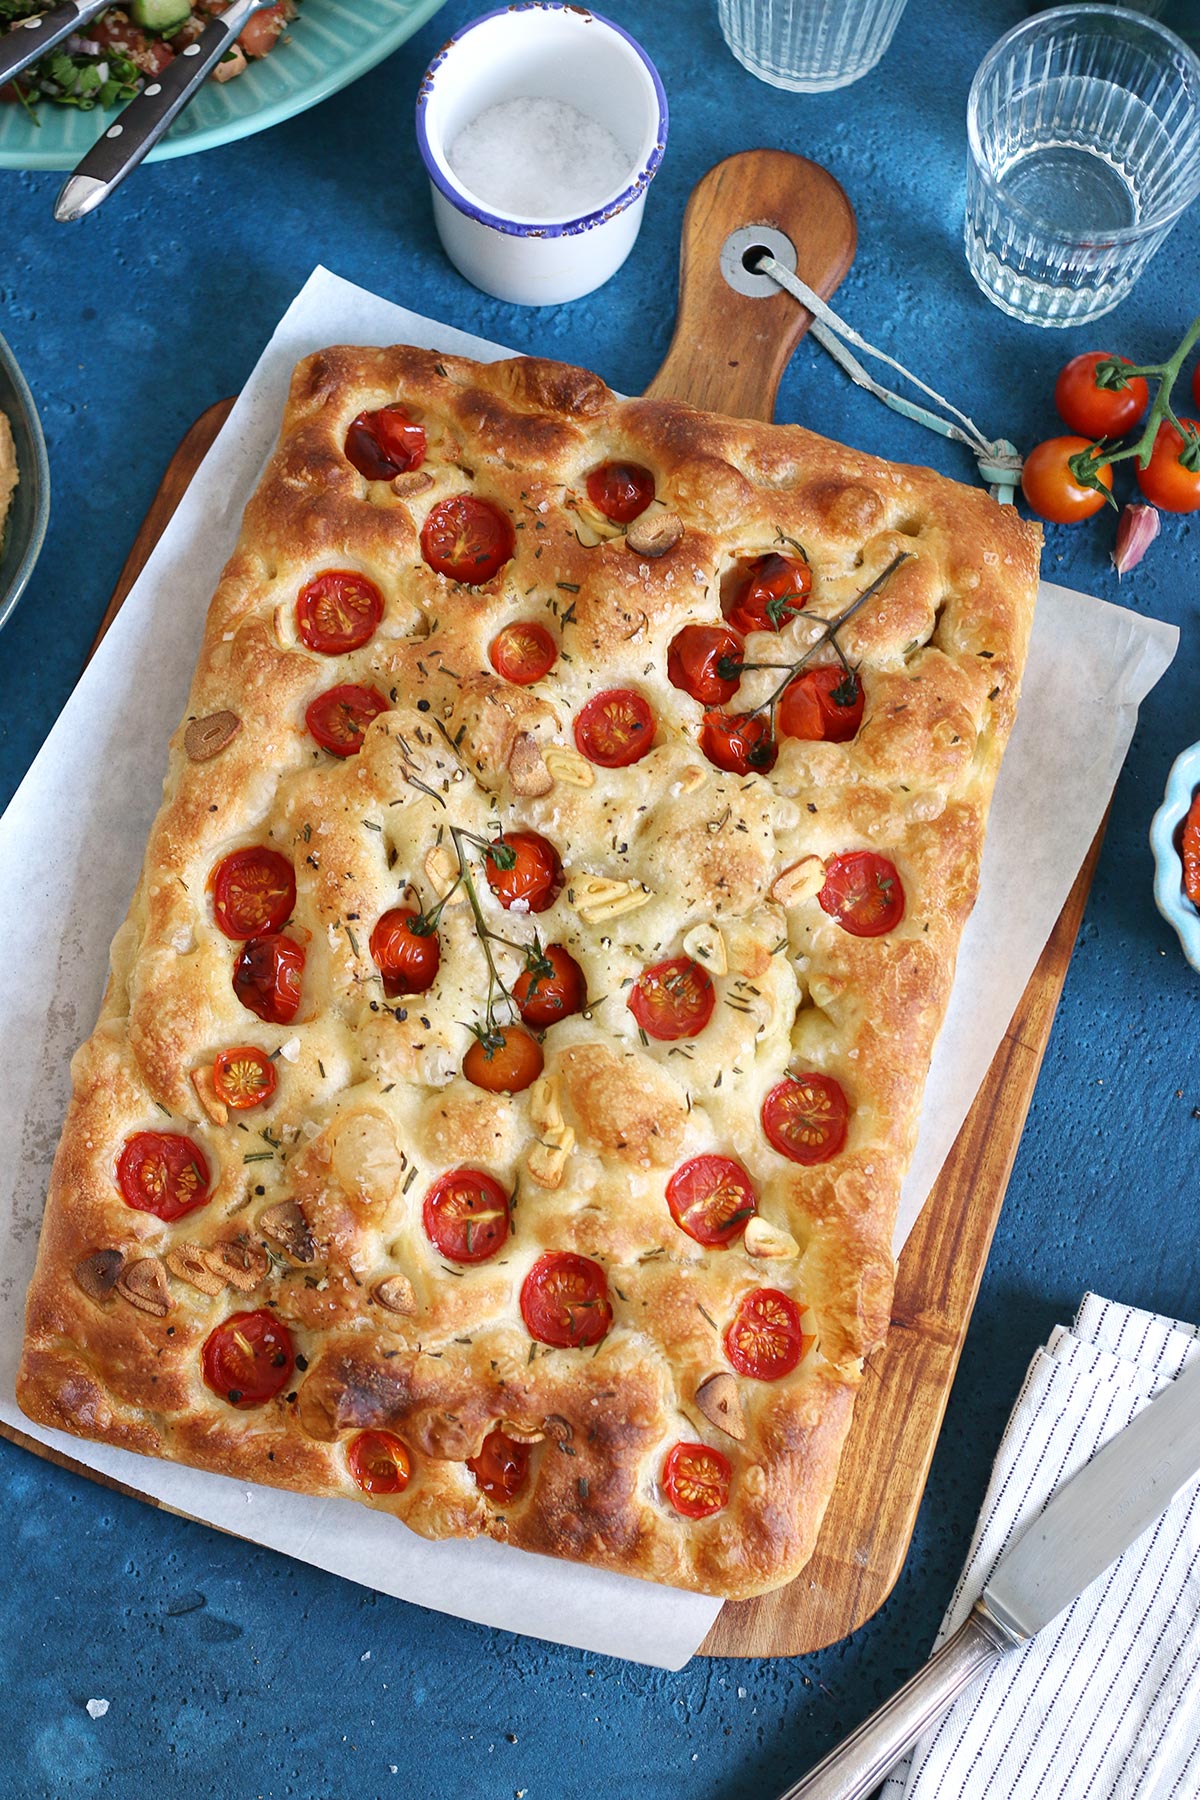
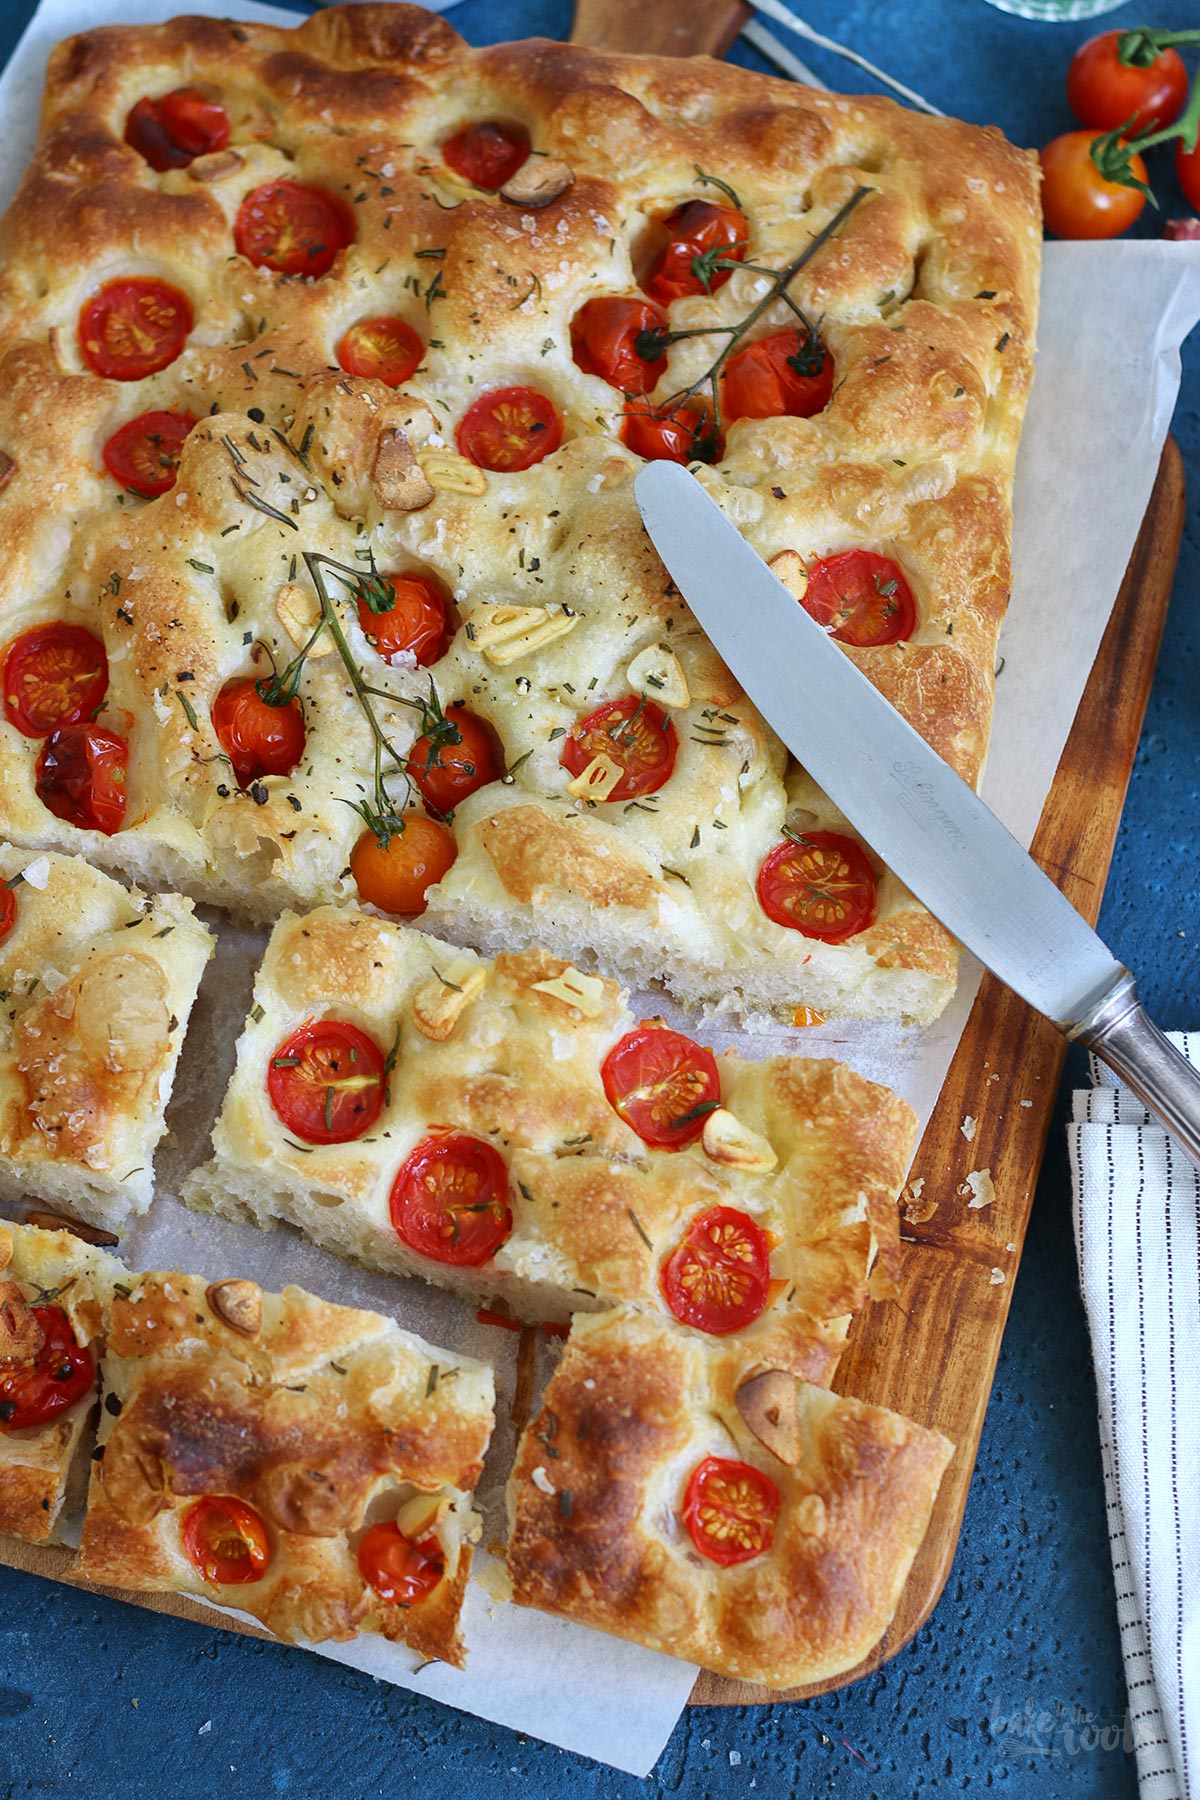
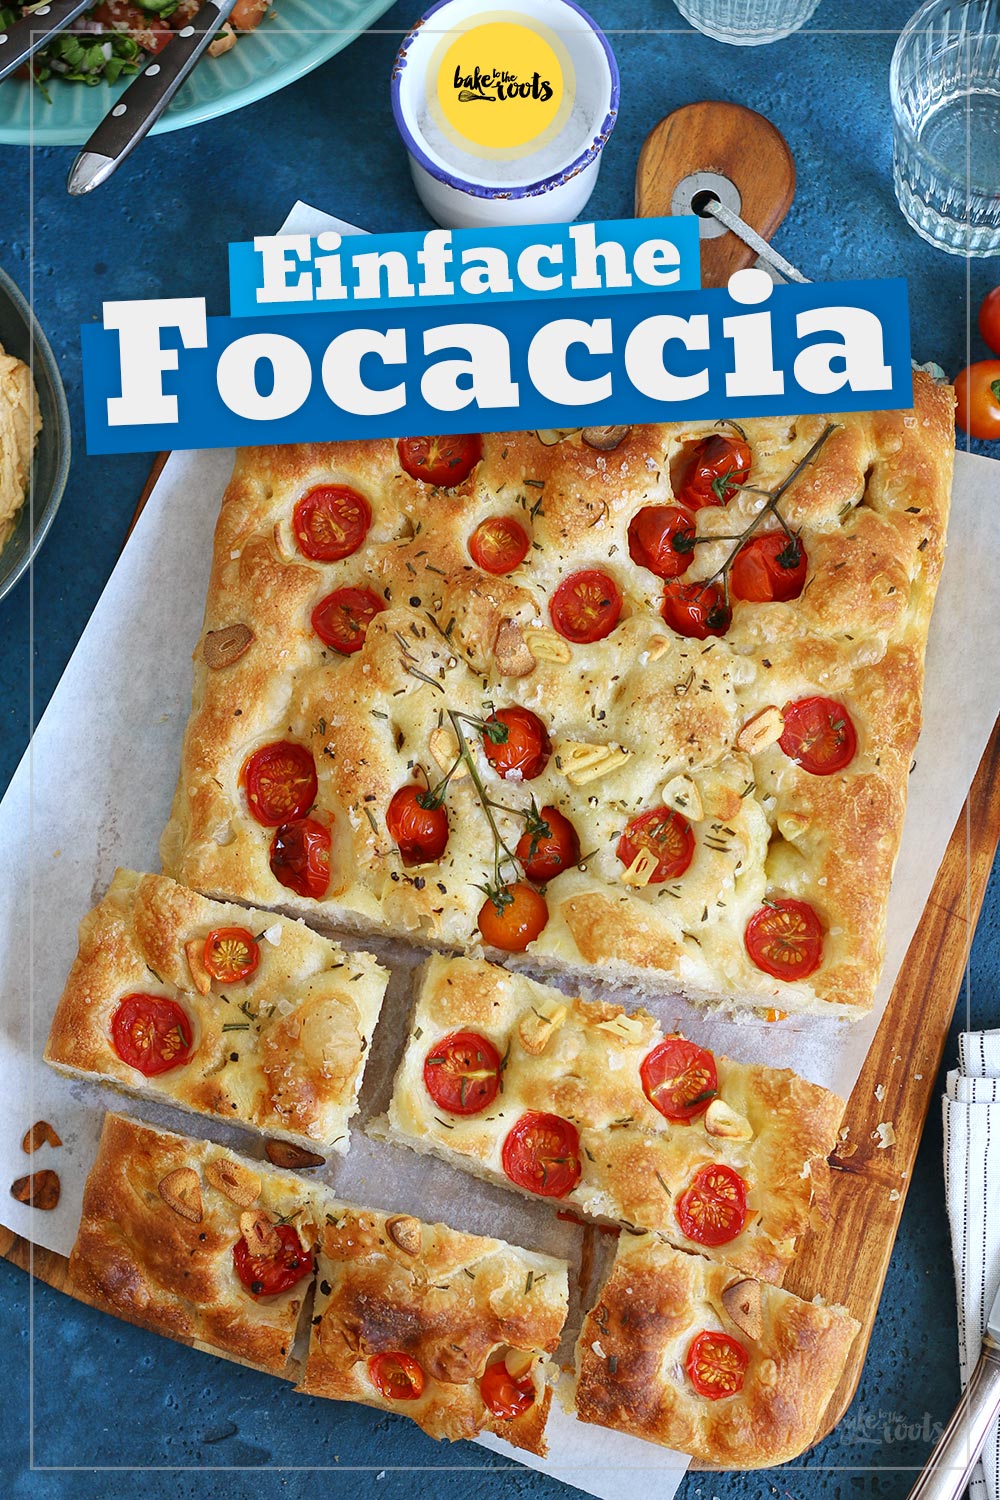
I stayed relatively “classic” with my focaccia recipe today. An easy focaccia dough as a base, a good portion of garlic, cherry tomatoes, and some thyme. That’s it…. well, and a lot of good olive oil. That’s essential to bake some nice focaccia ;)
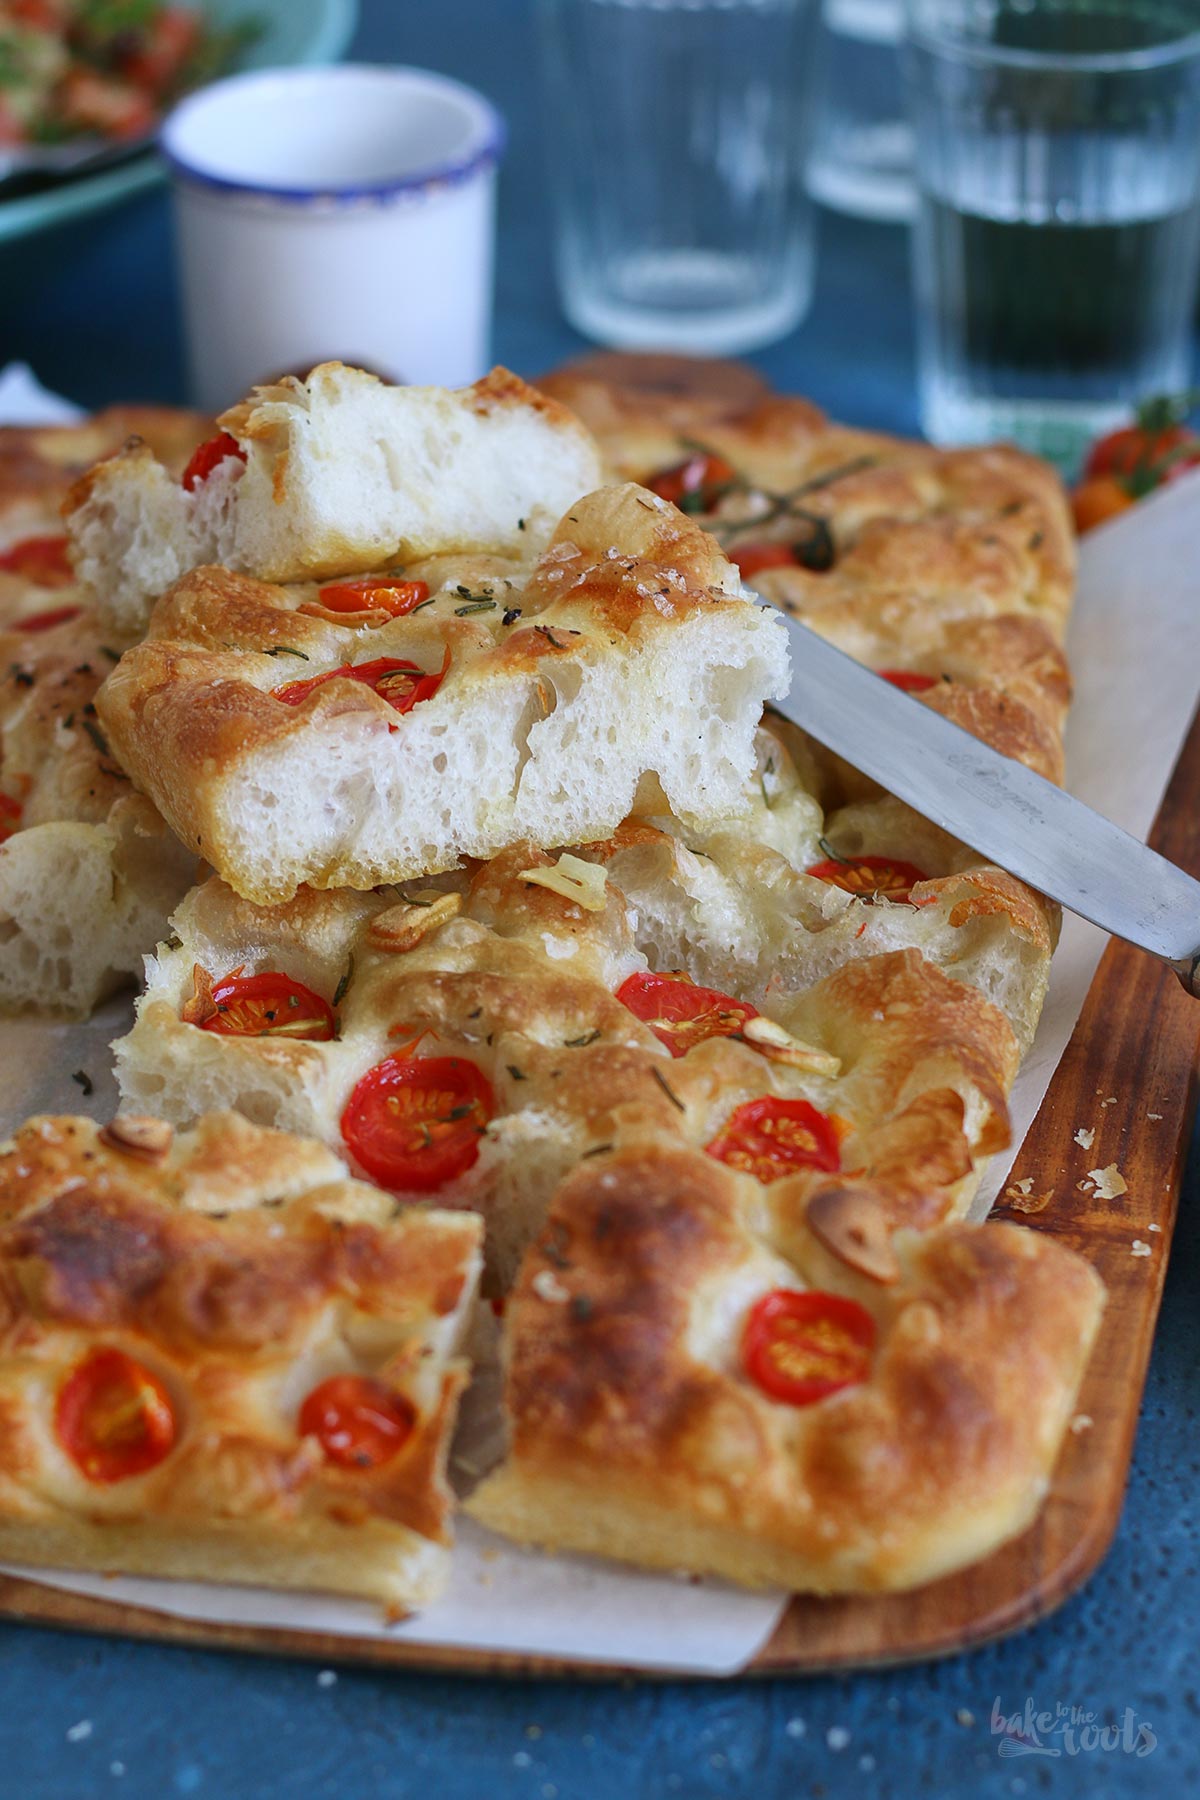
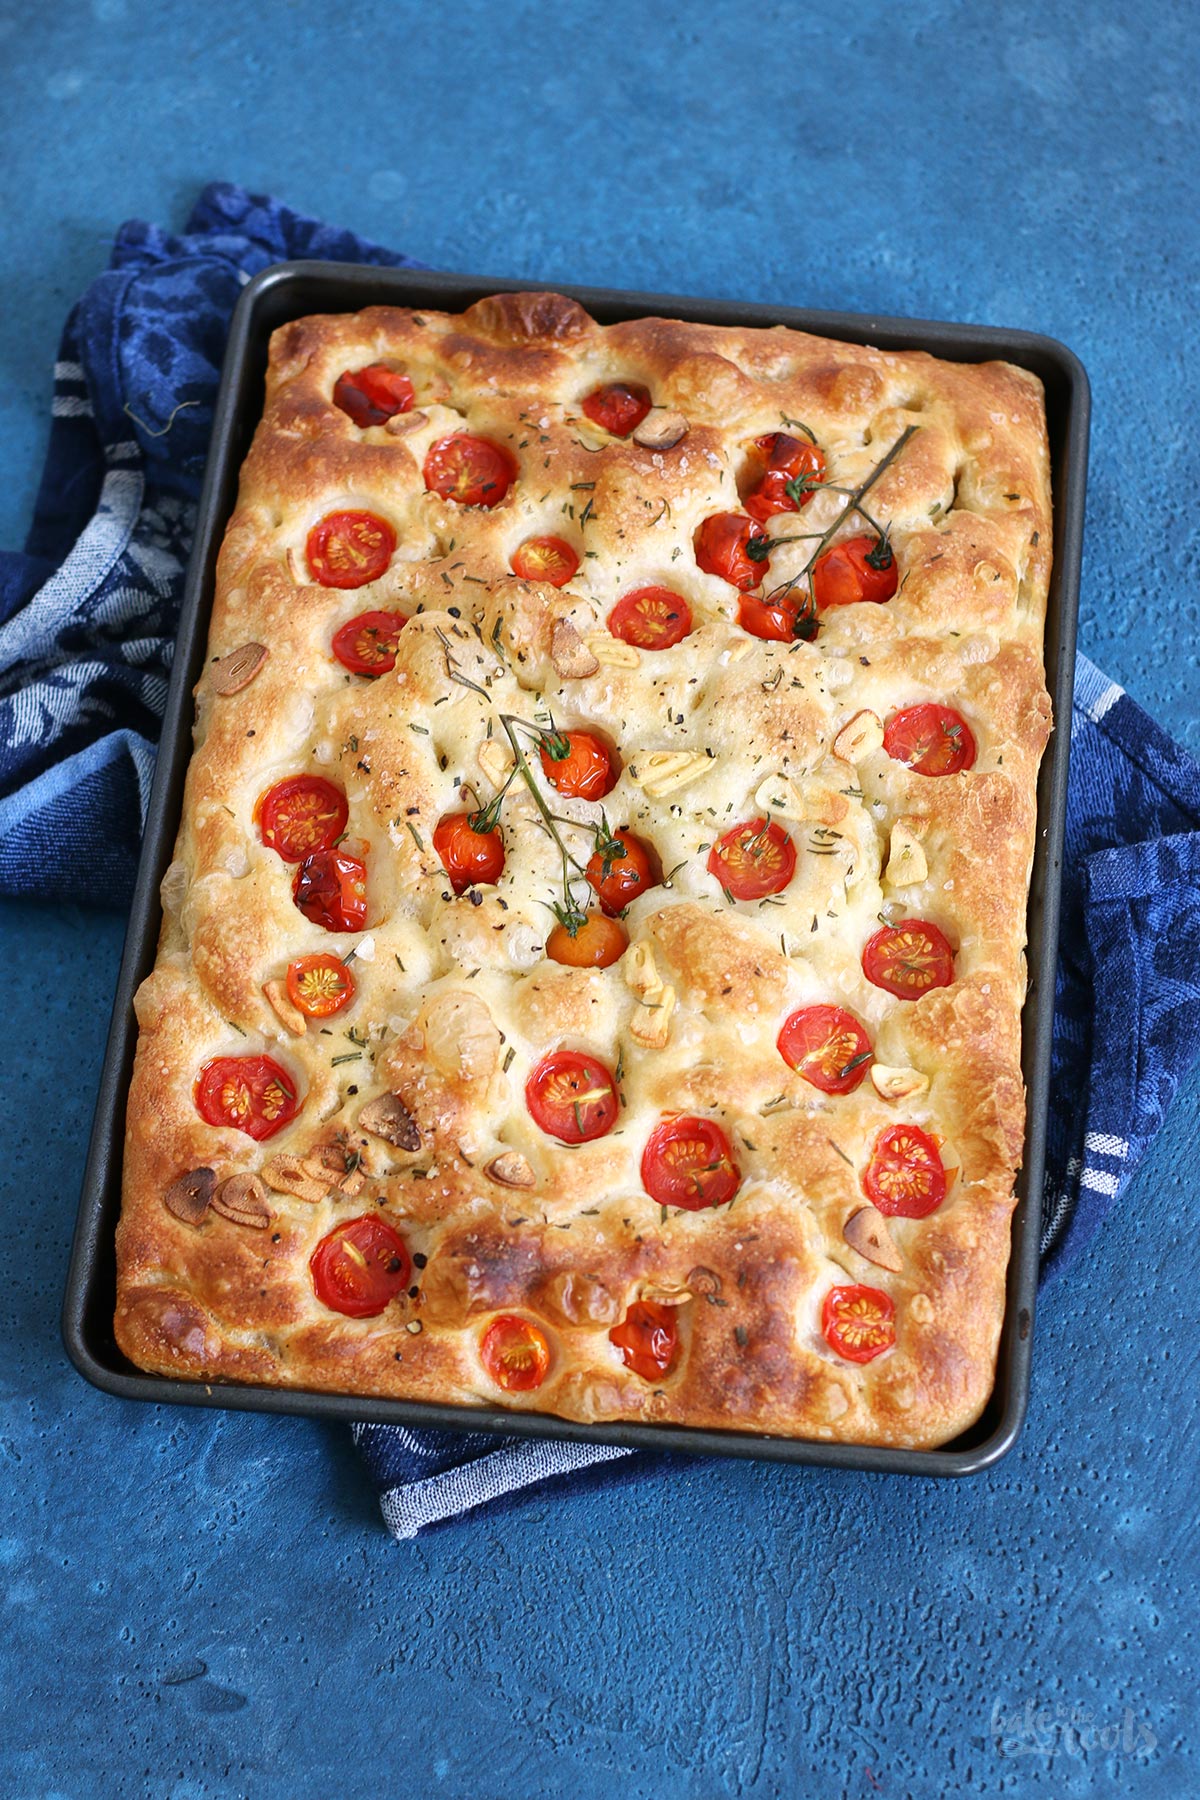
The recipe here can be modified and adapted quite easily. Basically, it’s designed for one large baking tray, which is probably how most people will bake it. I’ve used two smaller baking sheets so I can make two different focaccias at the same time. One is very basic with garlic and rosemary only and the second one is the one you can see in the pictures – with cherry tomatoes, loads of garlic, and thyme. Great combination by the way. This means the ingredients in the recipe are measured to get two smaller focaccias. If you want to make one big one with only one topping, you have to adjust the ingredients accordingly. Or do whatever topping you like ;P
Anyway. I really love baking focaccia. It’s a fun process. Especially the manipulation of the dough with the fingers. A very oily but fun thing to do ;) The dough in general is quite easy to prepare and almost never causes problems for me. It is very sticky though. But with the right amount of oil you can handle the dough very easily. Maybe get some help as soon as you handle the dough on the baking sheets. Once you have oily fingers everything turns into a huge mess if you have to handle any bowls or utensils with those fingers. I was at home alone when making the focaccia so I had to wash my hands over and over between the steps of preparation. Bit annoying tbh ;P

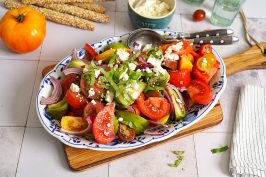
Of course, there is more to the perfect evening with friends or family and your focaccia. You need something on the grill and how about a delicious salad? I’ve published quite a few nice salad recipes already – all great for a nice bbq session. Take a look – I think you might like at least one of them ;P
INGREDIENTS / ZUTATEN
3 cups (720ml) lukewarm water
0.25 oz. (7g) active dry yeast
6 cups (780g) all-purpose flour (or bread flour)
1 tbsp. salt
approx. 3/4 cup (180ml) good olive oil, divided
For the topping (1):
2-3 garlic cloves, thinly sliced
5.3 oz. (150g) cherry tomatoes, halved
1 tsp. fresh thyme leaves
flaky sea salt
pepper
For the topping (2):
2-3 garlic cloves, thinly sliced
1 tbsp. fresh rosemary, chopped
flaky sea salt
pepper
720ml lauwarmes Wasser
1 Pkg. (7g) Trockenhefe
780g Mehl (Type 550)
1 EL Salz
etwa 180ml gutes Olivenöl, aufgeteilt
Für den Belag (1):
2-3 Knoblauchzehen, in dünnen Scheiben
150g Kirschtomaten, halbiert
1 TL frische Thymianblätter
Meersalzflocken
Pfeffer
Für den Belag (2):
2-3 Knoblauchzehen, in dünnen Scheiben
1 EL frischer Rosmarin, gehackt
Meersalzflocken
Pfeffer
DIRECTIONS / ZUBEREITUNG
2. Add about 1/4 cup (60ml) olive oil to a large bowl and transfer the dough to that bowl. Use the oil that is collecting around the dough and spread it over the surface of the dough – the easiest way to do this is using your fingers and move the oil around. Cover the bowl with a clean kitchen towel and let the dough rise at room temperature for about 60-90 minutes – the volume should double more or less.
3. Prepare one big sheet pan (18×13 inches/45x33cm) or two smaller sheet pans (approx. 12×9 inches/30x22cm each) by brushing them with a good amount of olive oil. With oiled hands, loosen the risen dough from the sides of the bowl. Get under the dough and lift it up – the overlapping parts of the dough will pull down. Let the dough stretch a bit, then lower it and let it fold onto itself – pretty much like folding a towel. Rotate the bowl and repeat the process by lifting and folding the dough again. Do that two more times. Transfer the dough to the prepared sheet pan(s). If you are using two pans divide the dough (easiest with your hands) and place one dough piece on each sheet pan. Stretch the dough as much as possible to fill out the sheet pan – at some point, it will spring back and not get bigger, but that is ok. Cover with an oiled piece of plastic wrap and let rest for about 15 Minutes.
4. Remove the plastic wrap and stretch the dough a bit more so you get into all corners of the sheet pans. Cover again and let the dough rest for another 45-50 minutes until the dough is pretty much double in size. If you do not want to bake both sheet pans at the same time, you can place one in the fridge (up to 24h) and let the dough rise in the fridge.
5. While the dough is rising you can prepare the toppings. Peel and finely slice the garlic. Cut the tomatoes in half and chop the herbs. If you want to make only one topping for both sheet pans just double the amount of the ingredients of one of the toppings.
6. Preheat the oven to 450°F (230°C). Uncover the risen dough. Drizzle some oil on the dough and press your fingertips into the dough (until you touch the bottom of the sheet pan) to create lots of dimples across the entire surface of the dough. Add your toppings and sprinkle with flaky sea salt and pepper. Bake for 20-25 minutes. If you bake both sheet pans you want to switch positions halfway through the baking time. To get a crispier and more browned top place the sheet pans close to the top heating element of the oven and bake about 3-5 minutes longer. Take out of the oven and let cool down for about 10 minutes, then remove the focaccia from the sheet pans (works best with a rubber spatula) and let cool down completely on a wire rack.
2. Etwa 60ml des Olivenöls in eine große Schüssel und dann den Teig ins Öl setzen. Das Öl, das sich am Rand der Schüssel sammelt, mit den Fingern auf der Oberfläche des Teiges verteilen, damit alles mit Öl etwas bedeckt ist. Die Schüssel abdecken und den Teig bei Raumtemperatur etwa 60-90 Minuten gehen lassen. Das Volumen des Teiges sollte sich in etwa verdoppelt haben.
3. Ein großes Backblech (ca. 45×33 cm) oder zwei kleinere Backbleche (ca. 30×22 cm) mit einer guten Portion Olivenöl einfetten. Den gegangenen Teig mit geölten Händen vom Boden und Rand der Schüssel lösen. Mit beiden Händen unter den Teig greifen und anheben – der Teig wird durch das eigene Gewicht nach unten gezogen und dehnt sich aus. Ähnlich wie bei einem Handtuch den ausgedehnten Teig einmal zusammenfalten und zurück in die Schüssel legen. Die Schüssel um 90° drehen und den Teig noch einmal anheben und zusammenfalten. Den Vorgang noch zweimal wiederholen. Den Teig auf das vorbereitete Blech setzen. Wer zwei Bleche verwendet, kann den Teig hier mit den Händen teilen und auf die zwei Bleche aufteilen. Den Teig auf dem/den Blech/en so gut es geht auseinanderziehen. Irgendwann wird sich der Teig nicht weiter ausdehnen lassen – dann einfach mit einem Stück geölter Frischhaltefolie abdecken und etwa 15 Minuten ruhen lassen.
4. Die Plastikfolie abziehen und den Teig noch einmal auseinanderziehen, bis auch die Ecken ausgefüllt sind. Erneut abdecken und den Teig weitere 45-50 Minuten ruhen lassen, bis sich das Volumen des Teigs etwa verdoppelt hat. Wer nicht beide Bleche gleichzeitig backen will, kann eins davon in den Kühlschrank stellen und den Teig dort gehen lassen (bis zu 24 Stunden).
5. Während der Teig ein zweites Mal geht, kann man den Belag vorbereiten. Dazu den Knoblauch schälen und in dünne Scheiben schneiden. Die Tomaten halbieren und die Kräuter hacken. Wer nur einen der Beläge für beide Bleche machen möchte, verdoppelt einfach die Zutatenmengen.
6. Den Ofen auf 230°C (450°F) Ober-/Unterhitze vorheizen. Die Folie vom Teig abziehen. Etwas Öl auf den Teig verteilen und dann die Finger in den Teig drücken (bis zum Boden des Blechs), damit überall kleine Vertiefungen entstehen. Den Belag auf dem Teig verteilen und alles mit Meersalzflocken und etwas Pfeffer bestreuen. Focaccia/Focacce für etwa 20-25 Minuten backen. Wer zwei Bleche benutzt, sollte die nach etwa der Hälfte der Backzeit die Positionen der Bleche tauschen. Für eine knusprigere und gebräuntere Oberfläche kann man die Bleche direkt unter dem Heizelement noch einmal etwa 3-5 Minuten länger backen – zwischendurch immer checken, damit nichts verkohlt. Aus dem Ofen holen und etwa 10 Minuten abkühlen lassen, dann die Focaccia von dem/n Blech/en lösen (geht am besten mit einem Gummispatel) und auf einem Kuchengitter komplett abkühlen lassen.
Craving more? Keep in touch on Facebook, Twitter, Instagram and Pinterest for new post updates and more. You can also contact me with any questions or inquiries!
Here is a version of the recipe you can print easily.
Print
Focaccia with Tomatoes, Garlic & Thyme
- Prep Time: 00:20
- Cook Time: 00:30
- Total Time: 04:00
- Yield: 1 1x
- Category: Bread
- Cuisine: Italy
- Diet: Vegan
Description
The perfect bread for your next bbq: easy-to-prepare focaccia with tomatoes, loads of garlic, and thyme. Great flavor combination!
Ingredients
For the dough:
3 cups (720ml) lukewarm water
0.25 oz. (7g) active dry yeast
6 cups (780g) all-purpose flour (or bread flour)
1 tbsp. salt
approx. 3/4 cup (180ml) good olive oil, divided
For the topping (1):
2–3 garlic cloves, thinly sliced
5.3 oz. (150g) cherry tomatoes, halved
1 tsp. fresh thyme leaves
flaky sea salt
pepper
For the topping (2):
2–3 garlic cloves, thinly sliced
1 tbsp. fresh rosemary, chopped
flaky sea salt
pepper
Instructions
1. Add the lukewarm water (around 105°F/40°C) and dry yeast to the bowl of a stand mixer and mix to combine. Let bubble up for about 5 minutes, then add the flour and salt and knead for about 6 minutes until you get a smooth but quite sticky dough that wraps around the dough hooks. Cover the bowl with a clean kitchen towel and let the dough rest for about 10 minutes. After that continue kneading the dough for another 10-15 minutes (medium-high speed) until you get a smooth and elastic dough that comes off of the sides of the bowl. It will be still quite sticky but that is ok.
2. Add about 1/4 cup (60ml) olive oil to a large bowl and transfer the dough to that bowl. Use the oil that is collecting around the dough and spread it over the surface of the dough – the easiest way to do this is using your fingers and move the oil around. Cover the bowl with a clean kitchen towel and let the dough rise at room temperature for about 60-90 minutes – the volume should double more or less.
3. Prepare one big sheet pan (18×13 inches/45x33cm) or two smaller sheet pans (approx. 12×9 inches/30x22cm each) by brushing them with a good amount of olive oil. With oiled hands, loosen the risen dough from the sides of the bowl. Get under the dough and lift it up – the overlapping parts of the dough will pull down. Let the dough stretch a bit, then lower it and let it fold onto itself – pretty much like folding a towel. Rotate the bowl and repeat the process by lifting and folding the dough again. Do that two more times. Transfer the dough to the prepared sheet pan(s). If you are using two pans divide the dough (easiest with your hands) and place one dough piece on each sheet pan. Stretch the dough as much as possible to fill out the sheet pan – at some point, it will spring back and not get bigger, but that is ok. Cover with an oiled piece of plastic wrap and let rest for about 15 Minutes.
4. Remove the plastic wrap and stretch the dough a bit more so you get into all corners of the sheet pans. Cover again and let the dough rest for another 45-50 minutes until the dough is pretty much double in size. If you do not want to bake both sheet pans at the same time, you can place one in the fridge (up to 24h) and let the dough rise in the fridge.
5. While the dough is rising you can prepare the toppings. Peel and finely slice the garlic. Cut the tomatoes in half and chop the herbs. If you want to make only one topping for both sheet pans just double the amount of the ingredients of one of the toppings.
6. Preheat the oven to 450°F (230°C). Uncover the risen dough. Drizzle some oil on the dough and press your fingertips into the dough (until you touch the bottom of the sheet pan) to create lots of dimples across the entire surface of the dough. Add your toppings and sprinkle with flaky sea salt and pepper. Bake for 20-25 minutes. If you bake both sheet pans you want to switch positions halfway through the baking time. To get a crispier and more browned top place the sheet pans close to the top heating element of the oven and bake about 3-5 minutes longer. Take out of the oven and let cool down for about 10 minutes, then remove the focaccia from the sheet pans (works best with a rubber spatula) and let cool down completely on a wire rack.
Notes
Enjoy baking!
Links marked with an asterisk (*) are affiliate links (advertising/Werbung) to Amazon Germany. If you click on one of those links and buy something via this link, I will get a commission for that sale. The price of whatever you buy is not affected in any way by this.


 I love my job, but in between I love to bake and try new things in the kitchen. A lot of my friends and colleagues encourage me to bake - for a very simple reason: they get the leftovers - and it seems they like it most of the time ;)