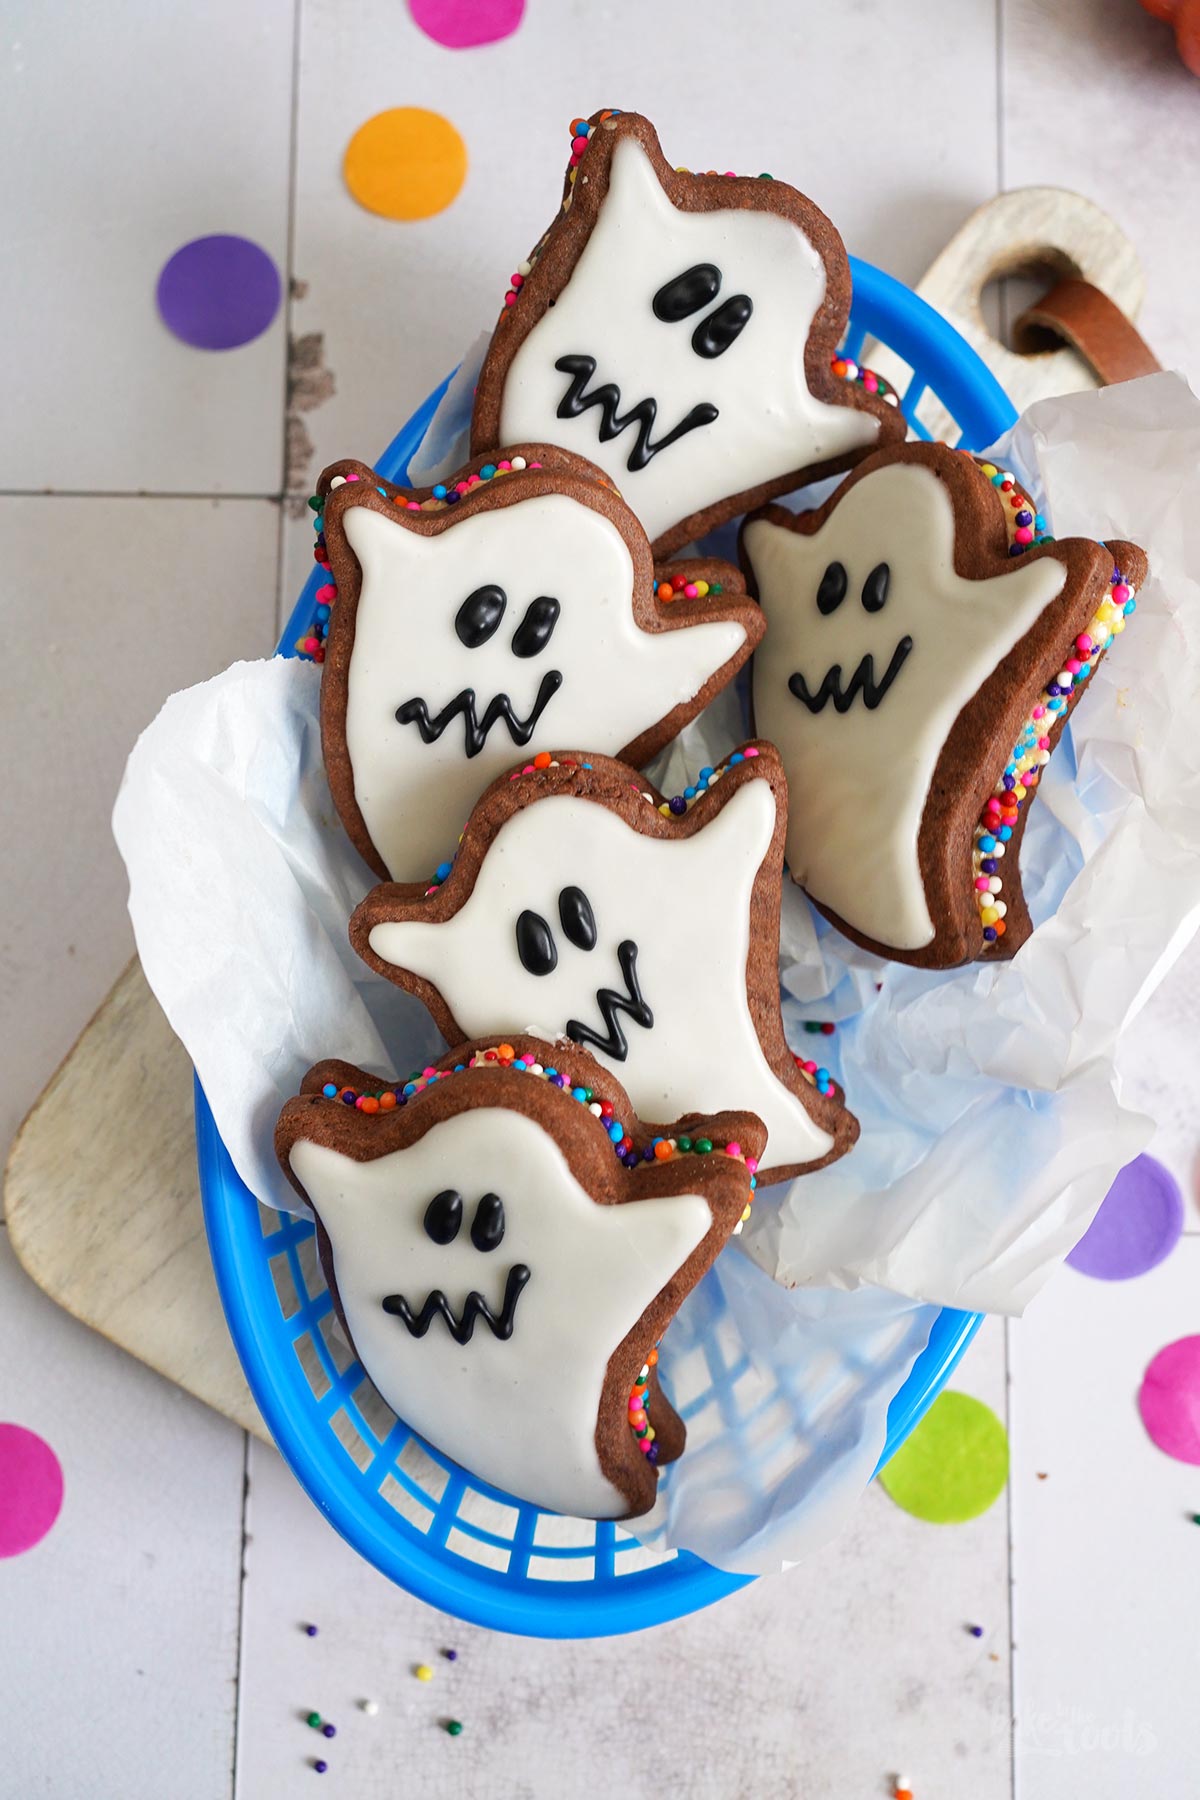
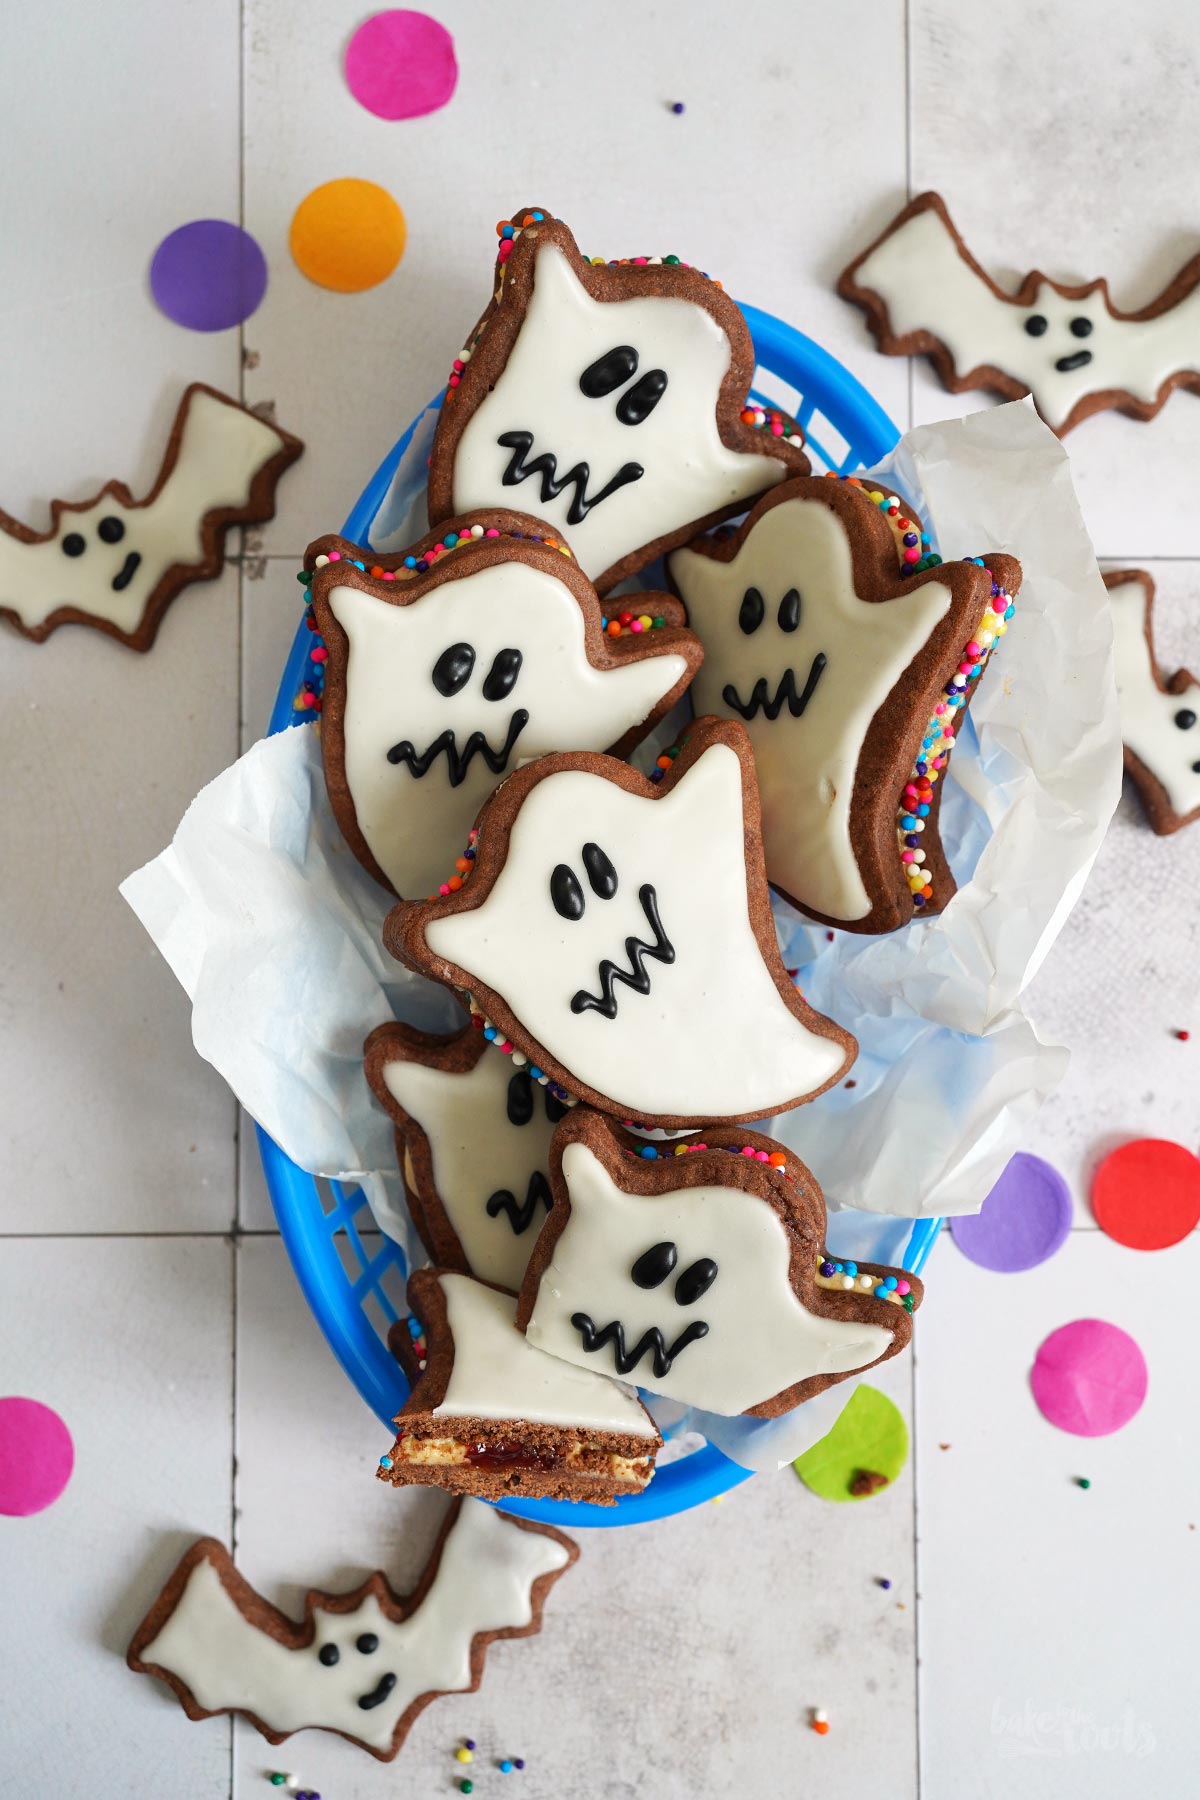
Germany is not the place for Halloween and everything connected to it. Some celebrate it with parties but the good old »trick or treat«, that is common in the US, is pretty much non-existent here. I am not really that much into Halloween parties either, but I absolutely love to bake spooky stuff ;P These little Halloween Ghost PB&J Chocolate Sandwich Cookies might not be super spooky but definitely something cute you can bake as a snack for Halloween.

I’ve mentioned it several times already – I really love baking for Halloween. Sometimes cute, sometimes scary. But that does not mean we have Halloween parties at home. Not at all ;P But it’s really fun to decorate cakes, cupcakes, or cookies to make them look spooky or bloody. My followers on social media seem to see that a bit different, I think. Most of my Halloween posts did not really get a lot of attention. Except for when I completely overdid it and made a whole Haunted Mansion out of gingerbread ;P
If anyone ever rebuilds that gingerbread house, I would definitely like to have some pictures of it! The template for the components of the house can be found on another page linked in the recipe article ;P

These little ghost cookie sandwiches are, of course, not as complicated as the gingerbread house. You don’t have to spend several days of baking and decorating here. Unfortunately, the cookies are also not done in an instant. Thanks to the sugar glaze these little ghosts need quite some time to dry before you can finish them. Everything else is quite easy and done quickly. Baking and filling the cookies only takes minutes ;P
I love the PB&J combination a lot. Sweet meets salty. Once again – not very common here in Germany. Maybe we have to educate people about this great flavor combination? It’s like Chocolate Cookies topped with salt https://baketotheroots.de/salted-brownie-chocolate-chip-cookies/ – sounds weird at first, but when you try you want this combination every time ;P
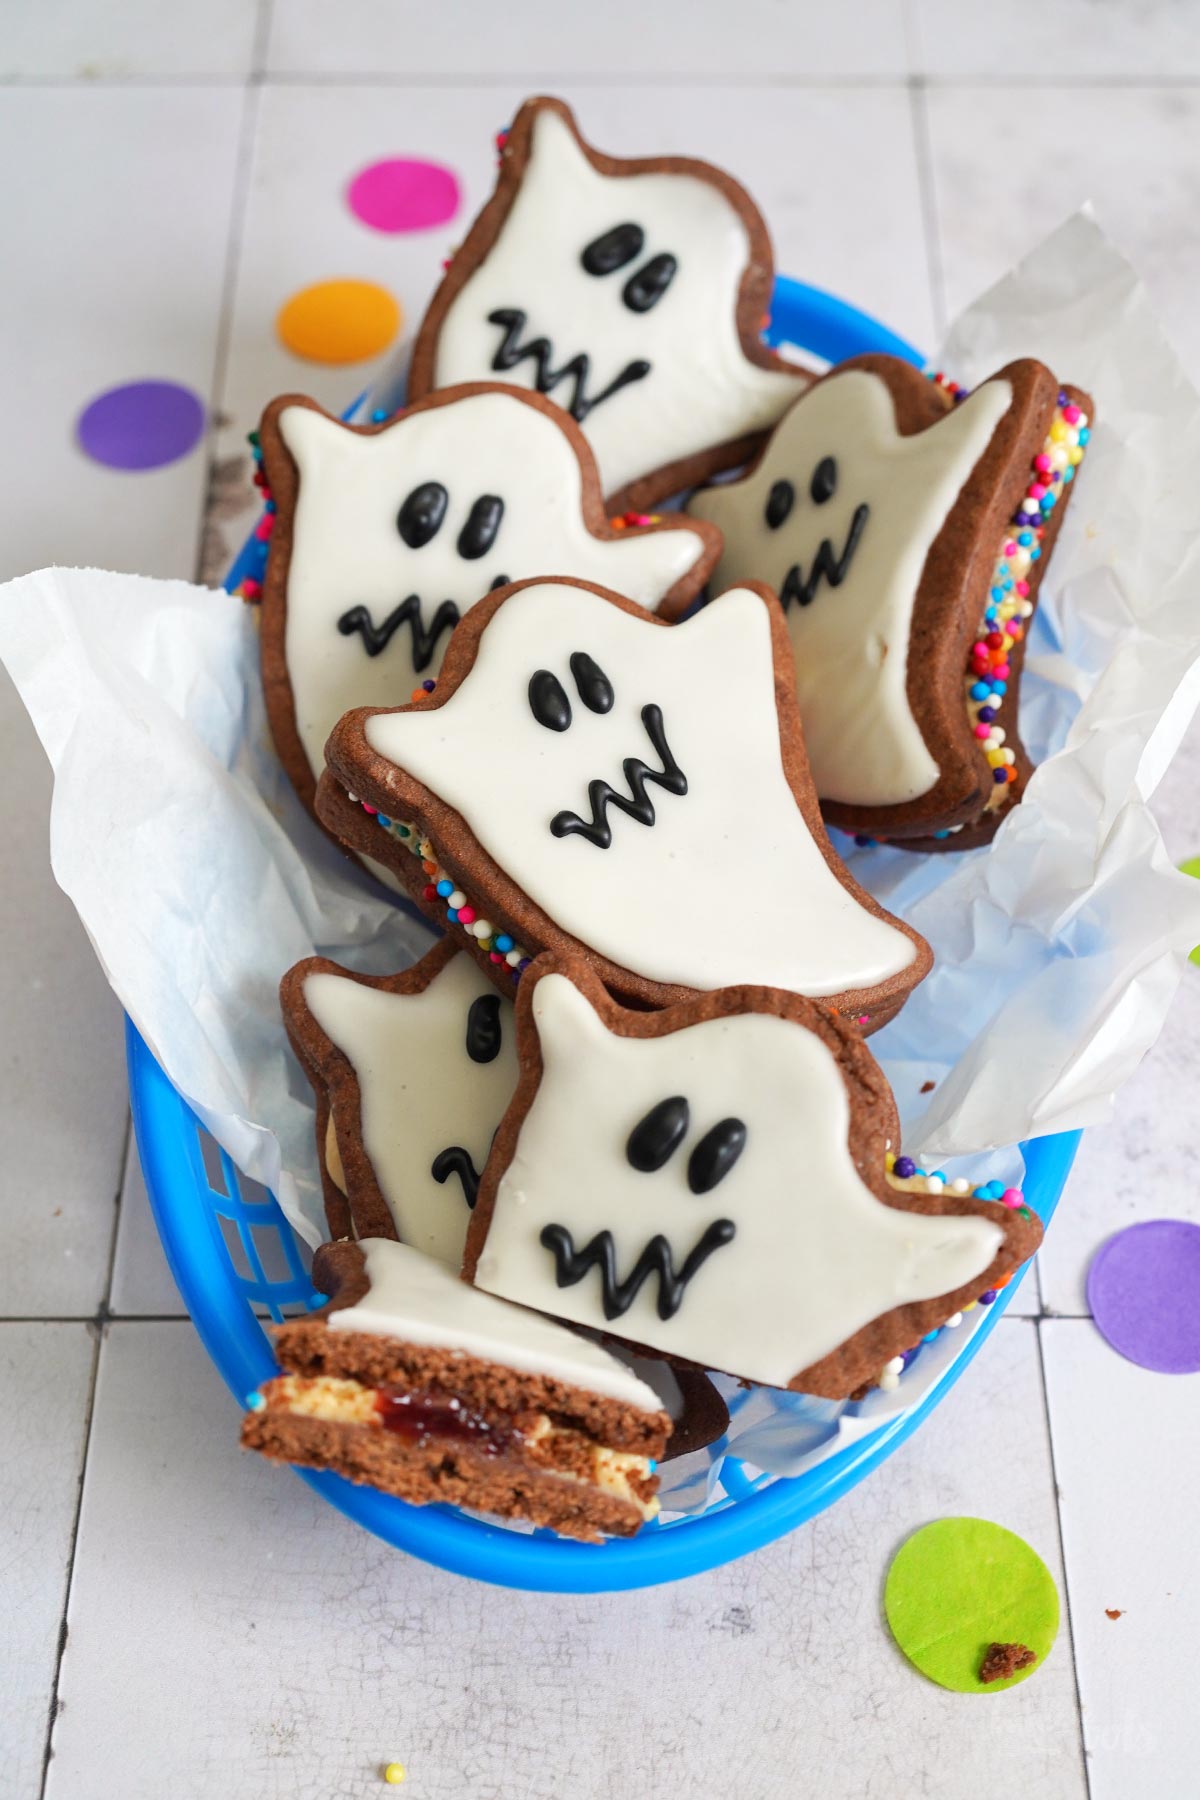
Anyway. If you are not a big fan of PB&J you can always adjust to your liking here. Or if you’re not into ghosts. Some might prefer pumpkins or bats here ;) You can use the cookie dough recipe for many other sandwich cookie alternatives. Any shape and any filling you want. You don’t like sugar glaze? Get rid of it and make round chocolate sandwich cookies with a chocolate ganache filling ;P
If you are in fact a fan of everything Halloween, I got some more stuff here on the blog for you. These cookies here, for example, are also great for Halloween parties. Click or tap (if you are on your phone right now) the picture, and you’ll be redirected to the corresponding recipe. Easy-peasy ;)
INGREDIENTS / ZUTATEN
(14 sandwich cookies)
For the dough:
3/4 cup (170g) butter, at room temperature
1/2 cup (100g) sugar
1 large egg
1 tsp. vanilla extract
2 cups (260g) all-purpose flour
1 oz. (30g) cocoa powder
1/4 tsp. baking powder
1/4 tsp. salt
For the decoration:
3/4 cup (100g) confectioners’ sugar, plus more if needed
1/4 tsp. vanilla extract
some milk (or plant-based alternative)
black food coloring
For the filling:
3.2 oz. (90g) peanut butter
2.5 oz. (70g) butter, at room temperature
1 oz. (30g) confectioners’ sugar
1/4 tsp. vanilla extract
4-5 tbsp. jam/jelly
some colored sugar pearls (optional)
(14 Sandwich Cookies)
Für den Teig:
170g weiche Butter
100g Zucker
1 Ei (L)
1 TL Vanille Extrakt
260g Mehl (Type 550)
30g Kakaopulver
1/4 TL Backpulver
1/4 TL Salz
Für die Dekoration:
100g Puderzucker, plus ggf. mehr
1/4 TL Vanille Extrakt
etwas Milch
schwarze Lebensmittelfarbe
Für die Füllung:
90g Erdnussbutter
70g weiche Butter
30g Puderzucker
1/4 TL Vanille Extrakt
4-5 EL Konfitüre
einige bunte Zuckerperlen (optional)

DIRECTIONS / ZUBEREITUNG
1. Add the butter and sugar for the dough to a large bowl and mix until light and fluffy. Add the egg and vanilla extract and mix in well. Combine the flour, cocoa, baking powder, and salt and add to the bowl. Mix/knead until just combined. Wrap the dough in plastic wrap and place in the fridge for at least 2 hours (or overnight).
2. Preheat the oven to 325°F (165°C). Line a baking sheet with baking parchment and set aside. Use half of the dough (keep the rest in the fridge) and roll it out on a floured surface. Cut out as many ghosts as possible using a ghost cookie cutter*. Collect dough scraps and roll them out again cut out more ghosts. Place the dough pieces on the baking sheet, spacing them slightly apart, and bake the first batch of cookies for about 10-11 minutes. Remove from oven and let cool down on the baking sheet for some time, then transfer to a wire rack and let cool down completely. Repeat with the remaining dough until all has been used – you want an even number of cookies.
3. For the glaze, mix the confectioners’ sugar with vanilla extract and a little bit of milk. You want a mixture that is quite thick. Add more confectioners’ sugar or more milk to adjust to get the right consistency. Glaze half of the cookies and let dry for at least 8 hours, preferably overnight. Cover the leftover glaze as airtight as possible and place in the fridge. When the glaze on the cookies has dried nicely, color the leftover glaze with some black food coloring and draw faces onto the cookies. Let dry for another 2-3 hours.
4. Add the peanut butter, butter, confectioners’ sugar, and vanilla extract for the filling to a bowl and mix until you got a light and smooth cream. Fill into a piping bag with a round piping tip. Pipe a thick border of cream on the cookies without decorations and fill the empty centers with jam. Top these cookies with the decorated cookies to create sandwiches. If you like, you can additionally press the sandwich cookies at the edges into colored sugar pearls to make them more colorful.
Note: Store the cookies in a cool place for 2-3 days max.
1. Die weiche Butter und den Zucker in einer großen Schüssel hell und luftig aufschlagen. Das Ei und Vanille Extrakt dazugeben und gut unterrühren. Mehl, Kakao, Backpulver und Salz vermischen und zur Schüssel dazugeben – nur kurz verrühren. Den Teig in Klarsichtfolie einschlagen und für mindestens 2 Stunden (oder über Nacht) in den Kühlschrank legen.
2. Den Ofen auf 165°C (325°F) Ober-/Unterhitze vorheizen. Ein Backblech mit Backpapier auslegen und zur Seite stellen. Die Hälfte des Teiges aus dem Kühlschrank nehmen und auf einer bemehlten Fläche nicht zu dünn ausrollen. Mit einem Geist-Ausstecher* so viele Geister wie möglich ausstechen – Teigreste aufsammeln und erneut ausrollen. Die Teigstücke mit etwas Abstand zueinander auf das Blech setzen und eine erste Ladung Cookies für etwa 10-11 Minuten backen. Aus dem Ofen holen und auf dem Blech ein wenig abkühlen lassen, dann auf ein Kuchengitter setzen und komplett auskühlen lassen. Mit dem restlichen Teig wiederholen, bis alles aufgebraucht wurde. Es wird eine gerade Zahl an Cookies benötigt.
3. Für die Glasur den Puderzucker mit Vanille Extrakt und ein wenig Milch verrühren. Die Mischung sollte recht dickflüssig sein – ggf. mehr Milch oder Puderzucker nachlegen, bis die Konsistenz passt. Die Hälfte der Cookies mit der Glasur überziehen und dann für mindestens 8 Stunden, besser über Nacht trocknen lassen. Den Rest der Zuckerglasur möglichst luftdicht abdecken und in den Kühlschrank stellen. Wenn die Glasur gut getrocknet ist, die Glasurreste mit etwas schwarzer Lebensmittelfarbe einfärben und dann Gesichter auf die Cookies aufspritzen – noch einmal 2-3 Stunden trocknen lassen.
4. Für die Füllung die Erdnussbutter mit Butter, Puderzucker und Vanille Extrakt aufschlagen, bis eine homogene Masse entstanden ist. Die Creme in einen Spritzbeutel mit runder Tülle einfüllen. Auf die Cookies ohne Glasur Dekoration einen dicken Rand Creme aufspritzen und in der Mitte dann etwas mit etwas Konfitüre auffüllen. Jeweils einen dekorierten Cookie aufsetzen und ein wenig zusammendrücken. Wer mag, kann die Sandwich Cookies am Rand noch zusätzlich in bunte Zuckerperlen drücken – die sollten an der Creme haften bleiben.
Hinweis: Die Cookies an einem kühlen Ort für max. 2-3 Tage aufbewahren.

Craving more? Keep in touch on Facebook, Twitter, Instagram and Pinterest for new post updates and more. You can also contact me with any questions or inquiries!
Here is a version of the recipe you can print easily.
Print
Halloween Ghost PB&J Chocolate Sandwich Cookies
- Prep Time: 00:45
- Cook Time: 00:10
- Total Time: 14:00
- Yield: 14 1x
- Category: Cookies
- Cuisine: International
- Diet: Vegetarian
Description
The perfect cookies for a fun Halloween – Ghost PB&J Chocolate Sandwich Cookies. Sweet and a tiny bit salty – everything you expect from a PB&J Sandwich ;)
Ingredients
For the dough:
3/4 cup (170g) butter, at room temperature
1/2 cup (100g) sugar
1 large egg
1 tsp. vanilla extract
2 cups (260g) all-purpose flour
1 oz. (30g) cocoa powder
1/4 tsp. baking powder
1/4 tsp. salt
For the decoration:
3/4 cup (100g) confectioners’ sugar, plus more if needed
1/4 tsp. vanilla extract
some milk (or plant-based alternative)
black food coloring
For the filling:
3.2 oz. (90g) peanut butter
2.5 oz. (70g) butter, at room temperature
1 oz. (30g) confectioners’ sugar
1/4 tsp. vanilla extract
4–5 tbsp. jam/jelly
some colored sugar pearls (optional)
Instructions
1. Add the butter and sugar for the dough to a large bowl and mix until light and fluffy. Add the egg and vanilla extract and mix in well. Combine the flour, cocoa, baking powder, and salt and add to the bowl. Mix/knead until just combined. Wrap the dough in plastic wrap and place in the fridge for at least 2 hours (or overnight).
2. Preheat the oven to 325°F (165°C). Line a baking sheet with baking parchment and set aside. Use half of the dough (keep the rest in the fridge) and roll it out on a floured surface. Cut out as many ghosts as possible using a ghost cookie cutter*. Collect dough scraps and roll them out again cut out more ghosts. Place the dough pieces on the baking sheet, spacing them slightly apart, and bake the first batch of cookies for about 10-11 minutes. Remove from oven and let cool down on the baking sheet for some time, then transfer to a wire rack and let cool down completely. Repeat with the remaining dough until all has been used – you want an even number of cookies.
3. For the glaze, mix the confectioners’ sugar with vanilla extract and a little bit of milk. You want a mixture that is quite thick. Add more confectioners’ sugar or more milk to adjust to get the right consistency. Glaze half of the cookies and let dry for at least 8 hours, preferably overnight. Cover the leftover glaze as airtight as possible and place in the fridge. When the glaze on the cookies has dried nicely, color the leftover glaze with some black food coloring and draw faces onto the cookies. Let dry for another 2-3 hours.
4. Add the peanut butter, butter, confectioners’ sugar, and vanilla extract for the filling to a bowl and mix until you got a light and smooth cream. Fill into a piping bag with a round piping tip. Pipe a thick border of cream on the cookies without decorations and fill the empty centers with jam. Top these cookies with the decorated cookies to create sandwiches. If you like, you can additionally press the sandwich cookies at the edges into colored sugar pearls to make them more colorful.
Notes
Store the cookies in a cool place for 2-3 days max.
Links marked with an asterisk (*) are affiliate links (advertising/Werbung) to Amazon Germany. If you click on one of those links and buy something via this link, I will get a commission for that sale. The price of whatever you buy is not affected in any way by this.






 I love my job, but in between I love to bake and try new things in the kitchen. A lot of my friends and colleagues encourage me to bake - for a very simple reason: they get the leftovers - and it seems they like it most of the time ;)