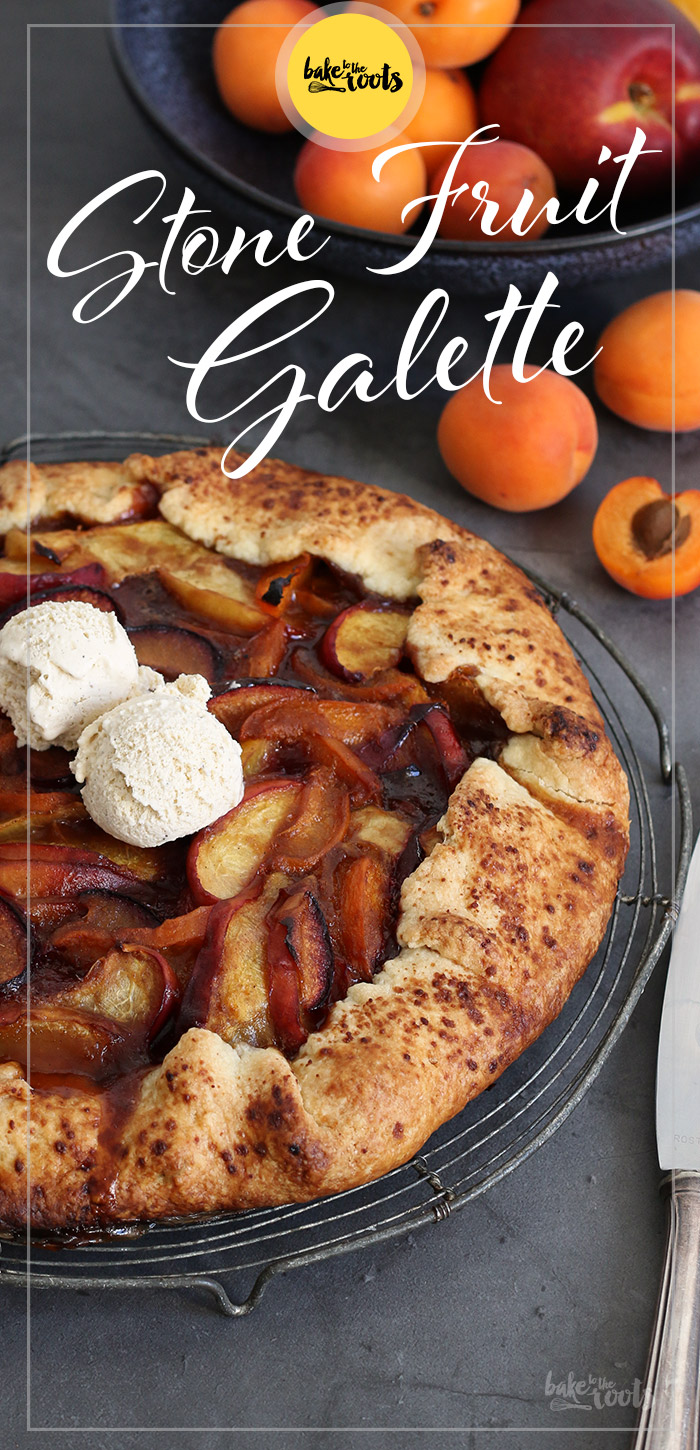
The end of the month is here… the money is gone and everyone is waiting for fresh money to appear on the bank account ;) Well.. even though this is an important topic, there is something much more important at the end of each month: Bake Together – The Baking Surprise with Andrea from Zimtkeks & Apfeltarte! Yay! ;) You know… that little baking thing where we choose a topic and surprise each other with the result. This month it’s all about apricots and I made a delicious galette with… apricots! And plums and nectarines ;)
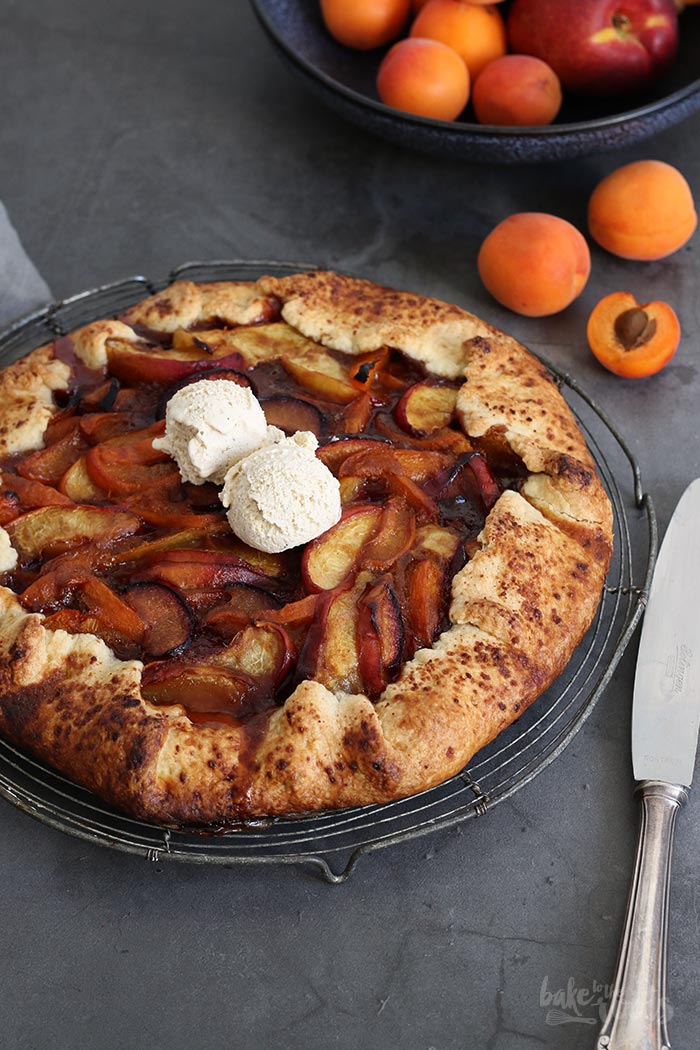
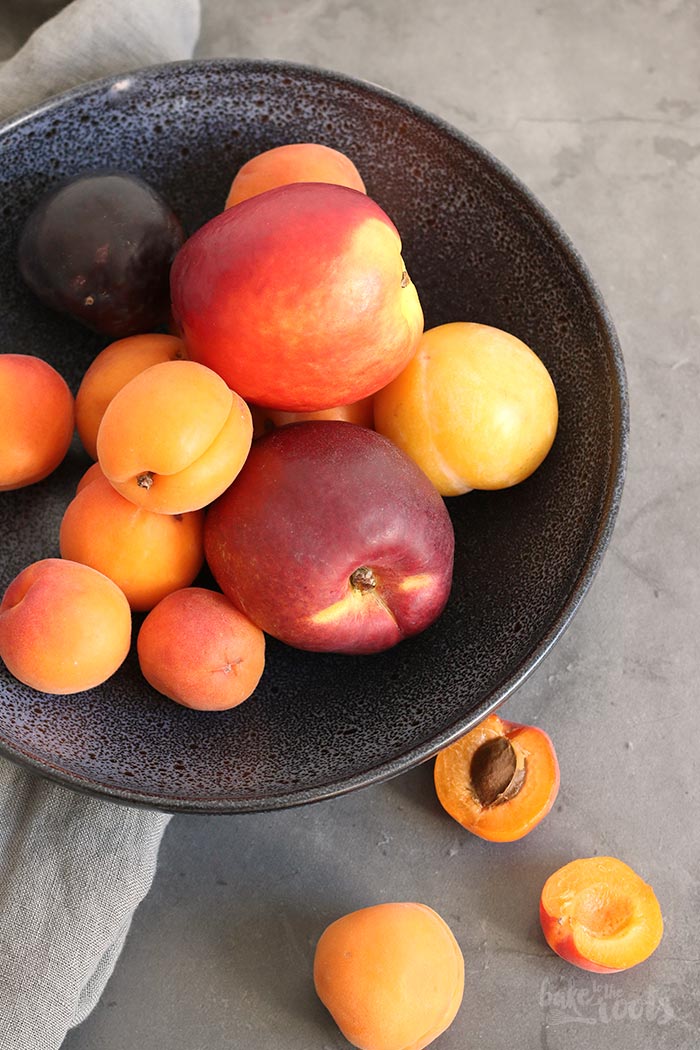
Andrea and I are doing this now more than 3 years already. Each month a new topic, a new ingredient or type of bake is chosen and then we bake without knowing what the other one is doing. So today we had to feature apricots in our bakes. I decided that those apricots should be accompanied by some plums and nectarines… just for fun.
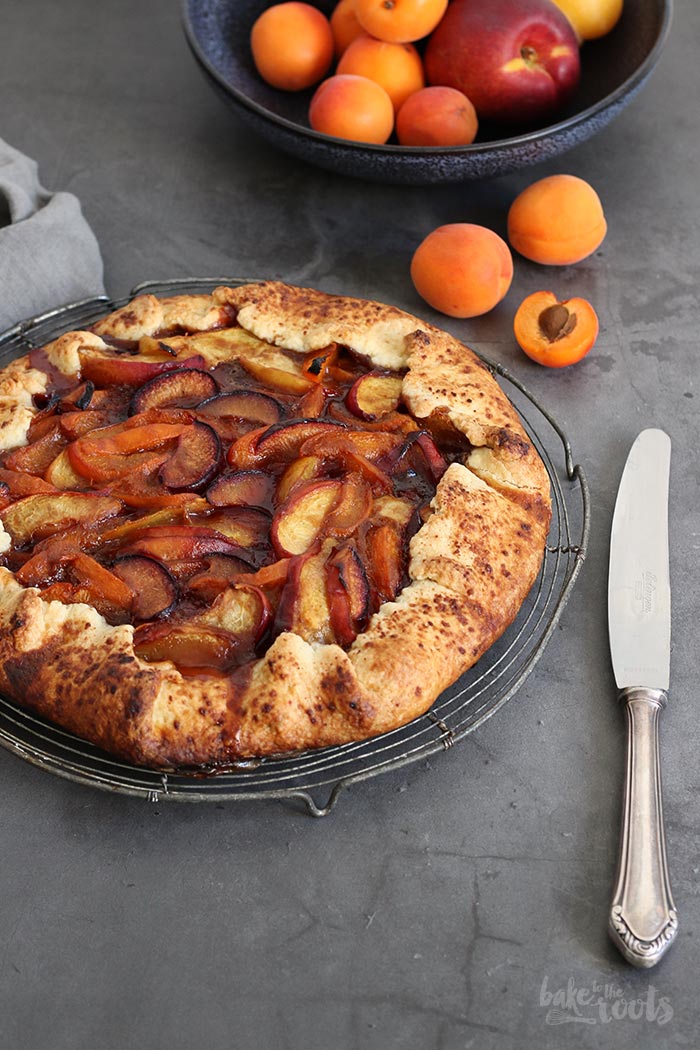
Turned out they really worked well together. The galette was a hit! I am not a huge fan of apricots all alone in a bake anyways. I think the flavor can be a bit overpowering if there are too many apricots involved. Well… together with plums and nectarines definitely a winning team. The flavors were perfect together. Sweet but not too sweet, the galette dough turned out perfect – crunchy and flaky, the texture you want to achieve when baking a galette. Since I got diagnosed with diabetes I am hardly eating sweet stuff anymore. I try everything I bake, so I can see if it’s good or not and tell you how it tastes, etc. but besides that… no more sweets. With this one here I could not resist and had more than just a bite to taste. Since the sugar in the bake is raw cane sugar and coconut blossom sugar it’s not as bad as regular white sugar. Plus point. Still not perfect, but better ;) So I did not feel too bad eating a whole slice and then even a second one :P
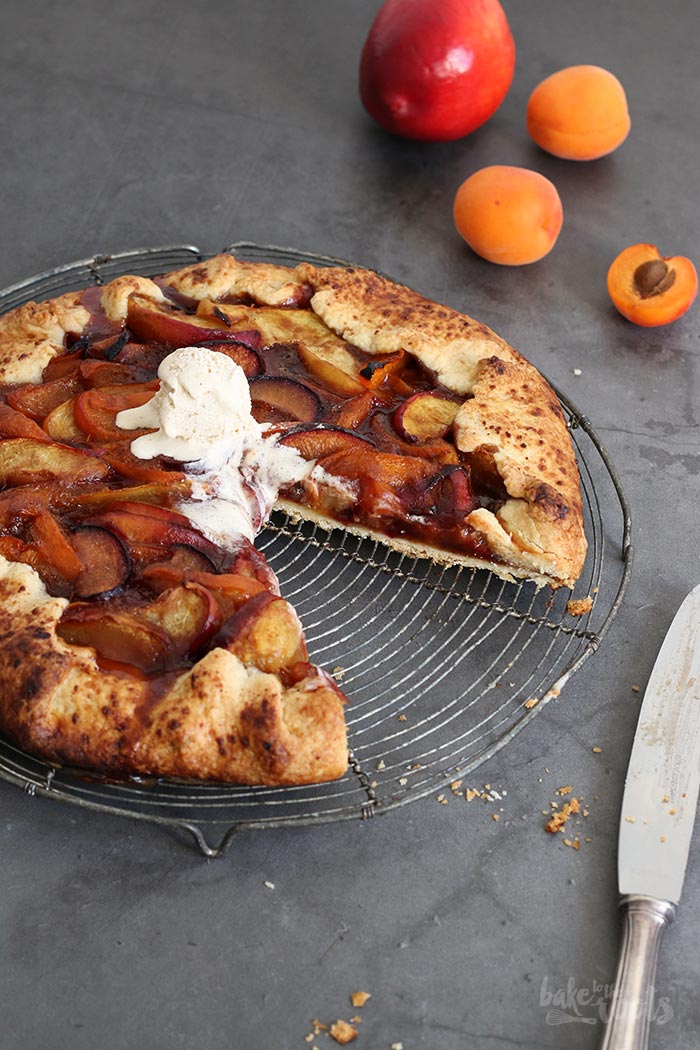
You can prepare the dough for the galette in advance if you want or need to. A day in the fridge is absolutely no problem. If you have guests that’s actually not a bad idea. Do the dough the day before and on the day you entertain your friends you minimize the time in the kitchen. When you’re done with the galette you can freeze leftovers. The chances are slim there will be leftovers, but who knows ;) Reheated the galette is still nice. Not as perfect as fresh out of the oven… but almost. Better than throwing food :P
Alright. So what did Andrea do? Did she bake a cake? A bread or maybe also a galette? How knows. I don’t ;) Let’s check her blog to find out…

INGREDIENTS / ZUTATEN
1 1/2 cups (200g) all-purpose flour
3 tbsp. cane sugar
1/4 tsp. salt
1/2 cup (120g) cold butter
3-4 tbsp. ice water
For the topping:
5-6 apricots
2-3 plums
2 nectarines
1 tbsp. lime juice
1/3 cup (65g) coconut blossom sugar
2 tbsp. all-purpose flour
1/4 tsp. ground cardamom
pinch of salt
2 tbsp. milk
coconut blossom sugar for sprinkling
1-2 tbsp. honey, for drizzling
200g Mehl (Type 405)
3 EL Rohrzucker
1/4 TL Salz
120g kalte Butter
3-4 EL Eiswasser
Für das Topping:
5-6 Aprikosen
2-3 Pflaumen
2 Nektarinen
1 EL Limettensaft
65g Kokosblütenzucker
2 EL Mehl (Type 550)
1/4 TL Kardamom, gemahlen
Prise Salz
2 EL Milch
Kokosblütenzucker zum Bestreuen
1-2 EL Honig zum Beträufeln
DIRECTIONS / ZUBEREITUNG
2. While the dough is cooling wash the fruits, half and pit them. Cut into thin slices, add to a bowl and mix the lime juice. Mix the sugar with flour, cardamom, and salt in a separate bowl, add to the bowl with the fruits and mix everything until the slices are coated completely. Set aside.
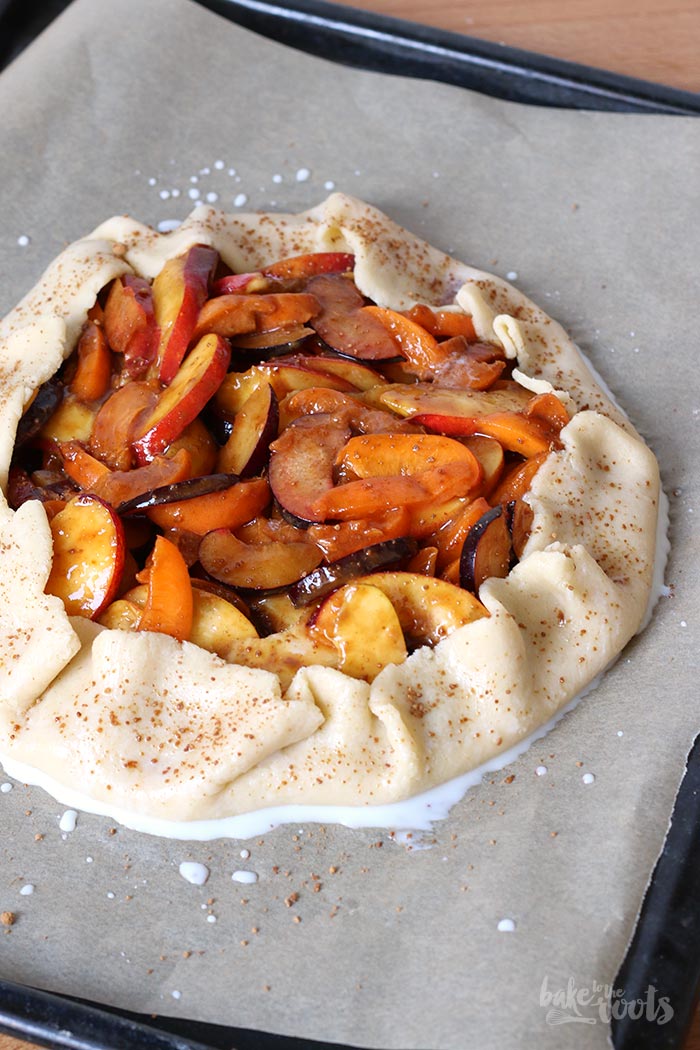
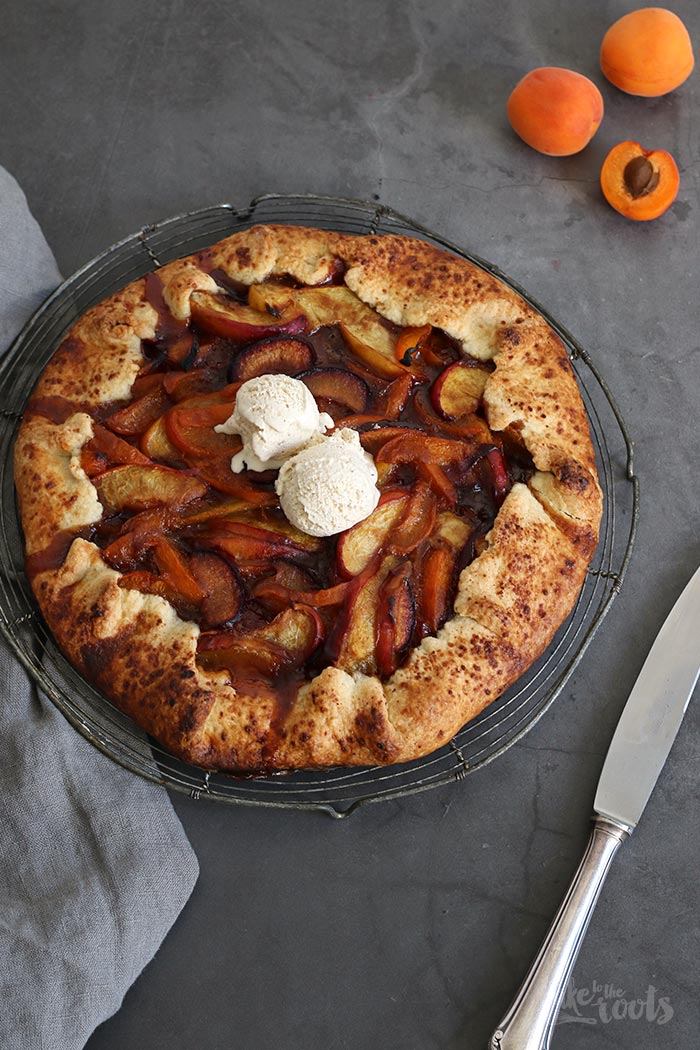
3. Preheat the oven to 400°F (200°C). Line a baking sheet with baking parchment and set aside. Roll out the dough on a floured surface to a round of about 14 inches (35cm) and transfer to the prepared baking sheet. Place the fruits in the center of the dough round. You can just toss them there or place them neatly in a circle pattern – make sure you have an edge of about 2 inches (5cm) free from fruits. Pull the edges towards the center and over the fruit to form a crust that keeps everything together. Brush the crust with the milk and sprinkle with some coconut blossom sugar. Bake for 35-40 minutes. The crust should have a nice golden color – cover with aluminum foil if it gets too dark. Take out of the oven and let cool down. The galette is best when still a bit warm. Drizzle with some honey and serve with ice cream or whipped cream.
2. Während der Teig kühlt, die Früchte waschen, halbieren und die Kerne entfernen, dann in dünne Scheiben schneiden und in eine Schüssel geben und mit dem Limettensaft vermischen. Kokosblütenzucker, Mehl, Kardamom und Salz vermischen und dann zur Schüssel mit den Früchten dazugeben – alles gut vermischen und dann zur Seite stellen.
3. Den Ofen auf 200°C (400°F) vorheizen. Ein Backblech mit Backpapier auslegen und zur Seit stellen. Den Teig auf einer bemehlten Fläche zu einem Kreis von etwa 35cm (14 inches) ausrollen. Den Teig dann auf das vorbereitete Blech legen und die Früchte in die Mitte des Teigkreises setzen. Man kann das ganz wild tun, oder ein Kreismuster legen – je nachdem wie man mag. Vom Rand sollte aber in beiden Fällen ein Abstand von etwa 5 cm (2 inches) gehalten werden. Diesen Teigrand dann zur Mitte über die Früchte ziehen und damit alles gut einschließen. Den entstandenen Rand mit Milch einstreichen und Kokosblütenzucker bestreuen. Für 35-40 Minuten backen – der Rand sollte eine schöne goldene Farbe bekommen haben. Sollte die Galette zu dunkel werden, mit Aluminiumfolie abdecken. Aus dem Ofen holen und abkühlen lassen. Die Galette schmeckt am besten, wenn sie noch etwas warm ist. Vor dem Servieren mit etwas Honig beträufeln und mit Eis oder Schlagsahne servieren.
Craving more? Keep in touch on Facebook, Twitter, Instagram and Pinterest for new post updates and more. You can also contact me with any questions or inquiries!
Here is a version of the recipe you can print easily.
Print
Galette with Apricot, Plum and Nectarine
- Prep Time: 30m
- Cook Time: 40m
- Total Time: 2h 10m
- Yield: 8
- Category: Tarts
- Cuisine: French
Description
Delicious sweet galette with apricots, plums, and nectarines – the perfect treat in summer!
Ingredients
Instructions
Notes
Enjoy baking!


 I love my job, but in between I love to bake and try new things in the kitchen. A lot of my friends and colleagues encourage me to bake - for a very simple reason: they get the leftovers - and it seems they like it most of the time ;)