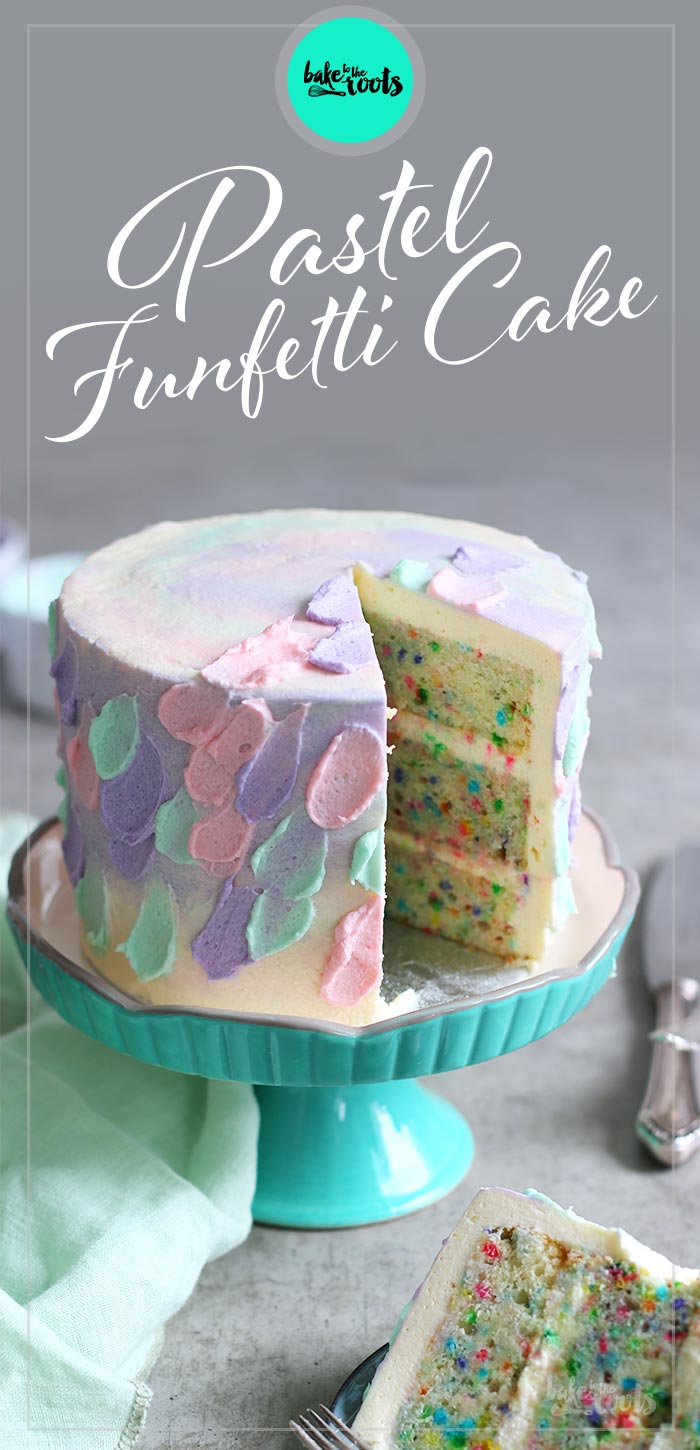
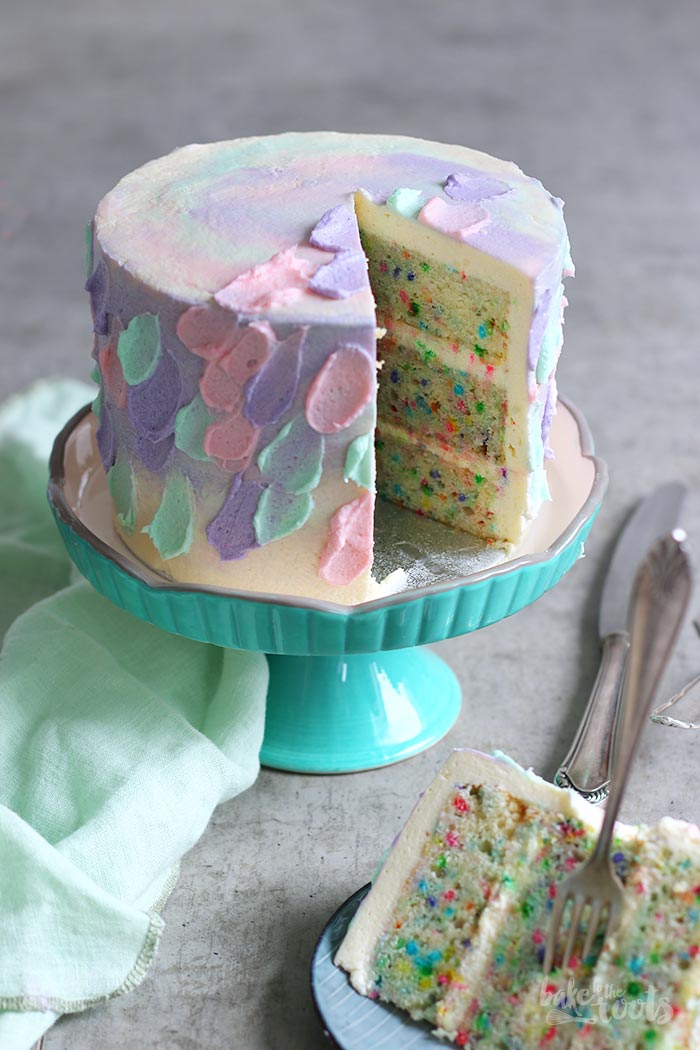
It’s been a while… finally I got some nice layer cake again for you! A nice little Funfetti Pastel Layer Cake which is easy to make and since I am reducing sugar lately… with less sugar than I would normally bake. Not only good for my health but for everyone ;)
Some of you might have noticed that I am trying to avoid sugar as much as possible lately. I made a vegan and sugar-free apple cake the other day with was reaaaally nice – you should check it out. This little fella here is not sugar-free but made with quite a bit less sugar than similar cakes I made. If you want to reduce the amount of sugar in such a cake, it is always a good idea to go for the buttercream. The one I love and use most of the time for cakes and cupcakes is Swiss meringue buttercream – it is so creamy and delicious. Well, for a cake like this one here I would normally use about 350-450 grams of sugar in that buttercream. Not today Satan! (just kidding!) Instead of the Swiss meringue, I used a German buttercream which is made with a homemade pudding – also nice and creamy but only 50-60 gram of sugar all in all and still sweet enough I’d say ;)
OK… you also have to add the cornstarch to the carbohydrate amount, but all in all still a lot less than the other buttercream. Oh and let’s be honest for a moment – neither of these buttercream versions is “healthy” – there is still a ton of fat included, but if you want to reduce the sugar in your diet, this is definitely a way to go. I can still only eat a tiny piece, but at least I can do that without feeling completely bad about it ;)
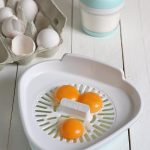
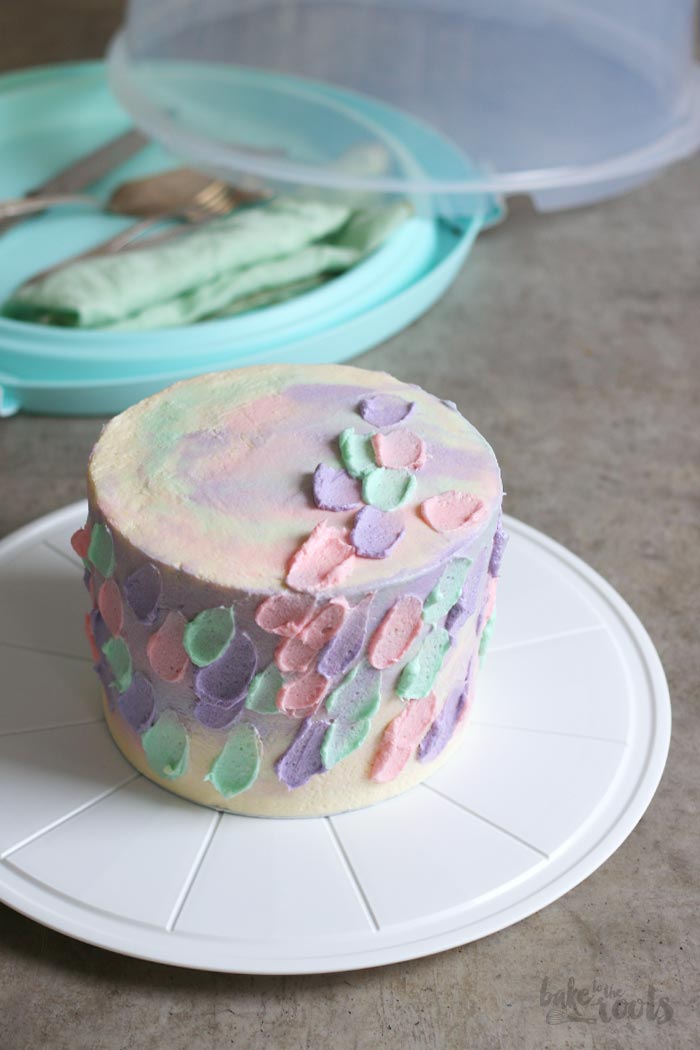
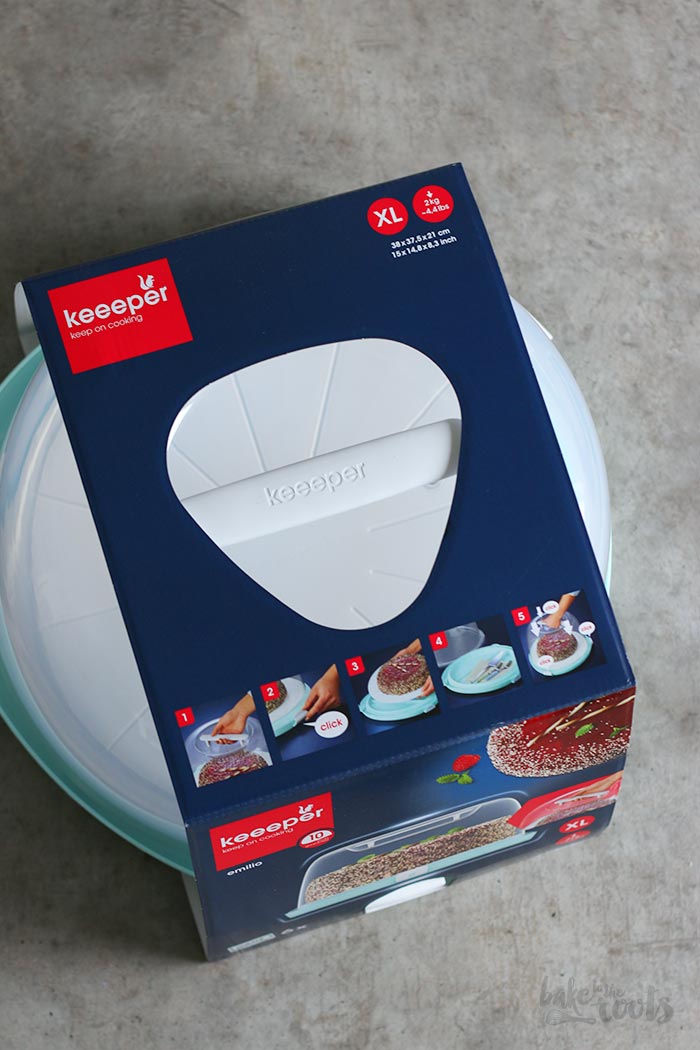
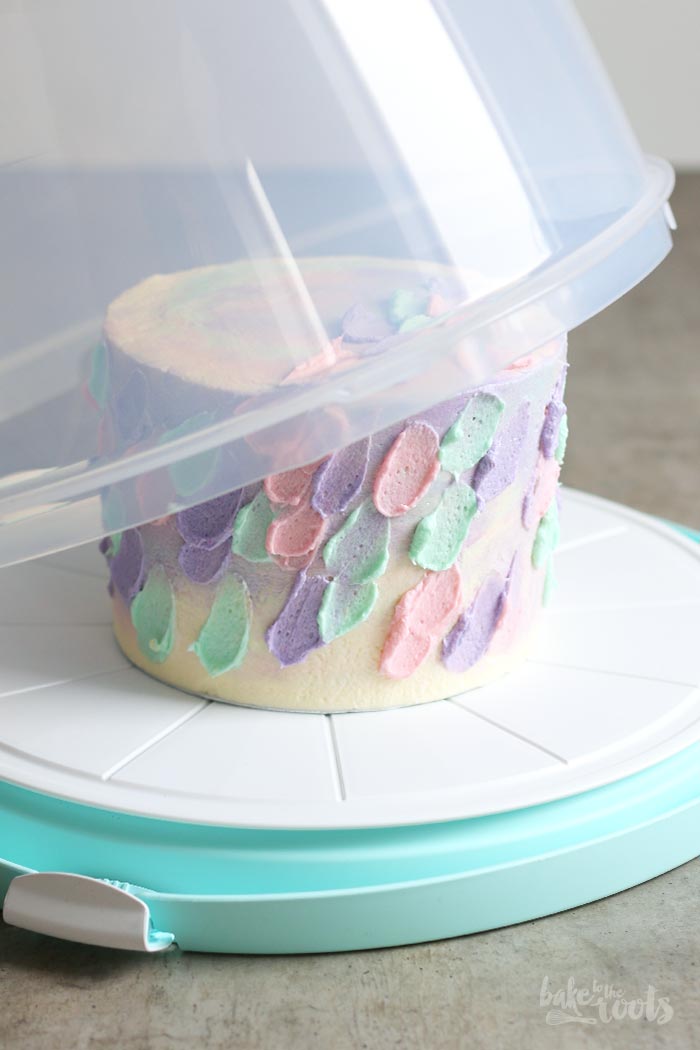
With this Funfetti cake, I also want to introduce you to another product from keeeper*. You might have seen some of their products here on the blog already – I used several of their kitchen gadgets from the “kitchen kollektion” over the last several months. For example this super handy egg separator* aka. “enzo”, this shaker for confectioners’ sugar* aka. “tabea” or this shaker* for dough, salad sauce or other stuff called “federico”. They all come in handy when baking – so does this cake box called “emilio”* when you need to get your finished cake from A to B. I have several cake boxes at home but this one is by far the tallest and can easily fit layered cakes like mine… even bigger ones ;) Tall bundt cakes should be also fine for emilio since the lid has a hight of about 13cm (where the handle is) to about 18cm max. If you are baking more often like me and have to transport the cakes, it is definitely a good idea to have a cake box like that. Bonus on that one – you can also store knife, forks etc. under the serving plate to bring it along with the cake. In summer you can use that space for a cold pack to prevent your buttercream from melting away ;)

The box was actually a bit big for my Funfetti Pastel Cake – I could have easily also stored some cupcakes in there too. But the next big cake is already in the making and needs to get to the office nice and safe the next day ;)
Back to the cake – since I get asked stuff like that quite often, I thought a added some notes for baking this cake (and any other cake like that one):
1. First of all – stick to the recipe and bake the cake layers in three separate tins. This works best. If you do it all in one, you have to adapt the baking time and the result is probably not as good as if you would have baked it in those three tins… as I told you :P
2. If you own cake strips – use them! They are so good when it comes to baking layer cakes. The bake is much more even and almost no dome in the middle. If you have no clue what I am talking about – google it ;) You can also use wet kitchen paper around the cake tin – same effect but not reusable.
3. If you use sprinkles – no matter if it is dough or buttercream – work gentle and fast. The moment you add them somewhere the color starts to bleed out into the dough/buttercream which can lead to an overall grayish color which is not really appealing.
4. You can make the cake layers as well as the buttercream a day in advance. Wrap the cakes well and leave them on the counter – the buttercream should be stored in the fridge. To assemble the cake just whisk the cream once more and you can start finishing the cake. The sprinkles should go into the buttercream right before assembling.
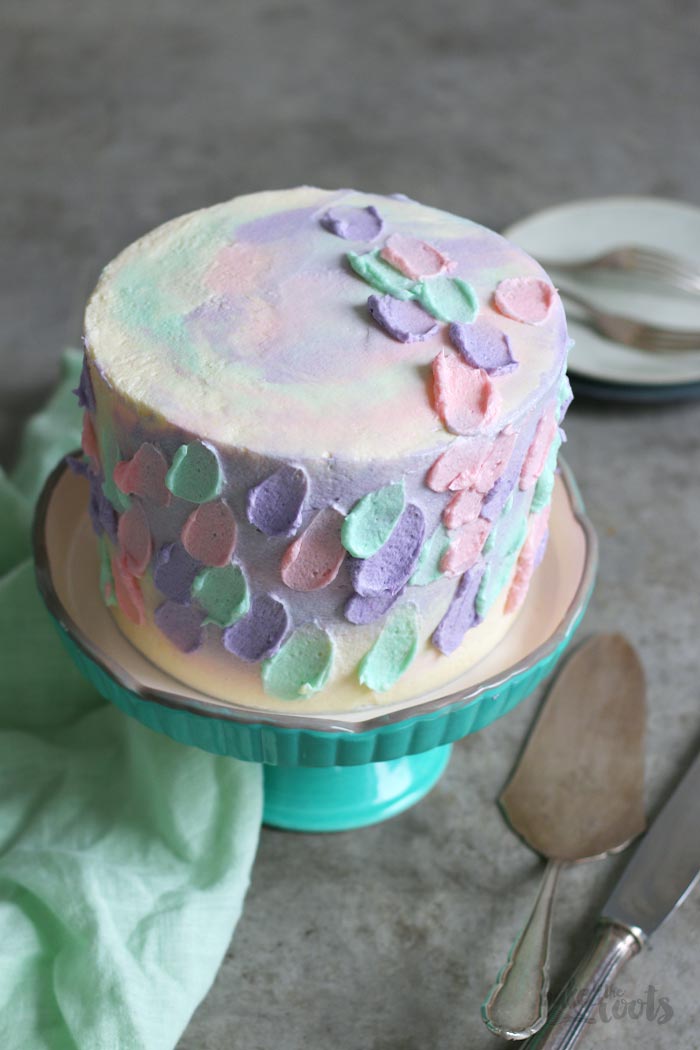
5. For the colored dabs you can use the back of a small spoon. Start at one point with a small amount of buttercream and drag it in one direction so you get that kind of splash effect. You have to decide in what direction you want them to go and stay with that direction all over the cake or it will just look chaotic.
Well… that’s it. I hope you like that little pastel cake. If you are a more colorful person, you can use some more intense colors of course.
INGREDIENTS / ZUTATEN
3/4 cup (170g) butter, at room temperature
1 cup (200g) sugar
3 medium egg whites
2 tsp. vanilla extract
1/2 cup (120g) sour cream
1/2 cup (120ml) milk
1 2/3 cups (220g) all-purpose flour
1 tsp. baking powder
1/4 tsp. baking soda
pinch of salt
1/3 cup (60g) rainbow sprinkles
For the buttercream:
1/2 cup (65g) cornstarch
3 tbsp. sugar
25.4 fl. oz. (750ml) milk
1 tbsp. vanilla extract
11.6 oz. (330g) butter
4 tbsp. confectioners’ sugar
1-2 tbsp. rainbow sprinkles
food color (turquoise, pink, purple)
170g weiche Butter
200g Zucker
3 Eiweiß (M)
2 TL Vanille Extrakt
120g Schmand
120ml Milch
220g Mehl (Type 550)
1 TL Backpulver
1/4 TL Natron
Prise Salz
60g Regenbogenzuckerperlen
Für die Buttercreme:
65g Speisestärke
3 EL Zucker
750ml Milch
1 EL Vanille Extrakt
330g Butter
4 EL Puderzucker
1-2 EL Regenbogenzuckerperlen
Lebensmittelfarbe (türkis, rosa, lila)

DIRECTIONS / ZUBEREITUNG
2. Preheat the oven to 350°F (175°C). Line or grease three 6 inches (15cm) springform tins and set aside.
3. Add the butter and sugar to a large bowl and mix until light and fluffy. Add the egg whites and vanilla extract and mix until fluffy and pale. Add the milk and sour cream and mix until well combined. Mix the flour with baking powder, baking soda, and salt and add to the large bowl – mix until just combined. Add the rainbow sprinkles and fold in – try not to move them too much or the color will bleed out a lot. Divide between the three baking tins and bake for 28-32 minutes or until a skewer inserted into the center comes out clean. Take out of the oven, let cool down a bit in the tins, then remove and let cool down on a wire rack.
4. As soon as the pudding has cooled enough and the cakes are cooled, you can finish the buttercream. Add the softened butter and confectioners‘ sugar to a large bowl and mix on high speed until light and fluffy. Add the cooled pudding gradually with a spoon while mixing constantly until you get a nice and smooth buttercream. Take about 1/4 of the buttercream and mix with the rainbow sprinkles – be gentle and do not mix a lot or the sprinkles will bleed out and you end up with a weird colored buttercream.
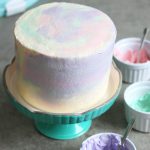
5. Place the first cake layer on a serving plate and spread half of that sprinkle buttercream on top. Place the second cake layer on top. Spread the remaining sprinkle buttercream on that layer and finish with the third cake. Make sure everything is even and straight and place the cake for 20-30 minutes in the fridge. As soon as the cake has cooled enough (if the edges are wonky cut them straight) coat the whole cake with a thin layer (crumb coat) of the white buttercream. Place the cake once more in the fridge for 20-30 minutes, then coat completely with a thick layer of buttercream – make sure to keep some for the decorations. Smooth out the top and edges and place the cake back in the fridge for another 30-60 minutes.
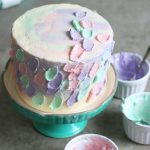
6. Color the remaining buttercream in the colors you want and add a bit randomly on the top and sides of the cake – smooth out again so you get some soft colors all around. Use a small spatula or the back of a small spoon and spread dots of color all over the cake. Let the finished cake cool some more before serving.
2. Den Backofen auf 175°C (350°F) vorheizen. Drei 15cm (6 inches) Springformen mit Backpapier auslegen oder leicht einfetten und zur Seite stellen.
3. Für den Teig die Butter und Zucker zusammen in eine große Schüssel geben und hell und luftig aufschlagen. Das Eiweiß und den Vanille Extrakt dazugeben und aufschlagen, bis eine helle Masse entsteht. Milch und Schmand dazugeben und gut verrühren. Mehl, Backpulver, Natron und Salz in einer zweiten Schüssel vermischen und dann zur großen Schüssel dazugeben und nur kurz unterrühren. Die Zuckerstreusel dazugeben und unterheben – hier solltet ihr nicht mehr viel rühren, da die Streusel sonst “ausbluten” und die Farbe an den Teig abgeben… sieht dann nicht mehr so schön aus. Den Teig auf die vorbereiteten Formen verteilen und dann für 28-32 Minuten backen – mit einem Holzspieß testen, ob noch Teig kleben bleibt und erst dann herausholen, wenn sie sauber rauskommen. Aus dem Ofen nehmen, in den Formen etwas abkühlen lassen, dann vorsichtig herauslösen und auf einem Kuchengitter komplett auskühlen lassen.
4. Sobald der Pudding und die Kuchen abgekühlt sind, kann man mit der Buttercreme weitermachen. Dazu die weiche Butter und den Puderzucker in eine große Schüssel geben und auf höchster Stufe hell und luftig aufschlagen. Den abgekühlten Pudding löffelweise zur Schüssel dazugeben und jeweils gut unterrühren, bis eine cremige Buttercreme entsteht. Von der Buttercreme etwa 1/4 in eine kleine Schüssel geben, die Zuckerperlen dazugeben und unterheben – auch hier wieder so wenig rühren wie möglich, damit die Farben nicht zu sehr in die Creme ausbluten.
5. Die erste Kuchenschicht auf eine Servierplatte legen, mit der Hälfte der Zuckerperlencreme bestreichen und dann die zweite Kuchenschicht auflegen. Die restliche Creme mit den Zuckerperlen auf die Kuchenschicht streichen und mit der dritten Schicht Kuchen abschließen. Die Torte jetzt für 20-30 Minuten in den Kühlschrank stellen. Sobald die Torte gut durchgekühlt ist, aus dem Kühlschrank holen und ggf. zurechtschneiden, falls die Seiten uneben sind. Die Torte mit einer ersten dünnen Schicht Buttercreme (Crumb Coat) einstreichen und wieder 20-30 Minuten in den Kühlschrank stellen. Die Torte dann rundum mit Buttercreme einstreichen – die Oberfläche sollte möglichst glatt werden. Lasst etwas Creme übrig für die Dekoration. Die Torte sollte noch einmal 30-60 Minuten in den Kühlschrank bevor es weitergeht.
6. Den Rest der Buttercreme aufteilen und nach Belieben einfärben. Etwas bunte Buttercreme wahllos auf der Torte verteilen und erneut Glattstreichen um eine dezente Färbung zu bekommen, dann mit einem kleinen Spachtel/Palette oder kleinem Löffel die Creme in einem bunten Muster auf die Torte streichen. Vor dem Servieren noch einmal gut durchkühlen.
Craving more? Keep in touch on Facebook, Twitter, Instagram and Pinterest for new post updates and more. You can also contact me with any questions or inquiries!
Here is a version of the recipe you can print easily.
Print
Funfetti Pastel Cake
- Prep Time: 1h
- Cook Time: 32m
- Total Time: 4h
- Yield: 10 1x
- Category: Cakes
- Cuisine: American
Description
Delicious little layered cake with sprinkles inside and pastel-colored buttercream on the outside.
Ingredients
Instructions
Notes
Enjoy baking!
*I have partnered with keeeper to bring you this delicious cake. That is why I have to declare this here in Germany as Advertising. All I wrote in this article is still based on my own opinion and has not been affected by anybody :)