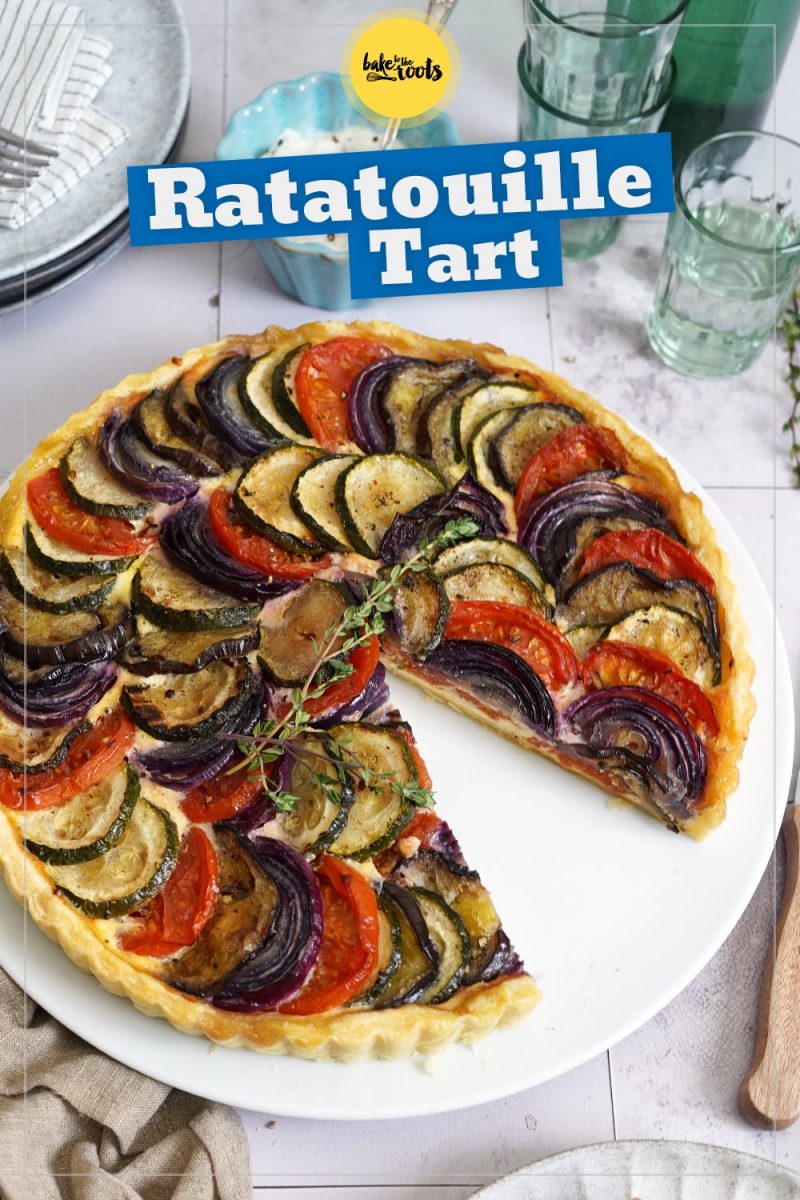
As summer gets into full swing, there are more and more fruits and veggies available at the local farmer’s market from local sources. If you’re lucky to have a garden, you don’t need a farmer’s market – with a reasonably green thumb, you can grow many things yourself. The veggies for this simple Ratatouille Tart are easy to grow in your own garden – even in Germany with our colder temperatures sometimes in summer ;) Maybe not right at the beginning of summer, but eventually everything is ready to harvest ;P
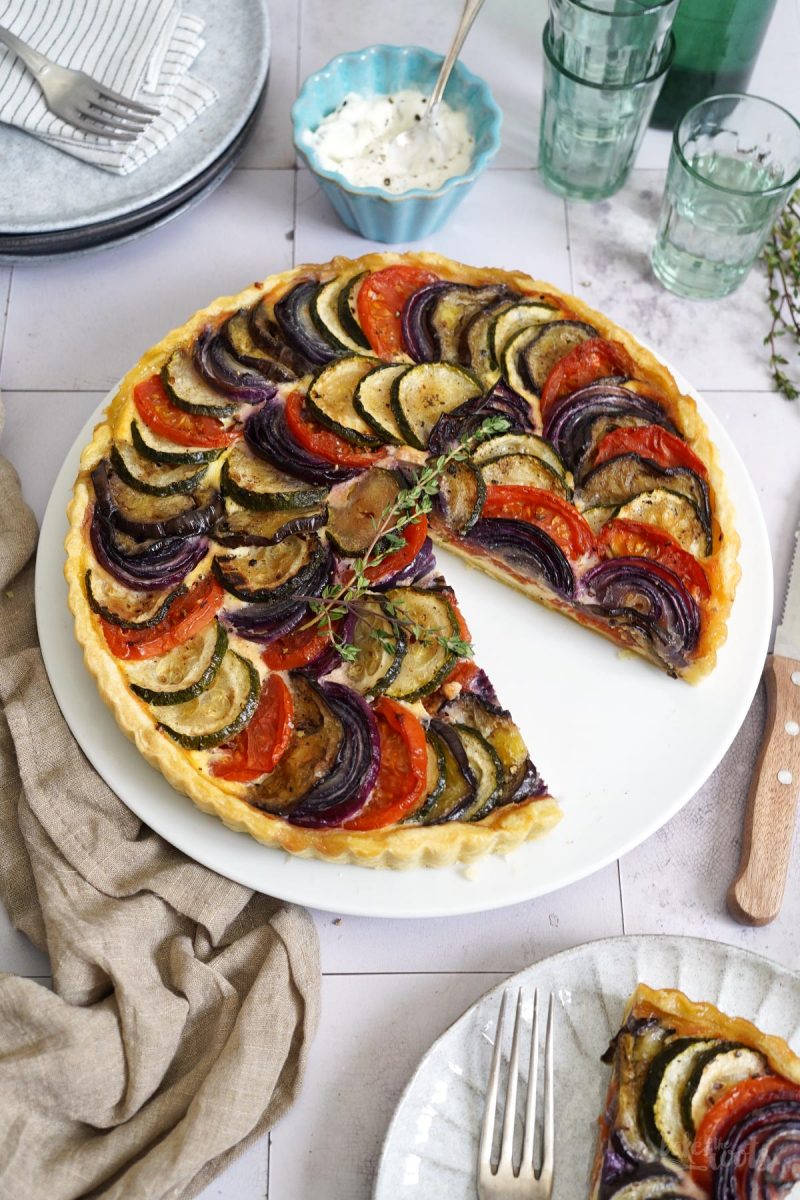
Although I am more known for my cakes, cupcakes, or cookies – my recipe for an Easy Ratatouille has been the most-clicked recipe in the summer for several years already. Why? I have no idea. I’ve been asking that myself for years now ;P Same for my recipe for a (really nice) Pizza Sauce – both beat any pie or cheesecake recipe when it comes to clicking rates. Maybe I should switch to cooking after all!!!
No. Not gonna happen. Even though I love cooking, I prefer working with an oven much more. That’s why I do not have a cooked dish for you today, but a nice veggie tart baked in the oven. Well… the stove was actually needed as well here because the veggies needed to be fried before they could go into the tart… you want some browning and that would be harder to achieve in the oven alone ;)
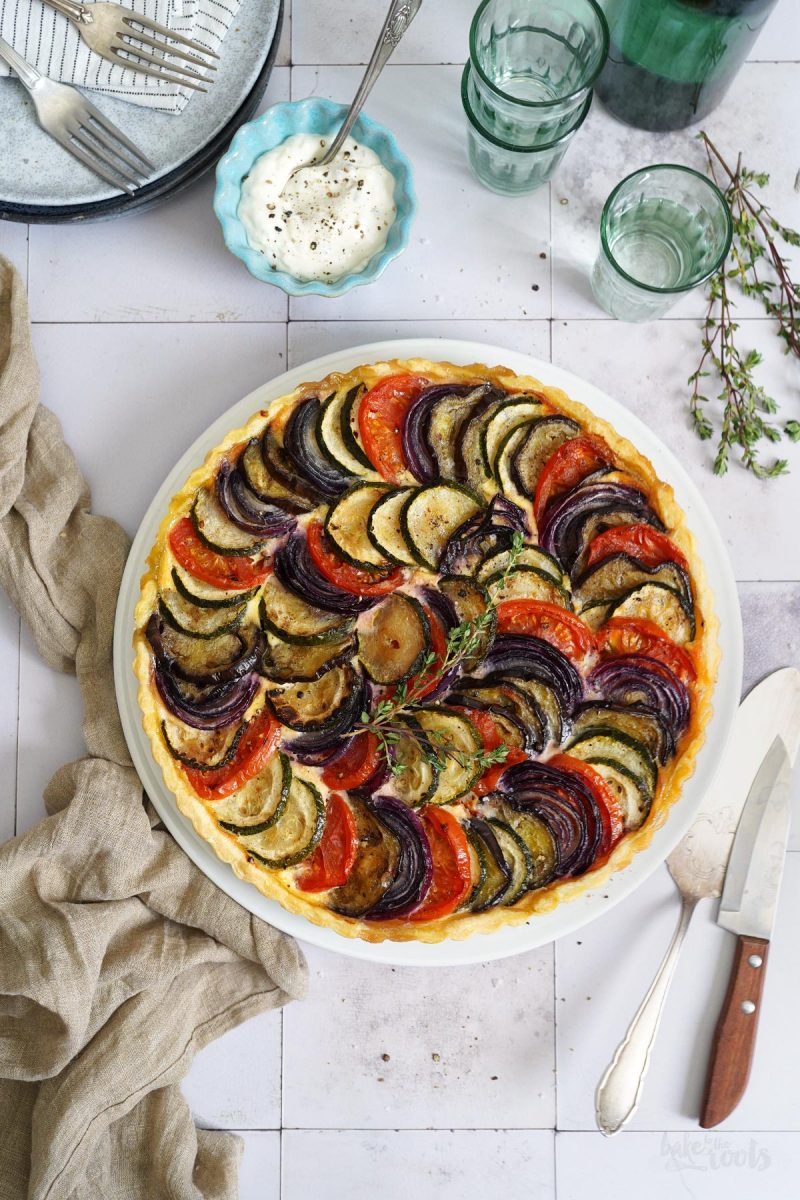
The recipe for the tart may look a bit extensive at first. Granted – there are a few things to do until this ratatouille tart can be served, but nothing too complicated to do here. The dough is easy to prepare, but to save some time you could use ready-made dough from the supermarket instead if you like. This will shorten the preparation time by over an hour – no waiting time for the dough to chill ;)
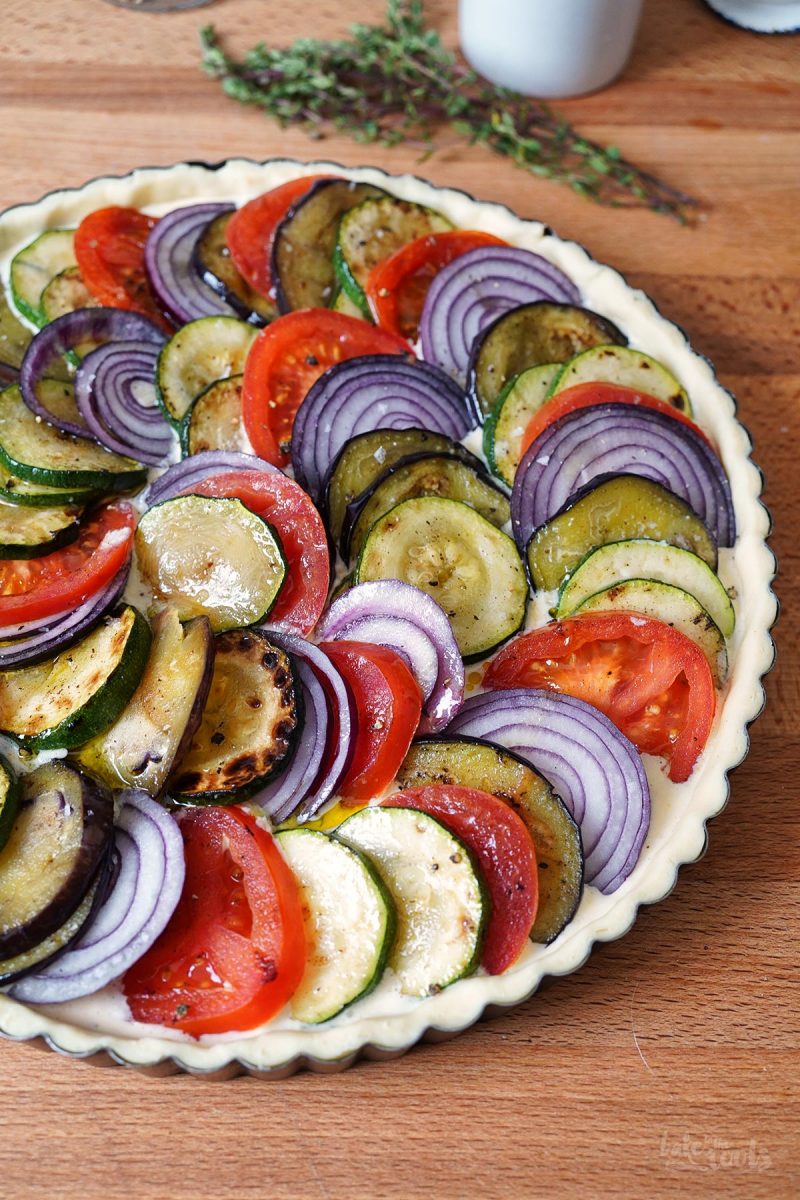
For the rest, unfortunately, there’s no shortcut ;) But as mentioned before – it’s all not really complicated to do. There is some veggie chopping needed, some sautéing of these veggie slices, and then you are already good to layer everything in the baking mold. The veggies really only need minimal color/browning. You don’t have to cook them completely or until soft. Just some browned spots here and there. Especially the tomatoes only need seconds in the pan. If you cook/fry them longer they will fall apart. So be careful. You want a colorful tart with intact veggies and not a tart that is made with tomato sauce ;P
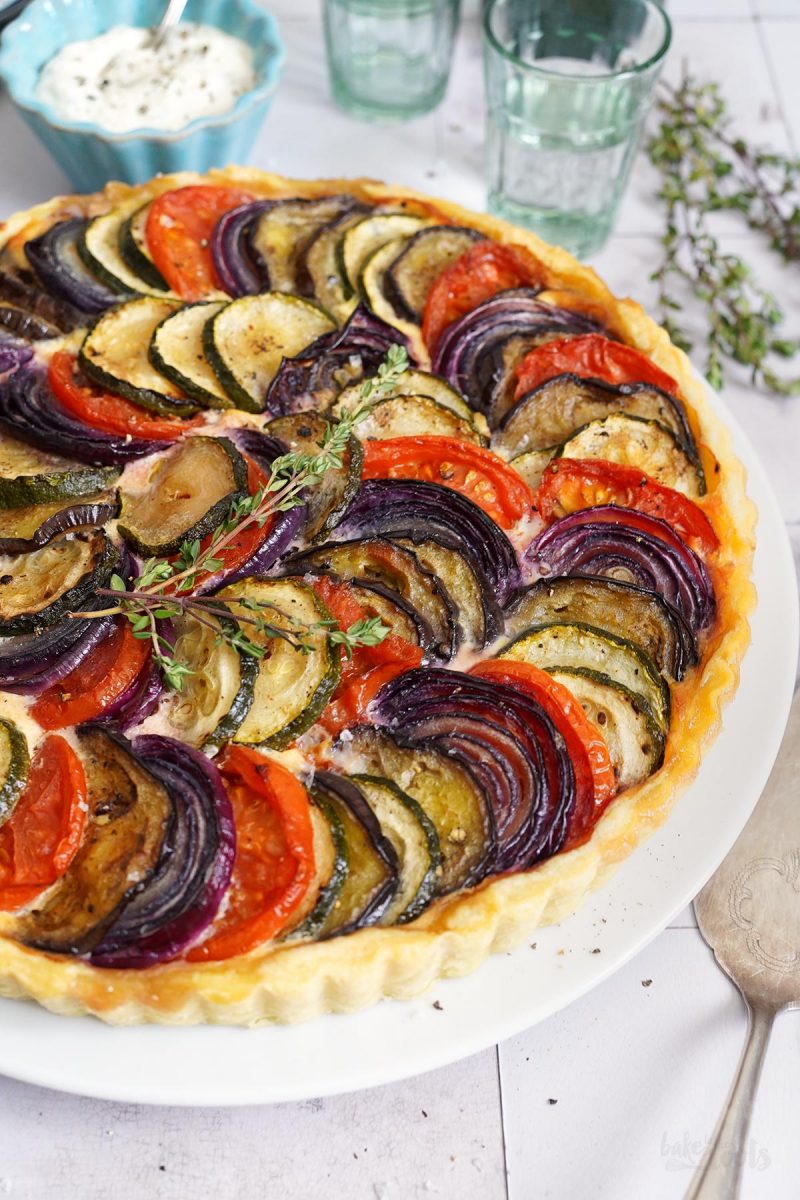
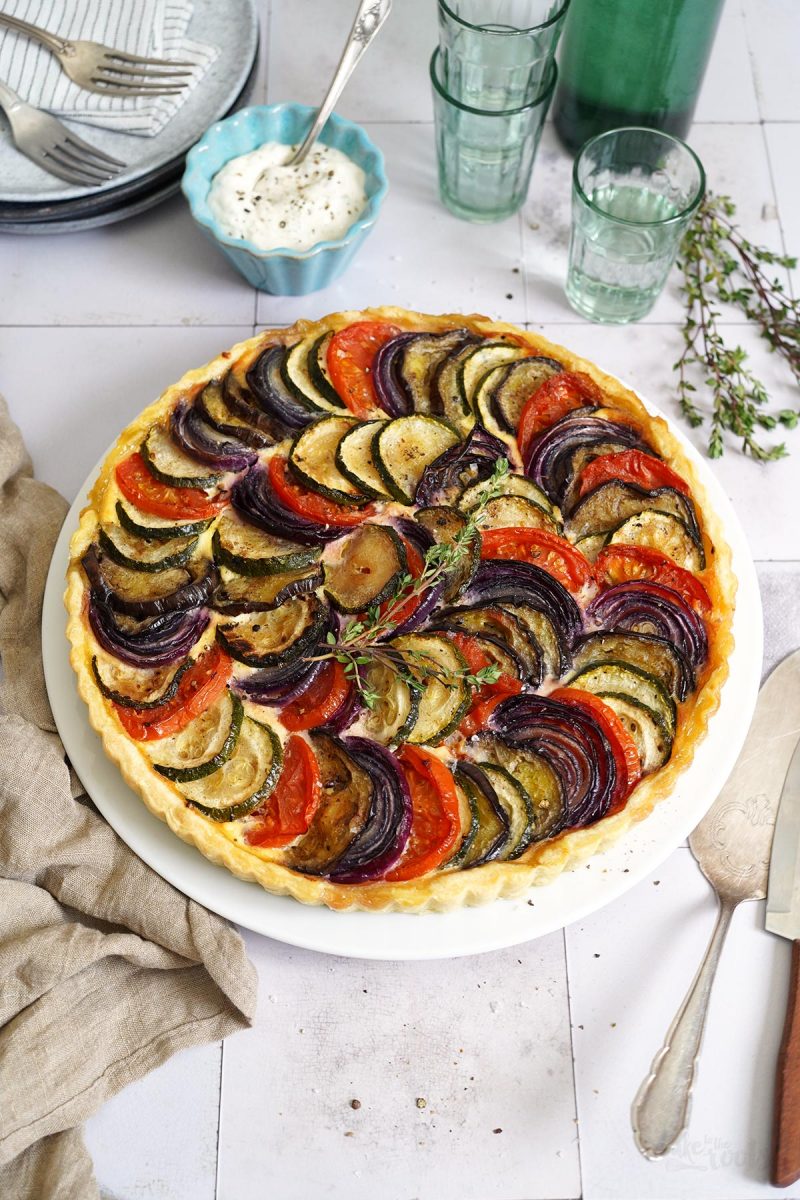
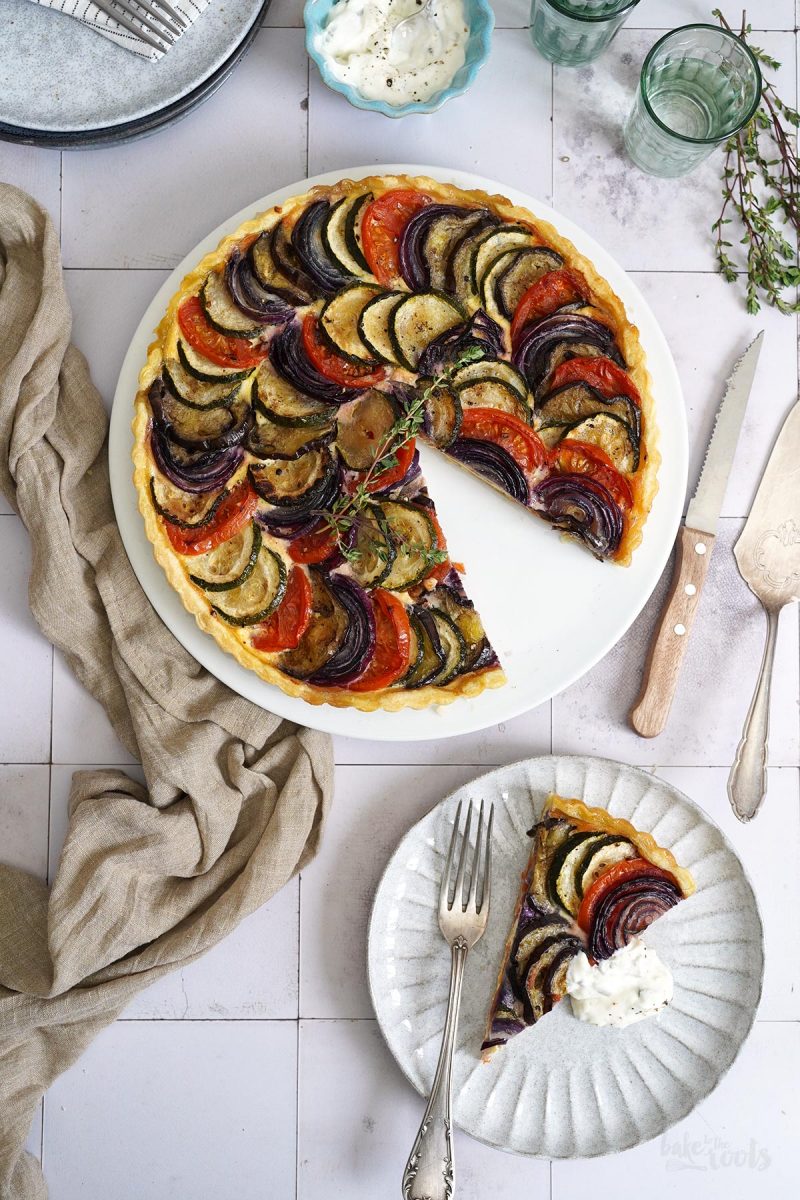
The finished tart can be served warm or cold – although we definitely prefer eating it warm with a herb dip or similar. The tart is a great dinner or lunch option. If you let it cool down completely it’s also great to take to a picnic in the park.
If you like cooking or baking with zucchini you can find much more here on the blog. We love to use chopped-up zucchini for pasta a lot. Great flavors!
INGREDIENTS / ZUTATEN
For the base:
1 3/4 cups (230g) all-purpose flour
1/2 tsp. salt
1/2 cup (120g) cold butter
1 medium egg
1-2 tbsp. cold milk
For the filling:
7 oz. (200g) sour cream
2 medium eggs
1.8 oz. (50g) Parmesan, finely grated
2-3 stalks of thyme
salt, pepper
For the veggie topping:
some oil for frying (e.g. avocado oil)
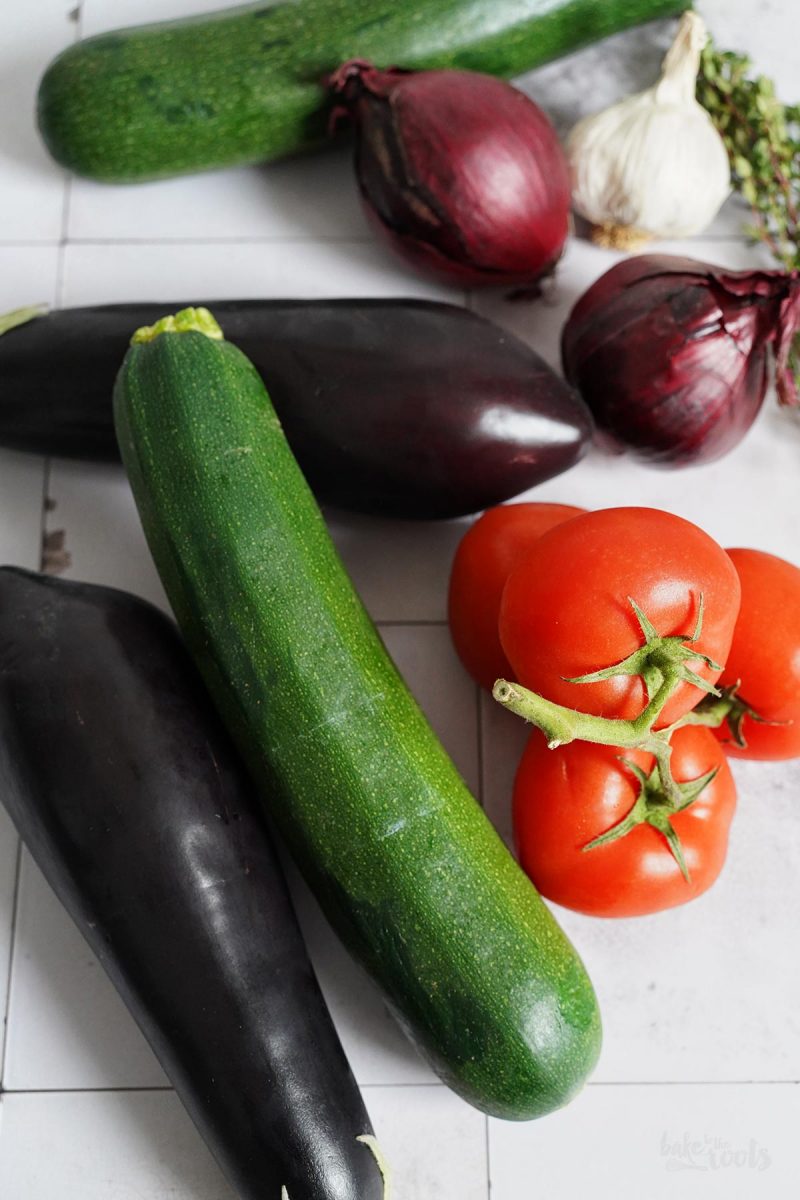
2 small eggplants
1 medium zucchini
3-4 medium tomatoes
2-3 red onions
salt, pepper
Für den Teig:
230g Mehl (Type 405)
1/2 TL Salz
120g Butter, kalt
1 Ei (M)
1-2 EL Milch, kalt
Für die Füllung:
200g Schmand
2 Eier (M)
50g Parmesan, gerieben
2-3 Stiele Thymian
Salz, Pfeffer
Für den Gemüsebelag:
Öl zum Anbraten (z.B. Avocadoöl)
2 kleine Auberginen
1 mittelgroße Zucchini
3-4 mittelgroße Tomaten
2-3 rote Zwiebeln
Salz, Pfeffer
DIRECTIONS / ZUBEREITUNG
1. Combine flour and salt in a large bowl, add the cold butter in small pieces, and cut into even smaller pieces with a pastry cutter*. Mix the egg and one tablespoon of the milk, add to the bowl and stir in. Mix/knead until the dough starts holding together – if not, add a bit more milk. Shape into a ball, flatten it, and wrap in plastic wrap. Place in the fridge for at least 1 hour.
2. Lightly grease an 11-inch tart tin with a loose bottom*. Roll out the dough on a lightly floured surface slightly larger than the tart tin, transfer to the tin, and press to the bottom and sides. Trim off overlapping dough. Prick the bottom of the tart several times. Place in the fridge until needed.
3. For the filling, mix the sour cream with the eggs and Parmesan in a bowl. Remove the small thyme leaves from the stalks, add to the bowl, and season well with salt and pepper. Set aside.
4. Wash and dry the veggies and cut them into thin slices. Peel and thinly slice the onions as well. Heat some oil in a large frying pan and sauté the veggie slices briefly. The eggplant slices will take the longest to get some color. The zucchini will brown fairly quickly and the tomato slices really only need to be sautéed for a few seconds on one side – otherwise, they will fall apart. Place the sautéed veggie slices on plates or a small tray. Be careful with the tomatoes. Season with some salt and pepper and let cool a bit.
5. Preheat the oven to 350°F (180°C) top/bottom heat. Remove the tart base from the fridge, spread the sour cream mixture on the bottom, and then start layering the veggie and onion slices on top. Start on the outside and place the slices alternating in a circle on top of the filling – always slightly overlapping the previous slice. When done, season with some more salt and pepper (if you like) and bake the tart in the preheated oven for about 55-60 minutes. I recommend baking in the lower third at the beginning, so the base bakes properly. Later you can place the tart closer to the upper heating element – this way the veggies can also brown a little. Remove the tart from the oven, let it cool a bit on a cooling rack, then carefully remove from the baking tin. Place on a serving plate and serve warm with your favorite (sour cream) dip/sauce.
Tip: Don’t overdo it with the oil when sautéing the veggies – eggplants in particular suck up a large amount of oil if you let them. You don’t want the tart to be super greasy. Depending on how tall your tart tin is, I also recommend placing a tray or some aluminum foil under the tart tin – just in case the filling is bubbling up a lot.
1. Mehl und Salz in einer großen Schüssel vermischen, die kalte Butter in kleinen Stücken zugeben und mit einem Teigmischer* in etwa erbsengroße Stücke zerteilen. Ei und 1 EL Milch verquirlen, zur Schüssel dazugeben und einarbeiten, bis der Teig anfängt zusammenzuhalten – ggf. noch etwas mehr Milch dazugeben. Den Teig zu einer Kugel formen, platt drücken und dann in Klarsichtfolie einschlagen. Für mindestens 1 Stunde in den Kühlschrank legen.
2. Eine 28cm Tarteform mit Hebeboden* leicht einfetten. Den Teig auf einer leicht bemehlten Fläche etwas größer als die Form ausrollen, dann den Teigkreis in die Form legen und am Boden und den Seiten festdrücken. Überstehenden Teig abschneiden. Den Boden mehrmals mit einer Gabel einstechen. Bis zur weiteren Verwendung in den Kühlschrank stellen.
3. Für die Füllung den Schmand mit Eiern und Parmesan in einer Schüssel verrühren. Die Blätter vom Thymian abrupfen, zur Schüssel dazugeben und dann kräftig mit Salz und Pfeffer würzen. Zur Seite stellen.
4. Das Gemüse waschen, trocknen und in dünne Scheiben schneiden. Die Zwiebeln schälen und ebenfalls in dünne Scheiben schneiden. Etwas Öl in einer großen Pfanne erhitzen und dann die Gemüsescheiben kurz darin anbraten. Die Auberginenscheiben werden am längsten brauchen, bis sie ein wenig Farbe bekommen haben. Die Zucchini geht recht schnell und die Tomatenscheiben muss man eigentlich nur einige Sekunden von einer Seite anbraten, sonst zerfallen sie. Das angebratene Gemüse auf Teller oder ein kleines Blech legen – Vorsicht bei den Tomaten – mit ein wenig Salz und Pfeffer würzen und dann etwas abkühlen lassen.
5. Den Ofen auf 180°C (350°F) Ober-/Unterhitze vorheizen. Den Tarteboden aus dem Kühlschrank nehmen, die Schmand-Mischung hineingeben und gleichmäßig verteilen, dann die angebratenen Gemüsescheiben und Zwiebelscheiben abwechselnd, fächerartig in die Form schichten. Nach Belieben noch einmal mit etwas Salz und Pfeffer würzen und dann im vorgeheizten Ofen für etwa 55-60 Minuten backen. Ich empfehle zu Anfang im unteren Drittel zu backen, damit der Boden ordentlich durch backt und später dann näher am oberen Heizelement, damit das Gemüse auch etwas bräunen kann. Tarte aus dem Ofen holen, ein wenig auf einem Kuchengitter abkühlen lassen, dann vorsichtig aus der Form lösen und auf eine Servierplatte setzen. Warm servieren – dazu passt übrigens ganz gut ein frischer Kräuterquark.
Tipp: Übertreibt es nicht mit dem Öl beim Anbraten des Gemüse – besonders die Auberginen saugen ordentlich Öl. Ihr wollt nicht, dass die Tarte am Ende zu fettig wird. Je nachdem wie hoch eure Tarteform ist, empfehle ich auch, ein Blech oder etwas Alufolie unter die Form im Backofen zulegen, falls irgendwas überläuft.

Craving more? Keep in touch on Facebook, Twitter, Instagram and Pinterest for new post updates and more. You can also contact me with any questions or inquiries!
Here is a version of the recipe you can print easily.
Print
Easy Ratatouille Tart
- Prep Time: 00:40
- Cook Time: 01:00
- Total Time: 03:00
- Yield: 1 1x
- Category: Tarts
- Cuisine: France
- Diet: Vegetarian
Description
The classic dish from France in a new way – a delicious and easy-to-prepare Ratatouille Tart with zucchini, eggplants, and tomatoes. So good!
Ingredients
For the base:
1 3/4 cups (230g) all-purpose flour
1/2 tsp. salt
1/2 cup (120g) cold butter
1 medium egg
1–2 tbsp. cold milk
For the filling:
7 oz. (200g) sour cream
2 medium eggs
1.8 oz. (50g) Parmesan, finely grated
2–3 stalks of thyme
salt, pepper
For the veggie topping:
some oil for frying (e.g. avocado oil)
2 small eggplants
1 medium zucchini
3–4 medium tomatoes
2–3 red onions
salt, pepper
Instructions
1. Combine flour and salt in a large bowl, add the cold butter in small pieces, and cut into even smaller pieces with a pastry cutter*. Mix the egg and one tablespoon of the milk, add to the bowl and stir in. Mix/knead until the dough starts holding together – if not, add a bit more milk. Shape into a ball, flatten it, and wrap in plastic wrap. Place in the fridge for at least 1 hour.
2. Lightly grease an 11-inch tart tin with a loose bottom*. Roll out the dough on a lightly floured surface slightly larger than the tart tin, transfer to the tin, and press to the bottom and sides. Trim off overlapping dough. Prick the bottom of the tart several times. Place in the fridge until needed.
3. For the filling, mix the sour cream with the eggs and Parmesan in a bowl. Remove the small thyme leaves from the stalks, add to the bowl, and season well with salt and pepper. Set aside.
4. Wash and dry the veggies and cut them into thin slices. Peel and thinly slice the onions as well. Heat some oil in a large frying pan and sauté the veggie slices briefly. The eggplant slices will take the longest to get some color. The zucchini will brown fairly quickly and the tomato slices really only need to be sautéed for a few seconds on one side – otherwise, they will fall apart. Place the sautéed veggie slices on plates or a small tray. Be careful with the tomatoes. Season with some salt and pepper and let cool a bit.
5. Preheat the oven to 350°F (180°C) top/bottom heat. Remove the tart base from the fridge, spread the sour cream mixture on the bottom, and then start layering the veggie and onion slices on top. Start on the outside and place the slices alternating in a circle on top of the filling – always slightly overlapping the previous slice. When done, season with some more salt and pepper (if you like) and bake the tart in the preheated oven for about 55-60 minutes. I recommend baking in the lower third at the beginning, so the base bakes properly. Later you can place the tart closer to the upper heating element – this way the veggies can also brown a little. Remove the tart from the oven, let it cool a bit on a cooling rack, then carefully remove from the baking tin. Place on a serving plate and serve warm with your favorite (sour cream) dip/sauce.
Notes
Don’t overdo it with the oil when sautéing the veggies – eggplants in particular suck up a large amount of oil if you let them. You don’t want the tart to be super greasy. Depending on how tall your tart tin is, I also recommend placing a tray or some aluminum foil under the tart tin – just in case the filling is bubbling up a lot.
Links marked with an asterisk (*) are affiliate links (advertising/Werbung) to Amazon Germany. If you click on one of those links and buy something via this link, I will get a commission for that sale. The price of whatever you buy is not affected in any way by this.




 I love my job, but in between I love to bake and try new things in the kitchen. A lot of my friends and colleagues encourage me to bake - for a very simple reason: they get the leftovers - and it seems they like it most of the time ;)


Yummy! Incredibly delicious.