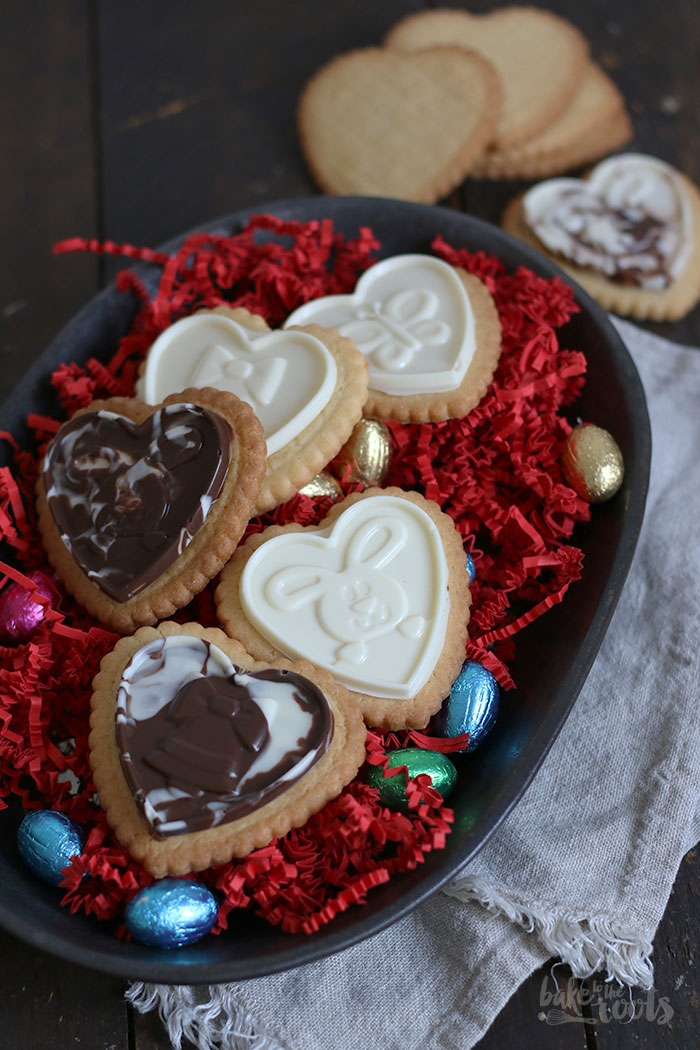
Happy Cookie Friday! I guess (and hope) you are already waiting for the next batch of cookies! Well… how about some cute little Easter Butter Cookies? They are super easy to prepare and really delicious! Cookies and chocolate – what’s not to love?!
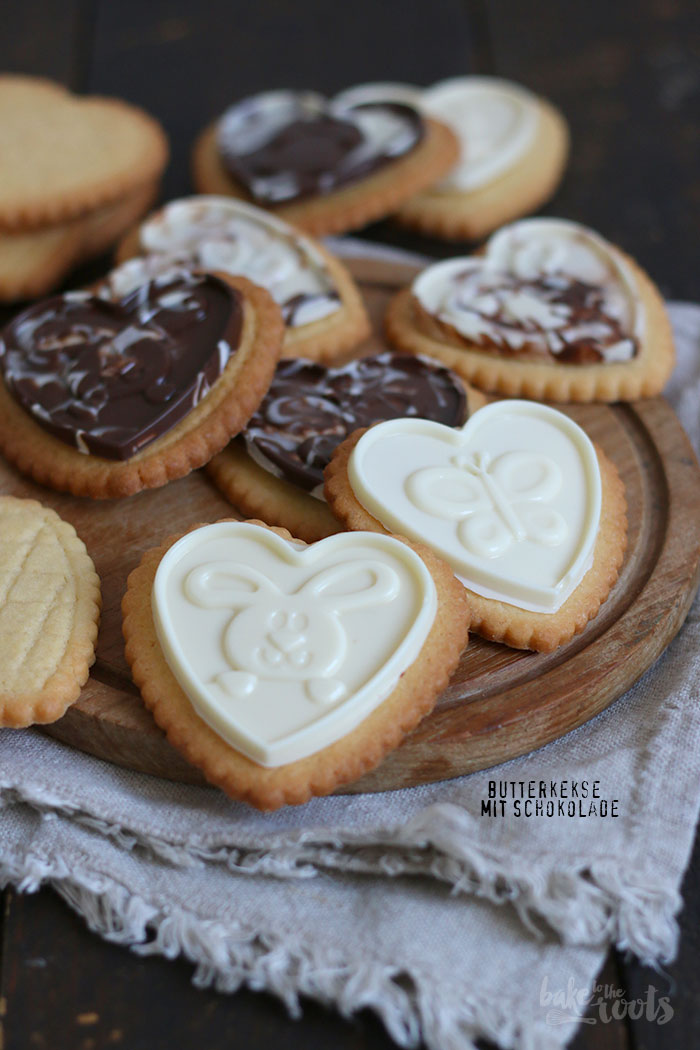
Easter is close. That’s why I decided to make some Easter themed cookies today. Well, it depends on the decorations you use, to be honest. You can bake these cookies all year round if you want. The heart shape works for many celebrations – Easter, Valentine’s Day, Mother’s Day, Christmas…
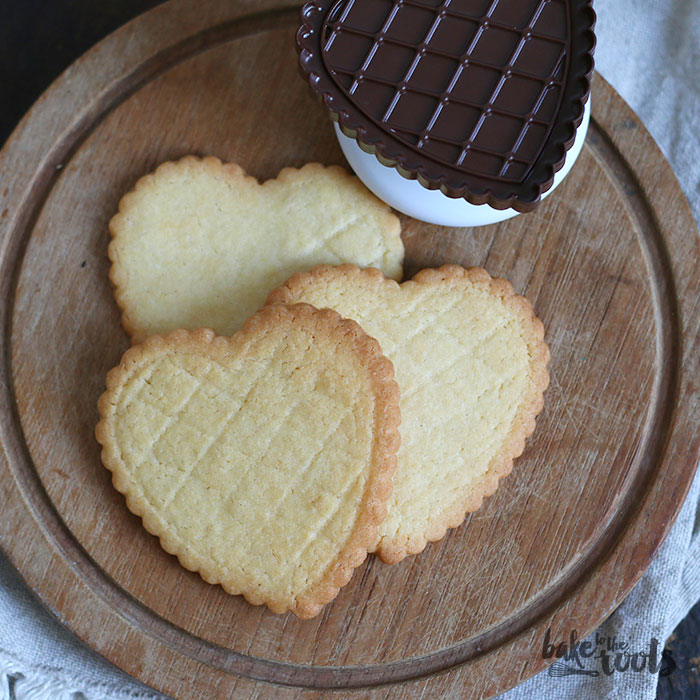
In Germany, we call this type of cookies »Butterkekse«. The easiest cookie you can bake. It’s a simple butter shortcrust dough we also use for Christmas Cookies, for example. I guess you all know those simple sandwich cookies with jam in between, right? The decorations here are made with chocolate that have the same shape as the cookies – cute bunnies and butterflies. Perfect for Easter, right?! ;)
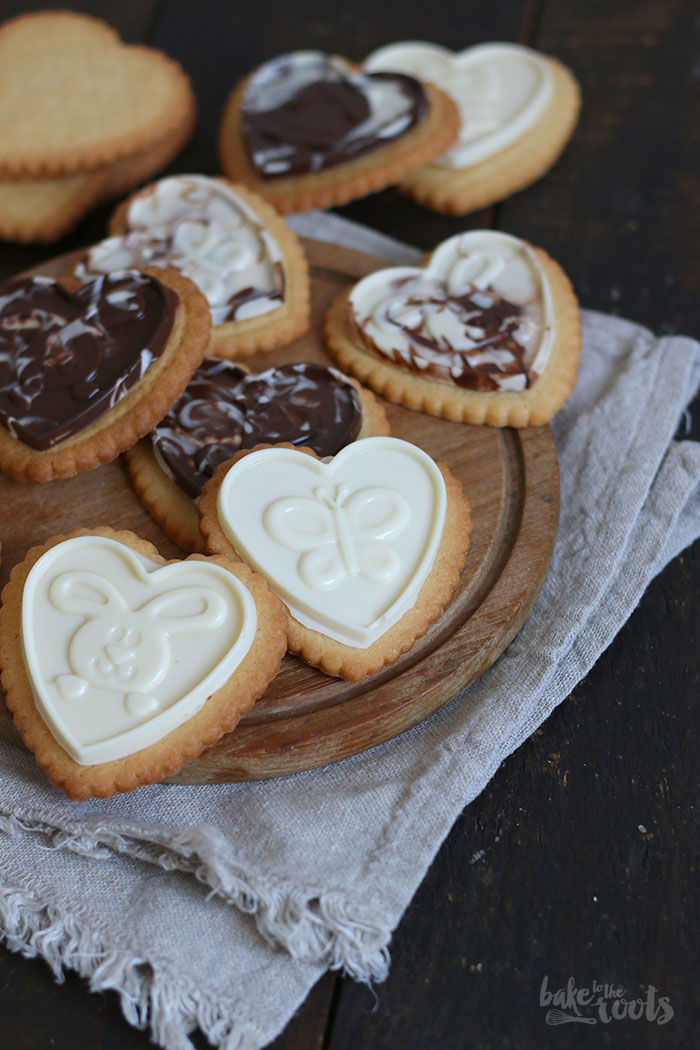
The cookie cutter and the silicone mold for the chocolate we used comes in a set (check here*), but you can do this kind of cookies with stuff you have at home too. Simply grab your favorite cookie cutter, bake the cookies, and then use melted chocolate to draw little bunnies on top if you don’t have a matching mold. It’s a bit more work, but I bet the result will look equally cute!
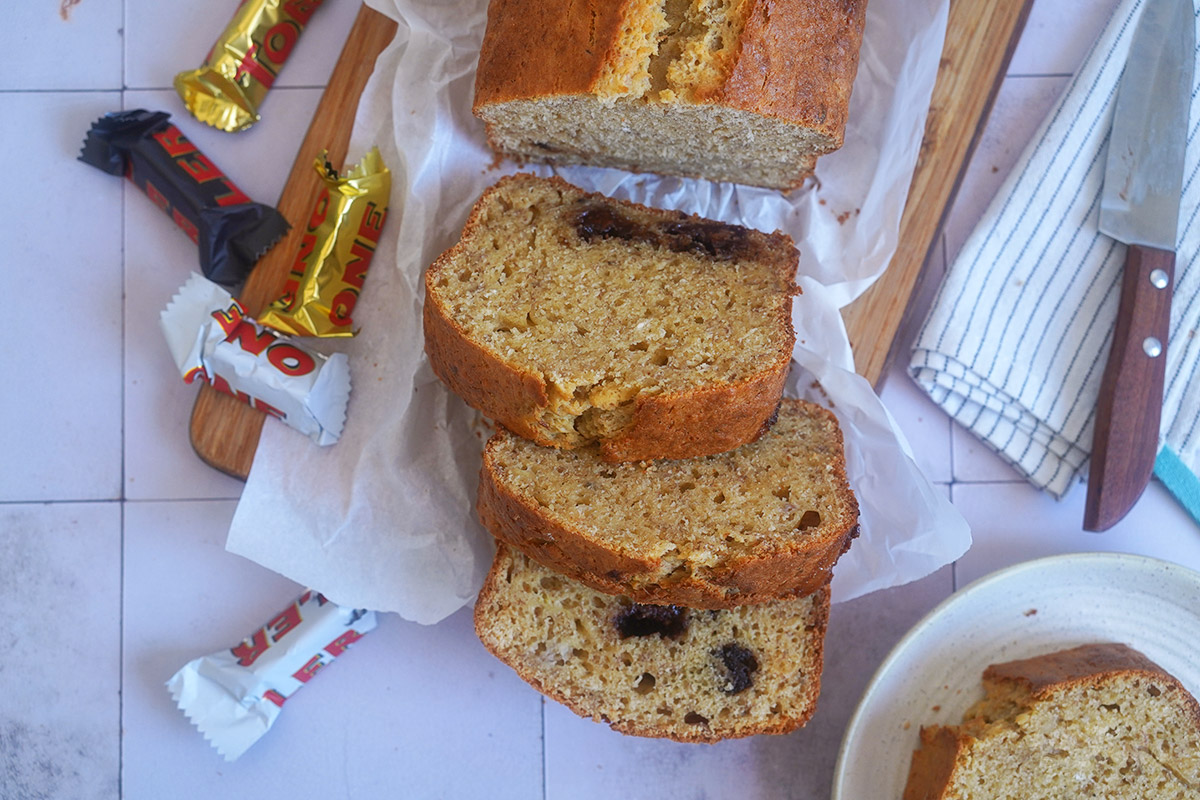
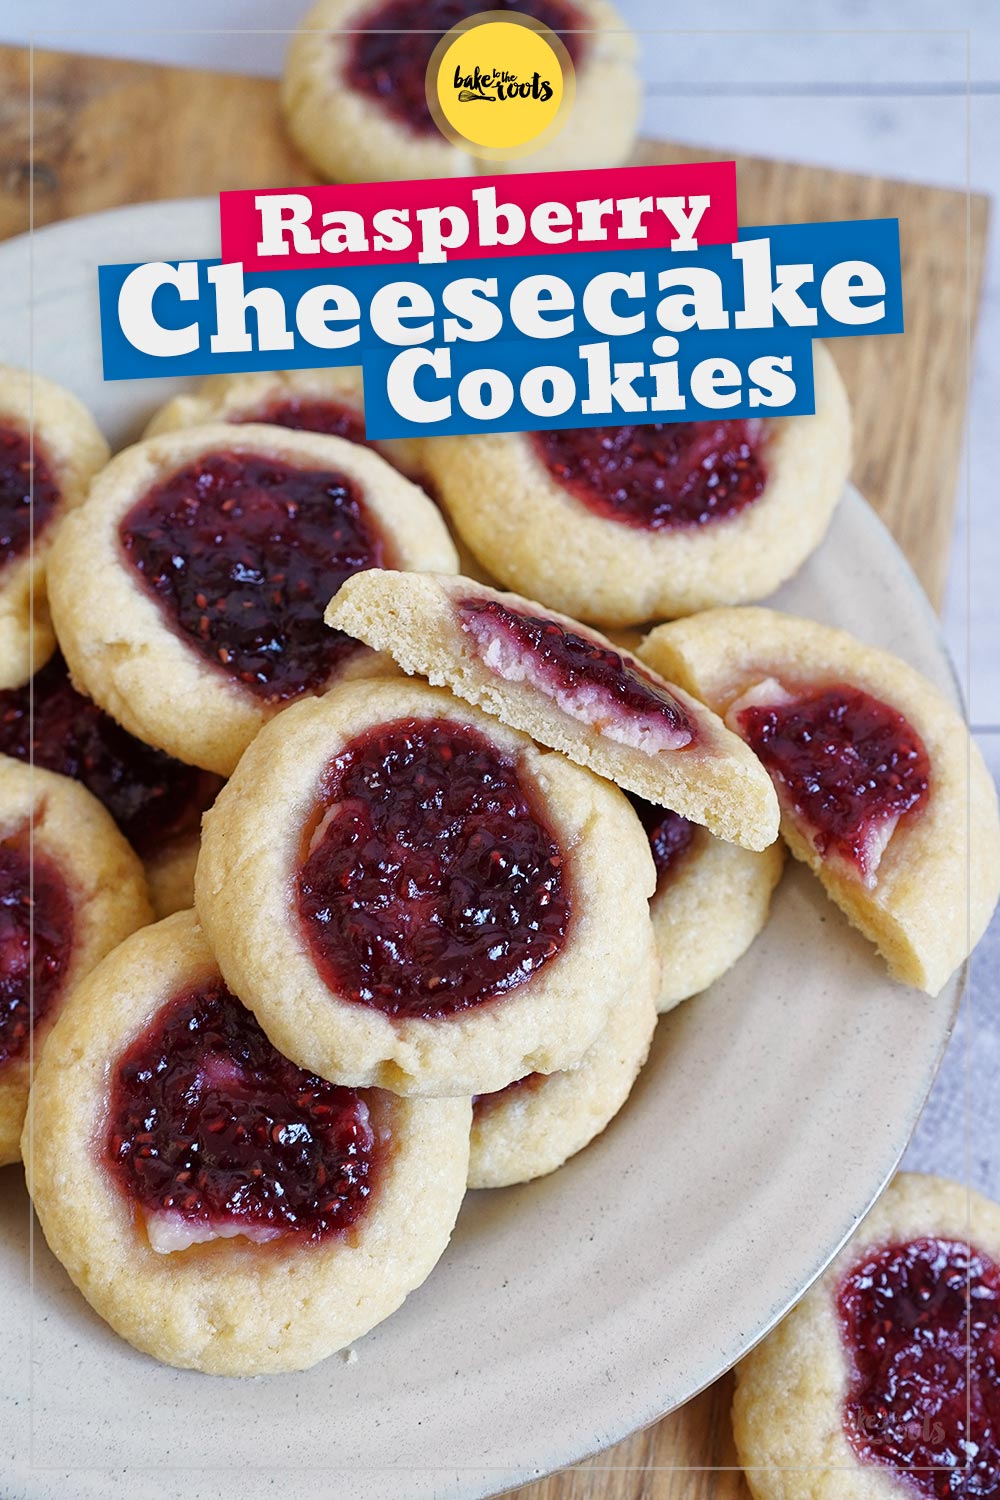
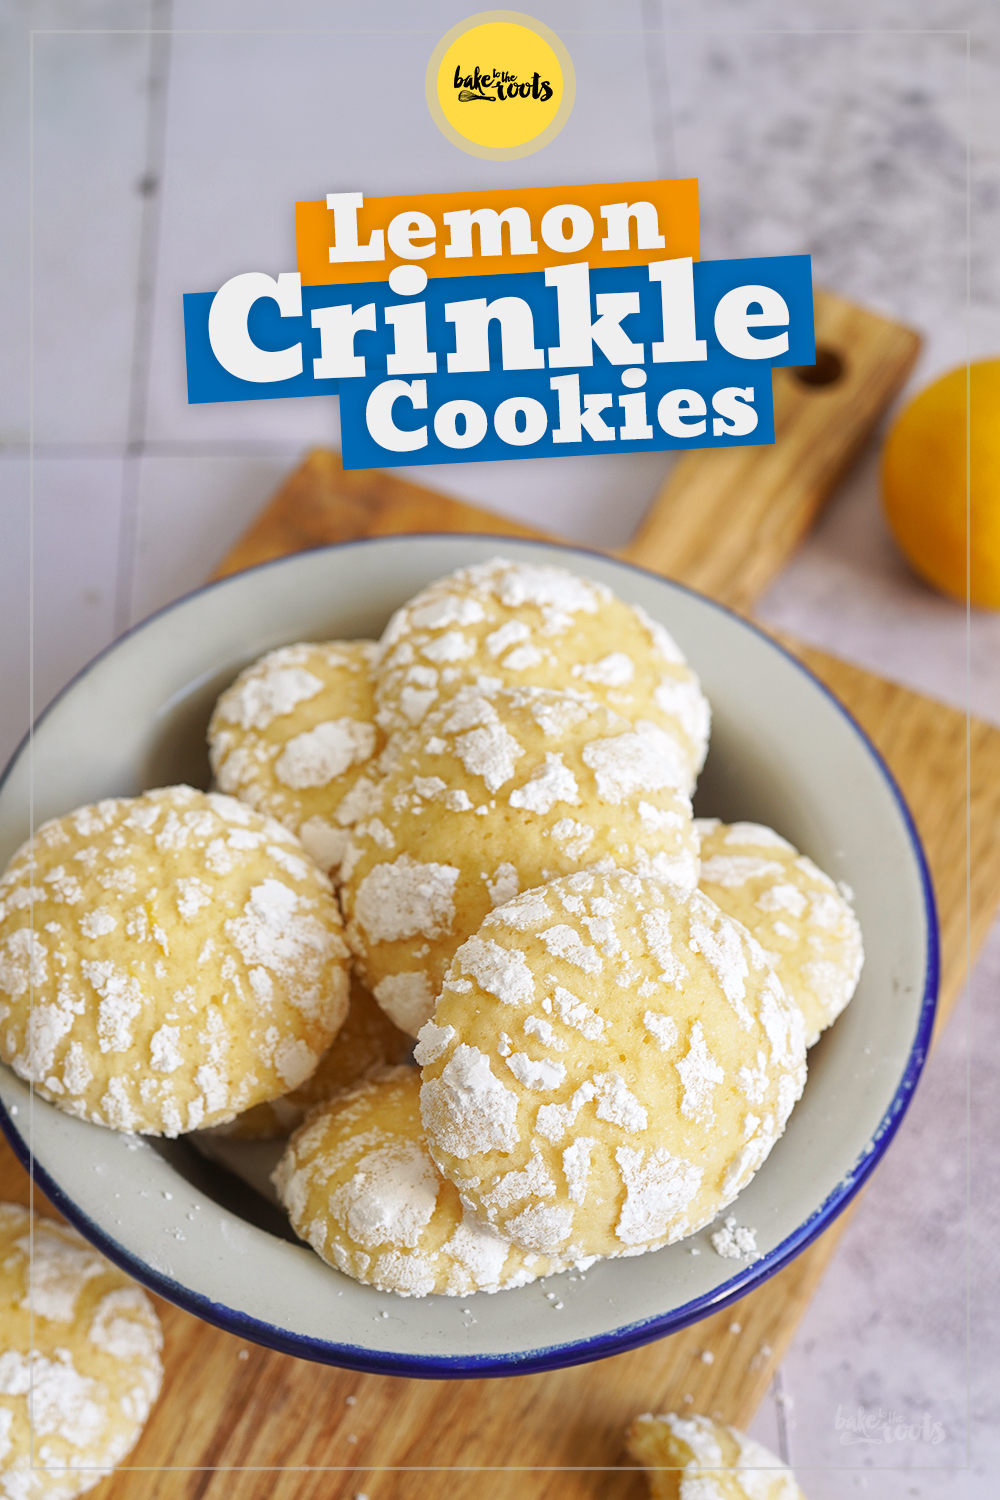
We got more simple and easy cookie recipes here on the blog – of course! Take a look at these easy Raspberry Cheesecake Thumbprint Cookies, for example. Really delicious and not complicated to make. Same for our Easy Lemon Crinkle Cookies. Delicious cookies you can bake all year round as well. So good!
INGREDIENTS / ZUTATEN
(about 24 cookies)
For the dough:
1/2 cup (120g) butter, at room temperature
4.2 oz. (120g) sugar
1/2 tsp. vanilla extract
1 medium egg
2 cups (250g) all-purpose flour
1 pinch of baking powder
For the chocolate decoration:
10-14 oz. (300-400g) chocolate glaze (depending on the form you use)
(etwa 24 Kekse)
Für den Teig:
120g weiche Butter
120g Zucker
1/2 TL Vanille Extrakt
1 Ei (M)
250g Mehl (Type 405)
1 Prise Backpulver
Für die Schokoladendeko:
300-400g Schokoladenglasur (je nach Silikonform)

DIRECTIONS / ZUBEREITUNG
1. Add the butter and sugar to a large bowl and beat on high speed until light and fluffy. Add the vanilla extract and egg and mix until well combined. Mix the flour with baking powder and add to the bowl. Knead until you get a nice smooth dough. Form a ball, flatten and wrap in plastic wrap. Place in the fridge for at least 1 hour.
2. Preheat the oven to 190°C (375°F). Line a baking sheet with baking parchment and set aside. Roll out the dough on a floured surface to a thickness of about 5mm. Cut out the cookies and place on the baking sheet. Bake the cookies for about 7-9 minutes until the edges start to get golden brown. Take out of the oven, let cool down on the baking sheet for some time, then transfer to a wire rack and let cool down completely.
3. Warm up the chocolate glaze until liquid and fill into the silicone molds*. Let harden completely, then remove carefully. Add some drops of melted chocolate on the cookies and press the chocolate decoration on top. Let harden and dry.
1. Die Butter mit dem Zucker in einer großen Schüssel hell und luftig aufschlagen. Den Vanille Extrakt und das Ei zugeben und gut unterrühren. Das Mehl mit dem Backpulver vermischen und dann zur Schüssel dazugeben und alles zu einem glatten Teig verkneten. Zu einer Kugel formen, etwas flach drücken und in Klarsichtfolie einschlagen – für mindestens 1 Stunde in den Kühlschrank legen.
2. Den Ofen auf 190°C (375°F) Ober-/Unterhitze vorheizen. Ein Backblech mit Backpapier auslegen und zur Seite stellen. Den Teig auf einer bemehlten Fläche etwa 5mm dick ausrollen und dann Kekse ausstechen, auf das Backblech legen und für etwa 7-9 Minuten backen. Die Ränder sollten ein wenig Farbe bekommen haben. Aus dem Ofen nehmen, etwas auf dem Blech abkühlen lassen und dann auf einem Kuchengitter komplett auskühlen lassen. Mit dem restlichen Teig ebenso verfahren.
3. Die Schokoladenglasur erwärmen, in die Silikonformen* füllen und dann wieder fest werden lassen (z.B. im Kühlschrank). Die Schokoladendekorationen aus den Formen lösen und dann mit einigen Tropfen geschmolzene Schokoladenglasur auf die Kekse kleben.
Craving more? Keep in touch on Facebook, Instagram and Pinterest for new post updates and more. You can also contact me with any questions or inquiries!
Here is a version of the recipe you can print easily.
Print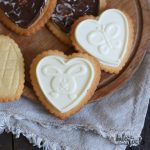
Simple & Easy Easter Butter Cookies
- Prep Time: 00:20
- Cook Time: 00:09
- Total Time: 02:00
- Yield: 24 1x
- Category: Cookies
- Cuisine: Germany
- Diet: Vegetarian
Description
Easy to prepare and really cute looking Easter cookies! Forget lame old Easter eggs – this is what you have to look for on an Easter brunch! ;)
Ingredients
For the dough:
1/2 cup (120g) butter, at room temperature
4.2 oz. (120g) sugar
1/2 tsp. vanilla extract
1 medium egg
2 cups (250g) all-purpose flour
1 pinch of baking powder
For the chocolate decoration:
10-14 oz. (300-400g) chocolate glaze (depending on the form you use)
Instructions
1. Add the butter and sugar to a large bowl and beat on high speed until light and fluffy. Add the vanilla extract and egg and mix until well combined. Mix the flour with baking powder and add to the bowl. Knead until you get a nice smooth dough. Form a ball, flatten and wrap in plastic wrap. Place in the fridge for at least 1 hour.
2. Preheat the oven to 190°C (375°F). Line a baking sheet with baking parchment and set aside. Roll out the dough on a floured surface to a thickness of about 5mm. Cut out the cookies and place on the baking sheet. Bake the cookies for about 7-9 minutes until the edges start to get golden brown. Take out of the oven, let cool down on the baking sheet for some time, then transfer to a wire rack and let cool down completely.
3. Warm up the chocolate glaze until liquid and fill into the silicone molds*. Let harden completely, then remove carefully. Add some drops of melted chocolate on the cookies and press the chocolate decoration on top. Let harden and dry.
Notes
Make something amazing in the kitchen!
Links marked with an asterisk (*) are affiliate links (advertising/Werbung) to Amazon Germany. If you click on one of those links and buy something via this link, I will get a commission for that sale. The price of whatever you buy is not affected in any way by this.