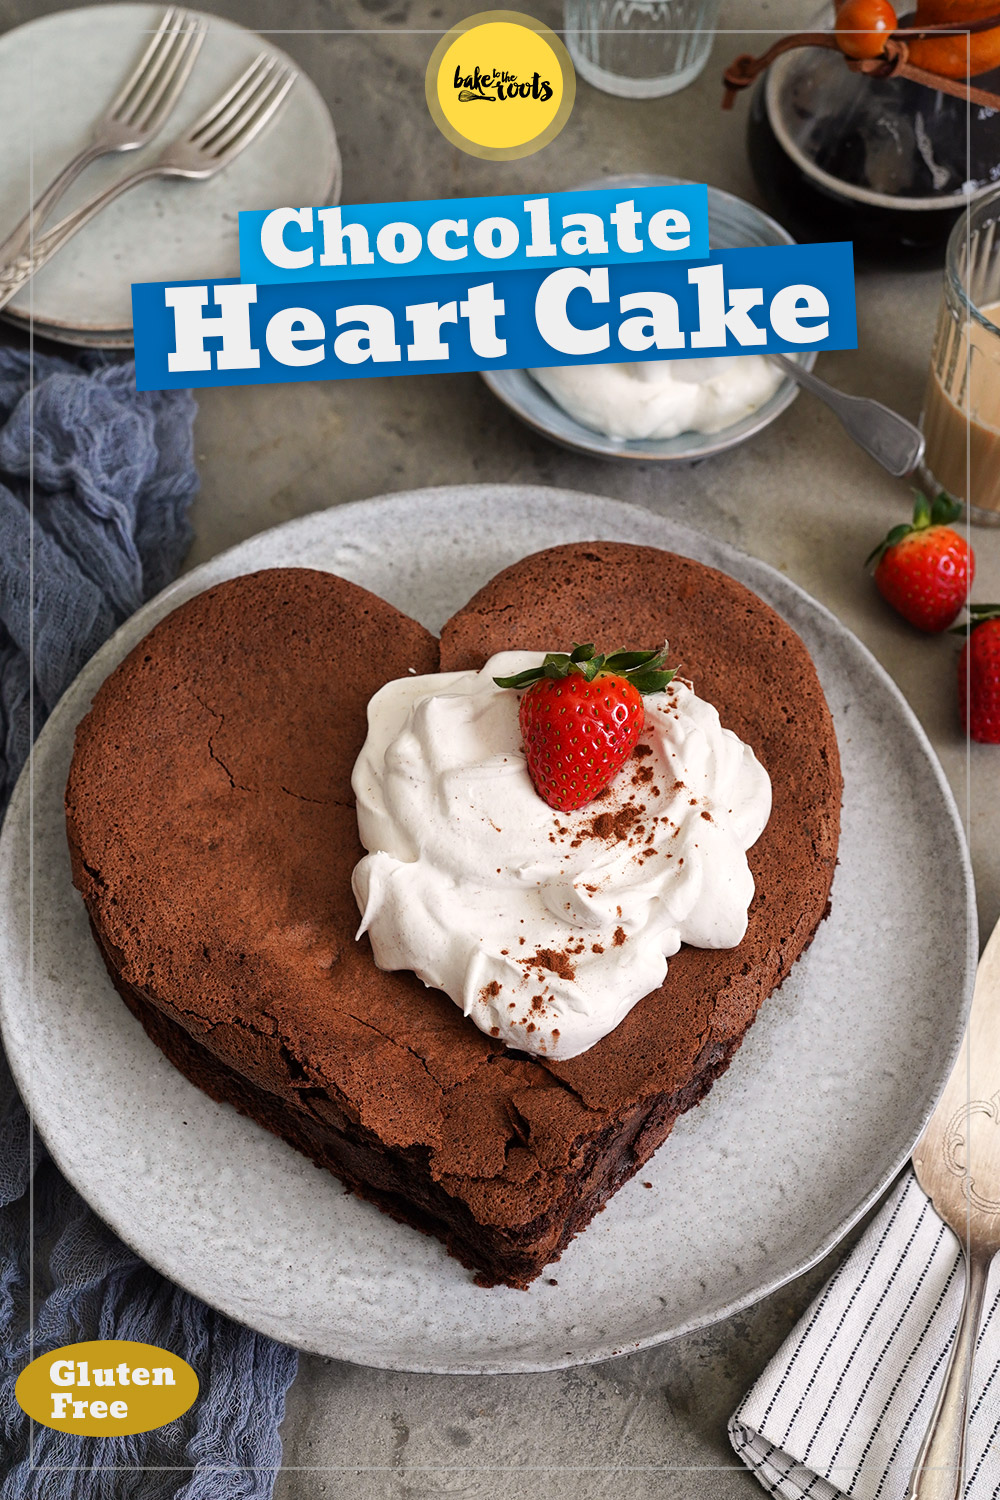
I’m a big fan of everything chocolate. If you take a look at many of my recipes here you know… so getting a delicious (heart-shaped) Flourless Chocolate Cake like this one here would be simply awesome for me. Heart-shaped or not – I would love to get a cake like that one day. Unfortunately, nobody bakes for me. I don’t know if it’s because I am a baker or because people don’t like me. I hope it’s because I bake a lot myself.
There should always be cake for special occasions and celebrations. That should be in the constitution of a country. Minimum. Whether it’s a birthday, an anniversary, Valentine’s Day or Mother’s Day – there are so many celebrations that are perfect for a cake (or two). In the best-case scenario you don’t have to bake a cake for that yourself. Give people hints… tell them you love cakes to celebrate something.
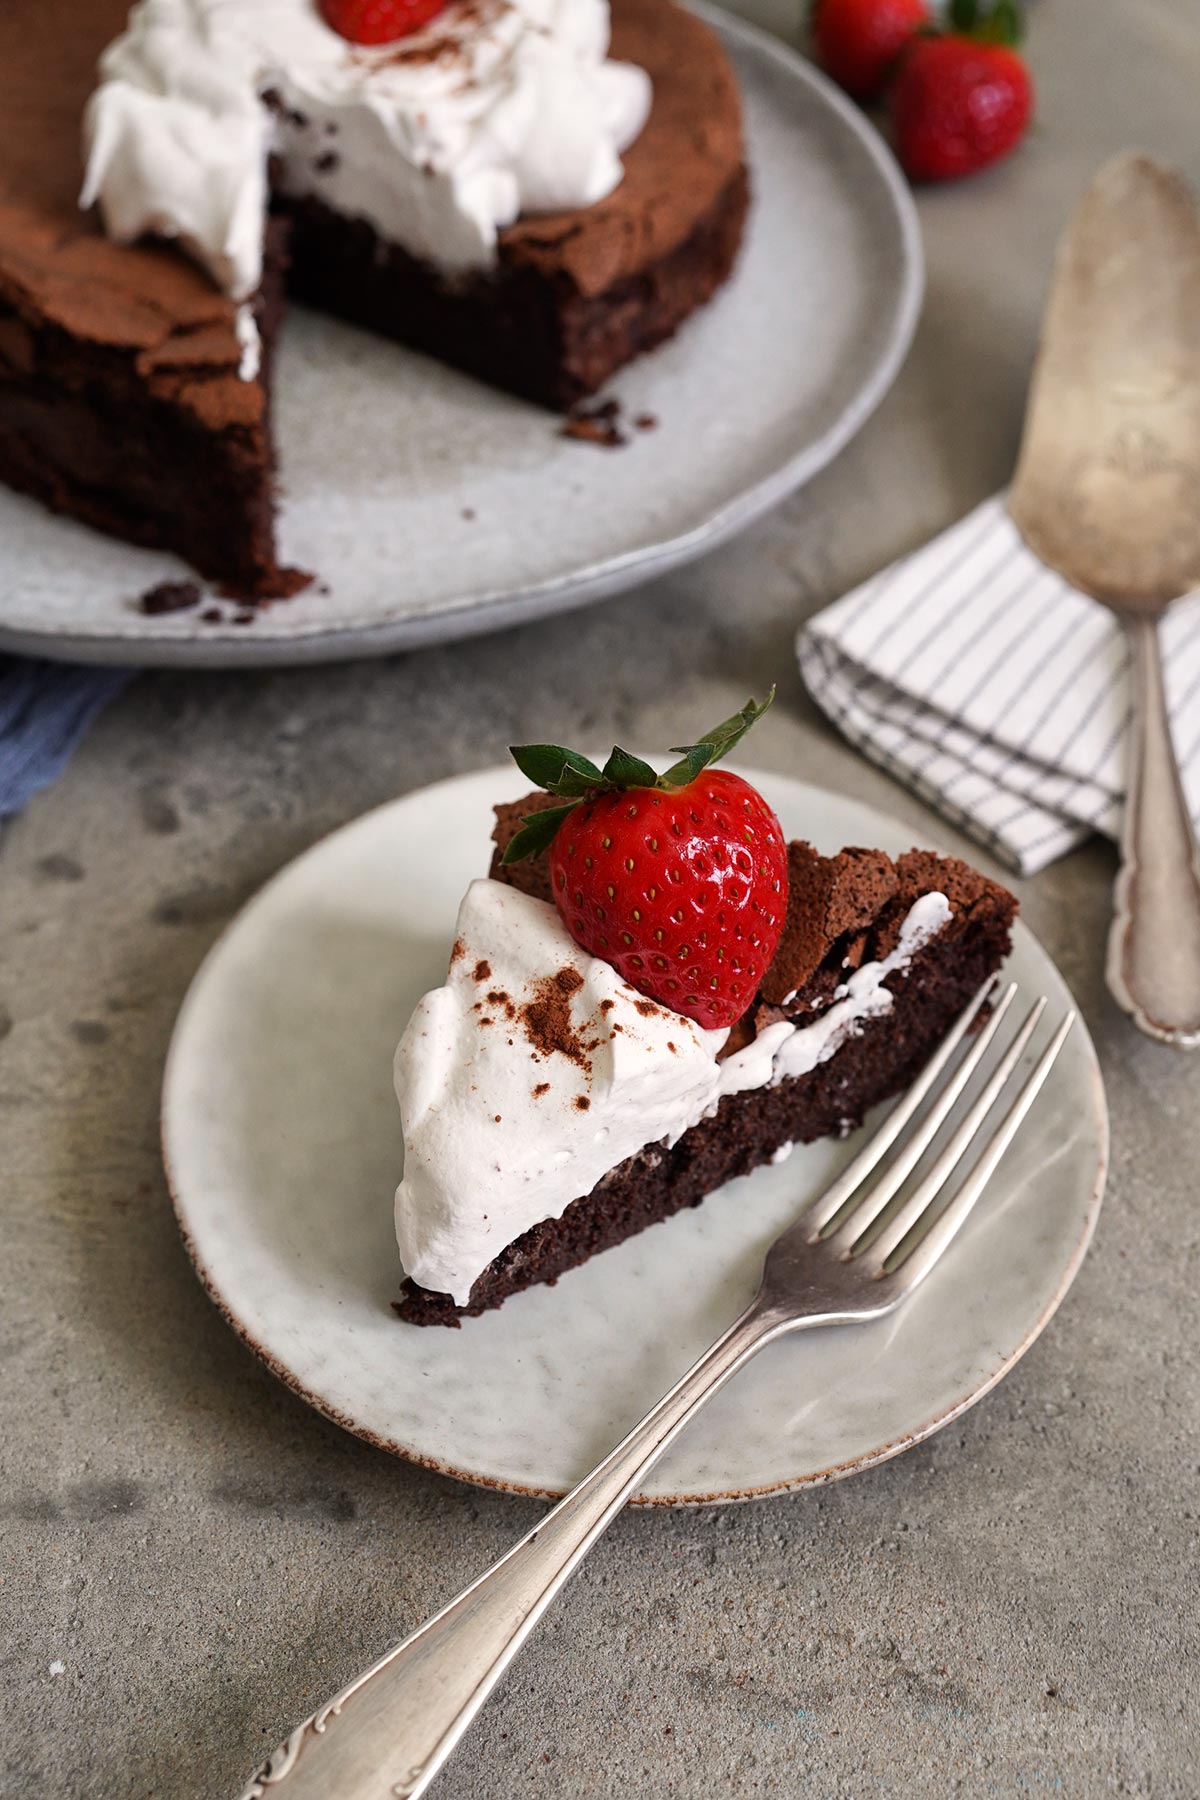
Anyway. If you have a chocolate fan in your circle of friends or family, you should definitely keep this recipe in mind… and then maybe bake and serve it to them at some point. Chocoholics will love it. Normally you will see eyes getting bigger first, then a smile on everyone who had a bite. Can you ask for more?!
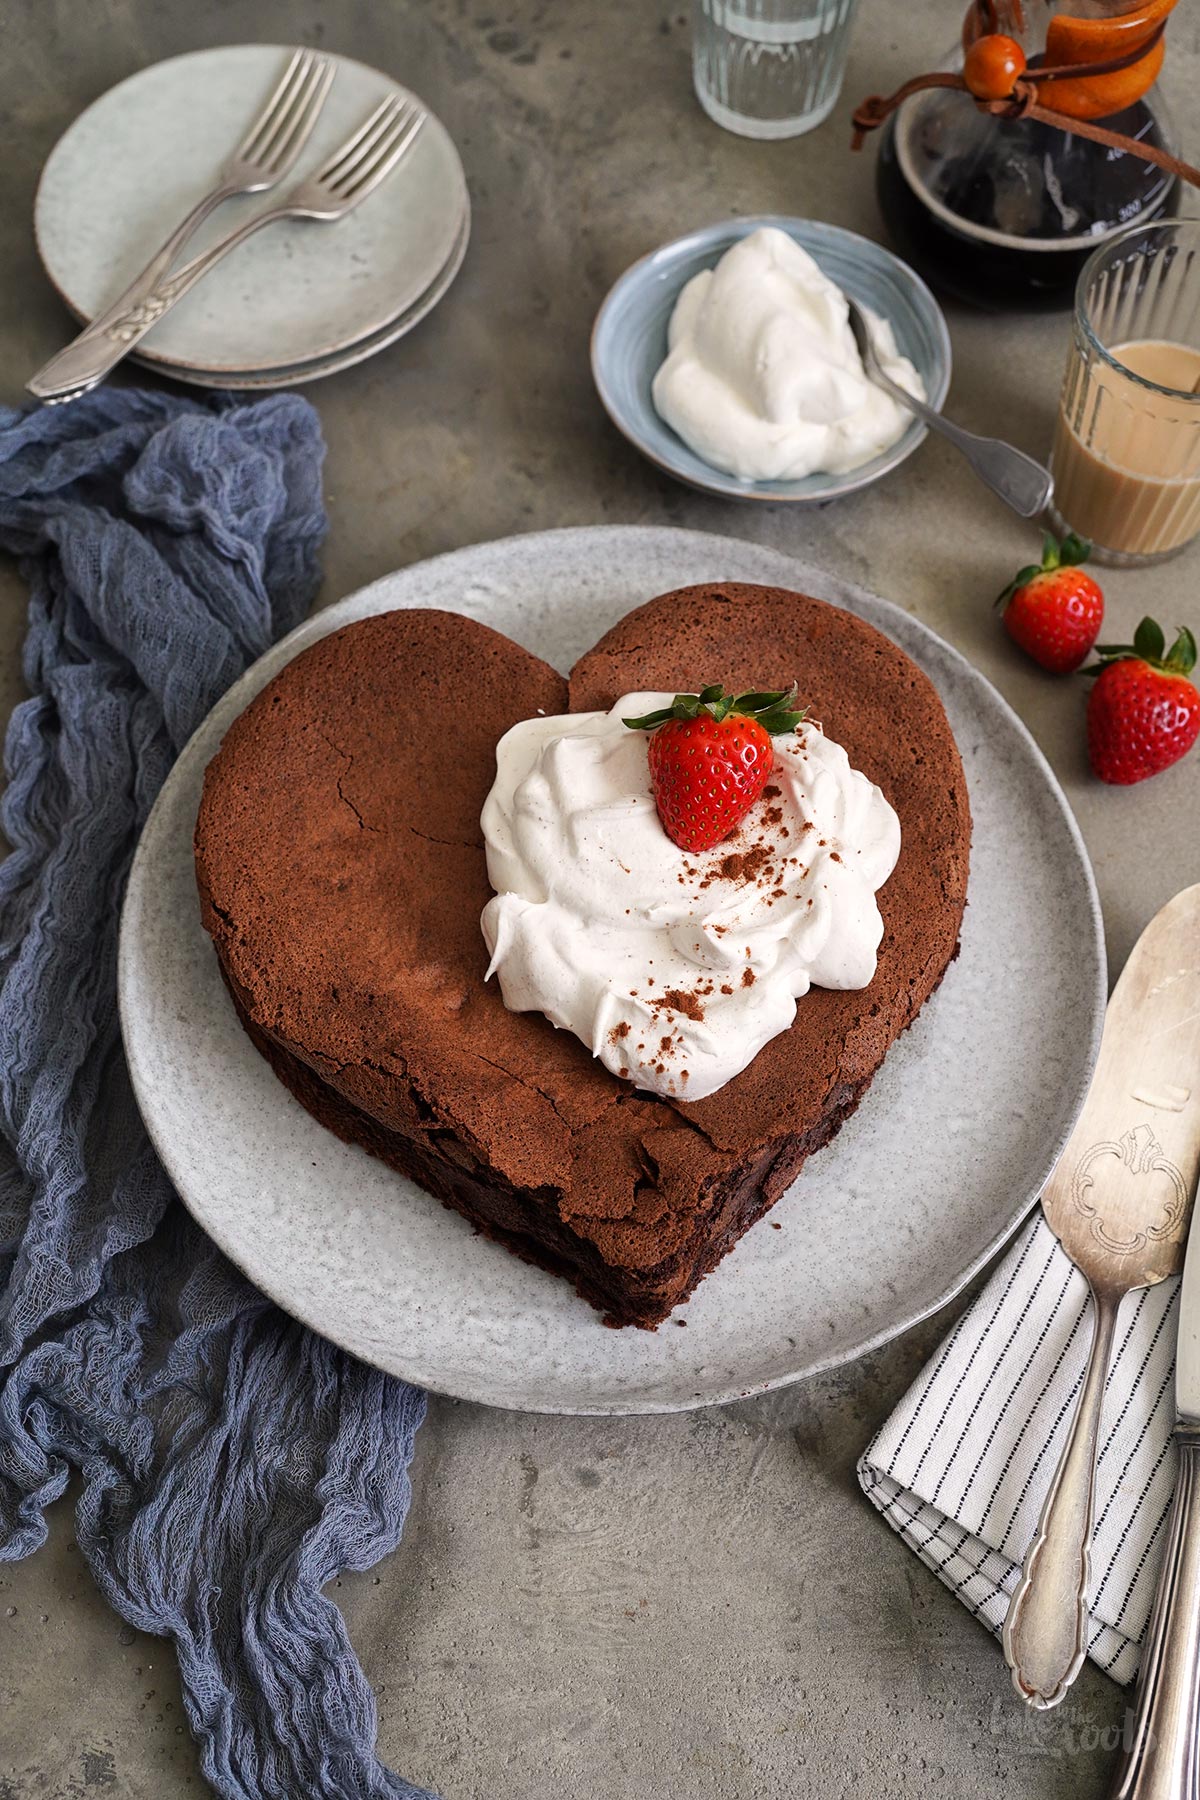
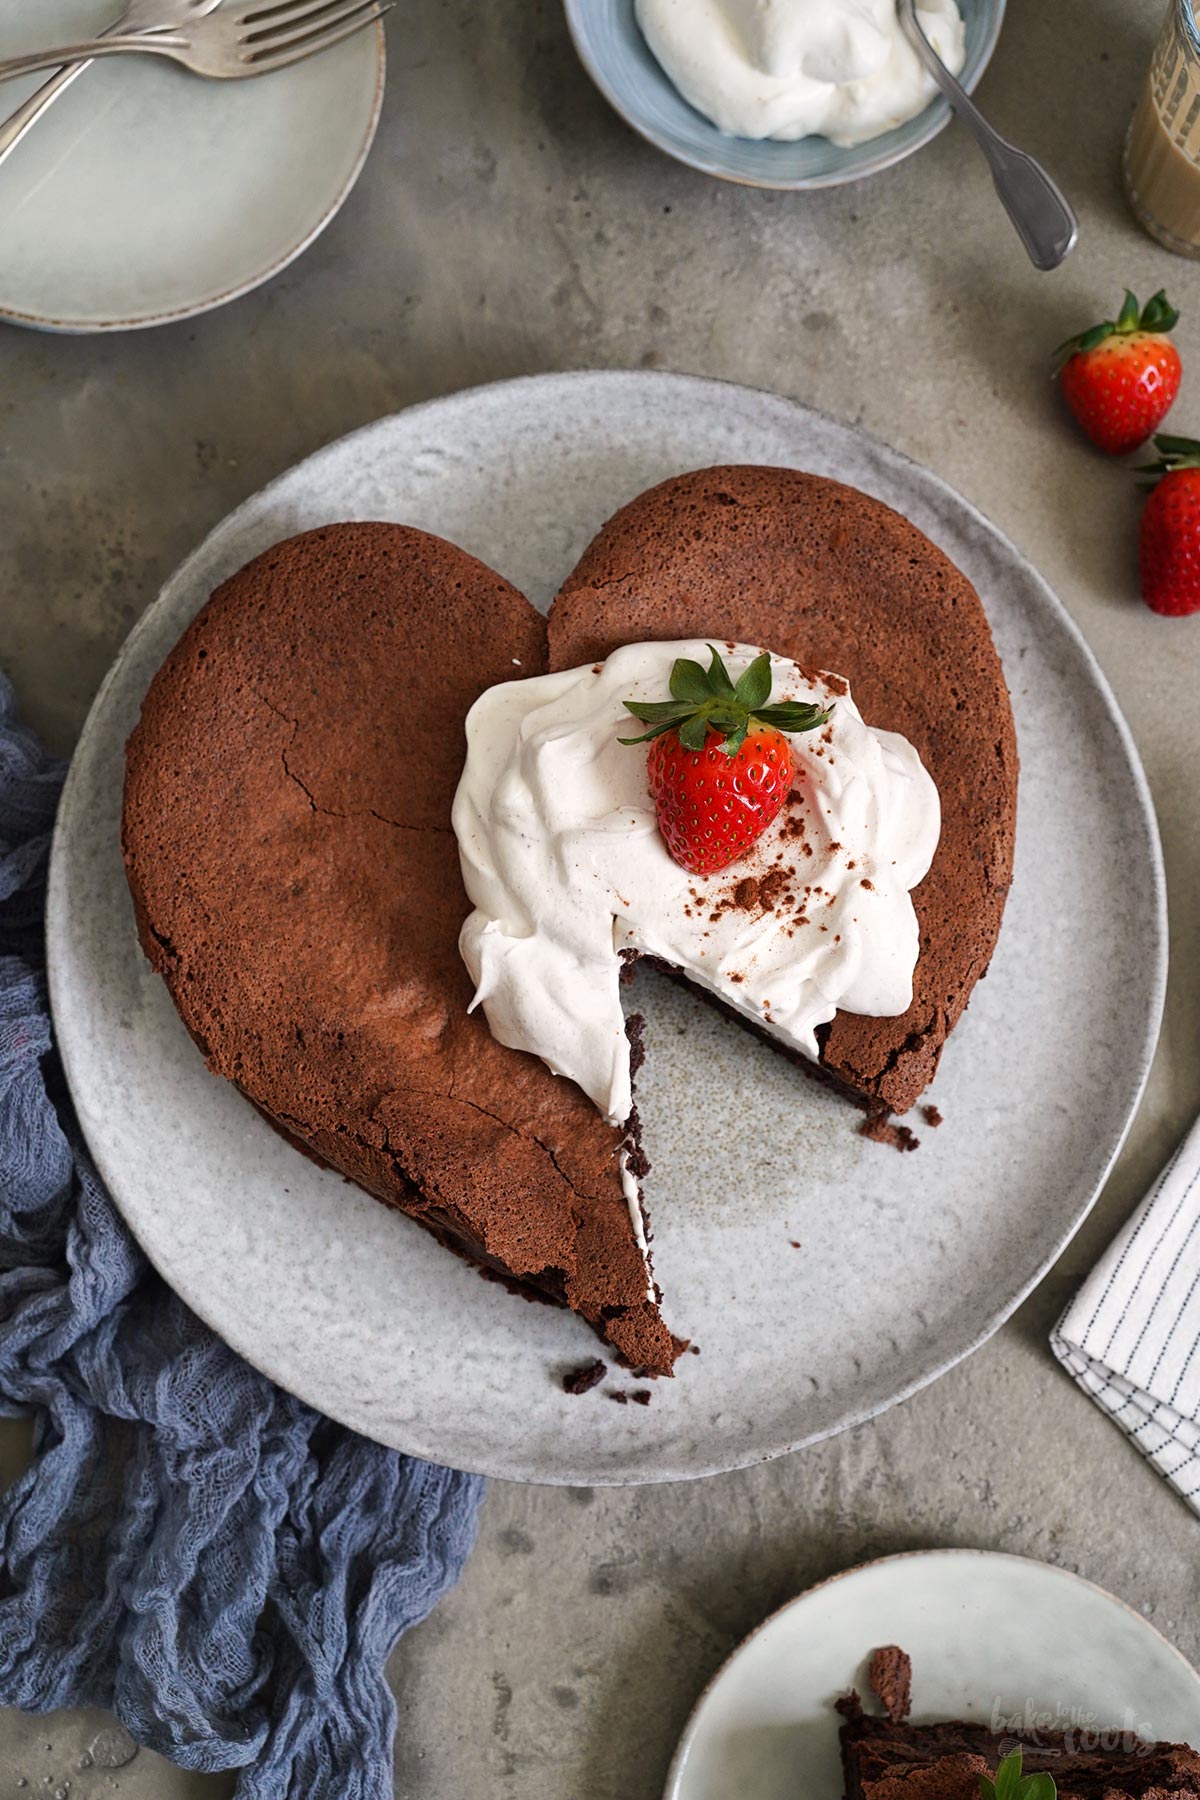
Heart-shaped cakes are always very popular for days like Valentine’s Day or Mother’s Day. You could bake a regular cake but nothing says »I love you« like a big heart-shaped cake. The bigger the better. And the more chocolate the better.
There are several ways to make a heart-shaped cake. In specialty stores for baking accessories or online stores you will find different heart-shaped baking tins. Some of them are suitable for this cake – others are not. A solid baking tin (no removable bottom) or silicone molds will not work here. You will be able to bake this cake with those tins/molds, but removing it will destroy the cake (for sure). The cake is very fragile. A heart-shaped springform tin or a tin with a loose bottom, on the other hand, works great here.
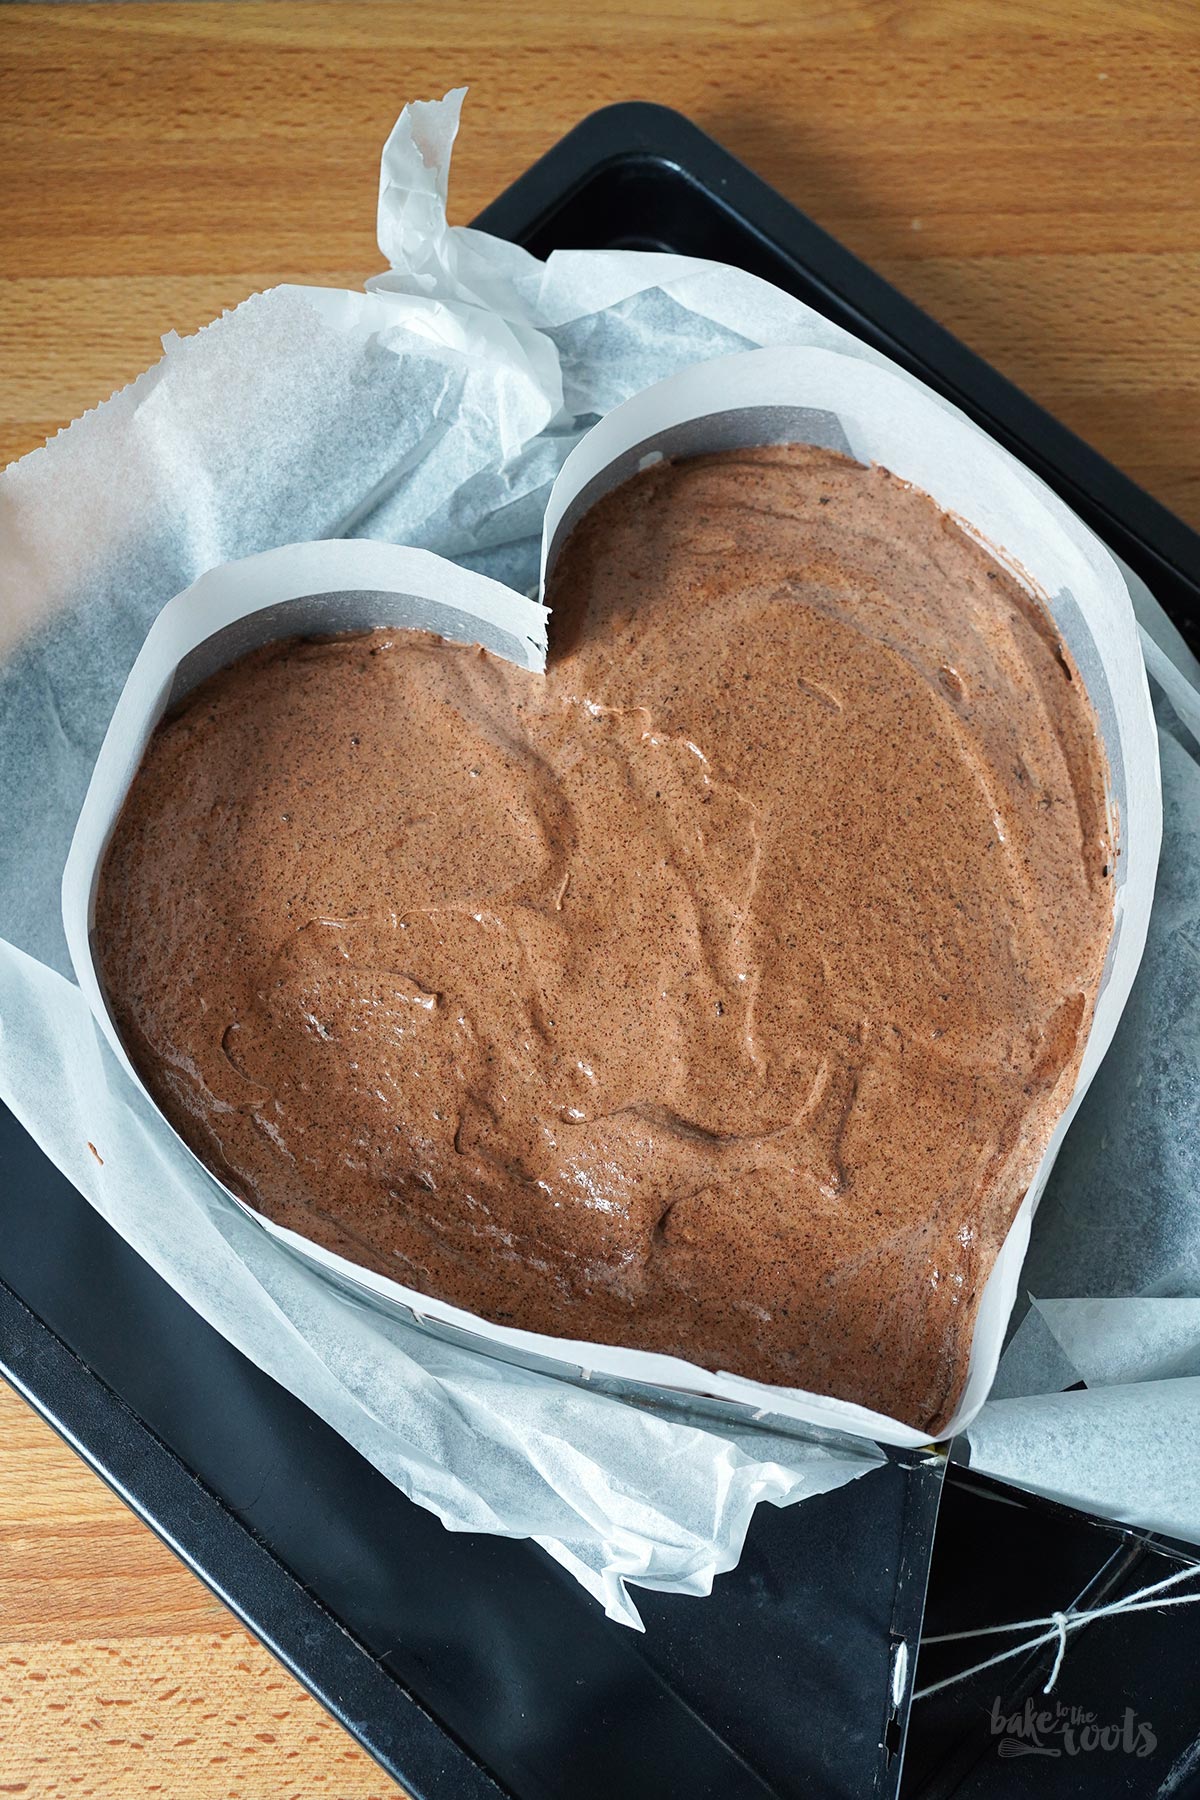
I don’t have a baking tin like that – in my case a heart-shaped baking frame worked well. It’s adjustable in size and with a little tinkering it was the perfect baking tin for this chocolate cake. The cake rises quite a bit in the oven (and collapses again when cooling down). The regular height of the baking frame would not have been enough, so extending it with some baking parchment was required. My little »construction« can be seen in one of the pictures below.
Anyway. There’s not much more to say about the cake. It’s a pretty basic cake. There are not many ingredients and not much to do to be honest. If you have problems with a heart shape you can always use a round baking tin. A size of 8-8.5 inches should be perfect for the amount of batter you get with the recipe.
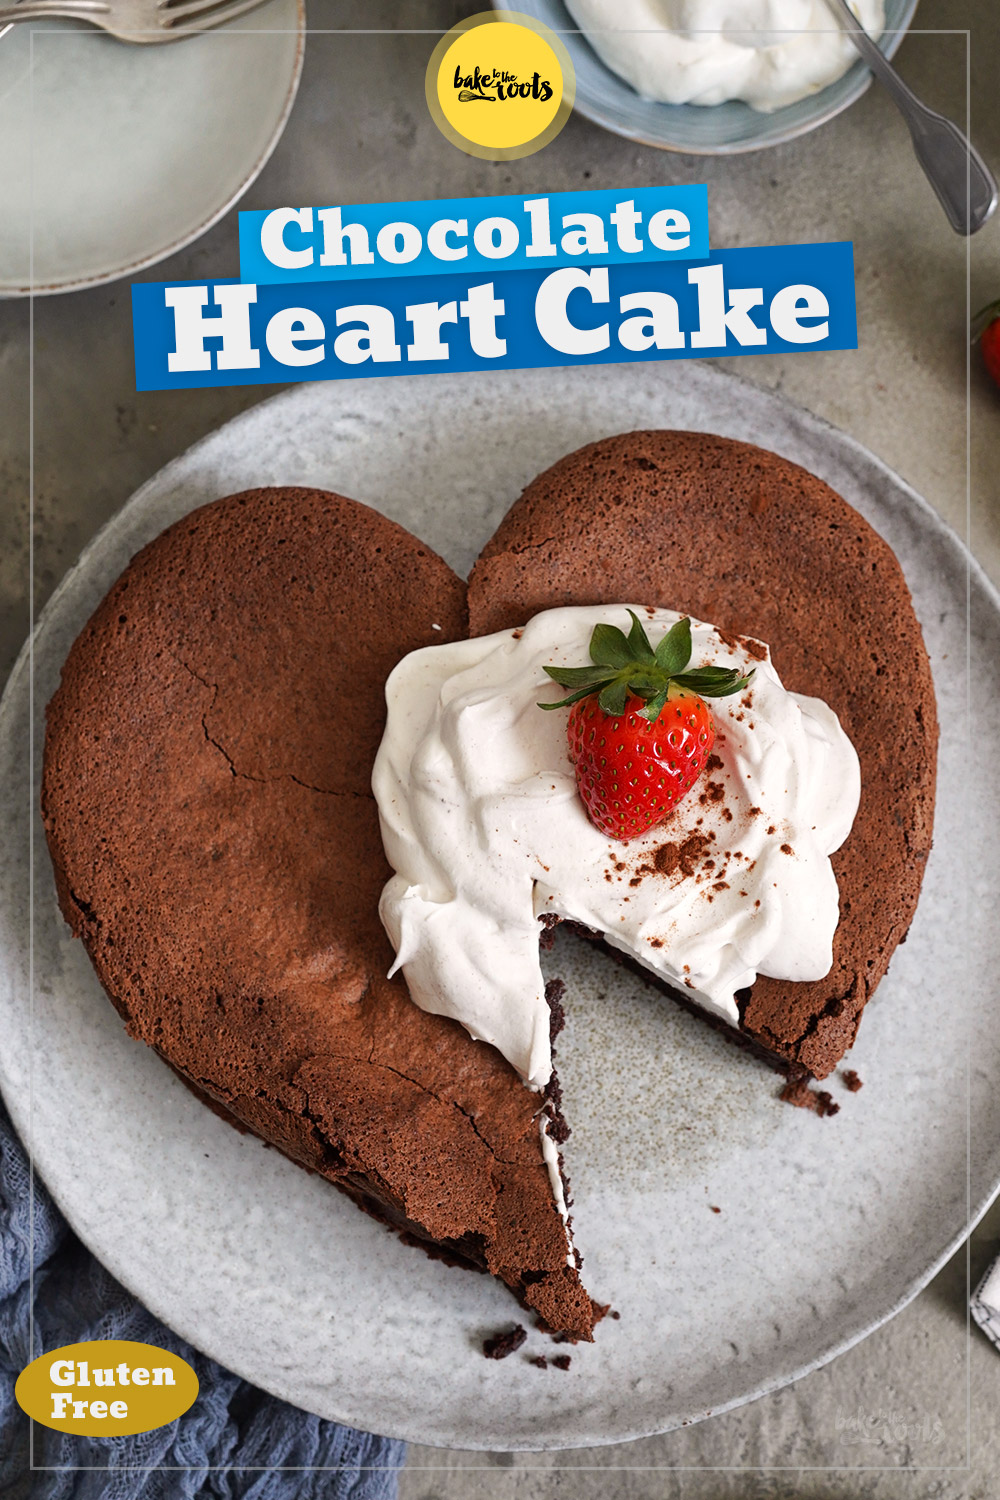
If you take a look at the recipe, you’ll notice that the cake does not require any flour. The eggs are doing a pretty good job of giving the cake structure and holding everything together. The cake is pretty much like a soufflé. An oversized soufflé. Without the usual liquid center. If your cake is liquid in the middle, you did not bake it enough.
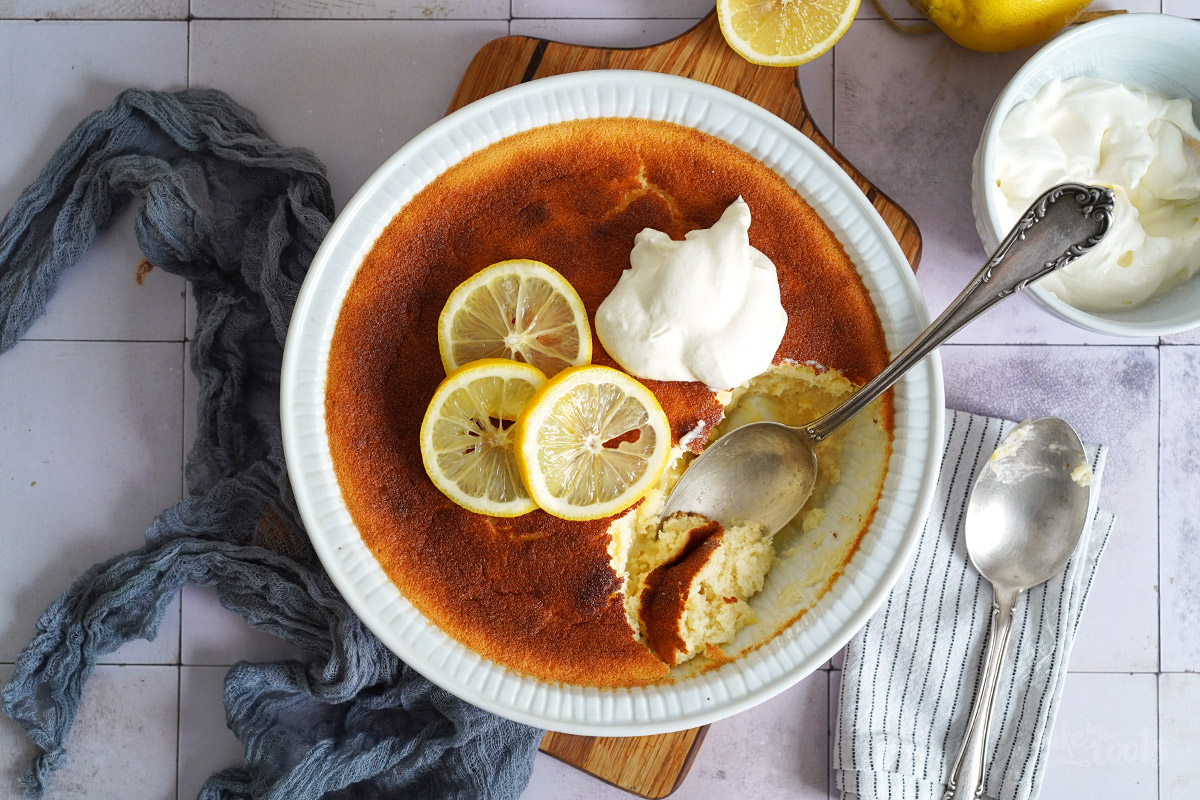
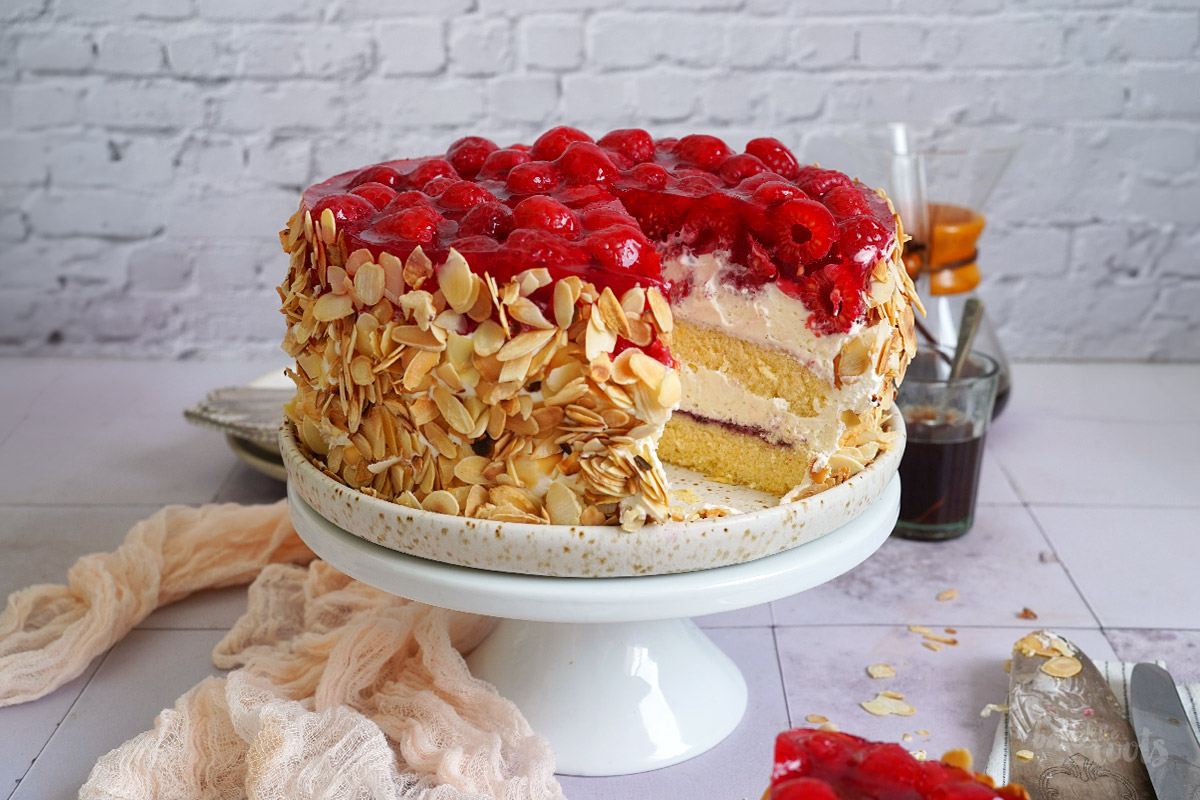
Well… if you need more ideas for heart-shaped cakes, you will be able to find more here on the blog. You could try my Heart Chocolate Cake with Buttercream Decorations or my Heart Cheesecake with Raspberries. Both are really delicious.
INGREDIENTS / ZUTATEN
7 oz. (200g) semi-sweet chocolate* (61%), chopped
3.5 oz. (100g) butter
6 medium eggs, separated
1 oz. (30g) cocoa powder*
1 tsp. vanilla extract*
1/4 tsp. salt
3/4 cup (150g) sugar
whipped cream & fresh fruit/berries for decoration
200g Zartbitterschokolade* (61%), gehackt
100g Butter
6 Eier (M), getrennt
30g Kakaopulver*
1 TL Vanille Extrakt*
1/4 TL Salz
150g Zucker
Schlagsahne & frische Früchte/Beeren für die Dekoration
DIRECTIONS / ZUBEREITUNG
1. Preheat the oven to 180°C (350°F). Place an (adjustable) heart-shaped baking frame* on a baking sheet lined with baking parchment. Add a strip of baking parchment inside the frame as well so the cake can rise without the risk of overflowing the frame. This type of cake rises a lot in the oven. A little fat/baking spray should keep everything in place. Set aside.
2. Roughly chop the chocolate and melt it together with the butter in a microwave-safe bowl in the microwave. Mix well and let cool down a bit.
3. Separate the eggs. Mix the egg yolks with the cocoa, vanilla extract, and salt in a large bowl. Add the slightly cooled melted chocolate and mix until well combined.
4. Whisk the egg whites in a tall bowl/container until (almost) stiff peaks form, then slowly add the sugar and continue whisking until you get a thick and glossy meringue. Gradually add the meringue to the bowl with the chocolate and fold it in. Be very careful – you want to keep as much volume as possible from the meringue. Make sure, though, you can’t see any white streaks in the batter, you only want chocolate visible.
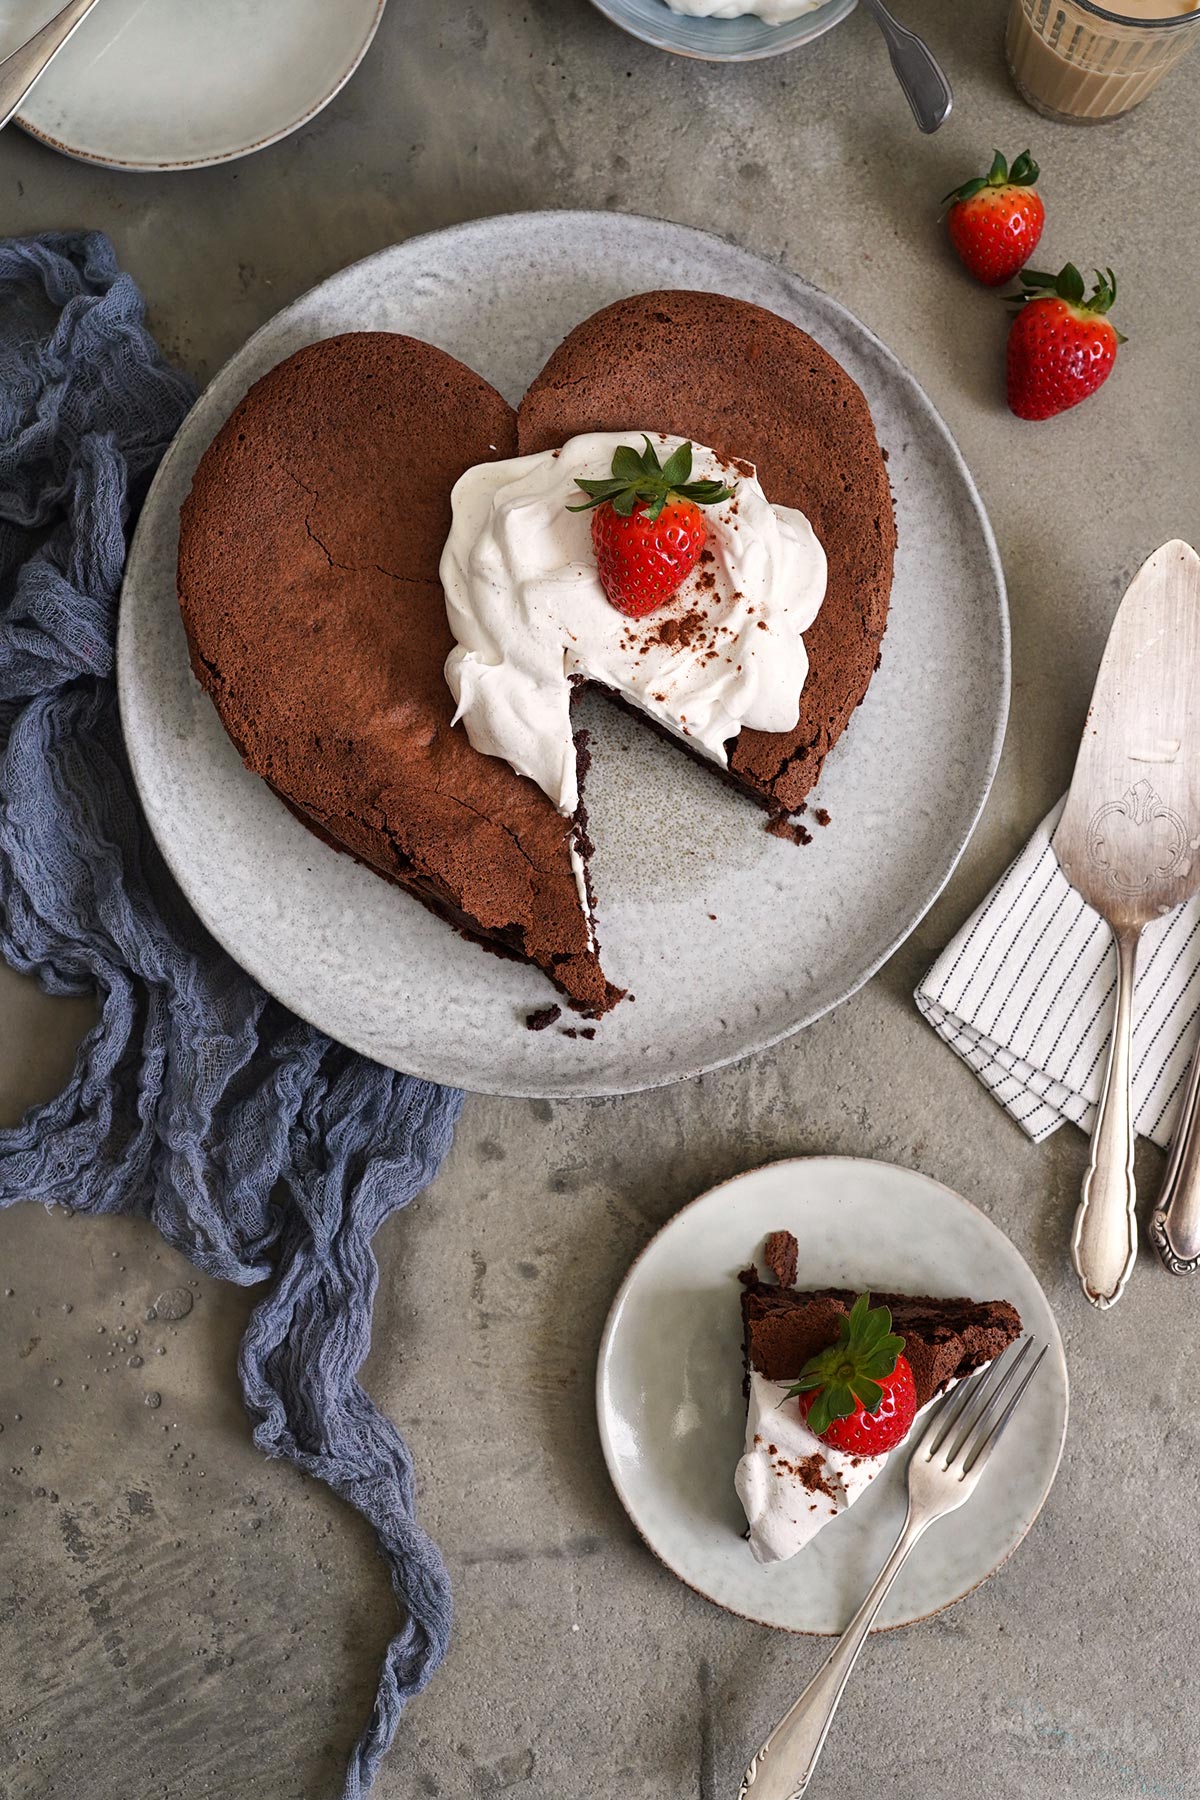
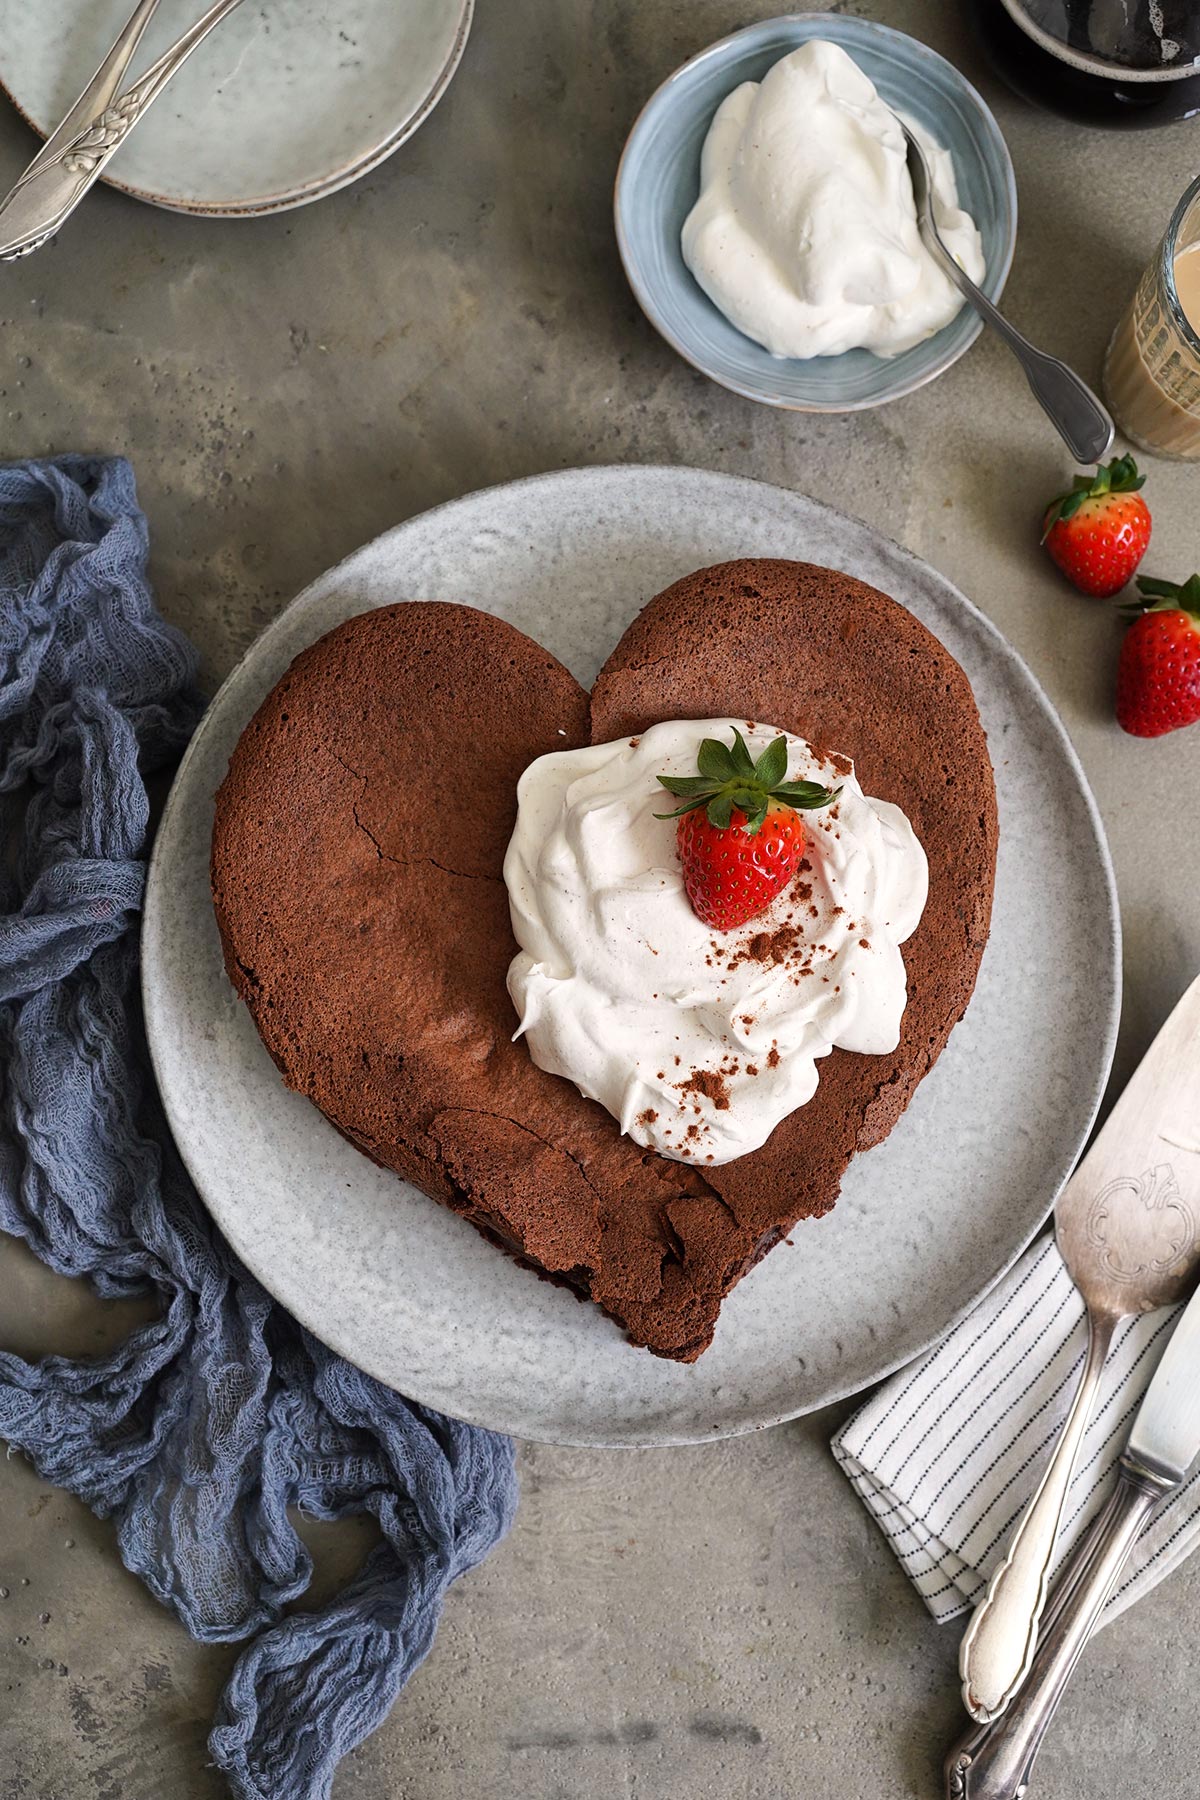
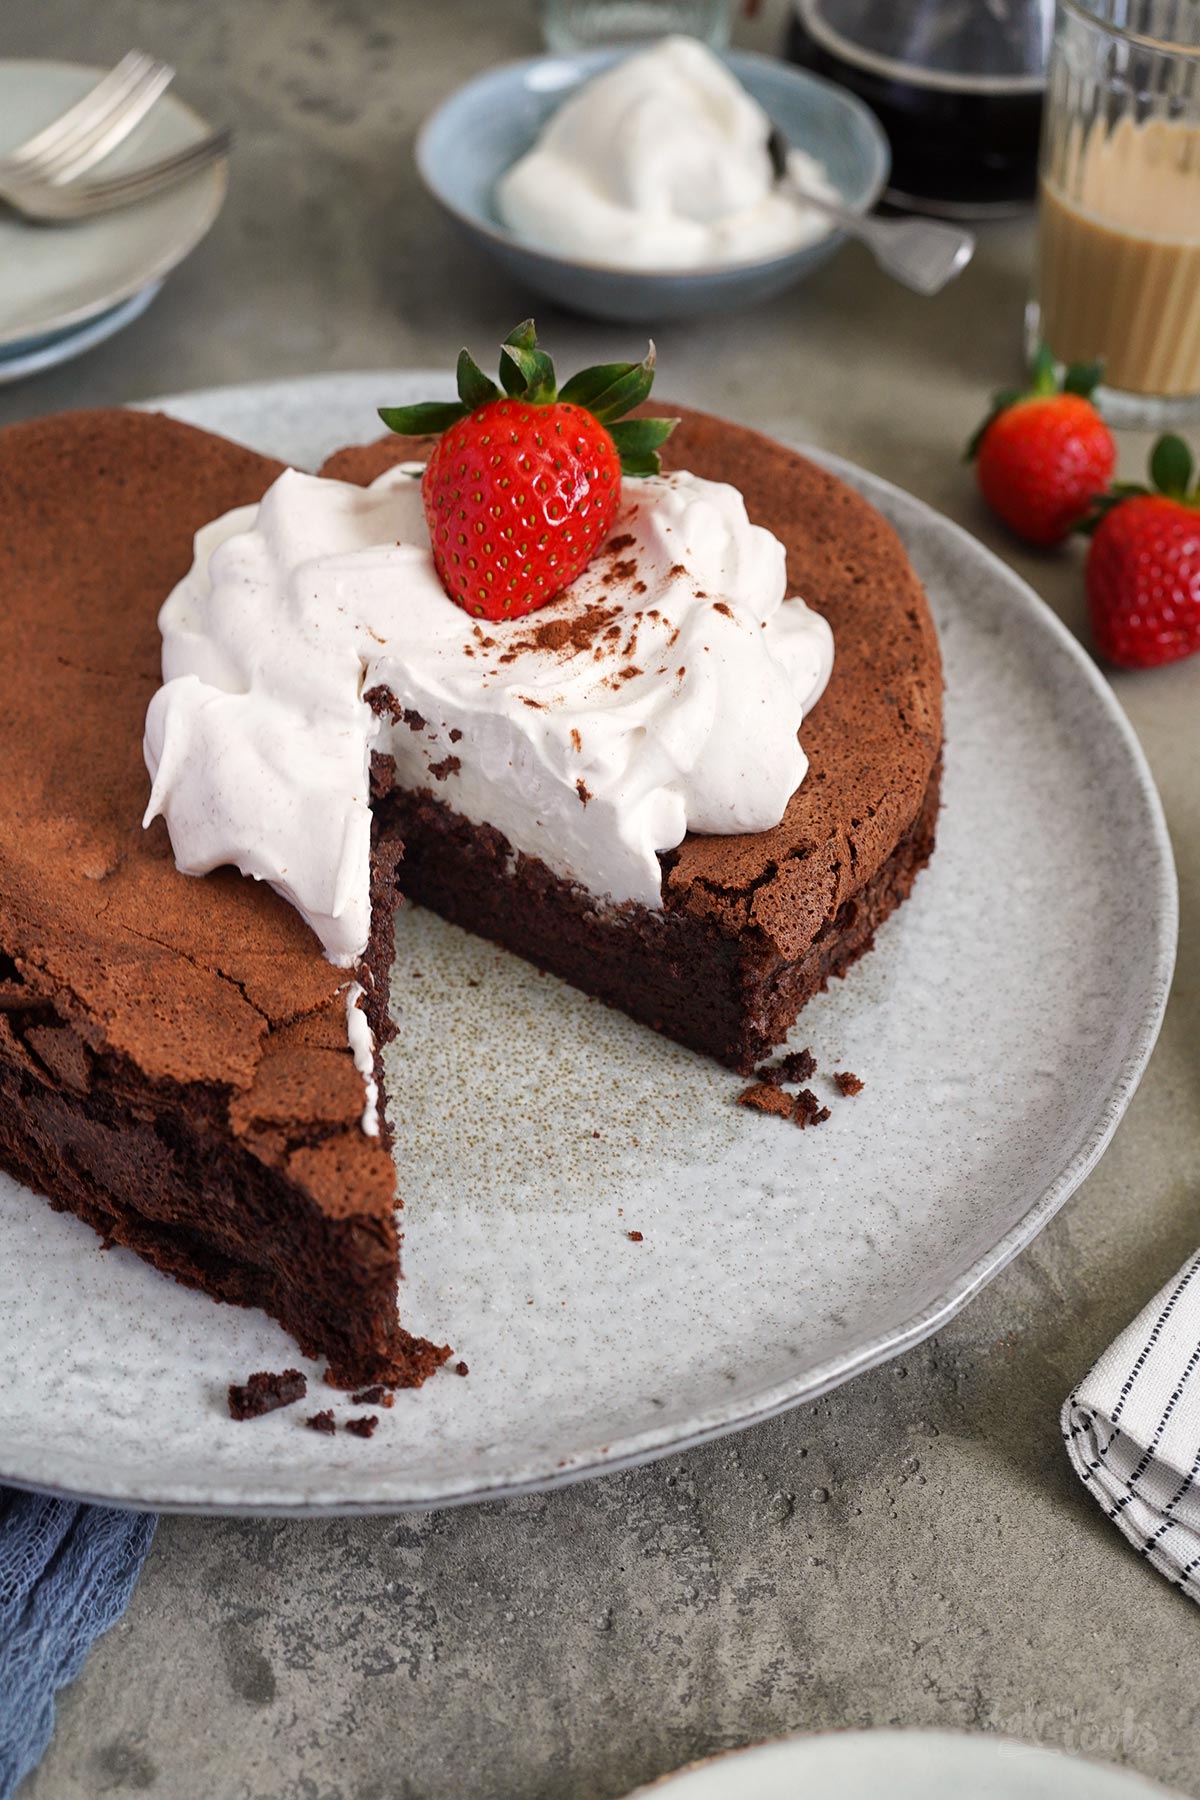
5. Pour the batter into the prepared baking frame and spread evenly. Place in the middle of the oven and bake for about 28-30 minutes – or until the cake is set and moving only slightly in the center when you tap the baking frame or baking sheet. Take it out of the oven and let it cool down as it is for several minutes, then carefully run a knife around the cake to loosen it from the baking parchment. Let it cool down a bit longer. As soon as the cake is stable enough to be moved, carefully place it on a serving plate and then decorate it with whipped cream and fresh fruit or berries (to your liking) before serving.
Note: The surface of the cake will probably crack when you transfer it to a serving plate. Those cracks can be easily covered with the whipped cream.
1. Den Ofen auf 180°C (350°F) Ober-/Unterhitze vorheizen. Einen Herz-Backrahmen* (verstellbar) auf ein Backblech mit Backpapier setzen und zusätzlich noch mit einem Streifen Backpapier versehen. Backrahmen sind meist nicht hoch genug für solch einen Kuchen, also muss man ein wenig »anbauen« (s. Foto). Wenn man den Backrahmen vorab etwas einfettet, hält das Backpapier normalerweise einwandfrei. Zur Seite stellen.
2. Die Schokolade grob hacken und dann zusammen mit der Butter in einer mikrowellensicheren Schüssel in der Mikrowelle schmelzen. Alles gut verrühren und dann ein wenig abkühlen lassen.
3. Die Eier trennen – Eigelbe mit Kakao, Vanille Extrakt und Salz in einer großen Schüssel verrühren. Die leicht abgekühlte Schokolade dazugeben und gut verrühren.
4. Das Eiweiß in einem hohen Behälter (fast) steif schlagen, dann den Zucker langsam einrieseln lassen und alles zu einer dicken, glänzenden Baisermasse aufschlagen. Die Baisermasse schrittweise zur Schüssel mit der Schokolade dazugeben und sehr vorsichtig unterheben – es sollten keine weißen Streifen vom Eiweiß mehr zu sehen sein und so viel Volumen wie möglich erhalten bleiben.
5. Die Schokolade-Baiser Masse in den vorbereiteten Backrahmen füllen und gleichmäßig verteilen. In die Mitte des Ofens schieben und für etwa 28-30 Minuten backen – wenn man am Blech bzw. am Backrahmen rüttelt, sollte sich die Mitte des Kuchens nur noch minimalst bewegen. Den Kuchen aus dem Ofen holen und einige Minuten in der Form abkühlen lassen. Den Kuchen vorsichtig mit einem Messer vom Backrahmen bzw. Backpapier lösen und noch etwas weiter abkühlen lassen. Wenn der Kuchen abgekühlt und etwas stabiler ist, vorsichtig auf eine Servierplatte setzen und nach Belieben vor dem Servieren noch mit Schlagsahne und frischen Früchten oder Beeren dekorieren.
Tipp: Die Oberfläche des Kuchens wird beim Versetzen auf eine Servierplatte vermutlich brechen – Risse lassen sich hier prima mit Schlagsahne etwas kaschieren.
Craving more? Keep in touch on Facebook, Instagram and Pinterest for new post updates and more. You can also contact me with any questions or inquiries!
Here is a version of the recipe you can print easily.
Print
Flourless Chocolate Heart Cake (gluten-free)
- Prep Time: 00:20
- Cook Time: 00:30
- Total Time: 01:00
- Yield: 1 1x
- Category: Cakes
- Method: -
- Cuisine: International
- Diet: Vegetarian
Description
A simple and easy super chocolaty chocolate cake (without flour). The perfect surprise for Valentine’s Day or for Mom on Mother’s Day.
Ingredients
7 oz. (200g) semi-sweet chocolate* (61%), chopped
3.5 oz. (100g) butter
6 medium eggs, separated
1 oz. (30g) cocoa powder*
1 tsp. vanilla extract*
1/4 tsp. salt
3/4 cup (150g) sugar
whipped cream & fresh fruit/berries for decoration
Instructions
1. Preheat the oven to 180°C (350°F). Place an (adjustable) heart-shaped baking frame* on a baking sheet lined with baking parchment. Add a strip of baking parchment inside the frame as well so the cake can rise without the risk of overflowing the frame. This type of cake rises a lot in the oven. A little fat/baking spray should keep everything in place. Set aside.
2. Roughly chop the chocolate and melt it together with the butter in a microwave-safe bowl in the microwave. Mix well and let cool down a bit.
3. Separate the eggs. Mix the egg yolks with the cocoa, vanilla extract, and salt in a large bowl. Add the slightly cooled melted chocolate and mix until well combined.
4. Whisk the egg whites in a tall bowl/container until (almost) stiff peaks form, then slowly add the sugar and continue whisking until you get a thick and glossy meringue. Gradually add the meringue to the bowl with the chocolate and fold it in. Be very careful – you want to keep as much volume as possible from the meringue. Make sure, though, you can’t see any white streaks in the batter, you only want chocolate visible.
5. Pour the batter into the prepared baking frame and spread evenly. Place in the middle of the oven and bake for about 28-30 minutes – or until the cake is set and moving only slightly in the center when you tap the baking frame or baking sheet. Take it out of the oven and let it cool down as it is for several minutes, then carefully run a knife around the cake to loosen it from the baking parchment. Let it cool down a bit longer. As soon as the cake is stable enough to be moved, carefully place it on a serving plate and then decorate it with whipped cream and fresh fruit or berries (to your liking) before serving.
Notes
The surface of the cake will probably crack when you transfer it to a serving plate. Those cracks can be easily covered with the whipped cream.
Links marked with an asterisk (*) are affiliate links (advertising/Werbung) to Amazon Germany. If you click on one of those links and buy something via this link, I will get a commission for that sale. The price of whatever you buy is not affected in any way by this.