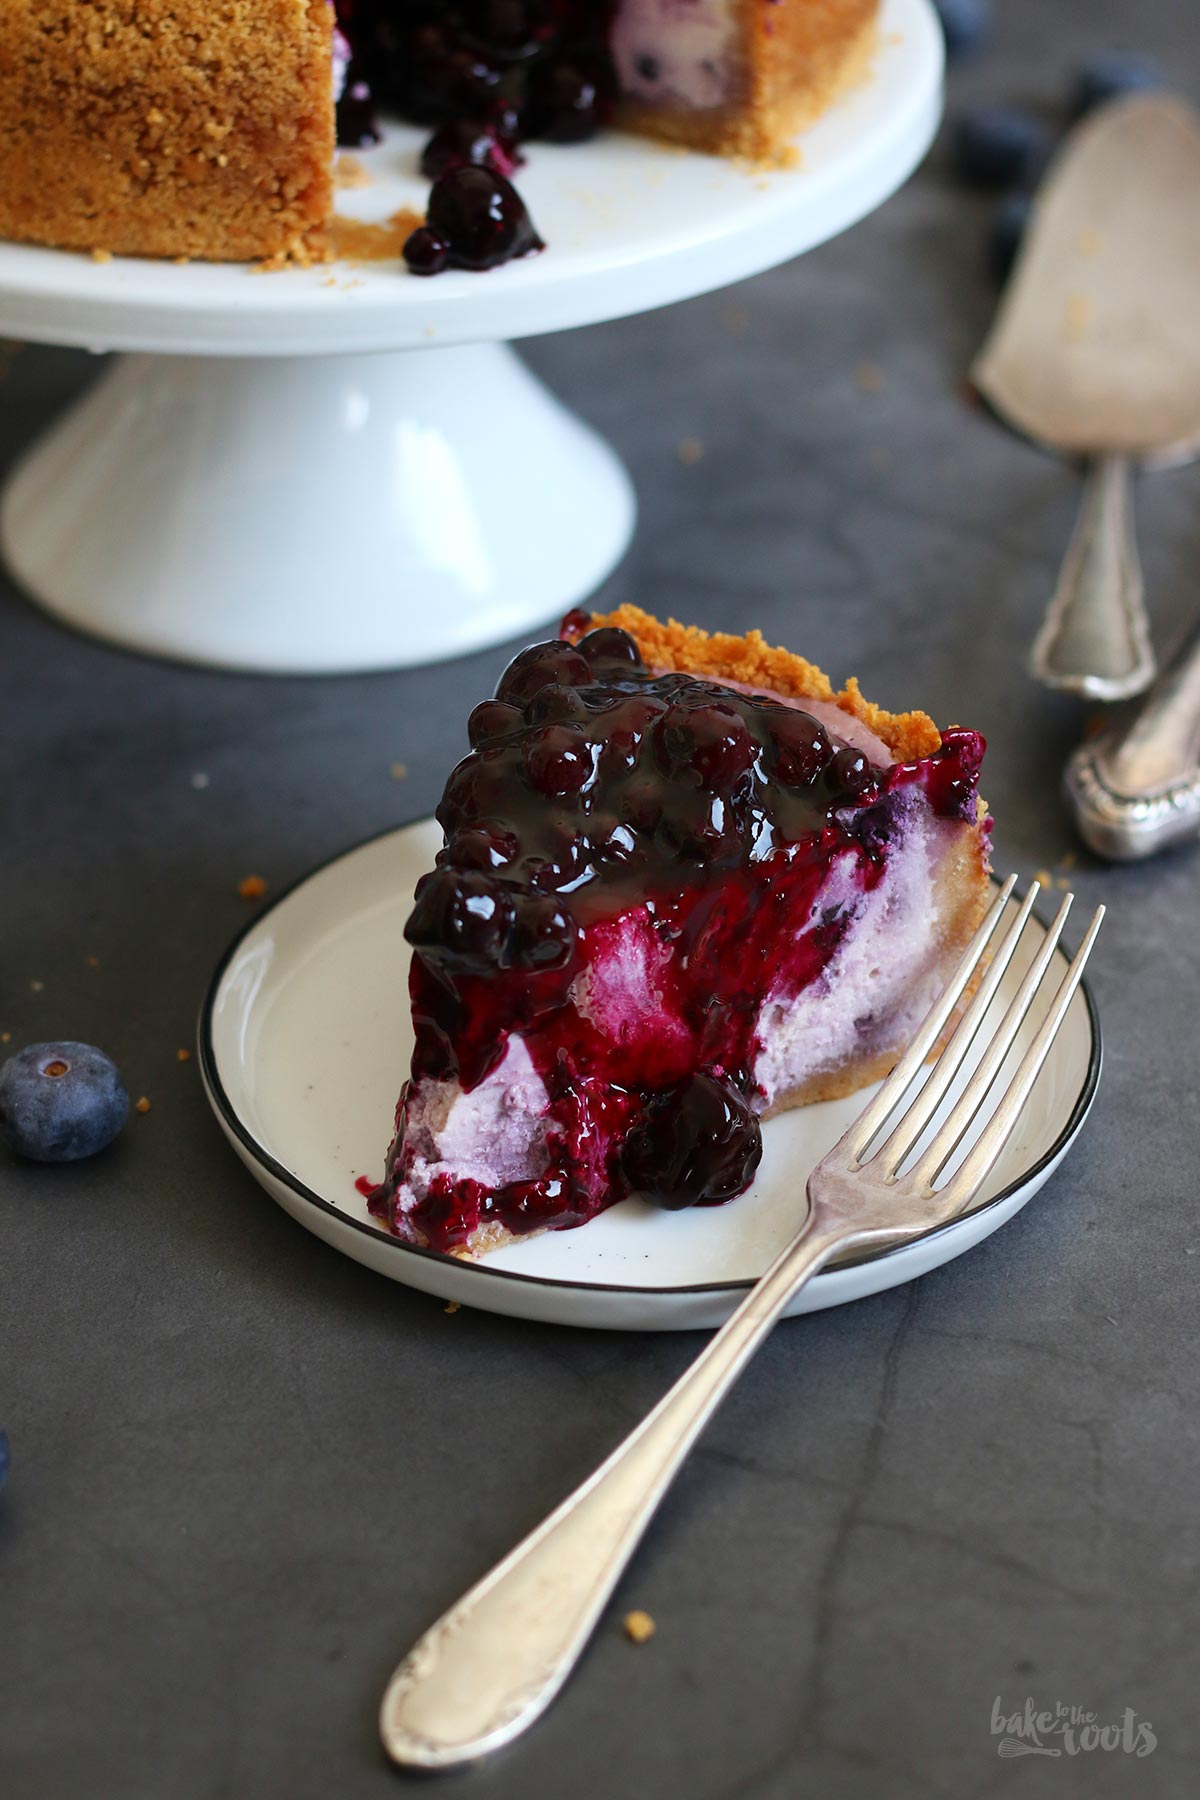
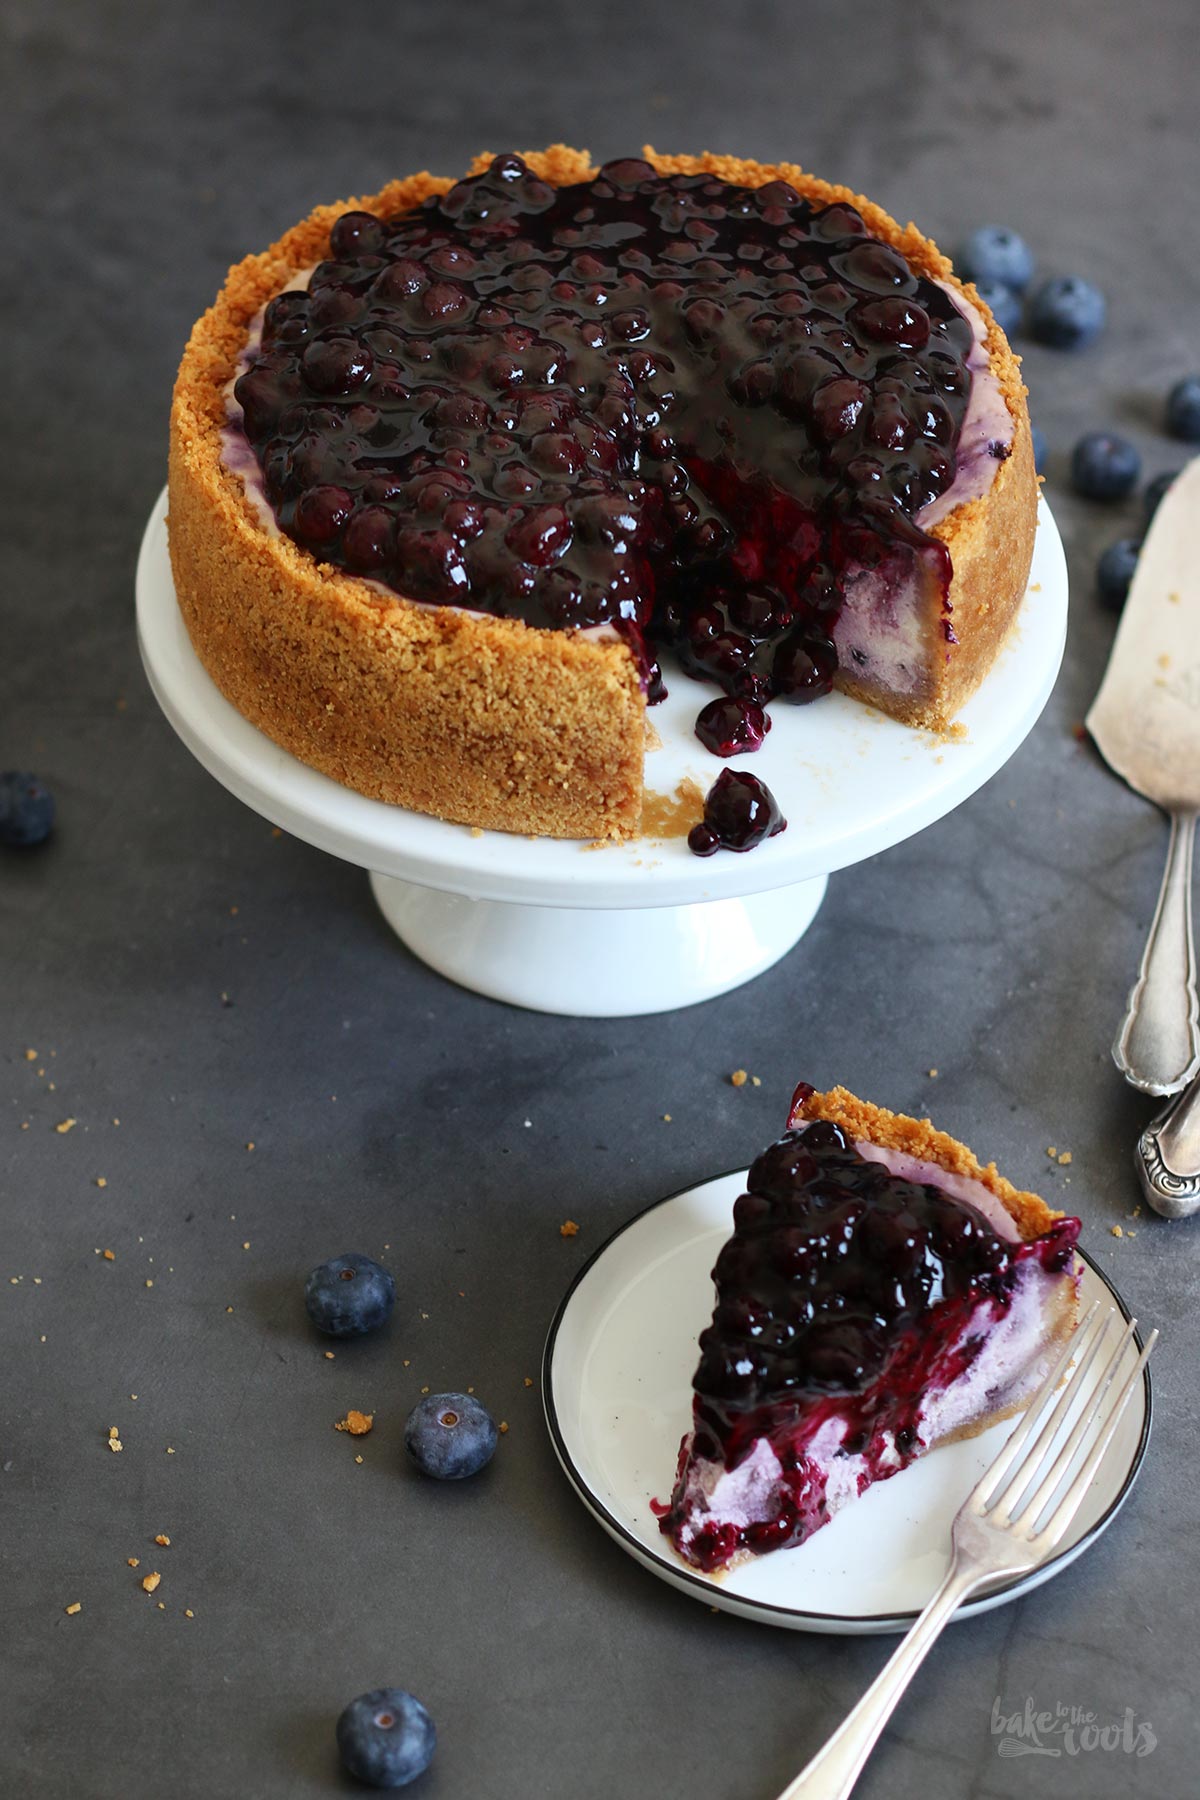
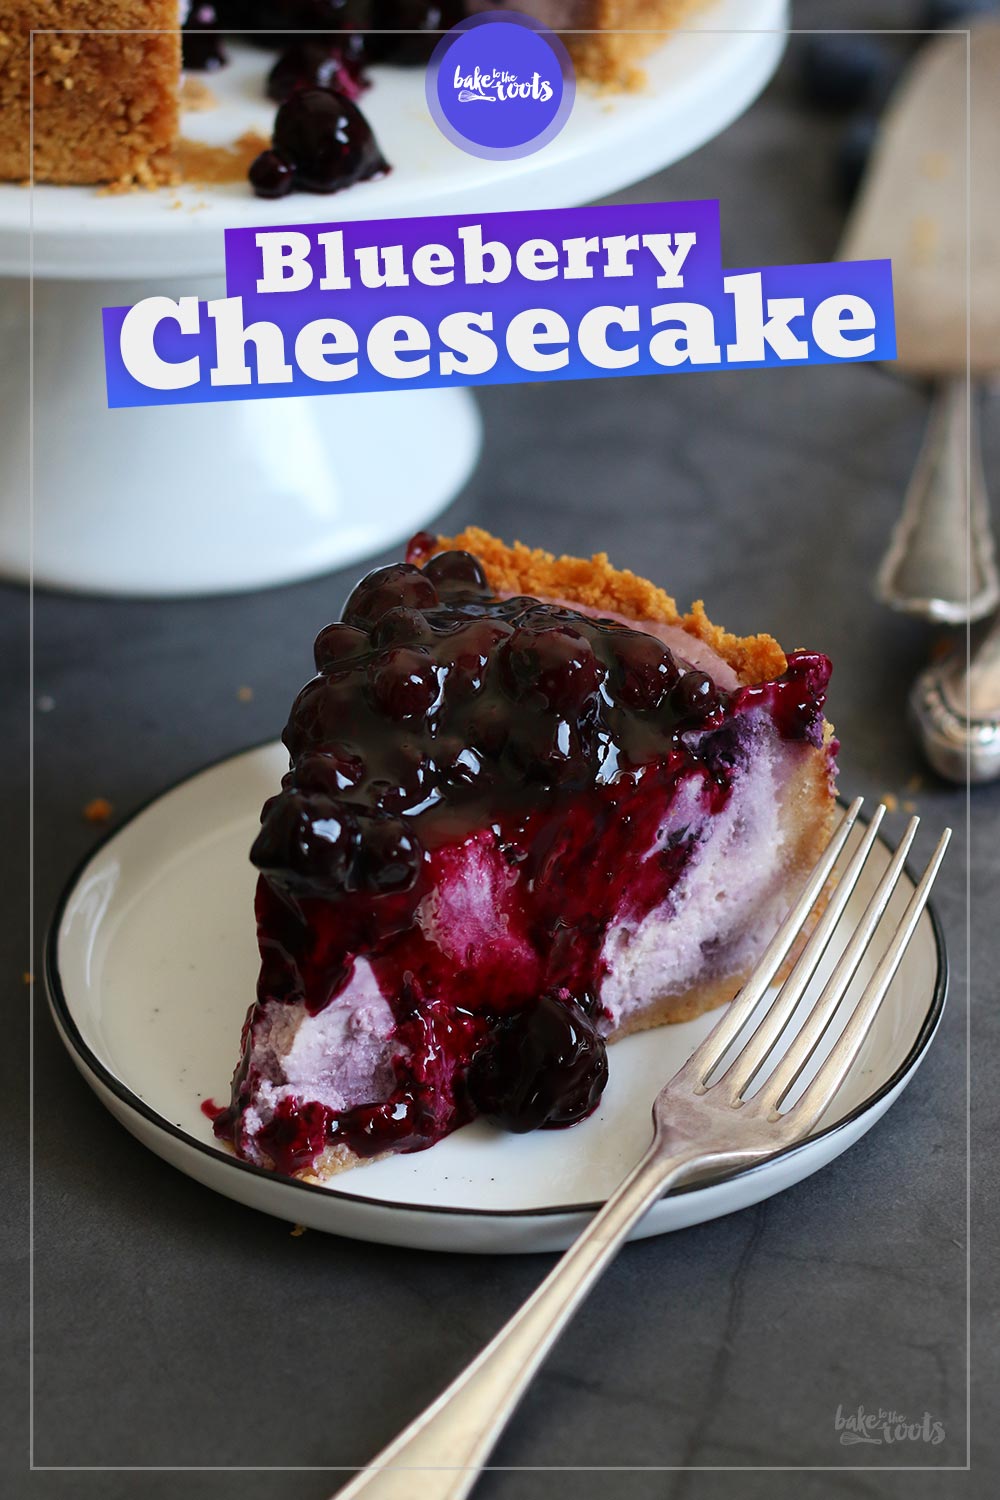
I haven’t baked a cheesecake in a while. I know… how could that happen?! Is there a limit for a “cheesecake-free” time? Probably ;) Well, the suffering is ending with this delicious (and sugar-free/no sugar added) Blueberry Cheesecake. I really need to bake cakes like this one here more often. Nothing can beat this creamy beauty with that blueberry topping! Mmmm…!
I am not quite sure why cheesecakes are so popular. I mean – flavorwise there are many bakes out there that can compete with a good old cheesecake. When it comes to the texture they definitely get some extra points – the creaminess is hard to beat. Only if you bake your cheesecake properly, of course. Even cheesecakes are not immune to being dry when left in the oven for too long. Getting a cheesecake right is not difficult but it’s better to know the basic rules and some tricks to get it perfect ;)
Here are some basics to bake the perfect cheesecake. It’s never too late to improve your “cheesecake business” ;P
Do. Not. Replace. Full-fat. Cream Cheese.
As tempting as it may be to use the “light” versions of cream cheese or curd cheese (that’s what we often use in Germany for a cheesecake) to save a few extra calories – do not use low-fat products. You need all that fat for great flavors and a nice and creamy texture. Cheesecakes with low-fat cream cheese, for example, tend to end up being dry. Cheesecakes have been created to treat yourself to something delicious – you should not focus on calories here. Save some calories somewhere else if you have to ;P
Make sure all ingredients have the same temperature.
When I’m in a hurry, I often use ingredients like eggs, butter, or milk directly from the fridge. For a cheesecake, you better get everything to room temperature before you start. It makes it easier to mix the ingredients together and the result is more homogeneous and creamy.
Do I mix by hand or can I use a food processor?
This is where opinions occasionally split. I’m actually a big fan of my kitchen appliances and let them do the work wherever possible. When it comes to cheesecake, however, I almost always reach for the whisk or regular spatula to mix up the cheesecake filling…. provided the ingredients are all reasonably liquid and easy to mix. If, for example, you need to beat the hell out of some butter first, you might want to use a food processor. Unless you need the extra workout. Then feel free to always mix and knead everything by hand ;)
When do the eggs go in?
Most cheesecakes have eggs on the ingredients list. They give the filling structure and make sure the cheesecake keeps its shape after cutting into it. If you are looking for a nice and creamy texture I recommend adding the eggs one after another without stirring too much once they are in. That said, the best moment to add them is at the end, when all other ingredients are already in the bowl and pre-mixed. There are exceptions to that though. In some cheesecake recipes, the eggs or the egg whites are whisked first to get some volume into the cheesecake…. those cakes end up having a different texture compared with a “regular” cheesecake. A good example here: the beloved (but not so easy to make) Japanese Cotton Cheesecake.
Water bath – yes or no?
This question can be answered with a “yes”. Several “yesses” actually ;) Even if it’s not explicitly mentioned in the recipe, baking in a water bath is beneficial for just about any cheesecake. The water around the baking pan traps some of the heat and ensures that the cheesecake mixture sets evenly and bakes all the way through nicely. The extra moisture from the evaporating water also helps prevent the surface of the cheesecake from cracking. Win-win!
Don’t peek! And don’t cheat!
Speaking of baking… please let your cheesecake bake in peace and undisturbed. Checking on a cheesecake and opening the oven to make sure everything is still there is something you should not do. Every time you open the oven, you lose heat and moisture, and in the worst-case scenario, the cheesecake gets a draft of cold air and may decide to collapse out of frustration or spontaneously get a crack on the surface. So keep your fingers away from the oven door. Towards the end, of course, you can check if the cheesecake is ready and still wobbly enough… but in the first 30 minutes you should really occupy yourself with something else if are normally very nosy ;P
The “wobble” test – you simply can’t go without it!
Several minutes before the recommended baking time ends you should take a close look at the cheesecake and do the “wobble” test. To do this, tap the baking pan and check how the cheesecake filling behaves. You should see a gentle wobble in the center of the cake. Not all over the cake. If that happens, the cheesecake needs more time in the oven. If nothing is moving at all… well then you’re a bit too late. Try again ;P When the cheesecake cools down the gentle wobble will become firmer giving the cheesecake that nice creamy consistency everybody loves.
Remove the cheesecake from the sides of the baking tin.
No one wants a cheesecake with cracks on top. Unfortunately, some cheesecakes are a bit sensitive and tend to crack as they cool. To reduce the risk somewhat, you should loosen your cheesecake from the sides of the baking tin with a sharp knife right after baking. This allows the surface to contract undisturbed during cooling, and the chances for a smooth and crack-free surface are much better.
Cool it. But do it right.
At best, a cheesecake has plenty of time to cool down. The slower this happens, the better are the chances of serving a crack-free cheesecake. Many cakes also require a good amount of time in the fridge after cooling down so the filling can set properly. If you skip that time in the fridge you might end up with a very soft and maybe even runny cheesecake. A cheesecake needs time and some love. It’s not speed dating. You should always remember that ;P
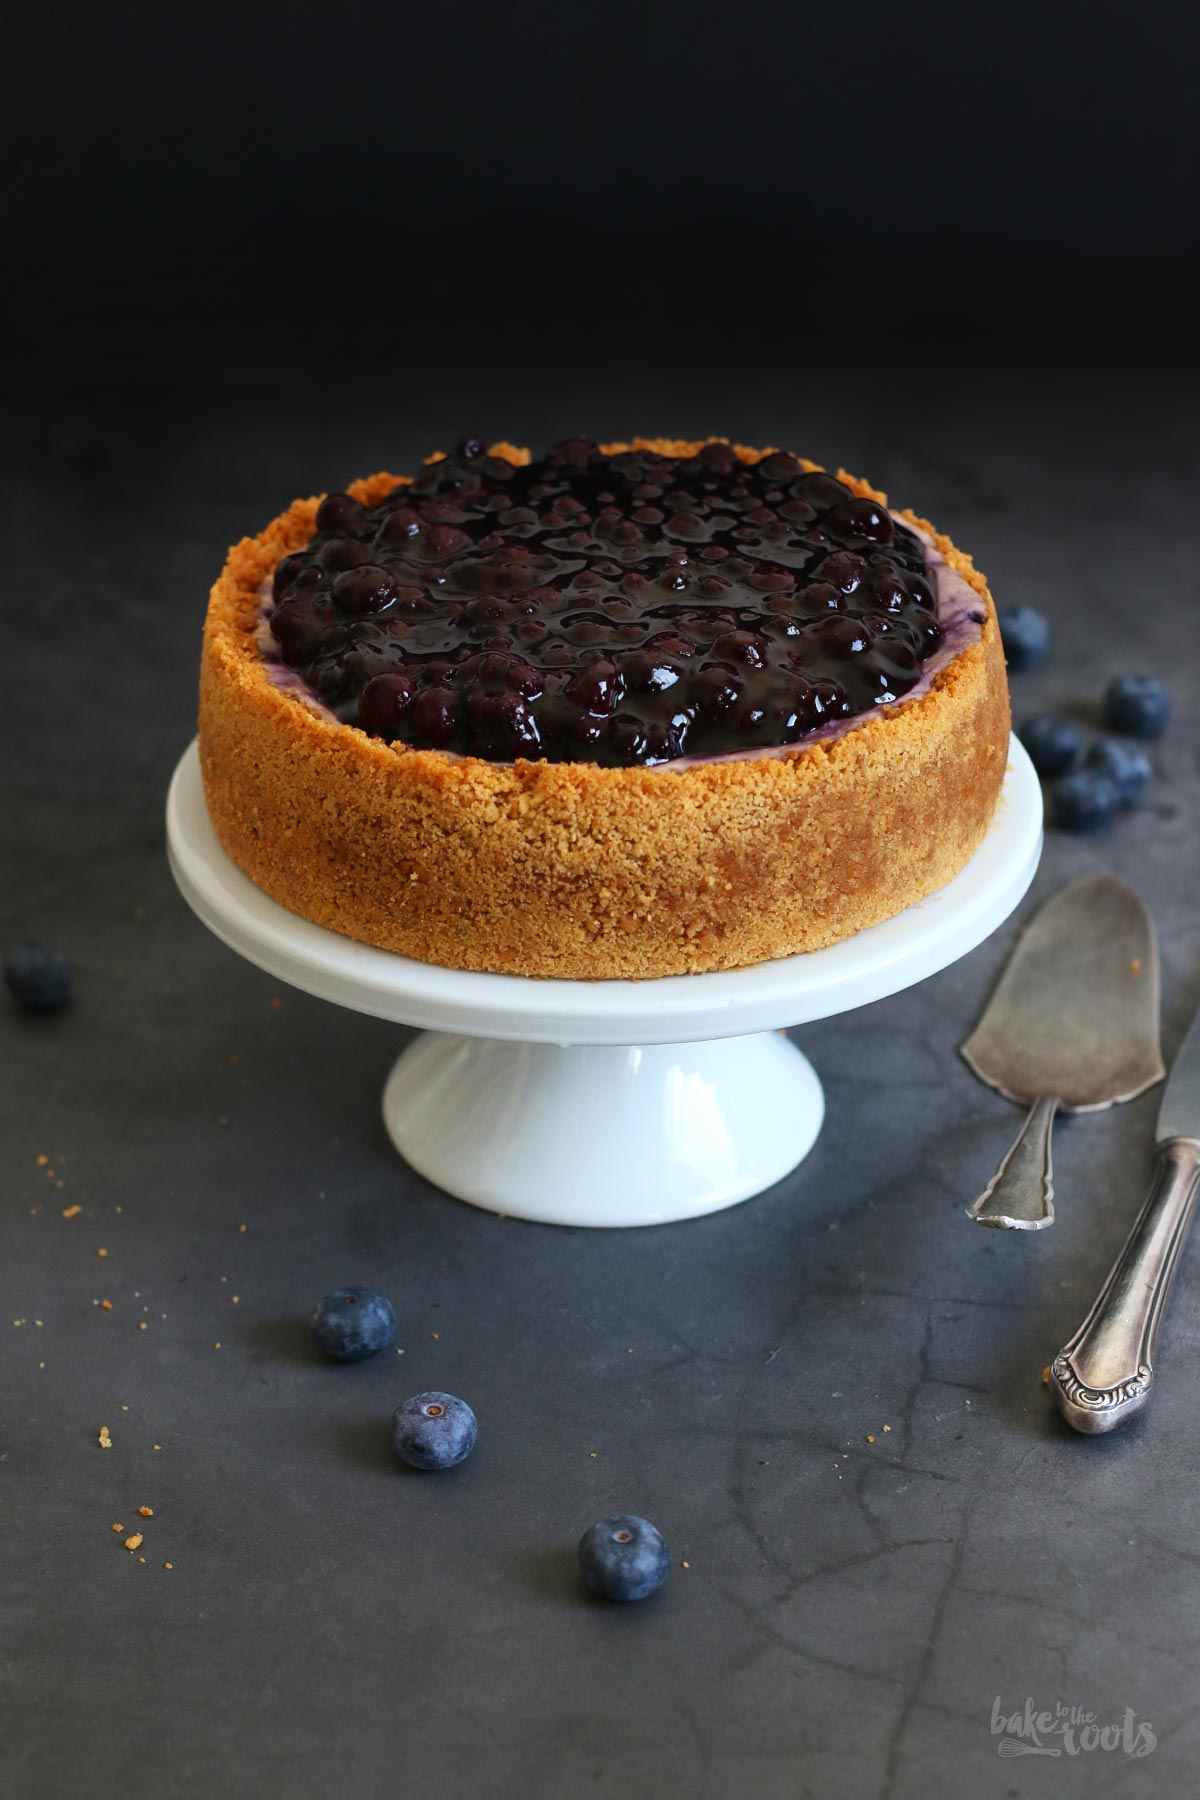
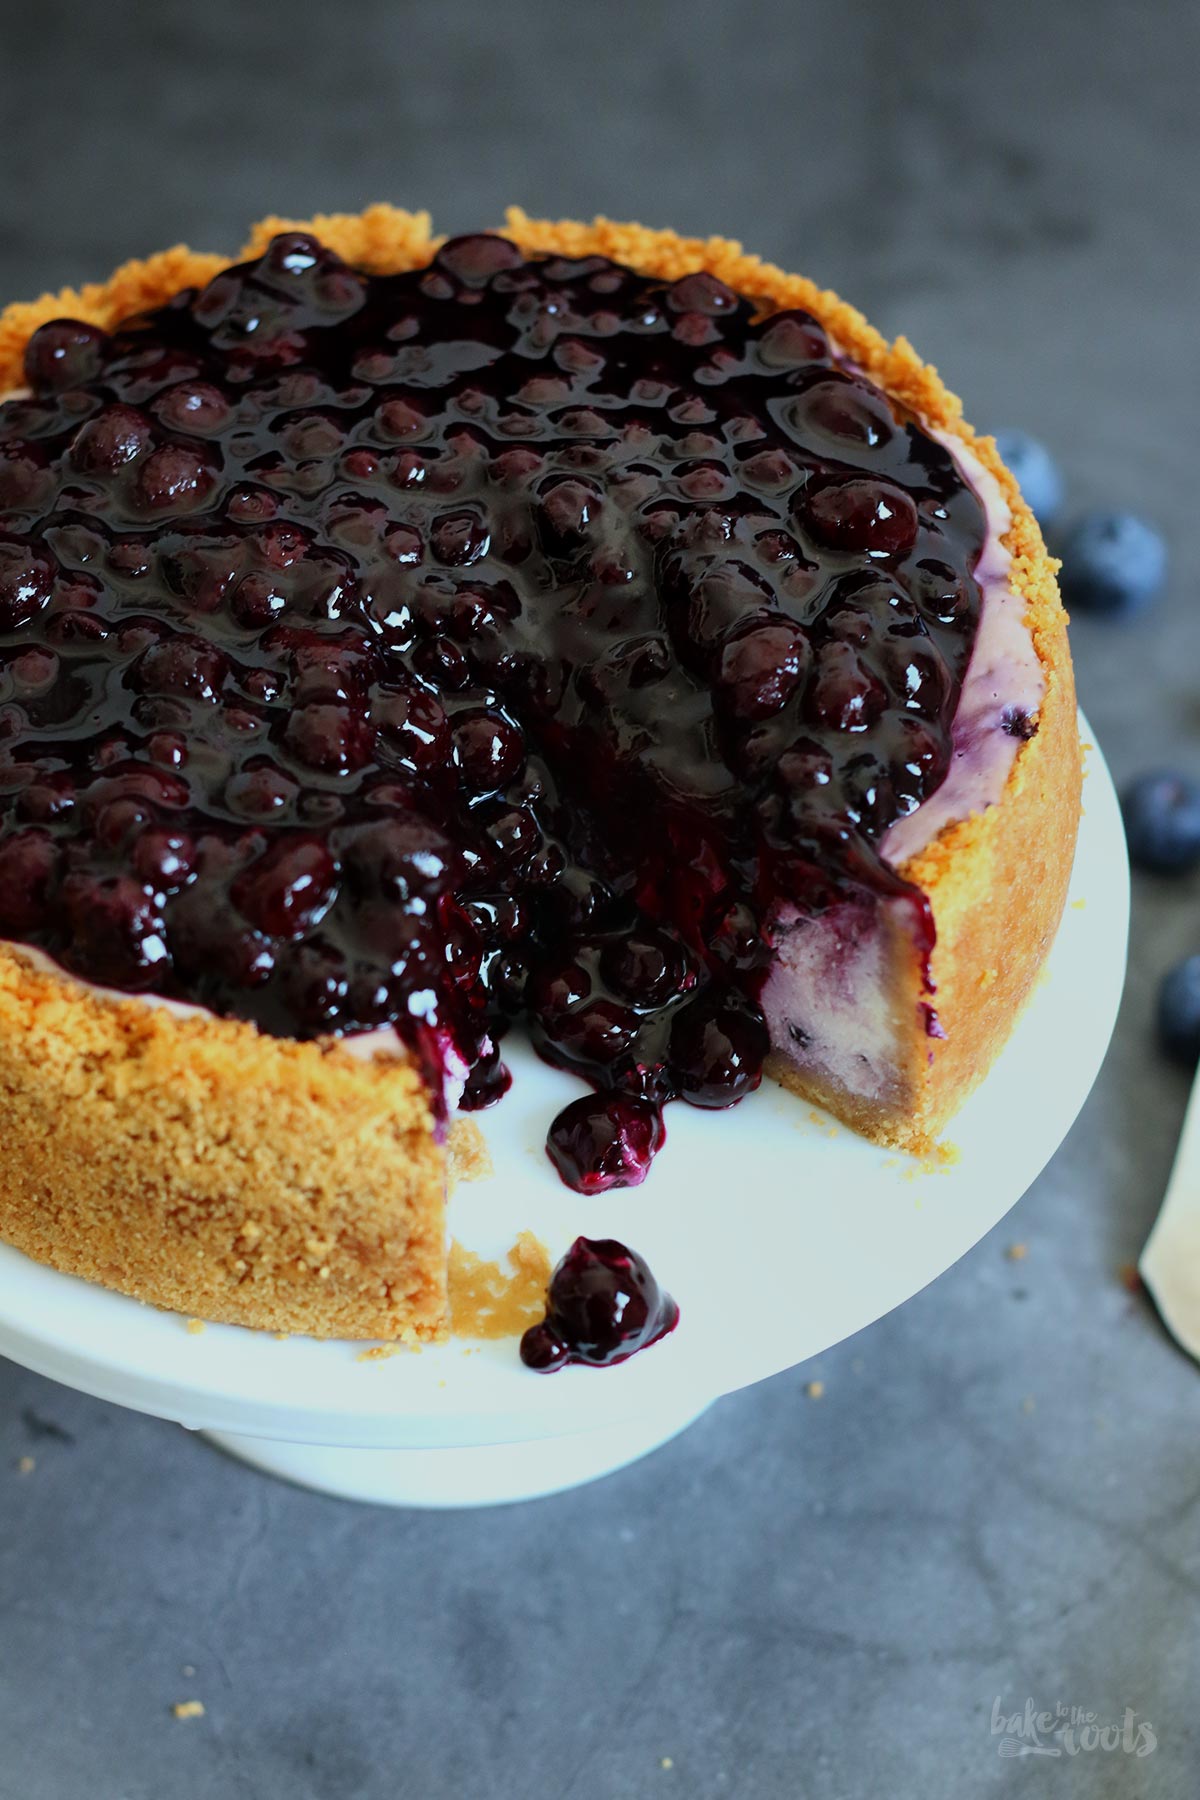
Enough of that. Half of these tips and tricks do not apply to this cheesecake anyway ;P This cake here can get as many cracks as he/she wants. We don’t care. The blueberry topping is covering everything anyway ;)
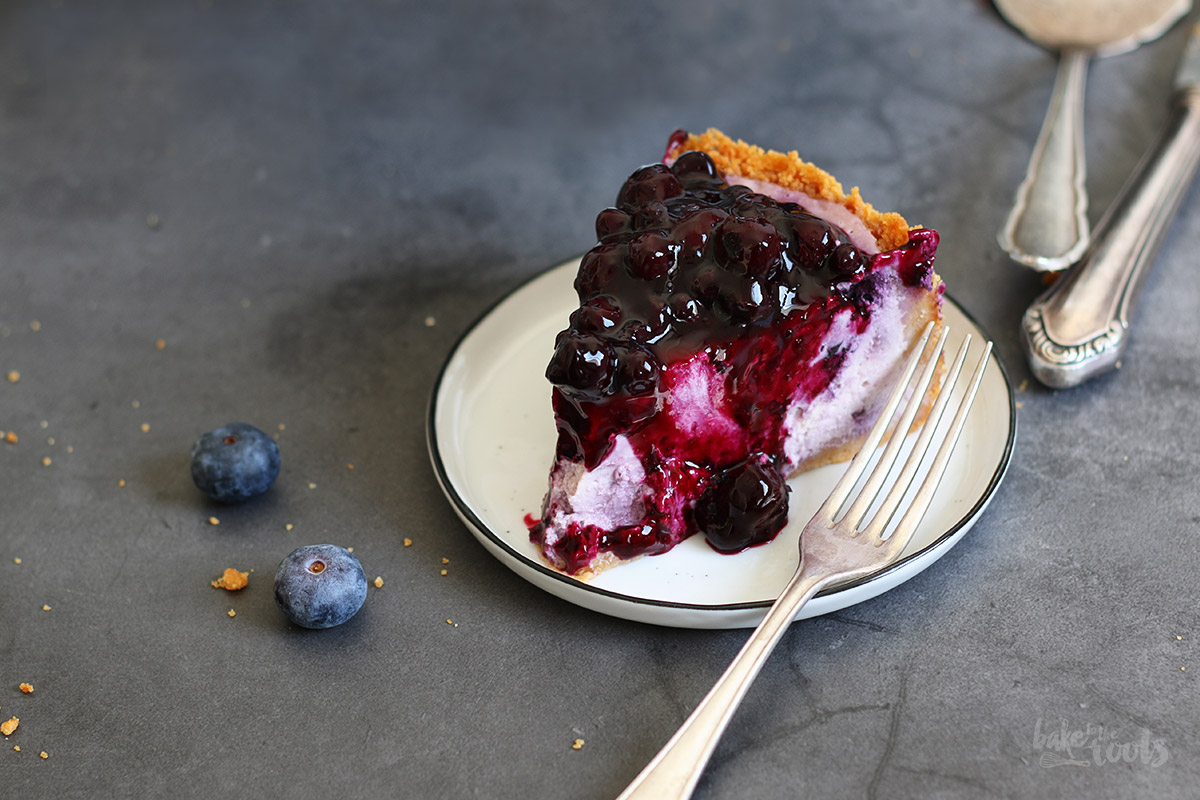
One more thing. About the “sugar-free” label. The headline says it’s a sugar-free cheesecake. Which is only partially correct. There is no sugar added to this cheesecake, no refined sugar, no honey, no nothing. That is correct. But. The blueberries, the cream cheese, the Greek yogurt – all of them have some “natural” sugar inside and you should count that in. It’s not much though. You want you to keep that in mind. For me personally, as a diabetic (type 2) this is fine. I can handle some natural sugar in a cake. But if you are baking for someone else that might be sensitive or whatever – tell them before or ask them if it’s fine for them.
You should also check the sugar-free cookies* (just an example) you want to use. Sugar-reduced cookies are more common in German supermarkets these days but sugar-free cookies are still hard to find. Getting them online is always an option though.
INGREDIENTS / ZUTATEN
7 oz. (200g) butter cookies (sugar-free)
1/4 cup (60g) butter, melted
For the cheesecake filling:
21 oz. (600g) cream cheese, at room temperature
5.3 oz. (150g) Greek yogurt, room temperature
1/2 cup (100g) xylitol (or sugar)
2 tbsp. cornstarch
zest of 1 organic lemon
3 large eggs, at room temperature
1/2 tbsp. lemon juice
1 tsp. vanilla extract
9 oz. (250g) blueberries (fresh or frozen & defrosted)
For the blueberry topping:
10.6 oz. (300g) blueberries (fresh or frozen & defrosted)
2 tbsp. xylitol (or sugar)
1 tbsp. cornstarch
1 tbsp. lemon juice
1/2 tsp. vanilla extract
200g Butterkekse (zuckerfrei)
60g Butter, geschmolzen
Für die Käsekuchenfüllung:
600g Frischkäse, Zimmertemperatur
150g griechischer Joghurt, Zimmertemperatur
100g Xylit (oder Zucker)
2 EL Speisestärke
Abrieb von 1 Bio-Zitrone
3 Eier (L), Zimmertemperatur
1/2 EL Zitronensaft
1 TL Vanille Extrakt
250g Heidelbeeren (frisch oder TK-Ware aufgetaut)
Für das Blaubeeren Topping:
300g Heidelbeeren (frisch oder TK-Ware aufgetaut)
2 EL Xylit (oder Zucker)
1 EL Speisestärke
1 EL Zitronensaft
1/2 TL Vanille Extrakt
DIRECTIONS / ZUBEREITUNG
2. Preheat the oven to 350°F (180°C). Grease an 8 inches (20cm) springform tin lightly and line with a piece of baking parchment. Set aside.
3. Add the cookies to a freezer bag and crush them with a rolling pin until you get very fine crumbs. Melt the butter, let cool down a bit, then add to the cookie crumbs and mix until the crumbs are evenly moist. Transfer to the prepared springform tin and press to the bottom and sides to create a nice crust. Place in the oven and bake for about 10 minutes. Take out and reduce the heat of the oven to 300°F (150°C).
4. For the filling mix the cream cheese and Greek yogurt in a large bowl until smooth. Mix the xylitol (or sugar) with the cornstarch, and lemon zest, add to the bowl and mix in. Add the eggs, lemon juice, and vanilla extract and mix everything until well combined. If you are using frozen and defrosted blueberries make sure to drain them properly, add them to the bowl, and fold in. Pour the batter into the pre-baked crust and smooth out the top. Place in the center of the oven and bake for about 75-80 minutes. The edges should have set but the center should still wobble if you move the tin. Turn off the oven, open the oven door a bit and leave the cheesecake in there for another 30 minutes to cool down, then take out and let cool down completely. When cooled, place in the fridge for at least 4 hours or overnight.
5. For the blueberry topping you can use fresh or frozen blueberries. Let frozen berries defrost and catch the juices coming from the berries. Add xylitol (or sugar), cornstarch, lemon juice, and vanilla extract to a pot and mix to combine. If you use fresh blueberries add about 2 tbsp. of water to the pot as well, if you use defrosted berries use the liquid from the berries. Add with the blueberries to the bowl and heat up until the liquid in the pot thickens and the blueberries are a bit softer and coated with sauce – you want everything to be thick and not too runny. Let cool down a bit.
6. Remove the cheesecake from the tin and place it on a serving plate. Pour the blueberry topping over the cheesecake. Place in the fridge for about 20-30 minutes before serving.
2. Den Ofen auf 180°C (350°F) Ober-/Unterhitze vorheizen. Eine 20cm (8 inches) Springform leicht einfetten und mit einem Stück Backpapier auslegen. Zur Seite stellen.
3. Die Kekse in einen Gefrierbeutel füllen und mit einem Nudelholz o.ä. zerstoßen, bis sehr feine Brösel entstehen. Die Butter schmelzen, etwas abkühlen lassen, dann zu den Keksbröseln dazugeben und vermischen, bis die Brösel gleichmäßig feucht sind. In die vorbereitete Springform füllen und am Boden und den Seiten andrücken. Für etwa 10 Minuten backen, dann herausnehmen und etwas abkühlen lassen. Die Temperatur des Ofens auf 150°C (300°F) reduzieren.
4. Für die Füllung den Frischkäse mit dem Joghurt in einer großen Schüssel glatt rühren. Xylit (oder Zucker) mit der Speisestärke und der Zitronenschale mischen, zur Schüssel dazugeben und unterrühren. Eier, Zitronensaft und Vanille Extrakt ebenfalls mit in die Schüssel geben und alles gut verrühren. Wer aufgetaute Blaubeeren verwendet, sollte sicherstellen, dass sie gut abgetropft sind, ansonsten einfach dazugeben und unterheben. Die Masse in die vorbereitete Form füllen und glatt streichen. Für etwa 75-80 Minuten backen – die Ränder sollten fest geworden sein, in der Mitte darf die Füllung aber noch “wobbeln”, wenn man an der Form rüttelt. Ofen ausschalten, die Ofentür etwas öffnen und den Kuchen für etwa 30 Minuten im Ofen abkühlen lassen, dann herausholen und komplett abkühlen lassen. Den abgekühlten Käsekuchen dann noch einmal mindestens 4 Stunden (oder über Nacht) in den Kühlschrank stellen.
5. Für das Blaubeeren Topping kann man frische oder TK-Blaubeeren verwenden. Gefrorene Beeren auftauen lassen und den Saft, der aus den Beeren austritt, auffangen. Xylit (oder Zucker), Speisestärke, Zitronensaft und Vanille Extrakt in einen Topf geben und verrühren. Wer frische Blaubeeren verwendet, sollte noch etwa 2 EL Wasser mit in den Topf geben, bei TK-Blaubeeren kann man den Saft der Beeren verwenden. Die Beeren mit in den Topf geben und erhitzen, bis die Flüssigkeit im Topf andickt. Die Blaubeeren sollten etwas weicher geworden sein und mit Soße bedeckt sein – die Masse sollte gut angedickt sein und nicht zu flüssig wirken. Ein wenig abkühlen lassen.
6. Den Käsekuchen aus der Form lösen und auf eine Servierplatte setzen. Das Blaubeeren Topping auf dek Käsekuchen verteilen. Vor dem Servieren noch einmal etwa 20-30 Minuten in den Kühlschrank stellen.
Craving more? Keep in touch on Facebook, Twitter, Instagram and Pinterest for new post updates and more. You can also contact me with any questions or inquiries!
Here is a version of the recipe you can print easily.
Print
Blueberry Cheesecake (sugar-free)
- Prep Time: 00:30
- Cook Time: 01:20
- Total Time: 08:00
- Yield: 1 1x
- Category: Cheesecakes
- Cuisine: America
- Diet: Diabetic
Description
The perfect cheesecake can be made without any sugar added – don’t you believe it? It’s true. The best Blueberry Cheesecake ever!
Ingredients
For the base:
7 oz. (200g) butter cookies (sugar-free)
1/4 cup (60g) butter, melted
For the cheesecake filling:
21 oz. (600g) cream cheese, at room temperature
5.3 oz. (150g) Greek yogurt, room temperature
1/2 cup (100g) xylitol (or sugar)
2 tbsp. cornstarch
zest of 1 organic lemon
3 large eggs, at room temperature
1/2 tbsp. lemon juice
1 tsp. vanilla extract
9 oz. (250g) blueberries (fresh or frozen & defrosted)
For the blueberry topping:
10.6 oz. (300g) blueberries (fresh or frozen & defrosted)
2 tbsp. xylitol (or sugar)
1 tbsp. cornstarch
1 tbsp. lemon juice
1/2 tsp. vanilla extract
Instructions
1. Before you start make sure the ingredients are all at room temperature and the blueberries are defrosted if you use frozen ones instead of fresh ones.
2. Preheat the oven to 350°F (180°C). Grease an 8 inches (20cm) springform tin lightly and line with a piece of baking parchment. Set aside.
3. Add the cookies to a freezer bag and crush them with a rolling pin until you get very fine crumbs. Melt the butter, let cool down a bit, then add to the cookie crumbs and mix until the crumbs are evenly moist. Transfer to the prepared springform tin and press to the bottom and sides to create a nice crust. Place in the oven and bake for about 10 minutes. Take out and reduce the heat of the oven to 300°F (150°C).
4. For the filling mix the cream cheese and Greek yogurt in a large bowl until smooth. Mix the xylitol (or sugar) with the cornstarch, and lemon zest, add to the bowl and mix in. Add the eggs, lemon juice, and vanilla extract and mix everything until well combined. If you are using frozen and defrosted blueberries make sure to drain them properly, add them to the bowl, and fold in. Pour the batter into the pre-baked crust and smooth out the top. Place in the center of the oven and bake for about 75-80 minutes. The edges should have set but the center should still wobble if you move the tin. Turn off the oven, open the oven door a bit and leave the cheesecake in there for another 30 minutes to cool down, then take out and let cool down completely. When cooled, place in the fridge for at least 4 hours or overnight.
5. For the blueberry topping you can use fresh or frozen blueberries. Let frozen berries defrost and catch the juices coming from the berries. Add xylitol (or sugar), cornstarch, lemon juice, and vanilla extract to a pot and mix to combine. If you use fresh blueberries add about 2 tbsp. of water to the pot as well, if you use defrosted berries use the liquid from the berries. Add with the blueberries to the bowl and heat up until the liquid in the pot thickens and the blueberries are a bit softer and coated with sauce – you want everything to be thick and not too runny. Let cool down a bit.
6. Remove the cheesecake from the tin and place it on a serving plate. Pour the blueberry topping over the cheesecake. Place in the fridge for about 20-30 minutes before serving.
Notes
Enjoy baking!
Links marked with an asterisk (*) are affiliate links (advertising/Werbung) to Amazon Germany. If you click on one of those links and buy something via this link, I will get a commission for that sale. The price of whatever you buy is not affected in any way by this.

 I love my job, but in between I love to bake and try new things in the kitchen. A lot of my friends and colleagues encourage me to bake - for a very simple reason: they get the leftovers - and it seems they like it most of the time ;)