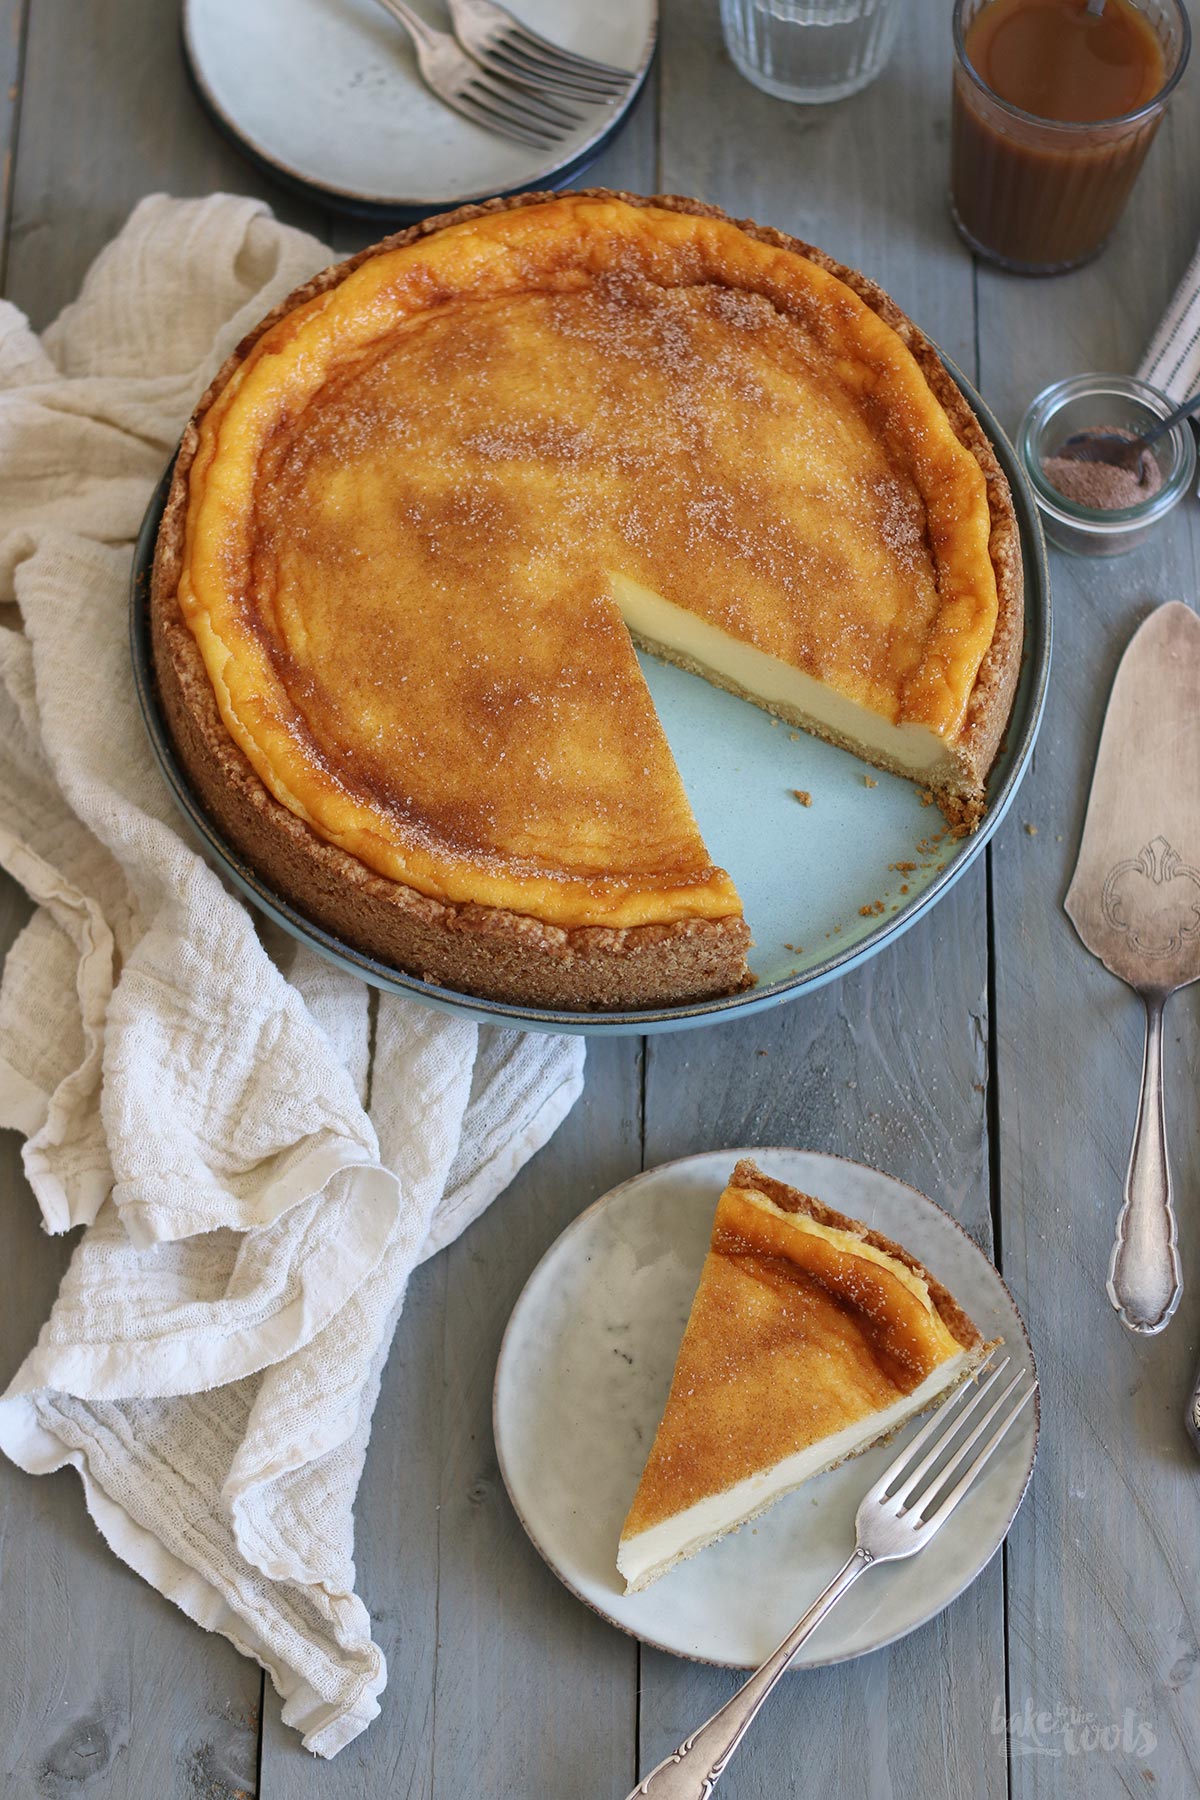
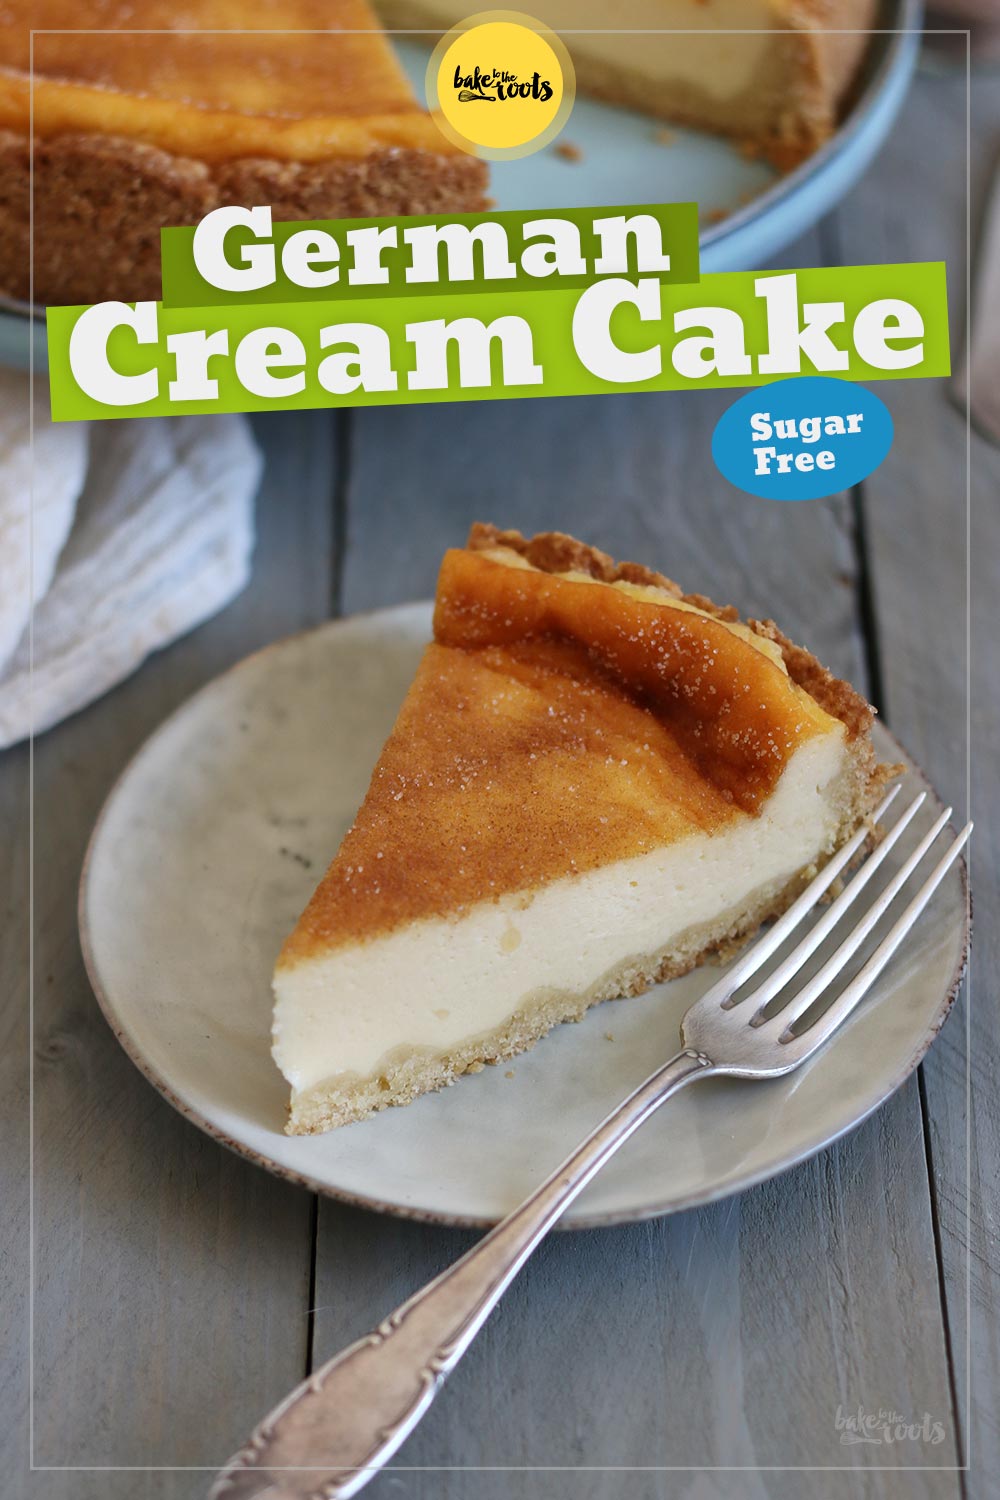
My journey to find the best “Rahmkuchen” has come to an end. Finally! After years of searching, I have finally created the ultimate recipe with this delicious (sugar-free) Rahmkuchen aka. German Style Cheesecake! If you are new to the blog you might think “what kind of nonsense is that?” ;) Perhaps I should explain this “journey” a bit better. So grab a slice of the cake and get a cup of coffee… it’s time for a little story ;P
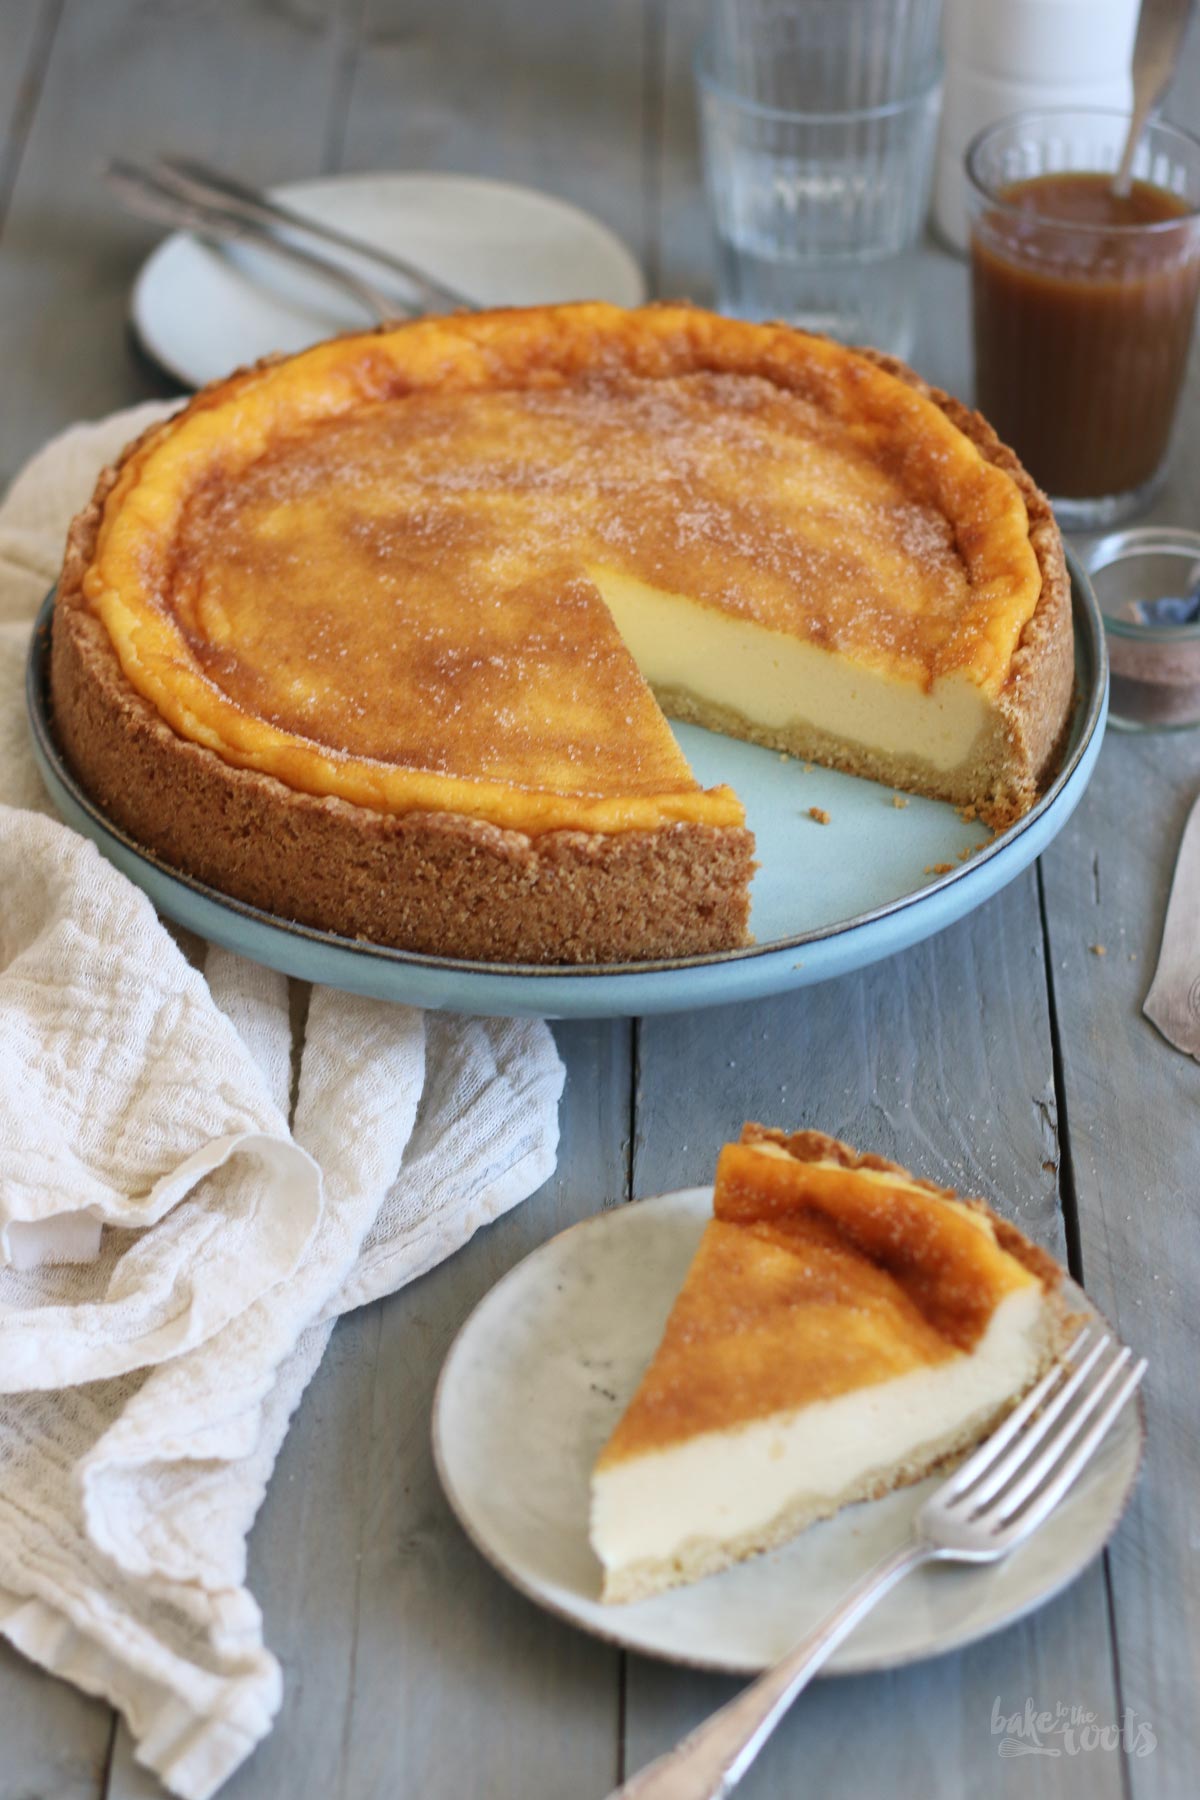
This blog here has been up and running since 2014 to show the world some of my favorite recipes (and for me to have a place to store them and not forget about them). My “best of” collection, so to speak. A typical German cake I love since I was a kind and definitely a candidate for the “best of” list is a Classic German Rahmkuchen. Some type of cheesecake that is quite popular in the south of Germany and even Switzerland. Even though everybody has their own version and name for it, they are all very similar.
Well. Those “Rahmkuchen” are simple cakes and very delicious in my opinion. Wherever they come from ;) Similar to a cheesecake but probably a bit creamier and usually not as massive (I mean “not as tall” by that). The typical Rahmkuchen tends to be quite flat and is often sprinkled with a mixture of sugar and cinnamon – at least where I come from. Everyone in my family likes cheesecake and we made them quite regularly – but somehow there wasn’t a recipe for Rahmkuchen that could have been made and passed down in the family. Seems we are not a “Rahmkuchen baking family” but a “Rahmkuchen buying family” instead ;P Which makes sense because a bakery around the corner back home made the best Rahmkuchen in the world. So every time someone was craving a slice of that cake they could easily get one from the bakery… without the hassle to go through the baking process ;P
Anyway. I left my hometown many years ago and ended up in Berlin at some point. Unfortunately, nobody cares about Rahmkuchen here. It’s not a cake you see often in bakeries. Even though there are loads of Swabians and people from Baden in my neighborhood – none of them thought about opening a traditional Swabian or Baden bakery so I can get my traditional Rahmkuchen whenever I want ;P Well… there you have it. The reason for my journey. No one wanted to bake the perfect Rahmkuchen for me and I, myself, do not have the recipe for the perfect Rahmkuchen. What else could I have done except say “challenge accepted!”?! ;P
Well. If you were here for the recipe only – sorry if I bother you with my private problems ;P
Anyway. Normally I would publish only things I think are “perfect” and delicious. All the Rahmkuchen I made so far are “the exemptions” to that rule. So to speak. Even though they were all delicious and great cakes, in my opinion, they were not perfect. I am always comparing them with the one from that one bakery back home, you know ;) It has taken me quite a few attempts to get the cake right but I think I am finally there…
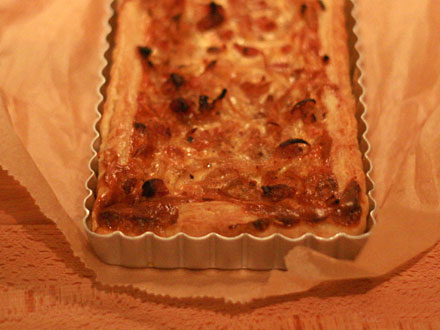
If you take a look at the different Rahmkuchen here on the blog (the links are down below), you will notice that they are all quite similar. Only the cake made with a yeast dough base is a bit different… but looks the closest to the one I remember actually ;P
The first attempt, which made it to the blog in 2015 already, was a bit too close to a classic cheesecake for me. I think you can see it in the picture. The cake is quite tall. A super tasty cake, but just not quite what I wanted. The second attempt with a yeast dough base instead of a classic shortcrust pastry looked pretty much perfect but when I tasted it I noticed that’s not what I remember ;) The third attempt was visually close to what I was looking for, but in the end not creamy enough and honestly also a bit pale on top ;P
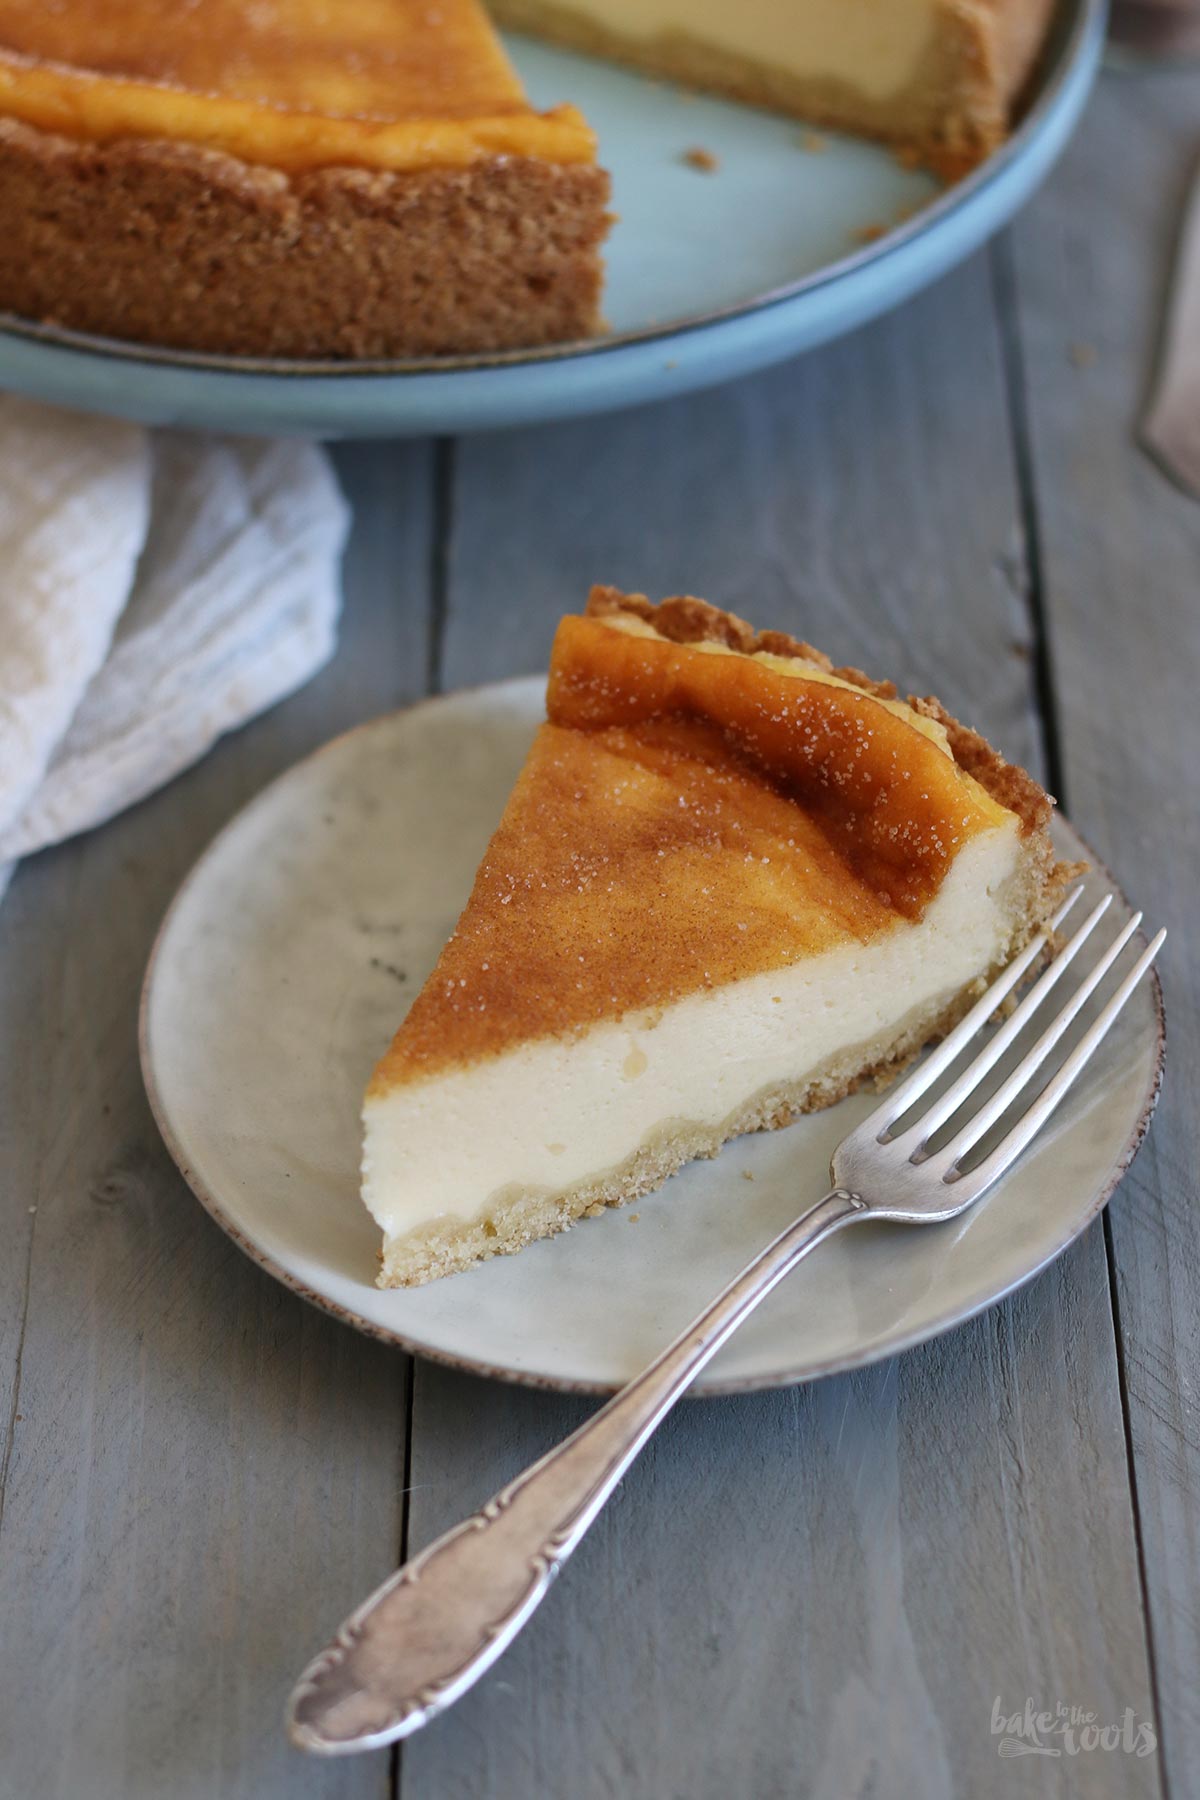
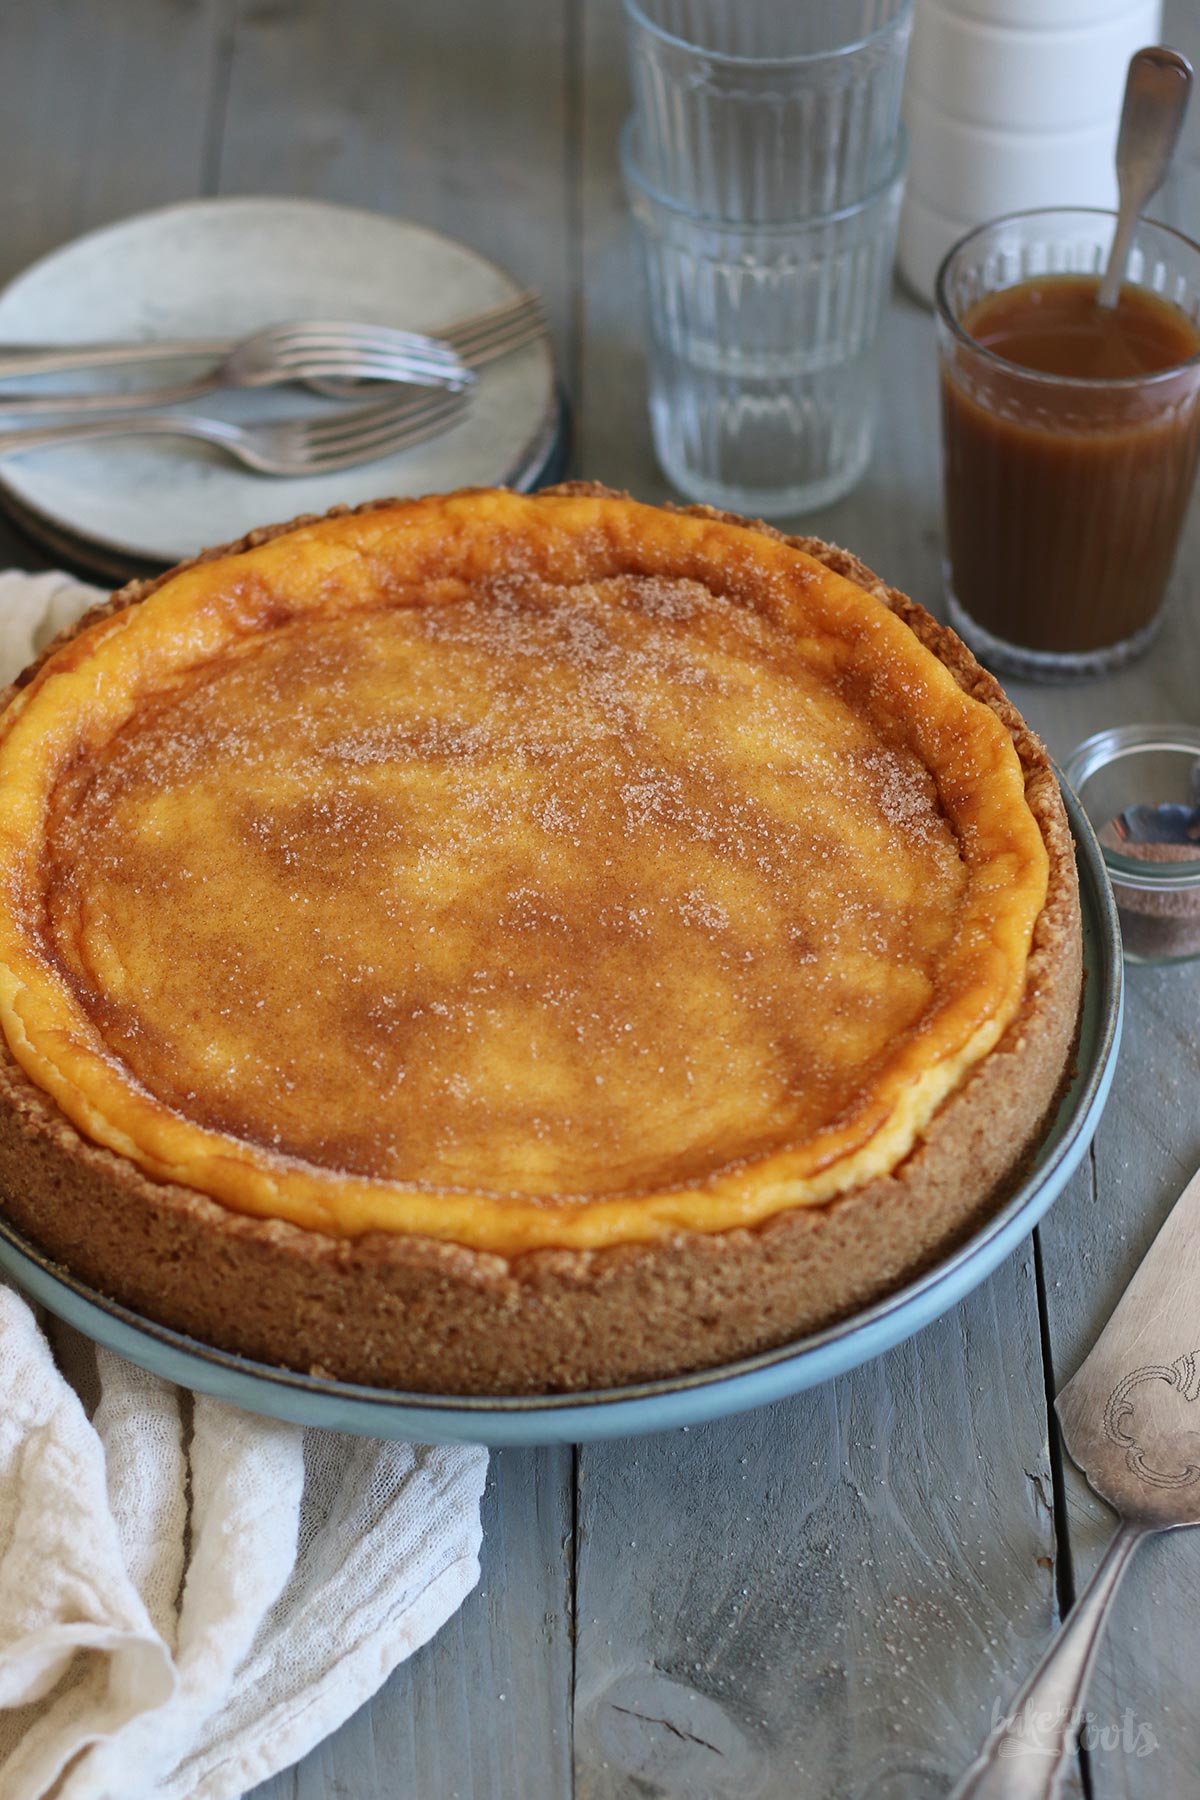
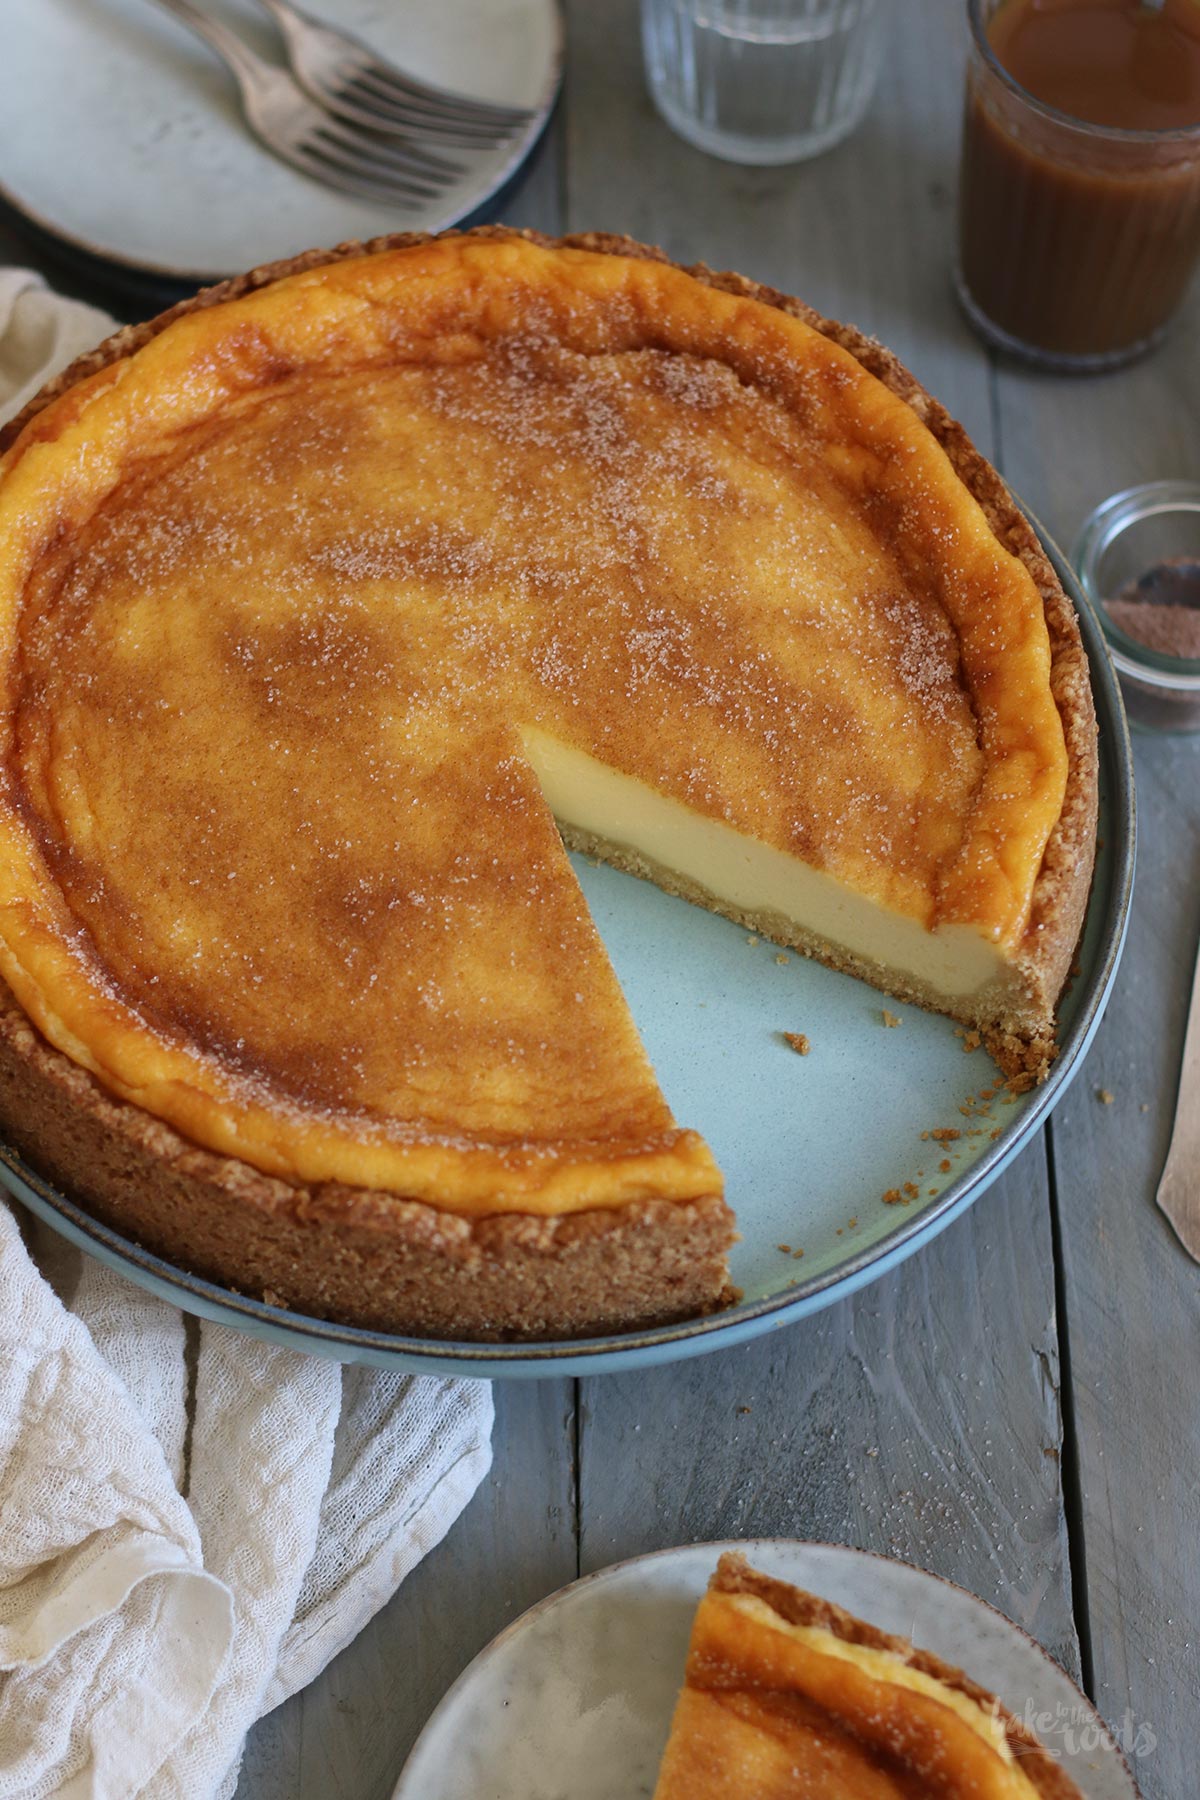
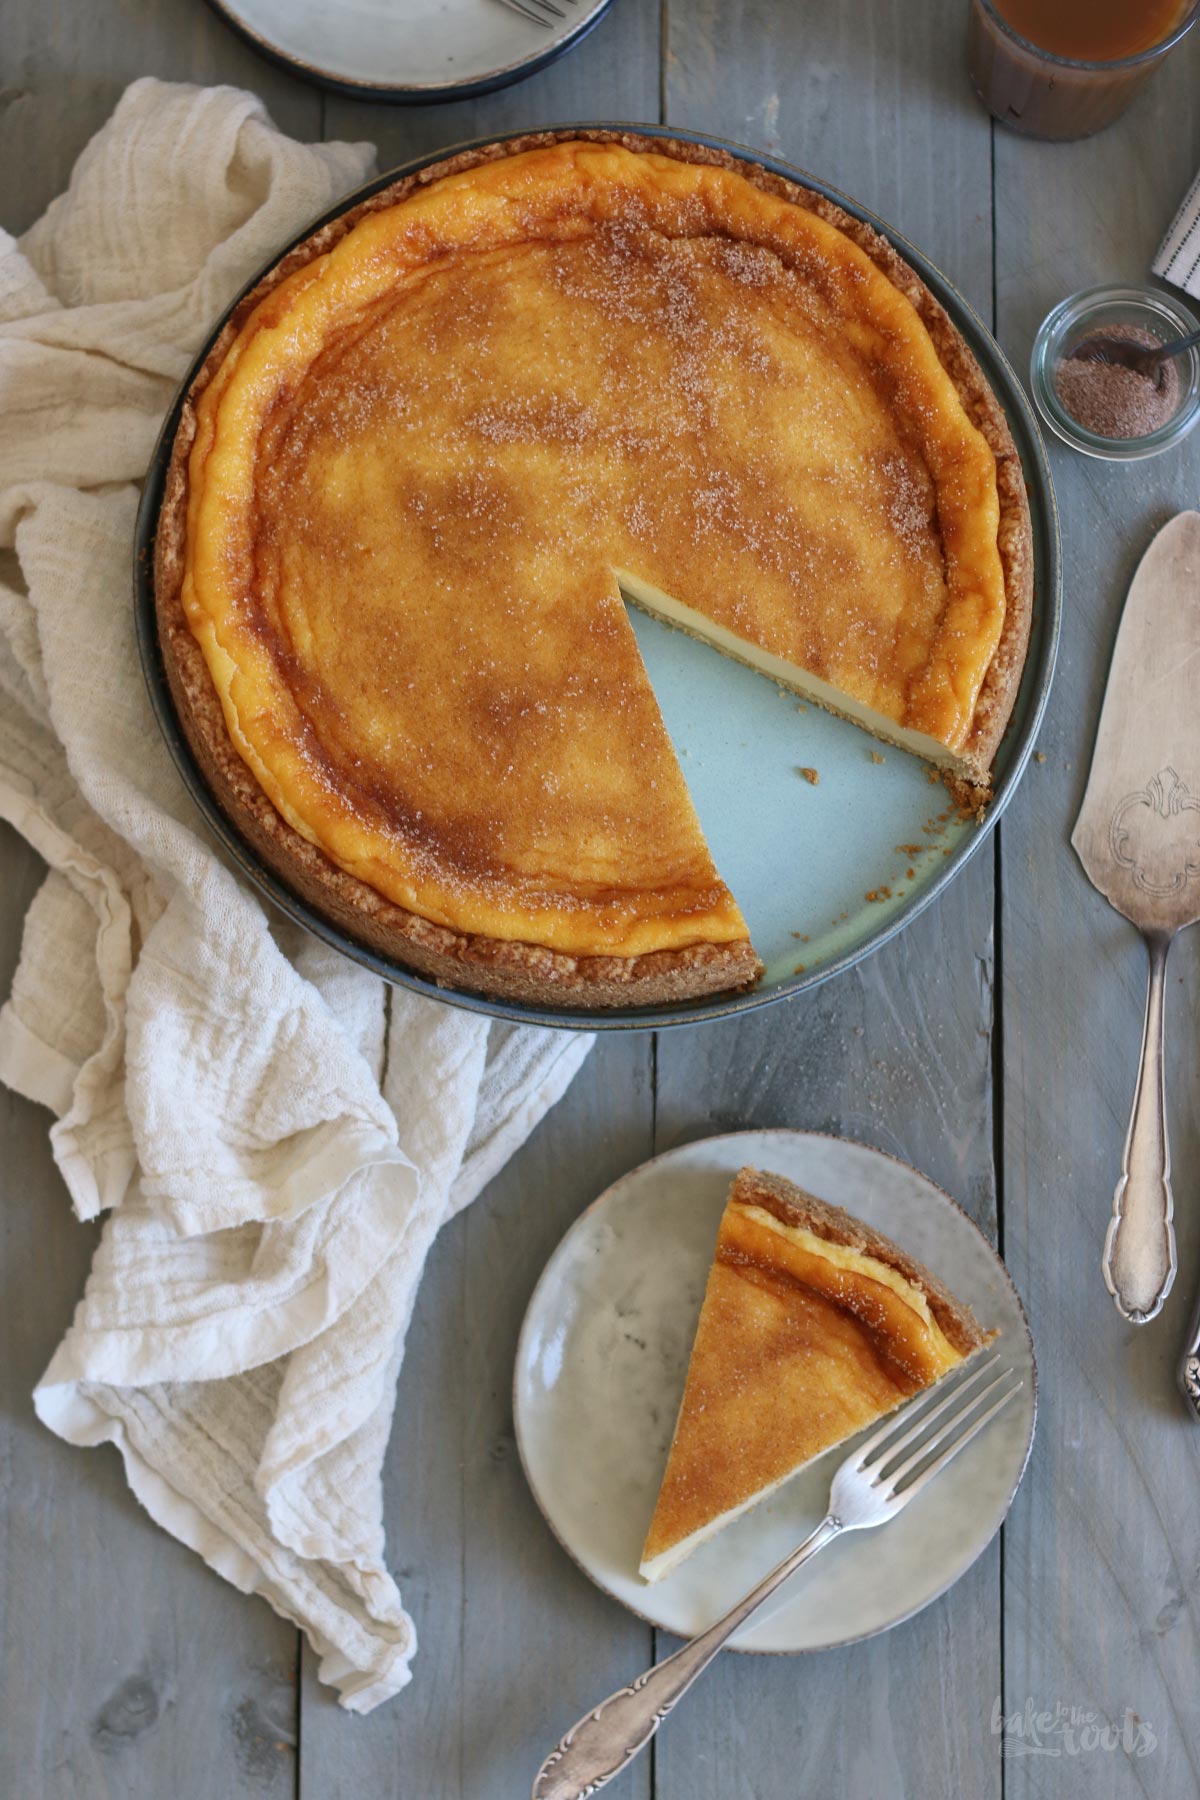
Today’s version is the 4th attempt and I am happy to say this one is perfect now. It’s actually a bit taller than the one from the bakery but I always wanted more filling, so that’s fine. The color is perfect, the creaminess, it tastes delicious… it’s perfect. I made this version without regular sugar and used a sugar replacement instead – which makes this cake even better for me! I guess my journey to find the best cake is over ;P
Here are all the predecessors in order of their date of creation. As I said, all delicious cakes and definitely all worth trying as well.
INGREDIENTS / ZUTATEN
2 cups (250g) spelt flour
2.1 oz. (60g) xylitol (or sugar)
1 tsp. baking powder
1/2 cup (120g) butter (cold)
1 medium egg
1/2 tsp. vanilla extract
For the filling:
1/2 cup (100g) xylitol (or sugar)
1.2 oz. (35g) cornstarch
4 medium eggs
14 oz. (400g) sour cream
7 oz. (200g) crème fraîche
7 oz. (200g) heavy cream
1 tsp. vanilla extract
1 tbsp. xylitol mixed with some cinnamon
250g Dinkelmehl (Type 630)
60g Xylit (oder Zucker)
1 TL Backpulver
120g Butter (kalt)
1 Ei (M)
1/2 TL Vanille Extrakt
Für die Füllung:
100g Xylit (oder Zucker)
35g Speisestärke
4 Eier (M)
400g saure Sahne
200g Crème fraîche
200g Sahne
1 TL Vanille Extrakt
1 EL Xylit mit etwas Zimt vermischt
DIRECTIONS / ZUBEREITUNG
2. Mix flour, xylitol, and baking powder in a large bowl. Add the butter in small pieces and rub a little between your fingers together with the flour to get even smaller pieces. Add the egg and vanilla extract and mix everything until you get streusels – make sure all the flour is incorporated and nothing is left on the bottom of the bowl. Pour the streusels into the prepared baking tin and press to the bottom and sides to create a nice crust – make sure the sides are about 0.8 inches/2cm high. Set aside until needed.
3. For the filling, mix the xylitol with the cornstarch in a bowl, then add the eggs and mix everything well – there should be no lumps of starch left. Add the sour cream, crème fraîche, heavy cream, and vanilla extract to the bowl and mix well. Pour the mixture into the prepared baking tin, shake it a bit to allow air bubbles to come up, and then bake for about 50-60 minutes. The cake is ready when the filling is firm around the edges and has a bit of color with a center that is still wiggly if you move the baking tin. Take out of the oven and sprinkle immediately with the xylitol-cinnamon mixture and then let cool completely.
2. Für den Teig das Mehl mit dem Xylit und Backpulver in einer großen Schüssel vermischen. Die Butter in kleinen Stücken dazugeben und zusammen mit dem Mehl zwischen den Fingern ein wenig verreiben. Das Ei und den Vanille Extrakt dazugeben und alles zu Streuseln verarbeiten – achtet darauf, dass das komplette Mehl verarbeitet wird und nichts mehr am Boden übrig ist. Die Streusel in die vorbereitete Form füllen und dann zuerst am Rand und dann am Boden festdrücken. Es sollte ein glatter Boden mit etwa 2cm hohem Rand entstehen. Bis zur weiteren Verwendung zur Seite stellen.
3. Für die Füllung das Xylit mit der Stärke in einer Schüssel vermischen, dann die Eier dazugeben und alles gut verrühren – es sollten keine Stärkeklumpen mehr zu sehen sein. Saure Sahne, Crème fraîche, Sahne und Vanille Extrakt dazugeben und alles gut verrühren. Die Mischung in die vorbereitete Form füllen, etwas an der Form rütteln, damit Luftblasen aufsteigen können und dann im vorgeheizten Ofen für etwa 50-60 Minuten backen. Der Kuchen ist fertig, wenn die Füllung an den Rändern fest ist, leicht Farbe bekommen hat und die Mitte noch leicht wackelt, wenn man an der Backform rüttelt. Aus dem Ofen holen, sofort mit der Xylit-Zimt-Mischung bestreuen und dann komplett abkühlen lassen.
Craving more? Keep in touch on Facebook, Twitter, Instagram and Pinterest for new post updates and more. You can also contact me with any questions or inquiries!
Here is a version of the recipe you can print easily.
Print
Rahmkuchen aka. German Style Cheesecake (Sugar-Free)
- Prep Time: 00:20
- Cook Time: 01:00
- Total Time: 01:20
- Yield: 1 1x
- Category: Cheesecakes
- Cuisine: Germany
- Diet: Diabetic
Description
One of my favorite German Cakes I love since I am a kid – a classic German Style Cheesecake aka. Badischer Rahmkuchen.
Ingredients
For the dough/streusels:
2 cups (250g) spelt flour
2.1 oz. (60g) xylitol (or sugar)
1 tsp. baking powder
1/2 cup (120g) butter (cold)
1 medium egg
1/2 tsp. vanilla extract
For the filling:
1/2 cup (100g) xylitol (or sugar)
1.2 oz. (35g) cornstarch
4 medium eggs
14 oz. (400g) sour cream
7 oz. (200g) crème fraîche
7 oz. (200g) heavy cream
1 tsp. vanilla extract
1 tbsp. xylitol mixed with some cinnamon
Instructions
1. Preheat the oven to 350°F (175°C). Line a springform tin (10 inches/26cm) with baking parchment and set aside.
2. Mix flour, xylitol, and baking powder in a large bowl. Add the butter in small pieces and rub a little between your fingers together with the flour to get even smaller pieces. Add the egg and vanilla extract and mix everything until you get streusels – make sure all the flour is incorporated and nothing is left on the bottom of the bowl. Pour the streusels into the prepared baking tin and press to the bottom and sides to create a nice crust – make sure the sides are about 0.8 inches/2cm high. Set aside until needed.
3. For the filling, mix the xylitol with the cornstarch in a bowl, then add the eggs and mix everything well – there should be no lumps of starch left. Add the sour cream, crème fraîche, heavy cream, and vanilla extract to the bowl and mix well. Pour the mixture into the prepared baking tin, shake it a bit to allow air bubbles to come up, and then bake for about 50-60 minutes. The cake is ready when the filling is firm around the edges and has a bit of color with a center that is still wiggly if you move the baking tin. Take out of the oven and sprinkle immediately with the xylitol-cinnamon mixture and then let cool completely.
Notes
Enjoy baking!
Links marked with an asterisk (*) are affiliate links (advertising/Werbung) to Amazon Germany. If you click on one of those links and buy something via this link, I will get a commission for that sale. The price of whatever you buy is not affected in any way by this.


 I love my job, but in between I love to bake and try new things in the kitchen. A lot of my friends and colleagues encourage me to bake - for a very simple reason: they get the leftovers - and it seems they like it most of the time ;)