When I started to bake more regularly, I also tried to bake bread but was never really successful. Most of the recipes in my cookbooks were complicated and required a lot of attention and time to make. Starter, pre-dough, certain temperatures the dough needed to rise… just reading some of those bread recipes exhausts me. Over time I learned, that there are other recipes out there. Easy ones for people that are less experienced and less patient when it comes to baking. This recipe here for a No-Knead Bread with Dark Beer is a perfect example of these easy recipes…
No-knead bread is really easy and my go-to recipe when it comes to baking bread. I don’t mind waiting some time for the dough to get ready, but I don’t want it to be too complicated. Foolproof is the perfect word here I’d say. If you make a no-knead bread for the first time, it might look like you made a big mistake in the beginning. The dough looks more like a soup rather than an actual dough, but after some rising time everything looks much better… Believe me.
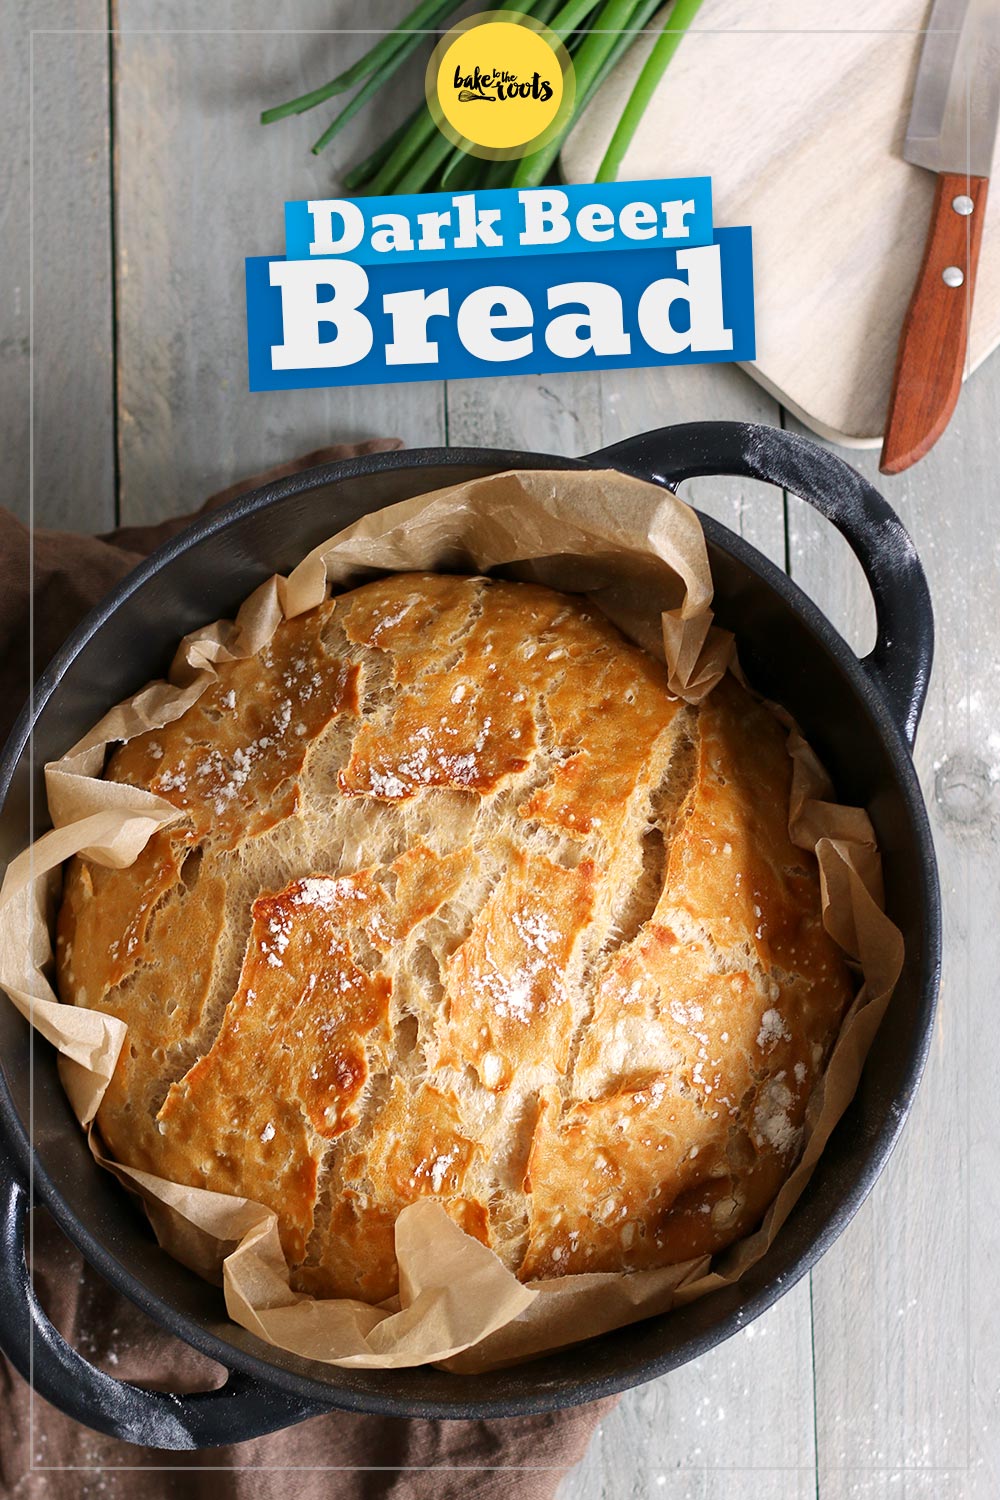
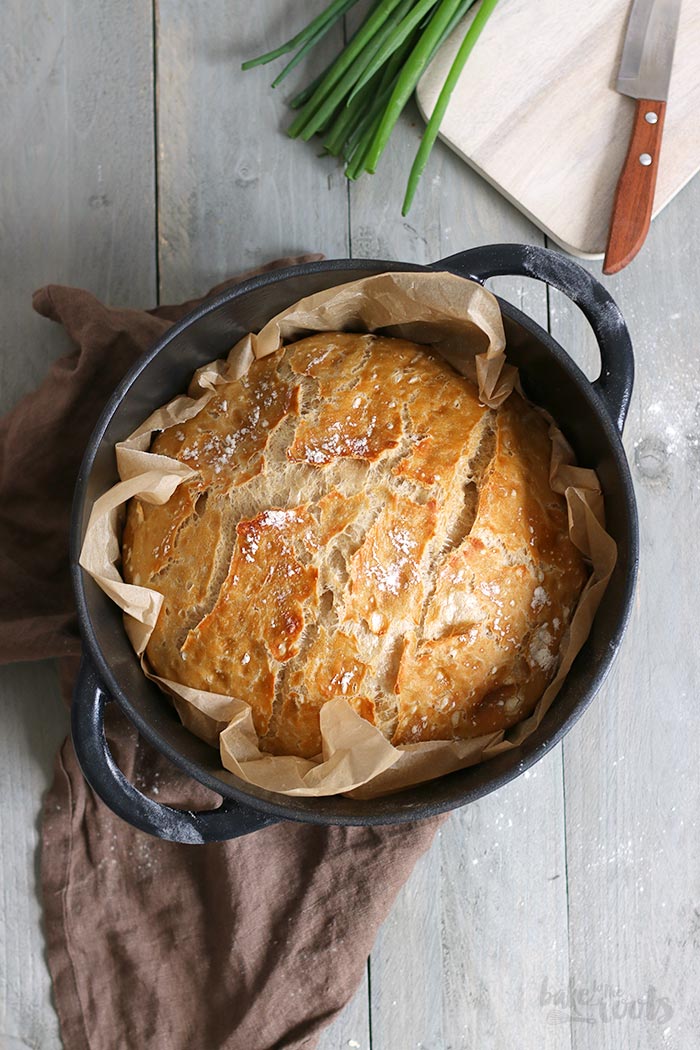
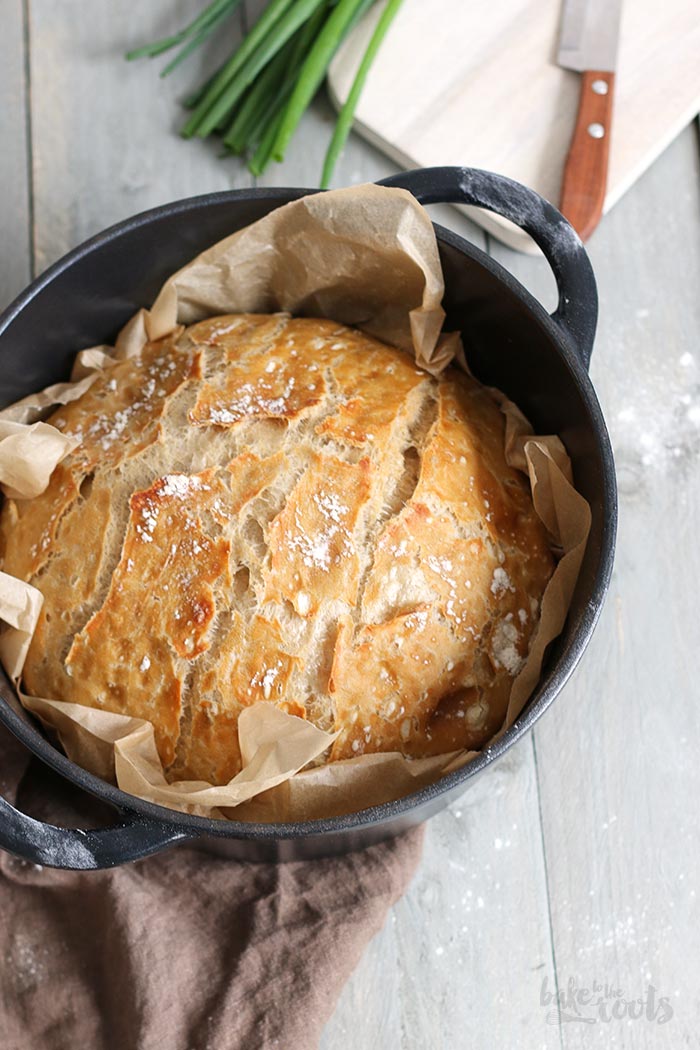
I am honest with you – when I did my first no-knead bread I got into some trouble. The loaves of bread I made looked more like flatbread instead of nicely shaped bread loaves. The reason for that was easy to determine: I was the reason! I thought I could do it easily and used a bread-baking stone in the oven… yeah, it did not work for me. More experienced bakers probably love those stones because they give your bread that nice and crunchy crust at the bottom, but for me, all the loaves of bread I made ended up being flat and not so nice looking. The moment I tried another popular baking method all turned into pure pleasure! Baking your bread in a pot! Best invention ever!
So for me (and probably for you too) it’s best to use a heavy dutch oven pot with a lid to get a good result. I don’t think it matters too much what kind of brand or style of pot you use as long as it withstands the heat you need when baking bread and is a size that matches the bread loaf. I have several (cast iron) cocottes that are perfect for baking bread, but using the larger ones did not work quite as well as using a cocotte that was only slightly larger than the loaf I wanted to bake. So keep that in mind maybe. Helped me a lot and made my bread much better.
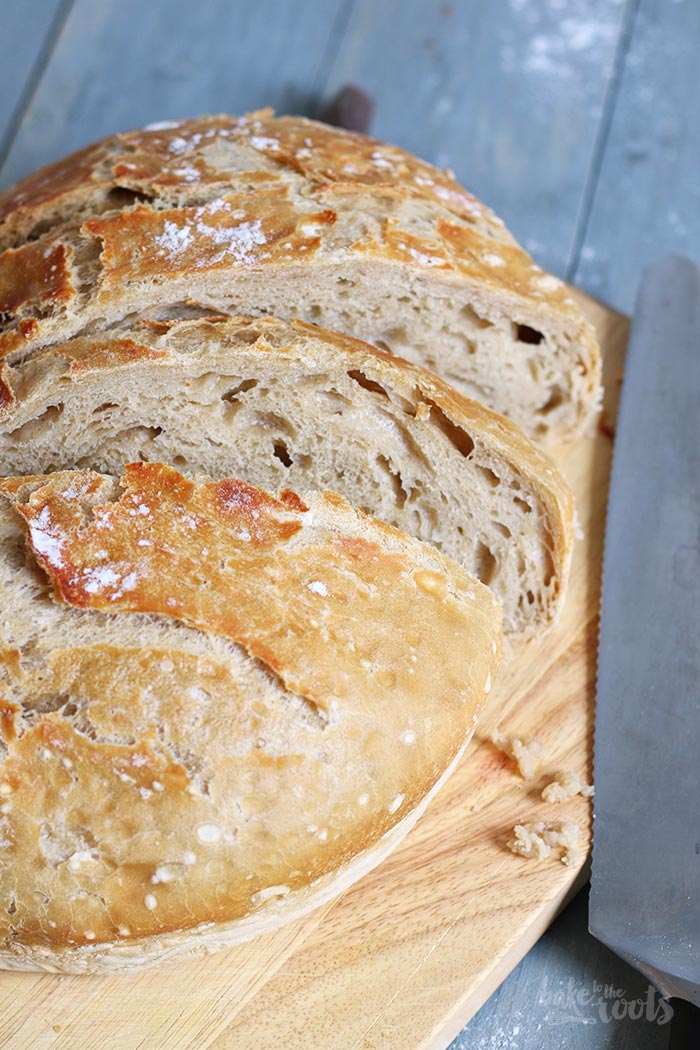
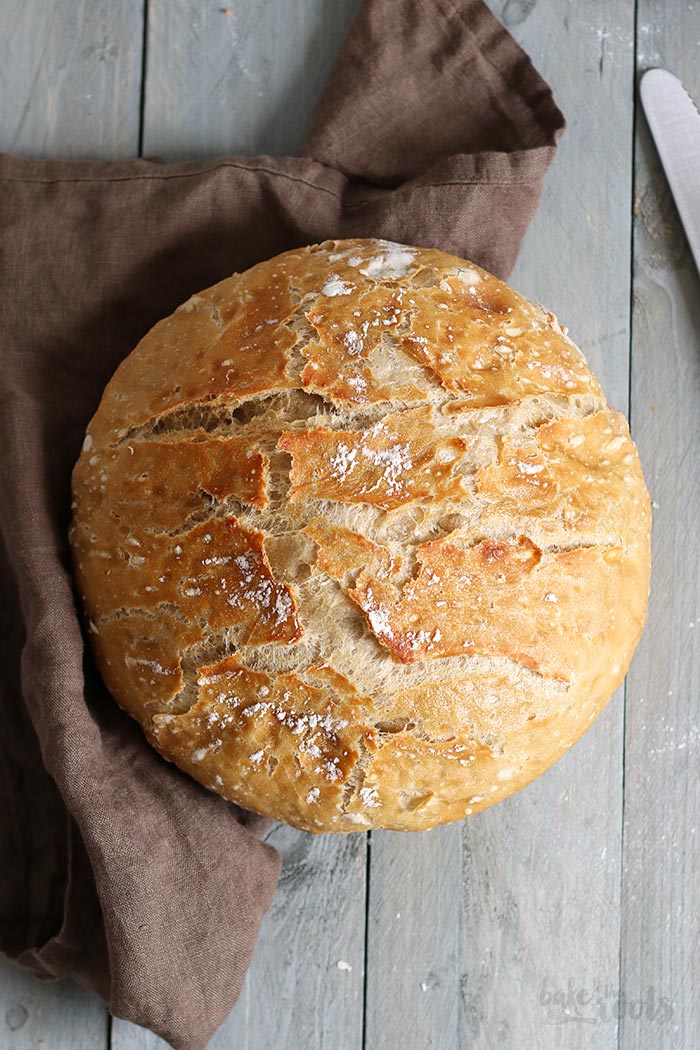
If you wonder why a bread with dark beer is not dark… you are not alone. I thought too it would turn out a bit darker, but nope. Did not happen. Not unhappy about it though – the bread is light and crunchy with a nice hint of beer flavor. Maybe not bread for sweet toppings but definitely a nice one for all things savory… or just plain butter on top. One of my favorite things in the world! A freshly baked slice of bread with butter (and perhaps a bit of salt sprinkled on top). So good!
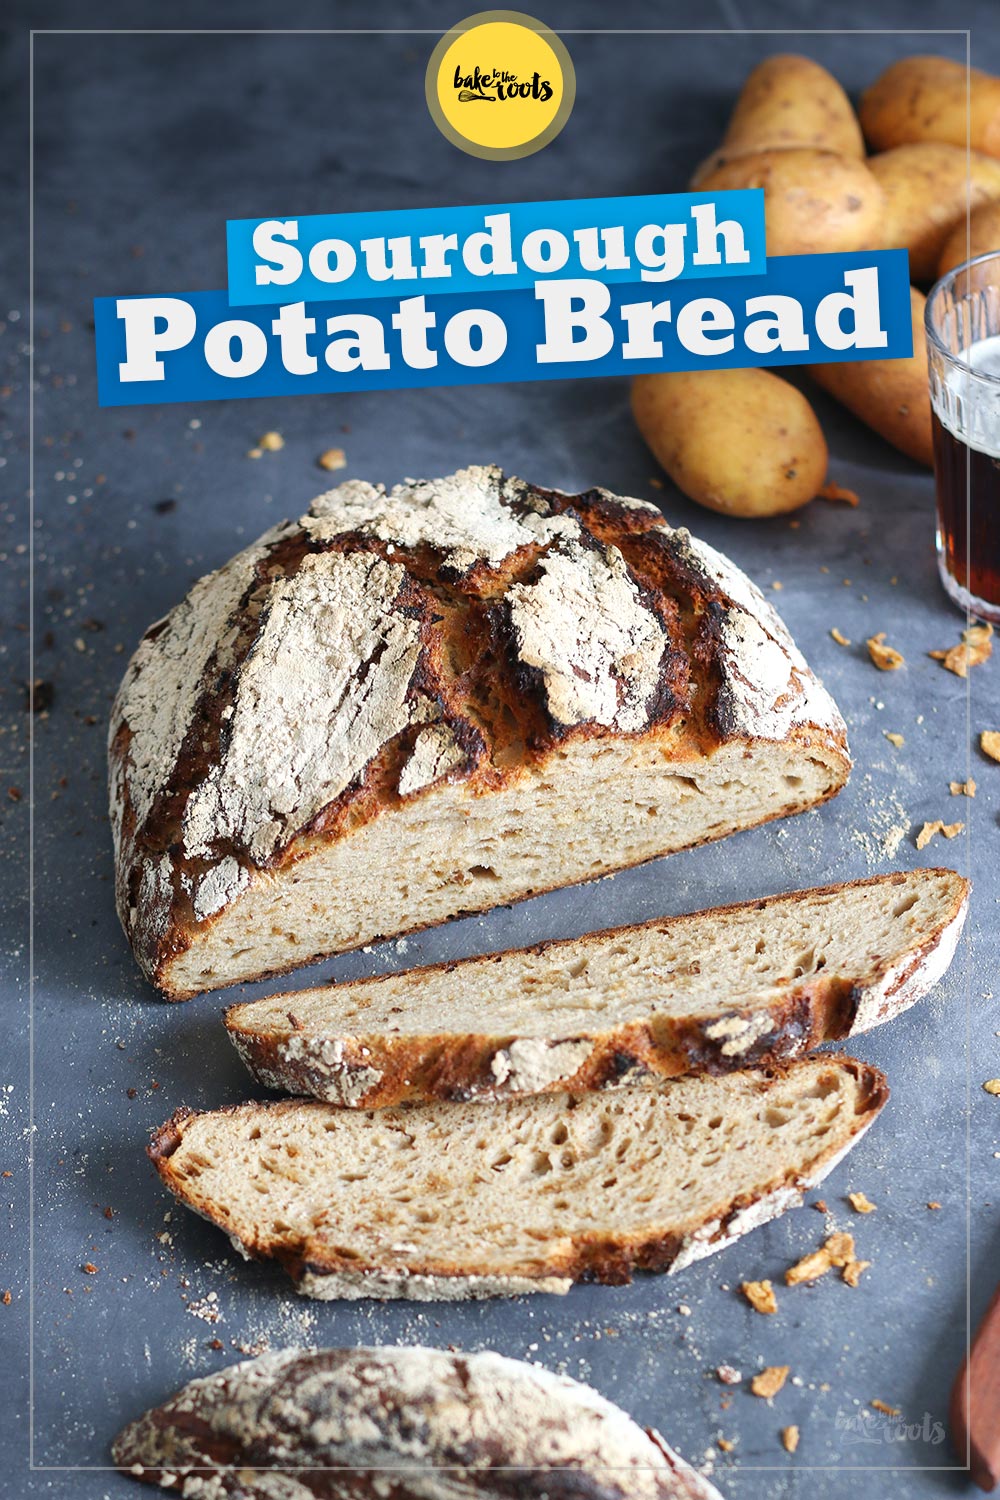
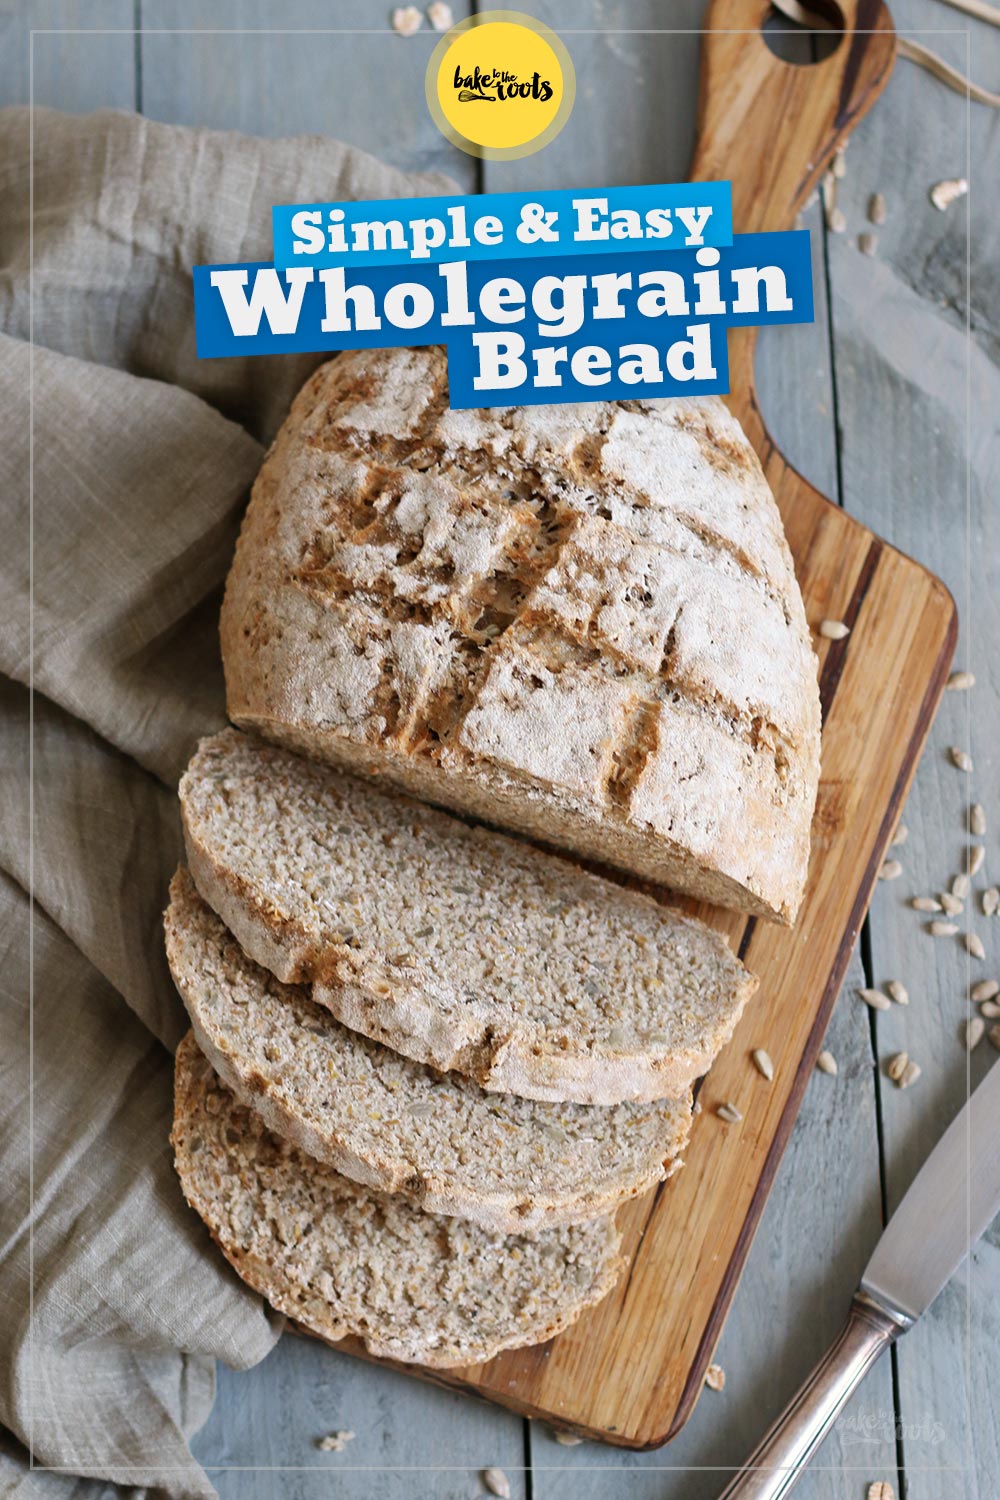
Anyway – if you like your bread a bit darker, you can try one of my other bread recipes. My artisan bread based on a recipe from a cruise ship turned out really nice. You should try both recipes and compare them, actually.
Btw… today is World Bread Day. I only recently found out that this day exists. A blogger colleague from Spain has been celebrating this day for quite some time already – maybe you want to check out her blog and what others do for this special day – www.kochtopf.me. It can’t hurt to know more about bread baking!
INGREDIENTS / ZUTATEN
13.5 fl. oz. (400ml) lukewarm water
0.35 oz. (10g) fresh yeast (bakers yeast)
1 tsp. sugar
28 oz. (800g) stronger all-purpose flour*
1 tbsp. salt
8.5 fl. oz. (250ml) dark beer, at room temperature
some flour for dusting
400ml lauwarmes Wasser
10g frische Hefe
1 TL Zucker
800g Mehl (Type 550)*
1 EL Salz
250ml Schwarzbier (Zimmertemperatur)
Mehl zum Bestäuben
DIRECTIONS / ZUBEREITUNG
1. Start the day before by adding the lukewarm water to a large bowl. Add the fresh yeast and sugar and mix until the yeast has dissolved. Let bubble for about 5-8 Minutes. Add the flour, salt, and beer and mix until well combined. The dough will be very soft and sticky. Cover with a lid or plastic wrap and let rise at room temperature for 14-16 hours.
2. The next day, heat the oven together with a (Ø 25cm) Dutch oven or cocotte (with lid) for at least 30 minutes to a temperature of 220°C (430°F). Place a clean kitchen towel on your workspace and flour it well. The dough should have a lot of volume and bubbles on top. Transfer to the kitchen towel and dust with some more flour. Dust your hands with flour as well and then pull the sides of the dough piece to the center – it is called folding (no need to knead the dough) and gives the bread structure.
3. Reduce the temperature of the oven to 200°C (390°F) and take the Dutch oven/cocotte out (be careful it is very hot!) and place the dough upside down inside. You can do that either by grabbing the dough and kitchen towel and flipping it over the dutch oven/cocotte (be careful not to touch the sides or the dough will stick there). Or you place a piece of baking parchment on the dough and then flip it and let both – paper and dough – slide into the Dutch oven/cocotte. This method is easier but you will probably end up with a wrinkled bread because of the baking parchment deforming the sides of the bread a little bit. Either way – bake for about 30 minutes with the lid on top, then remove the lid and bake another 35-40 minutes until the bread gets a nice color and it passes the »knocking test« (you knock the bottom of the bread and if it sounds hollow it’s done). Take it out of the oven, remove it from the Dutch oven/cocotte, and let it cool down on a wire rack.
1. Am Vortag das lauwarme Wasser in eine große Schüssel geben und die Hefe hineinbröckeln und dann mit dem Zucker verrühren, bis sich die Hefe aufgelöst hat – für etwa 5-8 Minuten blubbern lassen. Mehl, Salz und Bier zur Schüssel dazugeben und alles mit einem Kochlöffel verrühren, bis ein einigermaßen glatter Teig entsteht. Der Teig wird sehr klebrig sein, aber das ist ok. Einen Deckel oder Klarsichtfolie auf die Schüssel legen und dann für etwa 14-16 Stunden bei Zimmertemperatur gehen lassen.
2. Am nächsten Tag den Ofen zusammen mit einem (Ø etwa 25cm) gusseisernen Topf (mit Deckel) für mindestens 30 Minuten auf 220°C (430°F) vorheizen. Ein sauberes Küchentuch auf die Arbeitsfläche legen und gut mit Mehl bestäuben (da darf ordentlich was drauf). Den Teig (sehr weich und klebrig) auf das Tuch stürzen, mit ein wenig Mehl bestäuben, die Hände ebenfalls einmehlen und dann die Seiten des Teigfladens zur Mitte hin falten (etwas hochziehen und dann zur Mitte einschlagen).
3. Die Temperatur des Ofens auf 200°C (390°F) runterregeln, den Topf herausnehmen (Achtung! Sehr heiß!) und den Teig hineinwuchten – die gefaltete Oberseite sollte unten sein. Ihr könnt das tun, indem ihr den Teig mit dem Küchentuch über dem Topf umdreht – dabei müsst ihr aber gut zielen, damit er nicht die Seiten des Topf berührt und dort kleben bleibt. Oder ihr legt ein Stück Backpapier auf den Teig, dreht das Ganze um und lasst den Teig dann mit dem Backpapier in den Topf rutschen. Mit dem Backpapier ist es einfach, aber dadurch bilden sich oft Falten am Rand des Brotes, wo das Papier Knicke hatte. Deckel drauf und in den Ofen stellen – für etwa 30 Minuten backen, dann den Deckel herunternehmen und für weitere 35-40 Minuten backen. Das Brot sollte eine schöne Farbe bekommen haben und beim Klopftest (auf die Unterseite klopfen) hohl klingen. Das Brot aus dem Ofen (und dem Topf) holen und auf einem Kuchengitter abkühlen lassen.
Craving more? Keep in touch on Facebook, Instagram and Pinterest for new post updates and more. You can also contact me with any questions or inquiries!
Here is a version of the recipe you can print easily.
Print
Dark Beer No-Knead Bread
- Prep Time: 00:20
- Cook Time: 01:10
- Total Time: 17:30
- Yield: 1 1x
- Category: Bread
- Method: -
- Cuisine: Germany
- Diet: Vegetarian
Description
Baking bread has never been easier! No-knead bread doesn’t require much experience – even beginners can bake it easily! So get some beer and start baking!
Ingredients
13.5 fl. oz. (400ml) lukewarm water
0.35 oz. (10g) fresh yeast (bakers yeast)
1 tsp. sugar
28 oz. (800g) stronger all-purpose flour*
1 tbsp. salt
8.5 fl. oz. (250ml) dark beer, at room temperature
some flour for dusting
Instructions
1. Start the day before by adding the lukewarm water to a large bowl. Add the fresh yeast and sugar and mix until the yeast has dissolved. Let bubble for about 5-8 Minutes. Add the flour, salt, and beer and mix until well combined. The dough will be very soft and sticky. Cover with a lid or plastic wrap and let rise at room temperature for 14-16 hours.
2. The next day, heat the oven together with a (Ø 25cm) Dutch oven or cocotte (with lid) for at least 30 minutes to a temperature of 220°C (430°F). Place a clean kitchen towel on your workspace and flour it well. The dough should have a lot of volume and bubbles on top. Transfer to the kitchen towel and dust with some more flour. Dust your hands with flour as well and then pull the sides of the dough piece to the center – it is called folding (no need to knead the dough) and gives the bread structure.
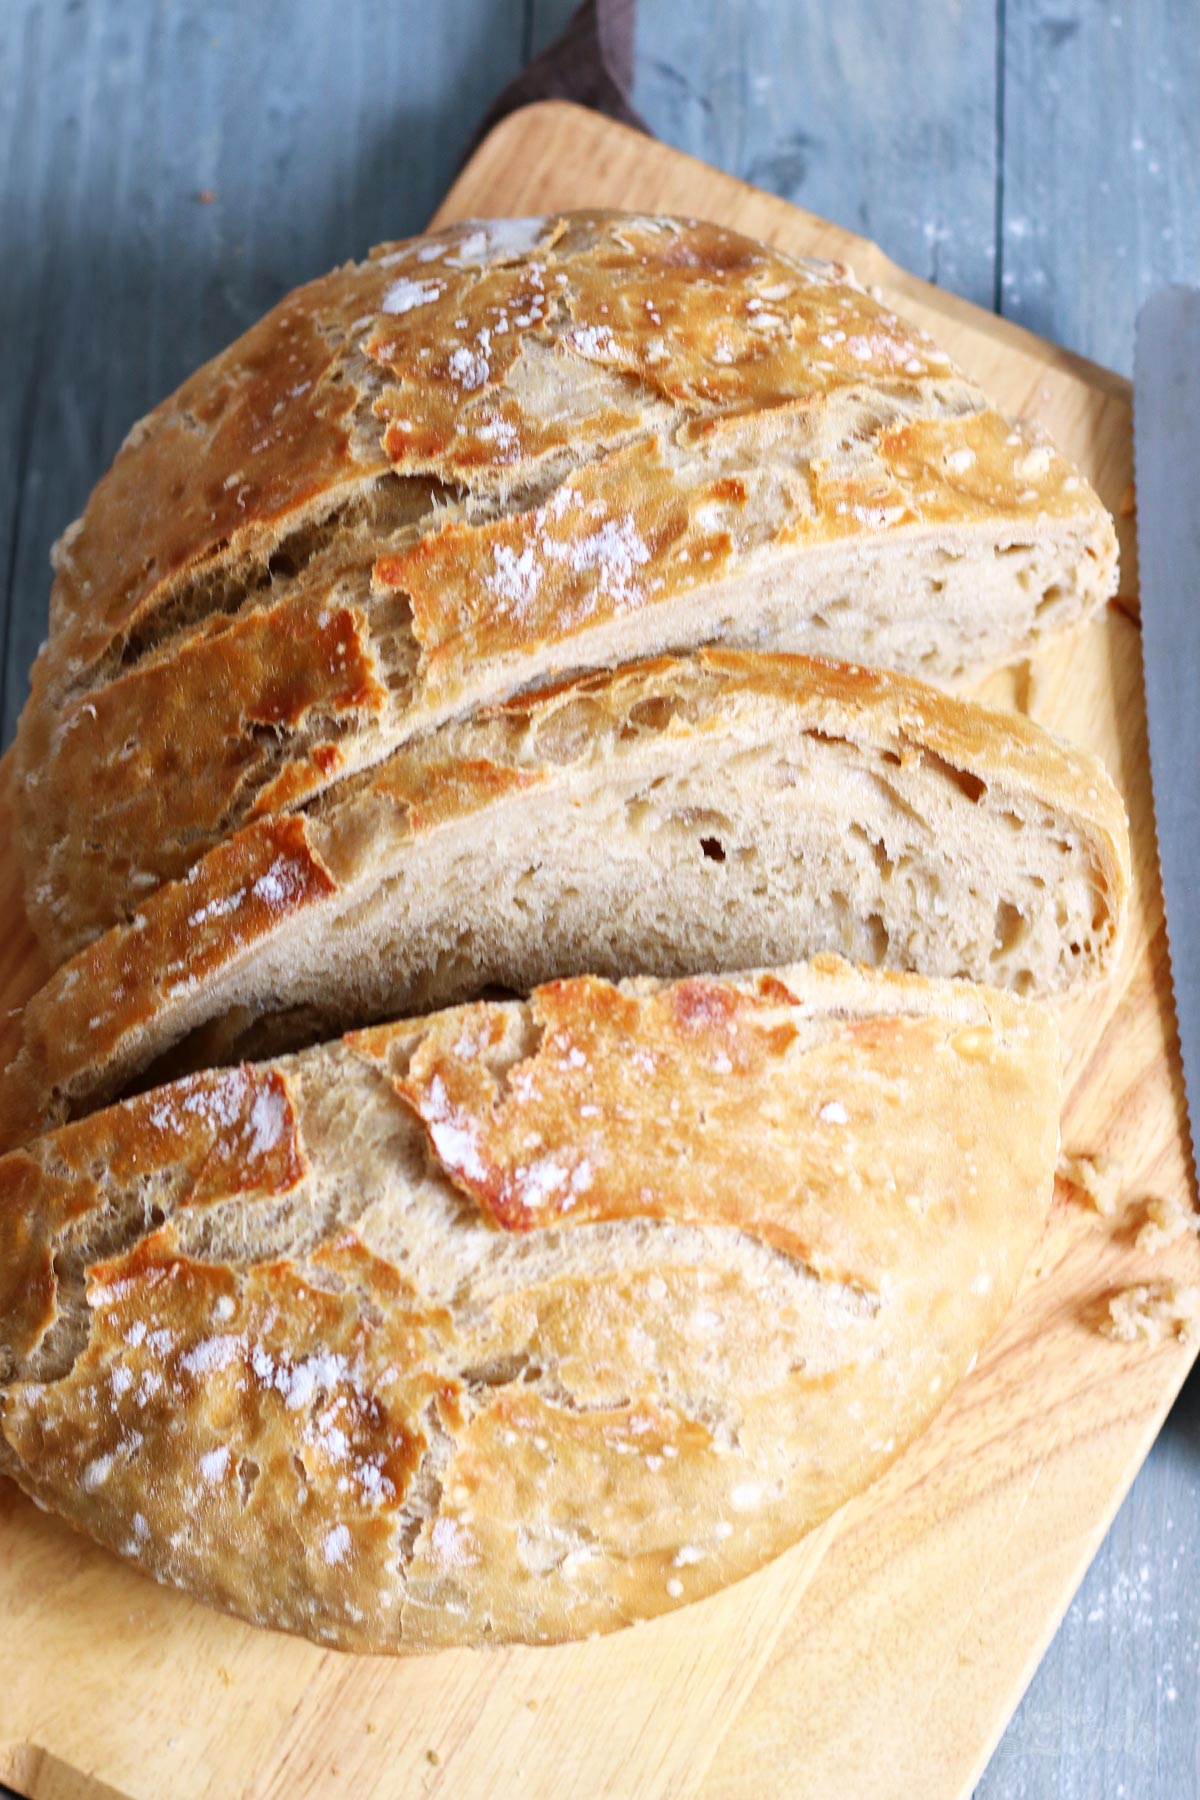
3. Reduce the temperature of the oven to 200°C (390°F) and take the Dutch oven/cocotte out (be careful it is very hot!) and place the dough upside down inside. You can do that either by grabbing the dough and kitchen towel and flipping it over the dutch oven/cocotte (be careful not to touch the sides or the dough will stick there). Or you place a piece of baking parchment on the dough and then flip it and let both – paper and dough – slide into the Dutch oven/cocotte. This method is easier but you will probably end up with a wrinkled bread because of the baking parchment deforming the sides of the bread a little bit. Either way – bake for about 30 minutes with the lid on top, then remove the lid and bake another 35-40 minutes until the bread gets a nice color and it passes the »knocking test« (you knock the bottom of the bread and if it sounds hollow it’s done). Take it out of the oven, remove it from the Dutch oven/cocotte, and let it cool down on a wire rack.
Notes
Enjoy baking!
Links marked with an asterisk (*) are affiliate links (advertising/Werbung) to Amazon Germany. If you click on one of those links and buy something via this link, I will get a commission for that sale. The price of whatever you buy is not affected in any way by this.