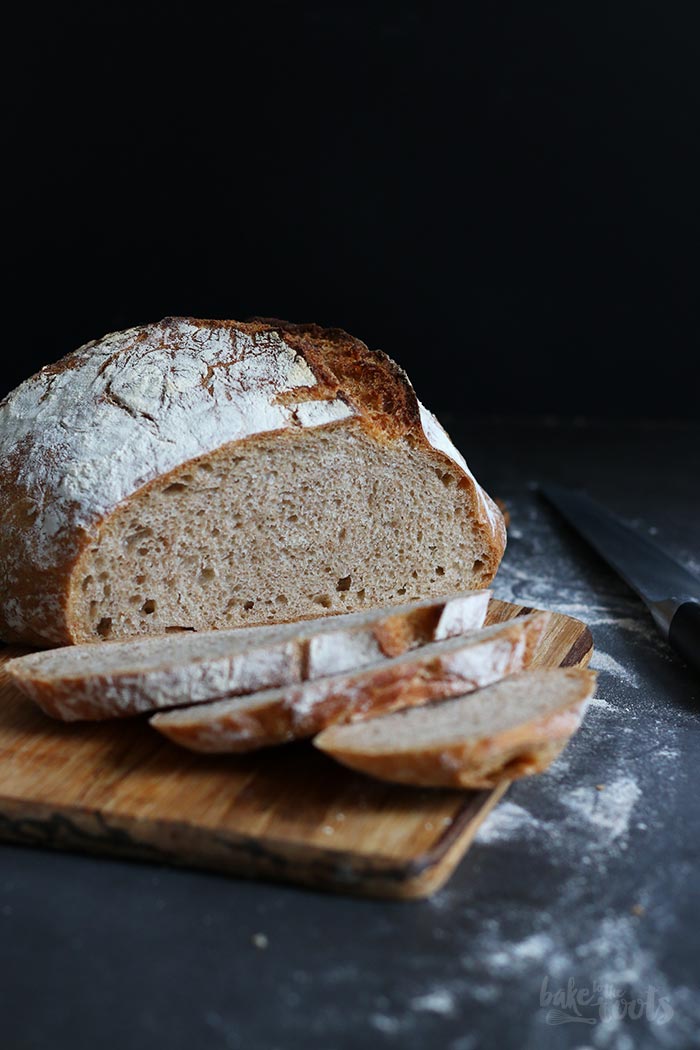
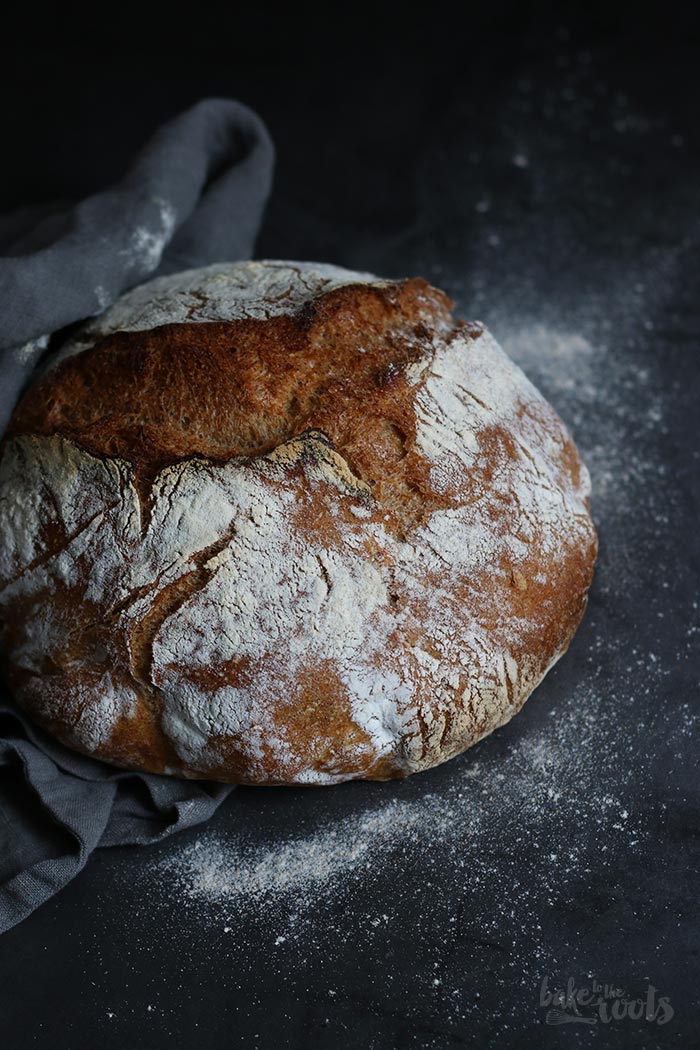
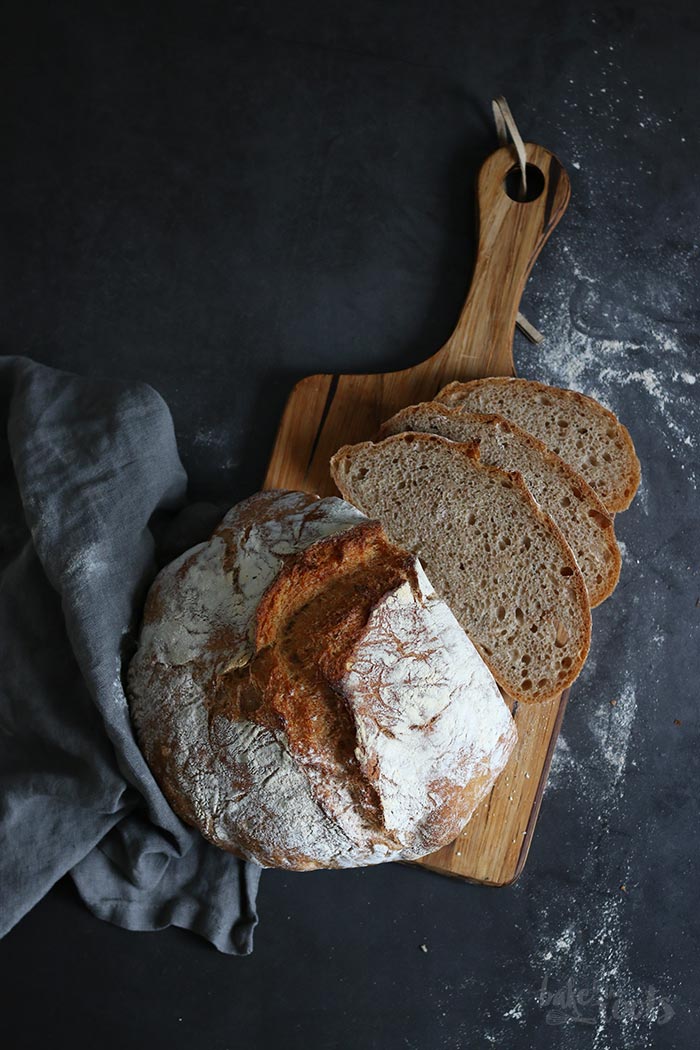
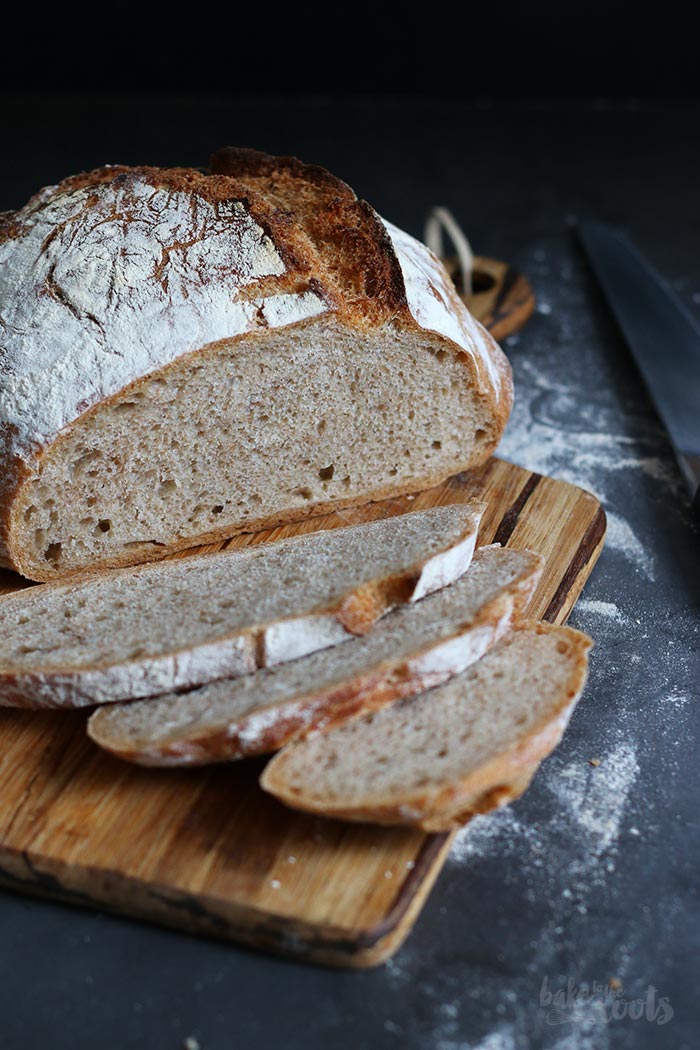
Do you like fresh bread? I guess you do – everybody does I assume. Just a slice of bread… still slightly warm from the oven with some butter and some sea salt flakes on top. The best! Ever! I don’t know why, but it gives me the feeling of “home” and makes me happy. And it tastes so good of course ;)
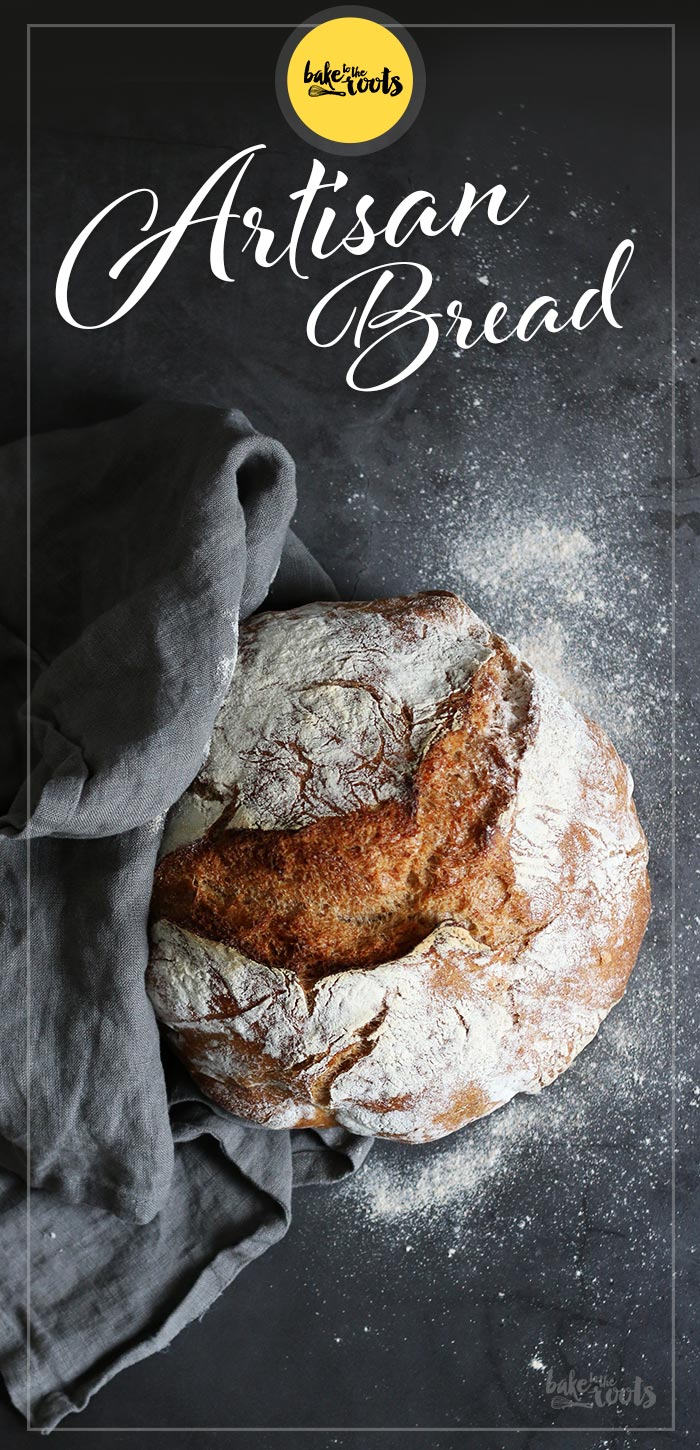
Well… this is your chance to experience all of that at home in your own kitchen. Make this Artisan Bread and guarantee your day will be a good day!
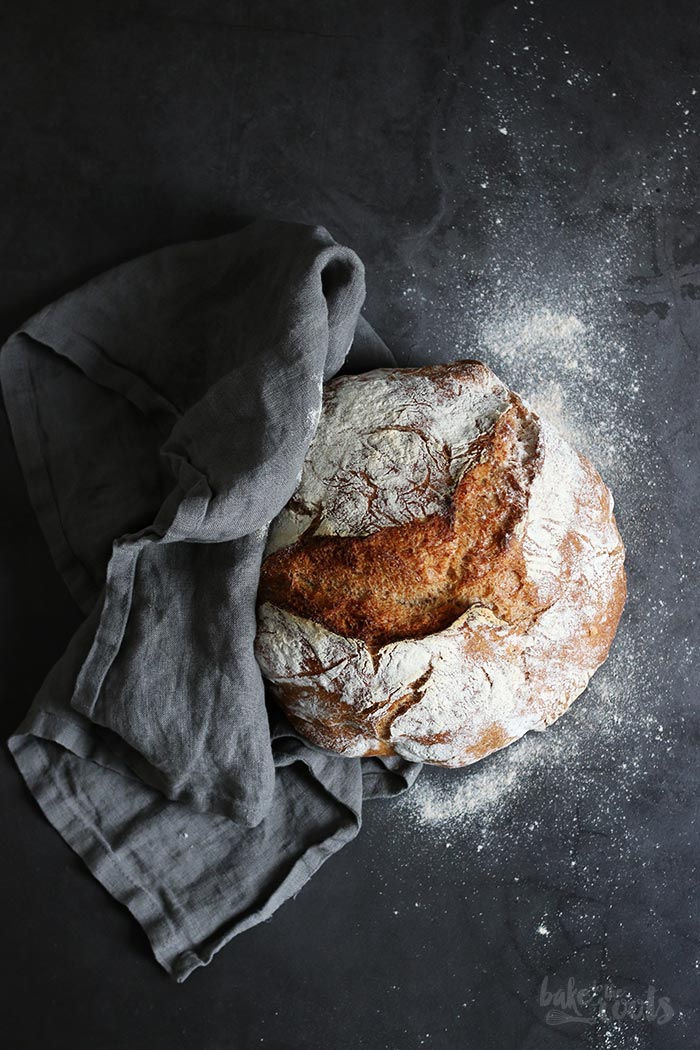
Ok… I am promising a lot here but only because I like this bread so much. The origin of this bread is actually a cruise ship. I was invited to check out a cruise ship from TUI Cruises called Mein Schiff 1* some time ago that’s where I had this kind of bread for the first time. I was so clever and asked for the recipe. I had to! ;)
Well… between “getting the recipe” and “getting the perfect loaf of bread” was quite some work. I needed several attempts to get the recipe from the ship working in my kitchen and with my oven. The first attempt was delicious but did not look that good because the crust was thick and was not really cracked as I wanted it and how the original bread looked like. It took me several weeks to finally come up with the right way to bake this bread… I mean I could have realized much earlier ’cause I already made bread that way… but this time it took very long ;)
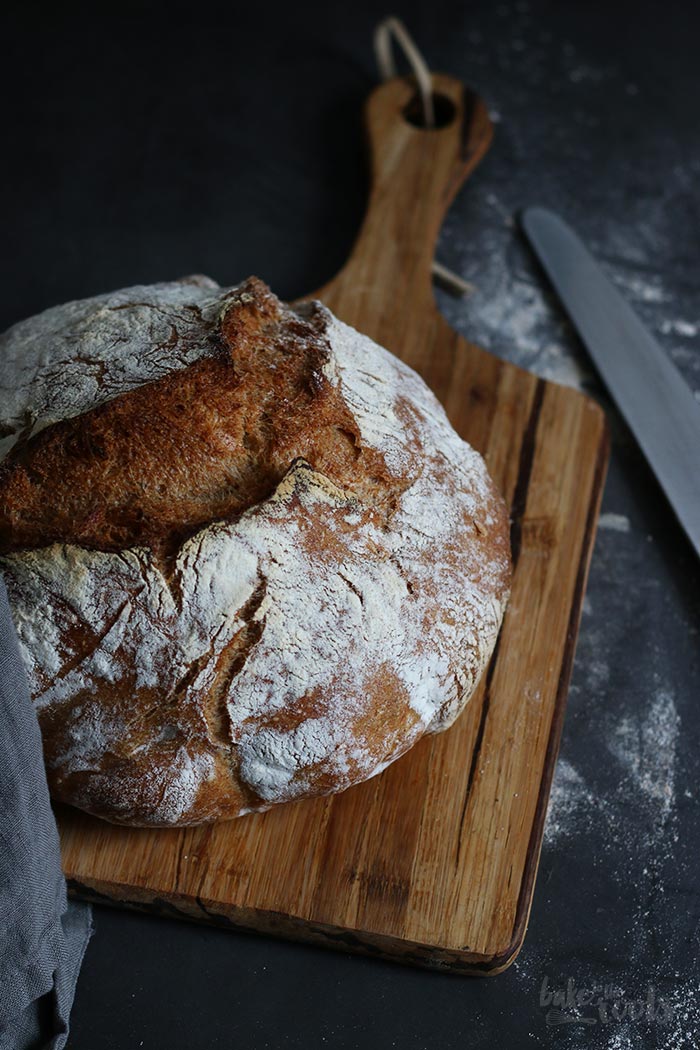
The “trick” for this bread is not a hot stone you can bake bread on – nope. The best way to bake this kind of bread is in a dutch oven or cocotte! I made several loaves of bread already with this method but did not think about it for this one in the beginning. Well… we had delicious bread for weeks. Not the most stunning looking ones, but delicious. Until now ;))
Well… if you want to make this bread, I might have some notes for you:
1. The consistency of the dough is quite wobbly and sticky at the beginning – it’s ok – after a while, it gets better
2. Use a lot of flour when handling the dough to prevent it from sticking to your hands or any surface
3. Use a little basket or bowl lined with linen or a kitchen towel and again some flour to let the dough rise properly
4. Get a dutch oven or cocotte with a lid – the best way to get a nice crust!
Well… have fun baking bread! I hope yours turn out as nice as mine (I really love mine) ;))
INGREDIENTS / ZUTATEN
17 oz. (480g) bread flour
8 oz. (230g) wholemeal wheat flour
17.6 oz. (500g) water (cold)
For the dough:
0.2 oz. (6g) fresh yeast
0.5 oz. (15g) salt
2.1 oz. (60g) water (cold)
480g Weizenmehl (Type 550)
230g Weizenvollkornmehl
500g Wasser (kalt)
Hauptteig:
6g Frischhefe
15g Salz
60g Wasser (kalt)
DIRECTIONS / ZUBEREITUNG
2. Add the fresh yeast and salt to the bowl and knead for 5 minutes until you get a nice and smooth (but sticky) dough. Add the water gradually tablespoon by tablespoon and knead until the water is fully incorporated and the dough comes off the sides of the bowl again. Cover and let rise for about 1 hour. After that use your flowered hands or a spatula and loosen the dough from the sides of the bowl, pull it up and fold to the center – do that on all sides. Cover again and let rise another hour. Repeat the pulling and folding, then cover the bowl and place in the fridge overnight (13-14 hours).
3. The next day when the dough has risen enough and is big and bubbly, take it out of the fridge and let come back to room temperature for about 90-120 minutes. If you have a special basket for bread baking use that one and line it with a kitchen towel or use a bowl (with a kitchen towel) and dust with flour. Place the dough on a well-floured surface, dust with flour and shape it into a large ball. It works best if you take the dough into your floured hands and then tuck the sides underneath to get a smooth top and messy bottom ;) Place the dough ball with the messy side facing down (smooth side up) into the basket/bowl, cover and let rise another 45 minutes.
4. As soon as the dough is resting you should heat up the oven together with a dutch oven (cast iron pot with lid) to a temperature of 500°F (260°C) – place it in the lower third of the oven on a wire rack. As soon as the 45 minutes are up, place the dough ball in the dutch oven – this time the smooth top should be on the bottom, so just flip it over into the pot. Be careful not to burn yourself! Both, the pot and lid are extremely hot! Place the lid on top and bake for 30 minutes. Then reduce the heat to 410°F (210°C) and continue baking the bread for about 35-40 minutes. To get a nice crust remove the lid of the dutch oven about 20-25 minutes before the baking time ends. Then the bread is done take it out of the oven and let cool down on a wire rack.
2. Die frische Hefe und das Salz zum Teig dazugeben und für 5 Minuten durchkneten. Das Wasser nach und nach dazugeben (nicht zu viel auf einmal, sonst schlabbert der Teig in der Schüssel rum) und so lange verkneten, bis das Wasser vom Teig komplett aufgenommen wurde und er sich wieder vom Rand der Schüssel löst. Den Teig abdecken und für 60 Minuten gehen lassen. Den Teig dann mit bemehlten Händen oder einem Teigschaber rundherum vom Rand lösen, nach oben ziehen und zur Mitte falten. Das Ganze wieder abdecken und für weitere 60 Minuten gehen lassen. Das Ziehen und Falten wiederholen und dann die Schüssel abgedeckt über Nacht (13-14 Stunden) in den Kühlschrank stellen.
3. Wenn der Teig ausreichend gegangen ist, aus dem Kühlschrank nehmen und in 90-120 Minuten auf etwa Zimmertemperatur kommen lassen. Wenn ihr ein Gärkörbchen habt (ca. 1kg), legt es mit einem Tuch aus und staubt es gut mit Mehl aus – alle anderen nehmen eine Schüssel. Den Teig dann auf eine bemehlte Fläche stürzen, mit Mehl bestäuben (hier sollte man nicht sparsam sein) und zu einer Kugel formen. Das geht am Besten, wenn man den Teig in die Hand nimmt und dann die Seiten ringsum nach unten einschlägt. Den Teig mit dem Schuss (die verkrumpelte und zusammengefaltete Unterseite) nach unten in das Gärkörbchen/Schüssel legen, abdecken und noch einmal 45 Minuten gehen lassen.
4. Sobald der Teig im Gärkörbchen bzw. in der Schüssel liegt, einen gußeisernen Topf mit Deckel in den Ofen stellen (auf ein Gitter ganz unten) und den Ofen dann zusammen mit dem Topf auf 260°C (500°F) aufheizen. Wenn der Teig genug gegangen ist, mit dem Schuss (welcher vorher unten war) nach oben in den Topf geben, Deckel wieder drauf und dann das Ganze in den Ofen zurück. Seid vorsichtig mit dem Topf und ganz besonders mit dem Deckel – der ist verdammt heiß. Für 30 Minuten backen, dann die Temperatur auf 210°C (410°F) reduzieren und für weitere 35-40 Minuten backen. Etwa 20-25 Minuten vor Ende der Backzeit den Deckel vom Topf nehmen, damit das Brot eine noch schönere Kruste bekommt. Topf und Brot aus dem Ofen holen und dann auf einem Gitter abkühlen lassen.
Craving more? Keep in touch on Facebook, Twitter, Instagram and Pinterest for new post updates and more. You can also contact me with any questions or inquiries!
Here is a version of the recipe you can print easily.
Artisan Bread (TUI Mein Schiff)
- Prep Time: 20m
- Cook Time: 1h 10m
- Total Time: 20h
- Yield: 1
- Category: Bread
- Cuisine: German
Description
Delicious and easy to prepare: Artisan Bread. All you need is some time ;)
Ingredients
Instructions
Notes
Enjoy baking!
*The cruise was a trip for bloggers and people from the press – that’s why I have to declare this article as “Advertising/Werbung”. All I wrote in this article is still based on my own opinion and has not been affected by anybody :)



 I love my job, but in between I love to bake and try new things in the kitchen. A lot of my friends and colleagues encourage me to bake - for a very simple reason: they get the leftovers - and it seems they like it most of the time ;)