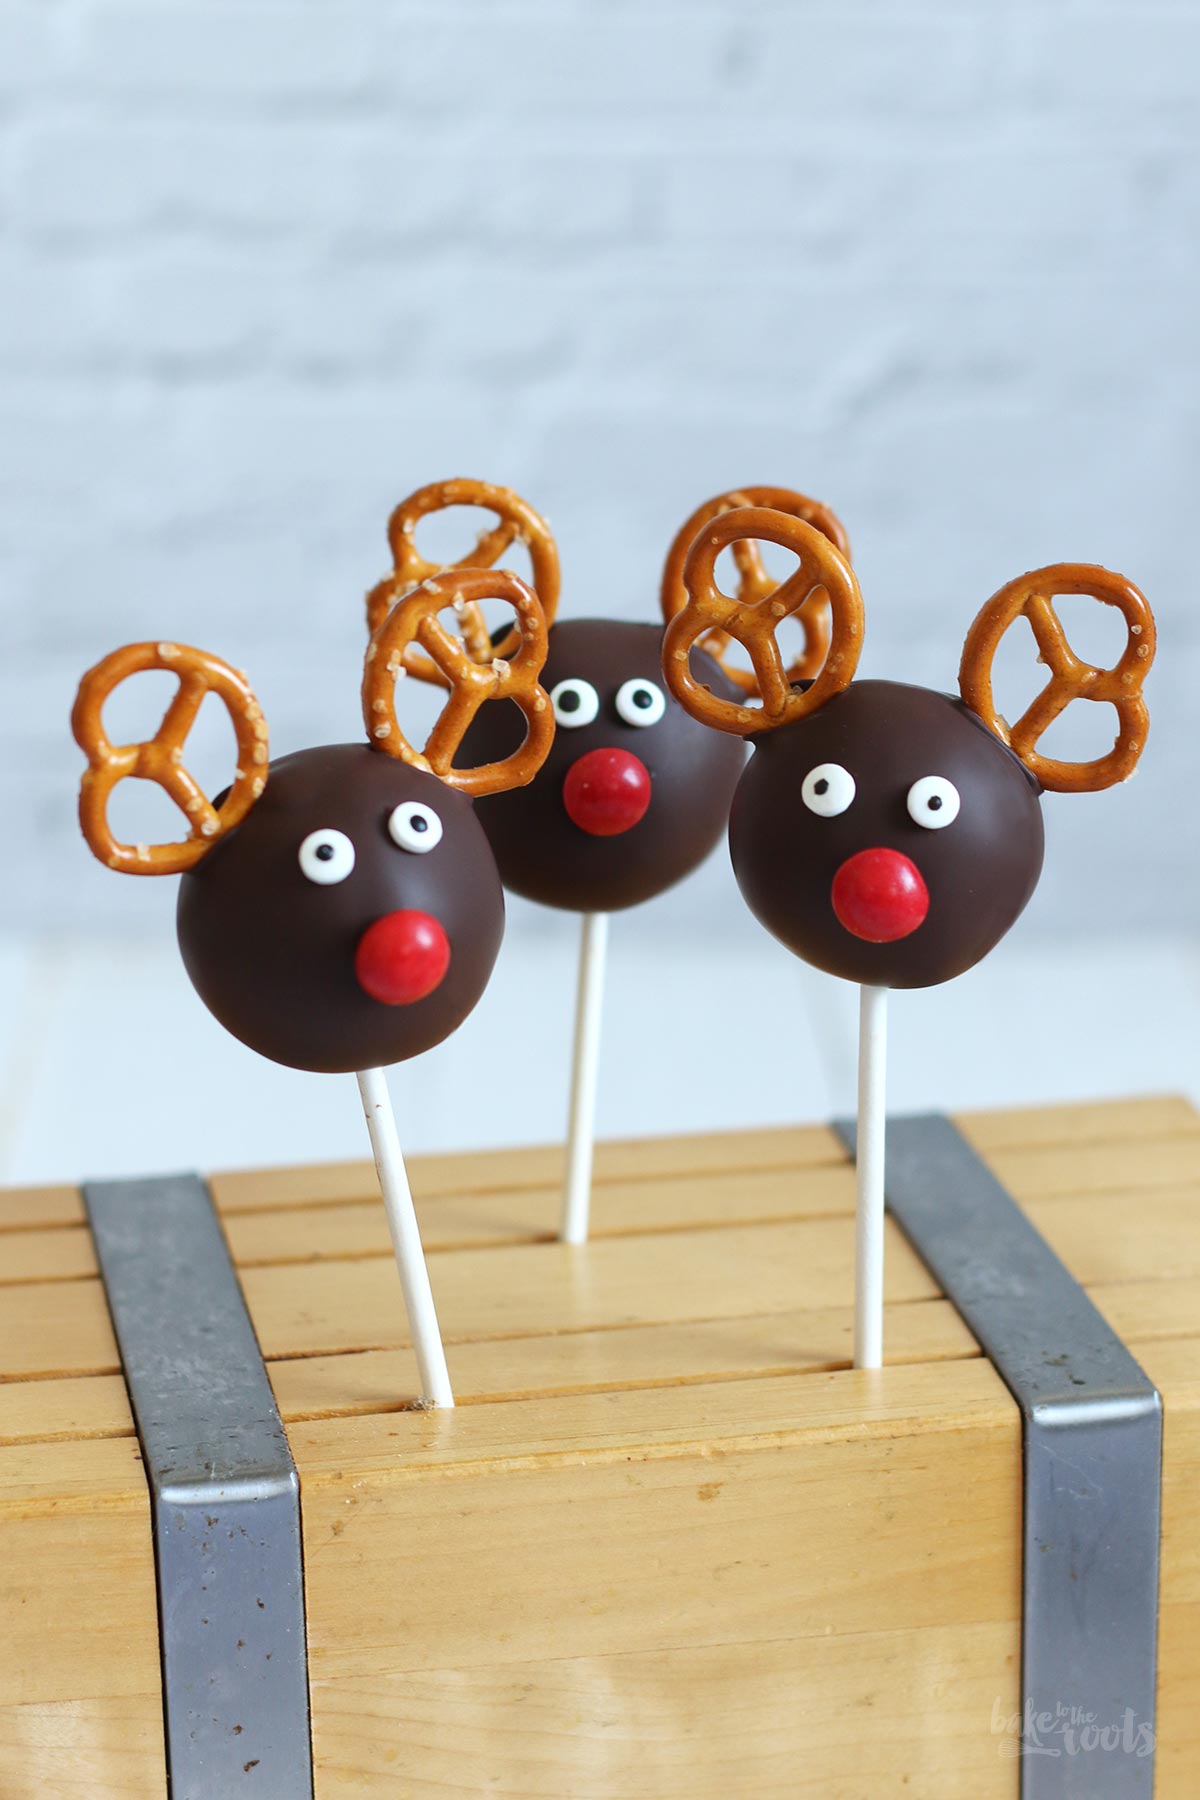
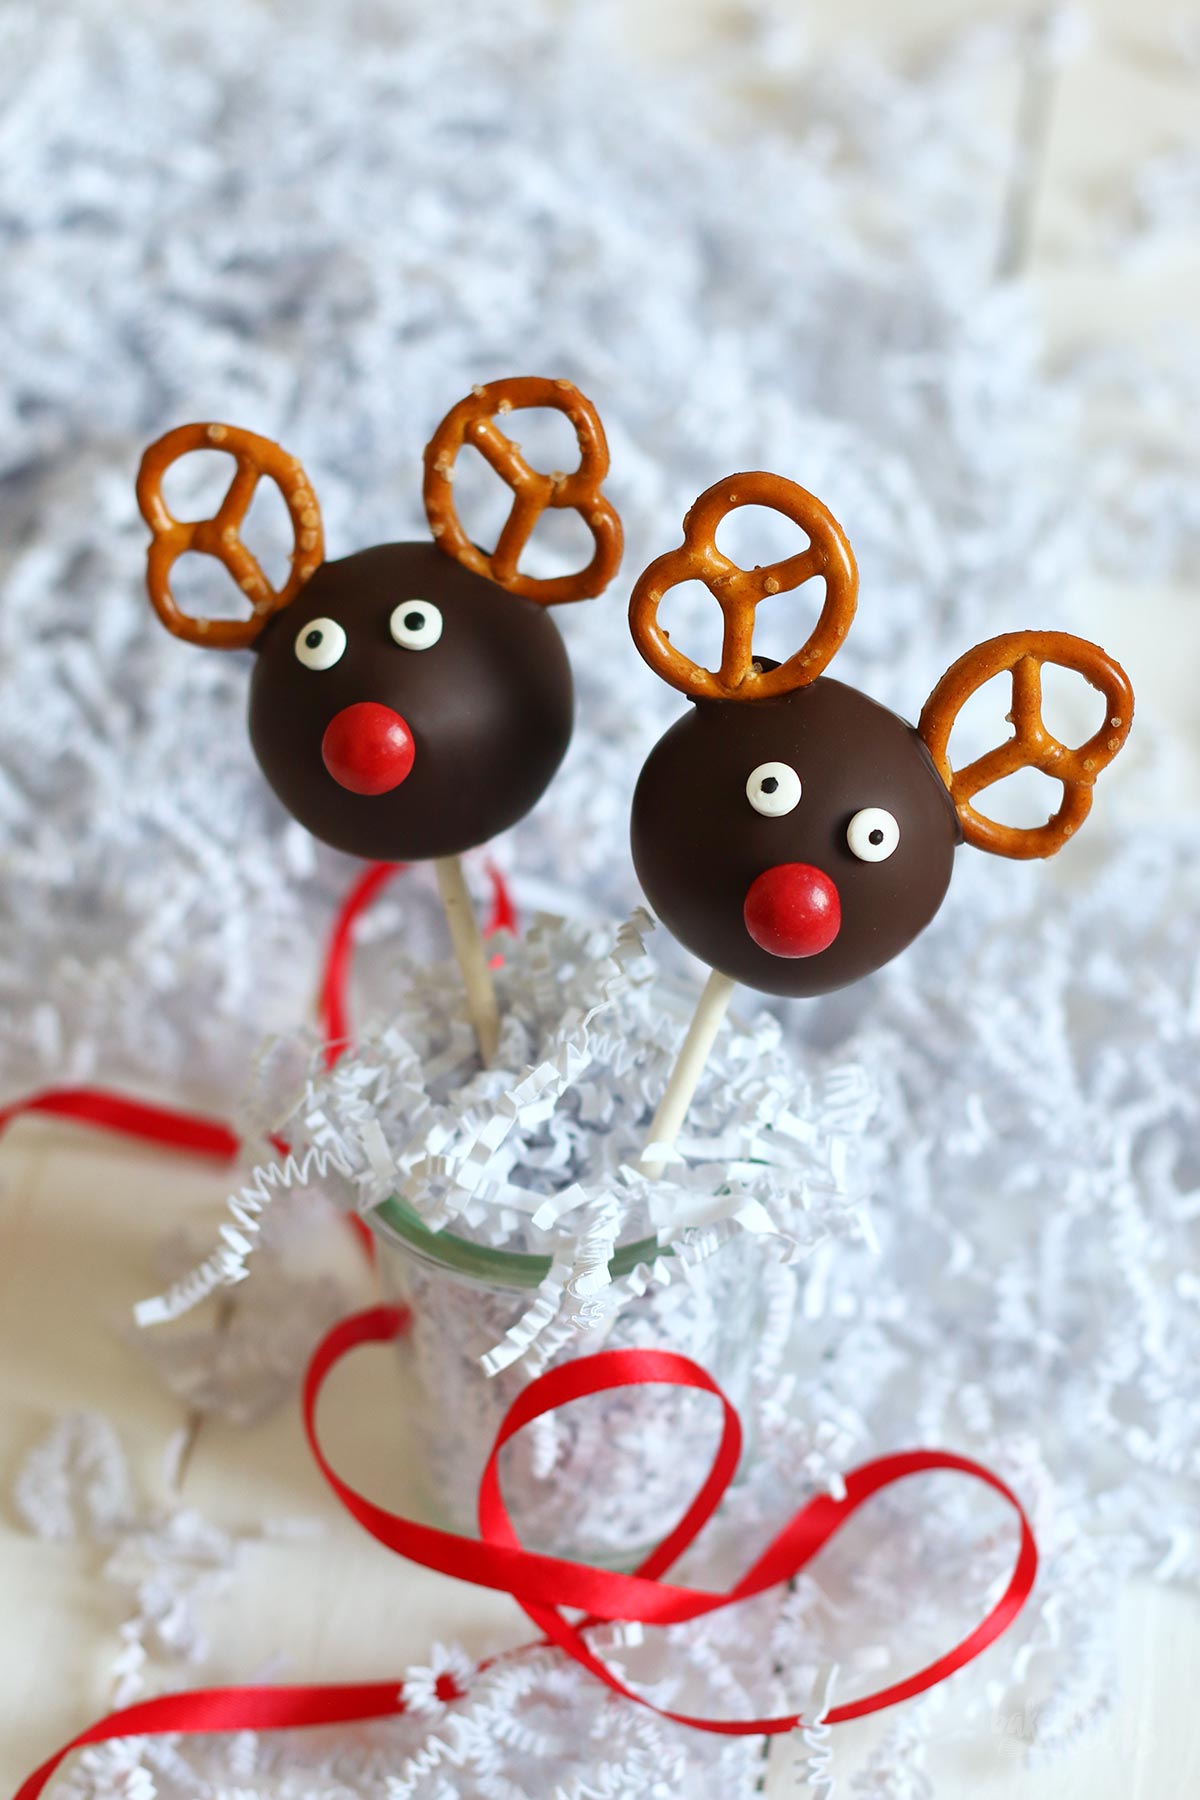
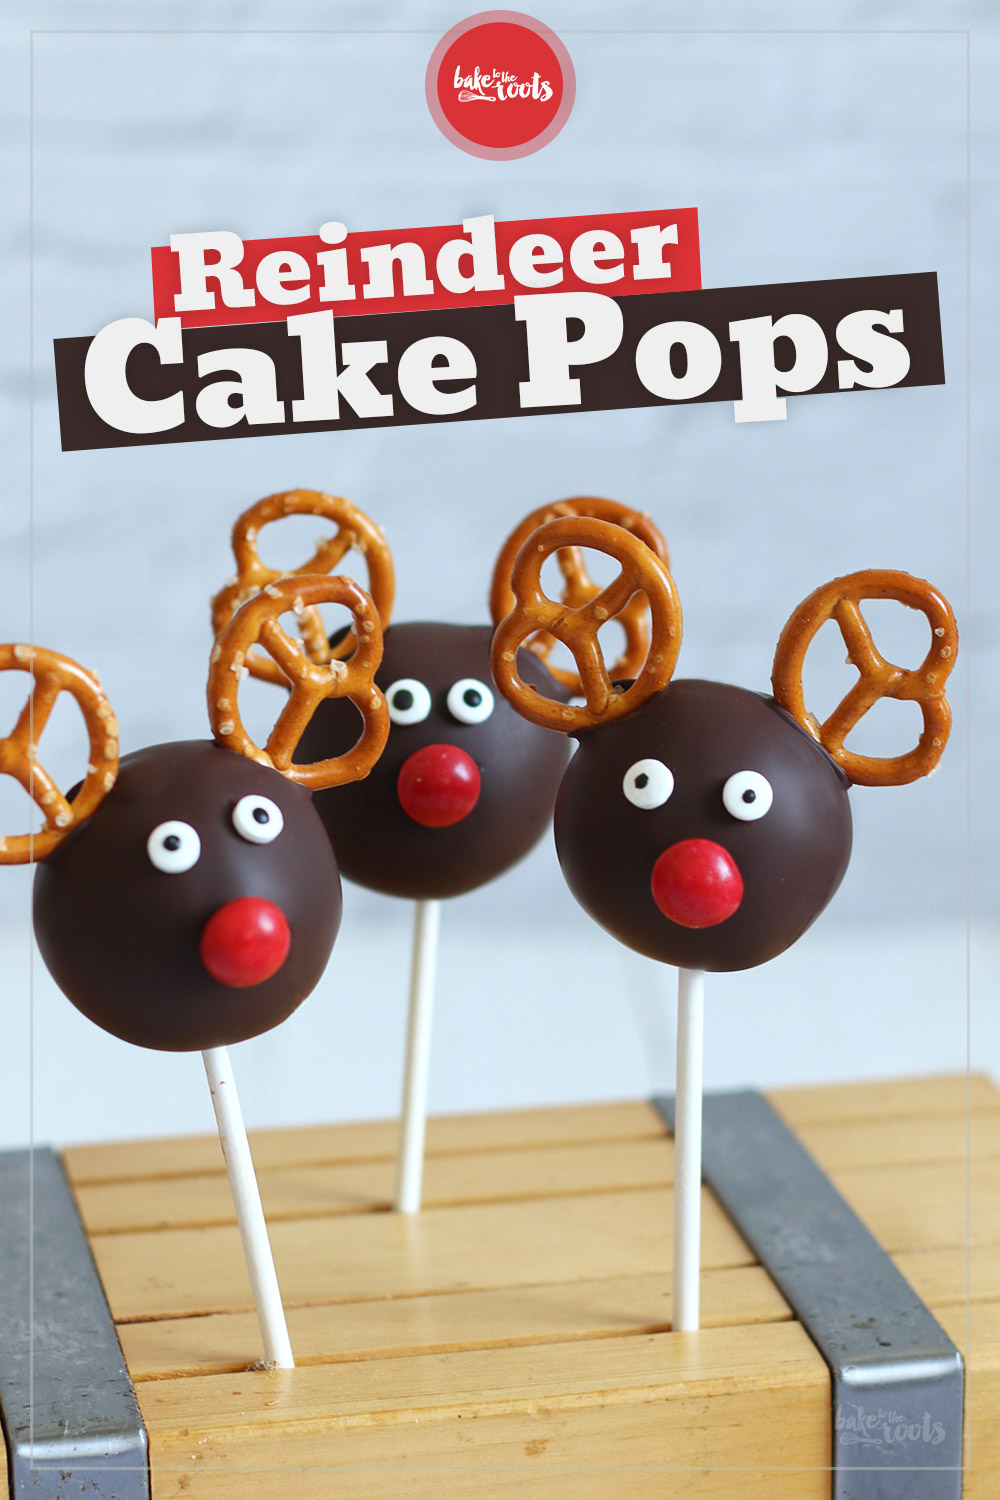
Cake pops and I have never really been big friends – at least when I have to make them myself. I actually really like them. Eating them and looking at them. Delicious cake balls covered in chocolate and decorated beautifully – who doesn’t like that?! ;) But after my very first attempt making them a few years ago, I had to realize that there is a lot that can go wrong with these little cakes on sticks. These Brownie Reindeer Cake Pops are not without flaw… but really damn tasty :P
If you search the internet for cake recipes, you will inevitably come across cake pops at some point in your internet life. There is an endless amount of recipes out there… or let’s say endless ways to decorate these little thingies. The base for cake pops is pretty much always the same. Plain cake or brownies mixed with cream cheese or some sort of buttercream, maybe some additional spices, but that’s it. With that, you’re ready to prepare all kinds of cake pops. It’s the decorations that make these thingies different. It also shows if you’re a pro or an absolute beginner like me ;P
My first attempt at making cake pops was a disaster. I wanted to make little Minion Cake Pops but it turned into a yellow massacre instead. Loads of little cracked Minion heads where you could see the brown “cake brain matter” oozing out or impaled Minions, killing themselves with the little wooden skewers…. something I never want to see again ;P
Over the years I’ve learned (with several attempts making these little fellas) that temperature plays an important role in the process of making cake pops. If you don’t let the cake balls cool down long enough, they will fall off the sticks or the sticks will poke out on the other end of the ball at some point. If you let them cool down too much it’s also not good – then you will have problems with the chocolate coating. The chocolate will cool down and solidify very quickly, which will result in a thick coating and the chances the chocolate breaks are much higher with a high temperature difference.
I know, telling you all this is probably not very encouraging for cake pops beginners. But look at it this way – I’ve already made all those mistakes so you don’t have to repeat them. Just don’t do what I did and you’re good to go! ;P I mean… I managed to make these Reindeer Cake Pops – so can you! ;)
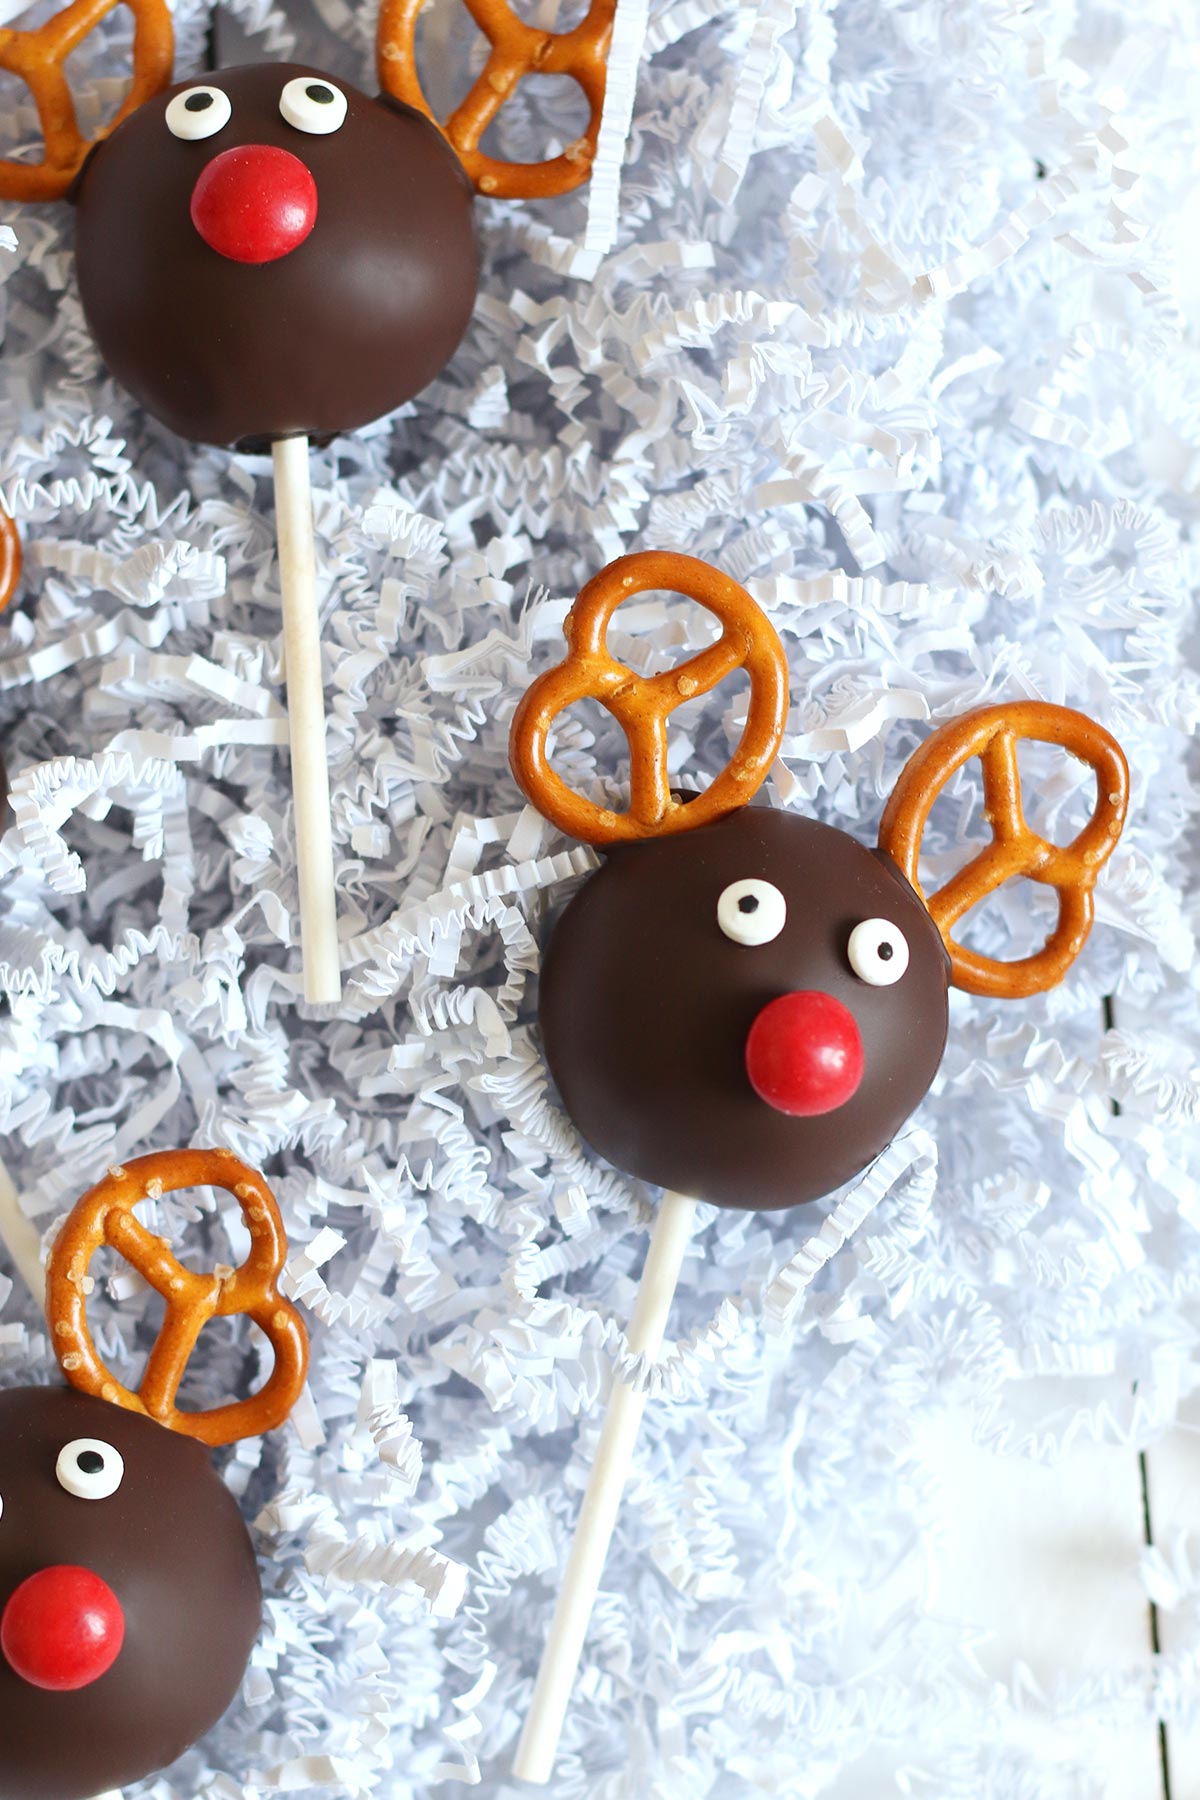
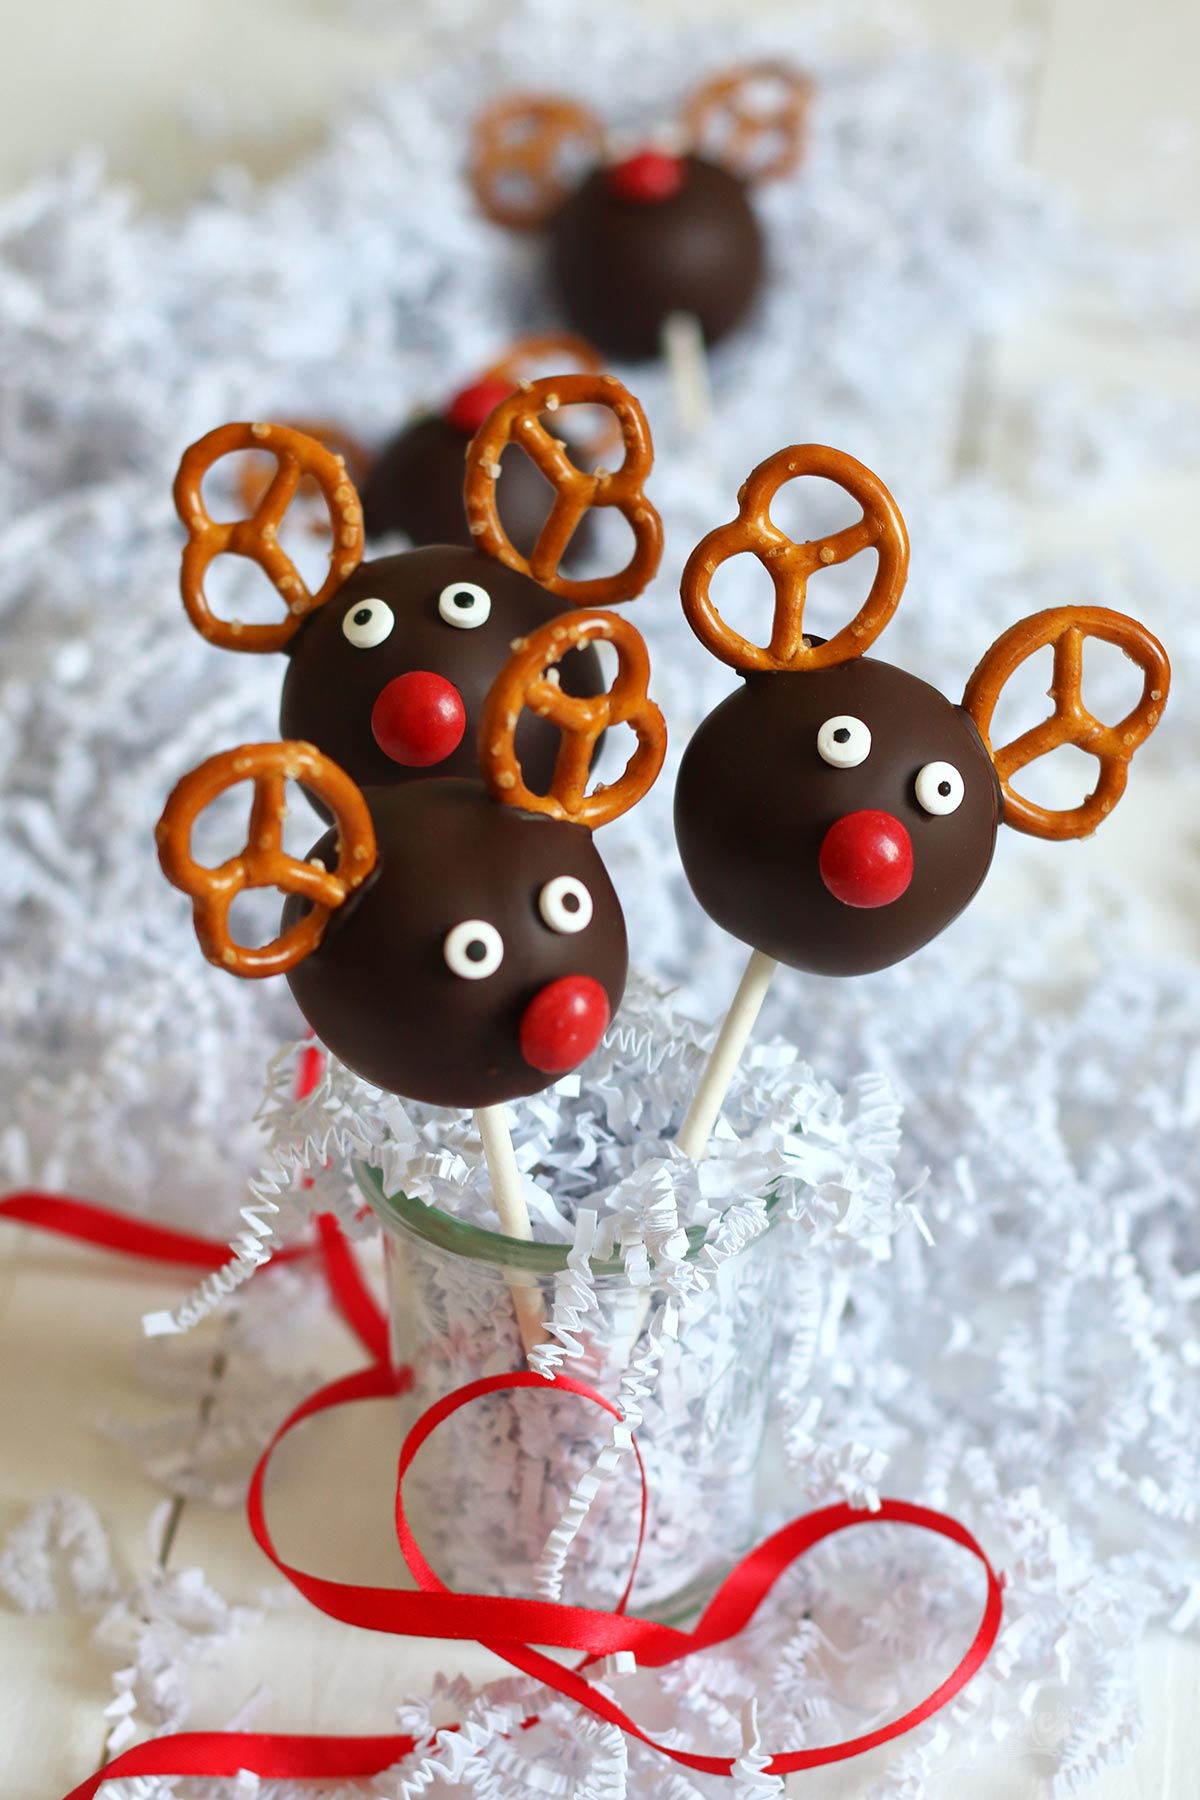
OK… the cake pops here are not the epiphany of cake pops (decoration) but somewhat cute I think. Round balls with little salted pretzels as ears and some other round stuff for the faces. Not too complicated to be honest. Nothing in comparison with the cake pops of the Cake Pops Queen Bakerella https://www.bakerella.com. Nobody will be as good as her. Ever! ;P
But I’m happy with what I got here. Admittedly… I had a few cracks in the chocolate (bummer), but fortunately, they were all on the backsides and are therefore are not visible in the pictures. Yay! ;P
INGREDIENTS / ZUTATEN
(8 cake pops)
For the cake pops:
10.6 oz. (300g) fudgy brownies
1 oz. (30g) semi-sweet chocolate, melted
1 oz. (30g) butter, at room temperature
1.8 oz. (50g) confectioners’ sugar
8 cake pop sticks
For the decoration:
5.3 oz. (150g) chocolate glaze, melted
16 small pretzels
8 red skittles
8 pairs of candy eyes
(8 Cake Pops)
Für die Cake Pops:
300g Brownies
30g Zartbitterschokolade, geschmolzen
30g weiche Butter
50g Puderzucker
8 Cake Pop Stiele
Für die Dekoration:
150g Kakaoglasur
16 kleine Salzbrezeln
8 rote Skittles
8 Paar Zuckeraugen
DIRECTIONS / ZUBEREITUNG
1. Add the brownies to a bowl and crumble with a fork. Melt the chocolate in the microwave (or over a pot with simmering water) and let cool down a bit. Add the butter and confectioners’ sugar to a second bowl and mix until well combined. Add the melted chocolate and mix to combine, then add to the bowl with the brownie crumbs and fold in (you can use your hands) – the mixture should look and feel like wet dough. Shape 8 balls out of the mixture and press a cake pop stick into each ball. Line a small baking sheet with baking parchment and place the cake pops on top – chill in the fridge for about 2-3 hours or overnight.
2. To decorate the cake pops take them out of the fridge and let them warm up a bit for about 15-20 minutes – if the temperature difference between cake pop and chocolate is too high, the chocolate might crack. Melt the chocolate glaze in the microwave (or over a pot with simmering water) – if you use a glass/bowl that is only slightly larger than the cake pop balls it will be easier to coat the cake pops. Press the small pretzels into the balls in the position you want them, same for the skittles nose – remove all of it again and keep in mind where the indentations are. Work on only one cake pop at a time. Dip the cake pop into the melted chocolate and let excess chocolate drip off. When the chocolate stops dripping, press the pretzels and skittles nose into the (probably now less visible) indentations you created before, then add the candy eyes to the face as well. Push the cake pop stick into a polystyrene block or similar and let the chocolate set for about 15 minutes. While the chocolate of the first one is setting you can start working on the next one. Store the cake pops in a cool place – preferably the fridge if your kitchen is a bit warm.
1. Die Brownies in eine Schüssel geben und mit einer Gabel zerdrücken. Die Schokolade schmelzen (entweder in der Mikrowelle oder über einem Topf mit köchelndem Wasser) und etwas abkühlen lassen. Butter und Puderzucker in einer zweiten Schüssel miteinander verrühren und dann die geschmolzene Schokolade dazugeben und unterrühren. Zur Schüssel mit den Brownies dazugeben und alles gut verrühren – die Mischung sollte gut zusammenhalten. Aus dem Teig 8 Kugeln formen, in jede Kugel einen Cake Pop Stiel hineinstecken und dann auf ein kleines Blech mit Backpapier setzen – für etwa 2-3 Stunden oder über Nacht in den Kühlschrank stellen.
2. Die Cake Pops etwa 15-20 Minuten vor dem Verzieren aus dem Kühlschrank holen – wenn der Temperaturunterschied von Cake Pop und Schokolade zu groß ist, kann es schnell passieren, dass die Schokolade beim Abkühlen Risse bekommt. Die Kakaoglasur nach Packungsanleitung schmelzen. Wenn man sie in ein Glas/Schüsselchen füllt, das nur leicht größer ist als die Cake Pops, lassen sich die Kugeln besser mit der Schokolade überziehen. Die Brezeln und das Skittle an die gewünschte Position auf den Kugeln drücken, damit vor dem Glasieren eine Vertiefung für die Deko da ist, dann in die Schokolade tauchen, überschüssige Schokolade abtropfen lassen und dann sofort die Brezeln und das Skittle für die Nase an den vorbestimmten Stellen in die Schokolade drücken, die Zuckeraugen ebenfalls in die Schokolade drücken. Immer nur einen Cake Pop mit Schokolade überziehen, dekorieren und dann den nächsten bearbeiten. Die fertigen Cake Pops in einen Styroporblock oder eine andere Halterung stecken und komplett trocknen/fest werden lassen – dauert etwa 15 Minuten. Die fertigen Cake Pops an einem kühlen Ort aufbewahren. Sollte die Küche wärmer sein, dann einfach in den Kühlschrank stellen.
Craving more? Keep in touch on Facebook, Twitter, Instagram and Pinterest for new post updates and more. You can also contact me with any questions or inquiries!
Here is a version of the recipe you can print easily.
Print
Brownie Reindeer Cake Pops
- Prep Time: 00:30
- Cook Time: 00:00
- Total Time: 04:00
- Yield: 8 1x
- Category: Cakes
- Cuisine: America
- Diet: Vegetarian
Description
These Brownie Reindeer Cake Pops are the perfect sweet little treat for Christmas! Maybe you want to keep one for Santa to get an extra gift for Christmas ;)
Ingredients
For the cake pops:
10.6 oz. (300g) fudgy brownies
1 oz. (30g) semi-sweet chocolate, melted
1 oz. (30g) butter, at room temperature
1.8 oz. (50g) confectioners’ sugar
8 cake pop sticks
For the decoration:
5.3 oz. (150g) chocolate glaze, melted
16 small pretzels
8 red skittles
8 pairs of candy eyes
Instructions
1. Add the brownies to a bowl and crumble with a fork. Melt the chocolate in the microwave (or over a pot with simmering water) and let cool down a bit. Add the butter and confectioners’ sugar to a second bowl and mix until well combined. Add the melted chocolate and mix to combine, then add to the bowl with the brownie crumbs and fold in (you can use your hands) – the mixture should look and feel like wet dough. Shape 8 balls out of the mixture and press a cake pop stick into each ball. Line a small baking sheet with baking parchment and place the cake pops on top – chill in the fridge for about 2-3 hours or overnight.
2. To decorate the cake pops take them out of the fridge and let them warm up a bit for about 15-20 minutes – if the temperature difference between cake pop and chocolate is too high, the chocolate might crack. Melt the chocolate glaze in the microwave (or over a pot with simmering water) – if you use a glass/bowl that is only slightly larger than the cake pop balls it will be easier to coat the cake pops. Press the small pretzels into the balls in the position you want them, same for the skittles nose – remove all of it again and keep in mind where the indentations are. Work on only one cake pop at a time. Dip the cake pop into the melted chocolate and let excess chocolate drip off. When the chocolate stops dripping, press the pretzels and skittles nose into the (probably now less visible) indentations you created before, then add the candy eyes to the face as well. Push the cake pop stick into a polystyrene block or similar and let the chocolate set for about 15 minutes. While the chocolate of the first one is setting you can start working on the next one. Store the cake pops in a cool place – preferably the fridge if your kitchen is a bit warm.
Notes
Enjoy decorating!

 I love my job, but in between I love to bake and try new things in the kitchen. A lot of my friends and colleagues encourage me to bake - for a very simple reason: they get the leftovers - and it seems they like it most of the time ;)