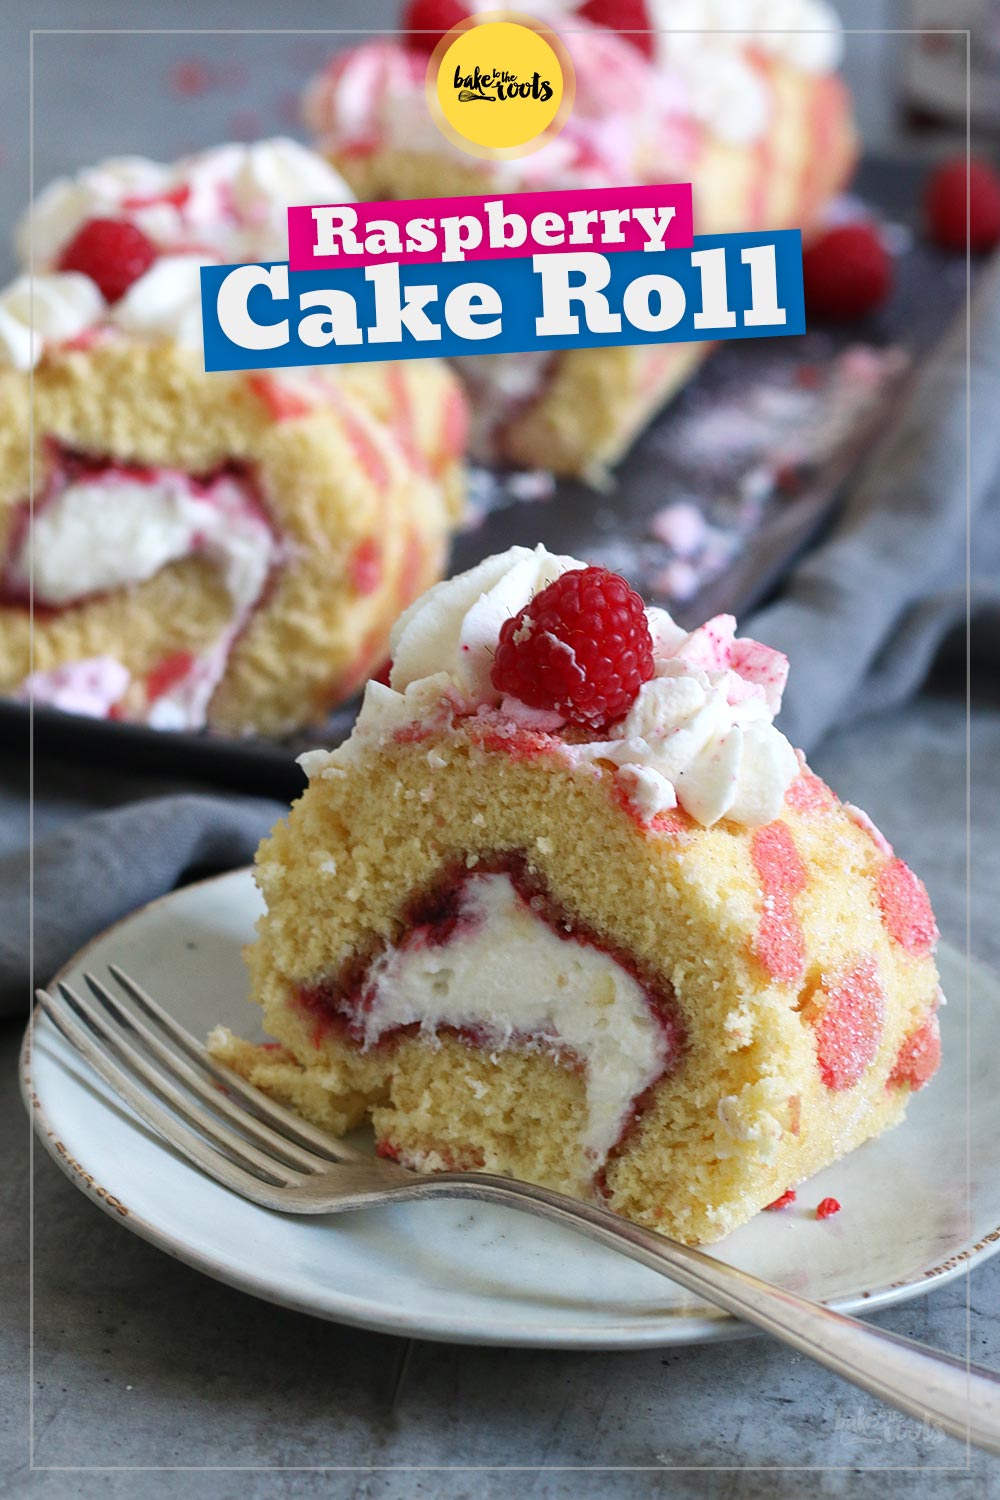
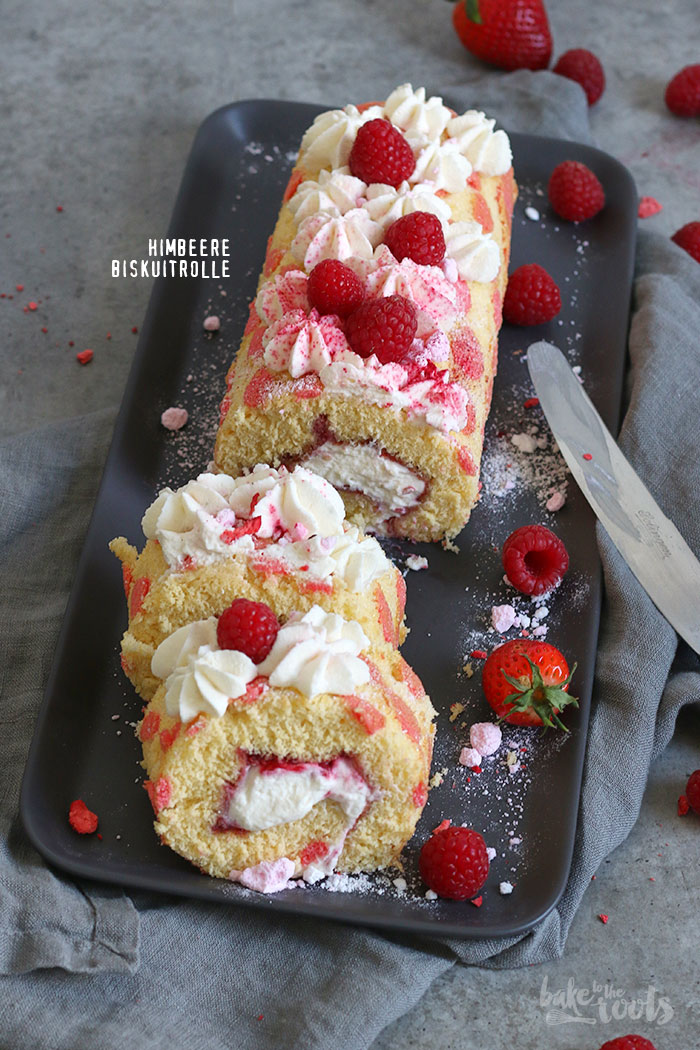
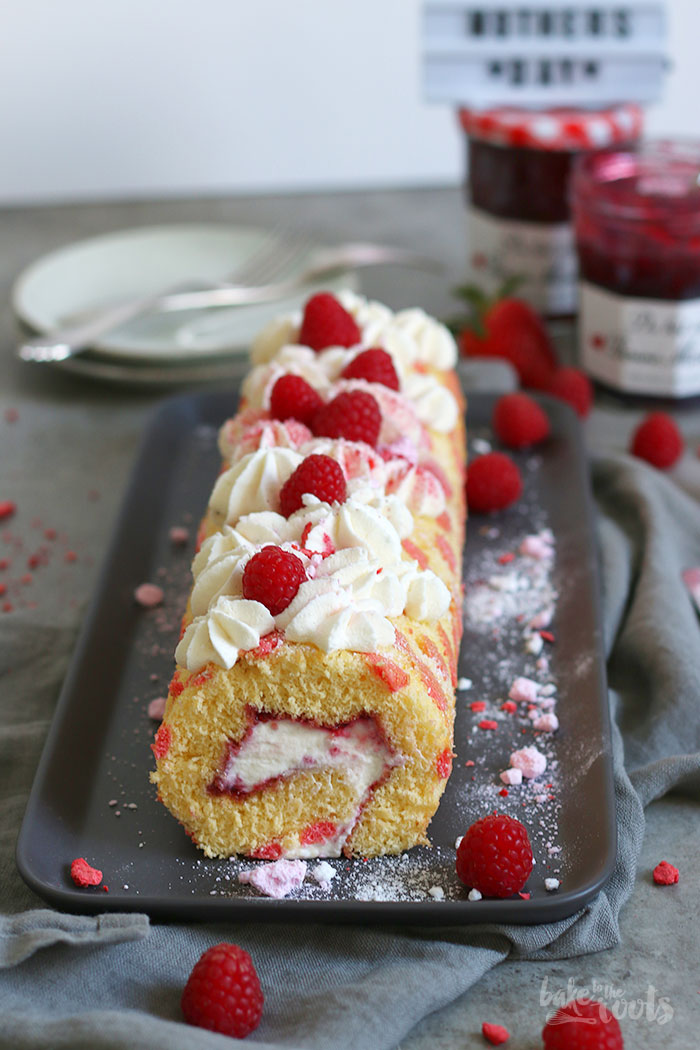
Last chance to bake something nice for Mother’s Day! This Raspberry ‘n’ Cream Cake Roll is the perfect candidate for a last-minute surprise – delicious and quick and easy to prepare. Your mom will be happy about it. Especially, if she likes cake or raspberries. At least, that’s what I assume…
When it comes to Mother’s Day I always recommend making something for your mom instead of buying something. Not a fan of bought flower bouquets and stuff like that. I prefer to bake something (my picture-drawing years are over)…
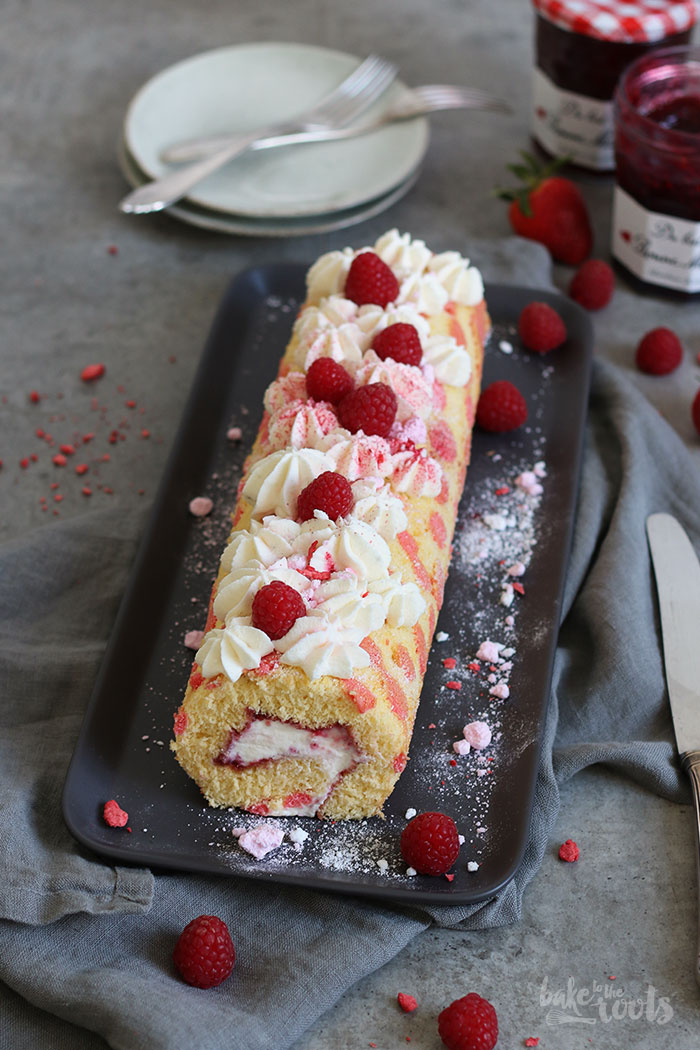
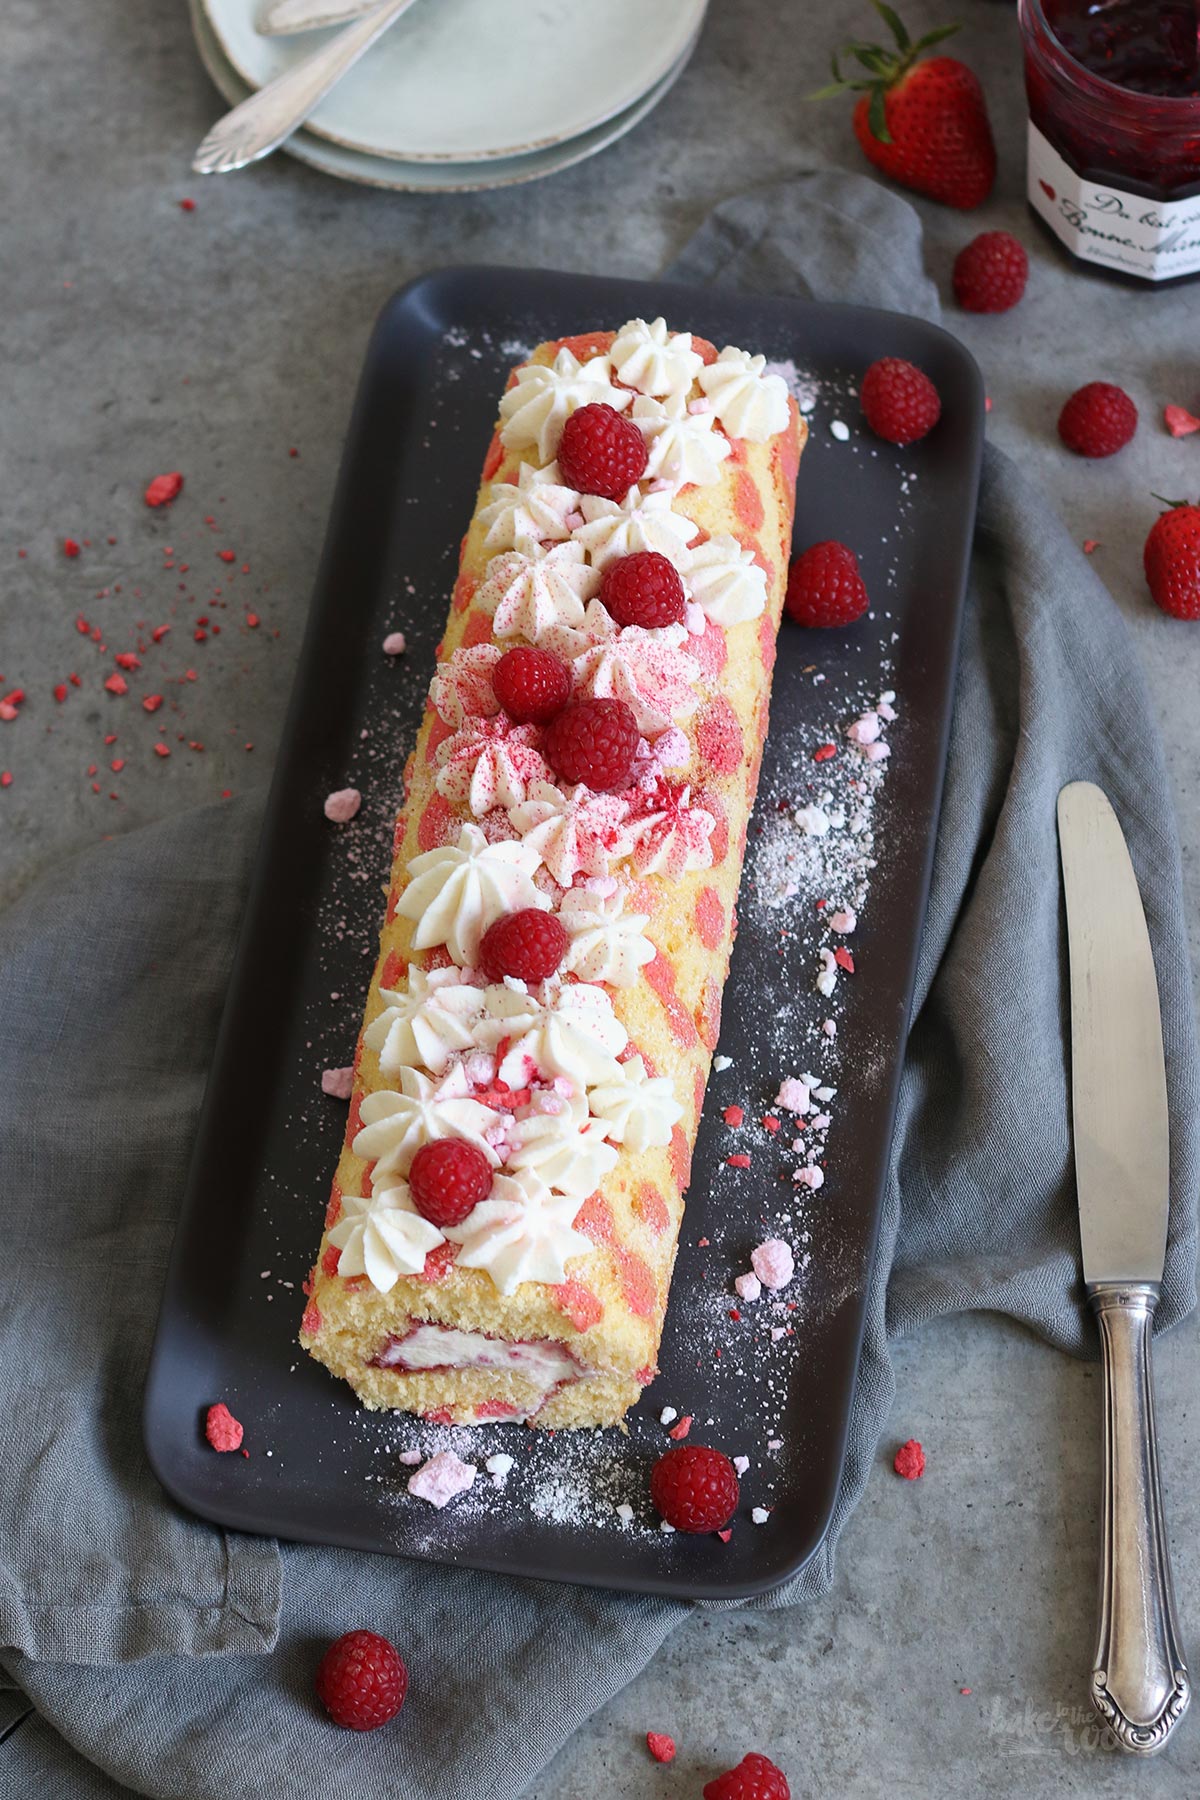
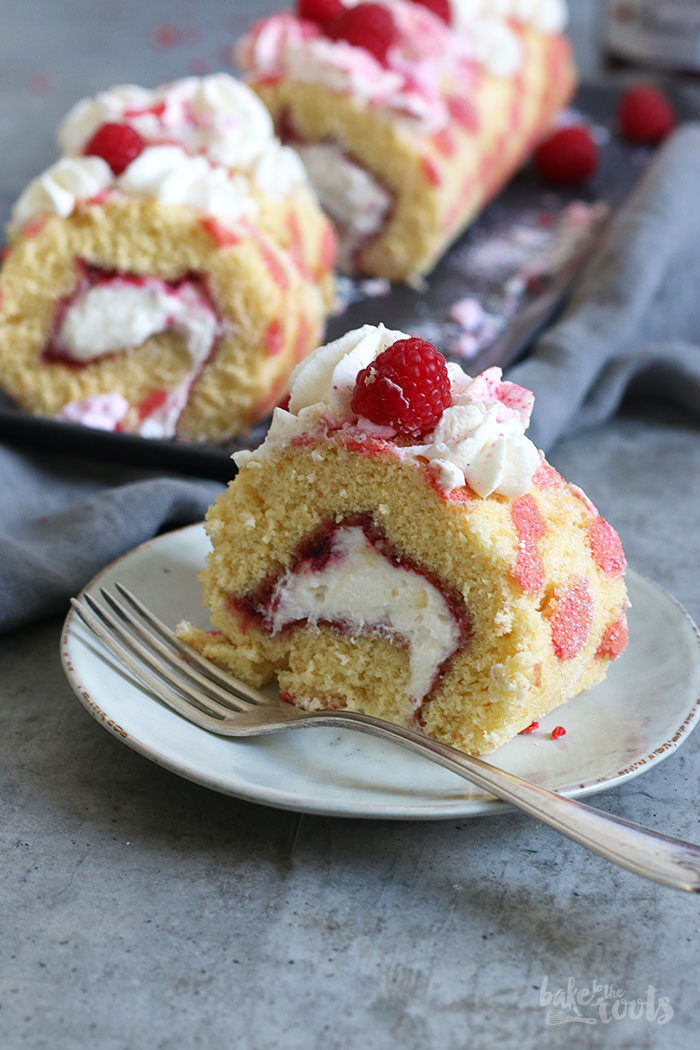
Cake rolls are easy and quick to prepare. If your time is limited this might be a good idea for you. You basically just have to bake that one cake layer, spread some jam on top, add whipped cream and roll it up… that’s it! Throw some berries on top, some whipped cream and you’re done!
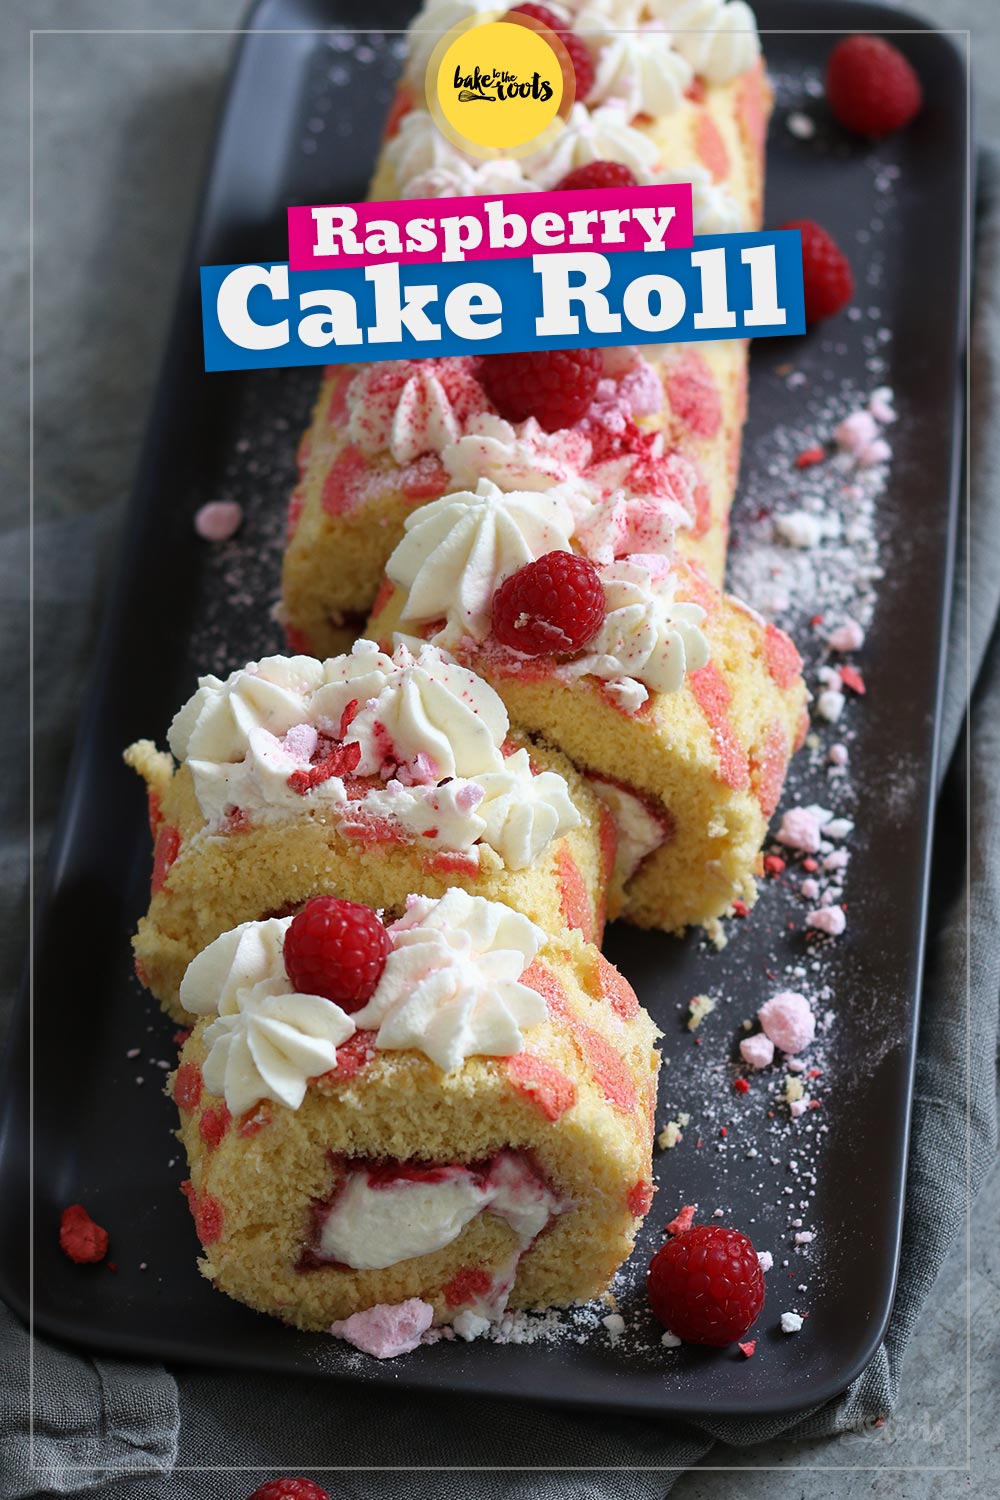
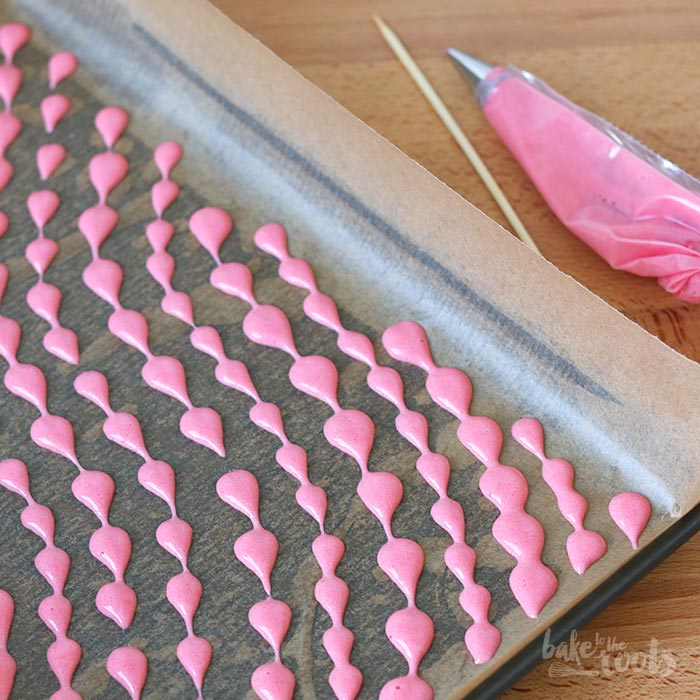
If you want to amp it up, you can make the hearts pattern for the cake layer as described in the recipe. Make sure the hearts are not too small or the chances are good they might come off when you peel off the baking parchment after baking. Small hearts stick to the paper easily. For an easier version of the cake roll skip the part with the coloring and pre-baking. No problem.
Well… you know you can bake this and any other Mother’s Day cake all year round. I guess mom will be happy about it any day of the year.
INGREDIENTS / ZUTATEN
For the batter:
4 medium eggs
1 pinch of salt
4.5 oz. (130g) sugar (fine)*
2 tbsp. warm water
1 tsp. vanilla extract*
1 cup (130g) all-purpose flour
red food color*
For the filling:
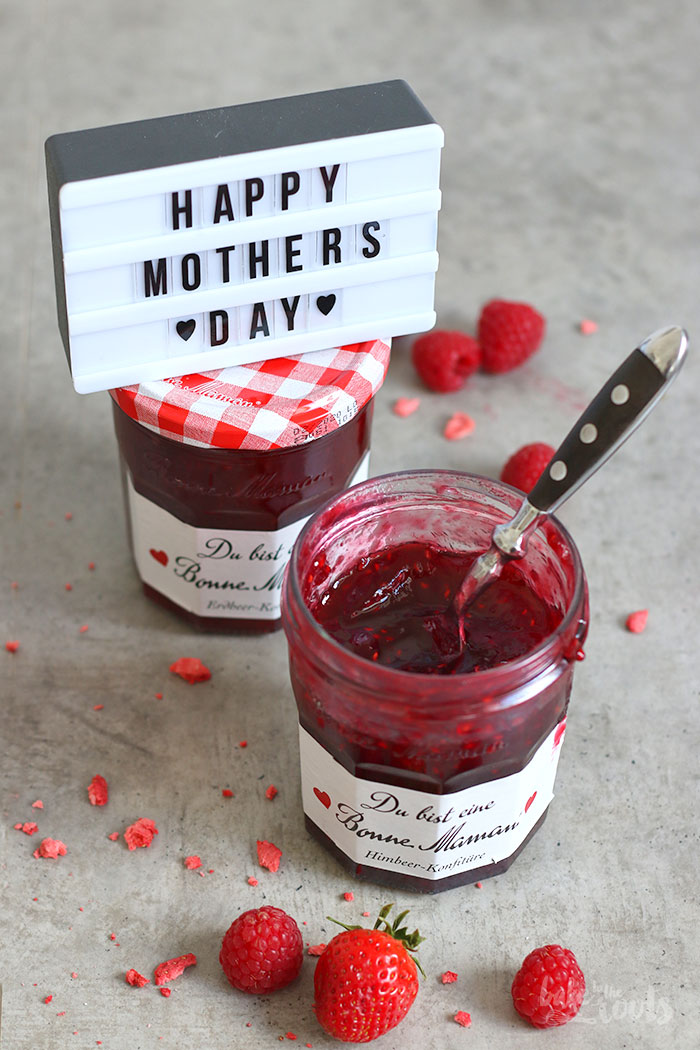
6-7 tbsp. Bonne Maman raspberry jam*
1 1/4 cups (300ml) heavy cream
1 tbsp. confectioners’ sugar*
1/4 tsp. vanilla extract*
For the decoration:
some raspberries, meringue puffs, sprinkles or similar
Für den Teig:
4 Eier (M)
1 Prise Salz
130g Zucker (fein)*
2 EL warmes Wasser
1 TL Vanille Extrakt*
130g Mehl (Type 405)
rote Lebensmittelfarbe*
Für die Füllung:
6-7 EL Bonne Maman Himbeer-Konfitüre*
300ml Schlagsahne
1 EL Puderzucker*
1/4 TL Vanille Extrakt*
Für die Dekoration:
ein paar Himbeeren, Meringue-Tupfen, Zuckerperlen o.Ä.
DIRECTIONS / ZUBEREITUNG
1. Preheat the oven to 190°C (375°F). Line a 23x33cm baking tray or baking tin* with baking parchment and grease the sides lightly. Set aside.
2. Add the eggs and salt to a large bowl and mix until bubbly, while whisking gradually add the sugar and mix on high speed until thick and fluffy. Mix the vanilla extract and warm water, add to the bowl and mix in. Sift the flour on top of the batter and fold it in carefully to keep as much volume as possible – do that in three steps so you don’t have to incorporate all the flour at once. Take about 2-3 tablespoons of the batter and add to a small bowl, mix with the food color to get a nice red batter. Fill into a piping bag with a small round tip and pipe little hearts on the baking parchment of the prepared baking pan. You can either actually pipe hearts or lines of dots and then use a skewer to get the heart shape – don’t make the hearts too small or they will probably come off when removing the baking parchment. Bake the hearts for about 2 minutes, then carefully spread the remaining dough on top of them. Try not to move any of the pre-baked hearts. Bake again for about 12 minutes – the cake should spring back a bit when you press a finger on it.
3. Place a clean kitchen towel on your workspace and sprinkle it with some sugar. Take the cake out of the oven and place it upside down on the kitchen towel. Remove from the pan and then brush with some cold water to get the baking parchment off more easily. Turn the cake upside down again to get the hearts pattern outside and roll up the cake with the kitchen towel (the longer side) and let it cool down.
4. Whip the heavy cream until soft peaks form. Add the confectioners’ sugar and vanilla extract and mix until stiff peaks form. Mix the jam in the glass jar until soft so you can spread it easily.
5. Unroll the completely cooled cake and place it with the long side in front of you. Spread the jam evenly on top of the cake. Add about 2/3 of the whipped cream on top and spread evenly, then roll up the longer side tightly away from you. Place on a serving plate and decorate with the remaining whipped cream, some raspberries, meringue puffs, sprinkles or any other matching things from your cabinets. Keep in the fridge until serving.
1. Den Ofen auf 190°C (375°F) Ober-/Unterhitze vorheizen. Ein Backblech oder eine Backform* mit etwa 23x33cm mit Backpapier auslegen und die Seiten leicht einfetten. Zur Seite stellen.
2. Die Eier und das Salz in eine große Schüssel geben und aufschlagen, bis sie schaumig sind, dann den Zucker langsam einrieseln lassen und auf höchster Stufe aufschlagen, bis die Masse dick und cremig ist. Den Vanille Extrakt mit dem warmen Wasser vermischen und dann zur Schüssel dazugeben und unterrühren. Das Mehl auf den Teig sieben (in mehreren Portionen) und dann vorsichtig unterheben – es sollte so viel Volumen wie möglich erhalten bleiben. Vom Teig etwa 2-3 EL abnehmen und in einer separaten Schüssel mit etwas Lebensmittelfarbe einfärben. Diesen Teig in einen Spritzbeutel mit einer kleinen runden Tülle einfüllen und dann damit Herzen auf das Backpapier auf dem Blech aufspritzen. Das kann man direkt in Herzform machen oder kleine Tupfen mit etwas Abstand aufspritzen und dann mit einem Holzspieß so durch die Mitte der Tupfen ziehen, dass sich kleine Herzen bilden. Die Herzen sollten nicht zu klein sein, sonst lösen sie sich später vielleicht nicht vom Backpapier. Die Herzen für etwa 2 Minuten backen und dann den restlichen Teig darauf verteilen (ohne die Herzen zu verschieben) und noch einmal für etwa 12 Minuten backen. Die Oberfläche der Kuchenschicht sollte auf Fingerdruck noch etwas nachgeben und zurückspringen.
3. Ein sauberes Küchentuch auf die Arbeitsfläche legen und mit etwas Zucker bestreuen. Den Kuchen aus dem Ofen nehmen und auf das Tuch stürzen. Das Backpapier mit etwas kaltem Wasser bepinseln und dann vorsichtig ablösen. Den Kuchen umdrehen (damit das Muster am Ende nach außen zeigt) und dann zusammen mit dem Tuch vorsichtig von der langen Seite her einrollen und abkühlen lassen.
4. Die Sahne kurz anschlagen, Puderzucker und Vanille Extrakt dazugeben und dann steif schlagen. Die Konfitüre glatt rühren, damit sie sich besser verstreichen lässt. Wer die Samen nicht mag, drückt die Konfitüre noch durch ein Sieb.
5. Den abgekühlten Kuchen vorsichtig entrollen und mit der langen Seite vor einem selbst platzieren. Erst die Konfitüre gleichmäßig auf den Kuchen streichen, dann etwa 2/3 der Sahne ebenso aufstreichen. Alles von der langen Seite her aufrollen und dann auf eine Servierplatte legen. Mit der restlichen Sahne, Himbeeren, Meringue-Tuffs, Zuckerperlen oder Ähnlichem dekorieren. Bis zum Servieren im Kühlschrank lagern.
Craving more? Keep in touch on Facebook, Instagram and Pinterest for new post updates and more. You can also contact me with any questions or inquiries!
Here is a version of the recipe you can print easily.
Print
Raspberry ‘n’ Cream Cake Roll
- Prep Time: 00:30
- Cook Time: 00:14
- Total Time: 01:00
- Yield: 1 1x
- Category: Cakes
- Method: -
- Cuisine: International
- Diet: Vegetarian
Description
Delicious and easy to prepare cake roll with raspberries and whipped cream. An easy peasy Mother’s Day cake and a great gift for mom!
Ingredients
For the batter:
4 medium eggs
1 pinch of salt
4.5 oz. (130g) sugar (fine)*
2 tbsp. warm water
1 tsp. vanilla extract*
1 cup (130g) all-purpose flour
red food color*
For the filling:
6-7 tbsp. Bonne Maman raspberry jam*
1 1/4 cups (300ml) heavy cream
1 tbsp. confectioners‘ sugar*
1/4 tsp. vanilla extract*
For the decoration:
some raspberries, meringue puffs, sprinkles or similar
Instructions
1. Preheat the oven to 190°C (375°F). Line a 23x33cm baking tray or baking tin* with baking parchment and grease the sides lightly. Set aside.
2. Add the eggs and salt to a large bowl and mix until bubbly, while whisking gradually add the sugar and mix on high speed until thick and fluffy. Mix the vanilla extract and warm water, add to the bowl and mix in. Sift the flour on top of the batter and fold it in carefully to keep as much volume as possible – do that in three steps so you don’t have to incorporate all the flour at once. Take about 2-3 tablespoons of the batter and add to a small bowl, mix with the food color to get a nice red batter. Fill into a piping bag with a small round tip and pipe little hearts on the baking parchment of the prepared baking pan. You can either actually pipe hearts or lines of dots and then use a skewer to get the heart shape – don’t make the hearts too small or they will probably come off when removing the baking parchment. Bake the hearts for about 2 minutes, then carefully spread the remaining dough on top of them. Try not to move any of the pre-baked hearts. Bake again for about 12 minutes – the cake should spring back a bit when you press a finger on it.
3. Place a clean kitchen towel on your workspace and sprinkle it with some sugar. Take the cake out of the oven and place it upside down on the kitchen towel. Remove from the pan and then brush with some cold water to get the baking parchment off more easily. Turn the cake upside down again to get the hearts pattern outside and roll up the cake with the kitchen towel (the longer side) and let it cool down.
4. Whip the heavy cream until soft peaks form. Add the confectioners‘ sugar and vanilla extract and mix until stiff peaks form. Mix the jam in the glass jar until soft so you can spread it easily.
5. Unroll the completely cooled cake and place it with the long side in front of you. Spread the jam evenly on top of the cake. Add about 2/3 of the whipped cream on top and spread evenly, then roll up the longer side tightly away from you. Place on a serving plate and decorate with the remaining whipped cream, some raspberries, meringue puffs, sprinkles or any other matching things from your cabinets. Keep in the fridge until serving.
Notes
Enjoy baking!
Links marked with an asterisk (*) are affiliate links (advertising/Werbung) to Amazon Germany. If you click on one of those links and buy something via this link, I will get a commission for that sale. The price of whatever you buy is not affected in any way by this.
**I have partnered with Bonne Maman for this article. That is why I have to declare this here in Germany as advertising. All I wrote in this article is still based on my own opinion and has not been influenced by anybody.