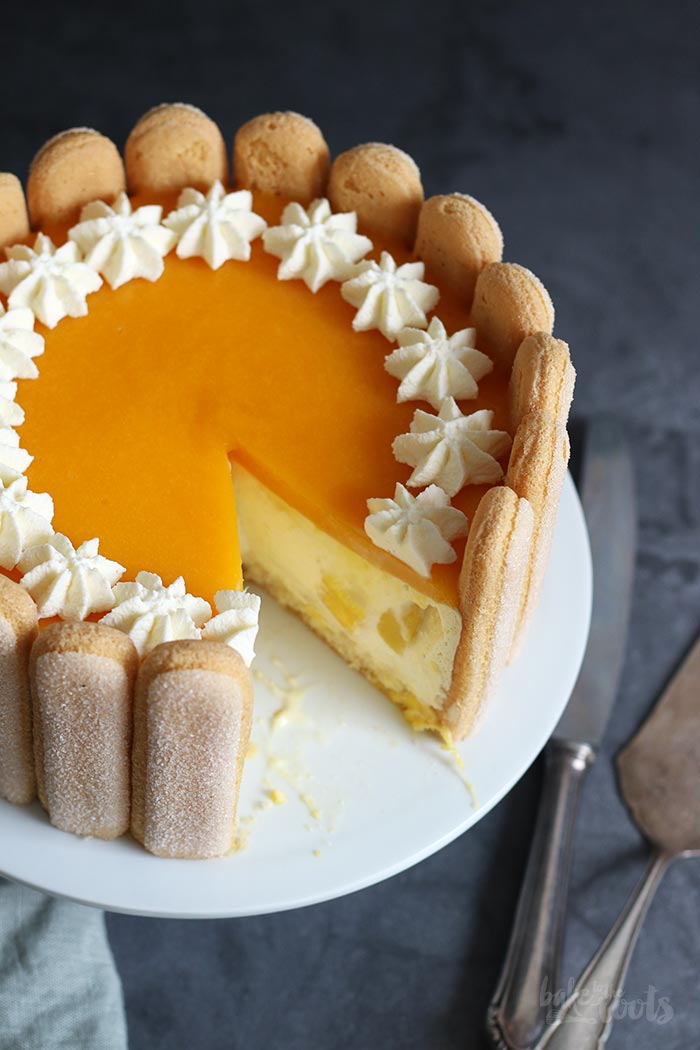
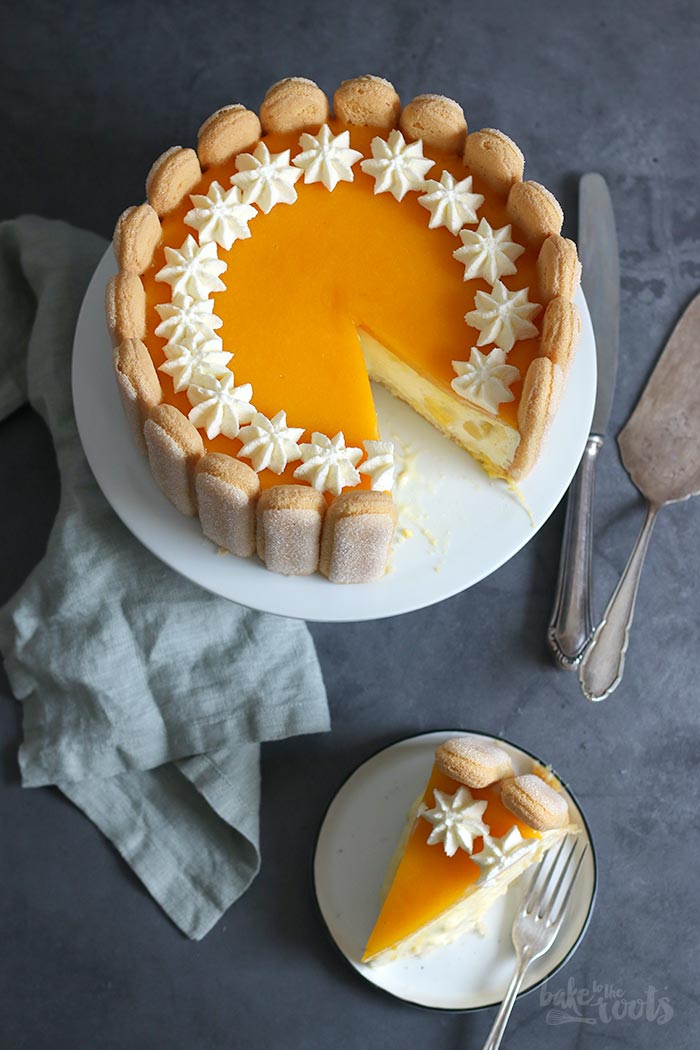
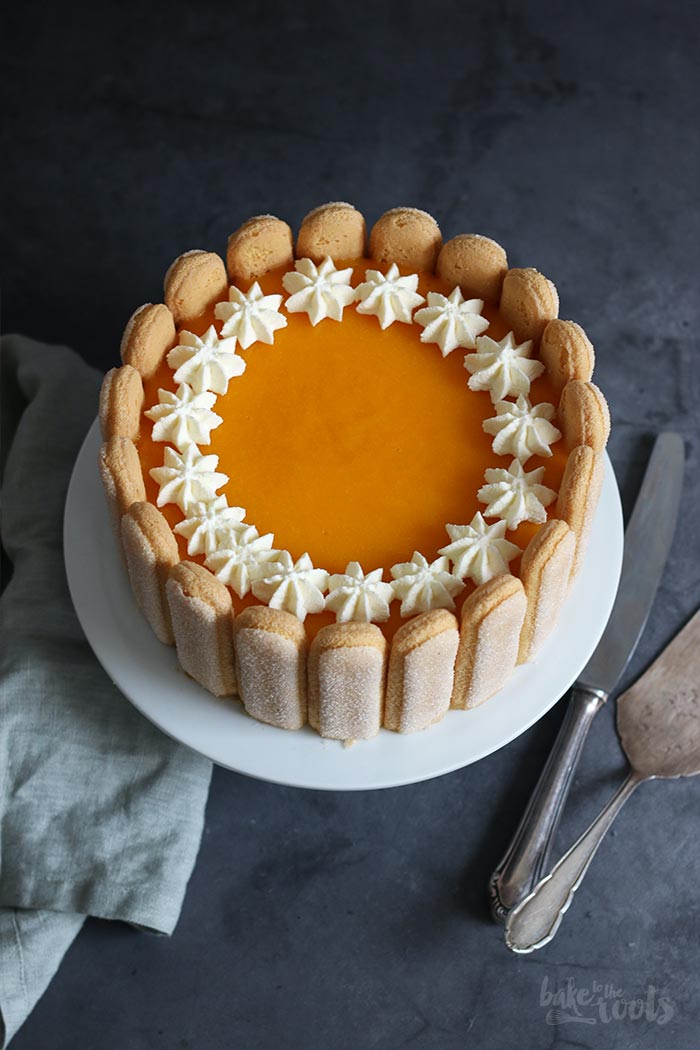
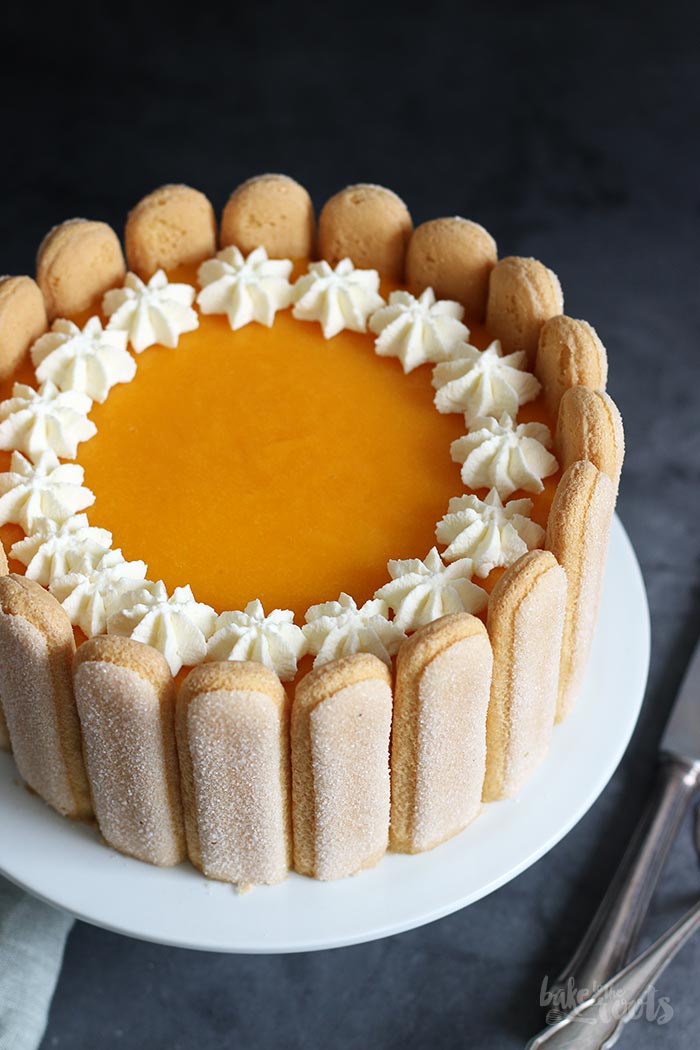
It’s time for another “Bake Together – The Baking Surprise”! The month is coming to an end and Andrea from Zimtkeks & Apfeltarte and I have once again agreed on a topic for two new recipes, so today it’s all about “mango”! This delicious green-red or yellow fruit, which is (unfortunately) not growing here in Germany but still available all year round in supermarkets. To celebrate this sweet and tasty fruit, I made a delicious Mango Cheesecake Charlotte today…
Normally, Andrea and I, tend to focus on regional and seasonal fruits, nuts, and veggies. Today we made fruit the king of the show that, unfortunately, can’t be cultivated in Germany… at least not commercially. If you own a nice greenhouse there might be a chance to grow some ;) As far as I know, India and China are the biggest producers of mangos – in Europe, only the south of Spain has a suitable climate to cultivate mangos. All the fruits you can find in supermarkets here have already been on the road for quite a while before they can end up in our shopping baskets. I’d love to eat mangos every day, but for this very reason, they’re not used in my kitchen that often…
Anyway. I needed quite some time to come up with an idea for this particular “Bake Together”. One of my favorite desserts with mango is definitely “sticky rice (with) mango”. Soo good! You can find it in many Asian countries and it just tastes really delicious. It’s a kind of rice pudding, cooked with coconut milk, and served with freshly sliced mango. The good yellow one. A dream of a dessert! Even though I love it, it seemed a bit too “simple” to make it today. Instead, I decided to make a no-bake Mango Coconut Cake. It’s a simple cake and done in no time. I took all the pictures I needed and then ate a big chunk of it because it was so good …then Andrea basically ruined everything. She really did ;P
If you have been here before and seen some of our “Bake Together” recipes already, you might know the reason for all of this here. Several years ago Andrea and I noticed, that we are often publishing similar recipes – sometimes even on the same day. Without knowing what happened on the other blog, of course. It got really spooky at one point ;) This kind of “connection” leads us to our “Bake Together”. We thought – if we already do the same or similar stuff, why not pick a theme/topic/ingredient and look what happens? Maybe create more recipes that are similar or even the same? Well… the Mango Coconut Cake mentioned earlier was one of those creations that matched nearly 100% ;)
Andrea and I come up with our topics relatively early on. The “mango topic” for September was already agreed on in June… and since I am planning and baking months in advance, I created my mango recipe as soon as we knew it was going to happen.. which was in early July. Andrea had no idea what I would do – as usual – but at the end of July, she posted this cake on her blog – which is basically the same I did. Well… the invisible connection between us worked pretty well there… :P
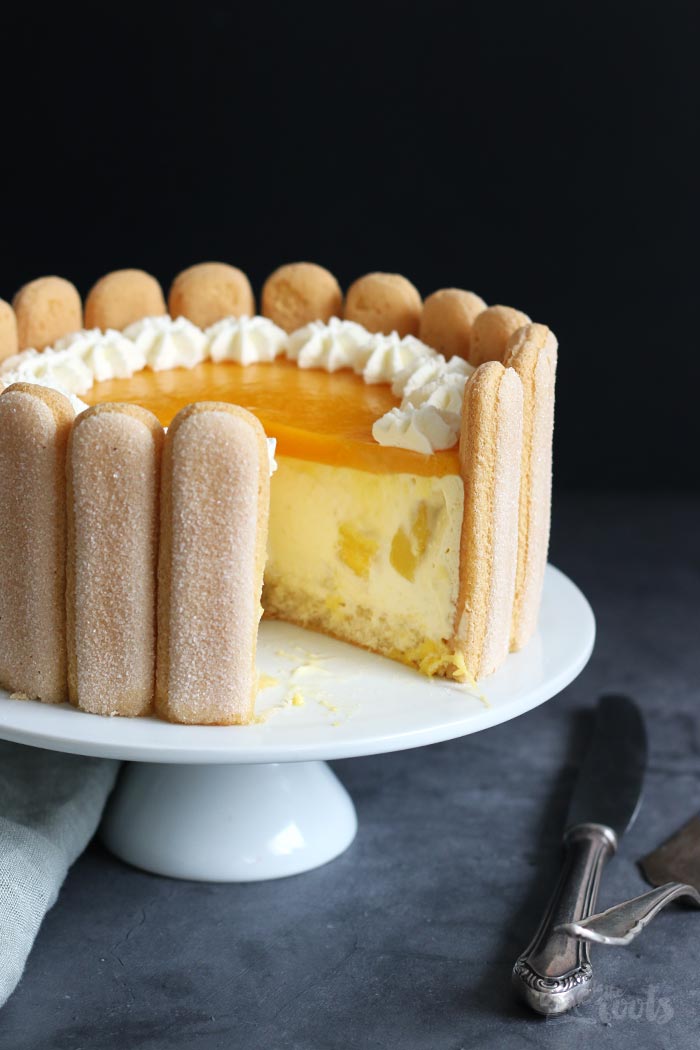
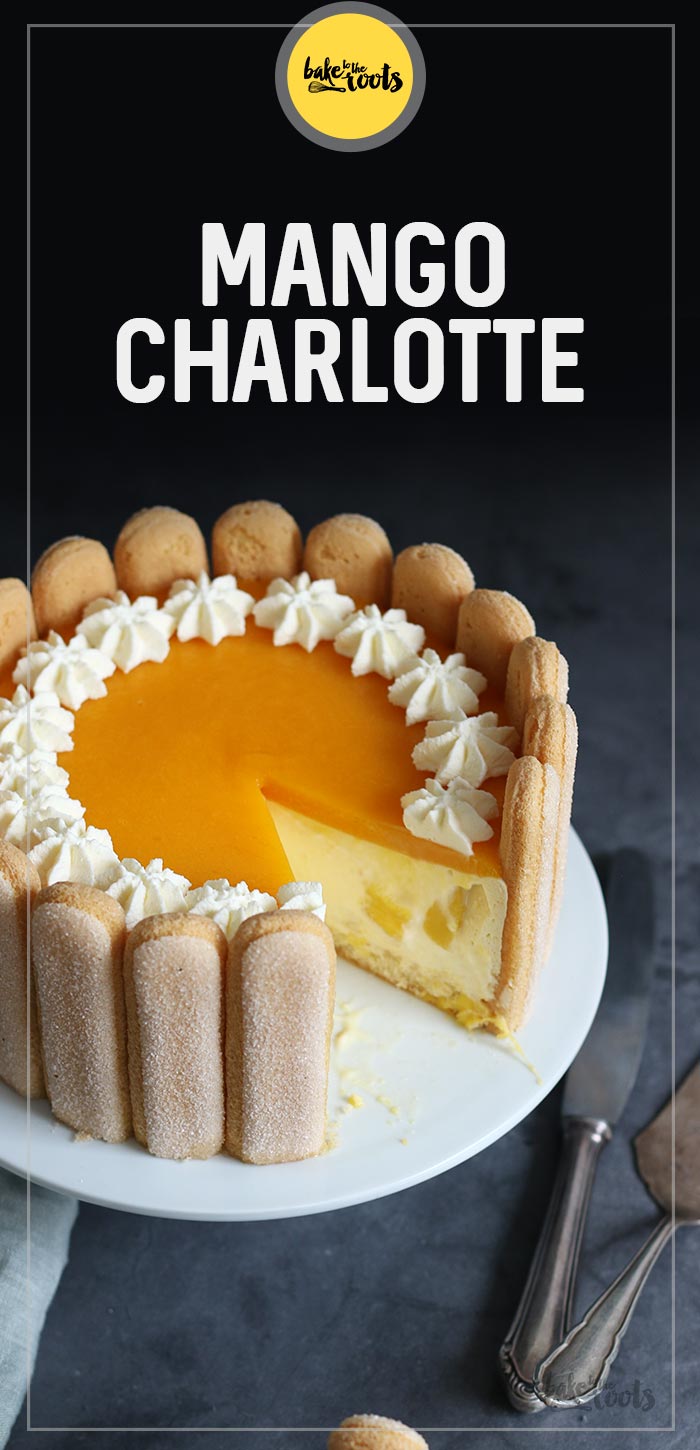
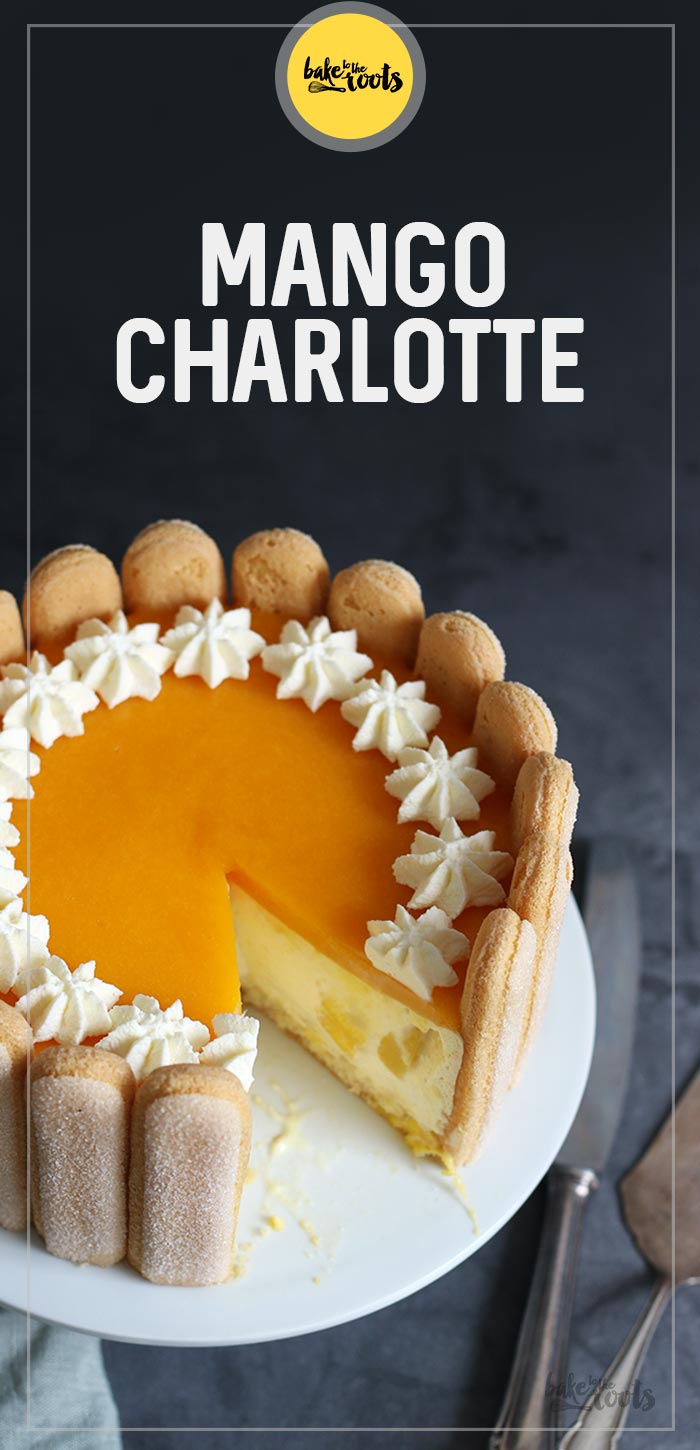
Anyway. Long story short: because of that coincidence you are not getting a no-bake mango cake here today. Instead, I made another cake – this delicious Mango Cheesecake Charlotte. Equally nice and refreshing! If Andrea decided to make a Charlotte as well today, I will drop dead ;P
Well… this Charlotte is really refreshing on a warm day in summer (as well as every other day of the year). I was a bit lazy and placed the ladyfingers right from the beginning inside the cake tin. Normally, you cool the cake, then you take it out of the tin and place the ladyfingers around the cake at the very end so they don’t soak up too much moisture, but my “lazy” approach worked well actually. You can do it either way – whatever you think works best for you.

Alright – let’s check out the blog of Andrea to see what she created with mango. One thing I can tell you – it’s probably not a no-bake mango cake ;P
By the way, my recipe for the No-Bake Mango Coconut Cake is not lost… I will publish it in a couple of weeks. Just not today ;P
INGREDIENTS / ZUTATEN
2 large eggs
2.6 oz. (75g) sugar (or xylitol)
pinch of salt
1 tsp. vanilla extract
2/3 cup (85g) all-purpose flour
1 tsp. baking powder
For the filling:
4 gelatin leaves
10.6 oz. (300g) cream cheese
3.5 oz. (100g) sour cream
1/4 cup (50g) sugar (or xylitol)
zest of 1/2 organic orange
7 oz. (200g) mango pureé
7 oz. (200g) heavy cream
5.3 oz. (150g) mango, diced
For the mango layer:
2 gelatin leaves
7 oz. (200g) mango pureé
2 tbsp. confectioners’ sugar
For the decoration:
approx. 20 ladyfingers
some whipped cream
2 Eier (L)
75g Zucker (oder Xylit)
Prise Salz
1 TL Vanille Extrakt
85g Mehl (Type 405)
1 TL Backpulver
Für die Füllung:
4 Blätter Gelatine
300g Frischkäse
100g Schmand
50g Zucker (oder Xylit)
Abrieb von 1/2 Bio-Orange
200g Mango, püriert
200g Sahne
150g Mango, gewürfelt
Für den Mangospiegel:
2 Blätter Gelatine
200g Mango, püriert
2 EL Puderzucker
Für die Dekoration:
ca. 20 Löffelbiskuit
etwas Schlagsahne
DIRECTIONS / ZUBEREITUNG
2. Add the eggs, sugar, salt, and vanilla extract to a large bowl and mix on high speed until light and fluffy for about 4-5 minutes. Mix the flour with baking powder, sift into the bowl and fold in. Fill the batter into the prepared baking tin, smooth out the top and bake for 22-25 minutes or until a toothpick inserted into the center comes out clean. Take out of the oven and run a knife immediately around the cake to loosen it from the baking tin, remove from the tin and place with the baking parchment on a wire rack to cool down.
3. Remove the baking parchment from the cooled cake and cut off about 0.2 inches around the edges. Place on a serving plate, inside an adjustable cake ring. Trim the ladyfingers on one side so that they all have a flat end. Place the ladyfingers between the cake base and the cake ring with the cut side facing down (and the sugared side facing outwards) – pull the cake ring together so that the base and the ladyfingers stick together and you got a nice edge with no large gaps. Set aside.
4. Add the gelatin leaves for the filling in a bowl with cold water and let soak for about 5-7 minutes. Add the cream cheese, sour cream, sugar, and orange zest to a large bowl and mix to combine. Set aside. Squeeze the gelatine leaves and place in a small pot – heat up and let dissolve. Add some mango puree and mix. Gradually add the rest of the puree and stir in. Add this mixture to the bowl with the cream cheese and stir in. Whisk the heavy cream until stiff peaks form and then fold into the cream cheese mixture. Fold in the mango pieces as well. Fill this mixture into the prepared form with the base and ladyfingers and smooth out the top. Place in the refrigerator for about one hour.
5. Add the gelatin leaves for the mango layer in a bowl with cold water and let soak for about 5-7 minutes, squeeze a bit and then dissolve it in a small pot at medium heat. Gradually add the mango purée and mix in. Add the confectioners’ sugar and mix in. Pour on top of the cake, smooth out and place the Charlotte back in the fridge for 3-4 hours.
6. Remove the cake ring from the cooled Charlotte, decorate with some whipped cream and serve.
2. Die Eier mit dem Zucker, Salz und Vanille Extrakt in eine Rührschüssel geben und auf höchster Stufe schaumig aufschlagen – dauert etwa 4-5 Minuten. Das Mehl mit dem Backpulver mischen, in die Schüssel sieben und unterheben. Den Teig in die vorbereitete Form füllen, glatt streichen und dann für 22-25 Minuten backen – mit einem Zahnstocher testen, ob noch Teig kleben bleibt und erst herausholen, wenn er sauber rauskommt. Aus dem Ofen holen, mit einem scharfen Messer am Rand entlang den Kuchenboden von der Form lösen. Den Kuchenboden aus der Form holen und mit dem Backpapier auf ein Kuchengitter ziehen und komplett auskühlen lassen.
3. Den abgekühlten Biskuit vom Backpapier lösen und rundum den Rand etwa 1/2 cm abschneiden, dann auf eine Servierplatte setzen und einen Tortenring darum legen. Die Löffelbiskuits an einer Seite zurechtstutzen, damit alle ein gerades Ende haben. Die Löffelbiskuits dann mit der zurechtgestutzten Seite nach Unten (und gezuckerte Seite nach Außen) zwischen Kuchenboden und Tortenring setzen – den Tortenring zusammenziehen, damit Boden und Rand zusammenhalten und möglichst keine Öffnungen bleiben. Zur Seite stellen.
4. Die Gelatine in eine Schale mit kaltem Wasser legen und für 5-7 Minuten quellen lassen. Frischkäse, Schmand, Zucker und Orangenabrieb in eine große Schüssel geben und alles gut verrühren. Zur Seite stellen. Die Gelatine ausdrücken und in einen kleinen Topf geben und bei mittlerer Hitzezufuhr auflösen lassen. Etwas Mangopüree dazugeben und verrühren. Nach und nach den Rest des Pürees dazugeben und unterrühren. Diese Mischung zur Schüssel mit dem Frischkäse dazugeben und unterrühren. Die Sahne aufschlagen, bis sie steif ist und dann unter die Frischkäsemasse unterheben. Die Mangostücke ebenfalls unterheben. Die Masse in die vorbereitete Form mit Boden und Löffelbiskuit füllen und glatt streichen. Für etwa eine Stunde in den Kühlschrank stellen.
5. Die Gelatine für den Fruchtspiegel für etwa 5-7 Minuten in kaltem Wasser einweichen lassen, ausdrücken und dann in einem kleinen Topf bei mittlerer Hitzezufuhr auflösen lassen. Das Mangopüree nach und nach dazugeben und verrühren. Puderzucker unterrühren. Die Mischung auf der Charlotte verteilen und glatt streichen – für mindestens 1 1/2 bis 2 Stunden in den Kühlschrank stellen.
6. Den Tortenring von der durchgekühlten Charlotte entfernen, mit etwas Schlagsahne dekorieren und servieren.
Craving more? Keep in touch on Facebook, Twitter, Instagram and Pinterest for new post updates and more. You can also contact me with any questions or inquiries!
Here is a version of the recipe you can print easily.
Print
Mango Cheesecake Charlotte
- Prep Time: 00:50
- Cook Time: 00:25
- Total Time: 07:00
- Yield: 1
- Category: Cheesecake
- Cuisine: American
Description
The perfect summer cake: this delicious Mango Cheesecake Charlotte will cool you down in an instant! ;)
Ingredients
Instructions
Notes
Enjoy cooling!


 I love my job, but in between I love to bake and try new things in the kitchen. A lot of my friends and colleagues encourage me to bake - for a very simple reason: they get the leftovers - and it seems they like it most of the time ;)


Absolutely divine Lecker
Amazing