I guess everyone likes donuts. There are only a few people not liking them, right? Of course only if they are done well ;P If those little fried thingies are unfluffy (means too dense/firm) and/or dripping with fat or drenched with a sugar glaze – I’m out. So I guess I like donuts but not all of them ;P I actually prefer homemade donuts. Admittedly, they’re a little time-consuming when you make them at home, but this way you’ll make sure that you always get super fresh and delicious donuts on your plate and into your belly. Just kidding! The final destination of donuts is, of course, not the belly, but the hips! ;P
Well… some of you might wonder if it is difficult to make donuts at home. It’s actually not. They take more time to make at home than ordering them from a donut place, of course. But to be honest – not difficult to prepare. If you made a yeasted dough before, you should be absolutely fine doing donuts. If you hate handling a yeasted dough or can’t wait several hours for the dough to get ready, you might stick with the storebought donuts ;)
Preparing a batch of homemade donuts is really not that complicated. You need a fluffy yeast dough, some donut cutters (or glasses), and a big pot of hot fat/oil. Nothing too complicated to do – it’s just a bit time-consuming to make donuts because yeasted dough wants to rest quite a bit. It’s not as easy as cutting off cookies from a pre-made dough roll you bought in the supermarket but also not as complicated as a 5-layer cake with different fillings and buttercream ;P Sure, the first donuts may not look as perfect as the store-bought ones, but that just takes some practice and possibly the right tools – donut cutters come in really handy here. After the second or third batch, you will be more confident and your donuts will look better and better – I promise! ;)
To get you on the right track, I got some tips for you, you might want to keep in mind:
Prepare the dough. D’oh!
You can prepare a yeasted donut dough in the food processor or by hand. If you want to knead the dough by hand, however, you should know it takes some time to knead. The dough needs a few minutes until it’s ready for the next step ;)
Let the dough rise in peace.
There is not much to do here actually. Make sure the dough is in a warm place and leave him alone – the dough will be happy about that. Be patient… sometimes a yeast dough takes a little longer, but that’s perfectly normal.
Cut out the donuts.
The dough should be rolled out about the thickness of a finger. You can either cut out the donuts with two different-sized round cookie cutters or glasses or use a donut cutter*… that would be easiest.
Let the donuts rise once more.
In order to get nice and fluffy donuts, you have to let the dough rise a second time. To do this, you can simply place the dough rings on a floured cutting board, cover them and leave them alone again. If you want to make sure that the donuts keep the perfect shape, later on, you can also place the dough circles on small pieces of baking parchment. If you do that you will be able to lift them up without deforming or stretching them – the paper can go into the oil as well.
Don’t forget the donut holes!
By the way, you don’t have to throw away the little round pieces from the inside of the dough circles. They can also be deep-fried and served as donut holes. You can also collect the dough and roll it out again, but these donuts won’t usually turn out quite as nice… unfortunately.
Prepare the oil.
In order for the donuts to bake through properly without getting too greasy, the fat/oil needs to be at the right temperature. I highly recommend using a thermometer* here to check the temperature of the fat/oil in the pot – if you have a proper deep fryer forget about that ;P Around 350°F (175°C) is the ideal temperature here. If the fat/oil is too hot, the donuts may burn on the outside without being baked properly on the inside. If the fat/oil is not hot enough, the dough will soak up a lot of fat/oil and your donuts will end up greasy – nobody wants that.
Deep-frying the donuts.
As soon as the fat/oil has the right temperature, you can start. Add only a few donuts into the pot, so they can swim freely. If you add too many pieces at once, the temperature will drop quickly and this means the donuts will not be fried properly as mentioned above. When the donuts are done and have a nice color you should take them out of the fat and place them on a piece of kitchen paper to get rid of some of the fat.
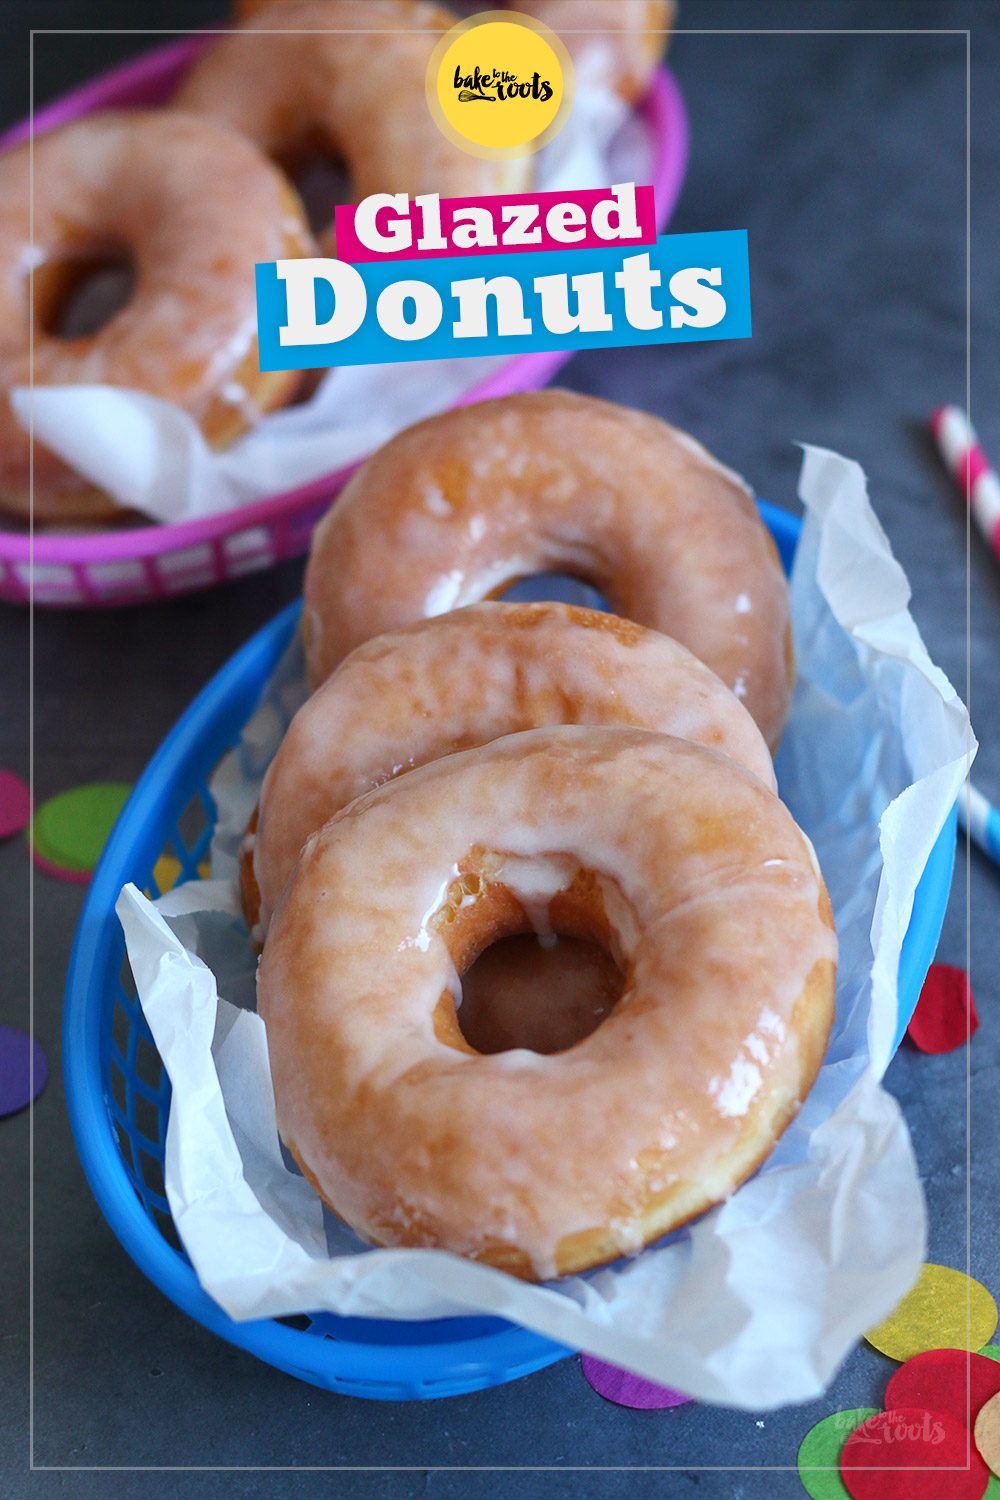
Glaze the donuts.
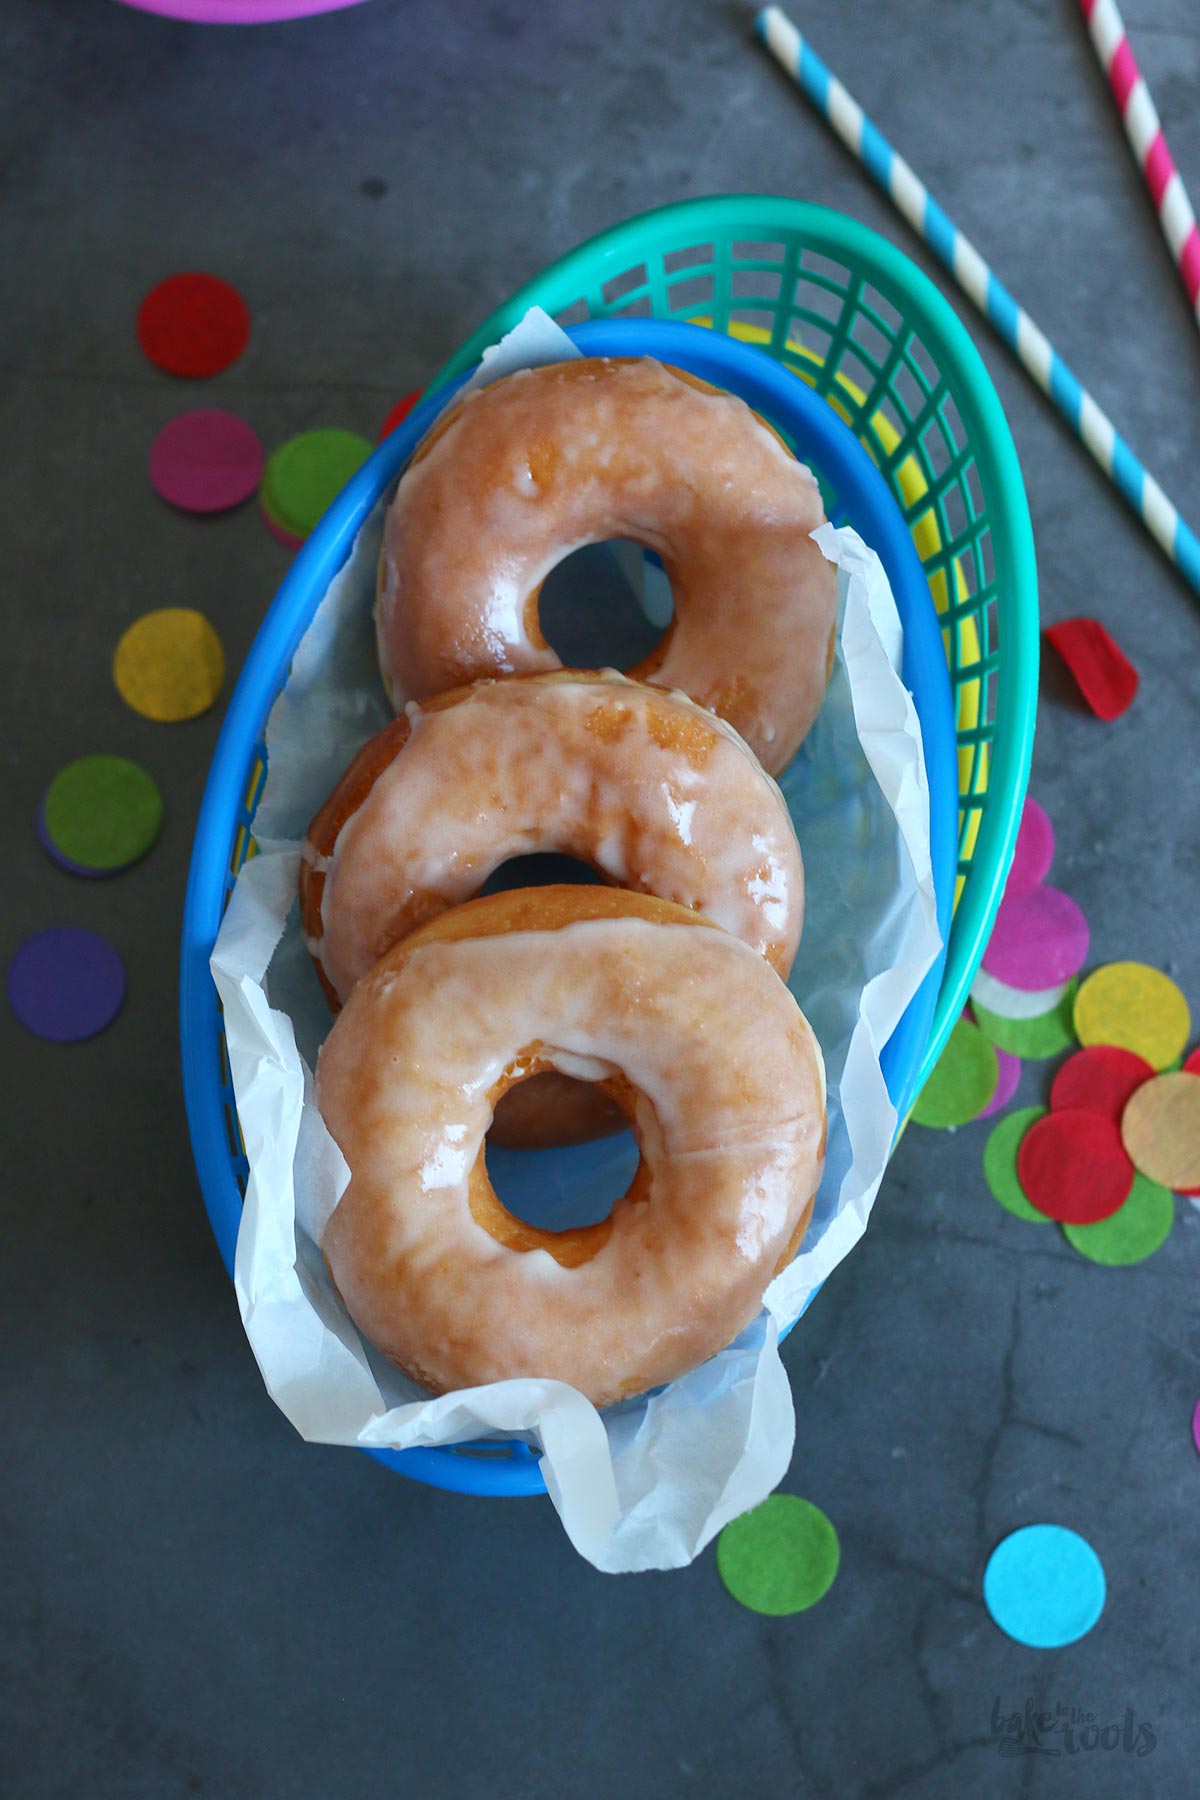
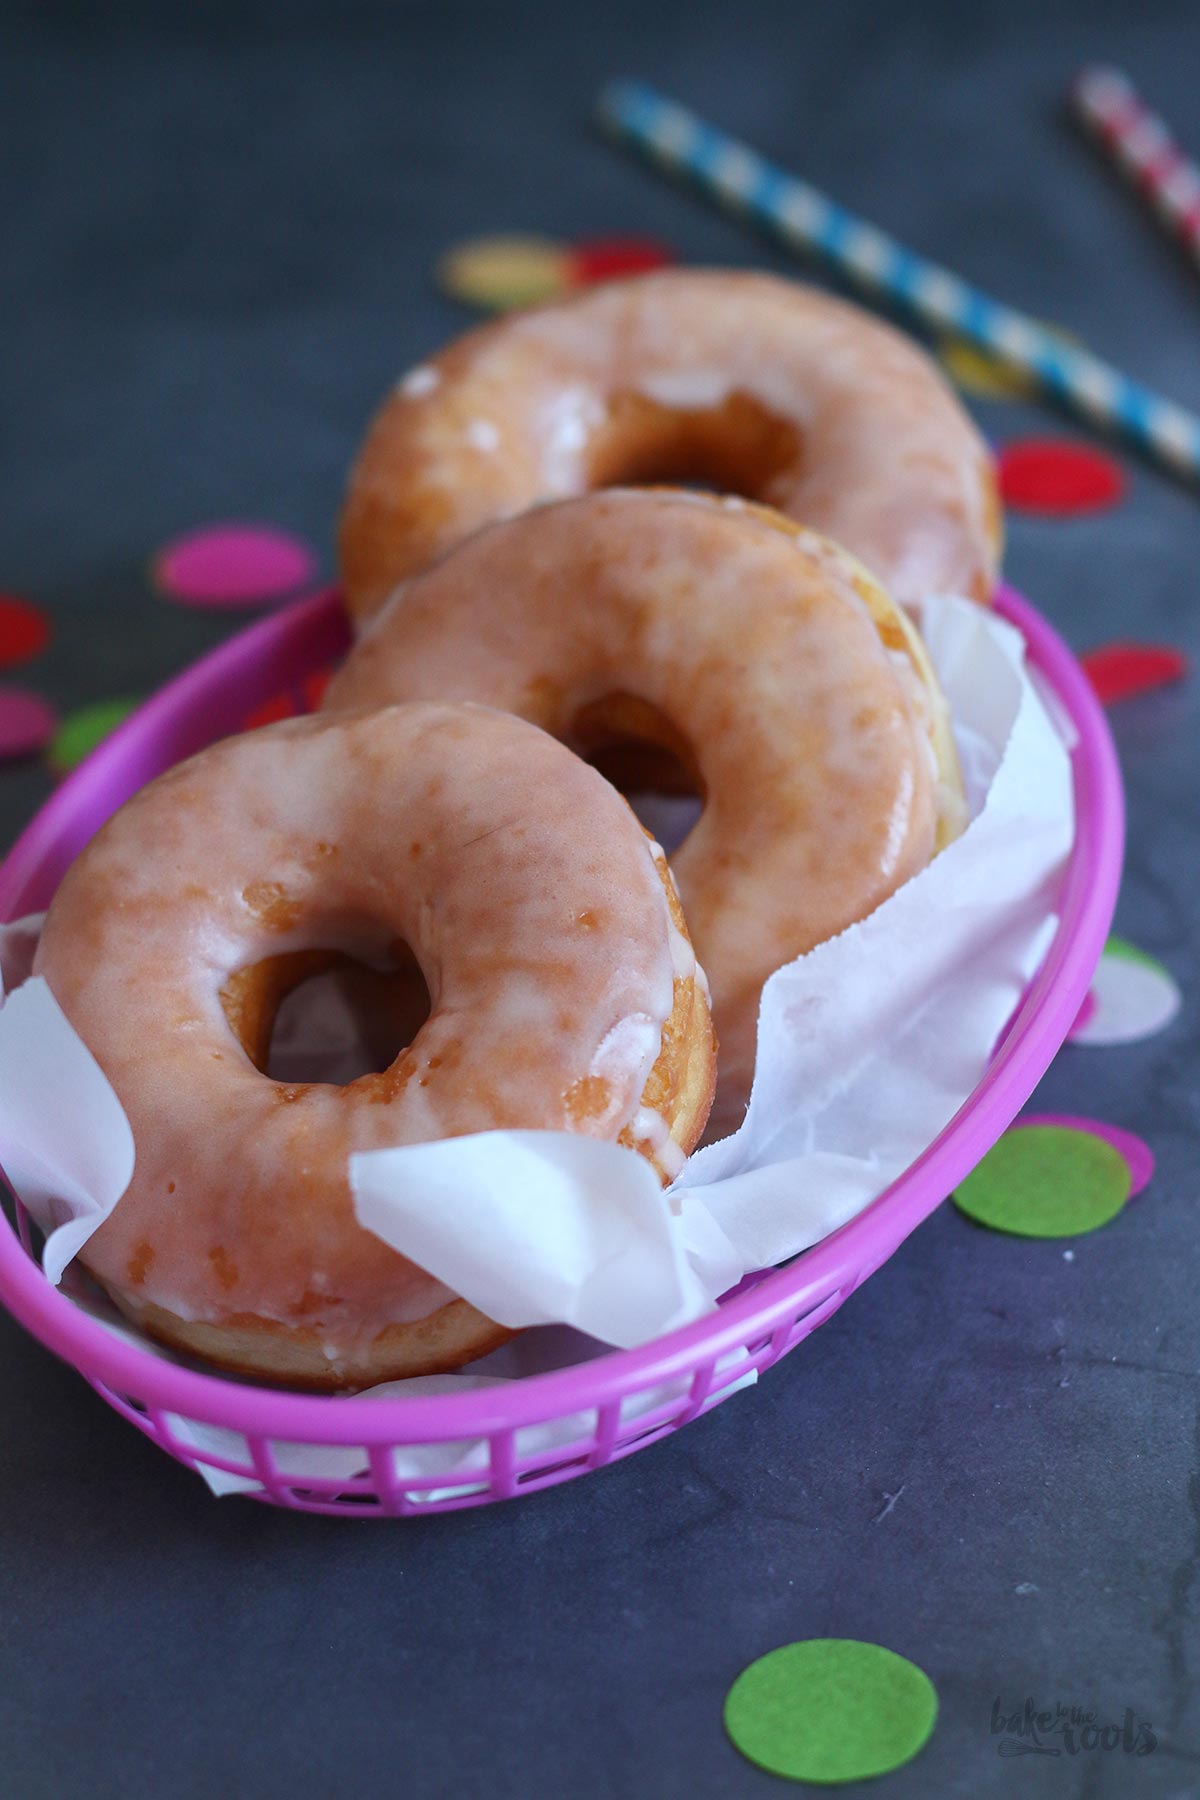
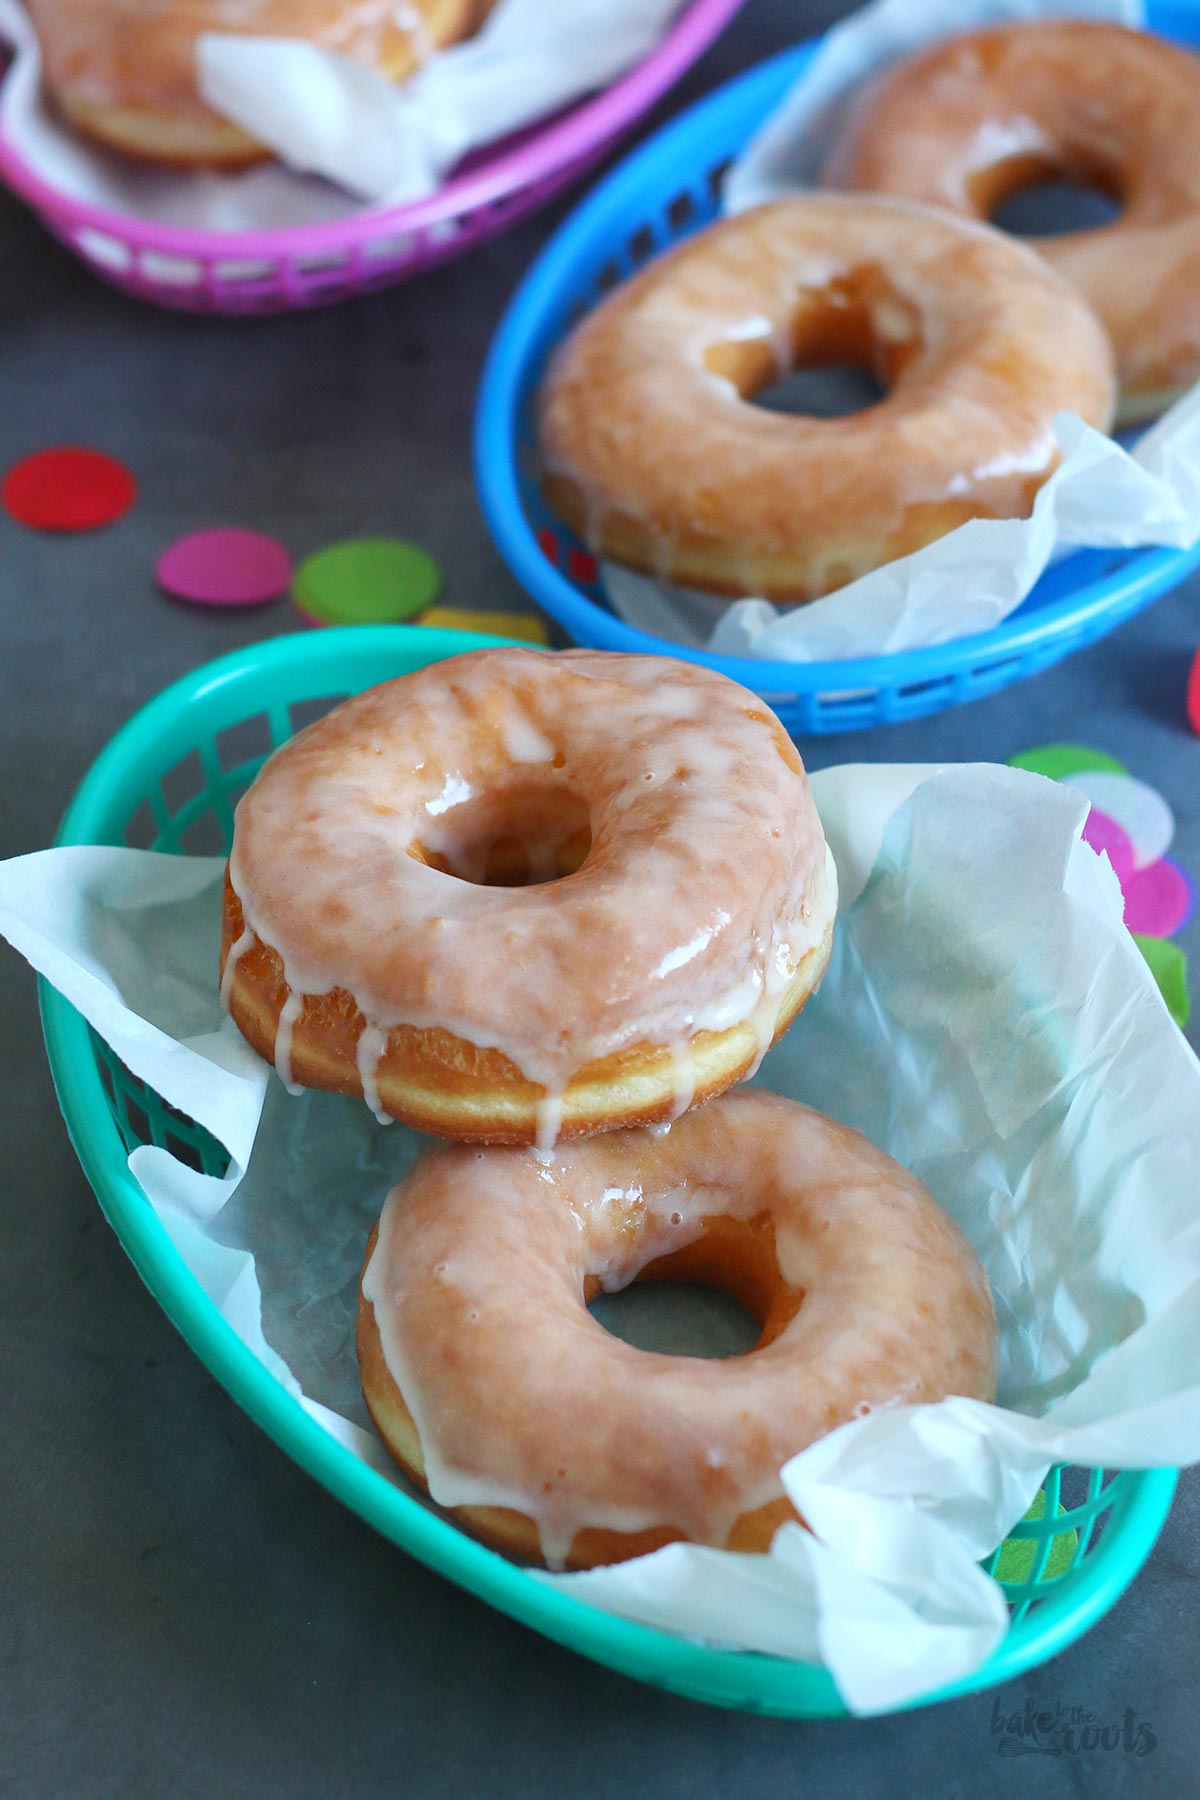
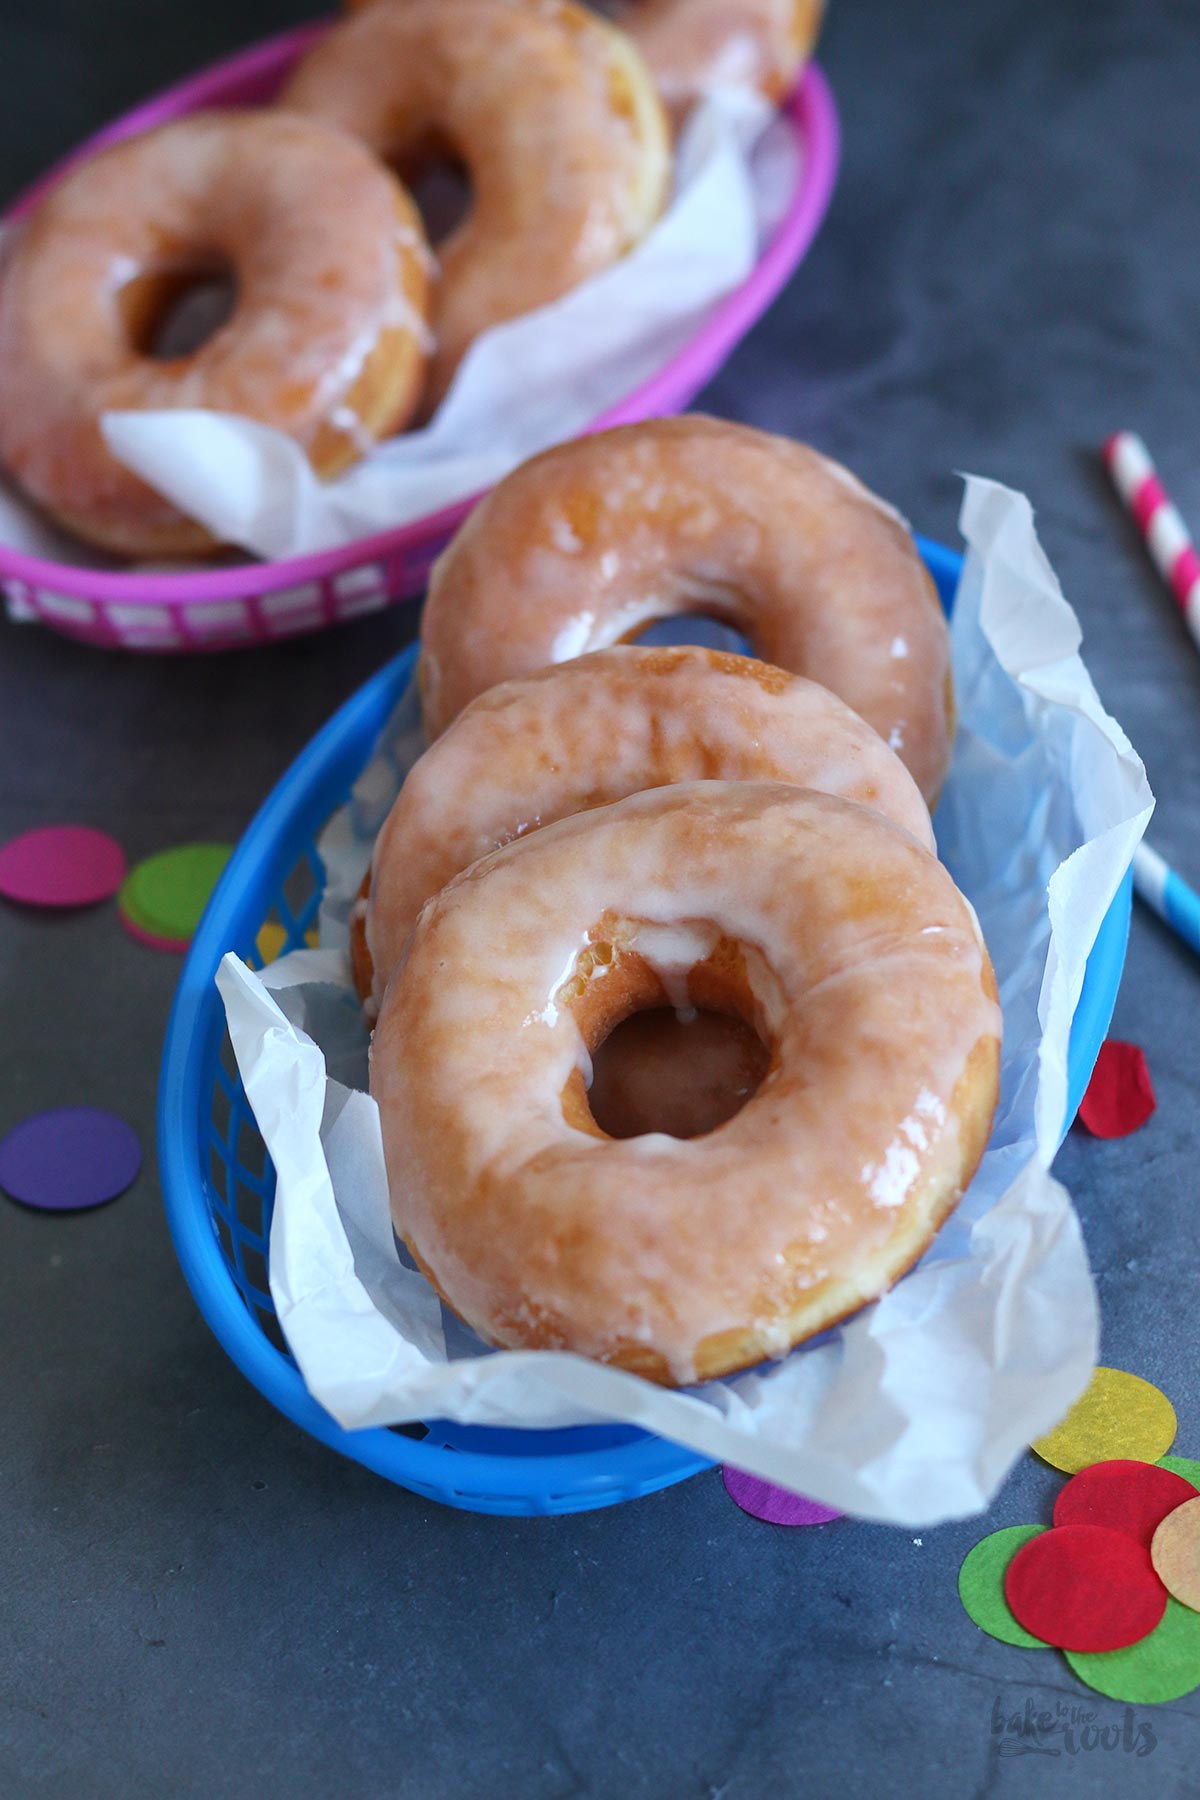
It’s up to you how you want to decorate the donuts. Sugar glaze is a nice topping, maybe even a few colorful sprinkles on top, but some powdered sugar does the job just as well. Or you serve them plain. I like them without anything on top because I like them less sweet ;)
Serve the donuts.
As you can imagine – fresh donuts are always the best! They are still ok the next day, but not nearly as good as on the first day or actually within the first several hours ;)
INGREDIENTS / ZUTATEN
For the dough:
3/4 cup (180ml) milk
1.4 oz. (40g) butter
2 tbsp. sugar
1/2 tsp. vanilla extract
3 cups (390g) all-purpose flour
1/4 tsp. ground nutmeg
0.7 oz. (21g) fresh yeast
3 medium egg yolks
For the glaze:
2 cups (250g) confectioners’ sugar
1/2 tsp. vanilla extract
3-4 tbsp. milk
fat/oil for deep-frying
Für den Teig:
180ml Milch
40g Butter
2 EL Zucker
1/2 TL Vanille Extrakt
390g Mehl (Type 550)
1/4 TL Muskatnuss
21g frische Hefe
3 Eigelb (M)
Für die Glasur:
250g Puderzucker
1/2 TL Vanille Extrakt
3-4 EL Milch
Fett/Öl zum Ausbacken
DIRECTIONS / ZUBEREITUNG
2. Add the flour and ground nutmeg to a large bowl, mix well, and then create a well in the center. Crumble the yeast and place in that well. Add some of the milk and mix with the yeast to dissolve it. Sprinkle flour from the edges on top of the milk mixture and cover the bowl with a kitchen towel. Let rest in a warm place for about 10 minutes.
3. When the yeast has bubbled up a bit, add the rest of the milk as well as the egg yolks and knead everything for several minutes until you get a nice smooth dough that comes off easily from the sides of the bowl. Shape the dough into a ball, cover the bowl and let rise in a warm place for about 1 hour or until the dough has doubled in size.
4. Knock the air out of the dough and roll out on a lightly floured surface to a thickness of about 0.24 inches (0,6cm). Use a donut cutter* (about 3.5 inches/9cm) to cut out dough rings. If you like you can use the middle of the rings for donut holes or you collect that dough and roll it out again for more donuts – just don’t overwork the dough. Place the dough pieces on a lightly floured baking tray, cover with a kitchen towel, and let them rise for another 20 minutes.
5. Add the fat/oil do a pot and heat up to about 350°F (175°C) – a thermometer* is very helpful here. If the temperature is too low, the dough will suck up a lot of fat, if the fat is too hot, the dough will darken too quickly and not bake properly, so keep an eye on that. Deep-fry the risen dough rings (no more than 2-3 at a time) in the hot fat/oil – about 2 minutes on one side and then turn them around and let them fry for another minute or so on the other side. Donut holes only need a minute on each side. Take the donuts out of the fat and let drain on a piece of kitchen paper.
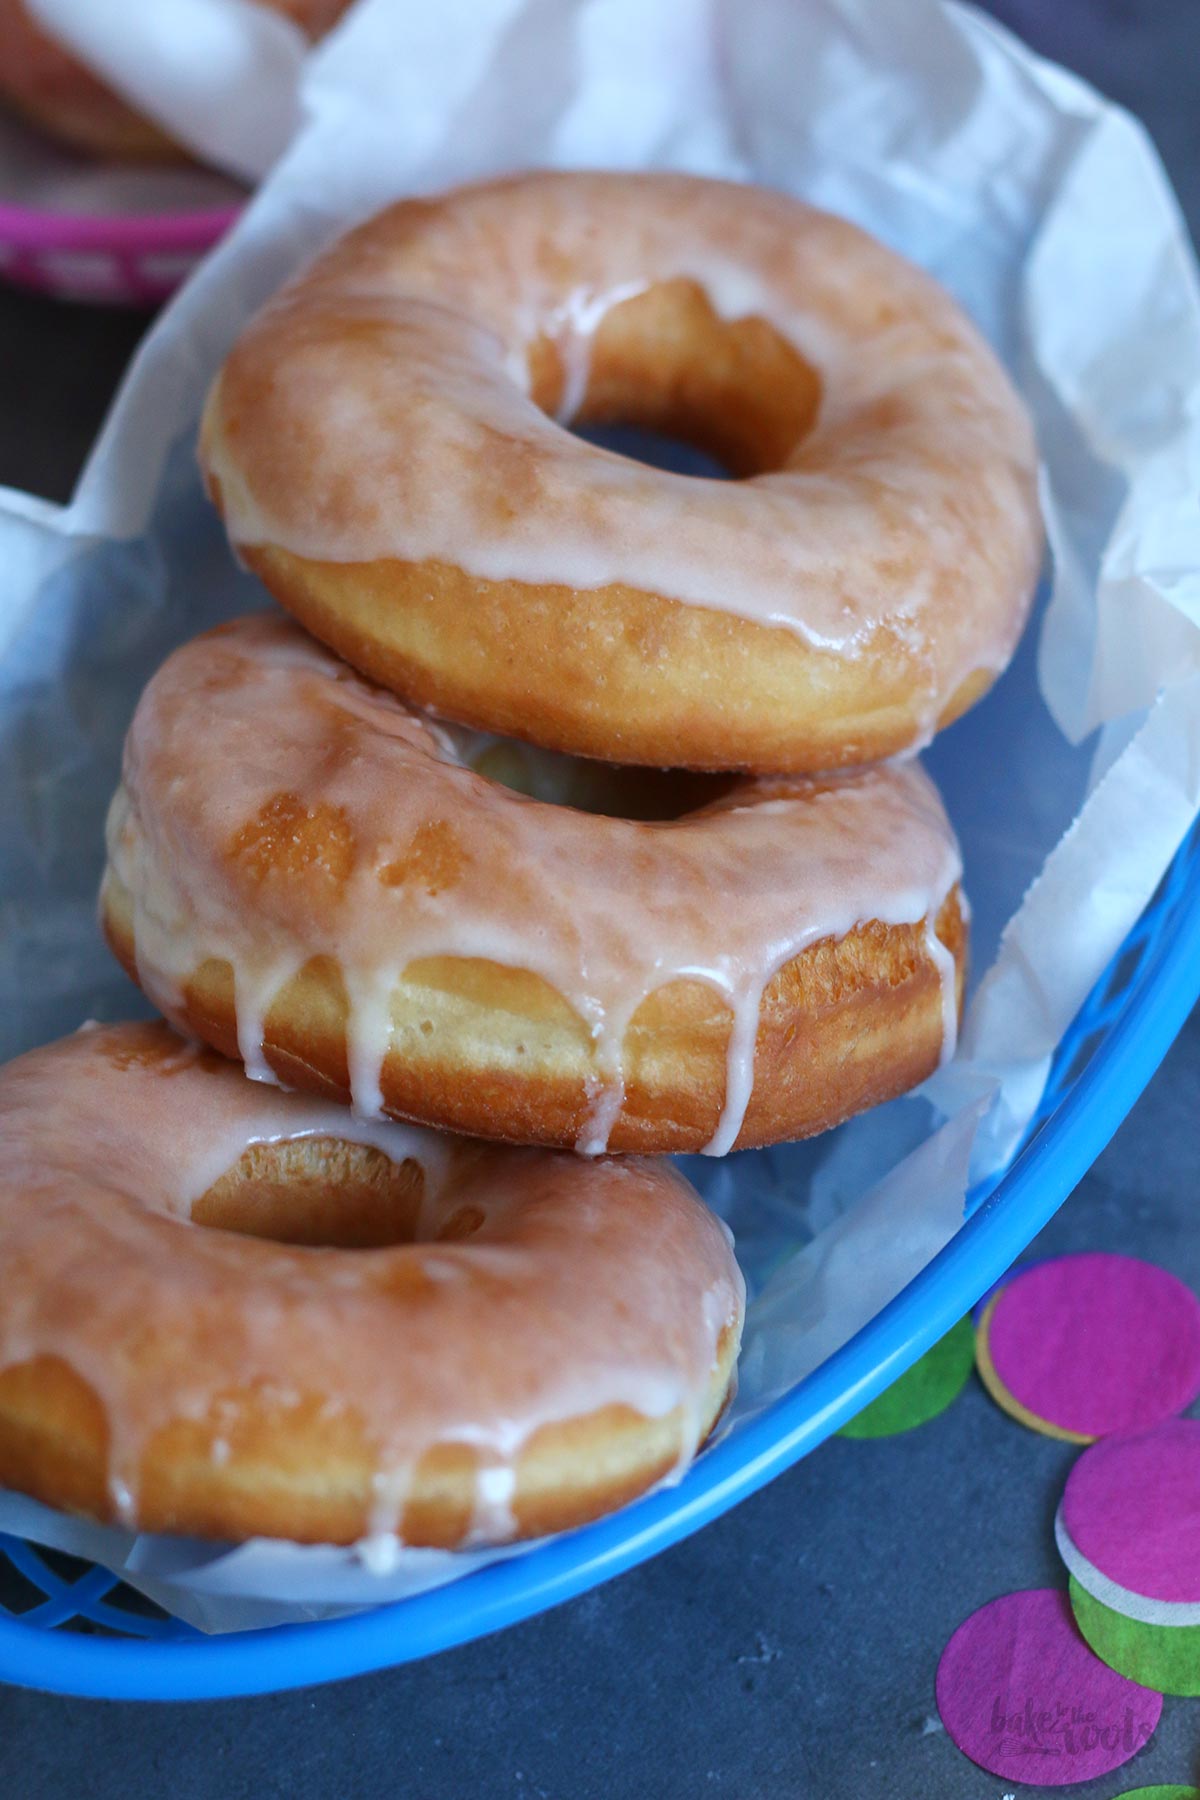
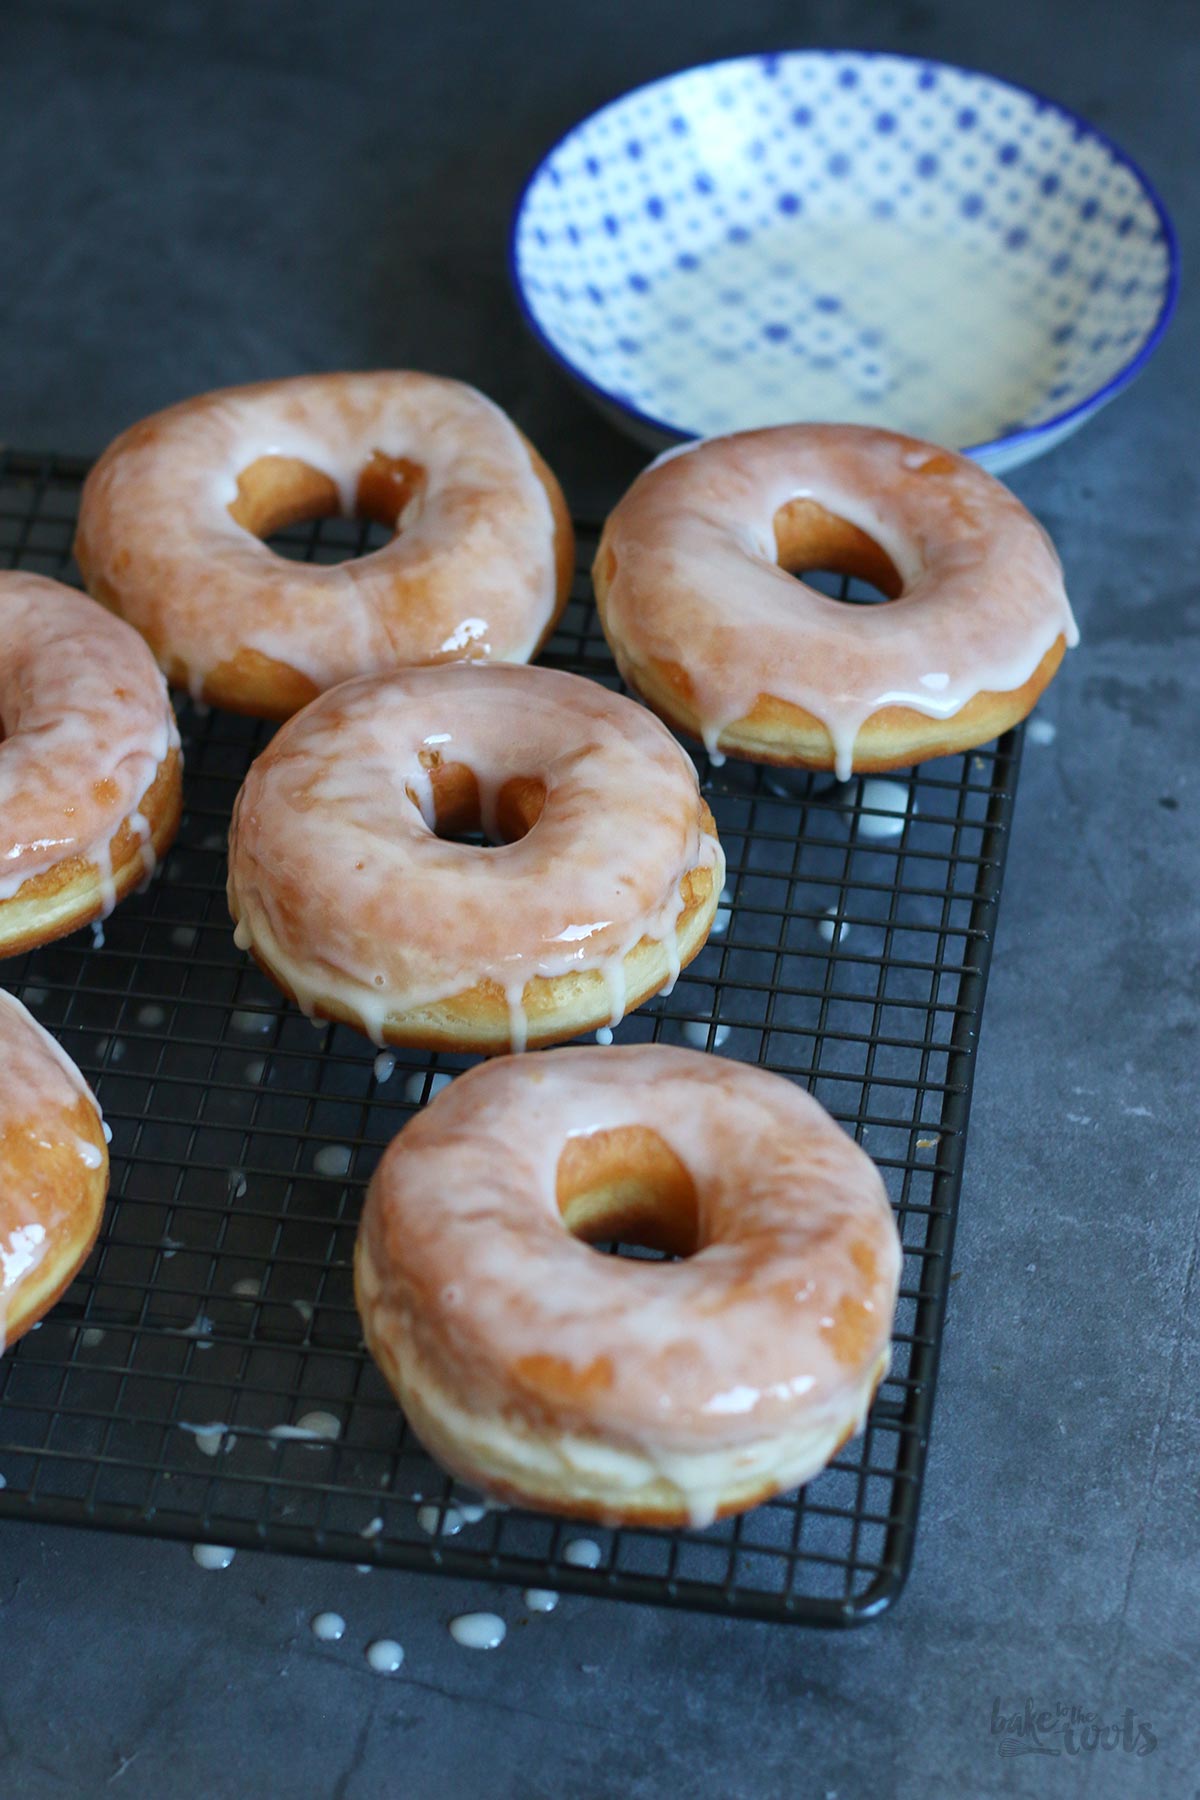
6. For the glaze, mix the confectioners’ sugar with the vanilla extract and some of the milk. Add more milk until the consistency is right and not too runny. Dip the slightly cooled donuts/donut holes into the glaze and place them on the wire rack. Place a tray or some paper underneath to avoid a big mess from the dripping glaze. Decorate with some sprinkles if you like and let the glaze dry before serving. The donuts taste best on the same day.
2. Das Mehl und Muskatnuss in einer großen Schüssel vermischen, eine Mulde formen und die Hefe zerbröckeln und hineingeben. Etwas von der abgekühlten Milch dazugeben und mit der Hefe verrühren. Etwas Mehl von den Rändern der Mulde über die Hefemilch geben und dann die Schüssel mit einem Tuch abdecken und für etwa 10 Minuten an einem warmen Ort stehen lassen.
3. Wenn die Hefe etwas aufgegangen ist, die restliche Milch und die Eigelbe zur Schüssel dazugeben und alles für mehrere Minuten zu einem glatten Teig verkneten – der Teig sollte sich vom Rand der Schüssel lösen. Den Teig zu einer Kugel formen und dann abgedeckt in der Schüssel für etwa 1 Stunde an einem warmen Ort gehen lassen, bis sich das Volumen des Teiges in etwa verdoppelt hat.
4. Den Teig einmal kurz boxen, damit Luft entweichen kann und dann auf einer leicht bemehlten Fläche etwa 0,6cm (0.24 inches) dick ausrollen. Mit einem Donut Ausstecher* (ca. 9cm/3.5 inches) Teigringe ausstechen. Die ausgestochene Mitte der Donuts kann man ebenfalls als “Donut Hole” frittieren, oder den Teig sammeln und noch einmal ausrollen – man sollte den Teig aber nicht zu sehr bearbeiten. Die Teigstücke auf ein leicht bemehltes Blech setzen, abdecken und dann noch einmal etwa 20 Minuten gehen lassen.
5. Das Fett/Öl in einem Topf auf 175°C (350°F) erhitzen – ein Thermometer* ist hier sehr hilfreich. Wenn die Temperatur zu gering ist, saugt sich der Teig mit Fett voll, bei zu hoher Hitze, wird der Teig zu schnell dunkel und backt nicht richtig durch. Die gegangenen Teigkreise (nicht mehr als 2-3 auf einmal) im heißen Fett ausbacken. Erst auf einer Seite für etwa 2 Minuten frittieren und dann umdrehen und noch einmal etwa 1 Minute frittieren. Donut Holes nur jeweils 1 Minute pro Seite frittieren. Die Donuts aus dem Fett holen und auf etwas Küchenpapier abtropfen lassen, dann auf ein Kuchengitter setzen zum Abkühlen.
6. Für die Glasur den Puderzucker mit dem Vanille Extrakt und etwas Milch verrühren. Mehr Milch dazugeben, bis die Konsistenz passt und nicht zu dünnflüssig ist. Die leicht abgekühlten Donuts/Donut Holes in die Glasur tauchen und zurück auf das Kuchengitter setzen – packt etwas Papier oder ein Blech darunter, damit ihr nicht alles einsaut. Wer mag, kann noch mit ein paar Zuckerperlen dekorieren. Glasur antrocknen lassen und dann am selben Tag servieren.
Craving more? Keep in touch on Facebook, Twitter, Instagram and Pinterest for new post updates and more. You can also contact me with any questions or inquiries!
Here is a version of the recipe you can print easily.
Print
How to make Homemade Donuts
- Prep Time: 00:30
- Cook Time: 00:20
- Total Time: 02:30
- Yield: 12 1x
- Category: Donuts
- Cuisine: America
- Diet: Vegetarian
Description
Fresh donuts are the best! They are not too difficult to make at home – just takes some time ;) The result will be great though!
Ingredients
For the dough:
3/4 cup (180ml) milk
1.4 oz. (40g) butter
2 tbsp. sugar
1/2 tsp. vanilla extract
3 cups (390g) all-purpose flour
1/4 tsp. ground nutmeg
0.7 oz. (21g) fresh yeast
3 medium egg yolks
For the glaze:
2 cups (250g) confectioners’ sugar
1/2 tsp. vanilla extract
3-4 tbsp. milk
fat/oil for deep-frying
Instructions
1. Add the milk, butter, and sugar for the dough to a small saucepan and heat up on the stove until the butter has melted and the sugar is dissolved. Remove from the heat, mix in the vanilla extract, and let cool down to about 97°F (body temperature).
2. Add the flour and ground nutmeg to a large bowl, mix well, and then create a well in the center. Crumble the yeast and place in that well. Add some of the milk and mix with the yeast to dissolve it. Sprinkle flour from the edges on top of the milk mixture and cover the bowl with a kitchen towel. Let rest in a warm place for about 10 minutes.
3. When the yeast has bubbled up a bit, add the rest of the milk as well as the egg yolks and knead everything for several minutes until you get a nice smooth dough that comes off easily from the sides of the bowl. Shape the dough into a ball, cover the bowl and let rise in a warm place for about 1 hour or until the dough has doubled in size.
4. Knock the air out of the dough and roll out on a lightly floured surface to a thickness of about 0.24 inches (0,6cm). Use a donut cutter* (about 3.5 inches/9cm) to cut out dough rings. If you like you can use the middle of the rings for donut holes or you collect that dough and roll it out again for more donuts – just don’t overwork the dough. Place the dough pieces on a lightly floured baking tray, cover with a kitchen towel, and let them rise for another 20 minutes.
5. Add the fat/oil do a pot and heat up to about 350°F (175°C) – a thermometer* is very helpful here. If the temperature is too low, the dough will suck up a lot of fat, if the fat is too hot, the dough will darken too quickly and not bake properly, so keep an eye on that. Deep-fry the risen dough rings (no more than 2-3 at a time) in the hot fat/oil – about 2 minutes on one side and then turn them around and let them fry for another minute or so on the other side. Donut holes only need a minute on each side. Take the donuts out of the fat and let drain on a piece of kitchen paper.
6. For the glaze, mix the confectioners’ sugar with the vanilla extract and some of the milk. Add more milk until the consistency is right and not too runny. Dip the slightly cooled donuts/donut holes into the glaze and place them on the wire rack. Place a tray or some paper underneath to avoid a big mess from the dripping glaze. Decorate with some sprinkles if you like and let the glaze dry before serving. The donuts taste best on the same day.
Notes
Enjoy frying!
Links marked with an asterisk (*) are affiliate links (advertising/Werbung) to Amazon Germany. If you click on one of those links and buy something via this link, I will get a commission for that sale. The price of whatever you buy is not affected in any way by this.