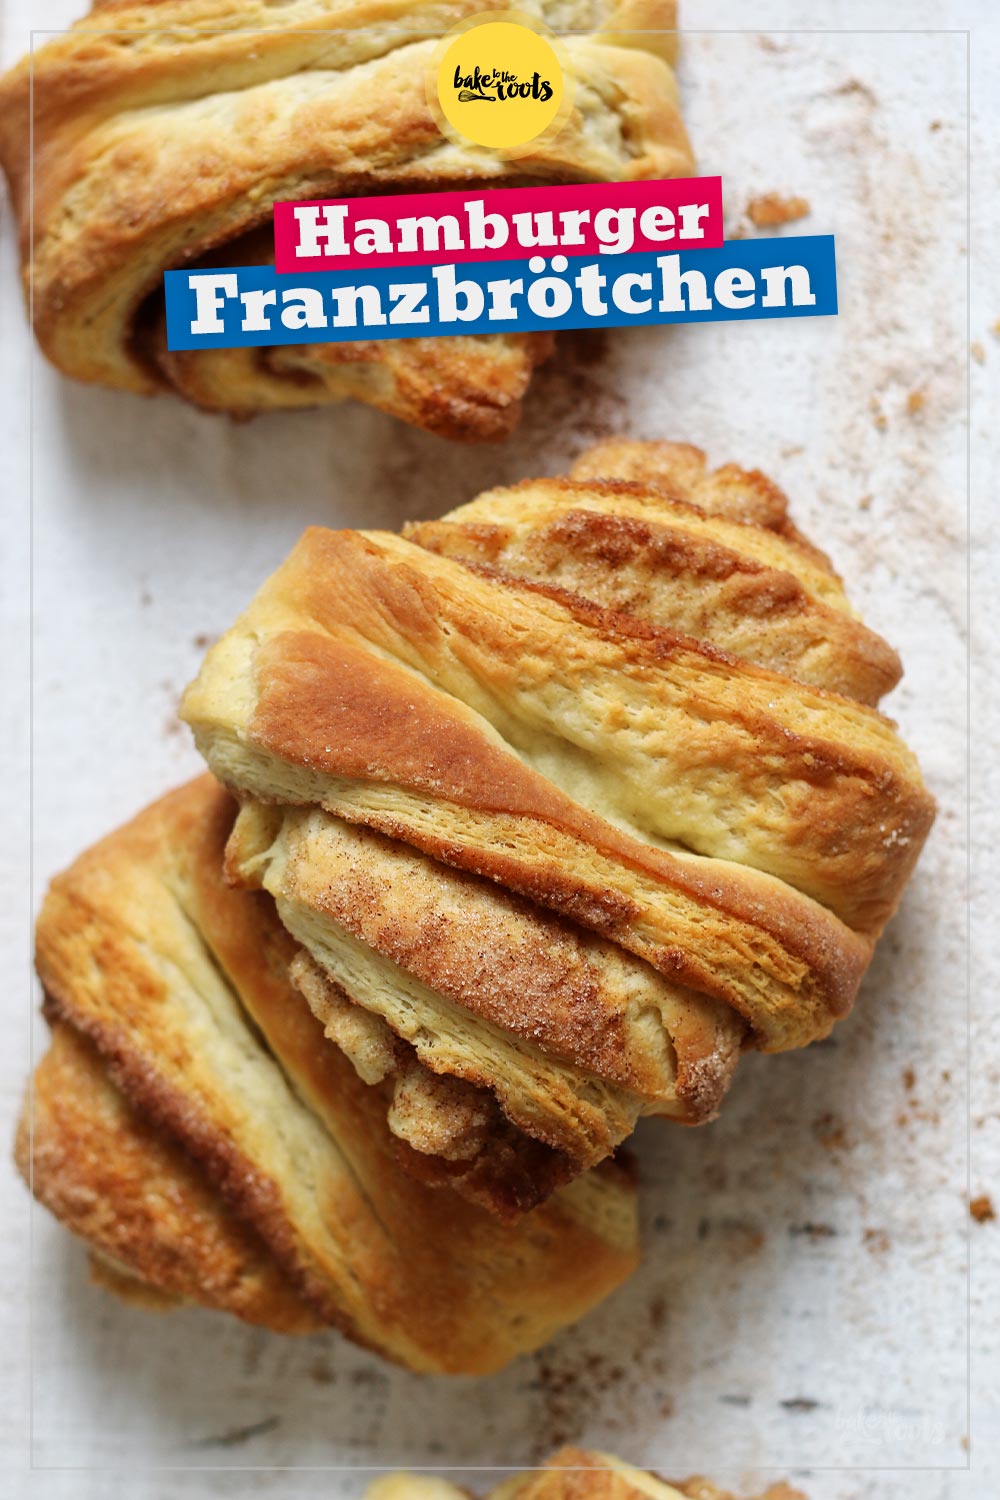
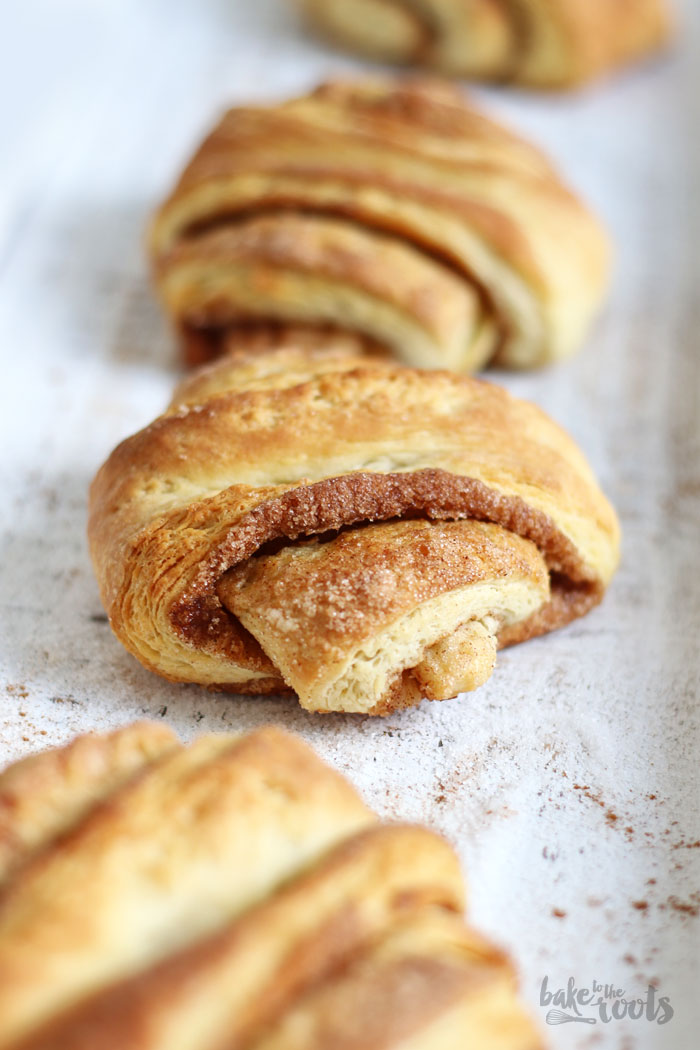
Whenever I am in Hamburg because of my job or just for fun, it is impossible for me to pass by a bakery without getting a Hamburger Franzbrötchen. This traditional cinnamon pastries are so delicious! I’m in love with them since my first bite…
For people from the North of Germany it’s probably something they know since they are small kids. I guess there is nobody who does not love pastries flavored with cinnamon. I discovered those little fellas pretty late. In Southern Germany they were not sold in a lot of places when I was young. At least the bakery I was going to all the time did not have them.
When I was studying, I lived in Hamburg for some time and back then it happened. I fell in love with Franzbrötchen. They can be found basically all over the city and if you are new in town, you have to try the sweet treats the »native« do and eat, right?! There was nothing better than a freshly baked Franzbrötchen on a sunday morning coming back from a party. A light snack before going to sleep is simply the best!
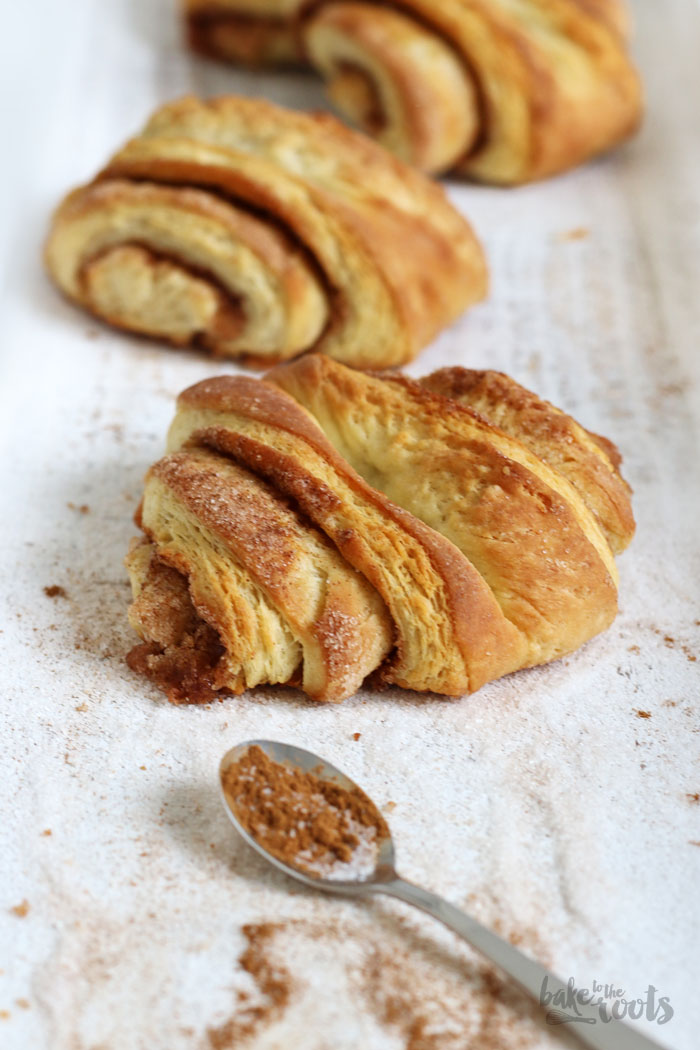
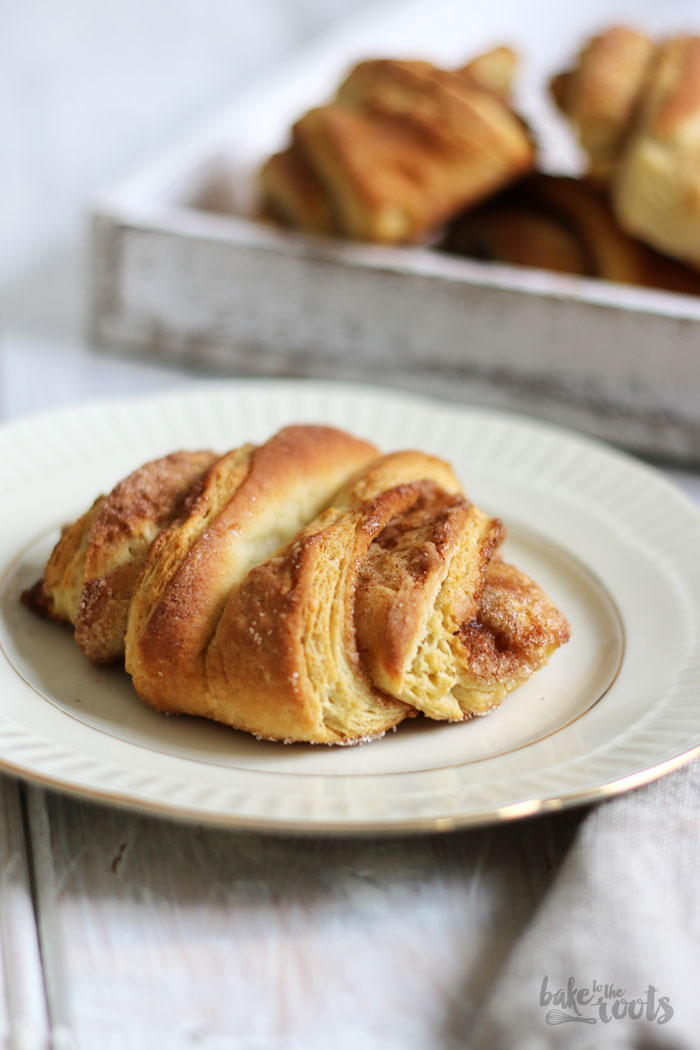
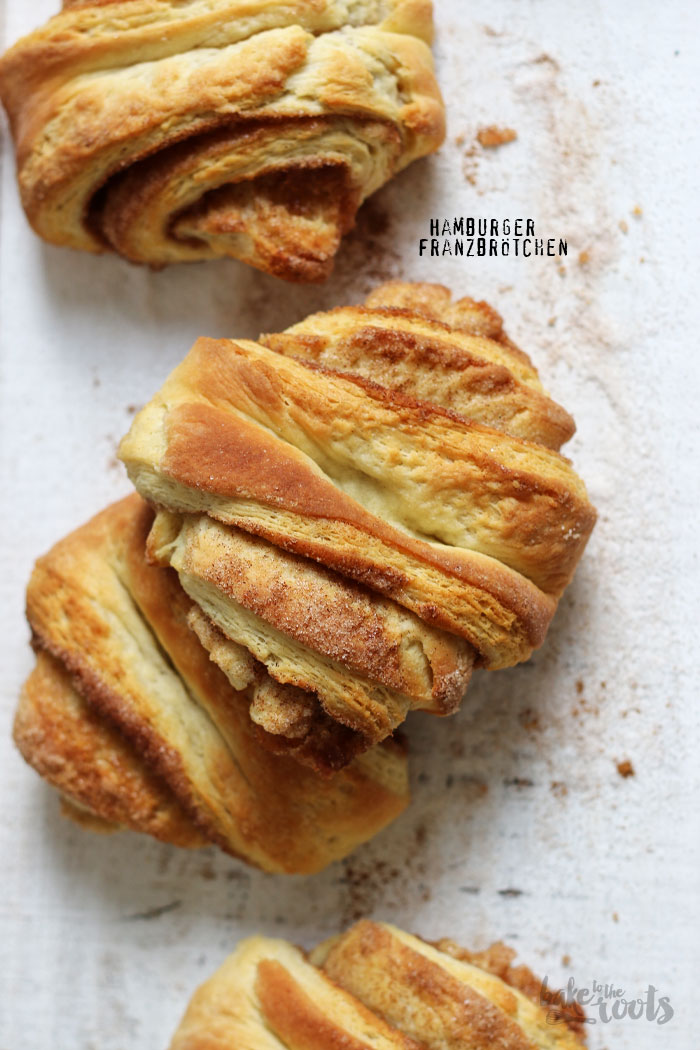
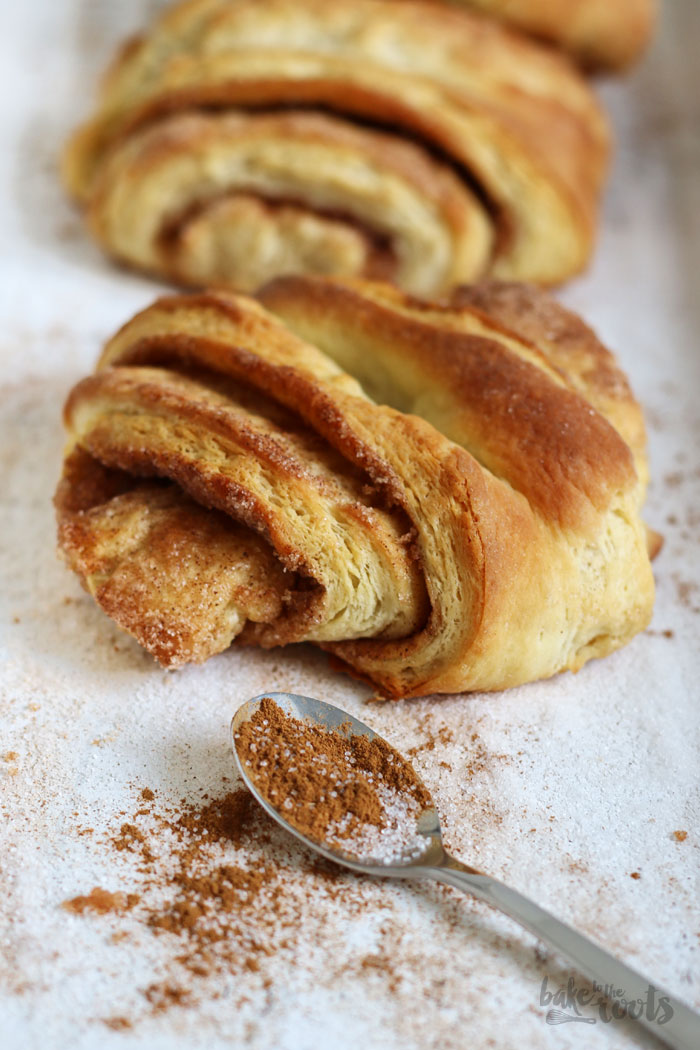
Maybe I should also tell you something about the Franzbrötchen as well. They are made with a regular pastry dough and filled with cinnamon, similar to cinnamon rolls. The difference is the shape. You roll up the dough, cut off stripes (like you would with cinnamon rolls) and then you press the center down with a wooden spoon to get the special shape. Easy as that.
I made some Franzbrötchen with Kale not too long ago. In those pictures there you can see perhaps better what I mean…
INGREDIENTS / ZUTATEN
(about 12 pieces)
For the dough:
3/4 cup (180ml) milk
1 tsp. sugar (fine)*
1 oz. (30g) fresh baker’s yeast
4 1/4 cups (550g) stronger all-purpose flour*
2 tsp. salt
1/3 cup (75g) butter
1/4 cup (50g) sugar (fine)*
2 medium eggs
1 cup (230g) cold butter
For the filling:
2 tbsp. ground cinnamon*
1/c cup (100g) sugar (fine)*
some water
(etwa 12 Stück)
Für den Teig:
180ml Milch
1 TL Zucker (fein)*
30g frische Hefe
550g Mehl (Type 550)*
2 TL Salz
75g Butter
50g Zucker (fein)*
2 Eier (M)
230g kalte Butter
Für die Füllung:
2 EL Zimt*
100g Zucker (fein)*
etwas Wasser
DIRECTIONS / ZUBEREITUNG
1. Preheat the oven to 50°C (120°F) and then turn it off again – this is for the dough to rise not to bake it.
2. Mix the lukewarm milk with sugar and yeast in a small bowl until completely dissolved. Cover and let sit for about 5 minutes. Sift the flour into a large bowl and add the salt, the butter in small pieces, sugar, eggs and the yeast-milk mixture. Knead until you get a nice smooth dough, then knead for some minutes with your hands on a floured surface and form a ball. Place the dough in the bowl again and cover with a kitchen towel. Place the bowl in the oven and let the dough rise for about 45-60 minutes. The size should almost double.
3. While the dough is rising in the oven, take the cold butter and wrap it loosely in plastic wrap. Take a rolling pin and hit it several times so it softens, then roll it out to a 1cm thick square. It works best if you loosen the plastic wrap in between so it does not tear apart. When you’re done, place the butter square (wrapped in plastic wrap again) in the fridge to cool. The butter has to be cool so you get nice layers in the dough later on.
4. Roll out the dough on a floured surface into a square – it should be bigger than your butter square. Unwrap your butter, place it on the dough and fold the dough like an envelope over the butter. Make sure the butter is sealed in completely, then flip this package upside down and roll it out into a long rectangle. Fold the ends towards the middle, one over the other to get three layers and flatten the package lightly. Wrap the dough in plastic wrap and place it in the fridge for 20 minutes.
5. Take the dough out of the fridge and start another rolling/folding round. This time fold both sides towards the center and then one end over the other to get four layers. Flatten the package slightly and wrap it in plastic wrap. Place the dough once more in the fridge for about 20 minutes. Mix cinnamon and sugar in a small bowl and set aside.
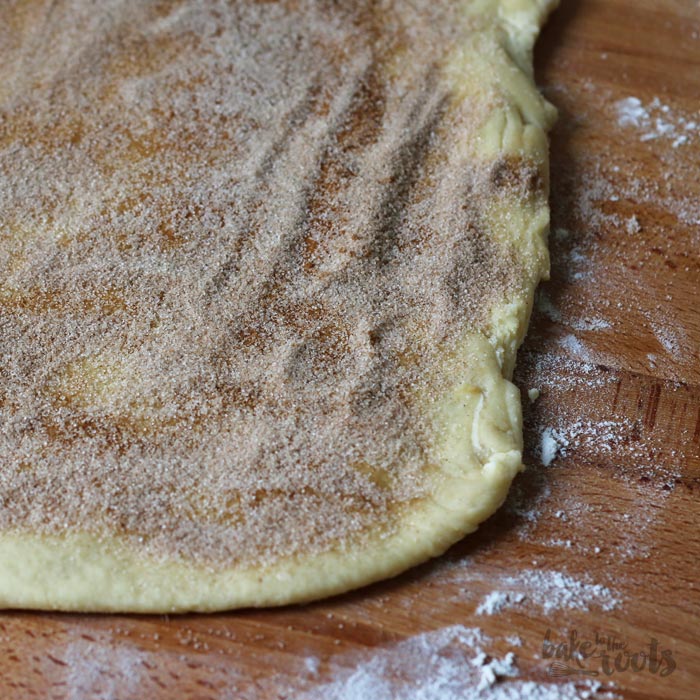
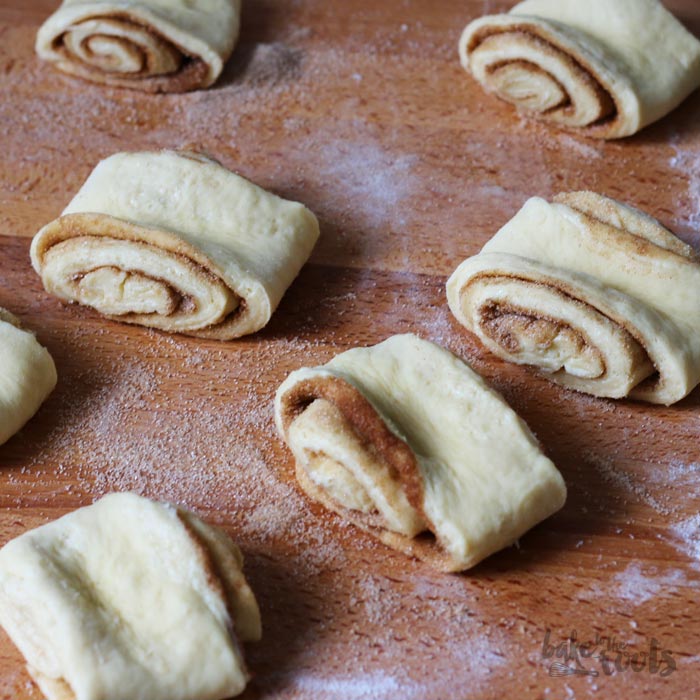
6. Preheat the oven to 200°C (390°F). Line two baking sheets with baking parchment. Take the dough out of the fridge and roll it out into a large rectangle. Brush the dough with some water and sprinkle with the cinnamon-sugar mixture. Press the mix slightly into the dough. Roll up the rectangle (from the long side) into a log. Cut the log into 5cm thick slices. Flatten them a bit and use the back of a wooden spoon to press a »notch« into the roll. The dough and sugar filling should get pressed out a bit on the left and right. That gives the »Franzbröchen« their typical shape. Place the dough pieces on the baking sheets with some space in between (they rise a lot) and bake them for about 15-20 minutes. The Franzbrötchen should get a nice golden color but not get too dark. Take them out of the oven and let them cool down on a wire rack completely.
1. Den Ofen auf 50°C (120°F) Ober-/Unterhitze vorheizen und dann wieder ausschalten, wenn die Temperatur erreicht ist. Der Teig soll beim Gehen einen warmen Platz haben, aber nicht brutzeln…
2. Die lauwarme Milch mit dem Zucker und der zerbröckelten Hefe in einer kleinen Schüssel verrühren und abgedeckt etwa 5 Minuten gehen lassen. Das Mehl in eine große Schüssel sieben, Salz, die Butter in kleinen Stücken, Zucker, Eier und Hefemilch zugeben und alles mit den Knethaken der Küchenmaschine oder dem Handrührer zu einem glatten Teig verkneten. Auf einer bemehlten Arbeitsfläche noch einmal kurz mit den Händen durchkneten und dann zu einer Kugel formen. Den Teig zurück in die Schüssel legen und mit einem Küchentuch abdecken und im ausgeschalteten, aber noch etwas warmen Ofen, für etwa 45-60 Minuten gehen lassen. Das Volumen sollte sich in etwa verdoppelt haben.
3. Während der Teig im Ofen geht, die kalte Butter locker in ein großes Stück Klarsichtfolie einschlagen und mit einem Nudelholz erst etwas breitschlagen und dann zu einem etwa 1cm dicken, quadratischen Block ausrollen. Die Klarsichtfolie dabei immer wieder mal abziehen und erneut darüberlegen, damit sie nicht einreißt. Den Butterblock wieder in Folie einwickeln und in den Kühlschrank legen, damit er gut durchkühlt.
4. Den Teig auf einer bemehlten Fläche zu einem Quadrat ausrollen – das Teigquadrat sollte so groß sein, dass man die Butterplatte damit einschlagen kann. Die Butter aus der Folie nehmen, auf den Teig legen und dann wie bei einem Briefumschlag die Ränder des Teiges über der Butter einschlagen. Das Ganze umdrehen, damit die Teignähte unten sind, und dann auf der bemehlten Fläche vorsichtig zu einem länglichen Rechteck ausrollen. Die langen Seiten zur Mitte hin übereinanderschlagen und festdrücken. Hier entstehen jetzt die ersten drei Schichten im Teig. In Klarsichtfolie wickeln und für etwa 20 Minuten in den Kühlschrank legen.
5. Den Teig aus dem Kühlschrank nehmen und das Prozedere wiederholen. Also den Teig noch einmal länglich ausrollen (geht am besten, wenn man die offene Teigseite zu sich zeigen lässt beim Ausrollen) und dann wieder übereinanderschlagen. Dieses Mal allerdings so, dass man beide Seiten zur Mitte hin einschlägt und dann eine Seite noch einmal über die andere, damit insgesamt 4 Teigschichten entstehen. Leicht zusammendrücken und erneut in Klarsichtfolie einschlagen. Den Teig noch einmal für etwa 20 Minuten in den Kühlschrank legen. Zucker und Zimt in einer kleinen Schüssel vermischen und zur Seite stellen.
6. Den Ofen auf 200°C (390°F) Ober-/Unterhitze vorheizen. Zwei Bleche mit Backpapier auslegen. Den Teig aus dem Kühlschrank nehmen und auf einer bemehlten Fläche zu einem großen Rechteck ausrollen. Den Teig mit etwas Wasser einstreichen und dann die Zuckermischung darauf verteilen und festdrücken. Den Teig von der langen Seite her aufrollen. Die Rolle in etwa 5cm dicke Scheiben schneiden, diese dann leicht flach drücken und mit einem Holzstab (oder Ende eines Kochlöffels) eine Kerbe in die Mitte drücken. Wenn sich dadurch das Innere der Rolle rechts und links etwas nach außen drückt, dann ist es genau richtig. Die Teiglinge mit etwas Abstand zueinander auf die Bleche setzen – der Teig geht einiges auf. Die Franzbrötchen für etwa 15-20 Minuten backen. Sie sollten schön Farbe bekommen haben, aber nicht zu dunkel werden. Auf einem Kuchengitter komplett abkühlen lassen.
Craving more? Keep in touch on Facebook, Instagram and Pinterest for new post updates and more. You can also contact me with any questions or inquiries!
Here is a version of the recipe you can print easily.
Print
Hamburger Franzbrötchen aka. Cinnamon Pastries
- Prep Time: 01:00
- Cook Time: 00:20
- Total Time: 03:00
- Yield: 12 1x
- Category: Pastry
- Method: -
- Cuisine: Germany
- Diet: Vegetarian
Description
The most delicious thing you can do with cinnamon: Hamburger Franzbrötchen – classic cinnamon filled pastry from the North of Germany.
Ingredients
For the dough:
3/4 cup (180ml) milk
1 tsp. sugar (fine)*
1 oz. (30g) fresh baker’s yeast
4 1/4 cups (550g) stronger all-purpose flour*
2 tsp. salt
1/3 cup (75g) butter
1/4 cup (50g) sugar (fine)*
2 medium eggs
1 cup (230g) cold butter
For the filling:
2 tbsp. ground cinnamon*
1/c cup (100g) sugar (fine)*
some water
Instructions
1. Preheat the oven to 50°C (120°F) and then turn it off again – this is for the dough to rise not to bake it.
2. Mix the lukewarm milk with sugar and yeast in a small bowl until completely dissolved. Cover and let sit for about 5 minutes. Sift the flour into a large bowl and add the salt, the butter in small pieces, sugar, eggs and the yeast-milk mixture. Knead until you get a nice smooth dough, then knead for some minutes with your hands on a floured surface and form a ball. Place the dough in the bowl again and cover with a kitchen towel. Place the bowl in the oven and let the dough rise for about 45-60 minutes. The size should almost double.
3. While the dough is rising in the oven, take the cold butter and wrap it loosely in plastic wrap. Take a rolling pin and hit it several times so it softens, then roll it out to a 1cm thick square. It works best if you loosen the plastic wrap in between so it does not tear apart. When you’re done, place the butter square (wrapped in plastic wrap again) in the fridge to cool. The butter has to be cool so you get nice layers in the dough later on.
4. Roll out the dough on a floured surface into a square – it should be bigger than your butter square. Unwrap your butter, place it on the dough and fold the dough like an envelope over the butter. Make sure the butter is sealed in completely, then flip this package upside down and roll it out into a long rectangle. Fold the ends towards the middle, one over the other to get three layers and flatten the package lightly. Wrap the dough in plastic wrap and place it in the fridge for 20 minutes.
5. Take the dough out of the fridge and start another rolling/folding round. This time fold both sides towards the center and then one end over the other to get four layers. Flatten the package slightly and wrap it in plastic wrap. Place the dough once more in the fridge for about 20 minutes. Mix cinnamon and sugar in a small bowl and set aside.
6. Preheat the oven to 200°C (390°F). Line two baking sheets with baking parchment. Take the dough out of the fridge and roll it out into a large rectangle. Brush the dough with some water and sprinkle with the cinnamon-sugar mixture. Press the mix slightly into the dough. Roll up the rectangle (from the long side) into a log. Cut the log into 5cm thick slices. Flatten them a bit and use the back of a wooden spoon to press a »notch« into the roll. The dough and sugar filling should get pressed out a bit on the left and right. That gives the »Franzbröchen« their typical shape. Place the dough pieces on the baking sheets with some space in between (they rise a lot) and bake them for about 15-20 minutes. The Franzbrötchen should get a nice golden color but not get too dark. Take them out of the oven and let them cool down on a wire rack completely.
Notes
- Enjoy baking!
Links marked with an asterisk (*) are affiliate links (advertising/Werbung) to Amazon Germany. If you click on one of those links and buy something via this link, I will get a commission for that sale. The price of whatever you buy is not affected in any way by this.